OP
TimeWarpF100
Well-known member
it was a 28 yr wait,
But yesterday for the first time since my friend purchased the '56 Belair it went around the block on its own power!
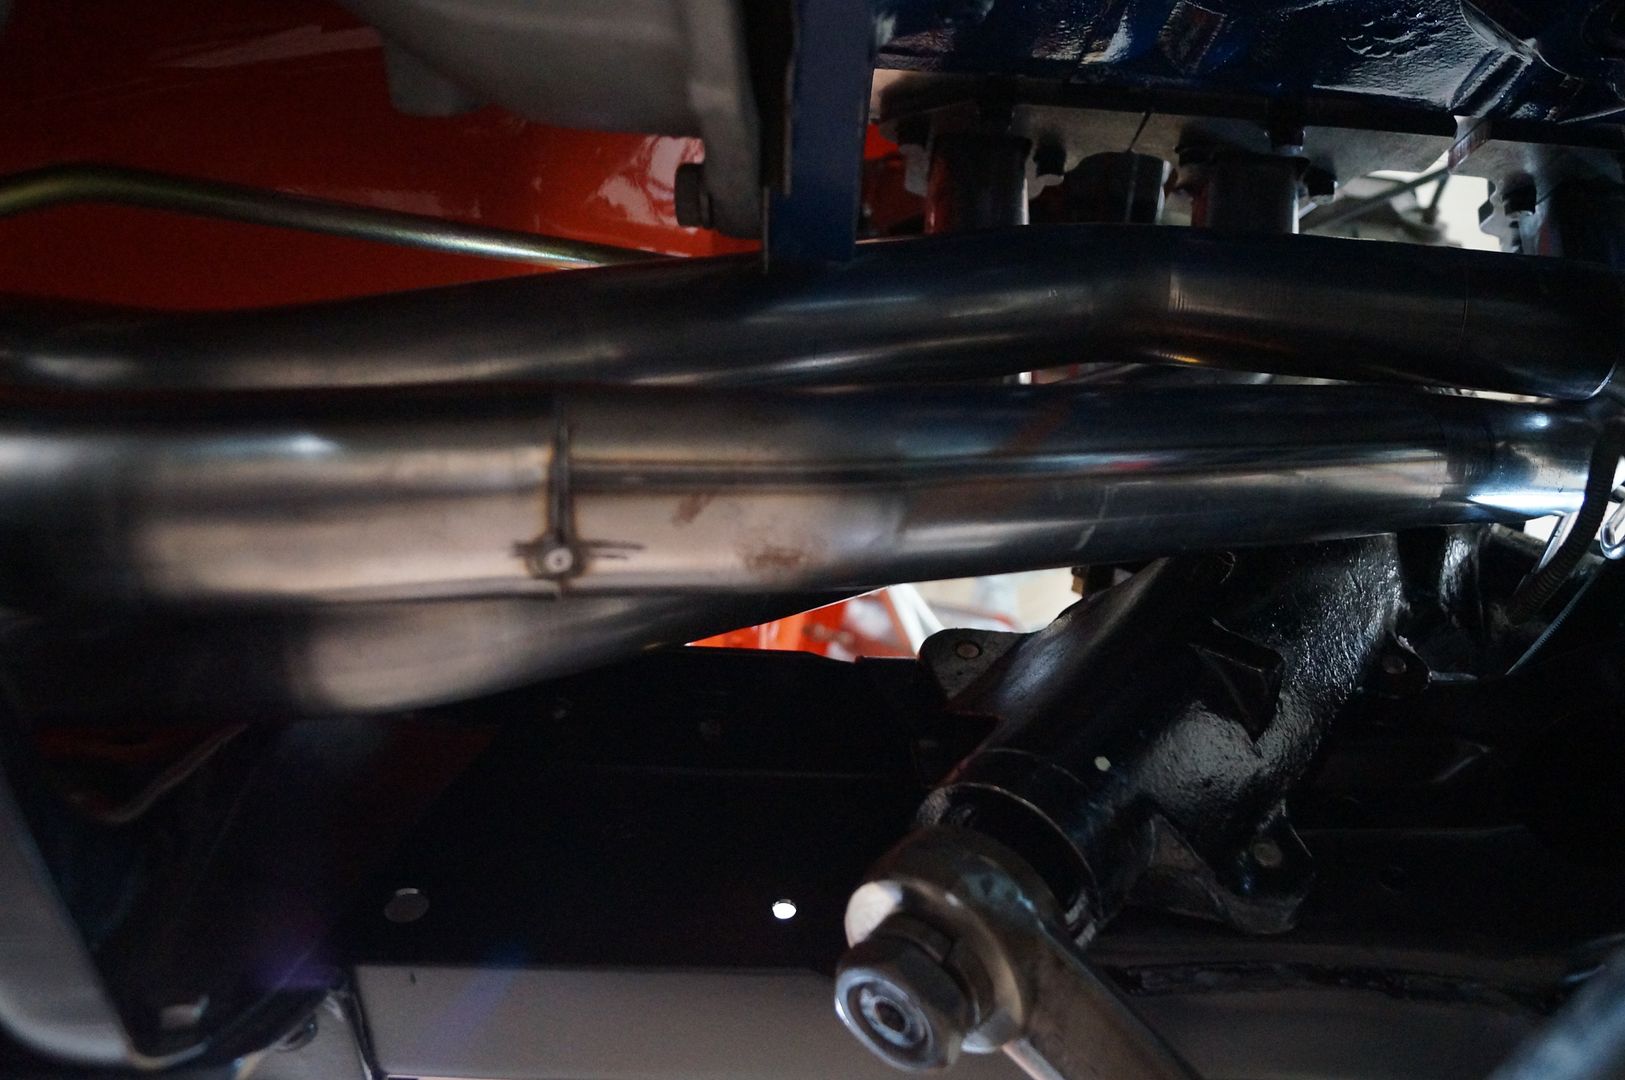
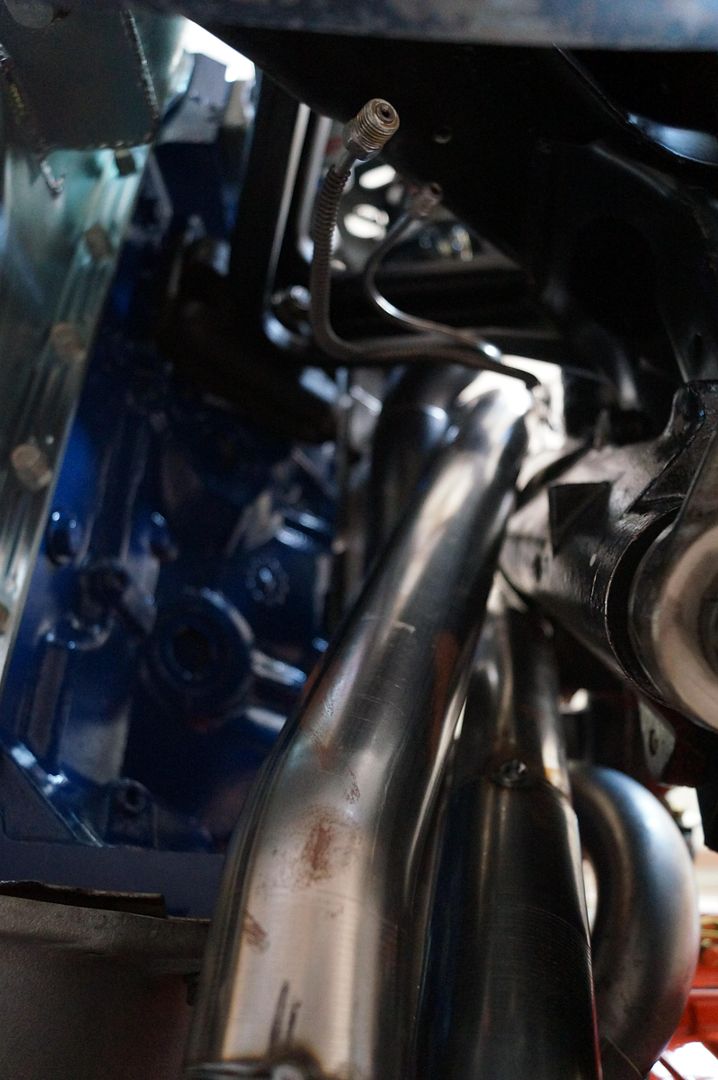
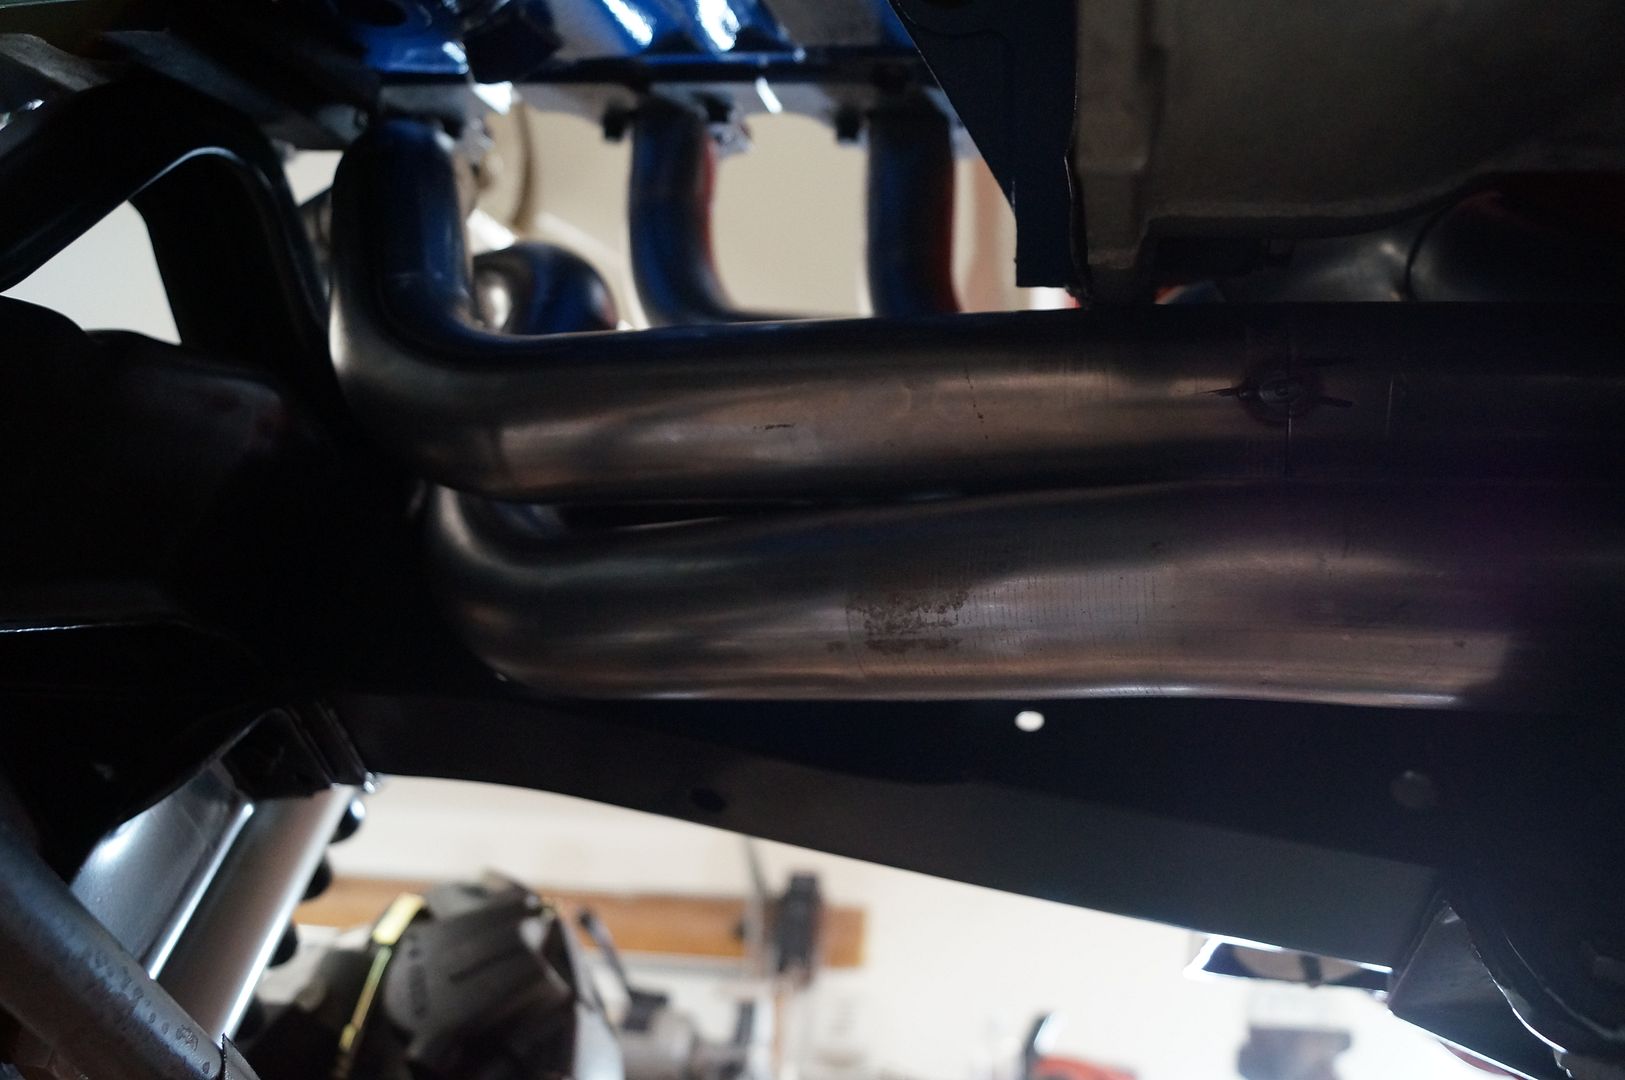
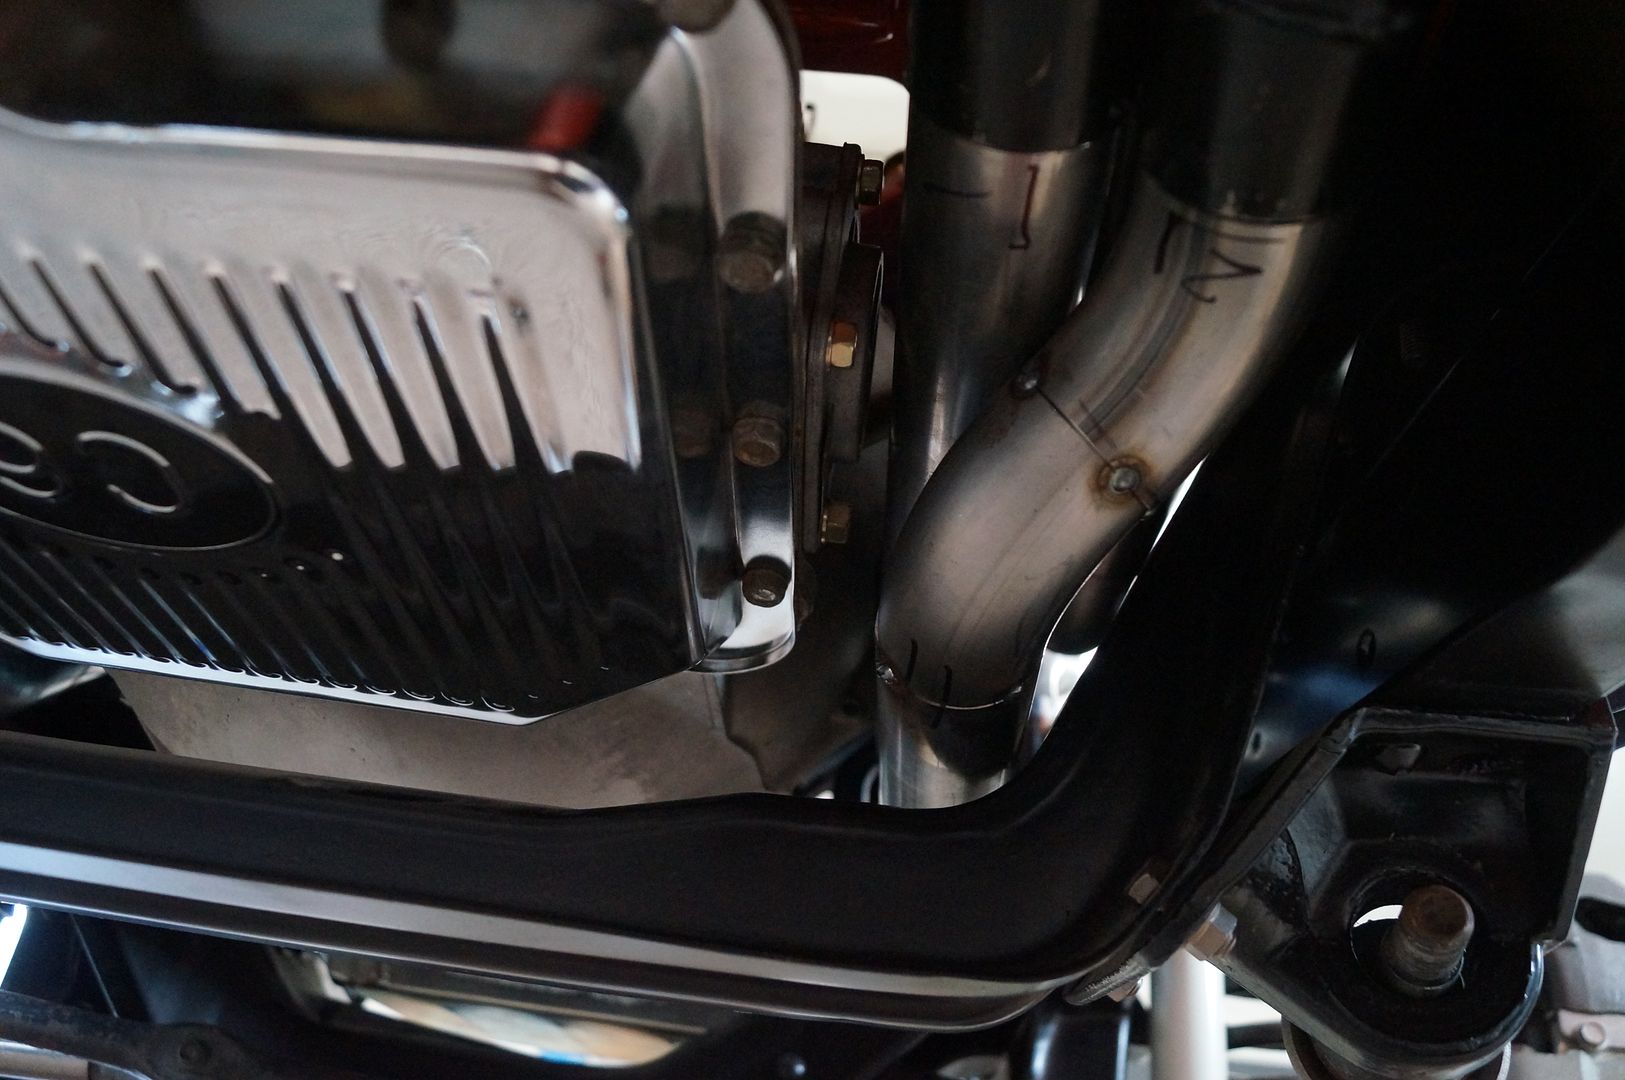
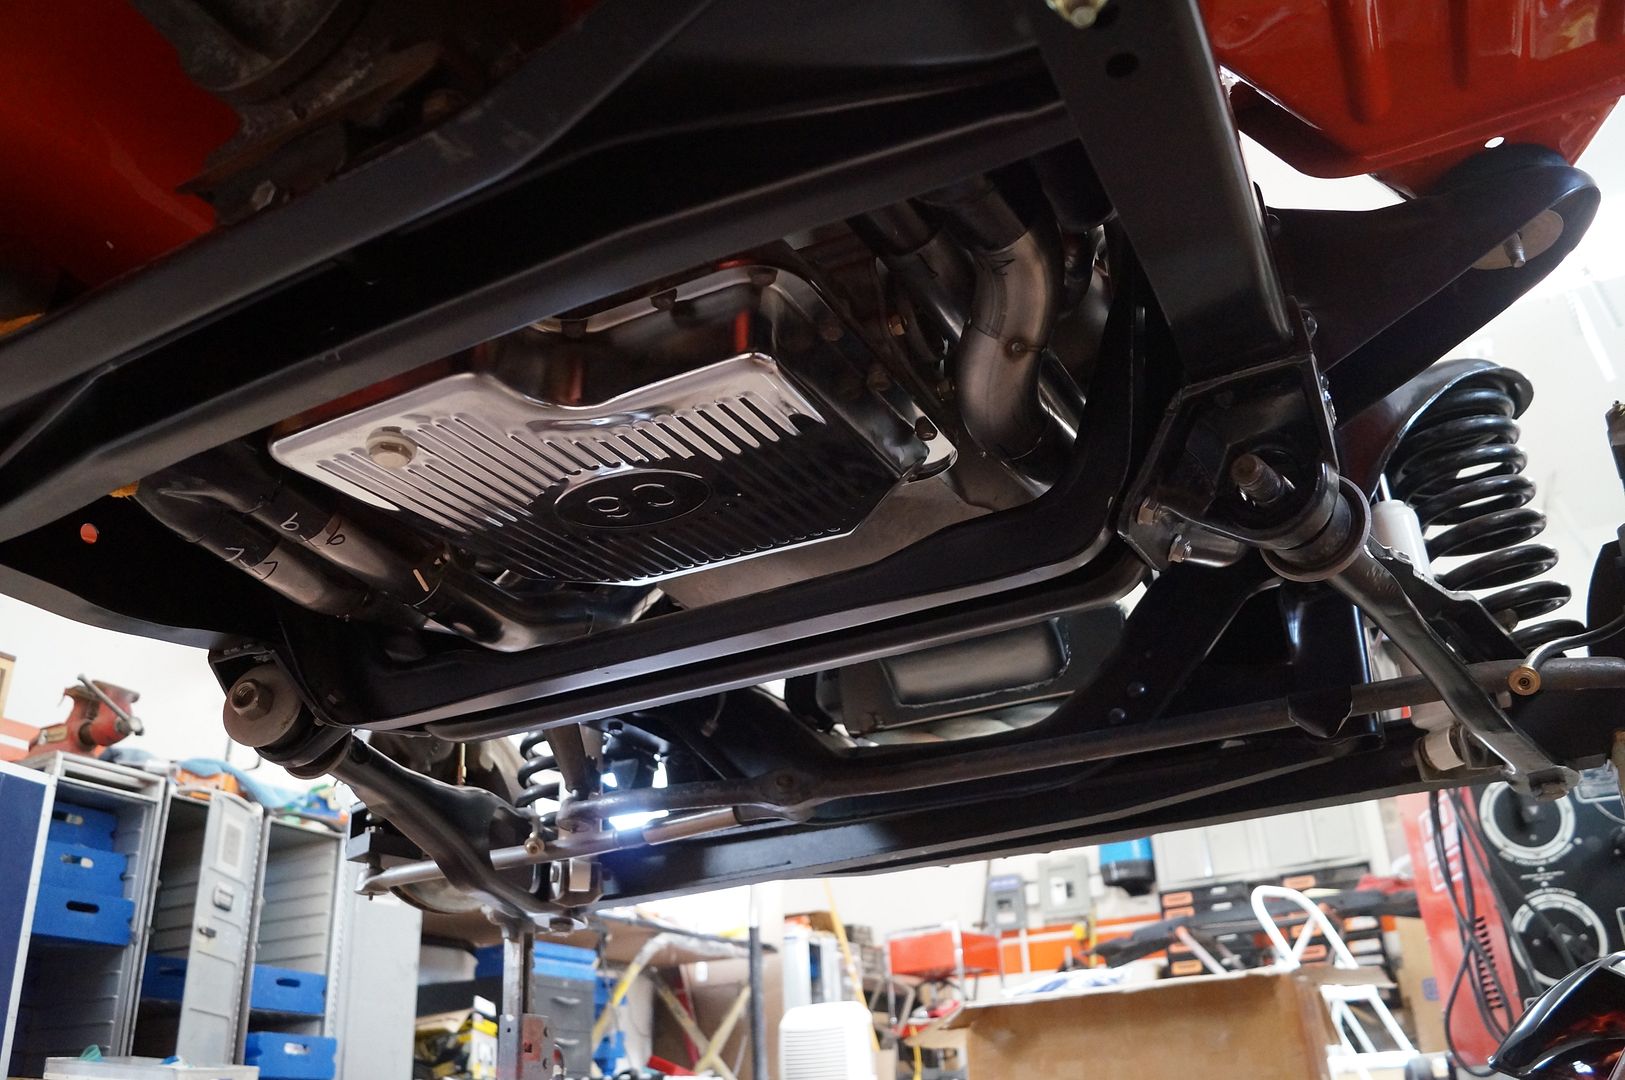
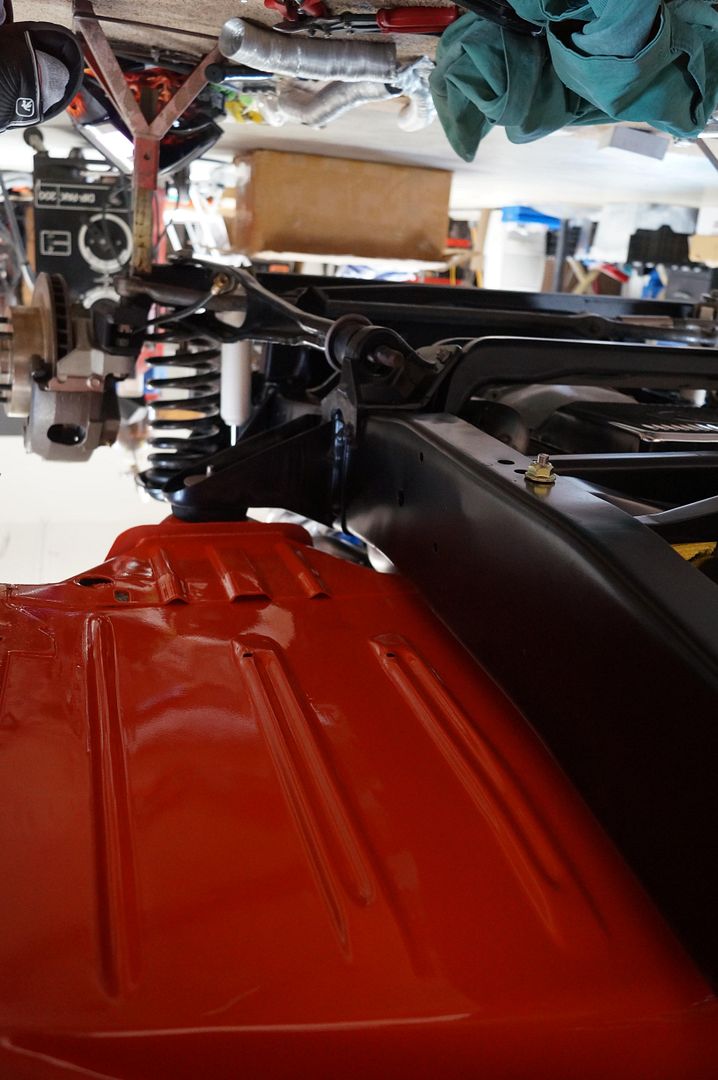
Its taken up much valuable space in my shop for over a year now,
Hoping early next week it will go to upholstery.
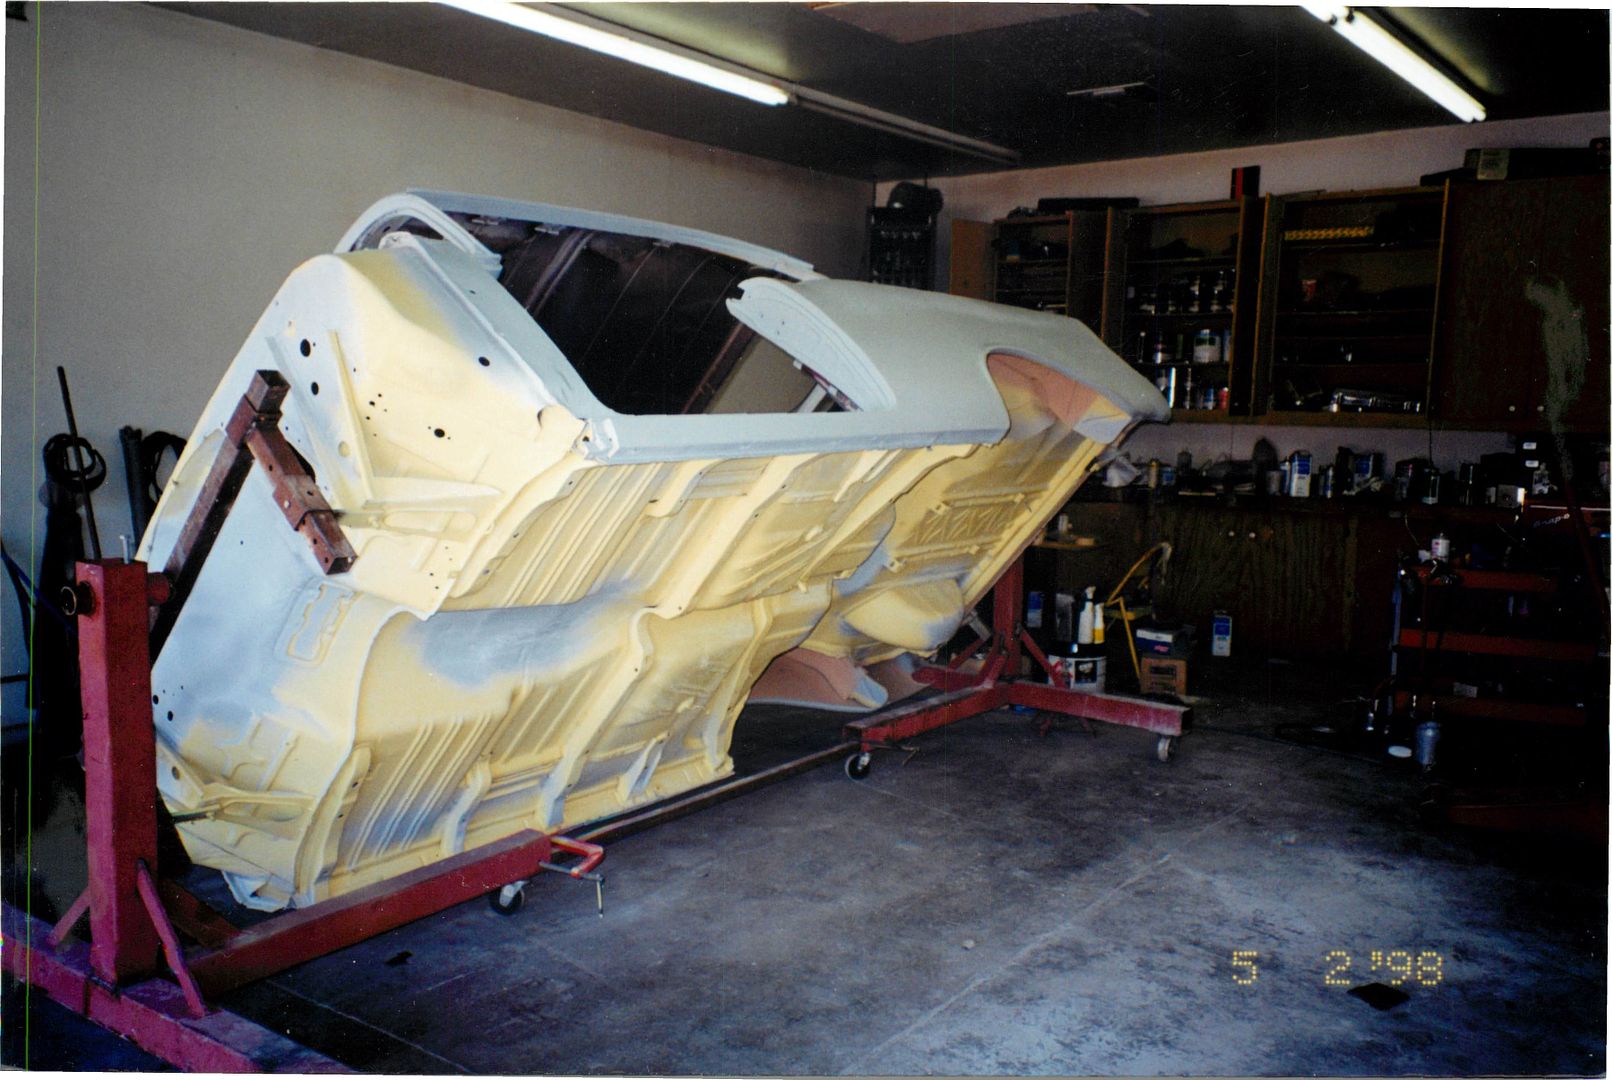
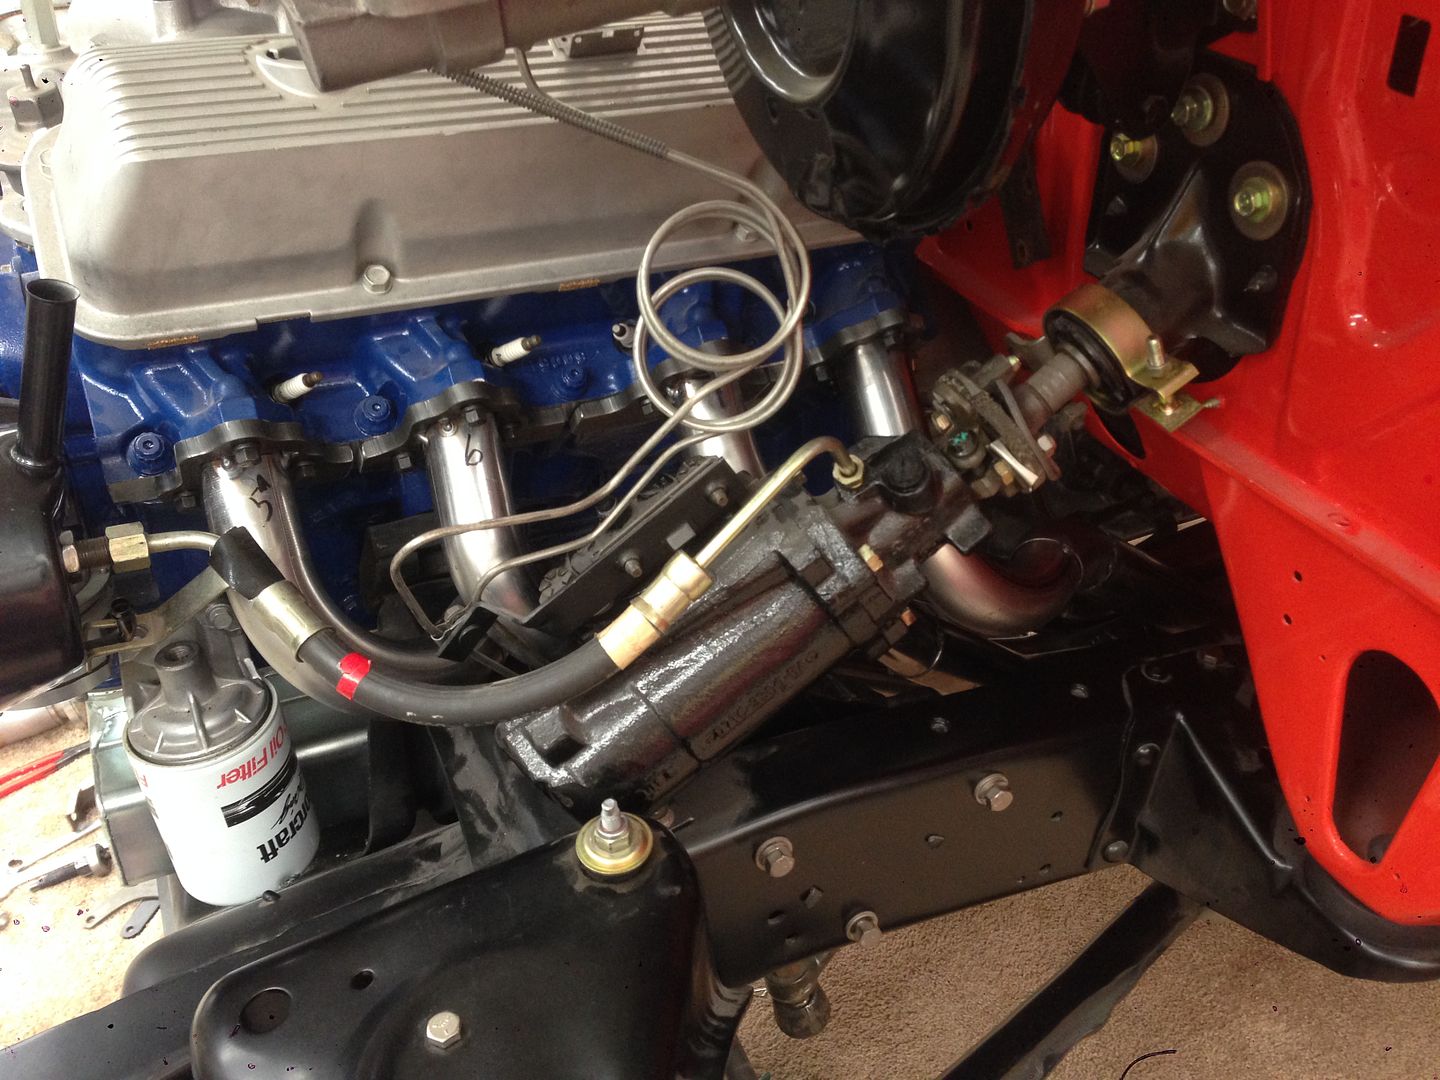
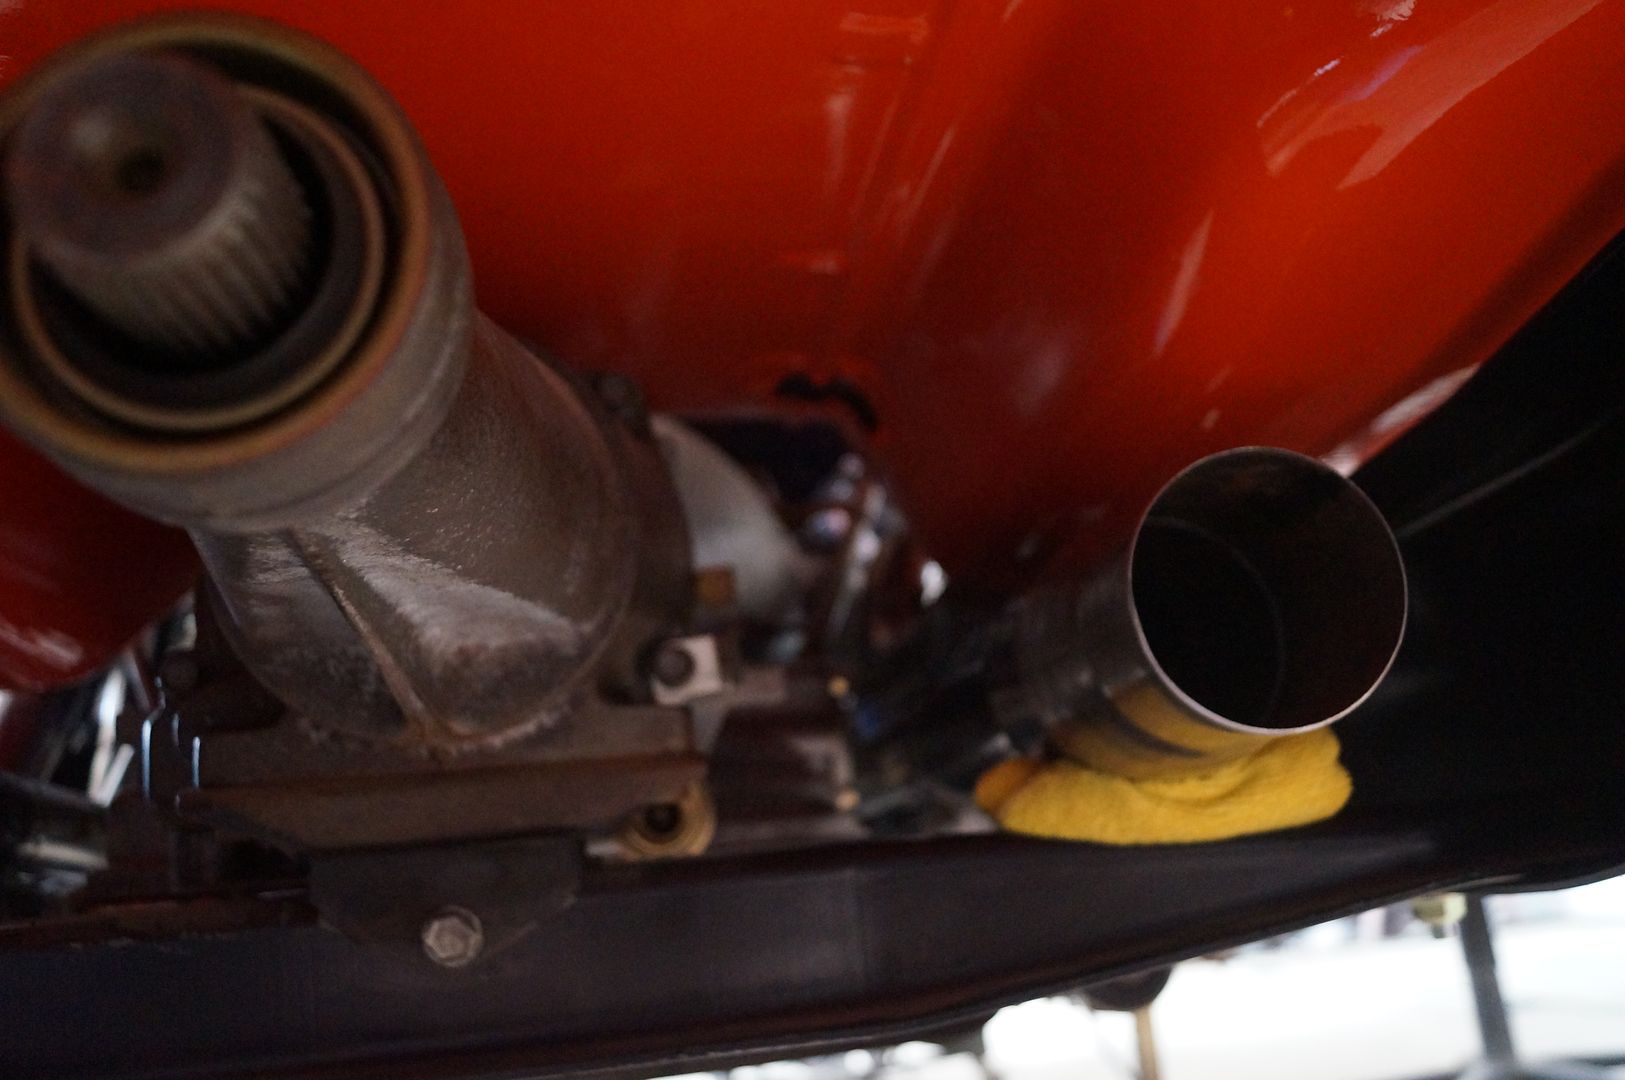
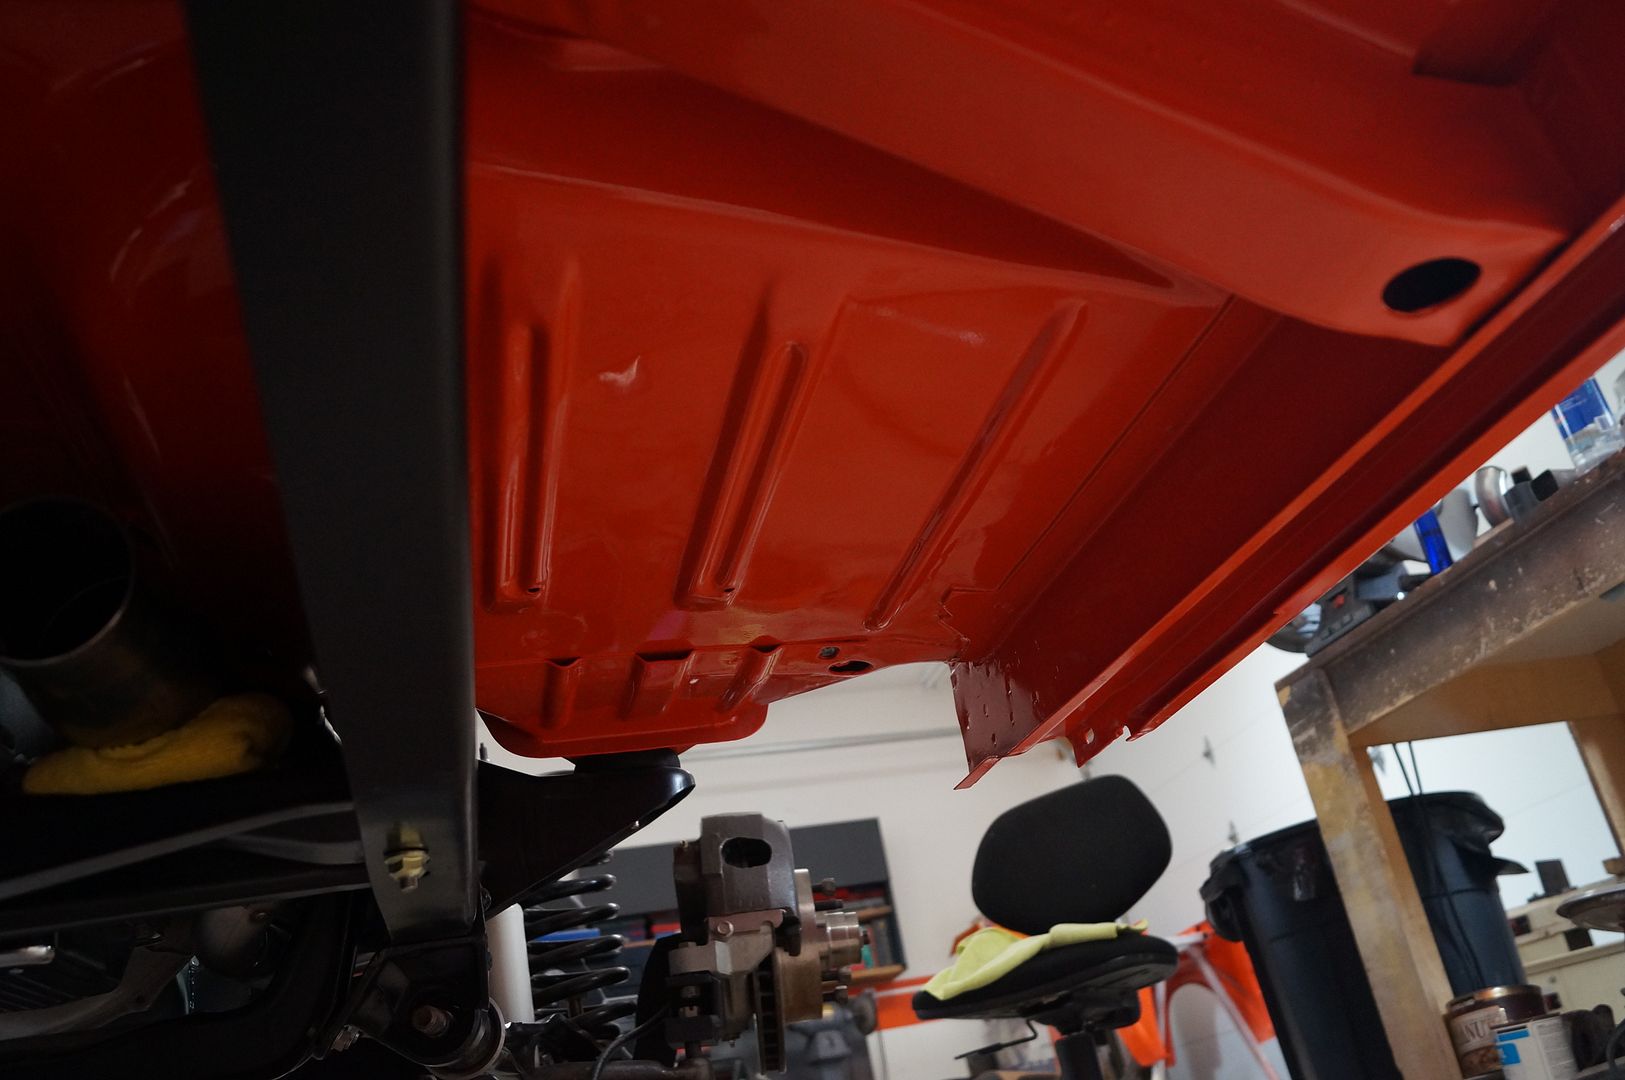
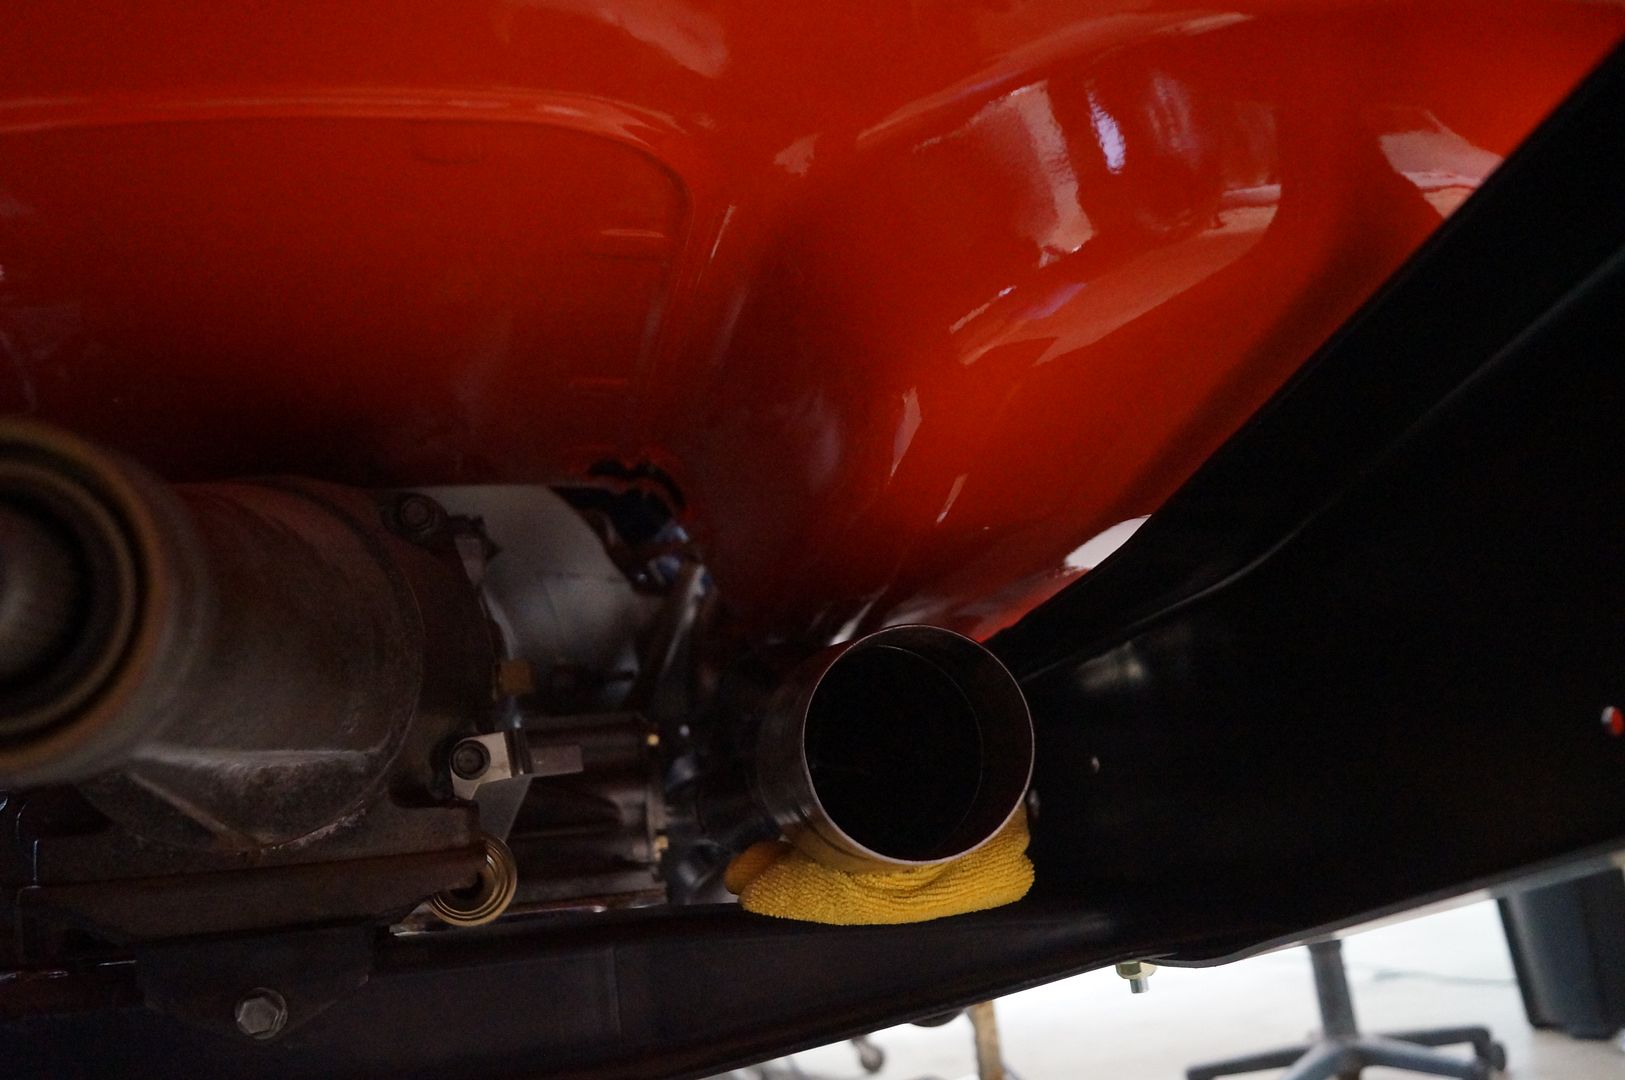
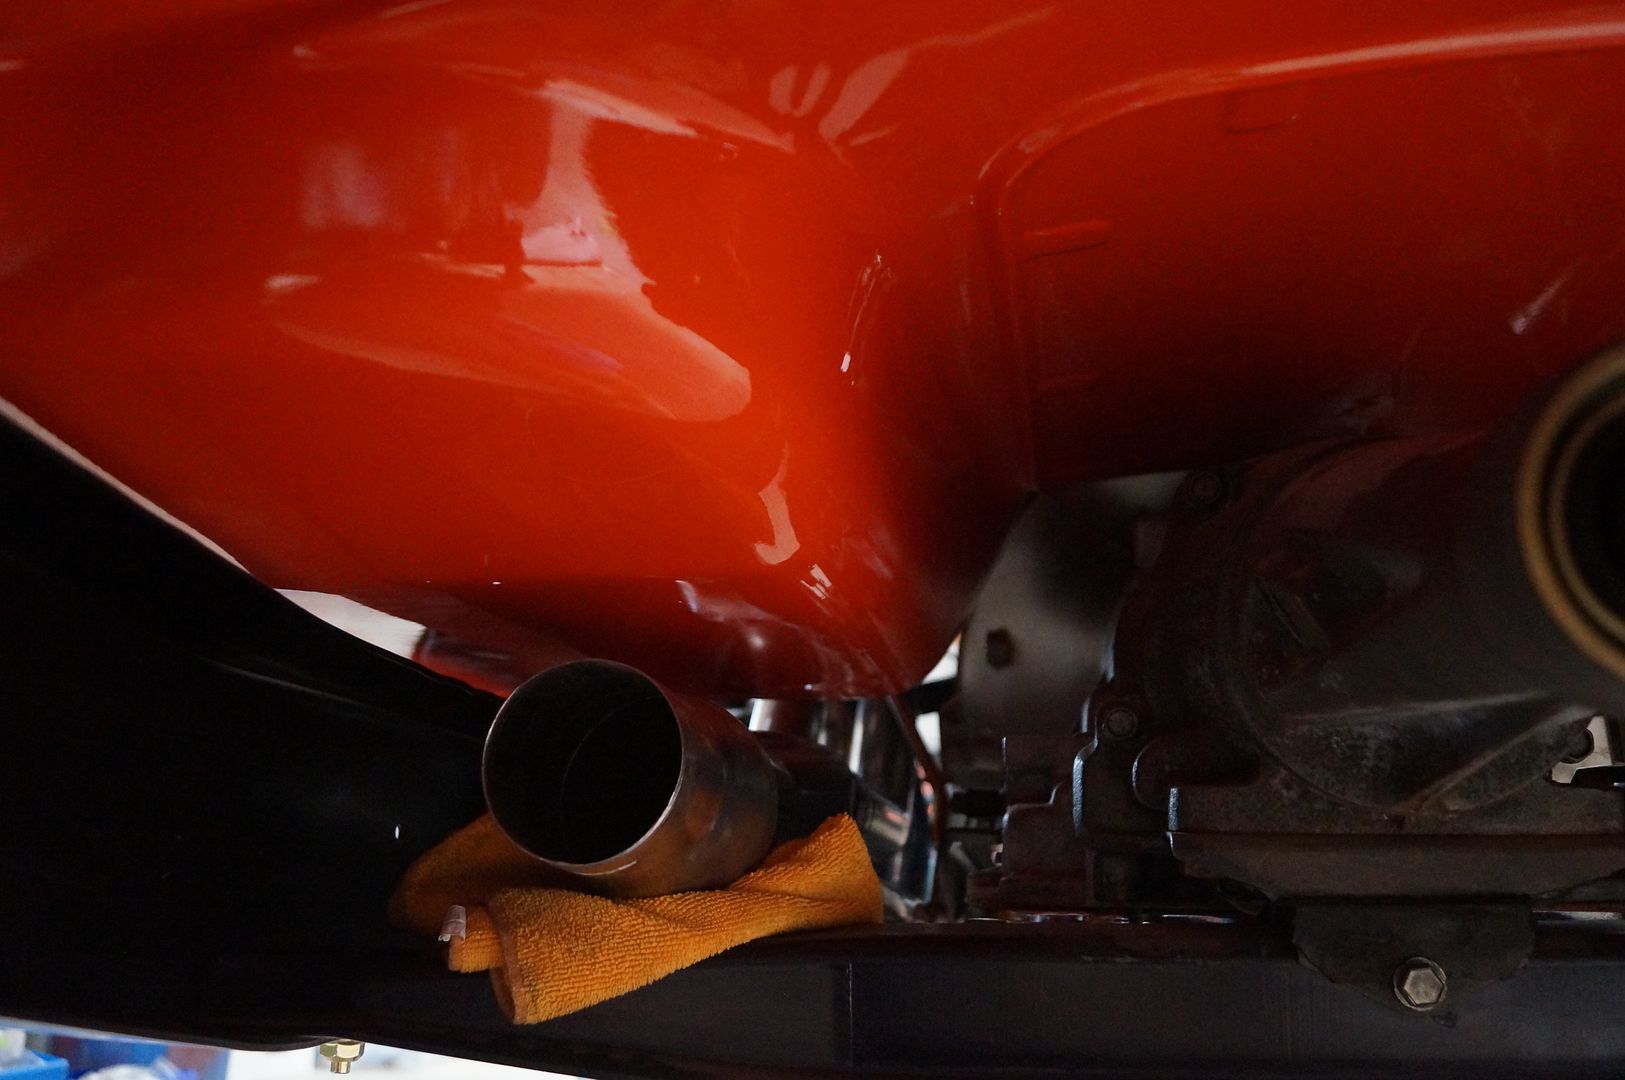
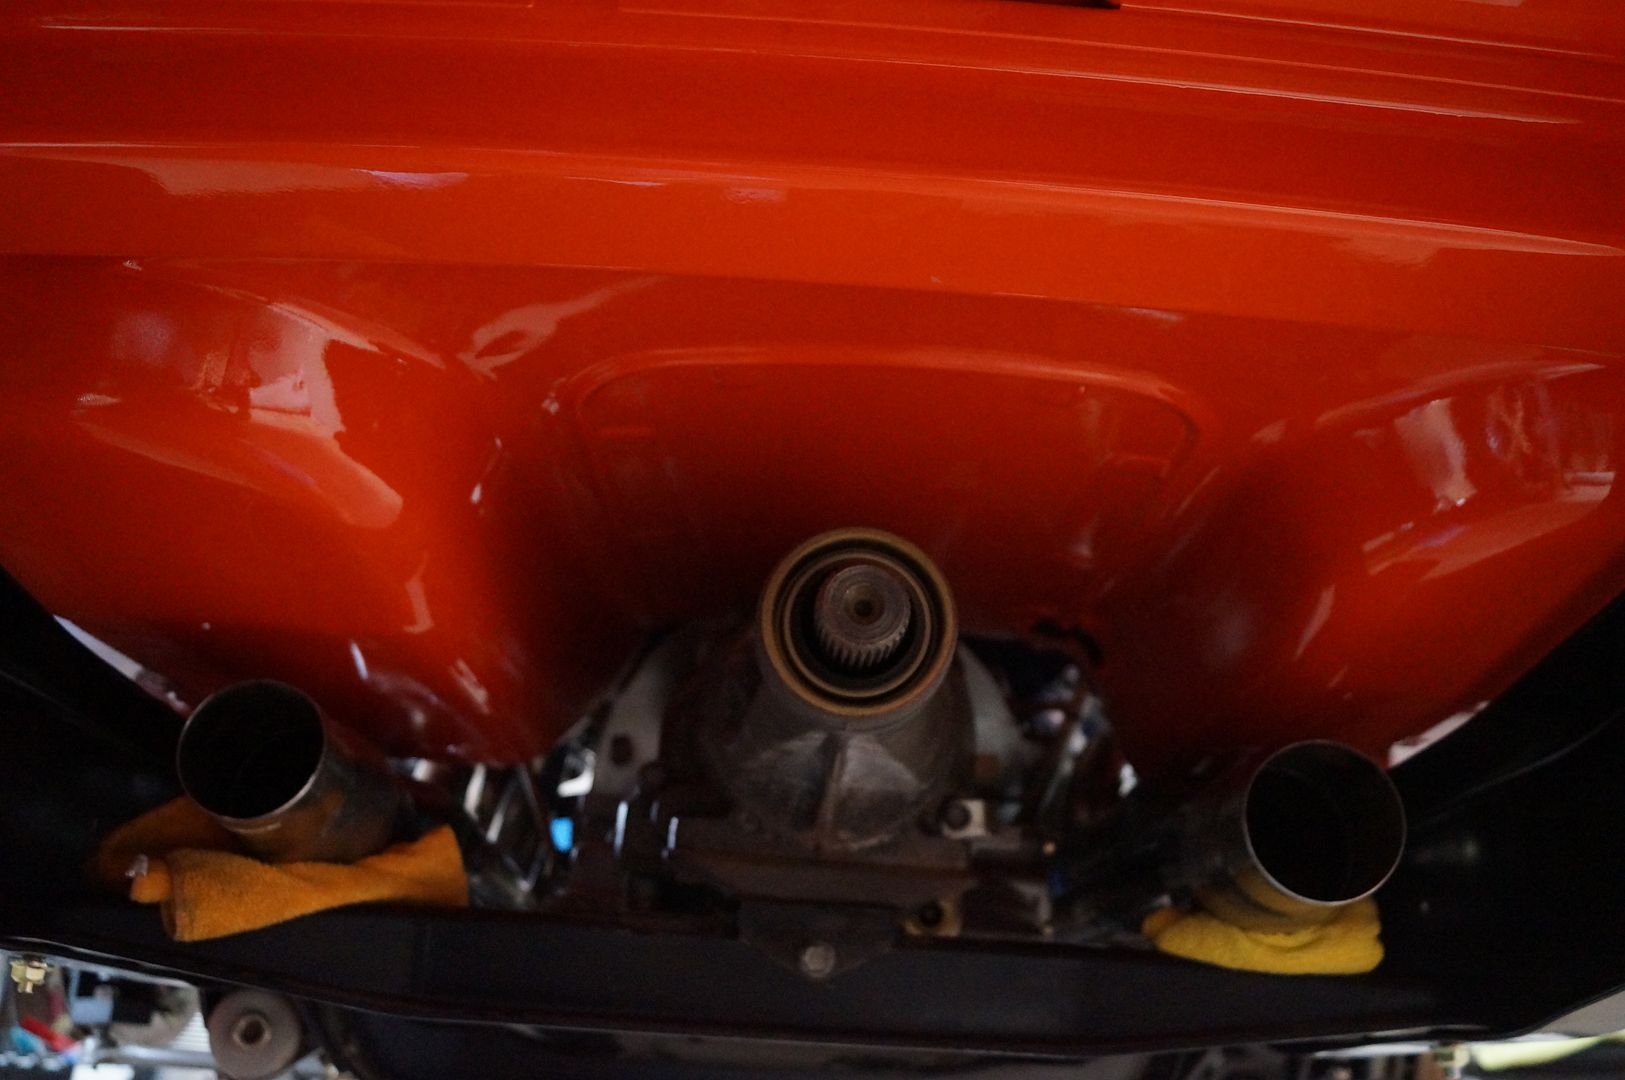
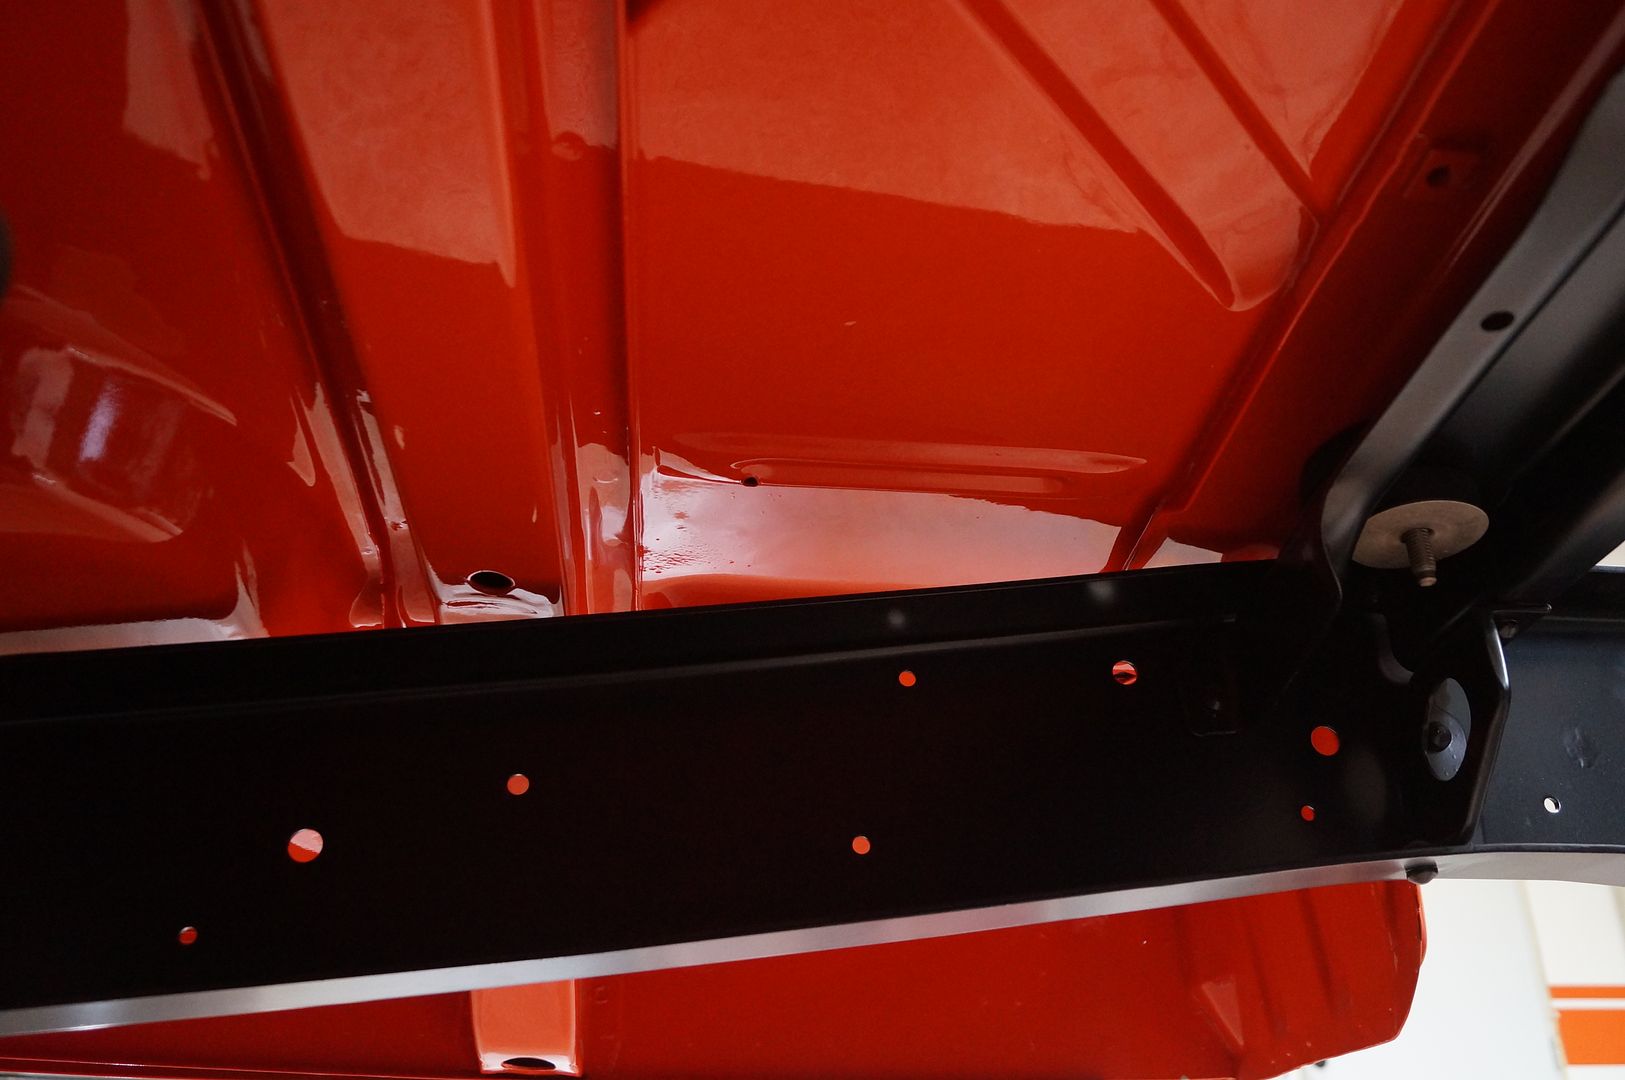
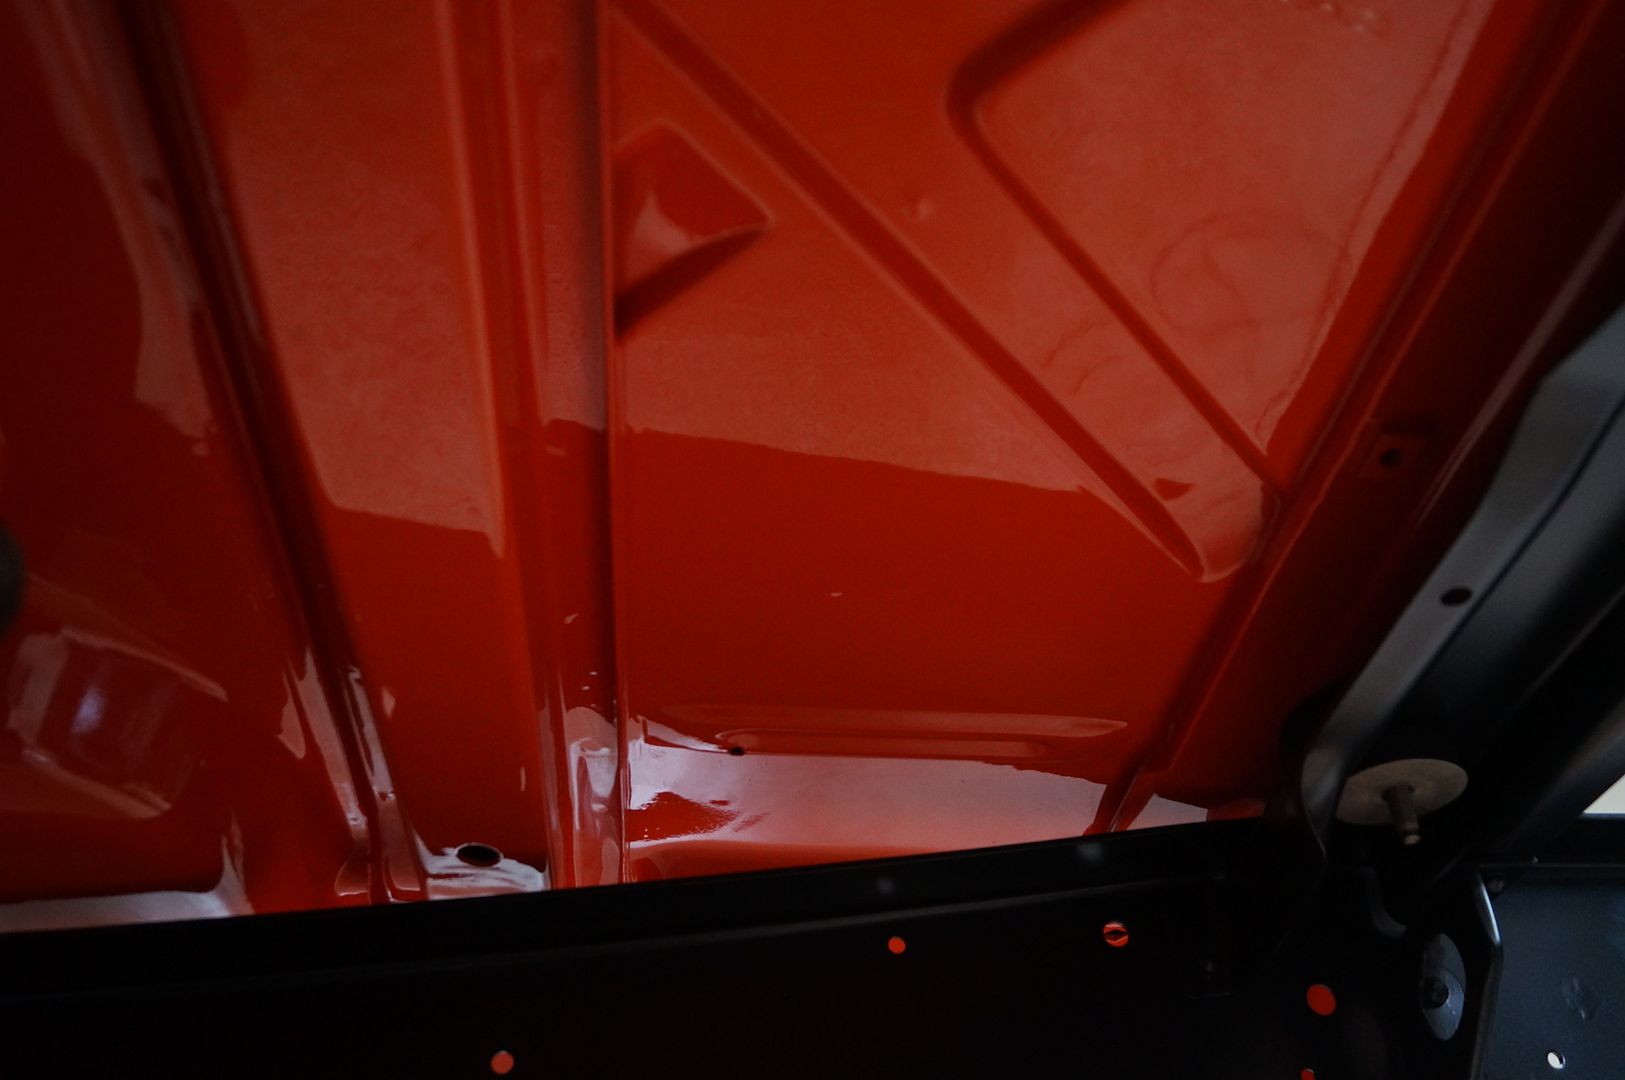
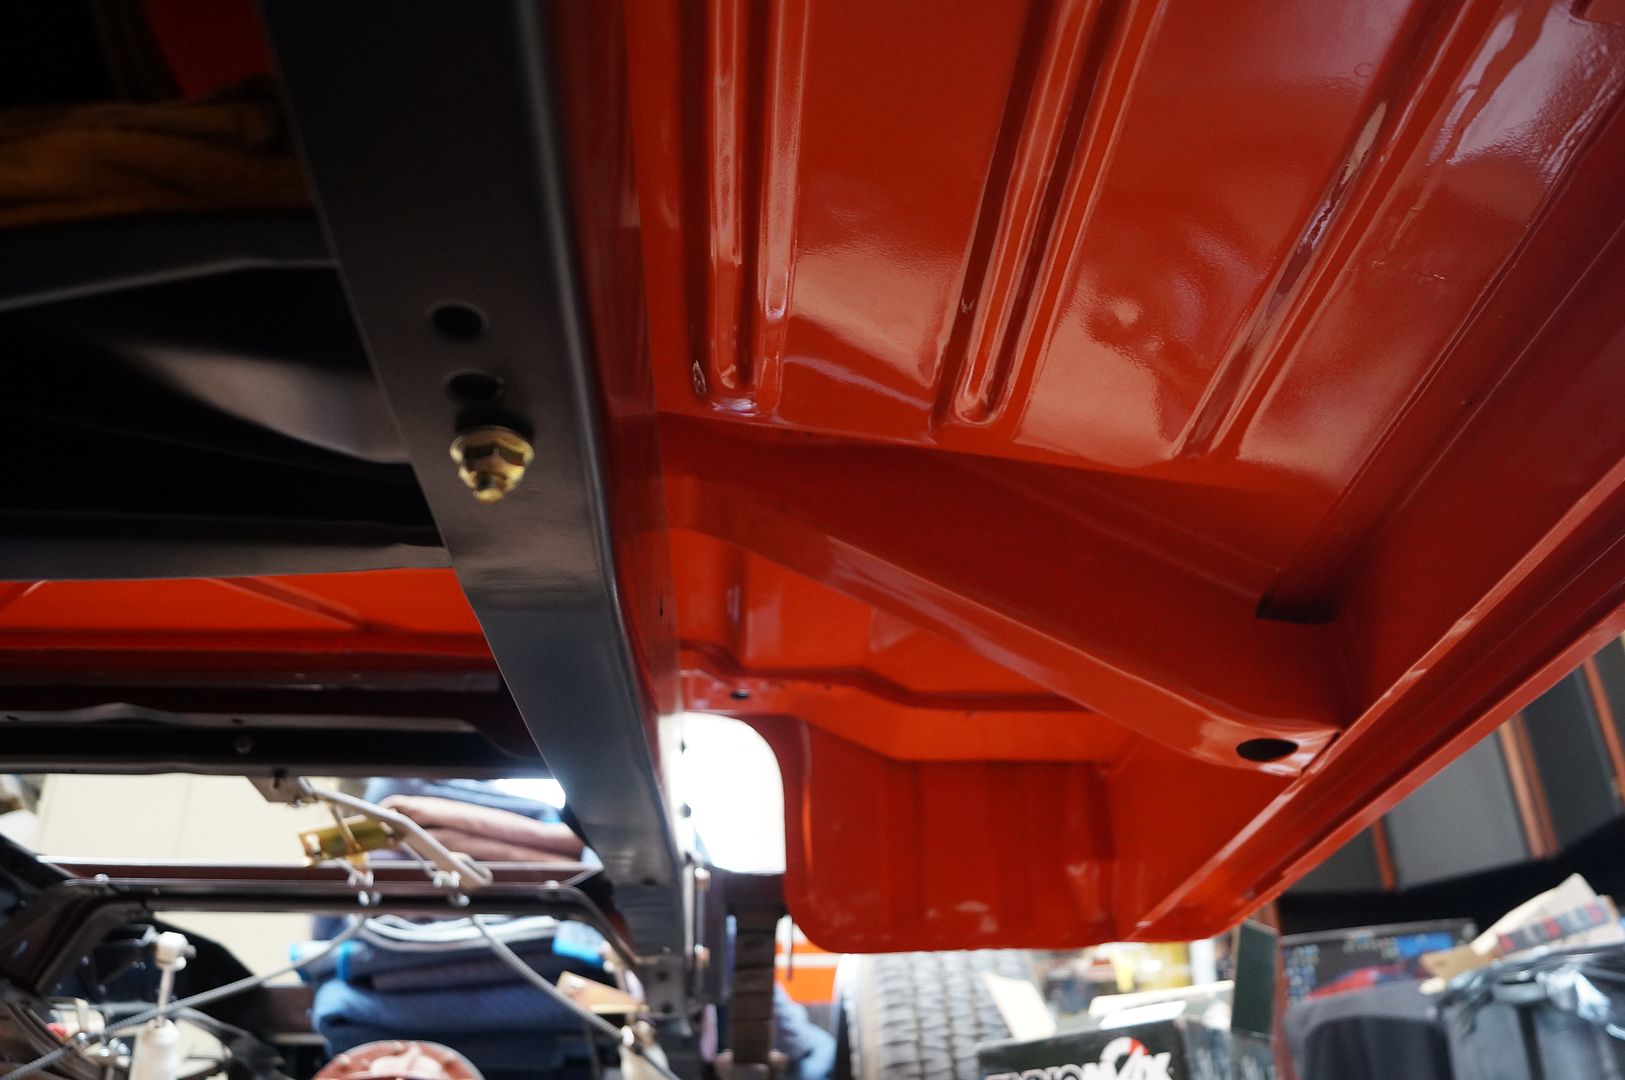
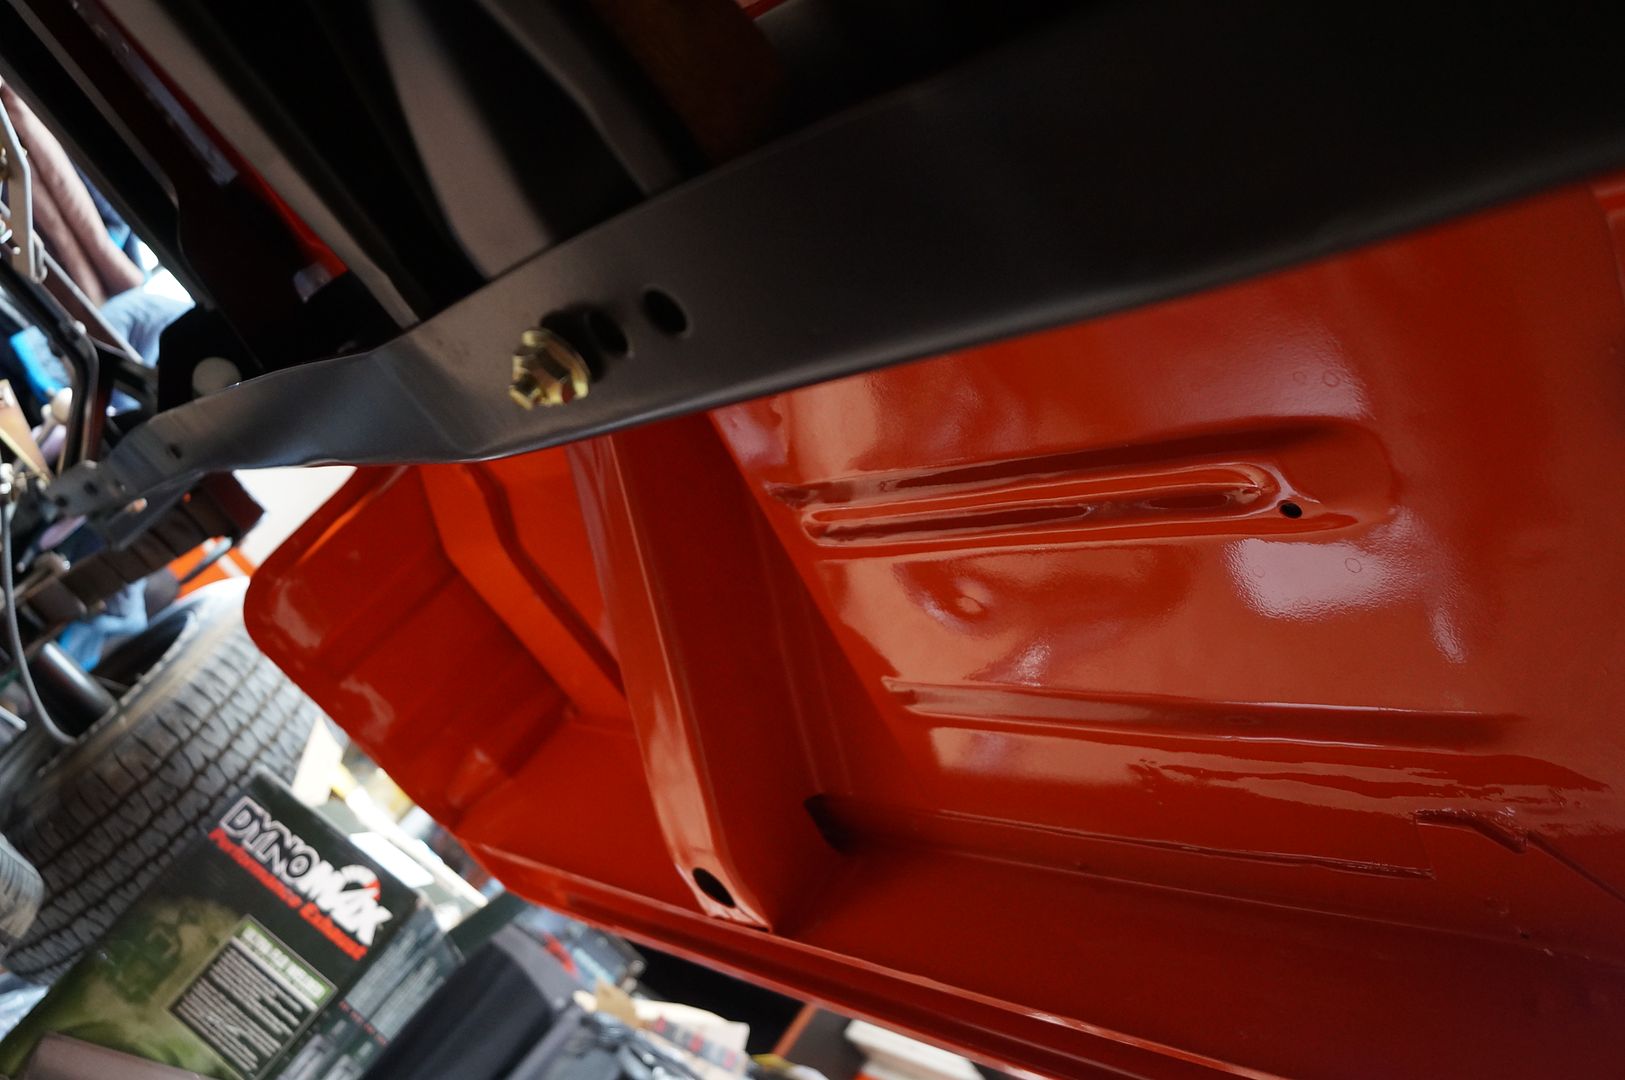
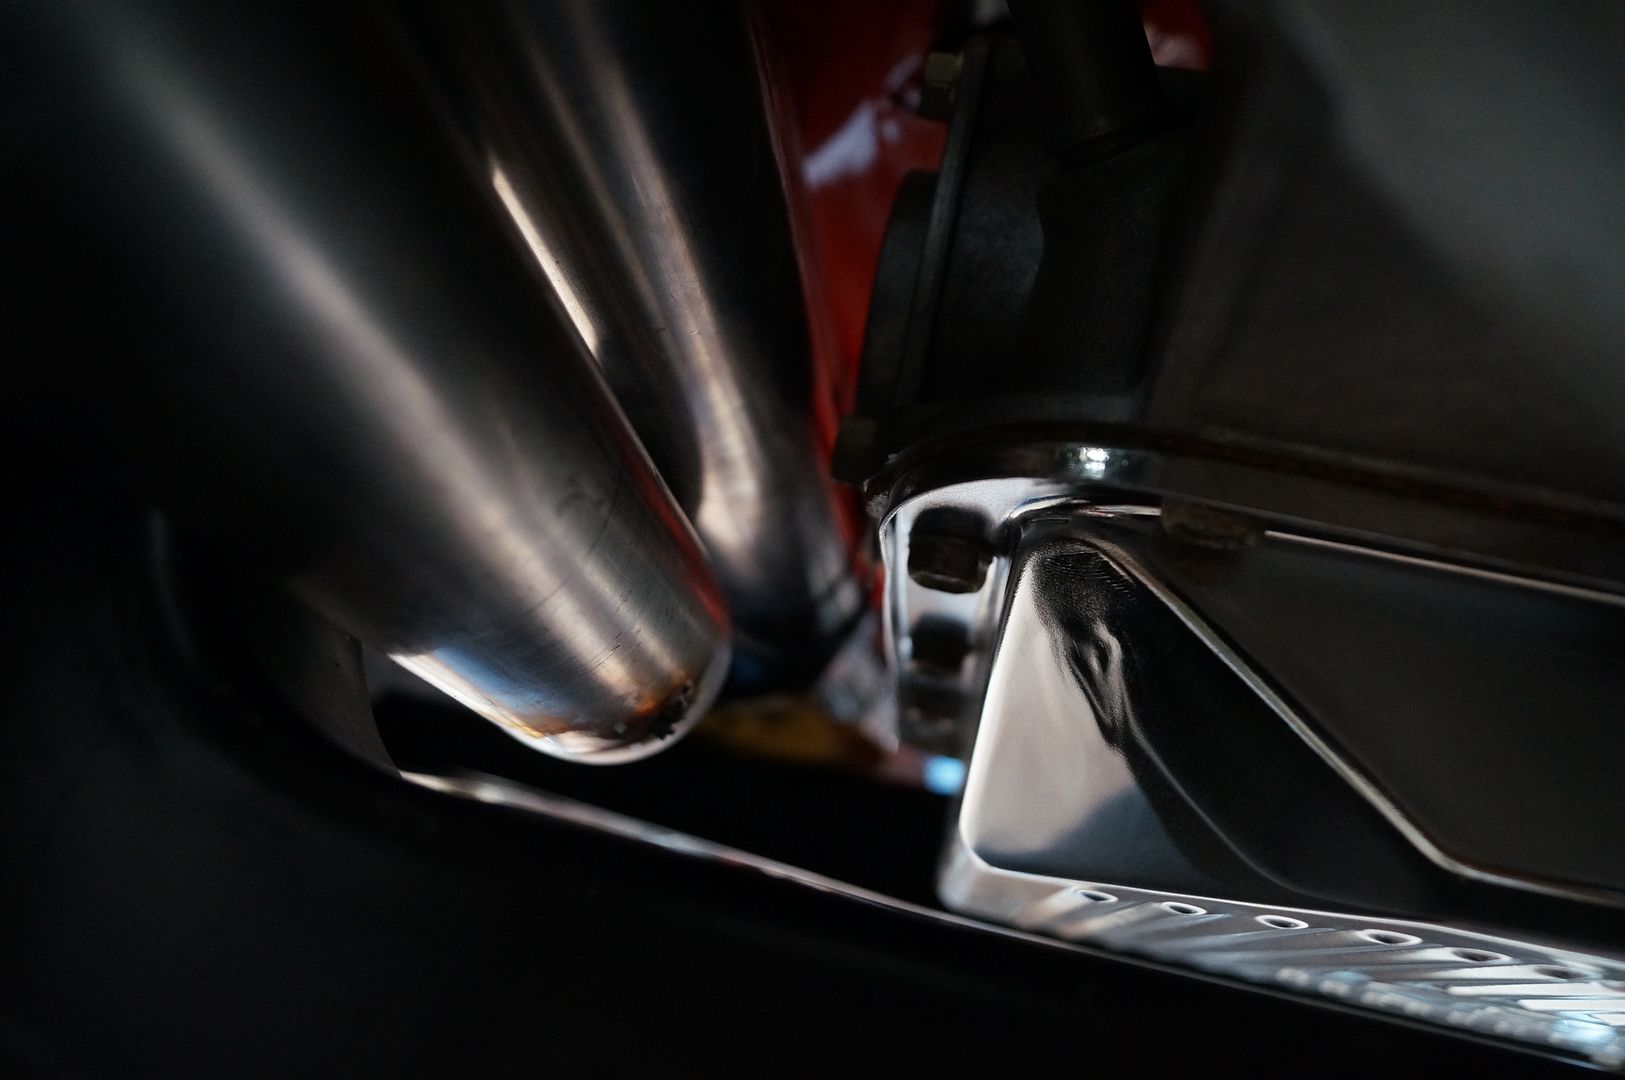
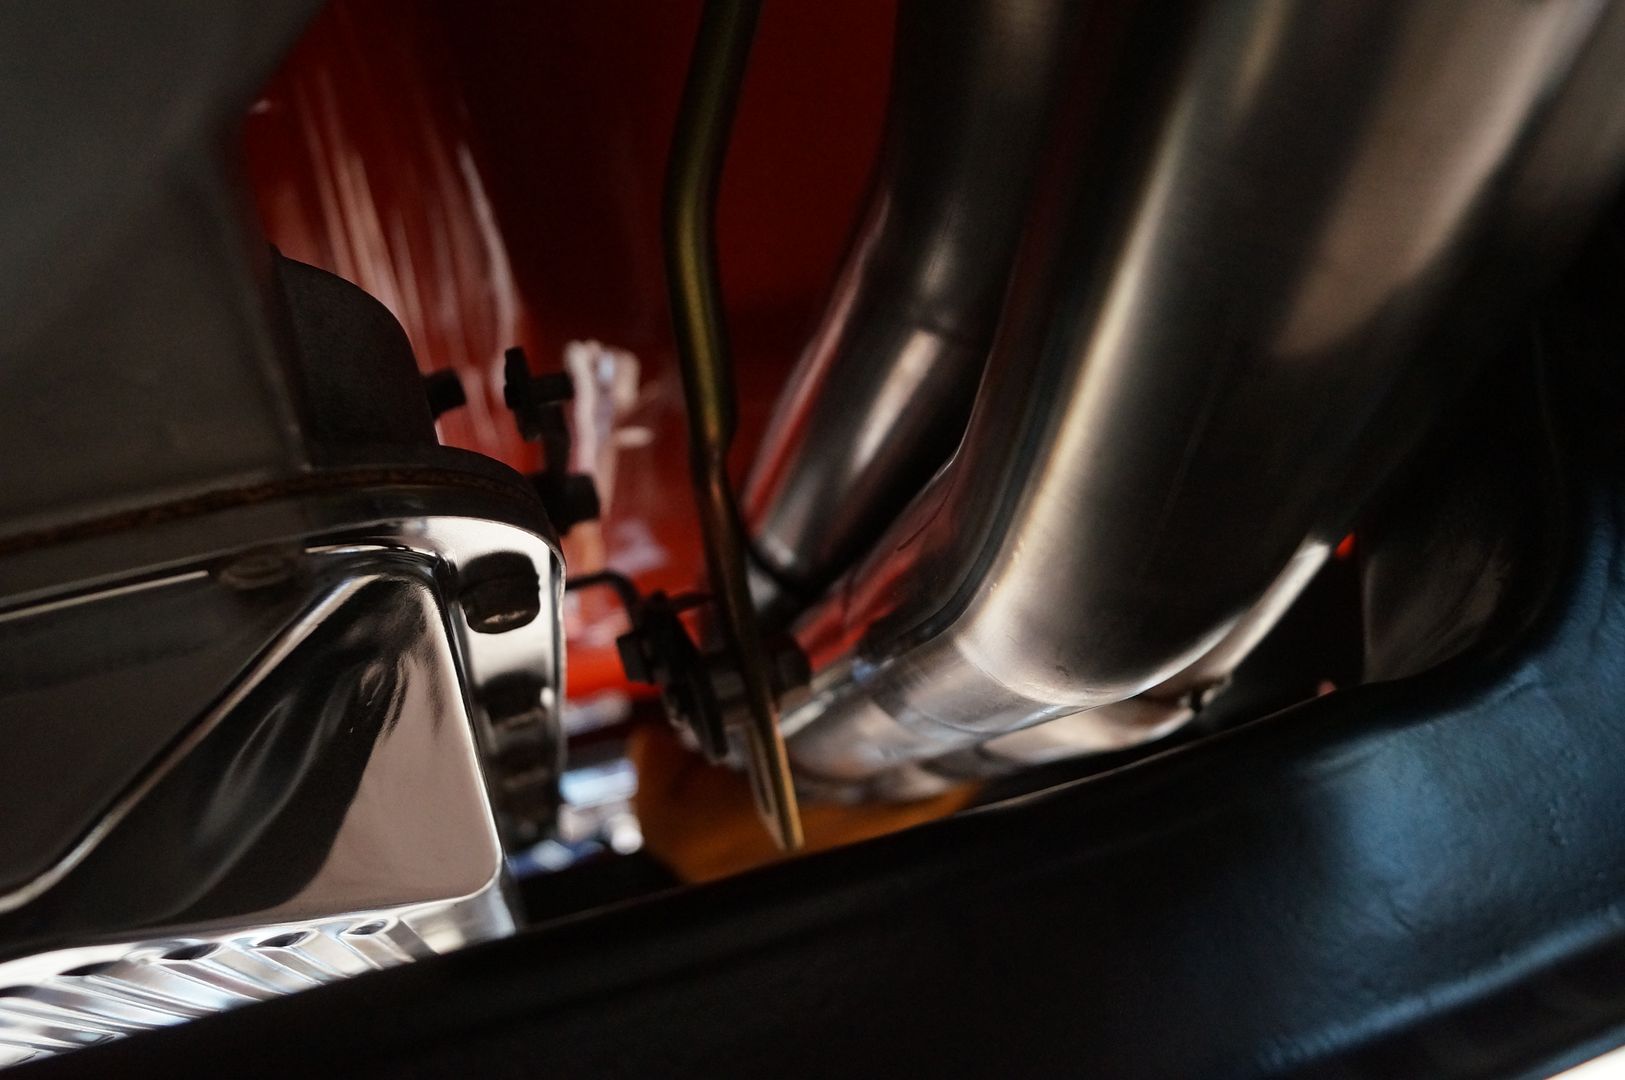
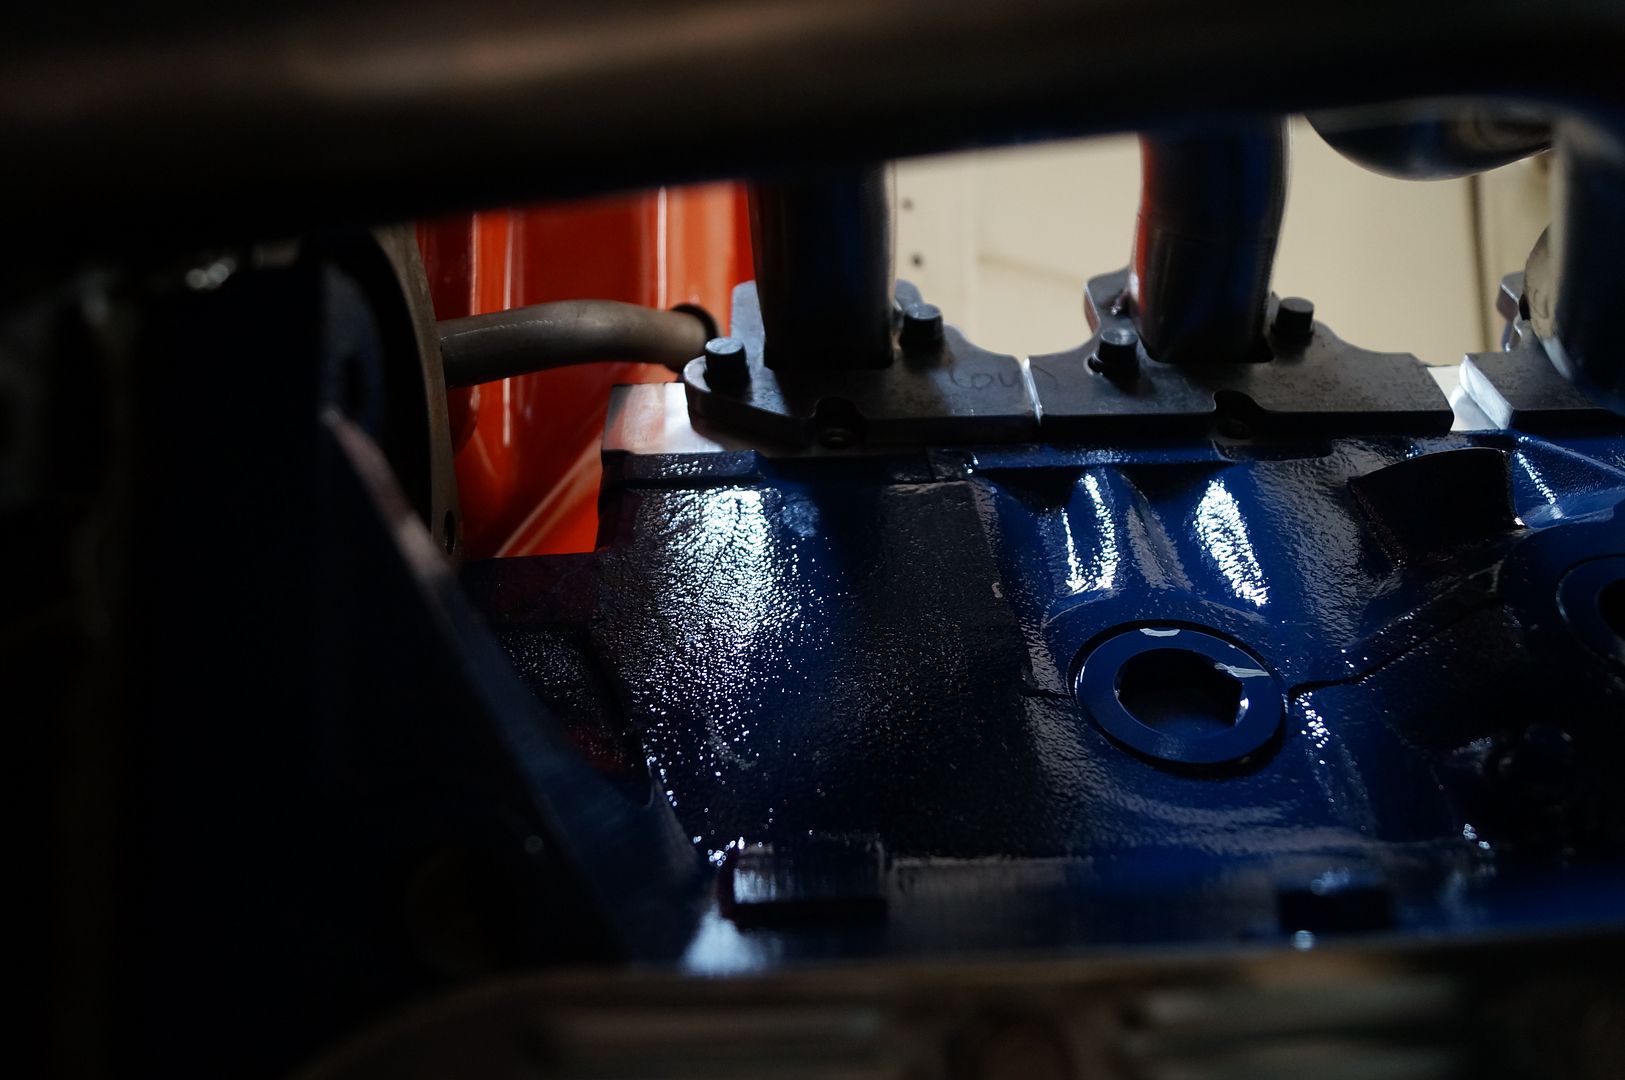
Rotisserie pic 1998 and now 17yrs after we took body off frame (started on it in 1997) it was driven on its own . .
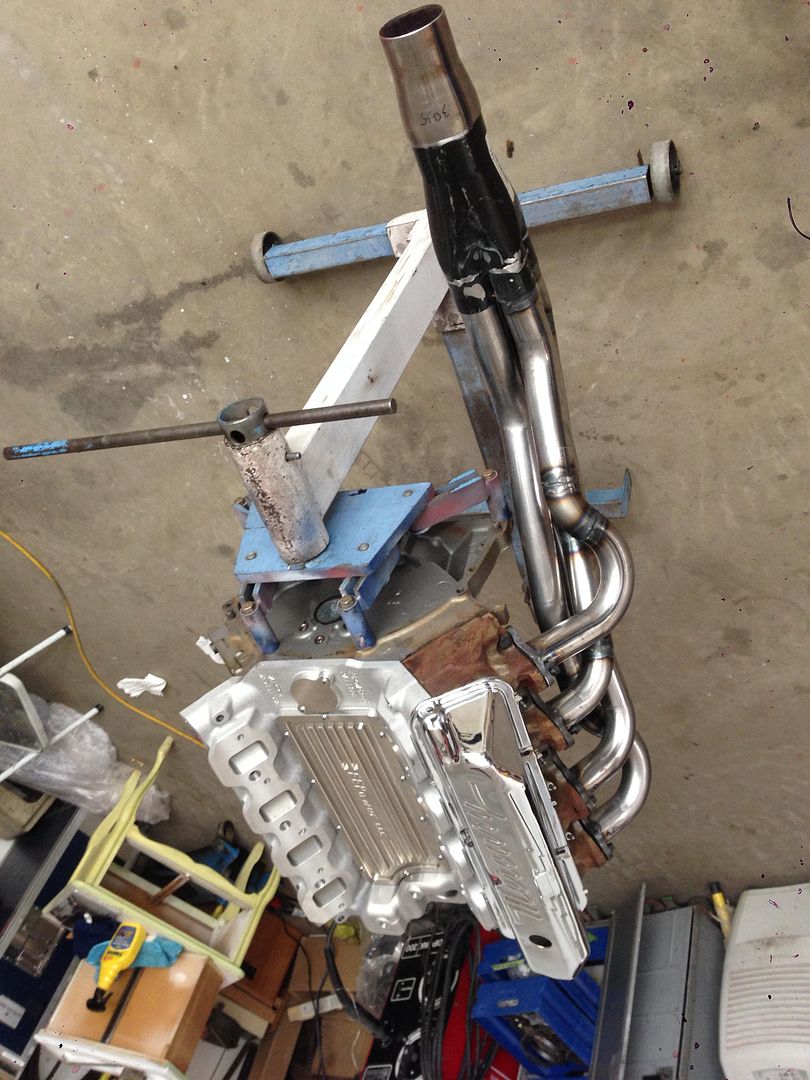
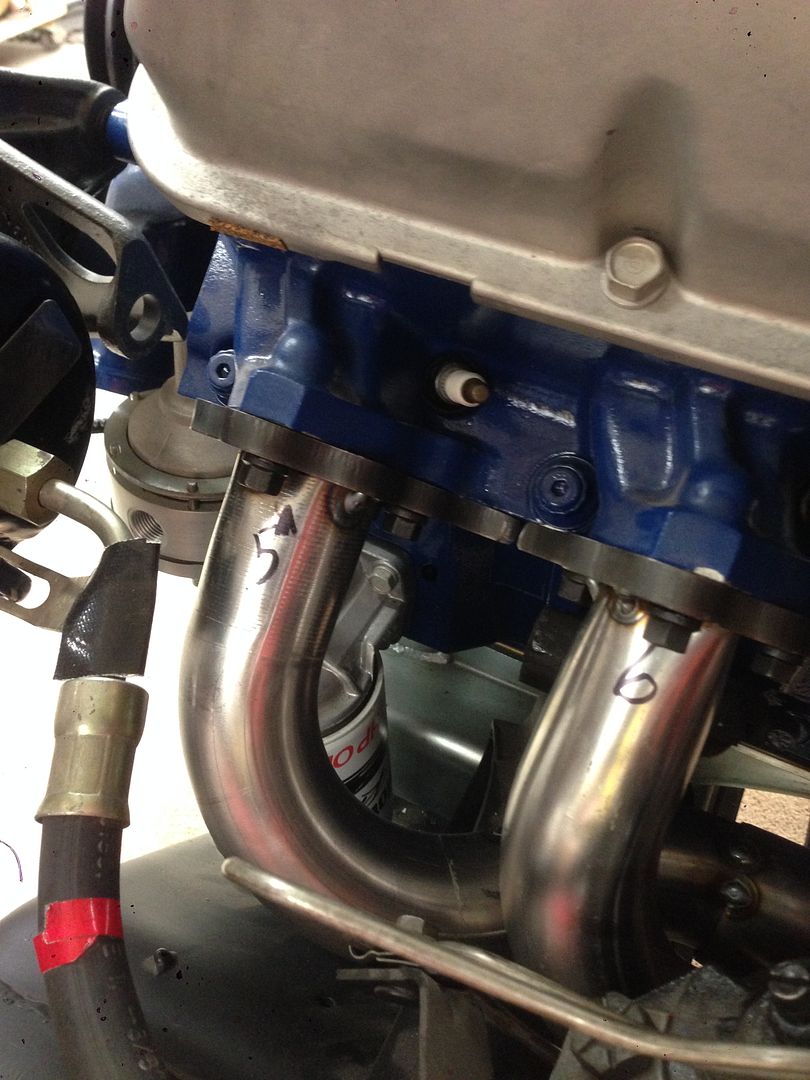
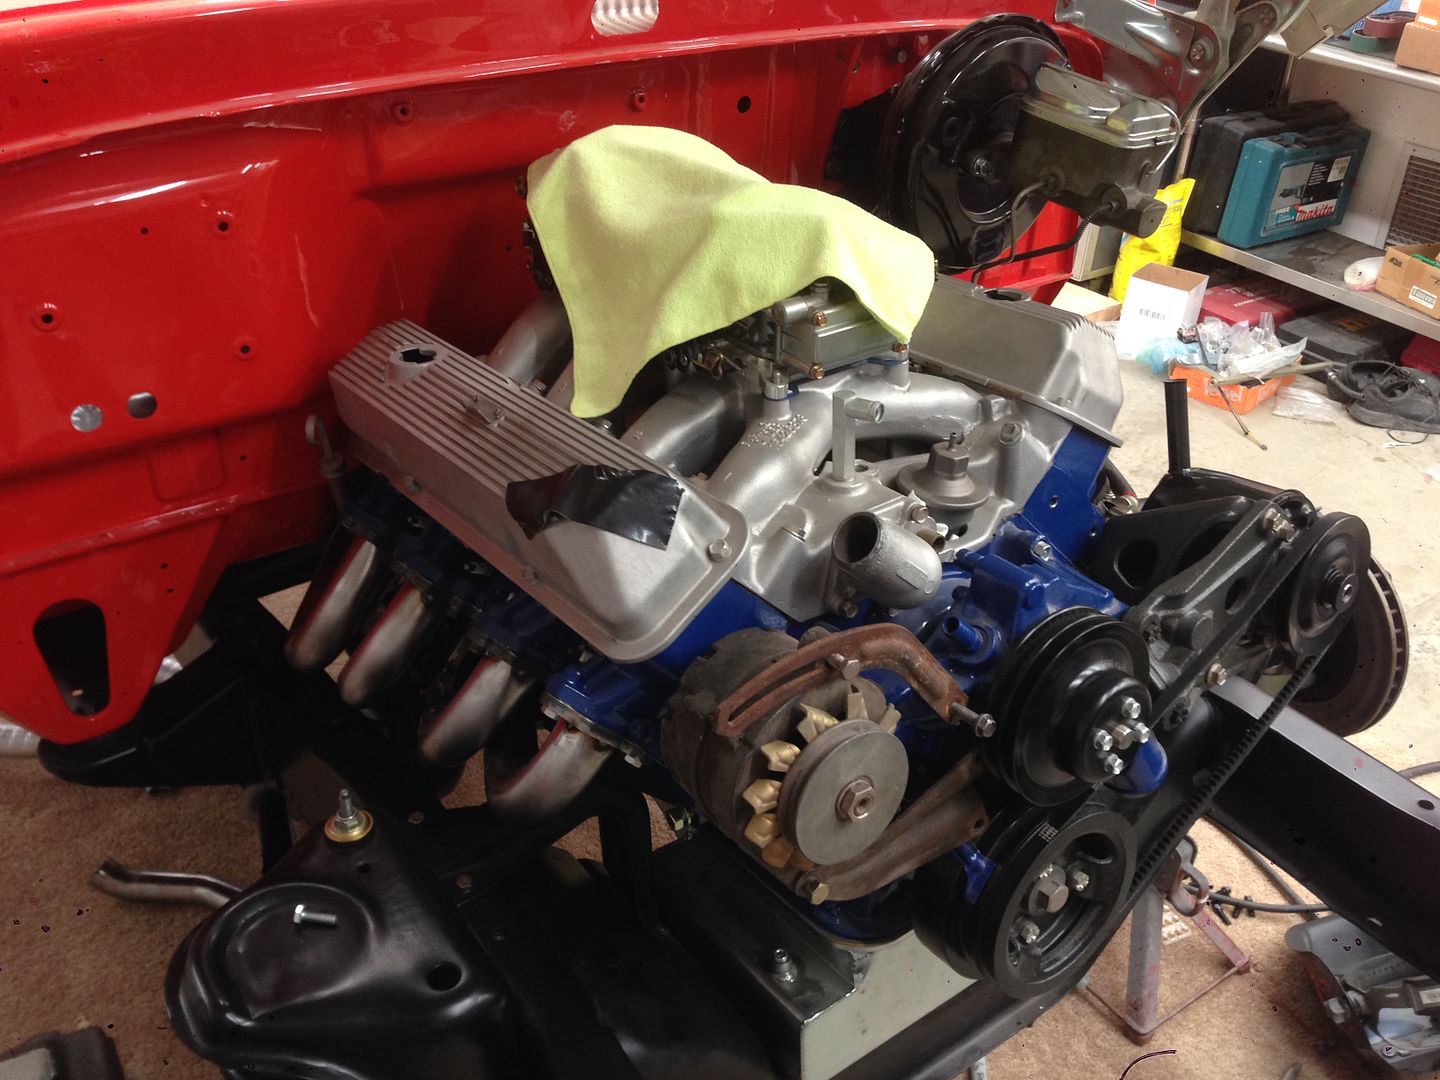
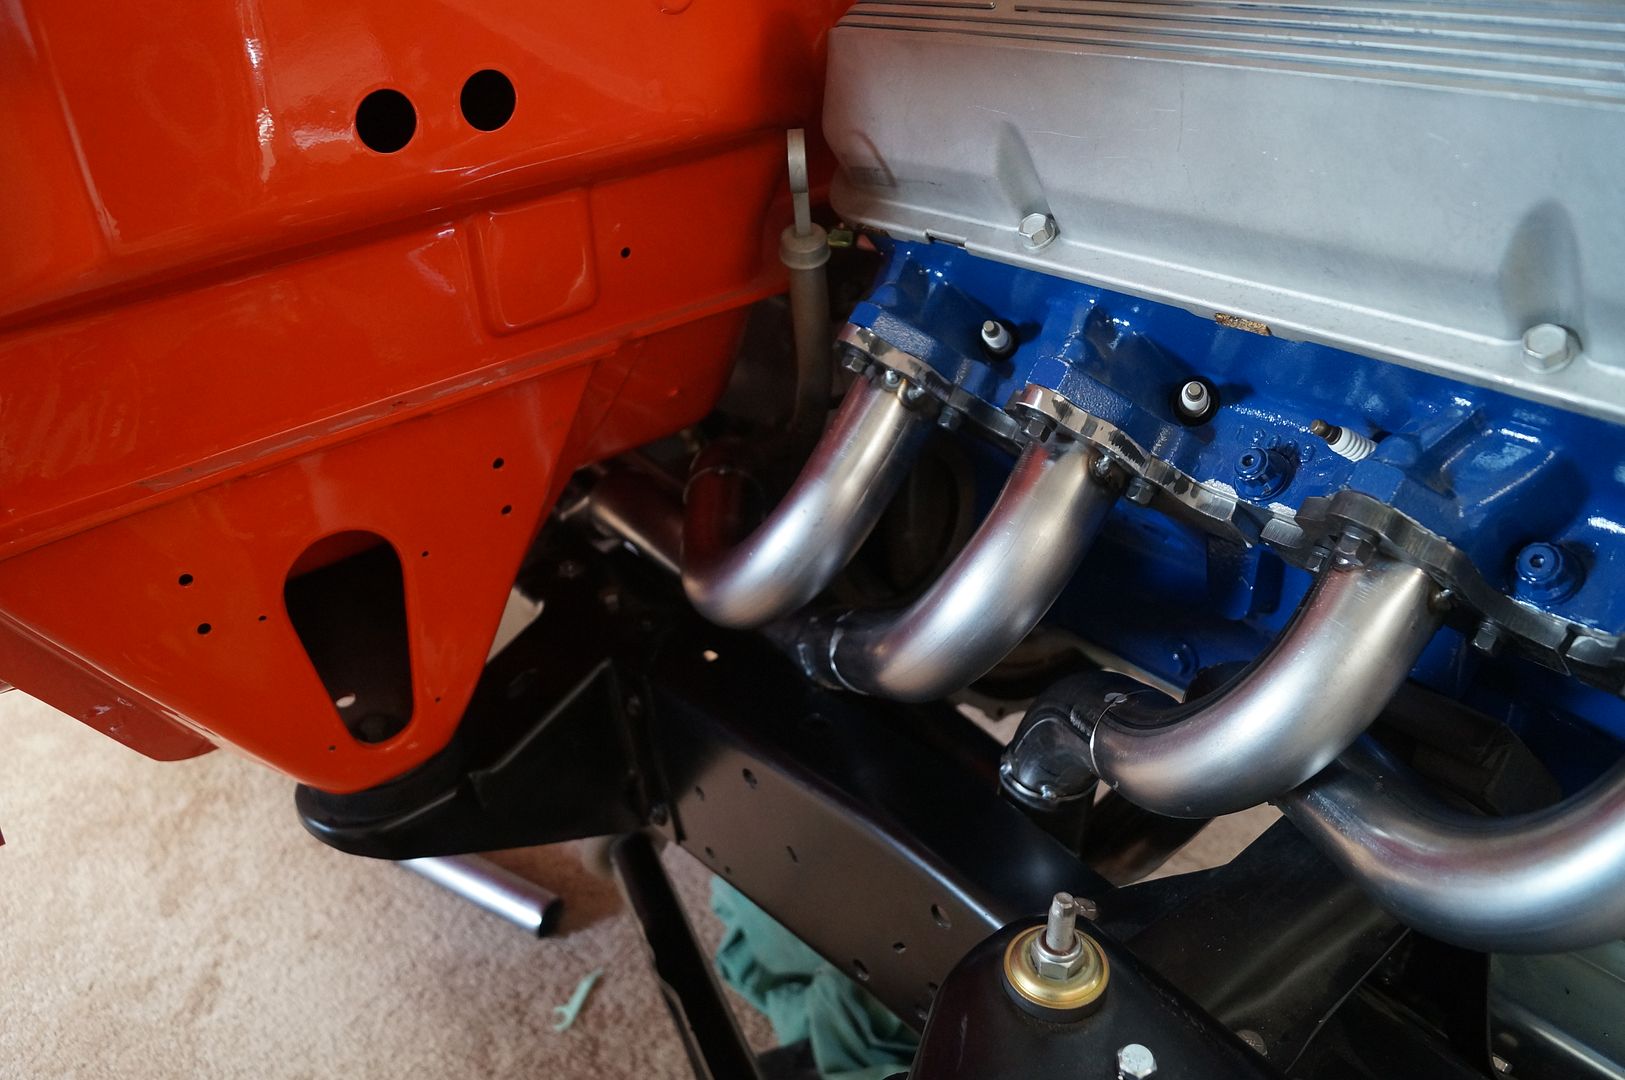
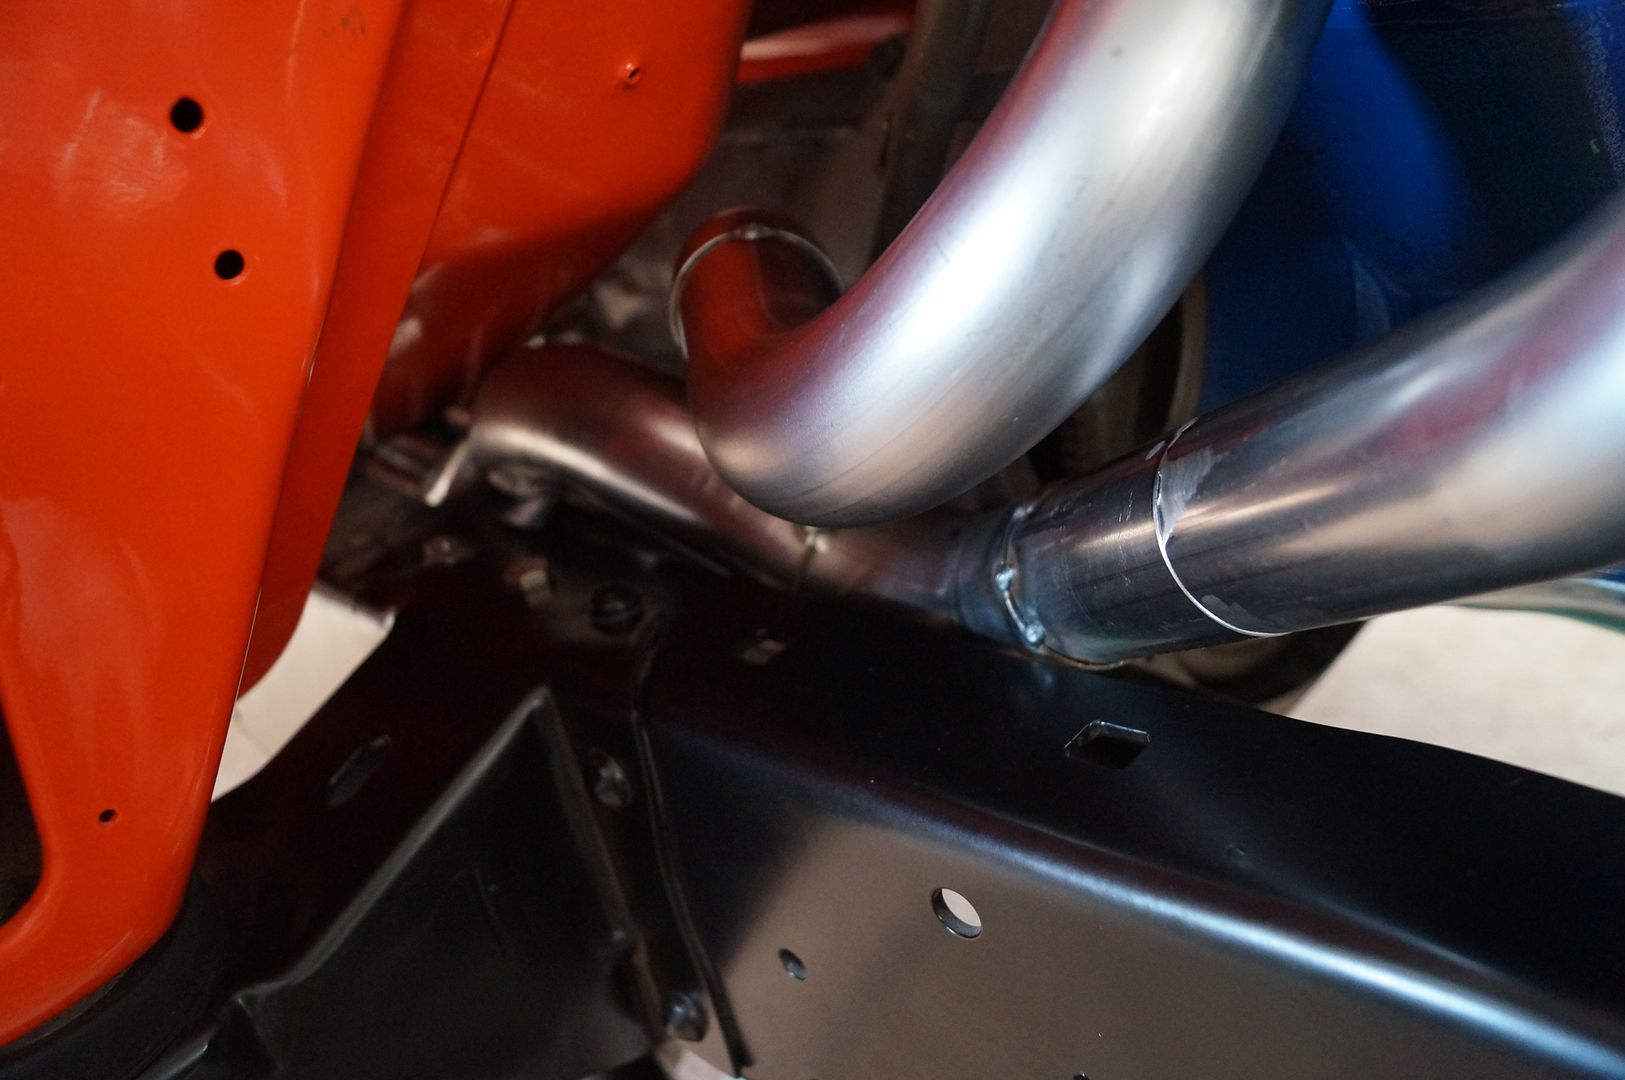
I can finally get going on my EcoBoost & 427 Projects! Its been a long time coming. If the health will cooperate maybe I can make some real progress.
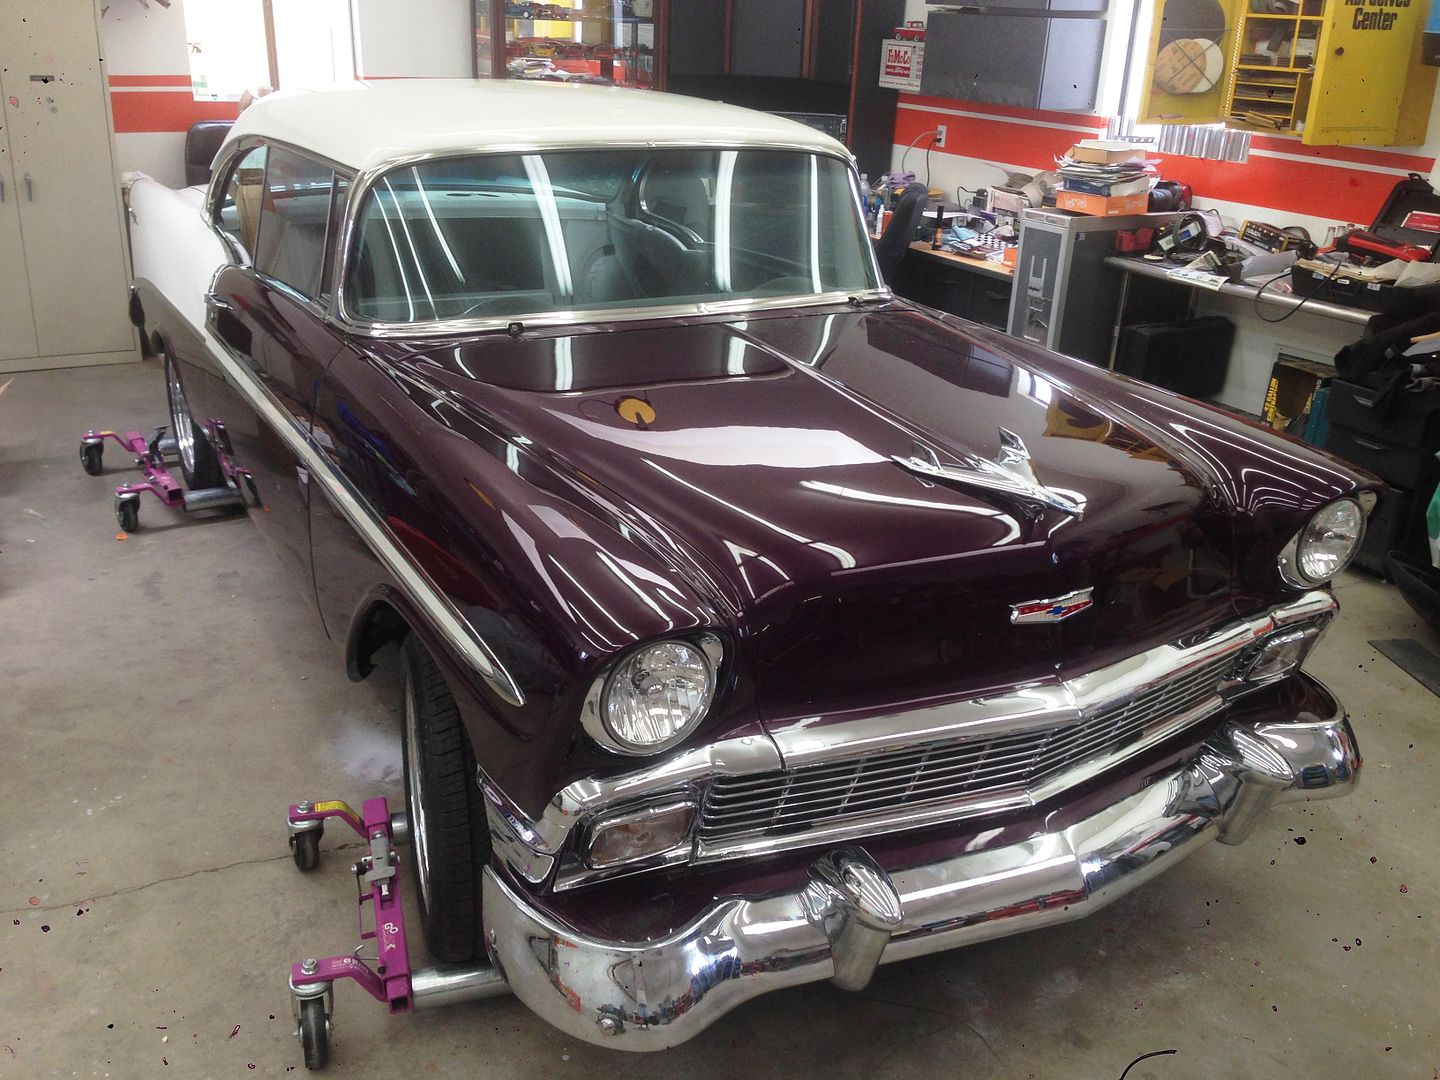
But yesterday for the first time since my friend purchased the '56 Belair it went around the block on its own power!
Its taken up much valuable space in my shop for over a year now,
Hoping early next week it will go to upholstery.
Rotisserie pic 1998 and now 17yrs after we took body off frame (started on it in 1997) it was driven on its own . .
I can finally get going on my EcoBoost & 427 Projects! Its been a long time coming. If the health will cooperate maybe I can make some real progress.

 I need to go ahead and put a flat bed on the truck frame so I can use it as a work bench..


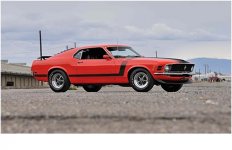
 If only we all spent $4K or $5K back in '70 and kept our Boss 302 for life.