
CRSINMICH
Well-known member
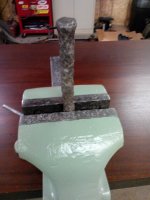
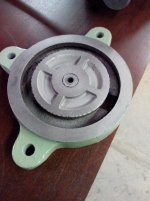
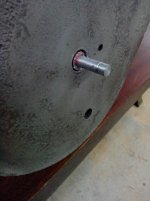
DIE FORGED VISE HANDLE
For anyone who might be interested here is a link to a Woodwright's Shop episode where Roy Underhill goes to Peter Ross' forge. Toward the end of the episode they swage a knob onto the end of a vise handle.
http://www.pbs.org/video/2365554522/
For anyone who might be interested here is a link to a Woodwright's Shop episode where Roy Underhill goes to Peter Ross' forge. Toward the end of the episode they swage a knob onto the end of a vise handle.
http://www.pbs.org/video/2365554522/
Last edited:


.jpg")
.jpg")
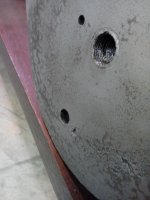
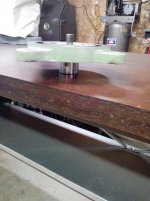
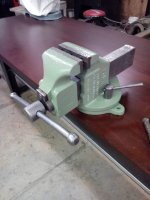
 Even with a smaller 3/8" bolt you would break the base before the bolt sheared off. If that were the case you should have used a bigger vise anyway.
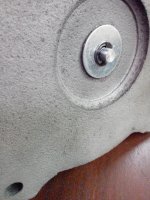


")


