The 3/4 & 1-HP Blocks do have 'E' or 'C' clips on the 5/8" arbors, just outboard of the bearings. IIRC all 1/4, 1/3, and 1/2 do not use the clips on their 1/2" arbors.
To 'split' the LH and RH End Frames
- Remove the Center Band, after removing the switch, and disconnecting the electrical connectors to the lamp (if equipped)
- Remove the LH and RH Wheel Guard Covers, Arbor Nuts, Stones, Flanges
- Remove the LH and RH Inner Wheel Guards
- Remove the 3 long through bolts
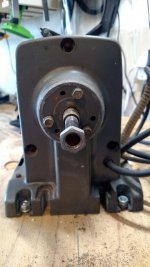
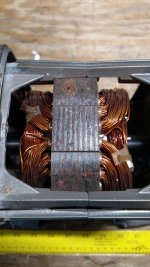
The bearings are housed/seated in the End Frames and the arbor shaft ends. Use you favorite penetrating oil, I use Kroil, to lightly lube the bearing/arbor/End Frame housing.
Caution: Ensure the parts don't get away from you.
I've had the End Frames simply separate from the arbor shaft with a slight twisting/pulling motion.
Some times the bearings will stay with the arbor, some times they will stay with the End Frames.
Some times they wont want to move. If this happens -
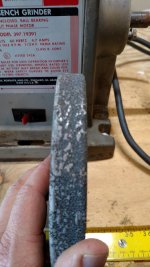
- Check the arbor shaft for nicks, scratches, burrs, .... Remove them by judiciously using very fine file, emory cloth, ....
Note: replace the arbor shaft nuts to protect the ends/threads of the shaft.
- Use a soft faced hammer to gently persuade the End Frames from the arbor assembly.
CM Block Grinder bearing replacement - 3 methods
http://www.garagejournal.com/forum/showthread.php?p=5722705#post5722705
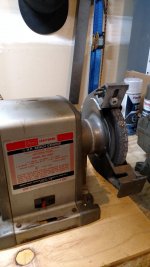
Craftsman 1/3-HP Round-top Block Grinder m-397.19580, restore
http://www.garagejournal.com/forum/showthread.php?p=5743463#post5743463
I hope this answers your questions.
Feel free to PM me and/or post your questions.


")