Sorry to hear about your previous attempt to get a new label. I read your other posts and it was part of the motivation for me making labels for free. Glad I can help you out.
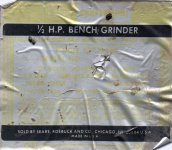
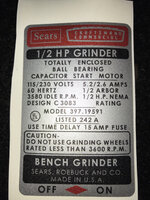
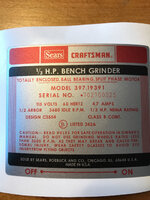
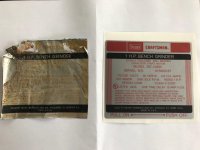
Here is a new label sublimated onto brushed aluminum 0.040" thick.

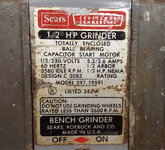
This was the most challenging label so far for a variety of reasons. First the photo you took was slightly distorted so I had to use some Photoshop magic to remove the distortion to get accurate measurements. Then I could redraw it in vector format.
It is printed directly onto aluminum plate via a sublimation process which means the ink is in the metal, not just on the surface. It will not fade or wear. The only way to get the print off is to scrape off a layer of metal.
There is a trim line around the border but I did not trim it for you. Do you have a band saw or a metal shear to trim it to size? If not I'll see what I can do there finish it up before sending it you.
I left the model number and serial number fields blank so you can metal stamp them (it didn't seem right to print the numbers that were originally stamped).
I would be happy to do more of these and found that a purpose built sublimation printer is about $400. I already have the heat press. If enough folks need reproduction metal labels and can contribute towards the printer, then I can provide the labels at no additional cost. I never intended to ask for any compensation for these labels but if there are 20 folks that need a label and each contributes $20 then I would be able to make labels for everyone for a while. (there is a small cost for the supplies which I should be able to cover)

")


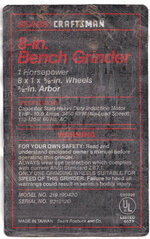

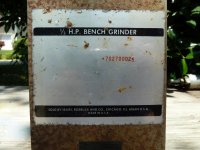
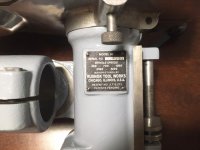
 . You can put what ever in there. I see the s/n has been markered, always pleasant to see when you bought it at a garage sale for 10 bucks. Didn't notice that until now since it was all greasy when i bought it lol.