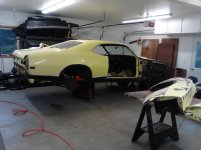
Well, I’m doing this “for” the garage, but I’m also doing it *in* the garage.
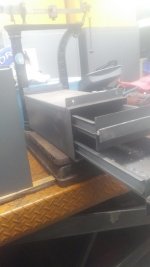
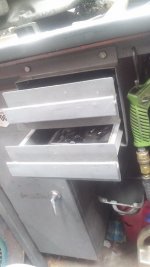
One of my CL doors is uninsulated so I cut some styrofoam to put in the panels. I then discovered the panels are a bit too thick, but only because of the ridges in the Doof metal. The ridges cause the foam to bulge and I could not stand it. I needed a way to cut grooves in the back of the foam to clear those ridges. It only needs a LITTLE bit cut but it has to be cut all the way across, twice on each piece.
I rigged a jig... and it fairly worked!
The door is insulated now, as least as well as the factory version.
I’m still working on a solution for all of the steel that remains exposed and sucking heat out of the place.