To avoid these ads, REGISTER NOW!

Latest (pay) project: Rusty 66 Ford Truck

OP
E

e-tek

Well-known member
Joined
Dec 19, 2007
Messages
10,690
Location
Saskatoon, SK
E-tek,
Have you tried the 3M weld thru coating? It's for areas that you can't get to with paint after a panel is welded in. You can use it on both pieces and weld right thru it, works real good. The heat changes the properties into a very corrosion resitant coating. Not sure what, ain't no chemist but it does work well. It isn't cheap, comes in a spray can and can be had at your local auto paint supply house. Looks like you have your hands full with rust. My youngest son just changed cabs on his 67 due to rust. Living in the South we were able to find an almost perfect cab with just a small back corner area on each side needing replacement. Good luck with the project.:thumbup:

You bet! I use weld-thru primer on any areas actually welded (flanges, edges, etc.) and POR15 everywhere else.

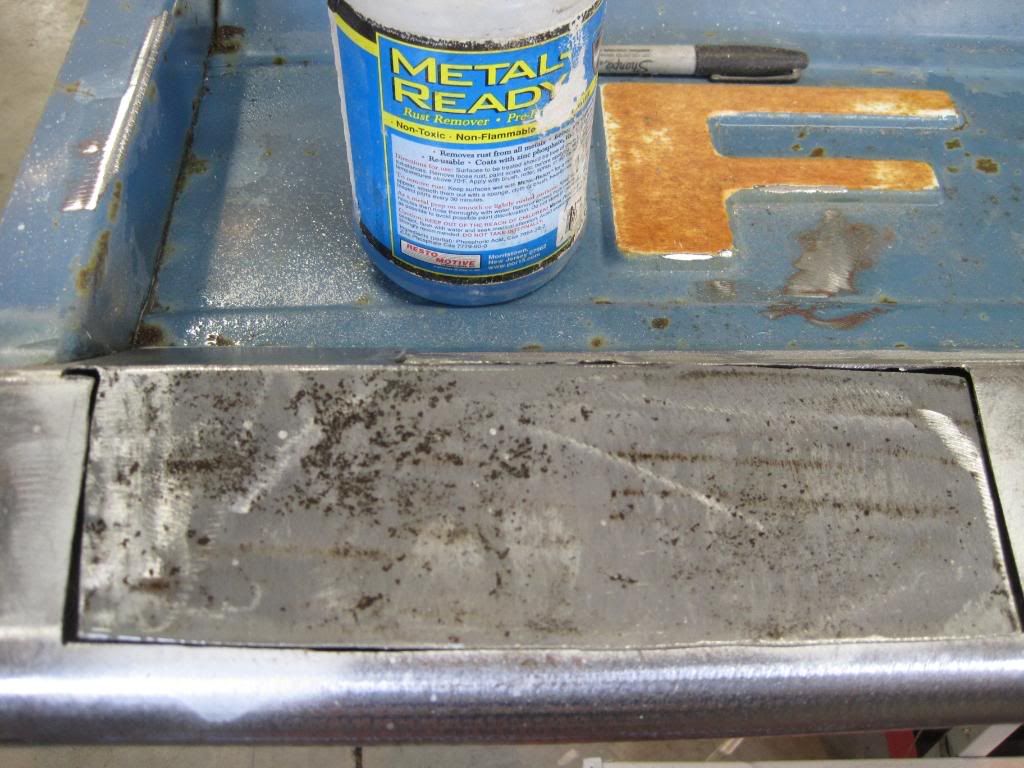
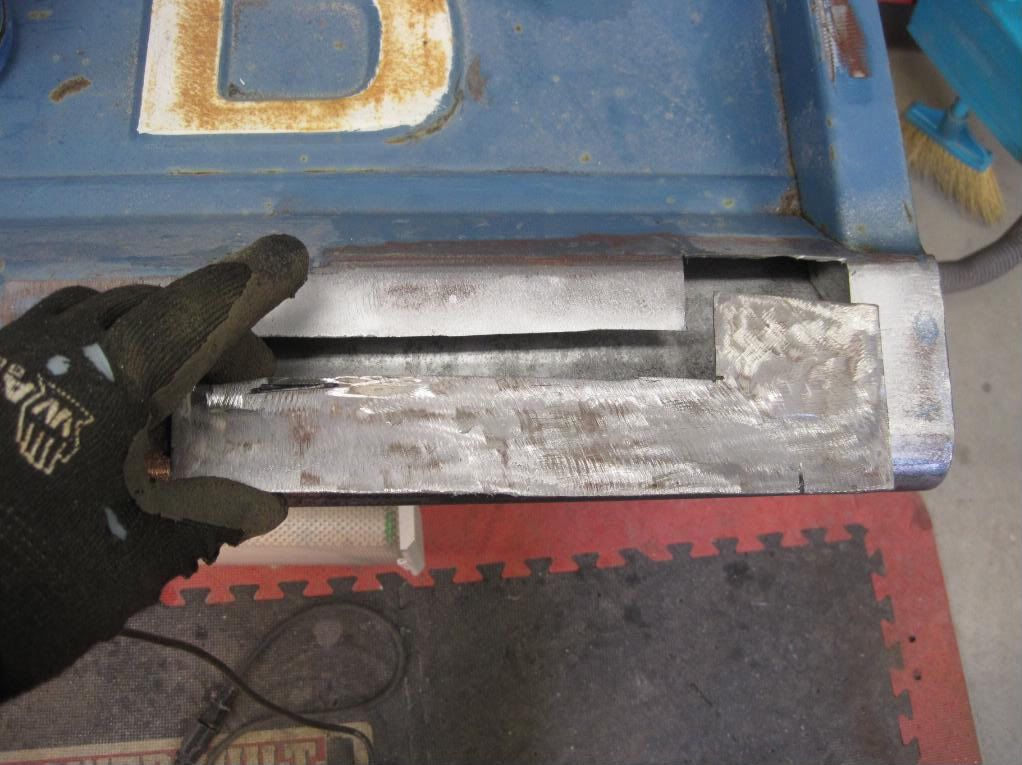
Here's that tailgate with it's patches cut....welding will have to wait 'til after Xmas! A bit of surface rust on the patch metal was neutralized with Metal Ready (Phosphoric acid).

XMAS09002.jpg


XMAS09003.jpg


XMAS09005.jpg
 
To avoid these ads, REGISTER NOW!
OP
E

e-tek

Well-known member
Joined
Dec 19, 2007
Messages
10,690
Location
Saskatoon, SK
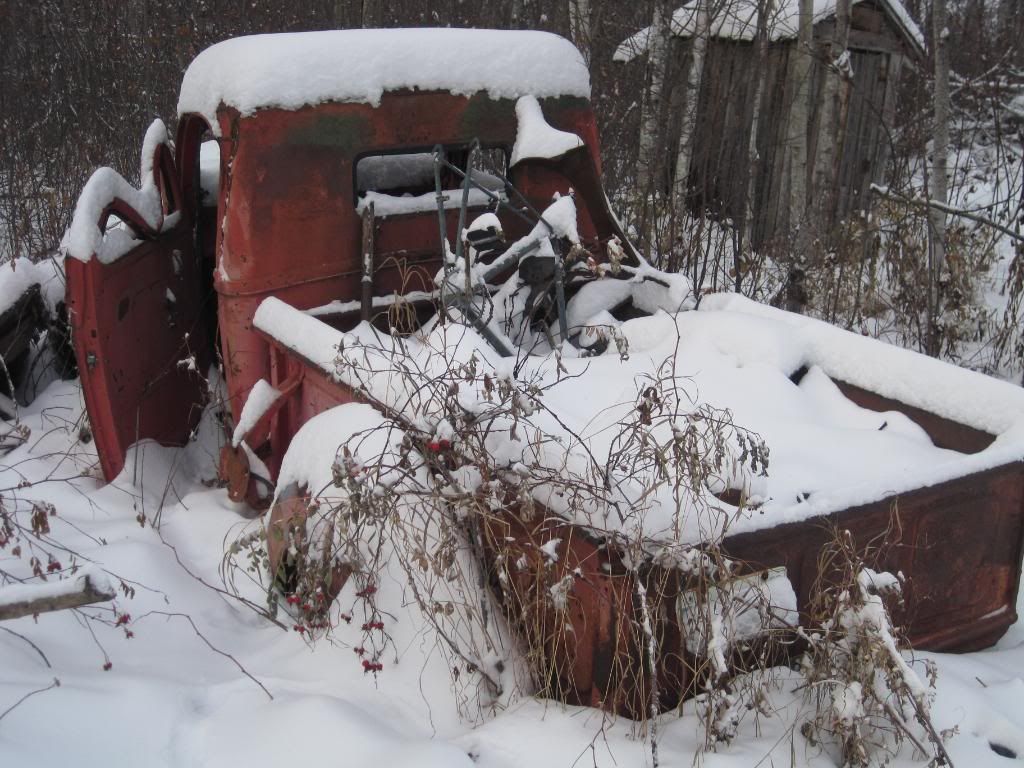
Here's some snaps of a 38 Ford wreck that sits in the bush near our cottage. I'll be dragging this - along with a 351Windsor and ****** - home next spring to make into some kinda rod - looking forward to it!!

XMAS09007.jpg


XMAS09008.jpg


XMAS09011.jpg


XMAS09015.jpg


It sits in front of this old decrepit cabin - CURRENTLY inhabited by an 80 year old Native gentleman that traps beaver and such! He was moved to a "old timers home" but couldn't handle it, so he moved in here. My FIL is too nice to do anything about it...
 

Dan in Pasadena

Well-known member
Joined
Feb 18, 2009
Messages
13,158
Location
Pasadena, CA
Did they make trucks from 42-47? WWII till 45.

I can't speak for Ford but I know a bit about Chevy. Yes, they DID make them but accounts vary if they "manufactured" them or just assembled them from pieces they had. There were relatively few produced and they used painted accessories like grills, etc. instead of chrome. Same with the door seals - the pre war '41's had rubber door seals, the war year models had a cord wrapped in leather (now reproduced in Naugahyde).

There was a time that if I had access to a 42-47 Ford I'd have been looking to backdate it into a '40 for certain. But now? I'm kind of getting to like the "ugly duckling" year trucks (like my '46 frankly!:bounce:). Not to mention, these trucks are getting so old and so rare I kinda/sorta feel an obligation to keep them original to a degree. And before anyone mentions it: I bought my '46 with the late model running gear in it already or I'd probably have just upgraded the original 216 to a later but similar appearing full oil pressure 235; with dress up parts of course!
 

zmotorsports

ALLIANCE MEMBER
Joined
Oct 20, 2009
Messages
21,441
Location
Northern Utah
Nice project. I have done my share of Flintstone-Mobiles in my day as well. They are a lot of work but the sense of pride when done are well worth it. Rust is one of the things I hate most dealing with, however, on a older vehicle it is inevitable you will have to deal with. I like the way you are cutting it out and doing it right. I have seen too many people do a half-assed job of covering the rust only to have it come back months or years later then bring it to me and I have even less good metal to deal with that they had the first time. Mike.
 
Last edited:

MP&C

Well-known member
Joined
Oct 21, 2009
Messages
4,405
Location
Leonardtown, MD
Cletus, the Ford p/u's were made in 42 and 46-7 for the general public. I think you can still find 43-45's few and far between, most will have been manufactured for US Gov't for the war effort.

Dan I agree, those ugly duckling trucks tend to grow on you. Nice find E-tek, looks like a fairly solid project, much better off than the 66!
 
OP
E

e-tek

Well-known member
Joined
Dec 19, 2007
Messages
10,690
Location
Saskatoon, SK
Etec that truck could have a good block for your merc in it :D it is from the right time at least 42-47 :D.


Rick

Of course it took someone with brains to twig that idea! I just noticed when I was there it has no ****** and was loose from the mounts. Could (fairly) easily have yanked it out and brought it home....if it's good it'd save me $425 on the a "new" block....Maybe I'd better make arrangements to get the engine before I get the truck - and check it out.
Thanks!

I wasn't sure as to the vintage because I have a 46 Merc that is very different up front.
Also, it had the "nickle-only" (no chrome) grille due to war rationing - but the previous owner removed it and swapped in 48 chrome stuff. (I still have the original parts tho).

100_0578-1.jpg
 

Laredo

Well-known member
Joined
Jun 26, 2008
Messages
422
Location
Stillwater, MN
e-tek,
Great project and thanks for sharing. I have been looking for a '65 - '66 shortbox ever since seeing my father-in-law's '65 longbox (see below). It was father/son project that he and my brother-in-law started together about 20 years ago while he was going to autobody school. They did a body-off restoration, took about 5 years. There is something about the body line from the rear wheel and extending rearward that I think adds a nice touch to the style of these years.


IMG_2347-2Medium.jpg


IMG_2357Medium.jpg


IMG_2371Medium.jpg
 

rickairmedic

Well-known member
Joined
May 31, 2005
Messages
4,165
Location
louisville ,Ky
Pull the fancy chrome grill off of her and I bet she looks alot like the one your looking at :D. Take note the turn signals in the fenders and the headlights . The 38's had a hors shoe shaped grill on them :D.


Rick


Of course it took someone with brains to twig that idea! I just noticed when I was there it has no ****** and was loose from the mounts. Could (fairly) easily have yanked it out and brought it home....if it's good it'd save me $425 on the a "new" block....Maybe I'd better make arrangements to get the engine before I get the truck - and check it out.
Thanks!

I wasn't sure as to the vintage because I have a 46 Merc that is very different up front.
Also, it had the "nickle-only" (no chrome) grille due to war rationing - but the previous owner removed it and swapped in 48 chrome stuff. (I still have the original parts tho).

100_0578-1.jpg
 
Last edited:
OP
E

e-tek

Well-known member
Joined
Dec 19, 2007
Messages
10,690
Location
Saskatoon, SK
Good news! Owner brought all the new parts today for the 66. Lots will get done this week and next. Then maybe I'll head back to the cottage to get that flatty!
 
OP
E

e-tek

Well-known member
Joined
Dec 19, 2007
Messages
10,690
Location
Saskatoon, SK
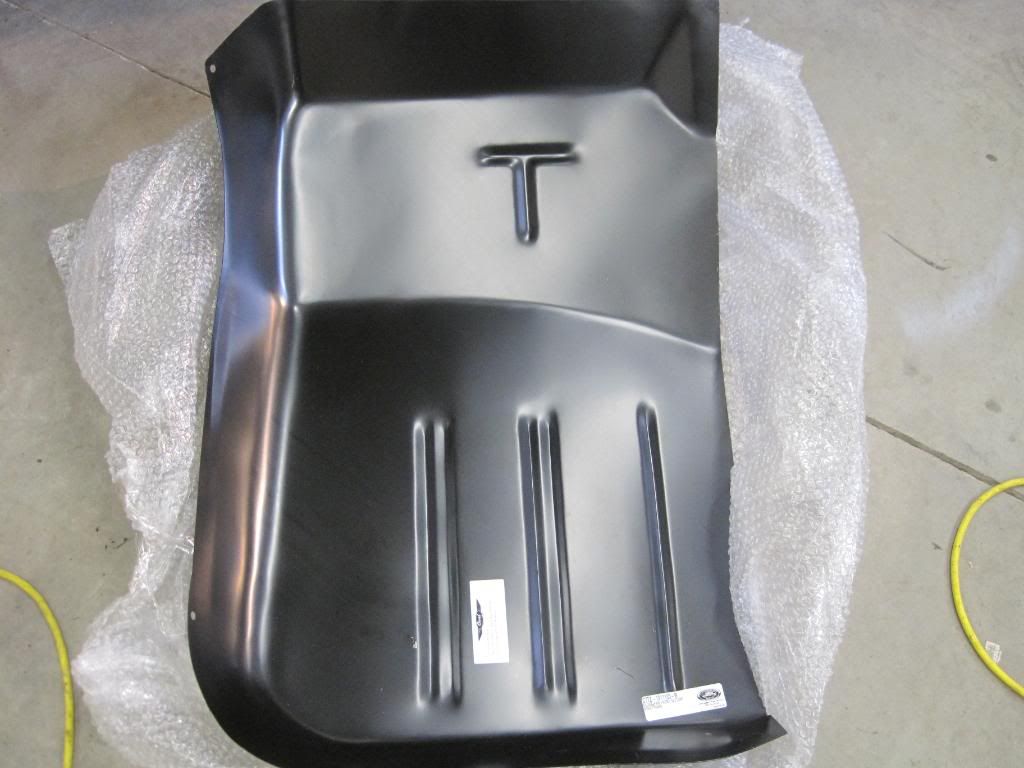
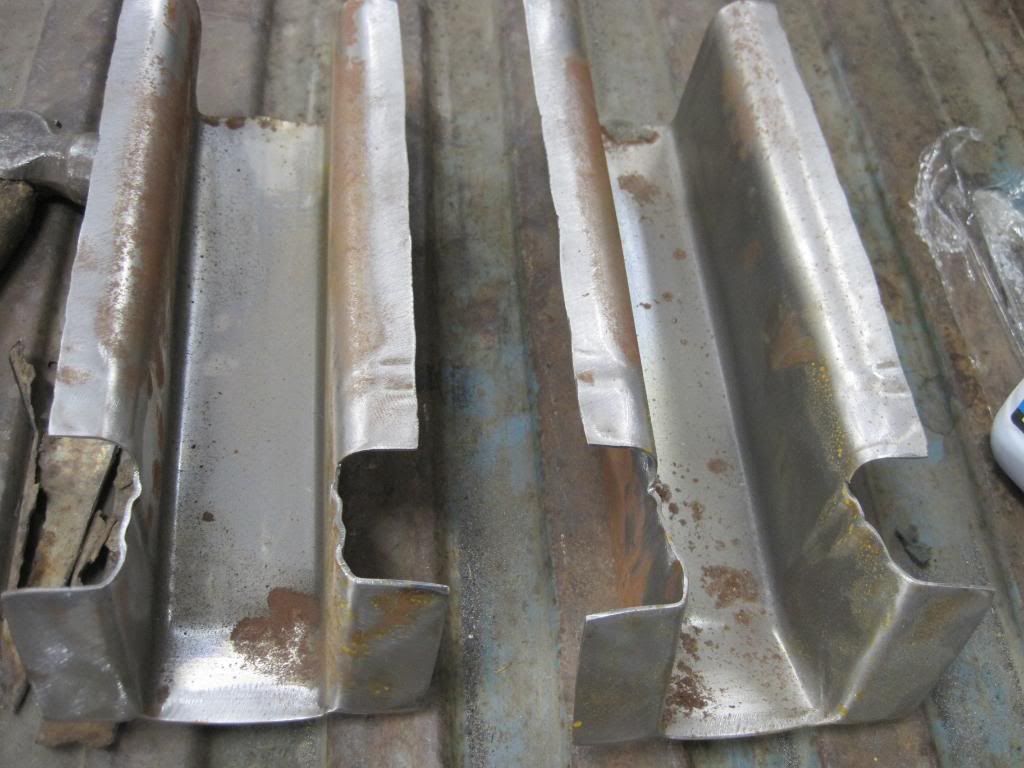
OK, so finally got to have some fun today. Here's the parts the owner dropped off yesterday -
Floors
66FordF100001.jpg


Cab corners
66FordF100002.jpg


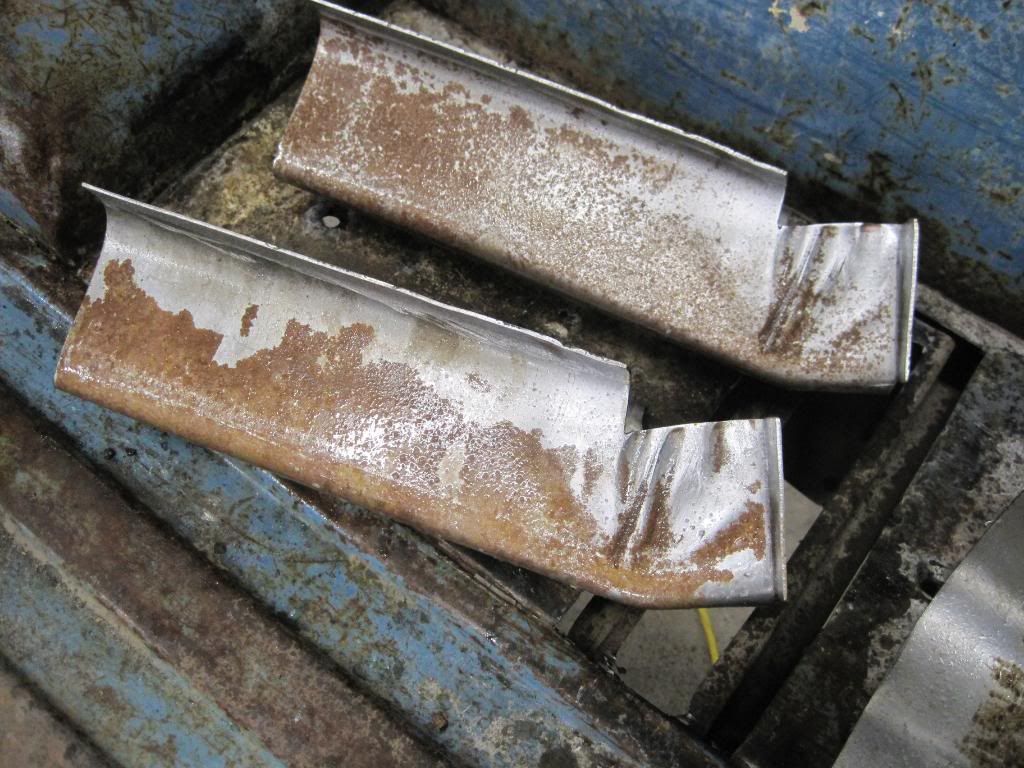
Floor centre braces
66FordF100003.jpg


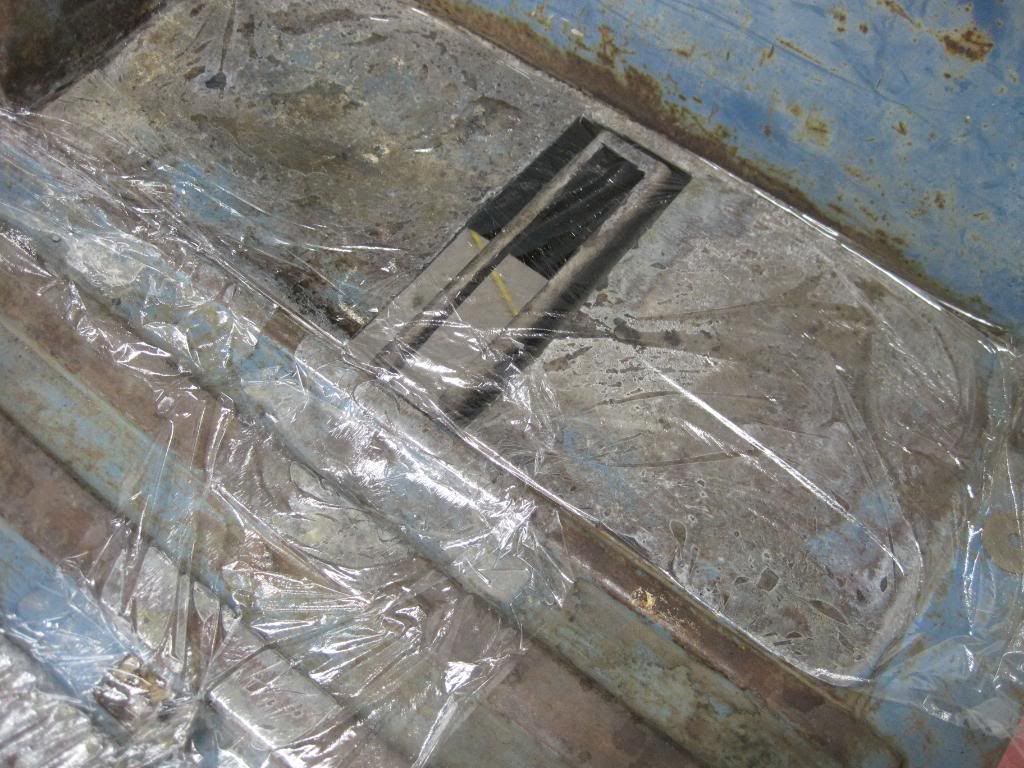
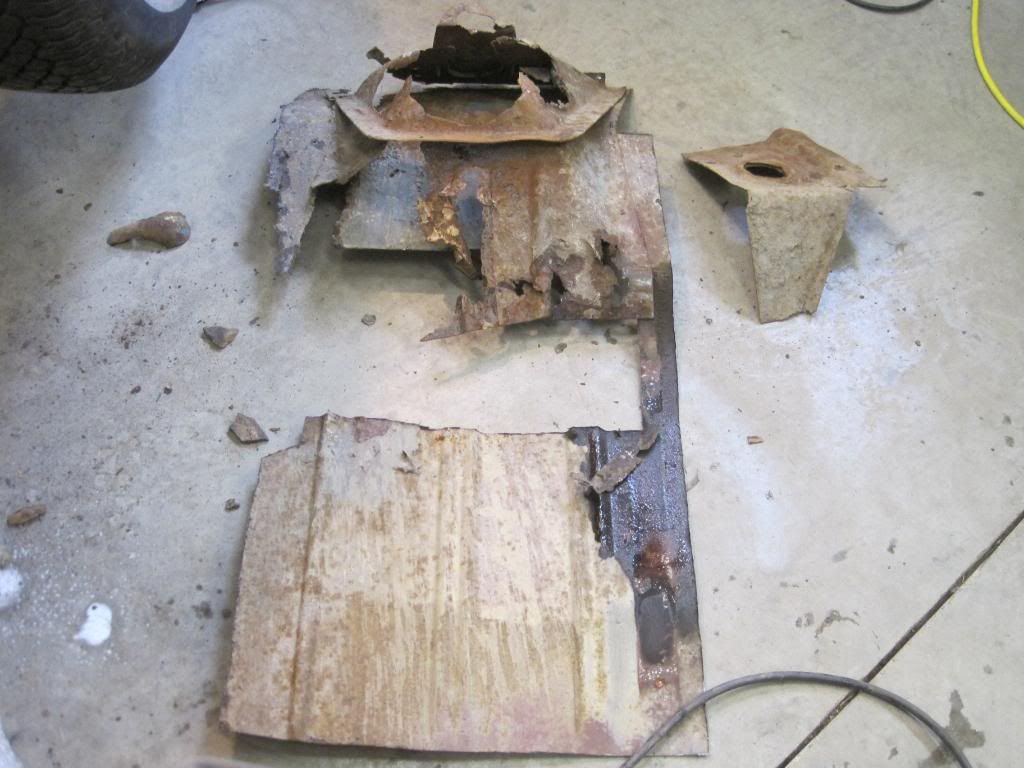
Cut out the box rust and applied Metal Ready. I like to seal it so it works longer (over night at least)

66FordF100004.jpg


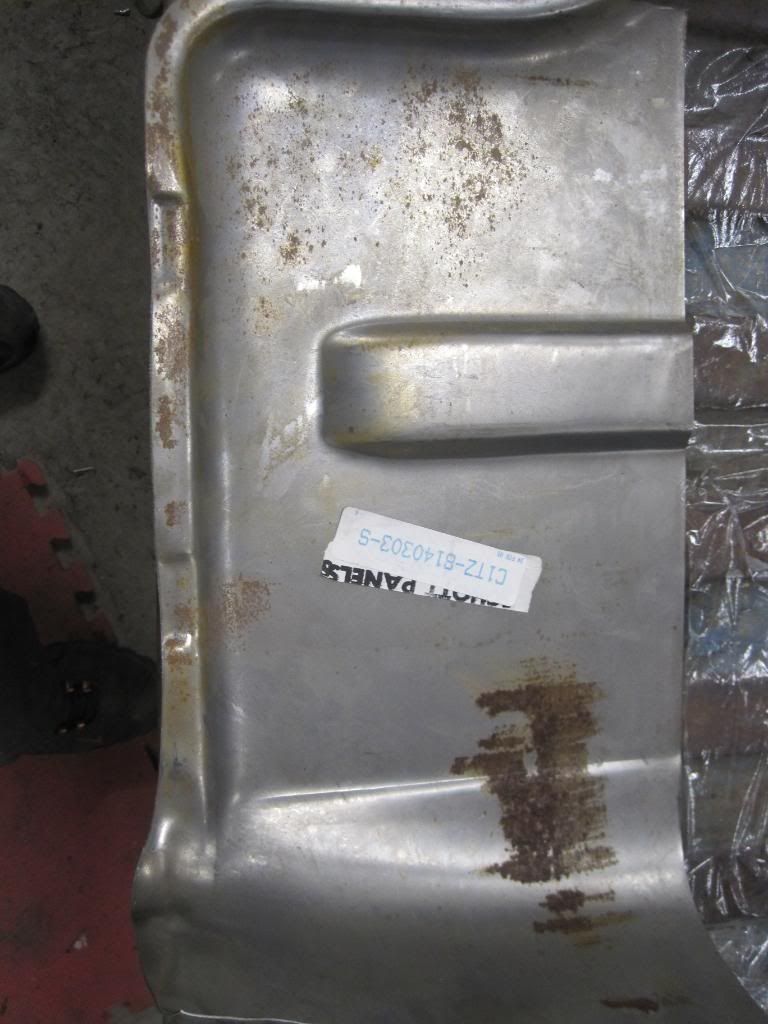
Sprayed the "new" parts with Metal Ready as well to fixate the surface rust already on them...

66FordF100014.jpg


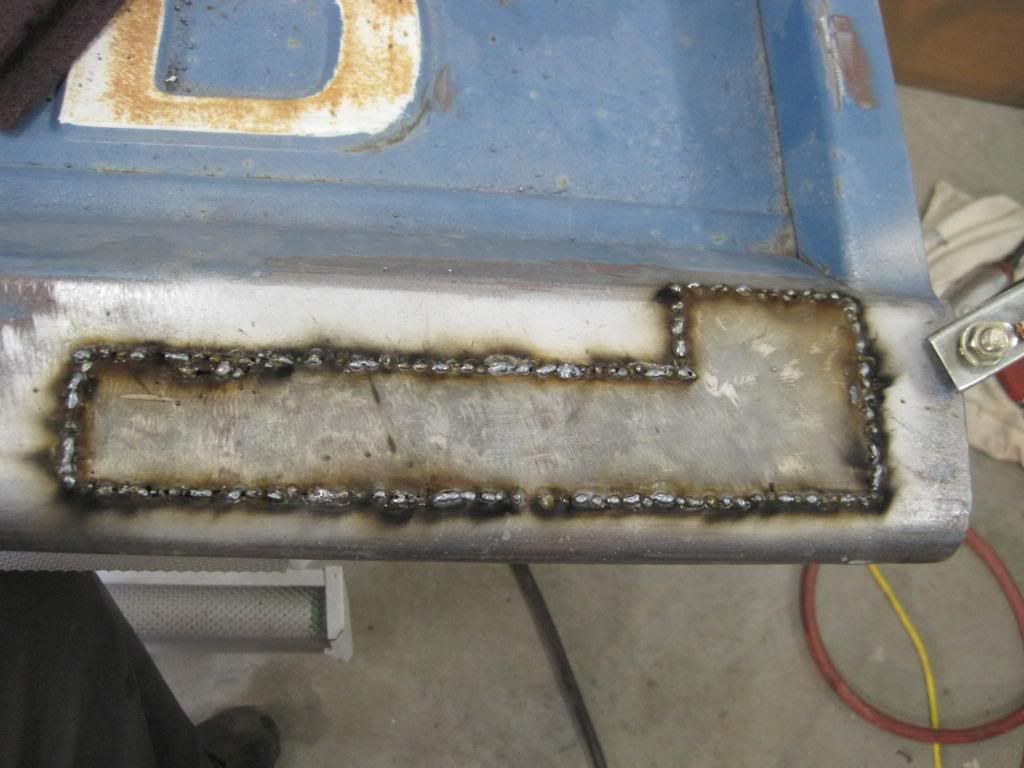
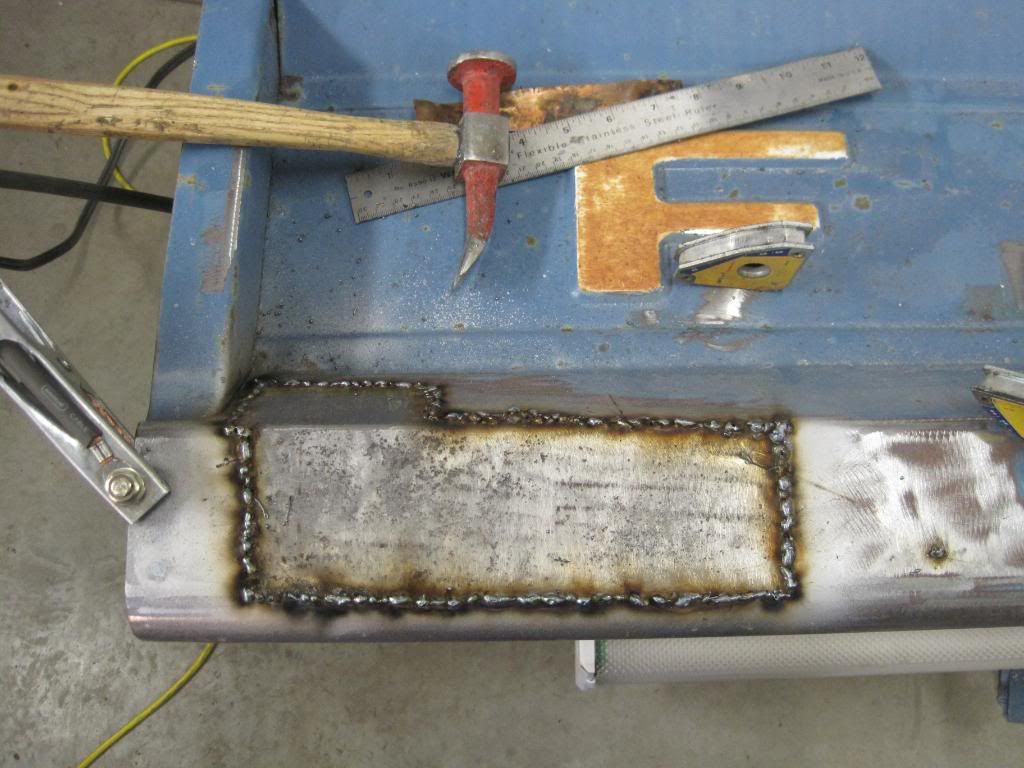
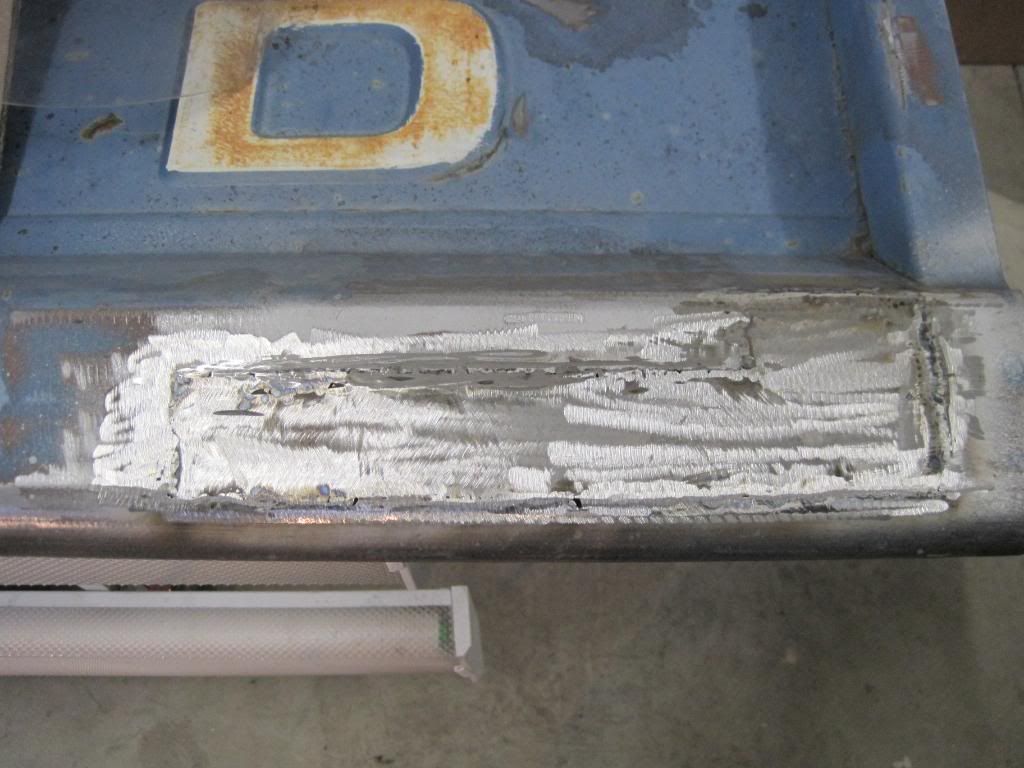
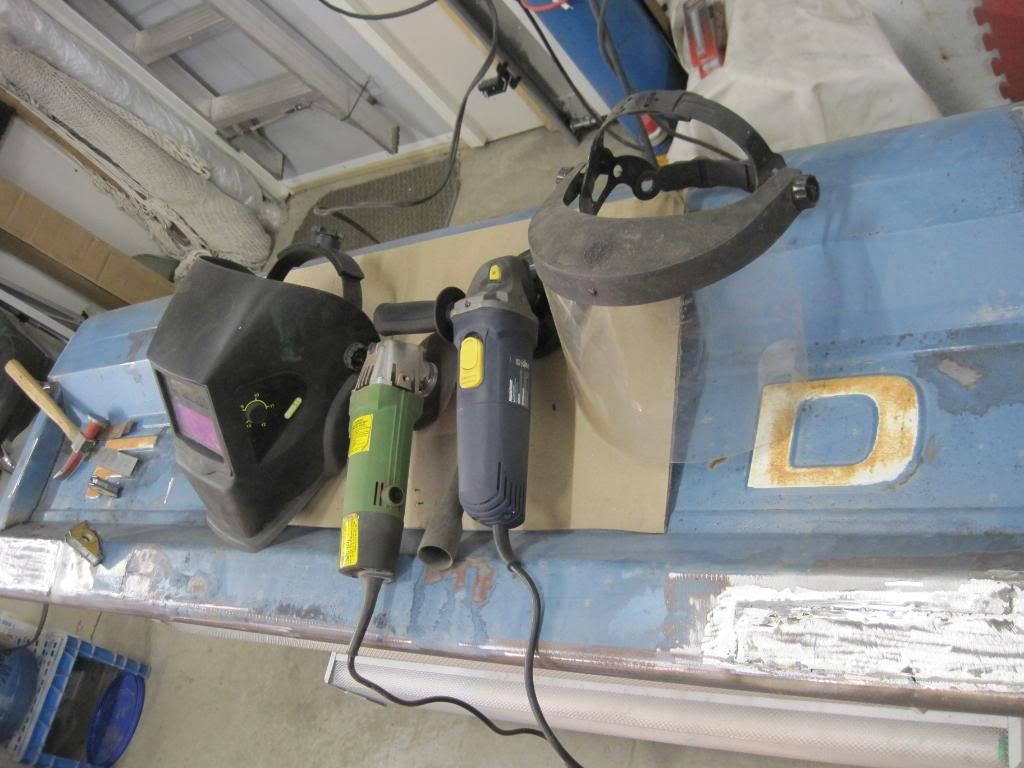
Here's the tailgate patches from my previous post all welded up. I misplaced the rubber backing for my disc sander, so I had to grind it with a hard wheel. I'll have to finish it later when I find the backing!

66FordF100028.jpg


66FordF100030.jpg


66FordF100037.jpg


66FordF100038.jpg


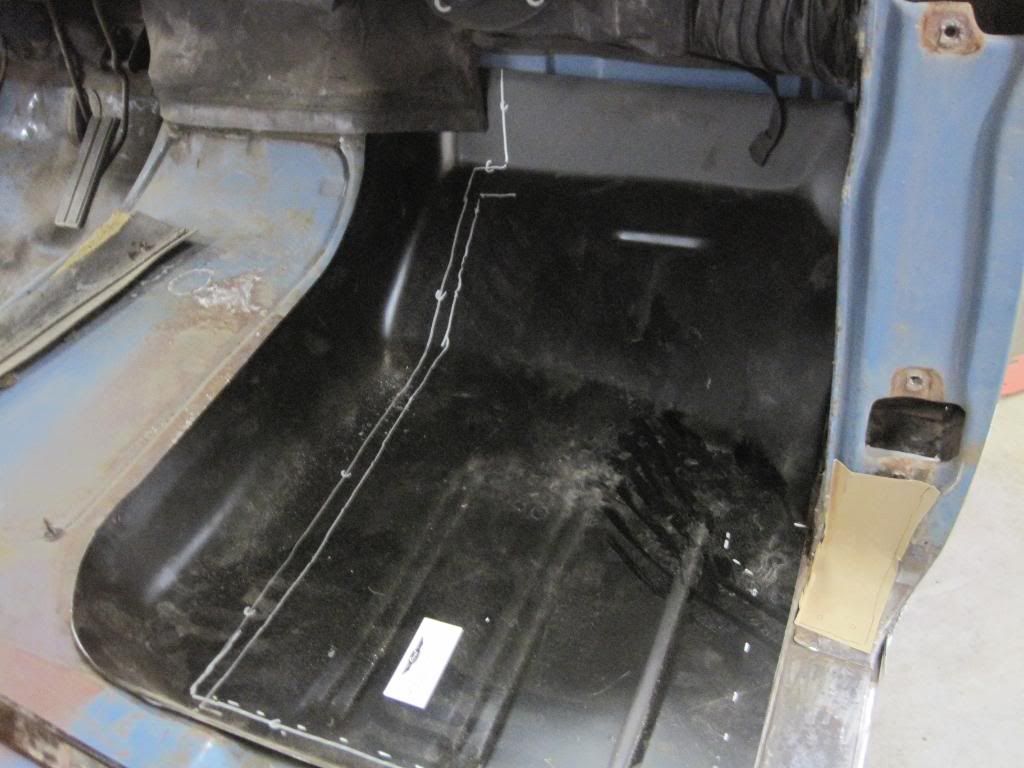
Then, I did some more trimming of the floor and kick panels

66FordF100015.jpg


66FordF100020.jpg


66FordF100021.jpg


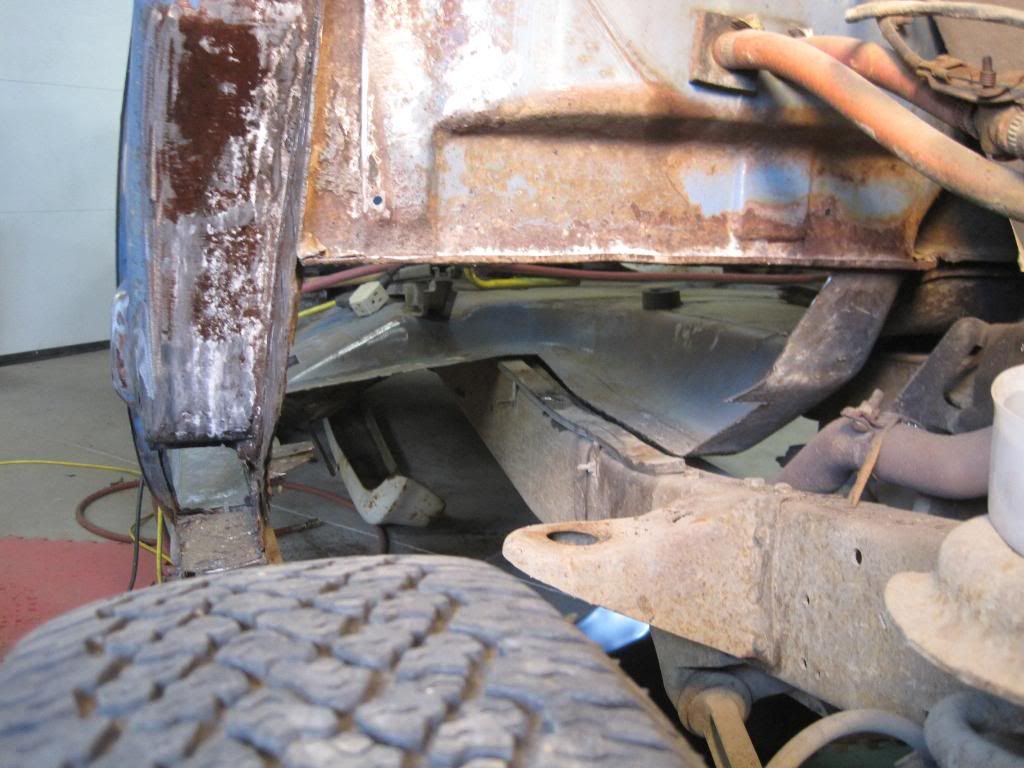
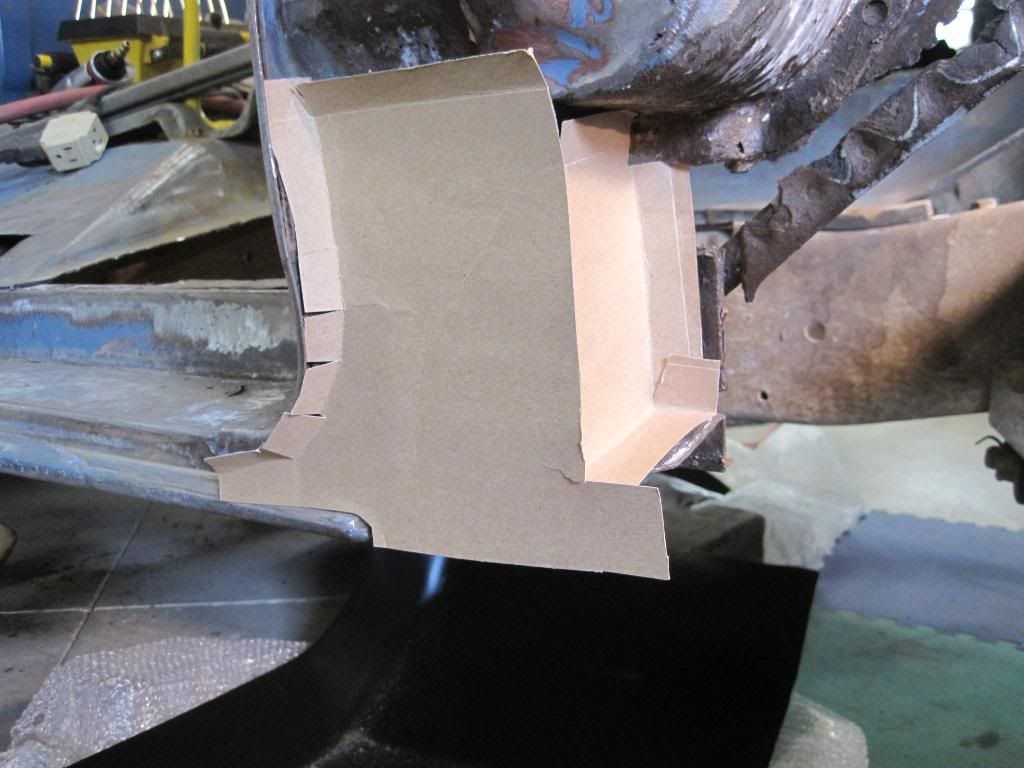
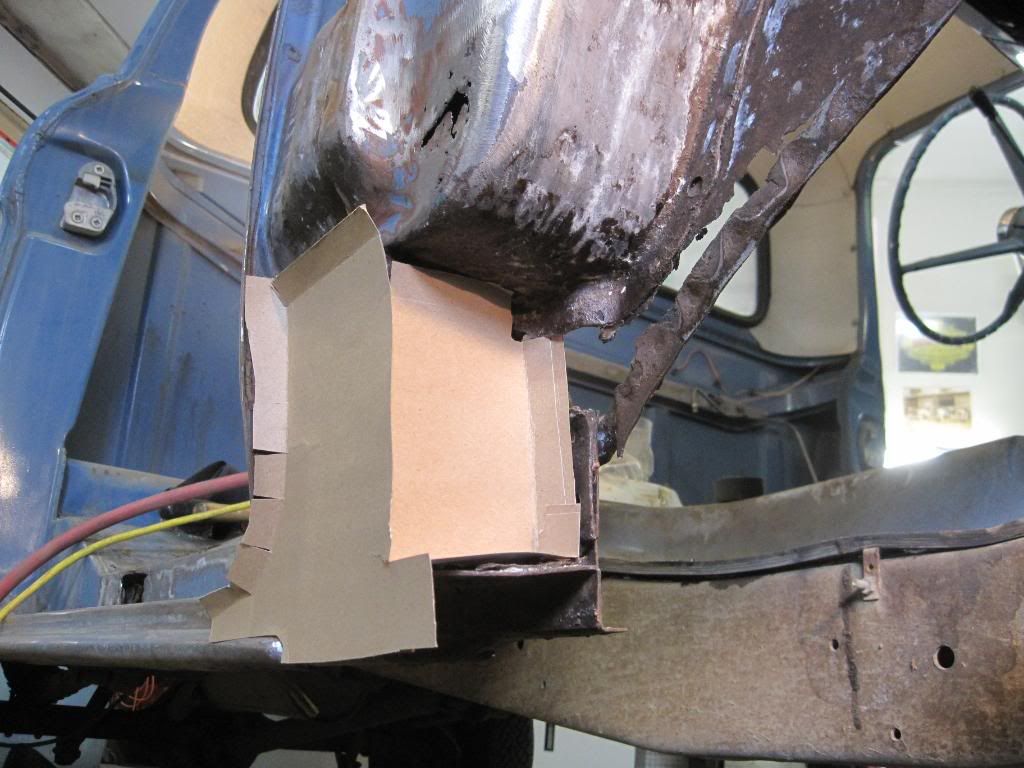
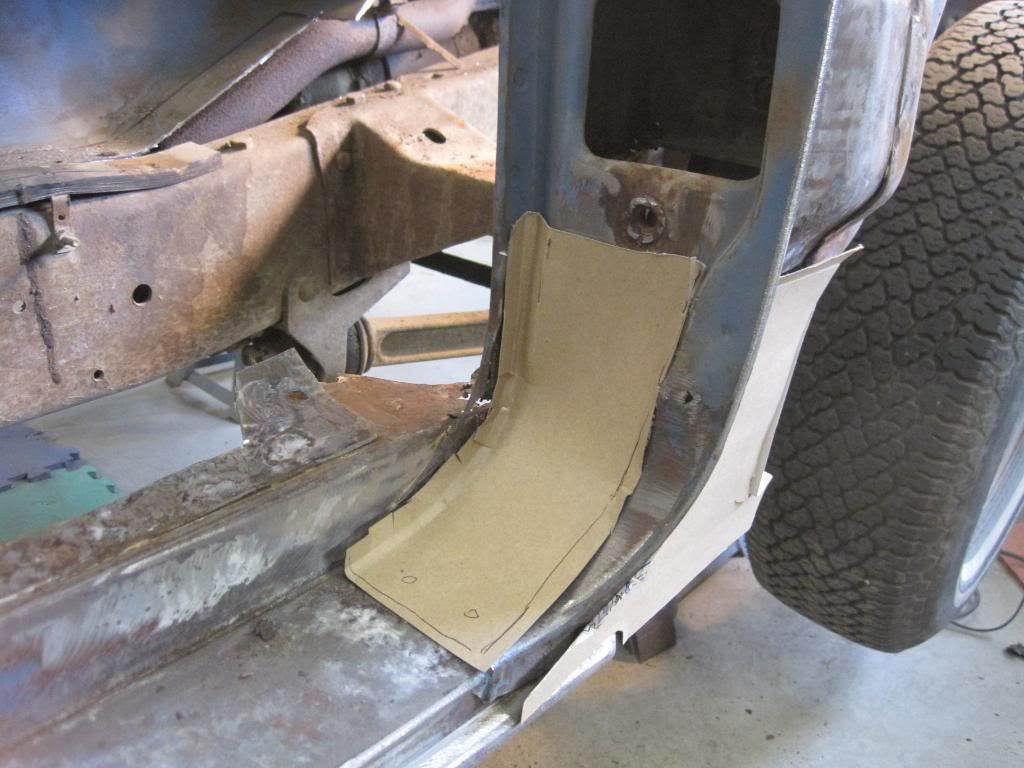
...and made templates for the pieces that I cut out of the kicker/post area...

66FordF100022.jpg


66FordF100024.jpg


66FordF100027.jpg


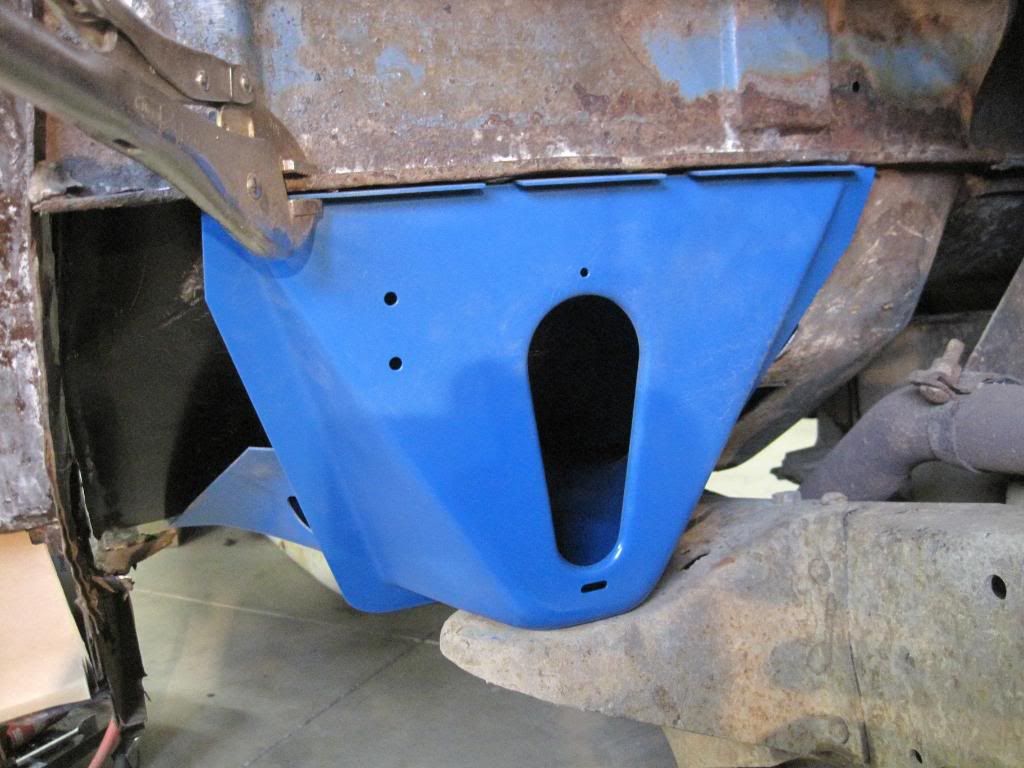
Lastly, I mocked up the floor pan (needs to be cut down now), the body mount (will need some tweeking) and the templates

66FordF100035.jpg


66FordF100036.jpg
 
OP
E

e-tek

Well-known member
Joined
Dec 19, 2007
Messages
10,690
Location
Saskatoon, SK
Spent a couple hours fabricating the metal parts from the templates made yesterday. As well, thought I'd share my metal working station and some of the tools I use:

Bending...

66fordf100Rside002.jpg


Shaping...

66fordf100Rside003.jpg


Tools used: Sand Bag for soft shaping, various shaped metal bits for anvils, various hammers, tin snips and a big vice of course!

Conforming new parts to the truck....needs lots of shaping, then I'll tack part of it, bend the others to fit, then tack there. Once it's all shaped and tacked, I'll stitch weld it until solid, then grind it down.

66fordf100Rside005.jpg


66fordf100Rside008.jpg


I'm only getting a few hours a day in this week - due to the kids being off school....but next week I'll be able to put in full days and make some good headway!!
 

rickairmedic

Well-known member
Joined
May 31, 2005
Messages
4,165
Location
louisville ,Ky
Etec wheres the pics of you cussing and screaming getting the grill out or did you cheat and pull the front clip all together :D. Looking good I need to finish the motor swap on my blazer so I can get my 63 in the garage .


Rick
 
OP
E

e-tek

Well-known member
Joined
Dec 19, 2007
Messages
10,690
Location
Saskatoon, SK
Etec wheres the pics of you cussing and screaming getting the grill out or did you cheat and pull the front clip all together :D. Looking good I need to finish the motor swap on my blazer so I can get my 63 in the garage .


Rick

You bet I was cussin' out the rusted bolts!!:eyecrazy: The Grille came out OK, but the front upper and lower valences where rust-welded together. I ended up cutting some off with the torch and some with the cut-off wheel. The bare rad support and inner fenders came off together.
 
OP
E

e-tek

Well-known member
Joined
Dec 19, 2007
Messages
10,690
Location
Saskatoon, SK
Today's progress - started the metal-finish on the tailgate and made pieces for the inner kick panel and rocker. Tomorrow I'll cut and fit the centre section in preparation for some tack-welding next week.

Etch Primer on tailgate - will put a skim of metal-filler (made of metal filings, not bondo) to finish it....

66FordF100RSideTG001.jpg


66FordF100RSideTG002.jpg


66FordF100RSideTG003.jpg


Templates...

66FordF100RSideTG005.jpg


66FordF100RSideTG006.jpg


66FordF100RSideTG007.jpg
 
Last edited:
To avoid these ads, REGISTER NOW!
OP
E

e-tek

Well-known member
Joined
Dec 19, 2007
Messages
10,690
Location
Saskatoon, SK
Has anyone built a planishing hammer holder? Looking for a basic design to hold the air chisel....
 

tdkkart

Well-known member
Joined
Jun 17, 2006
Messages
6,887
Location
Eastern Iowa
Google "plannishing hammer plans" and you'll come up with a bunch of info.

Harbor Freight makes on that is passable after a few tweaks.
 
OP
E

e-tek

Well-known member
Joined
Dec 19, 2007
Messages
10,690
Location
Saskatoon, SK
Google "plannishing hammer plans" and you'll come up with a bunch of info.

Harbor Freight makes on that is passable after a few tweaks.

Thanks - I did that and found some great stuff on MetalMeet. Funny - it's often harder to find things on a "site search" than it is on a Google search!

-----

Also - Just wanted to say "thanks" to MP&C for the good advise!:bowdown:

Any one else....Comments? Questions? Advise? Fire away - or PM me!
 
OP
E

e-tek

Well-known member
Joined
Dec 19, 2007
Messages
10,690
Location
Saskatoon, SK
Little more progress tonight - cut and fit the right center support and floor patch. Also removed the pieces I cut last week from the Phosphoric Acid (MEtal PreP) and sprayed etch primer on them. They'll be ready for final trimming and welding tomorrow.

IMG_0767.jpg


IMG_0768.jpg


**** that came out of the center section (acorns, dirt, more rusty bits...)

IMG_0769.jpg


Trial fitting pieces

IMG_0772.jpg


IMG_0777.jpg


Tack-welded the floor patch first, then plug-welded centre support from top

IMG_0779.jpg


IMG_0780.jpg


IMG_0781.jpg


Just have to weld up the ends and dress the welds, then I'll apply POR 15 over it all. No more rust for this one!! Thanks for looking!
 

cletus66

Well-known member
Joined
Oct 16, 2006
Messages
164
Location
Charles City County, VA
This kind of work will try your patience. I let my wife do all of the cutting and fitting, and I do all of the welding. An empty Miller Lite case makes an excellent template. :beer:
 
OP
E

e-tek

Well-known member
Joined
Dec 19, 2007
Messages
10,690
Location
Saskatoon, SK
Thanks 1320 - can always learn more!!!

Here's today's progress report - the right side is mostly done now (just need to weld down the floor panel).

Before...

IMG_0790.jpg


After:

IMG_0830.jpg


Step by Step:

IMG_0799.jpg


IMG_0805.jpg


E-tek%20PROJECTS


IMG_0809.jpg


IMG_0824.jpg


Before:

IMG_0767.jpg


After:

IMG_0826.jpg


Before:

IMG_0768.jpg


After (still needs clean up and POR 15):

IMG_0795.jpg


Trimming Right floor pan:

IMG_0812.jpg


IMG_0814.jpg


The Left side has the same rust damage (see first pics) but it should go much faster as I can re-use some of the templates.

Thanks for looking!!!
 
OP
E

e-tek

Well-known member
Joined
Dec 19, 2007
Messages
10,690
Location
Saskatoon, SK
You guys may notice I'm using a grey "Metal Filler", not "BONDO". Bondo is a polyester filler, good for shaping and final finishing, but for use over welds or previously rusted areas I always use Metal Filler. It has aluminum instead of polyester and is immune to any moisture that can infiltrate welds, plus it seals the repairs.

14787.gif


For more info on it, here's a good video from ExpertVillage:

<object width="425" height="344"><param name="movie" value="http://www.youtube.com/v/o_1YngLukUQ&hl=en_US&fs=1&"></param><param name="allowFullScreen" value="true"></param><param name="allowscriptaccess" value="always"></param><embed src="http://www.youtube.com/v/o_1YngLukUQ&hl=en_US&fs=1&" type="application/x-shockwave-flash" allowscriptaccess="always" allowfullscreen="true" width="425" height="344"></embed></object>
 
OP
E

e-tek

Well-known member
Joined
Dec 19, 2007
Messages
10,690
Location
Saskatoon, SK
Plugging along - after more FINAL fits, re-measuring and trimming, plus drilling holes for some plug welds, I welded 'er all up today:thumbup:

****My apologies for some of today's blurry photo's - something must have changed on my camera half way through********

Before starting, I had to raise up the front end of the cab some more, as the old rusted and weak metal had all sunk down and been crushed over time.

IMG_0835.jpg


IMG_0836.jpg


Bent the top portion of the floor pan in the brake to form a lip that would be welded to the upper cab lip. This is how the original piece was fitted, so not sure why the repop part couldn't have been made the same way...

IMG_0837.jpg


Took a lot of work just to get this edge perfectly aligned!

IMG_0839.jpg


Started by stitch-welding, plus hammering, referred to as "hammer welding", where you shrink the metal back down after welding.

IMG_0847.jpg


Also, I drilled some holes above the cab mounts, in order to plug-weld the floor to it.

IMG_0845.jpg


IMG_0849.jpg


Then joined the stitches into a full weld

IMG_0851.jpg


In one spot, near the top of the floor, the gap was a bit wide. In order to cross the gap and fill it with weld, I backed it up with a strip of copper. This is the easiest and cleanest way to fill a gap, as weld doesn't stick to copper, so one can weld right across the gap.

IMG_0859.jpg


Completed - save for dressing the welds and a bit o' filler - which could take another 3-4 hours....

IMG_0854.jpg


Then, I have the other side to look forward to!!! :(

IMG_0855.jpg
 
OP
E

e-tek

Well-known member
Joined
Dec 19, 2007
Messages
10,690
Location
Saskatoon, SK
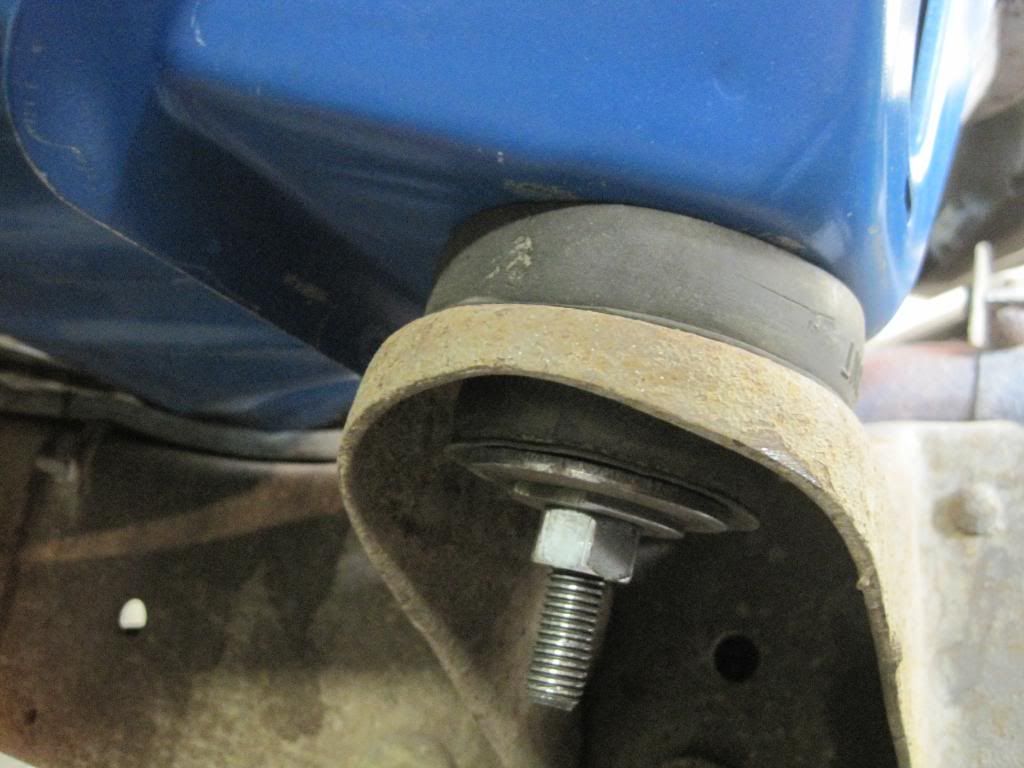
Finally finished dressing the welds, checking fitment, welding up a few spots I missed yesterday (I hate to miss anything!) and then I rebuilt the rubber mounts before turning my attention to the right side.

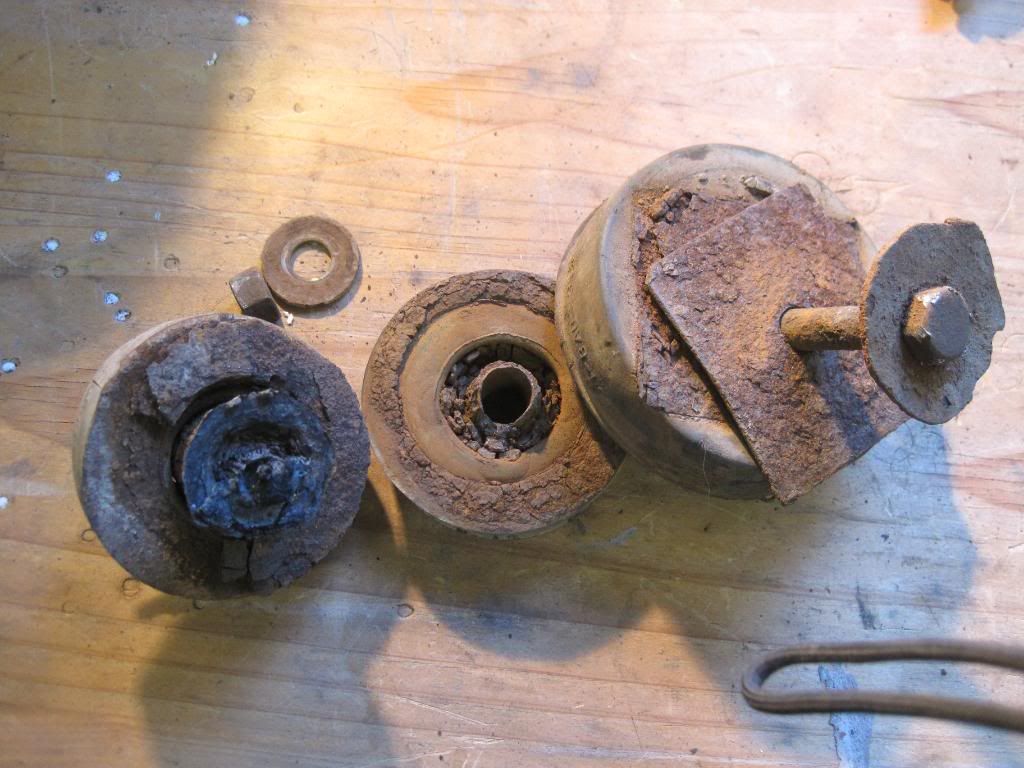
I had priced the mounts for the owner earlier, but they where EXPENSIVE! I told him I'd check around to see if I could find them for less, but couldn't. Still, I hated to see him spend a couple hundred bucks for couple rubber donuts and bolts! So after disassembling all the parts I cut inserts from pipe stock I had and then found the correct sized bolts and washers to put it all together. Total cost: 1 hour.

IMG_0861.jpg


IMG_0863.jpg


IMG_0864.jpg


IMG_0867.jpg


IMG_0868.jpg


IMG_0869.jpg


After more grinding and some hammer & dolly work, I put some metal filler, then a skiff of re-enforced (Kitty Hair) filler to finish it off. IT's ACTUALLY STARTING TO LOOK LIKE A TRUCK AGAIN!:thumbup:

IMG_0870.jpg


IMG_0871.jpg


IMG_0873.jpg


After cleaning up and moving all my tools to the other side, I drilled out the spot welds for the center support, cut the support where I want to splice it, then removed it with the help of the air chisel (I love the air chisel! :bounce:)

IMG_0874.jpg


IMG_0875.jpg


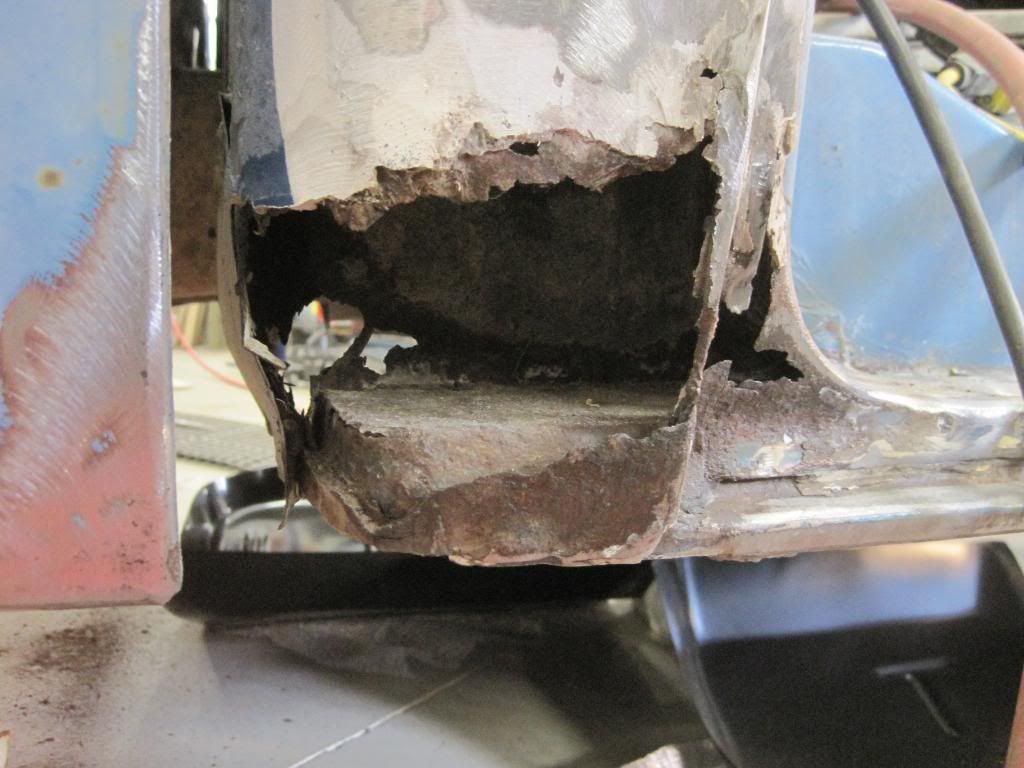
Hmmmmm....after looking closely, I do believe this side is worse than the other! :wtf: :(

IMG_0877.jpg


IMG_0877.jpg


IMG_0878.jpg


IMG_0879.jpg


Stay tuned while I repeat the process....I'll try to show different parts of the operation for those that are trying to learn something! :lol_hitti

:beer:
 
Last edited:

Dan in Pasadena

Well-known member
Joined
Feb 18, 2009
Messages
13,158
Location
Pasadena, CA
HERE! (Kidding)

I'm here but that truck would kick my ****. I couldn't take on a truck in that condition. Kudos to you for having the fabrication chops to do it.
 

KenS

Well-known member
Joined
Oct 21, 2007
Messages
726
... I rebuilt the rubber mounts before turning my attention to the right side.

Excellent job salvaging those mounts. An alternative for future projects for the rubber donuts would practice hockey pucks made of a softer rubber. Also, if your auto parts supplier will allow it, you may be able to look through his stock of late model body mounts for something adaptable.

Your thread is an excellent teaching tutorial. Thanks for sharing and we are looking forward to seeing the final result.
 
OP
E

e-tek

Well-known member
Joined
Dec 19, 2007
Messages
10,690
Location
Saskatoon, SK
Excellent job salvaging those mounts. An alternative for future projects for the rubber donuts would practice hockey pucks made of a softer rubber. Also, if your auto parts supplier will allow it, you may be able to look through his stock of late model body mounts for something adaptable.
Your thread is an excellent teaching tutorial. Thanks for sharing and we are looking forward to seeing the final result.

Great ideas - another use for old hockey pucks! I briefly thought about seeing if there where other mounts that would work - and I'm sure there are - I just didn't pursue it. I guess had my self-fix hadn't worked I would have done that.

:beer:
 

djd99

Well-known member
Joined
May 4, 2009
Messages
1,006
Location
Owosso,Michigan
Great ideas - another use for old hockey pucks! I briefly thought about seeing if there where other mounts that would work - and I'm sure there are - I just didn't pursue it. I guess had my self-fix hadn't worked I would have done that.

:beer:

Very nice instruction thread e-tec for those who want to learn body work. My day taught me early on when I was 9 and have been very thankful being I enjoy doing my own work. Keep the pics coming as this is a great thread to follow.
 

jmh21586

Well-known member
Joined
Aug 8, 2009
Messages
1,895
Location
Pine City, MN
I don't want to offend but have to ask. Wouldn't it have been easier to find a cab in better shape?? Seems like your building a new one out of pieces anyway.
Just wondering.
 

John_M

New member
Joined
Dec 25, 2009
Messages
4
Awesome work!

I wish I had the motivation and skills like you! Mebbe one day.....
 
To avoid these ads, REGISTER NOW!
Top Bottom