The shop never had a bathroom since the family home was right next door. At the time I purchased the property, Mrs. Johnson was still living in the family home so that option was out for me, plus I really wanted a bathroom at the shop anyway.

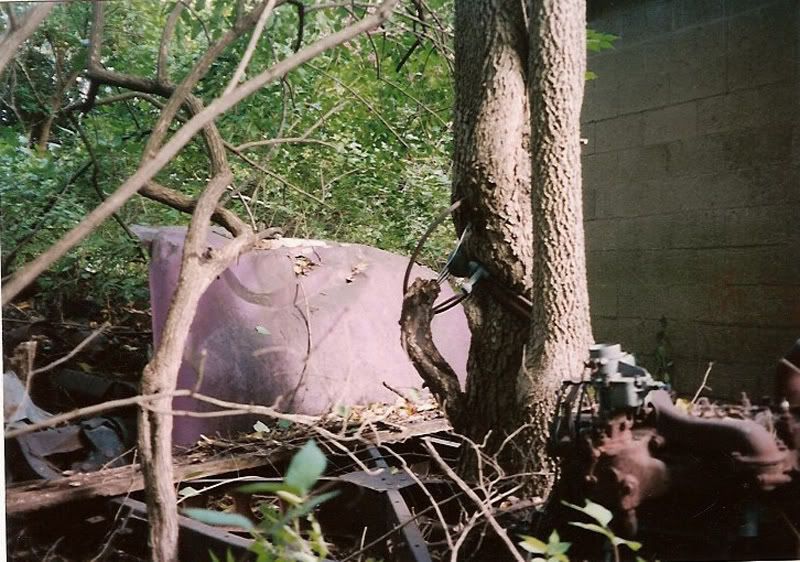
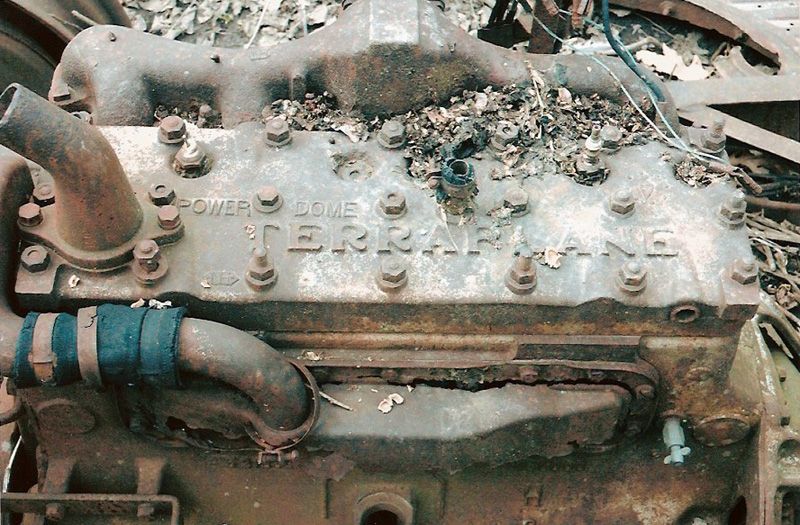
When the north addition was built, a small room for coal was built as well. The coal room was added to the west side of the building as seen in this picture in the background. This coal room ultimately became my bathroom Here is one of the early pictures I took as we just starting the cleanup. We started in the front and then came down the west side. That's what this picture is showing. The Terraplane lays ahead, hidden from view by the brush. The shop wood wall that was replaced is seen on the right as is the lean to that housed steel stock.

As long as we're here, this is what was inside the lean to. This was mostly new stock when it was placed in there back in the late 70's early 80's. They used a cutting torch to cut it to length, that's why some of the ends look so ragged.

Present day, fall 2009.

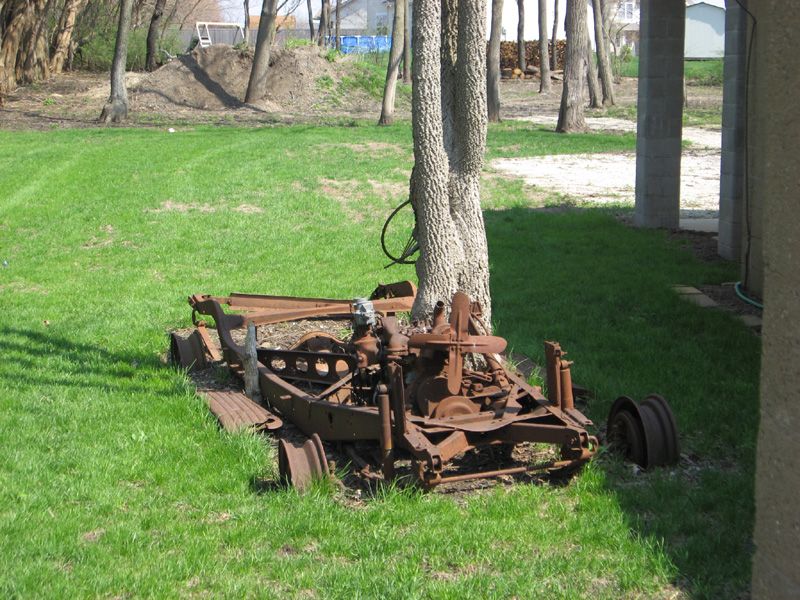
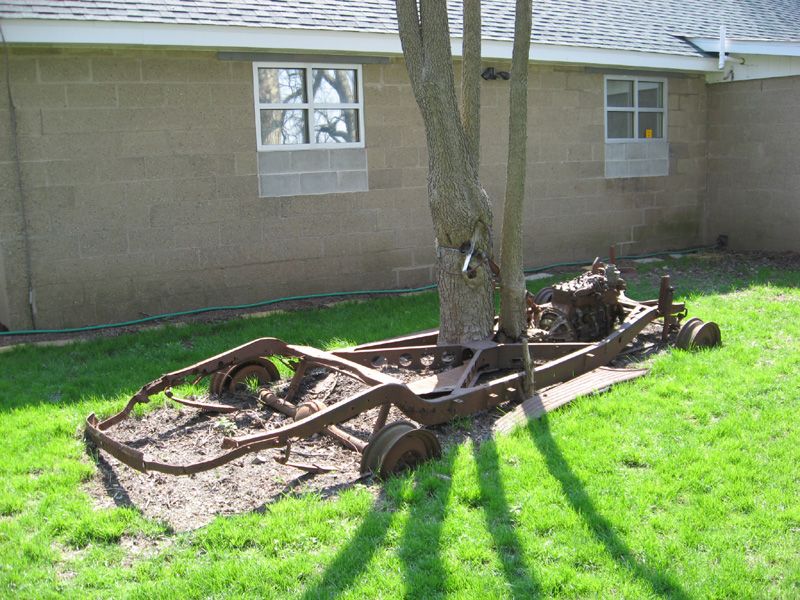
This is about the same spot as the first picture in this post. The septic tank is just beyond the propane tank about 10' or so to the right. The Terraplane can be seen in the background as well as the barn. Coal room is jutting out.

This is a little distant but it shows the coal room from the reverse side. You can see how it " sticks " out the west side of the main shop. It's exposed outside on three sides. The Terraplane is partially hidden from view by that tree. You can also sight right down the hedge row. Those are hedge apples laying on the ground. Squires love them!

Moving inside. I don't know why, but the coal room floor was constructed 12" lower than the floor in the main shop. You had to step down into it. I have no clear, early pictures of this room. I took a few but none of them turned out. There was no electric light in it, the roof was pretty rotten and it had many holes. Because of all the moisture, there was a great deal of mold and mildew present. I would say it was the nastiest place in the shop at the beginning. We used a ton of bleach in here and scrubbed the walls numerous times with a stiff brush and rinsed, using the " hotsy " steam cleaner from the floor cleanup to hose everything down. Since the concrete floor was 12" below grade so to speak, and the room size was small, about 8' X 10' this would make a perfect place for a 1/2 bath. I could place all the waste drain pipes below the floor level and build up the top, level with the main floor. Behind the sink you can see the drain pipe tapering down, into the floor To the far left is a 6 gallon electric hot water heater which I wired to a wall on/off switch. No sense in heating water when sometimes I'd be gone for 2 weeks or more. It's mainly for washing your hands anyway so it's rarely used. Most times I just use cold water.
The FRP on the walls has not been trimmed out yet. Here you can see the screws on the edges that I used to attach the FRB with. The " T " shaped trim would then cover the screw heads.

What we attempting to do here is make a silk purse out of a souse's ear. The sink was just an inexpensive deep sink. I wanted to enclose the sink, the hot water heater and as much of the piping as I reasonably could. I took a pre-made counter top, cut in for the sink and then proceed to build a cabinet around the whole thing. The sink had detachable legs and a lip around the top so it was just hung by this lip. A base made out of 2 X 4's and plywood for a floor was done first, as seen.

I used oak plywood for the cabinet wood. It was from the same batch that was used to trim out the doorway in the bath room so it all matched.

And now we have a silk purse........ of sorts

It did dress up the sink and finished out the room much nicer, rather than leave much of the inner workings exposed. As this is a shop, I just used exposed stainless screws and finish washers to attach the cabinet paneling on the front, just as I had done on most of the doorways. To access the hot water heater in the future I can easily remove the front panel. The panel on the end, by the stool, was attached from inside and the corner mitered to meet the front panel. A door on the right side of the cabinet was attached with a stainless steel piano hinge, like the ones on the shop work benches. The red wall switch is the power switch for the hot water heater. The shop walls behind the sink have now been trimmed and you can see that the screw heads just disappear. Vola!!

This is how water enters the shop. This is a self draining hydrant. To turn the water on, you lift the handle up and water flows. When the handle is pushed down, it closes a valve 4' below, at the bottom of the stand pipe. This shuts off the water supply and all the water in the stand pipe drains into a french drain I constructed near the bottom of the hydrant, hence self- draining. You can see some unusual valving also. I live in a small town that sometimes, in sever winter weather, losses power, the longest being several days. This hasn't happen for an extended time in over ten years now, but it still could. The valving allows me to drain all the pipes and hot water heater in the event of a power loss which means I also lose heat and the pipes could freeze and burst if the heat was off long enough. I normally heat the shop to 50 degrees when I'm not there. This room is a little isolated from the main shop and heat might not migrate into it well. so I installed an electric baseboard heater, as seen, to supplement heat in there and keep the pipes happy in winter.
")
This room is on the west side of the shop and is exposed on three sides outside, south, west and north. Northwest is where the coldest winds blow from in the winter and there was the potential for this room to be always cold. I didn't want to have chronic problems with pipes freezing in spots. All in all it seems a lot of bother to just protect the pipes, using the bushes was just so much easier!
Having the hydrant stand out like that is not the most elegant but I usually place a hand towel over it and you don't even see it. Form follows function............again! Being an airline pilot and a firm believer in Murphys' Law, if it can happen it will. Not a question of " if ", but "when ". Plan for the worst and hope for the best.
Thomas


 I installed motion lights by all the windows seen near the roof on the wall. These normally illuminate at 20% and when motion is sensed they shine at 100%. Back lot is partially cleaned now. This late spring '06.


 It's slow going. Thanks for asking though.


 I'm not sure our town infrastructure could handle that! Smaller groups I would consider and I do have more parking now but...............
 I'll bet I can milk that for at least a couple of weeks, oh ya! Come to papa.....


