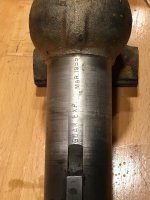
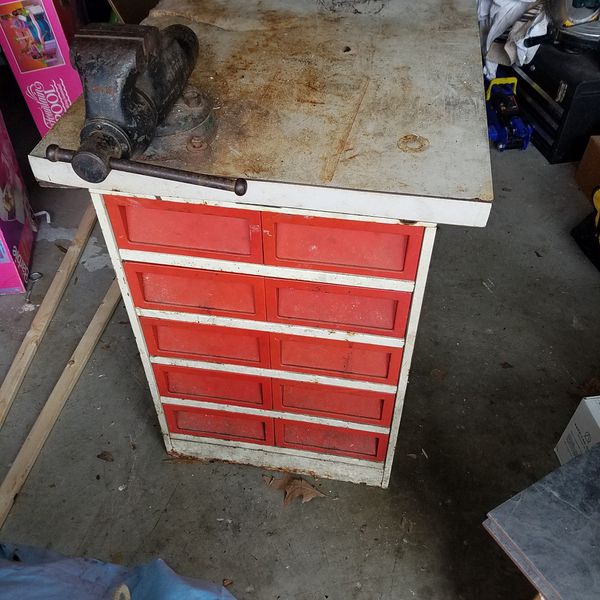
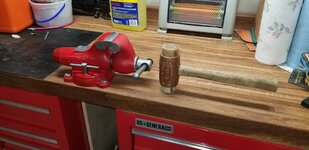
Thanks, fellas! I used glass beads to blast the handle, spindle, swivel locks, and jaws. That stripped off the grunge and left a nice matte finish. I did the same to the entire vise, and then sanded the anvil and jaw sides with a 120-grit disk on an orbital sander. Then to keep the surface rust at bay, I spray everything down with some automobile wax. I'll probably need to give it all a couple of extra treatments if the same every now and then.
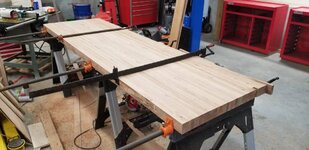
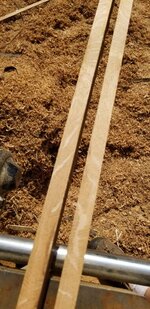
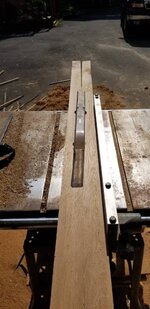
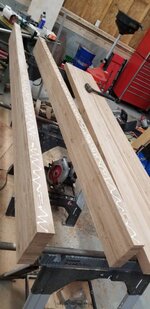
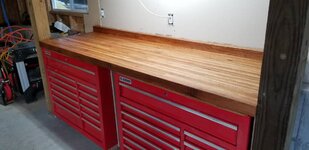
The workbench is oak butcherblock I made from some old fence boards my Mom wanted thrown away. I planed, split lengthwise, and then glued together four slabs, which I planed again for smoothness and then biscuit joined into the 30" by 96" work surface. After some more sanding, I treated it to a few coats of BLO. I really like the way it turned out.


Sent from my SM-G950U using Tapatalk


")