Boosted1
Well-known member
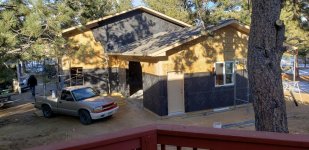
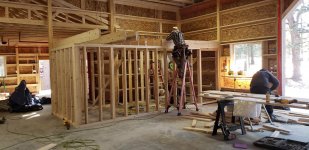
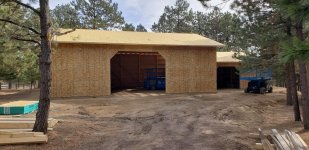
Nice build.
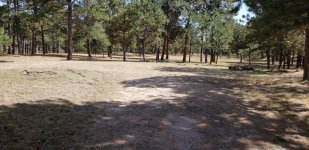
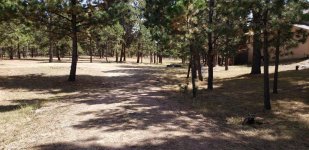
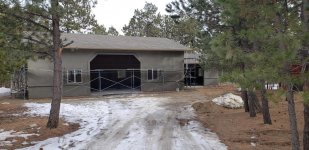
Your lot / location looks very nice too.
Your lot / location looks very nice too.

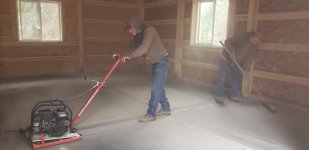
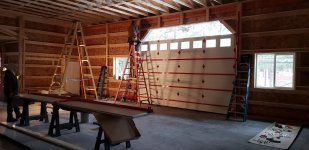
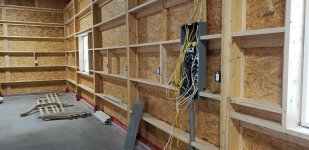
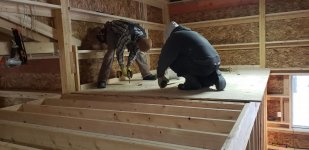
Having the floor done sure makes it a lot nicer. What is going in hole by the pex stick outs.
Shorty Korte
Always remember quality in QST
Sent from my iPhone using Garage Journal
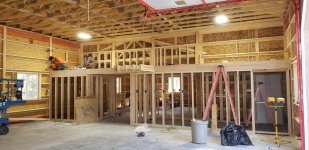
Nice garage, I want to follow this thread to the finish.
Subscribed....
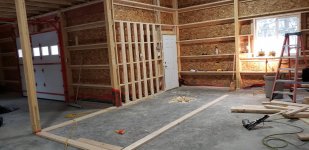
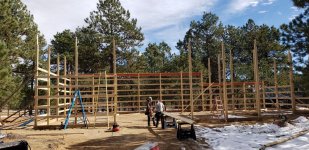
Just curious. What did your concrete guys do without a screed board? Just eyeball it?
.... working an aluminum 2" x 4" that was 12 or 15 feet long back and forth across the top of concrete
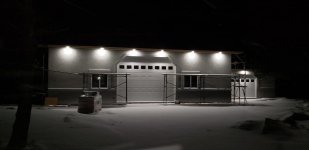
Thanks dykstraLooking great!!
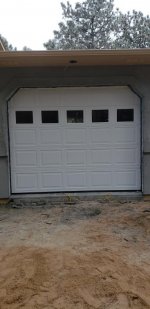
Thanks losdudesThose doors look great.
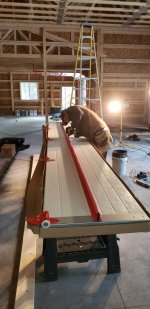
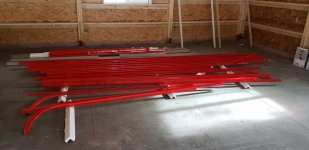
wasfast - I couldn't agree more. IIRC, I saw this approach on an article on Richard Griot's personal garage. He had garage doors that were all 2'x2' glass panels (sure can't afford that) with red frames. I liked the look -- so I copied the concept.Great idea on powder coating the rails. The rails, hardware, etc. as sent always look so "unfinished" next to a fully finished garage.
The aluminum "thing" is a float and is the next step in working the surface.
")
There were two guys working an aluminum 2" x 4" that was 12 or 15 feet long back and forth across the top of the pour.

 -- still not decided). I'm gonna like having that dimmer. The difference isn't so obvious in daylight. I'll try again tonight.
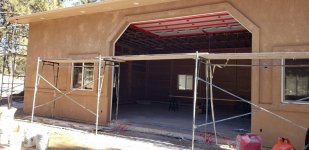
That's going to be a fabulous shop when finished (and already is!). I did wonder why you have the duplex receptacles installed before the wiring rough in is done.
I think the 15' long 2"x4" is the screed they used to initially level the pour.
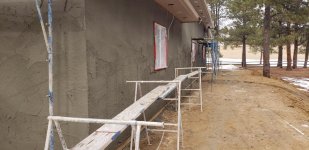
Hope they get your color coat done this weekend. It will be the typical Colorado swing back to winter Monday morning.