OP
nicholam77
Well-known member
Living Room Built Ins - part 6
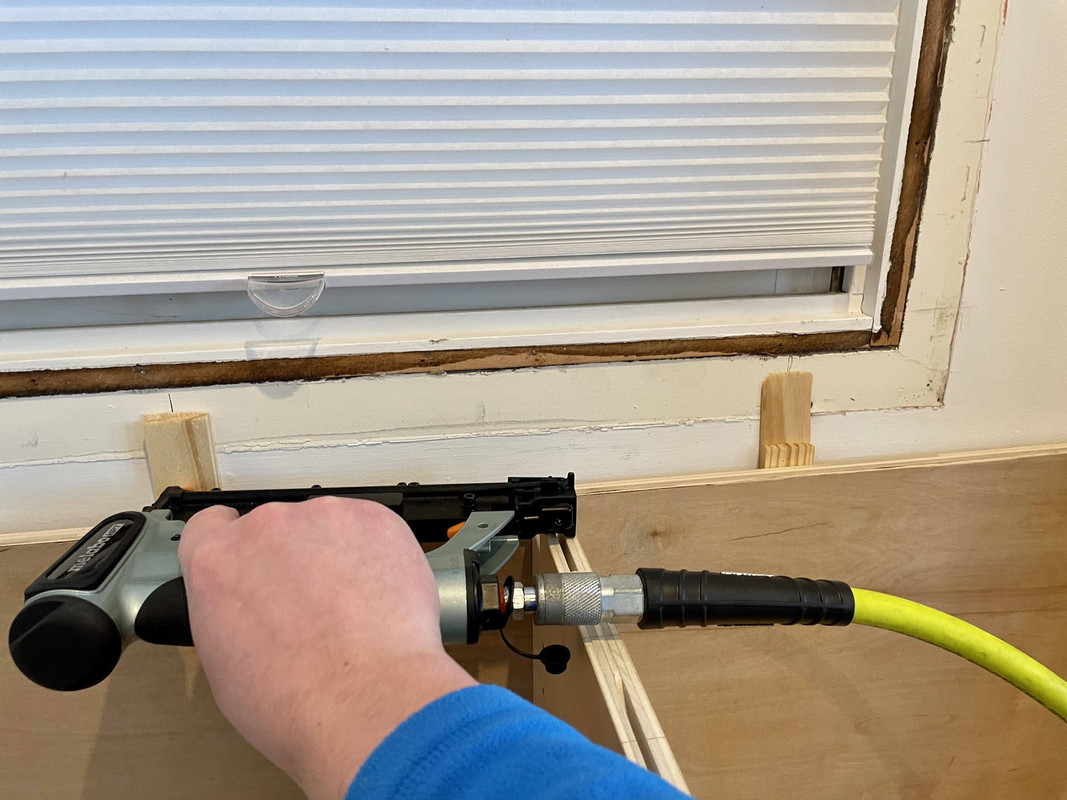
This part doesn't have defined step. I was kind of just filling out some remaining tasks.
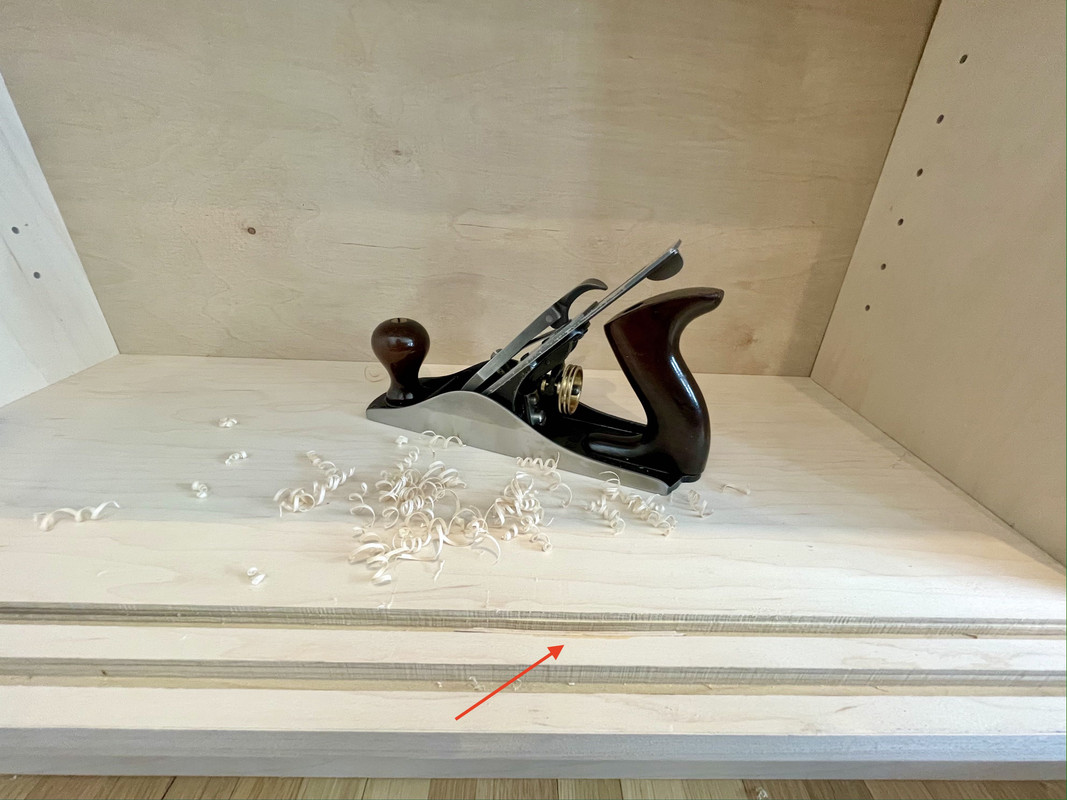
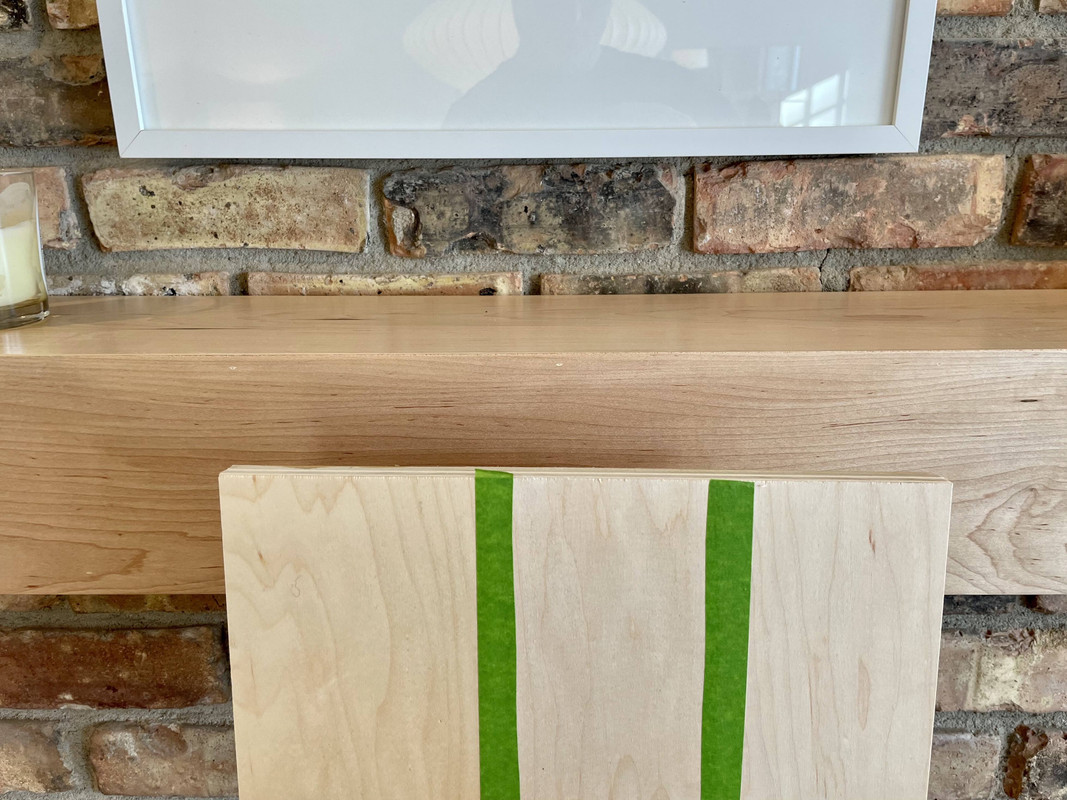
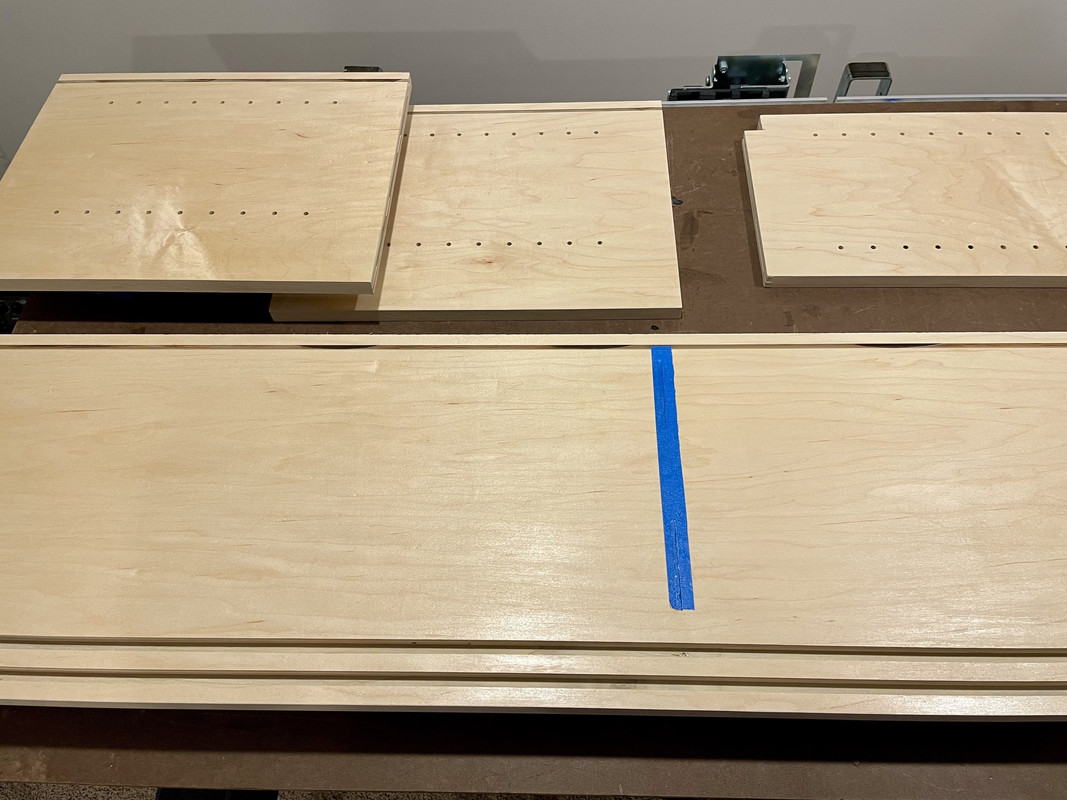
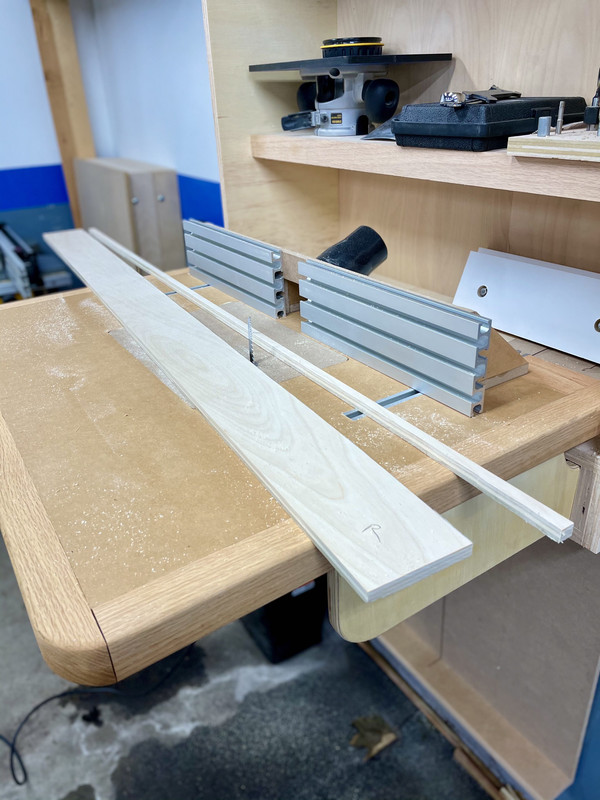
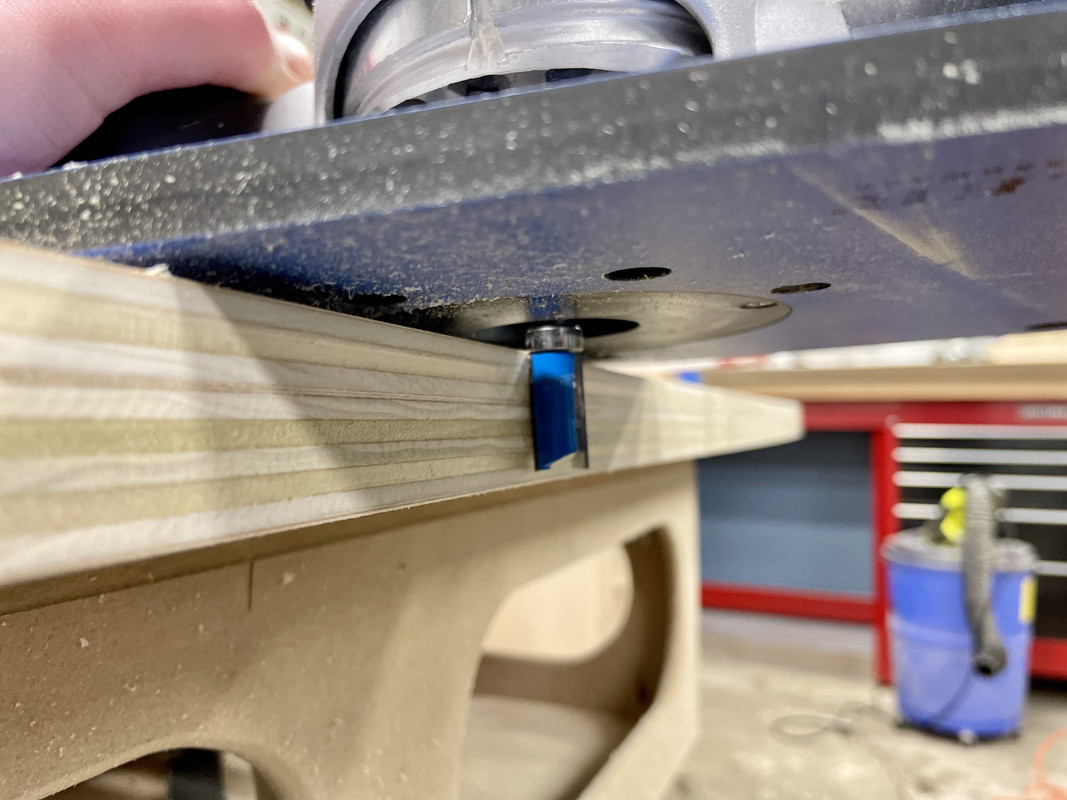
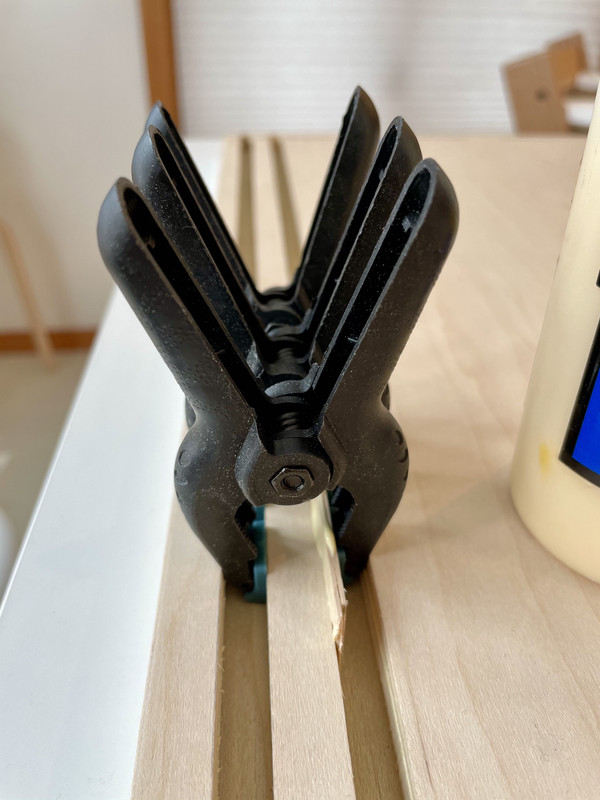
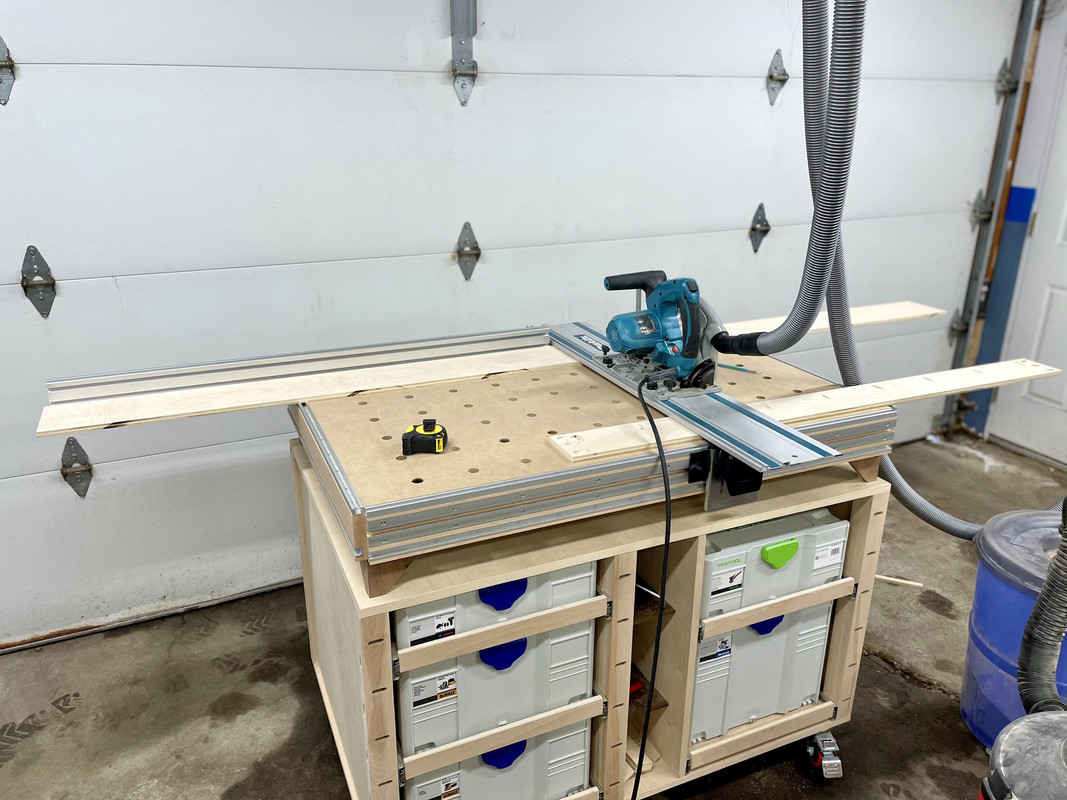
One thing I needed to do was cut a groove for the 6mm backing panel. I did this with a full-kerf blade on the table saw, using the stock guides since the top and bottom panels are so long:


Using the guides also helped hold the panels flat (some of this plywood has slight bow) and to the fence, for accurate, consistent depth grooves.

There are plenty of ways to build cabinets and do backing panels from what I gather, but I am doing the grooves inset 1/2" so some 1/2" thick stretchers can go behind them.
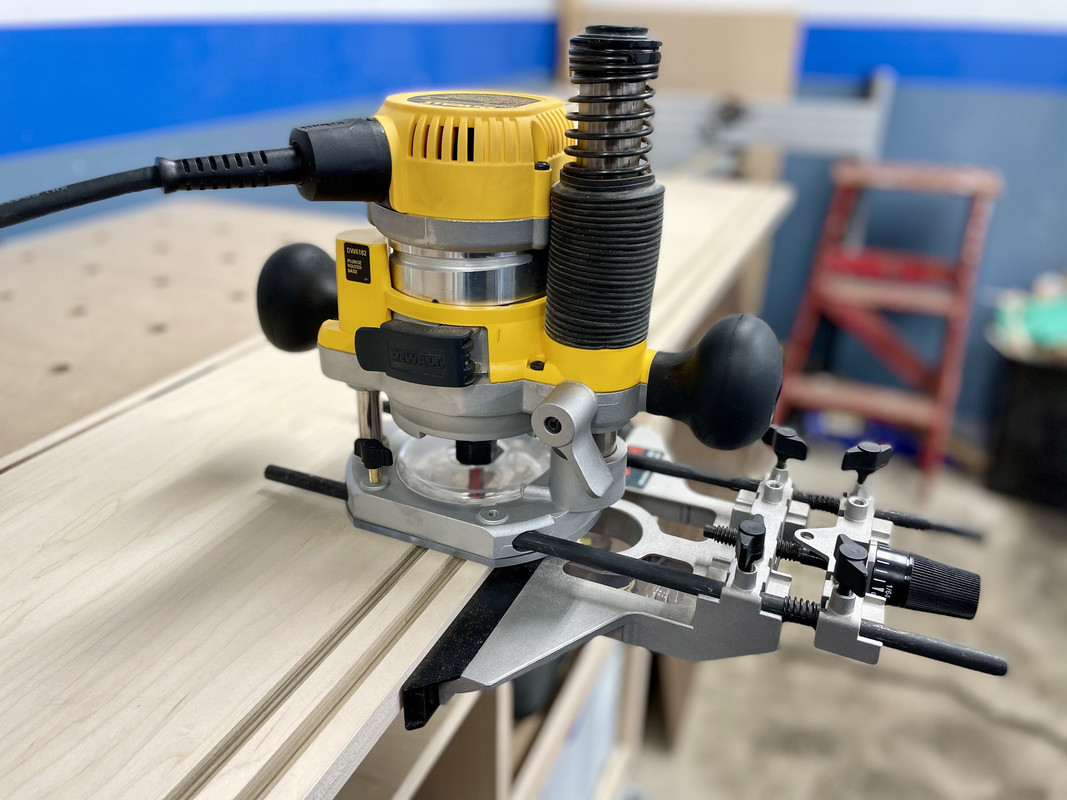
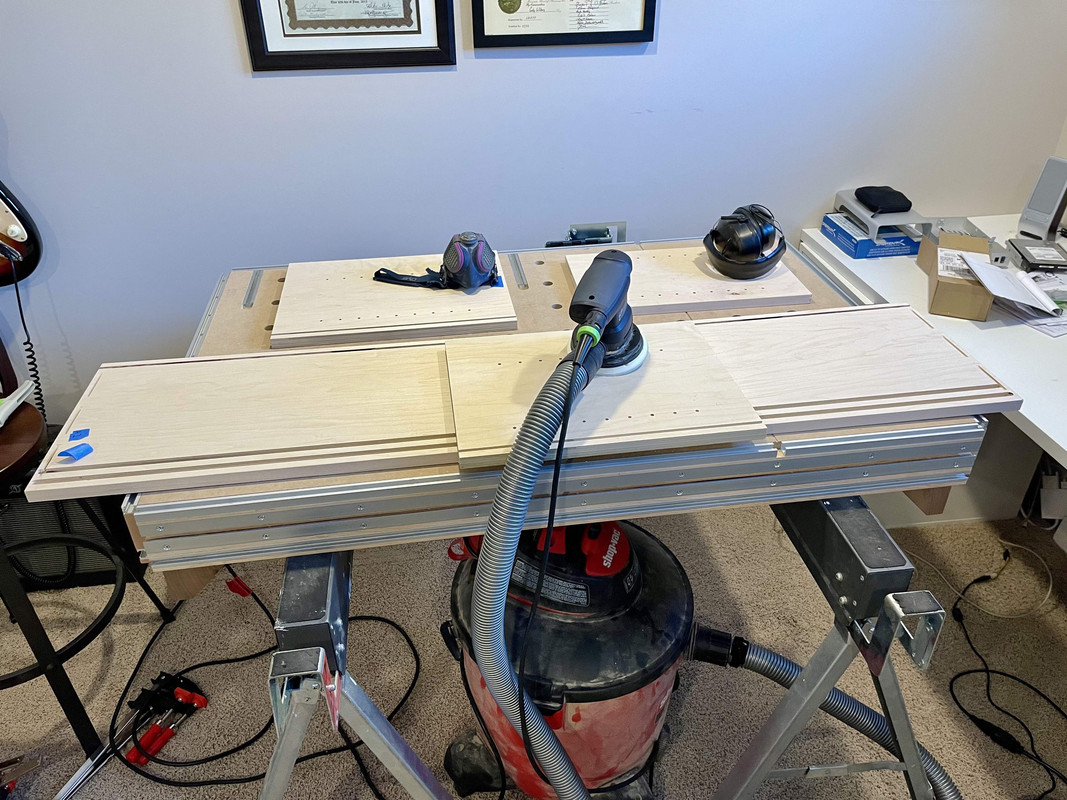
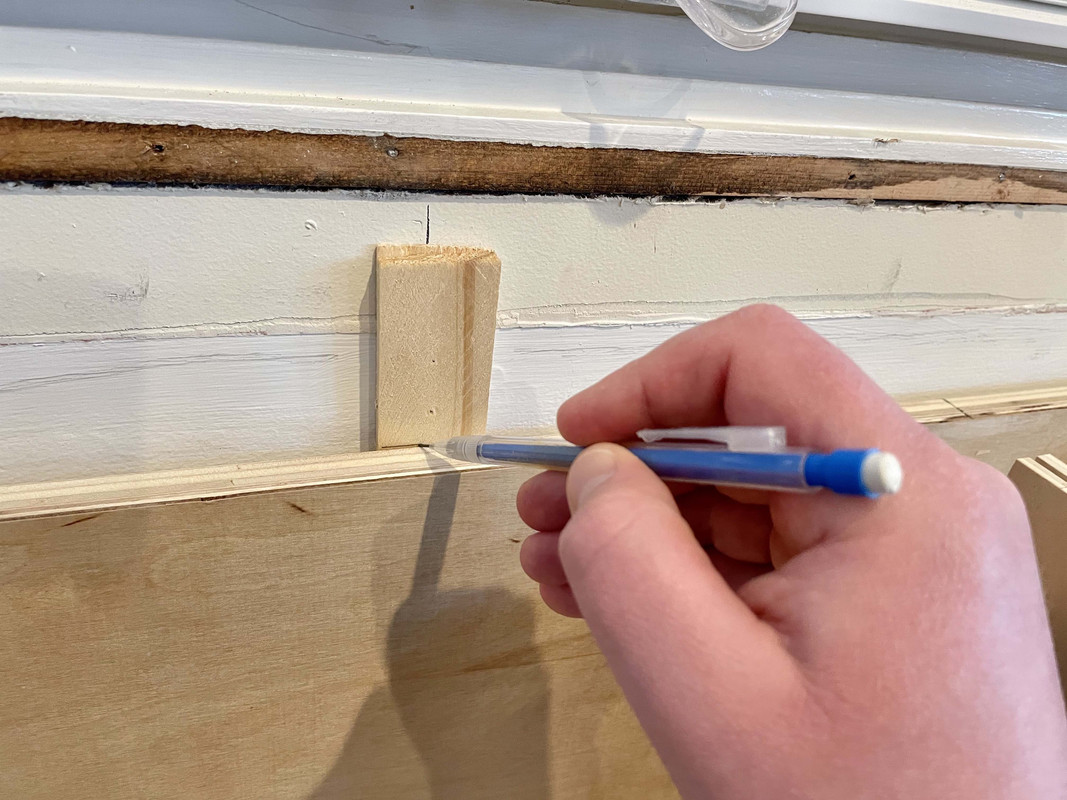
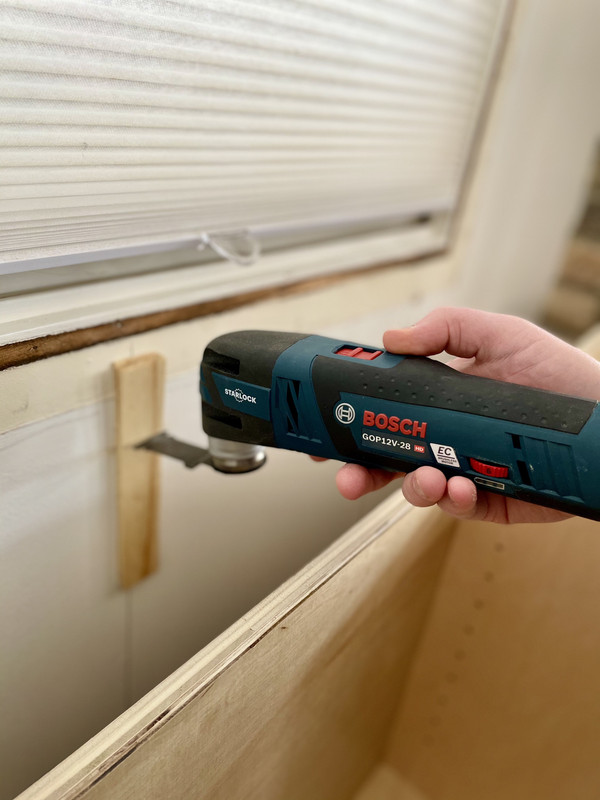
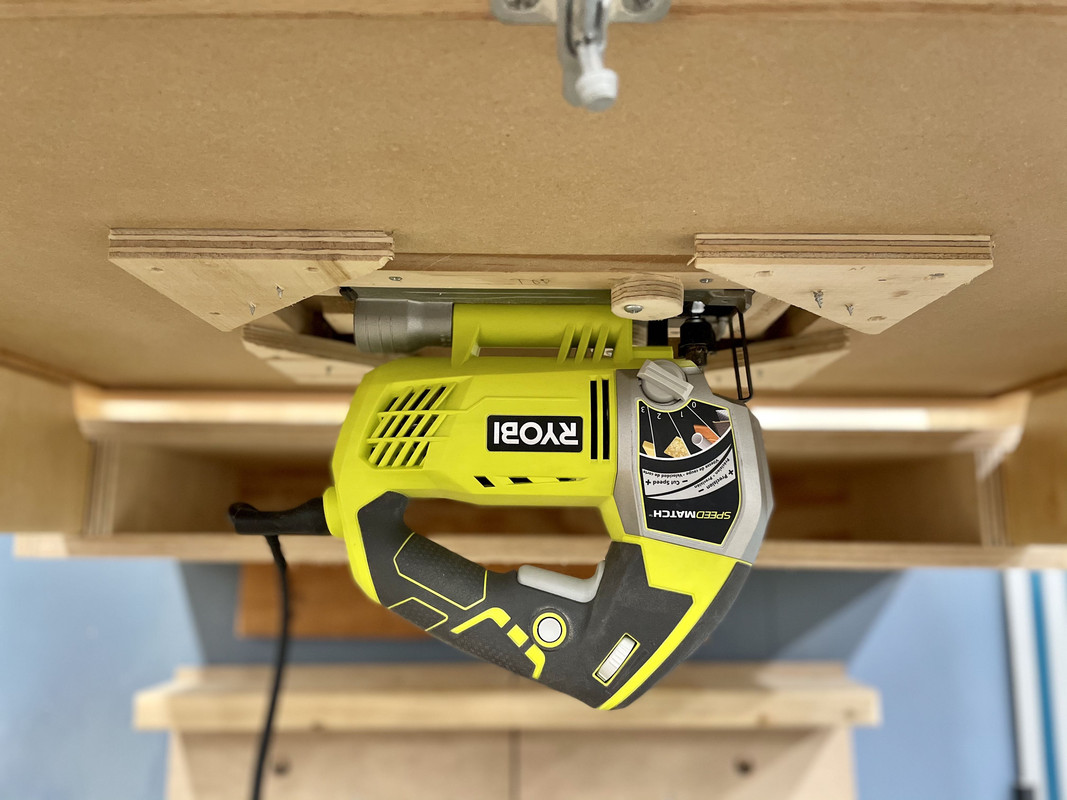
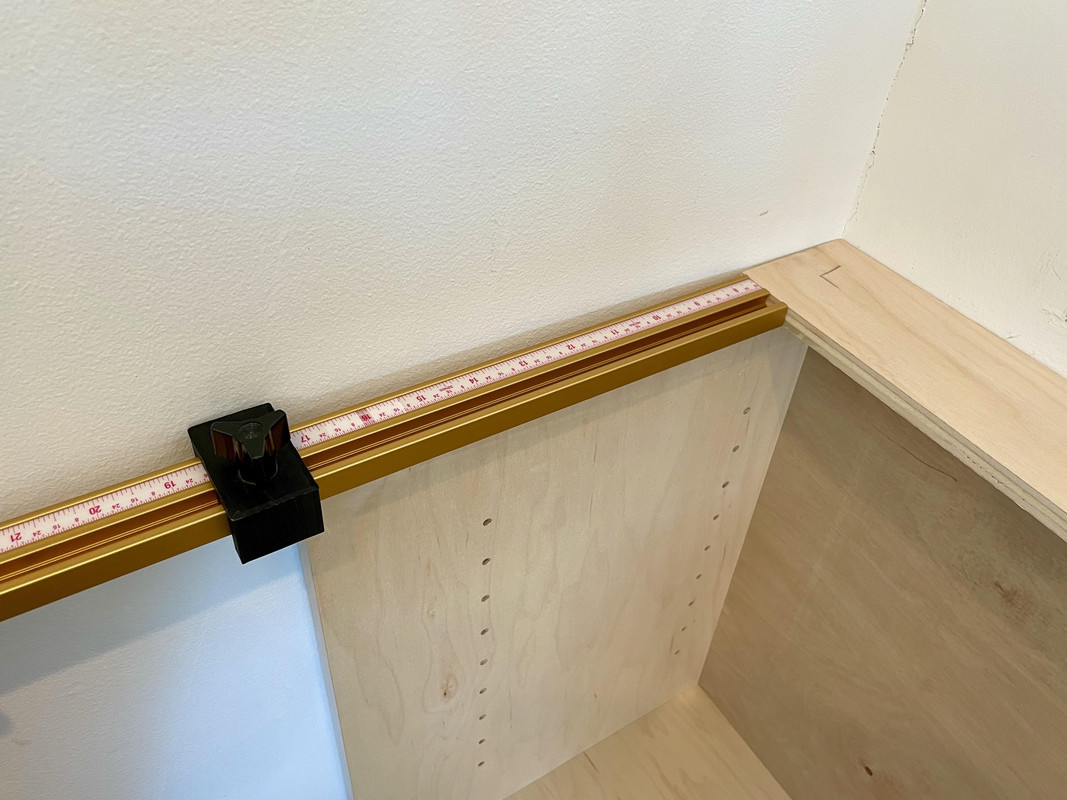
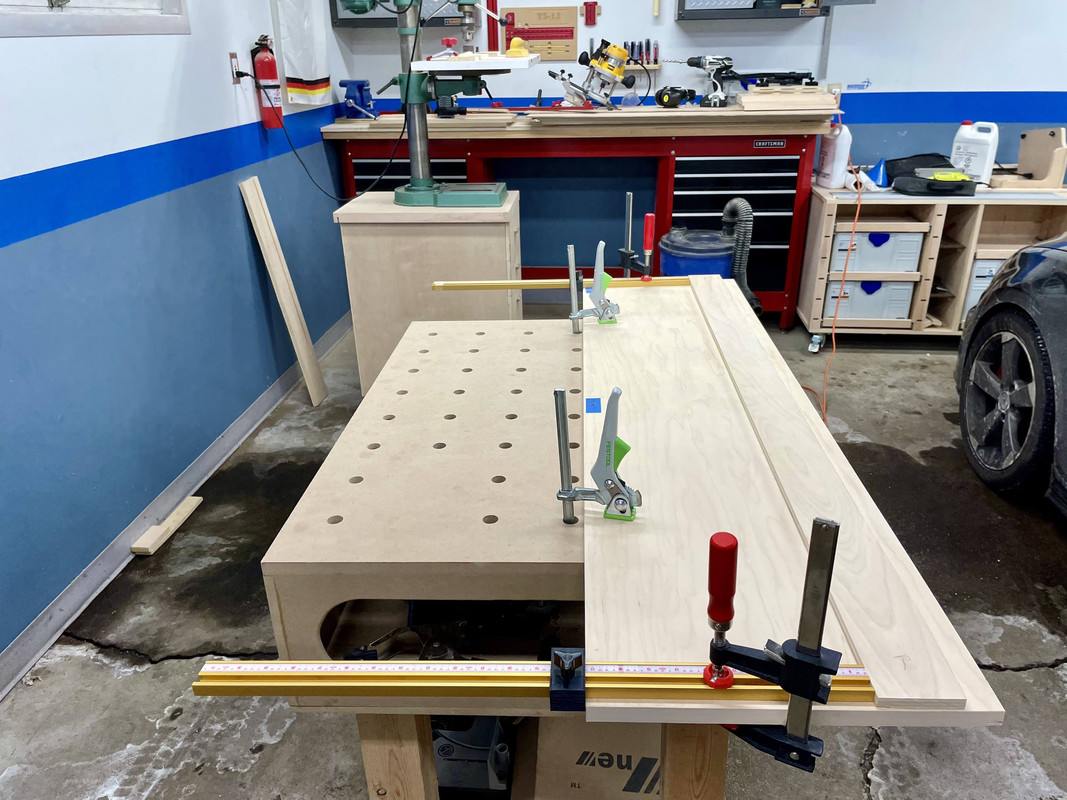
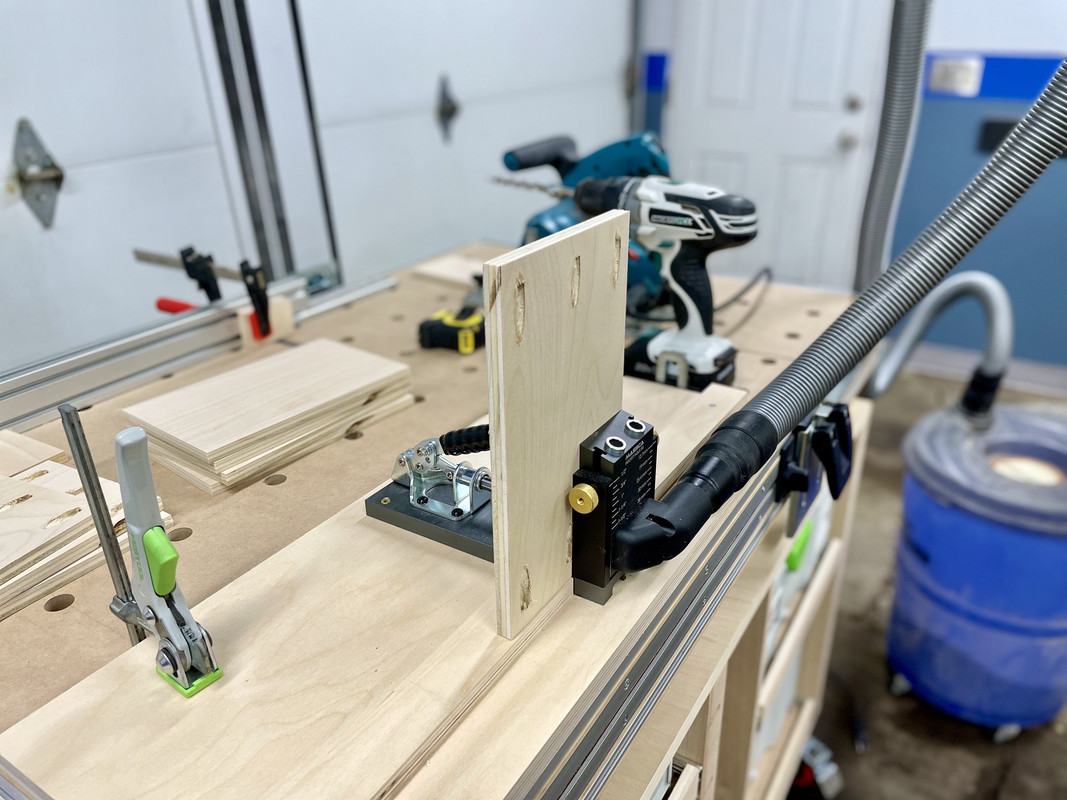
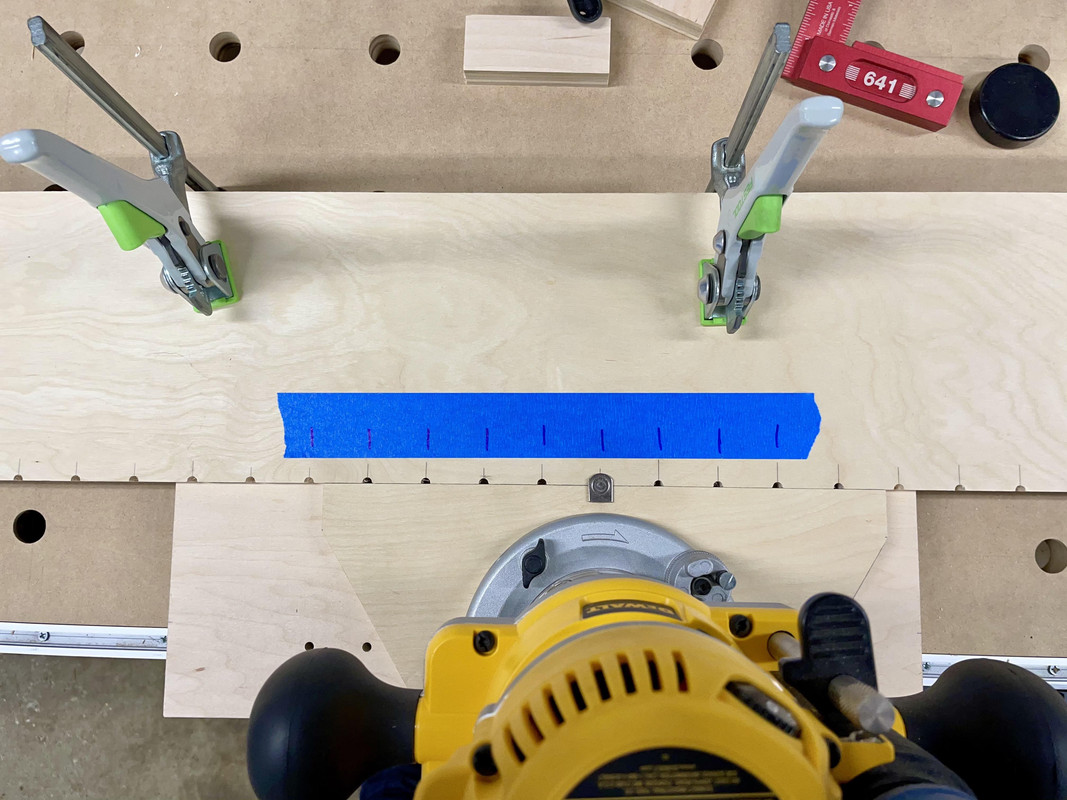
Next I cut the joinery (biscuits only) for the mid panels. Each case gets a middle divider that sits behind the sliding doors. Again, multiple ways to skin a cat here, but I tried a new setup with the biscuit joiner using the MFT rail and fence.
I got the idea from this video here @4:40, which coincidentally is another cool bench build if you ask me.
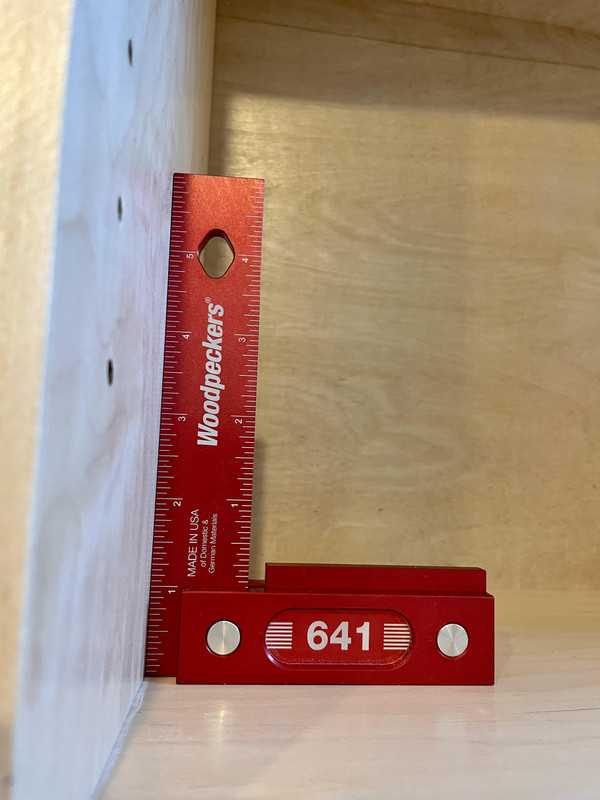
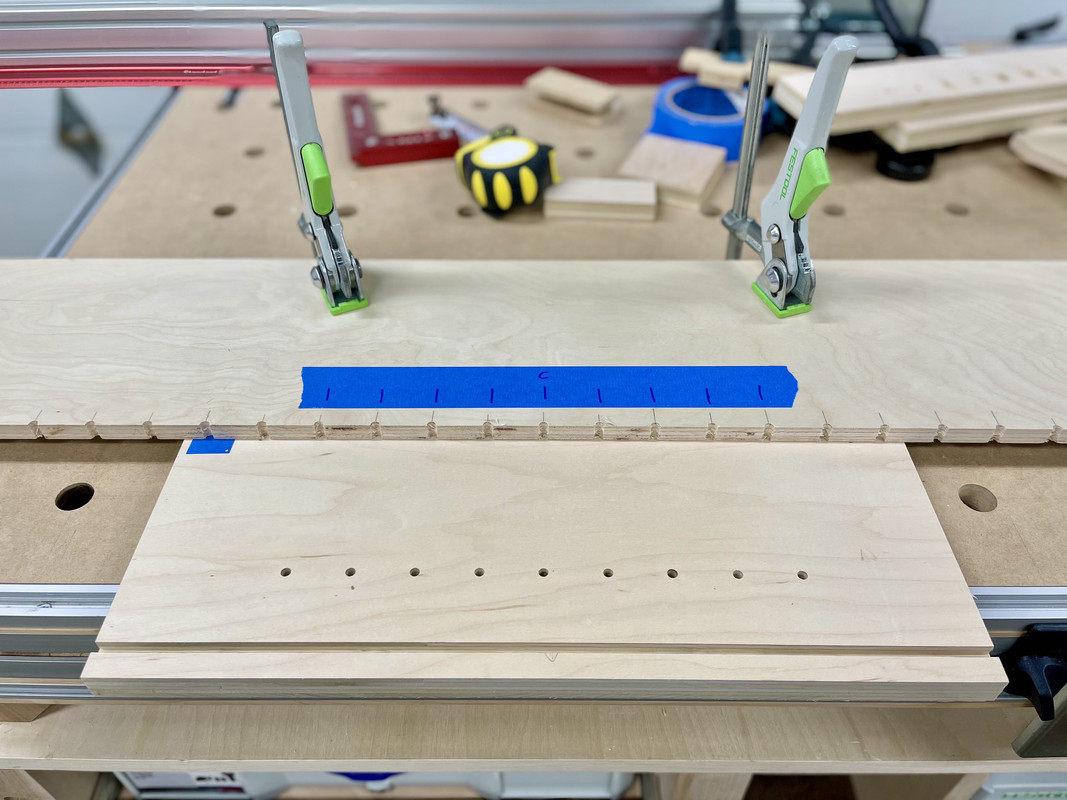
Basically I am using the fence to register the panel, and the guide rail (which is at perfect 90°) to register the biscuit joiner.


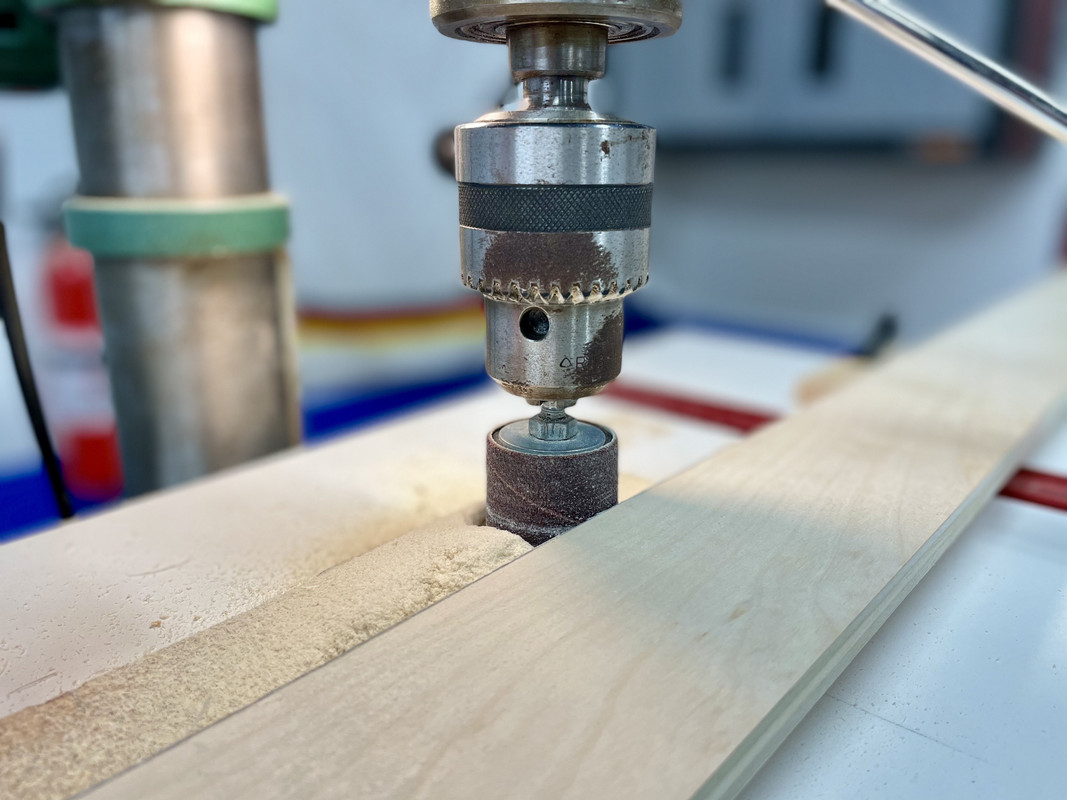
It works quite well. I just drew pencil marks on the rail where I wanted the biscuits, but I figured out I could use my little Woodpecker's flip stop from the drill press in the future.

Some thought still has to go into the biscuit layout and orientation of the panels, but by using an end stop, the corresponding piece can be registered on the same end without having to mark where in the center of the panel the biscuits go.

It's a little tricky to explain, but with some forethought, if I ever had multiple mid-panels to do that were the same, I could theoretically lay out just one, and then use the stops to accurately position the remaining pieces. Not hugely useful for a one-off, but I could see the benefit for a handful of identical cabinets.
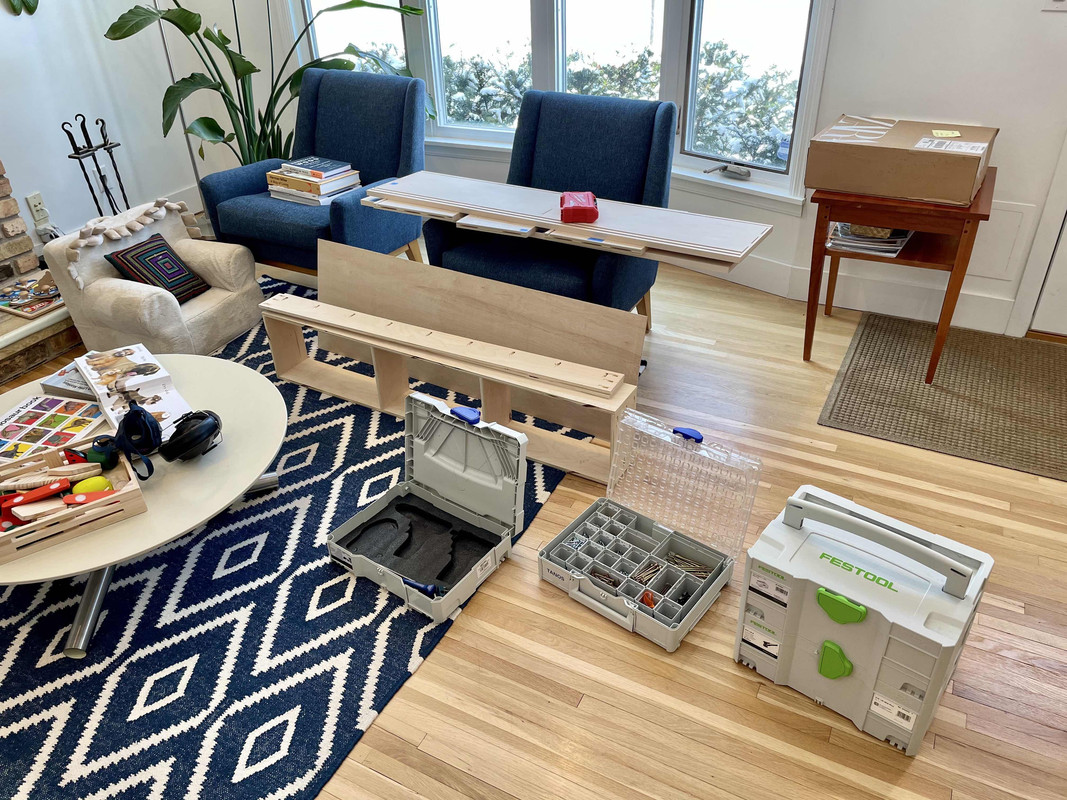
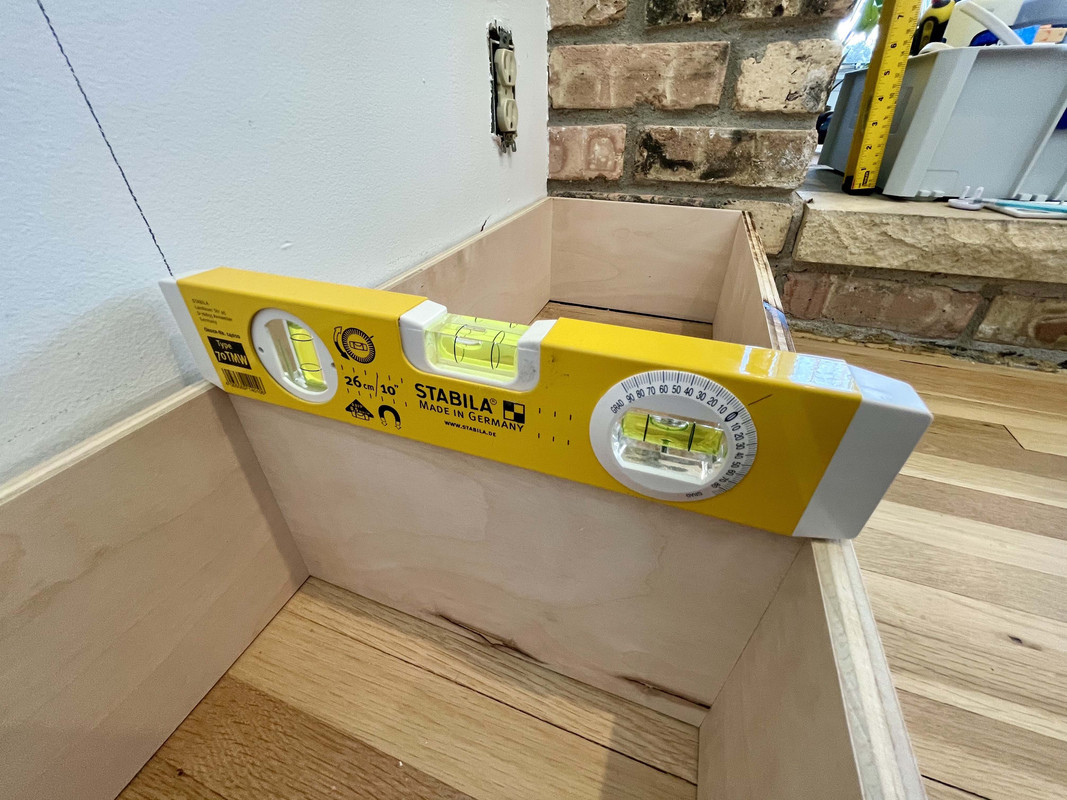
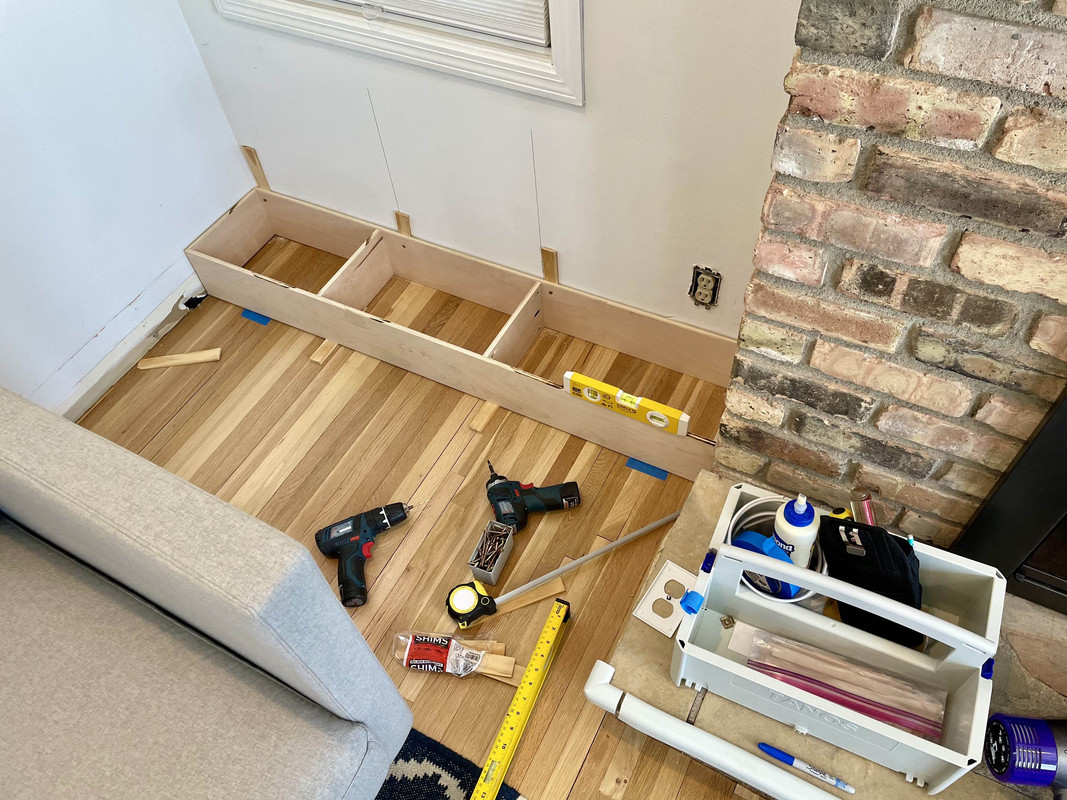
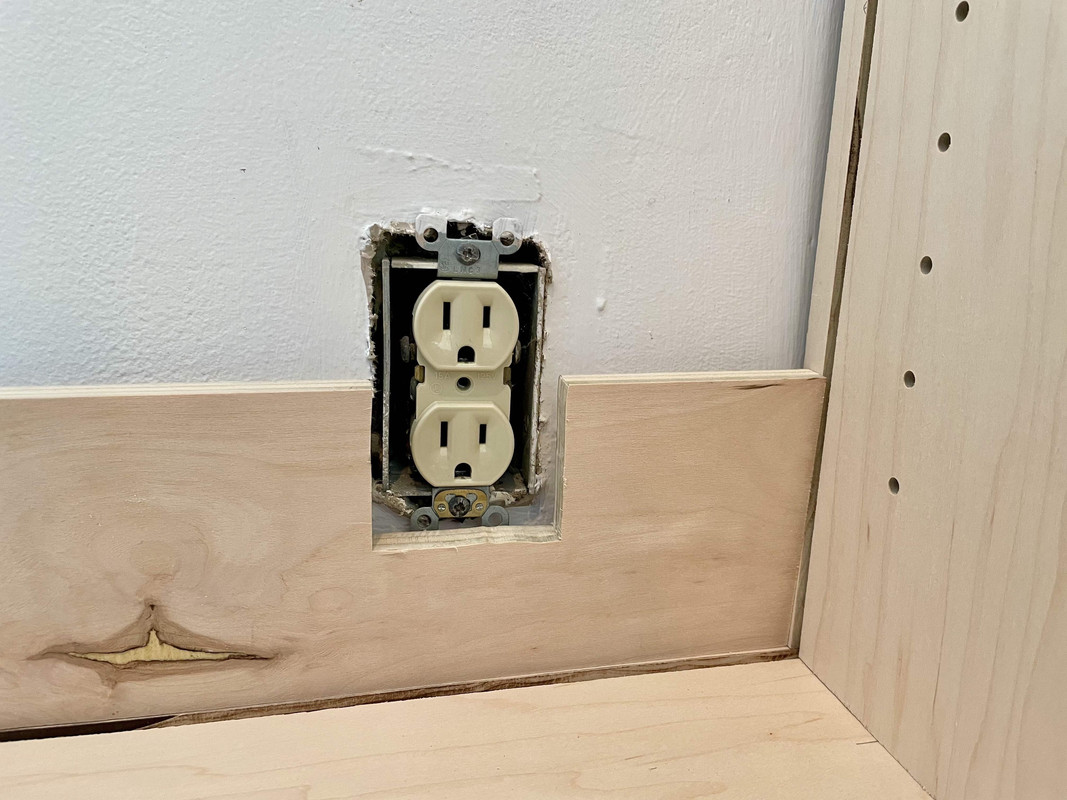
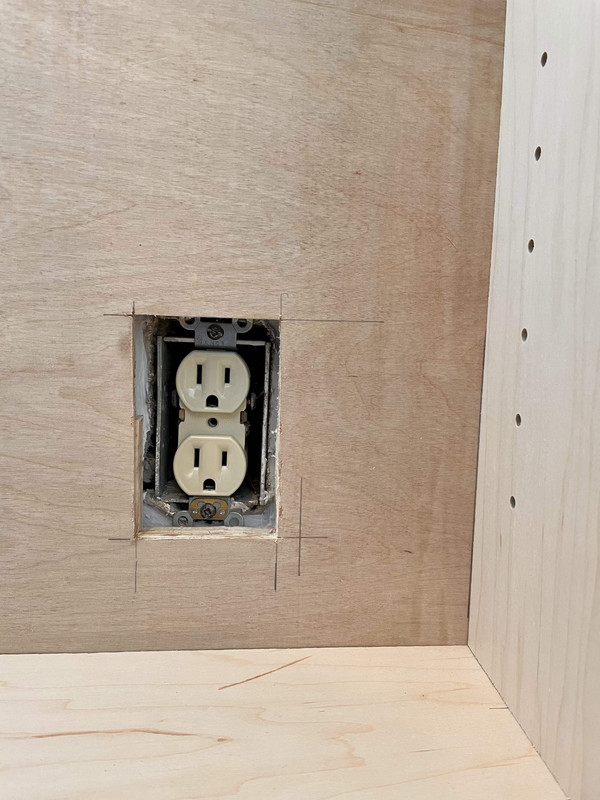
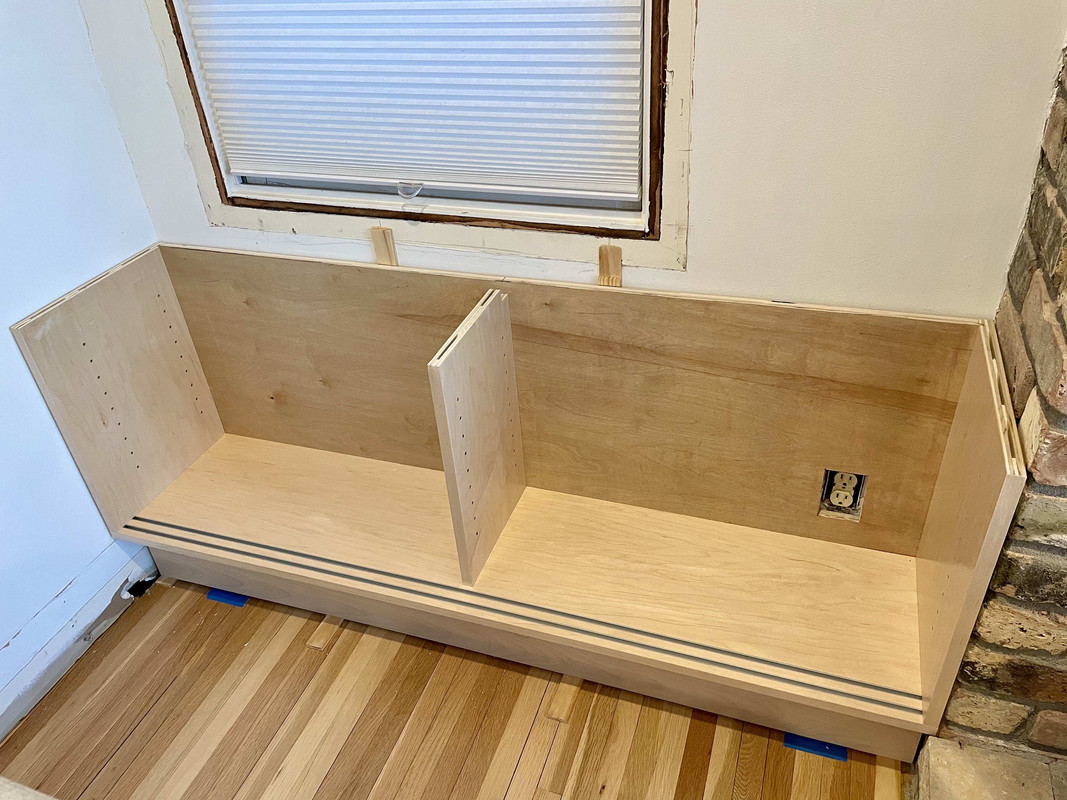
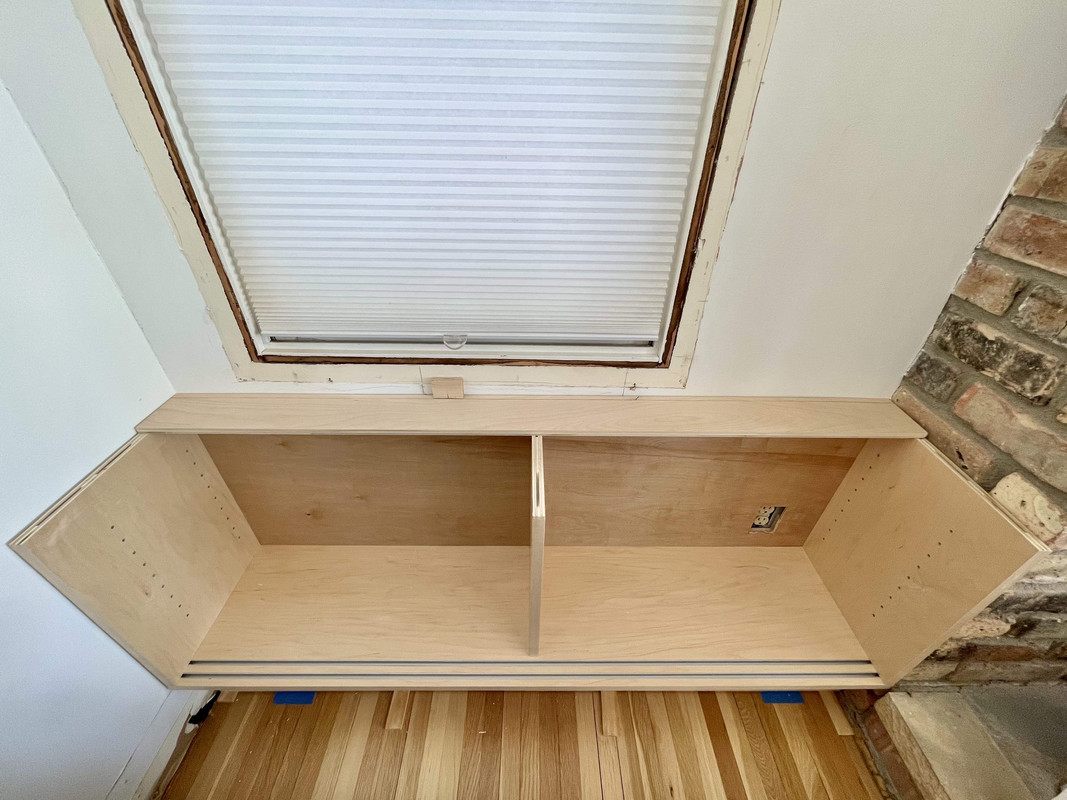
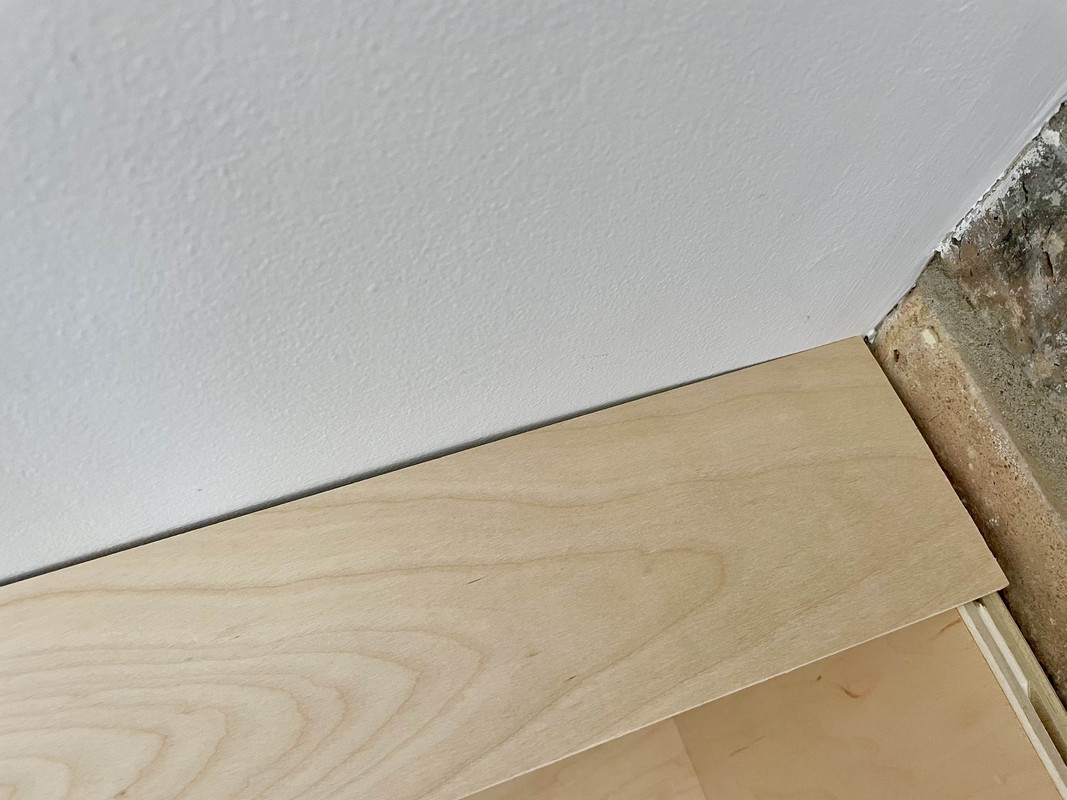
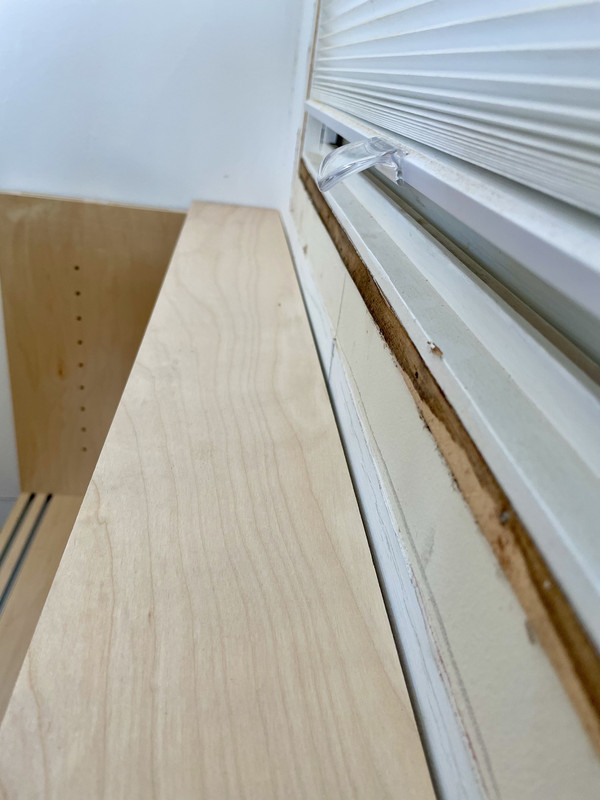
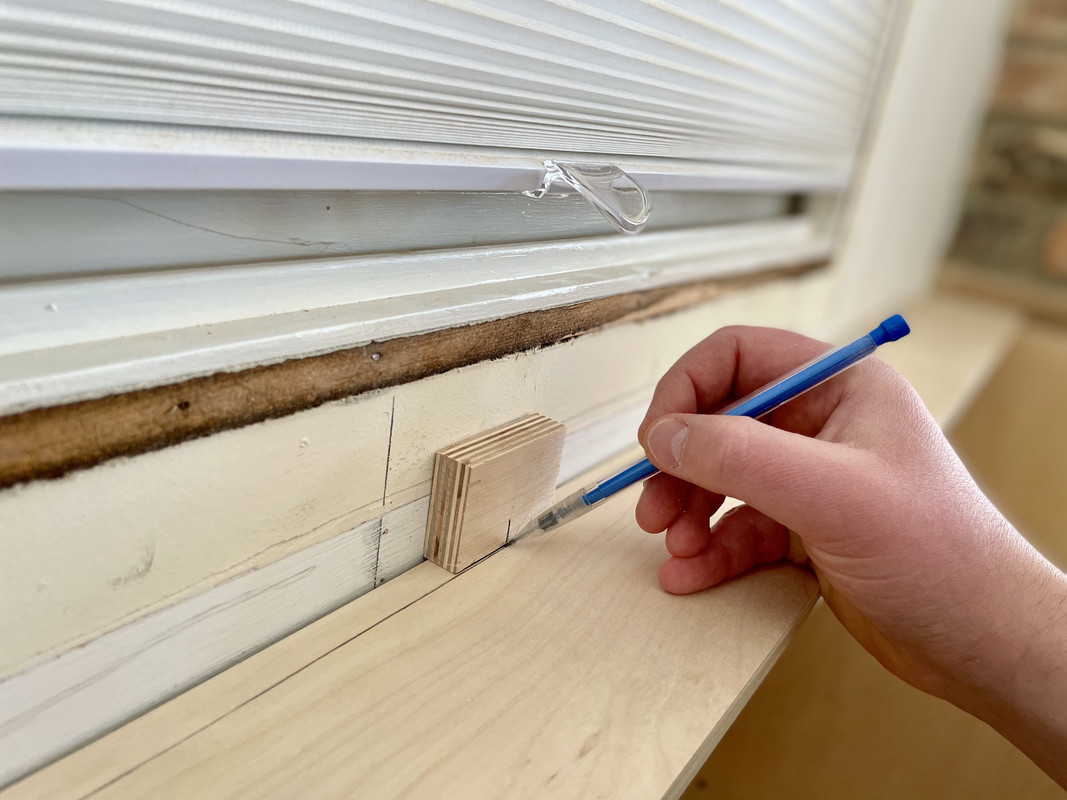
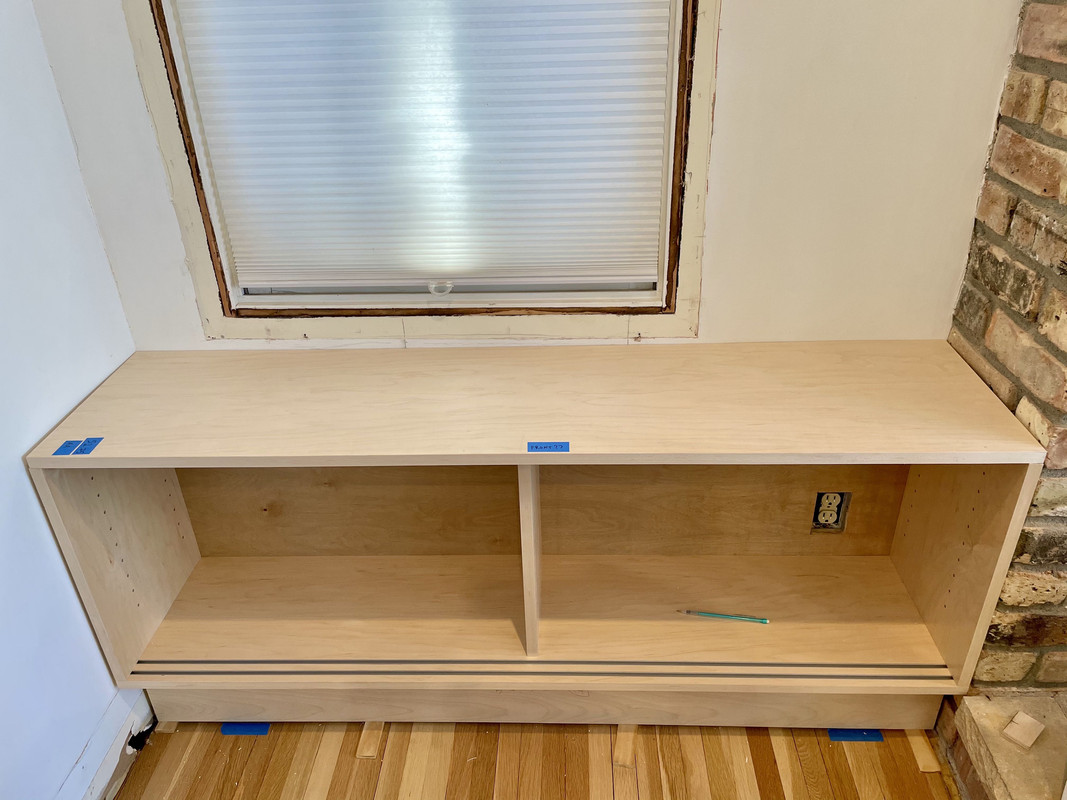
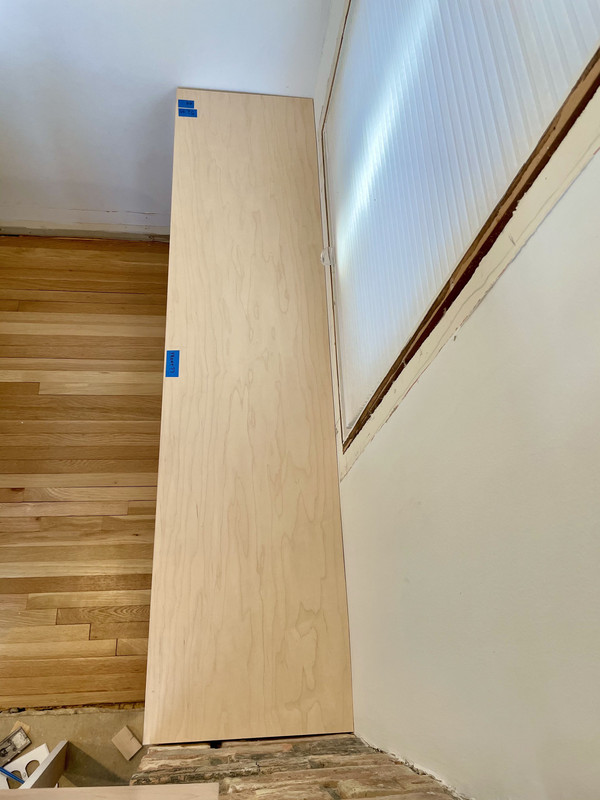
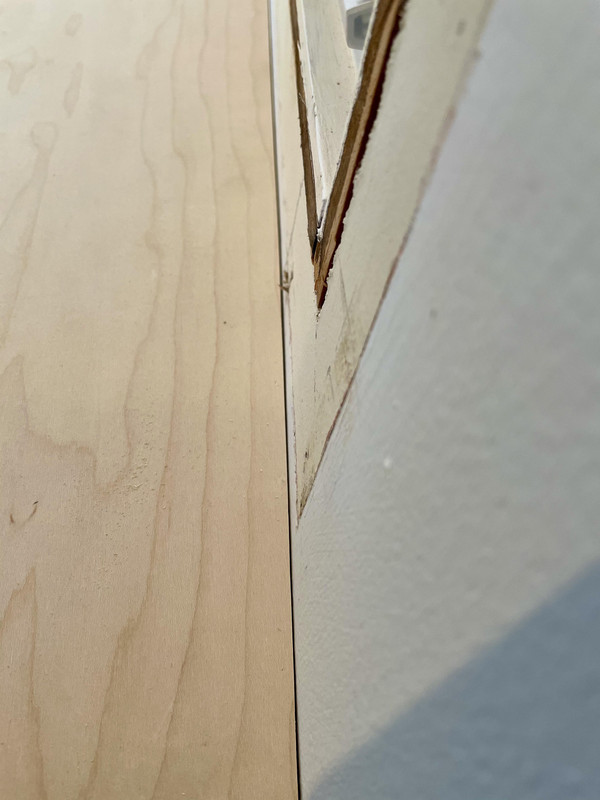
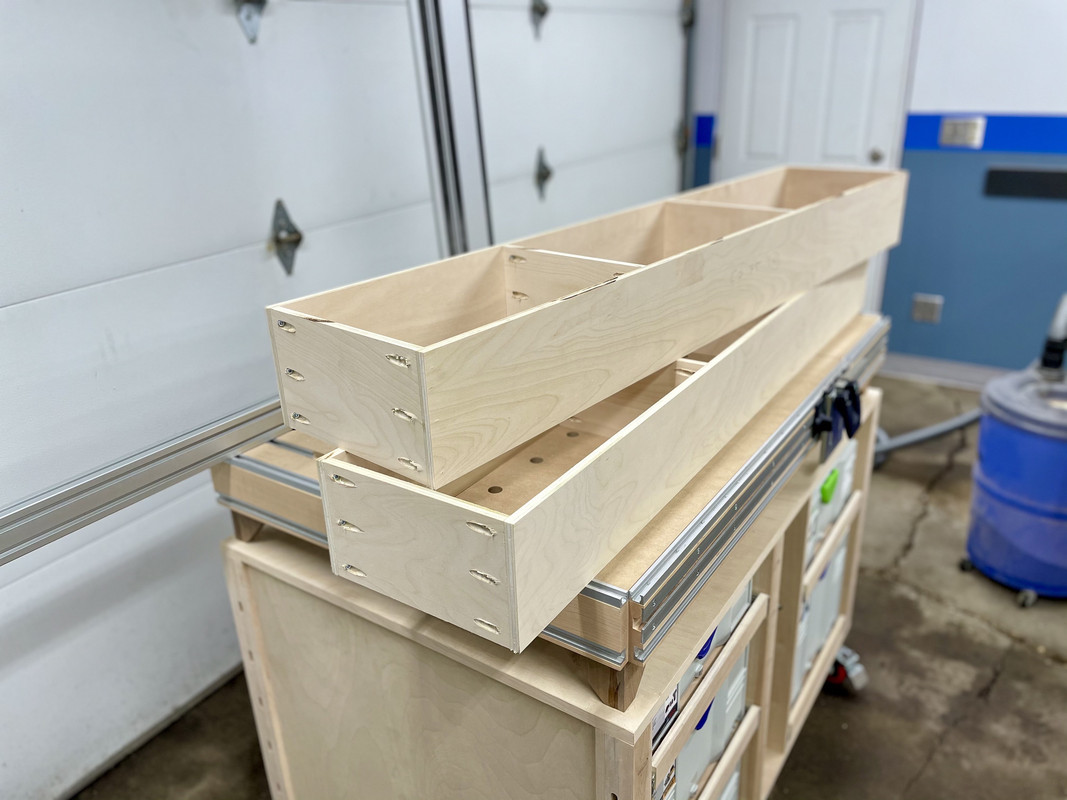
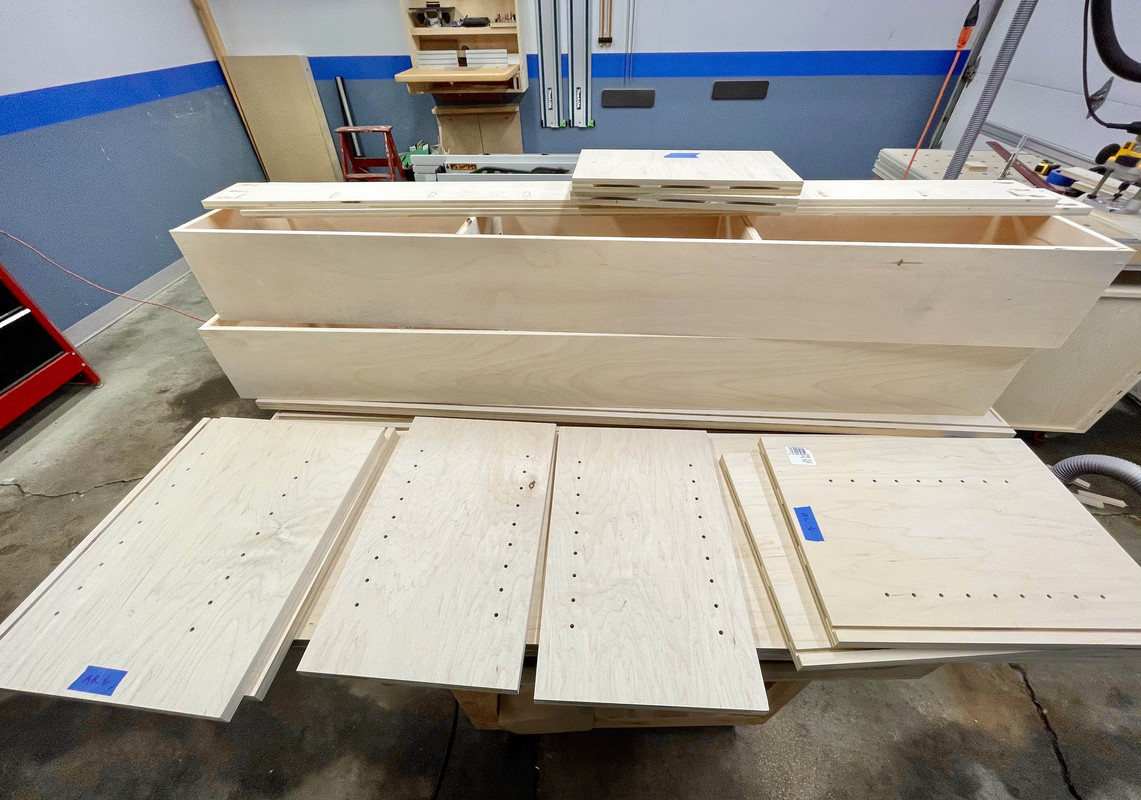
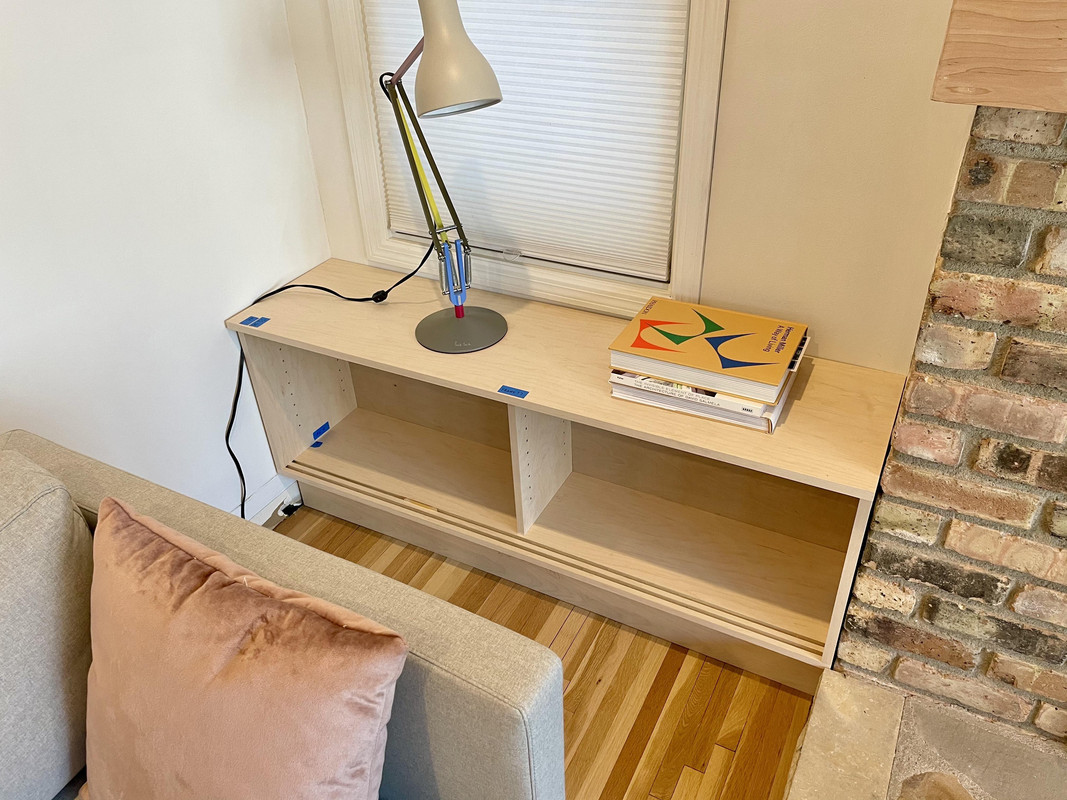
At this point I did another dry-fit test assembly to make sure it lined up:


Seems to have worked.
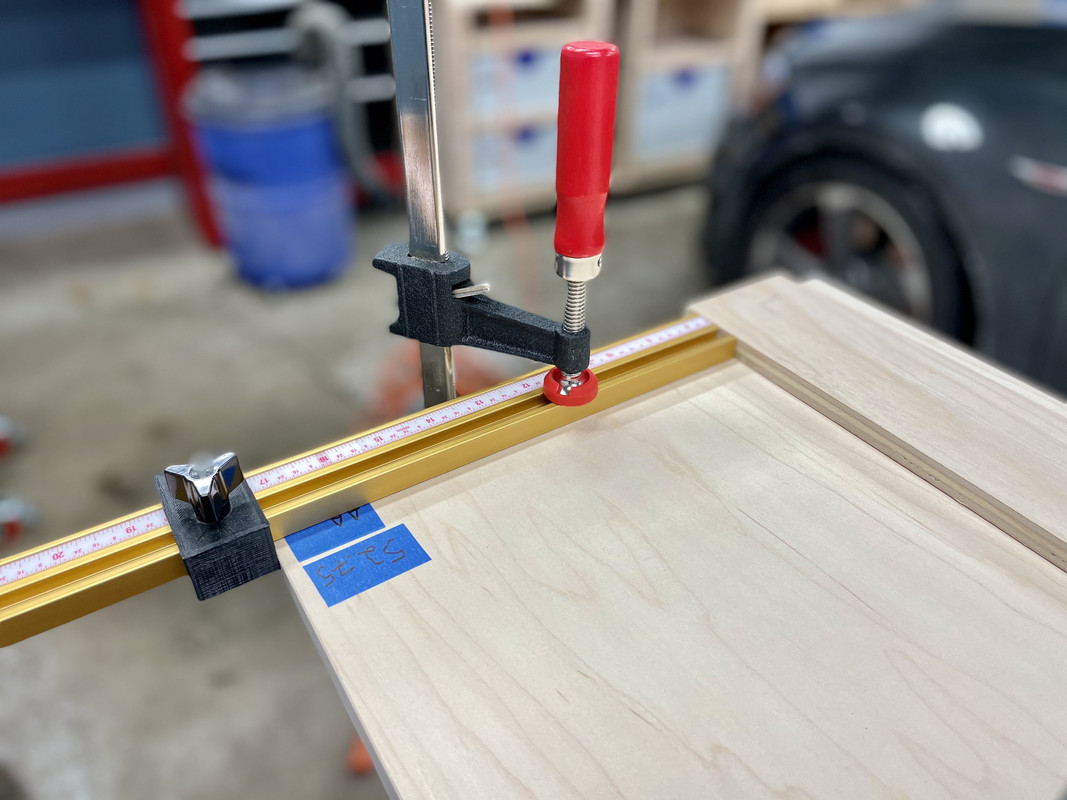
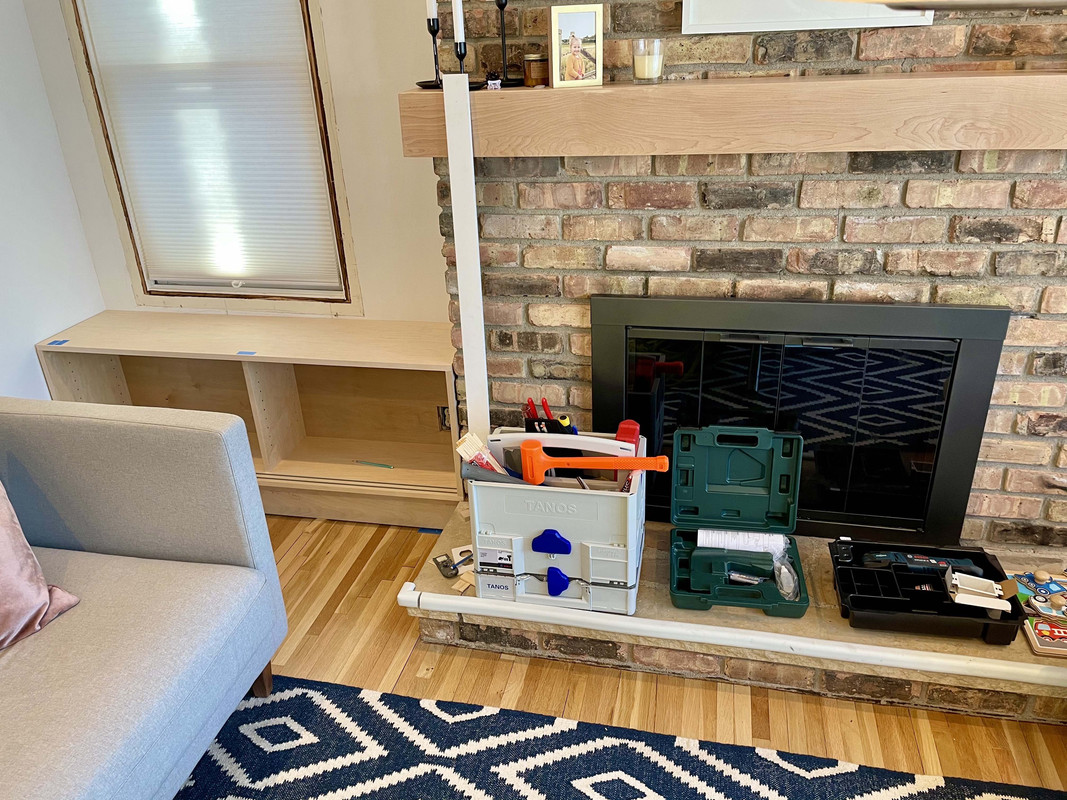
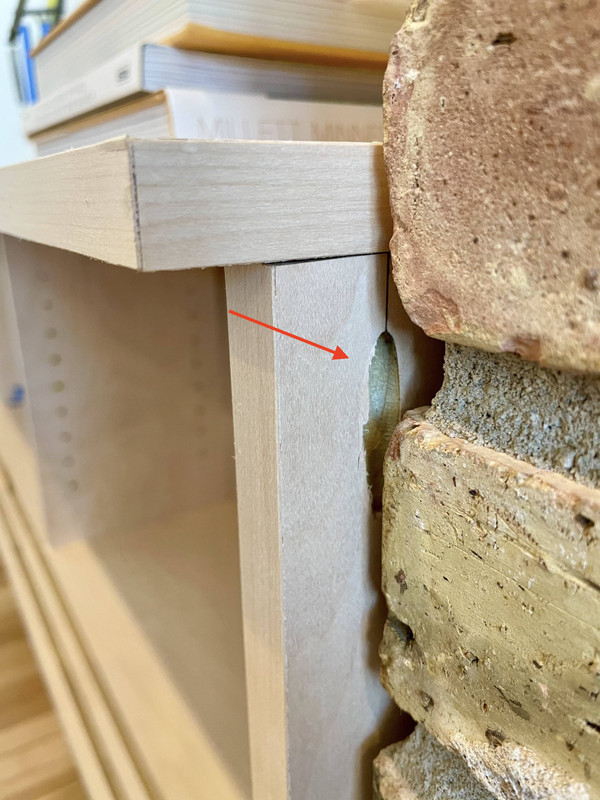
I still need to cut the backing panels to size, and the stretchers, which will be different for each cabinet. Sadly the widths on either side of my fireplace were slightly different, so I am making one cabinet 52 1/2" and the other 52 3/4", just to make things extra confusing.
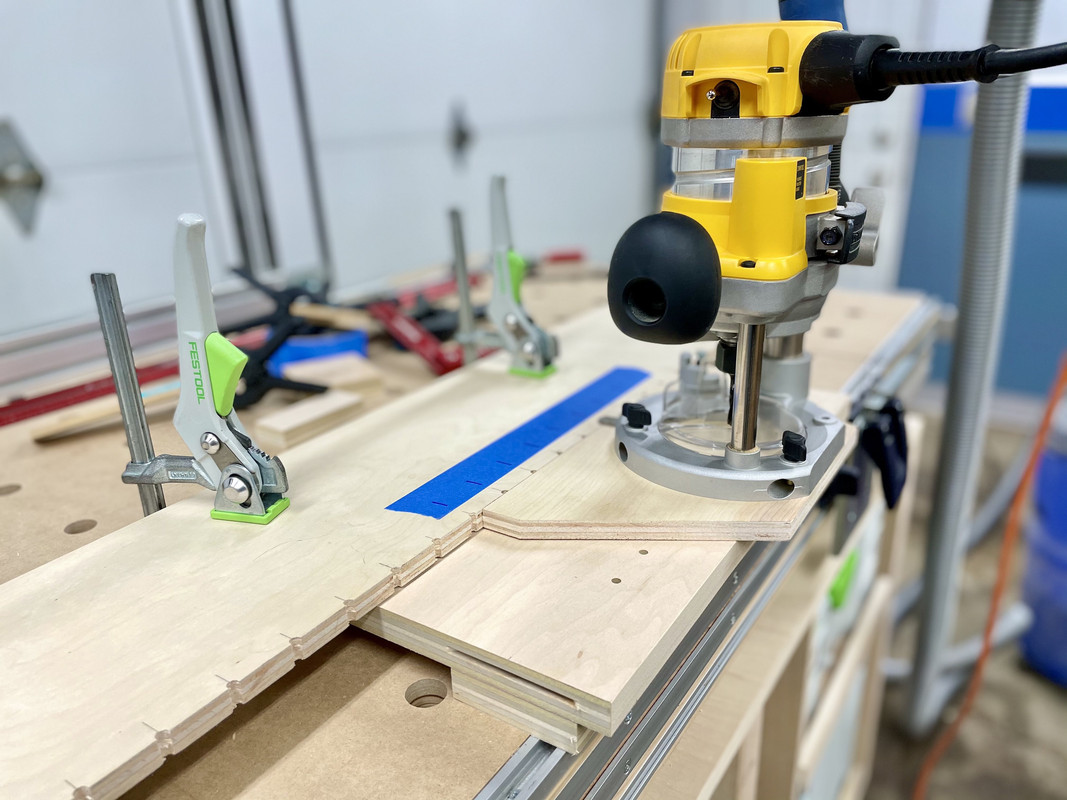
I'll close out with a wider pic of the MFT doin' it's thing:

Going to have a warmer stretch of weather coming up, so I hope to get out there and take advantage.

This part doesn't have defined step. I was kind of just filling out some remaining tasks.
One thing I needed to do was cut a groove for the 6mm backing panel. I did this with a full-kerf blade on the table saw, using the stock guides since the top and bottom panels are so long:
Using the guides also helped hold the panels flat (some of this plywood has slight bow) and to the fence, for accurate, consistent depth grooves.
There are plenty of ways to build cabinets and do backing panels from what I gather, but I am doing the grooves inset 1/2" so some 1/2" thick stretchers can go behind them.
Next I cut the joinery (biscuits only) for the mid panels. Each case gets a middle divider that sits behind the sliding doors. Again, multiple ways to skin a cat here, but I tried a new setup with the biscuit joiner using the MFT rail and fence.
I got the idea from this video here @4:40, which coincidentally is another cool bench build if you ask me.
Basically I am using the fence to register the panel, and the guide rail (which is at perfect 90°) to register the biscuit joiner.
It works quite well. I just drew pencil marks on the rail where I wanted the biscuits, but I figured out I could use my little Woodpecker's flip stop from the drill press in the future.
Some thought still has to go into the biscuit layout and orientation of the panels, but by using an end stop, the corresponding piece can be registered on the same end without having to mark where in the center of the panel the biscuits go.
It's a little tricky to explain, but with some forethought, if I ever had multiple mid-panels to do that were the same, I could theoretically lay out just one, and then use the stops to accurately position the remaining pieces. Not hugely useful for a one-off, but I could see the benefit for a handful of identical cabinets.
At this point I did another dry-fit test assembly to make sure it lined up:
Seems to have worked.
I still need to cut the backing panels to size, and the stretchers, which will be different for each cabinet. Sadly the widths on either side of my fireplace were slightly different, so I am making one cabinet 52 1/2" and the other 52 3/4", just to make things extra confusing.
I'll close out with a wider pic of the MFT doin' it's thing:
Going to have a warmer stretch of weather coming up, so I hope to get out there and take advantage.

 I'll be following along on that for sure. I really like how the Hobelbank and Klavieratelier benches do the guide rail supports. It's such a simple mechanism but looks so accurate. I think I've mentioned before, but I am disappointed in the Festool rail supports and do not think they are worth the money. I know you have Bosch rail so that probably doesn't matter to you. I'd also check out the
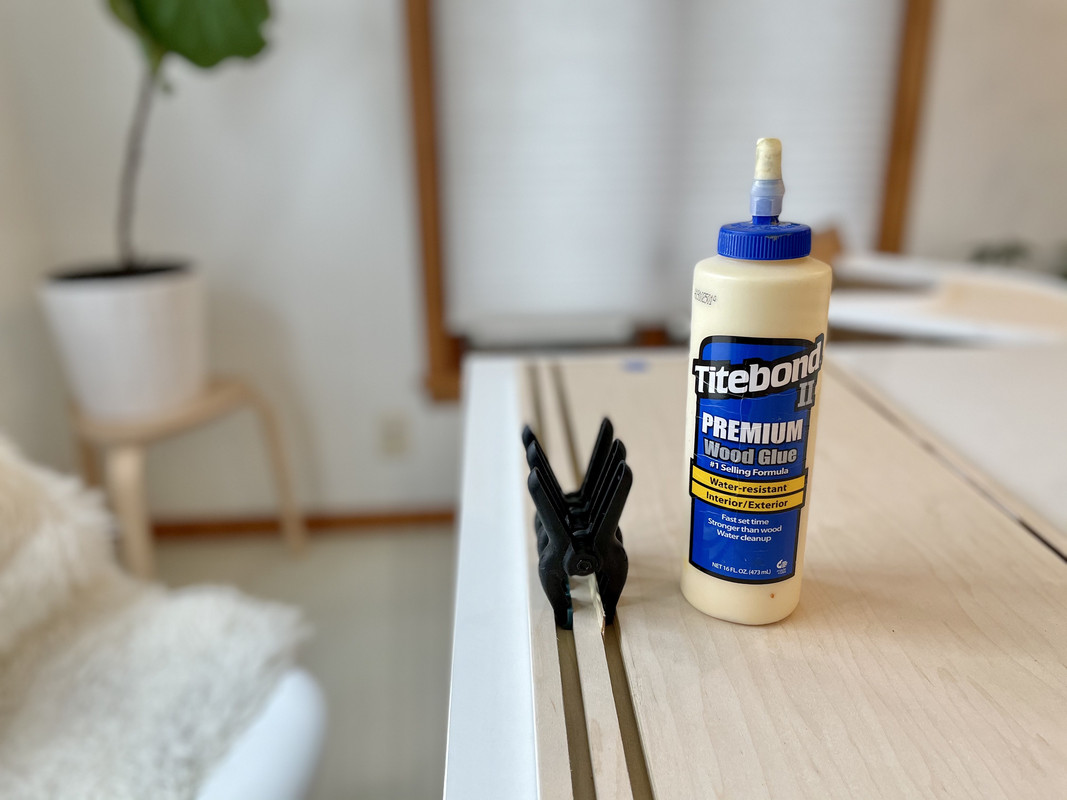

 Keep up the good work!