ez-duzit
Well-known member
...Trying to decide if I want to spring for a Bison Set Tru 3 jaw chuck.
Heck yeah!

...Trying to decide if I want to spring for a Bison Set Tru 3 jaw chuck.
Heck yeah!
...They are quite proud of them.
You have a premium machine. Are you going to cheap-out on an Asian import chuck?
") You'll want 3 and 4-jaw (and eventually 6-jaw).
You'll want 3 and 4-jaw (and eventually 6-jaw).And every time I swap chucks, the next job seems to be better done with the one I just took off.
Dave
 .
.Nice way to get some practice in both programming and machining. Came out great!Overkill is the way


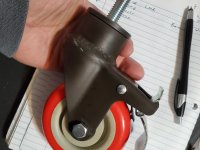
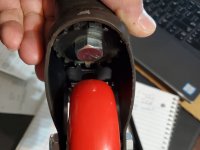
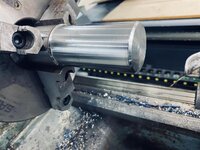
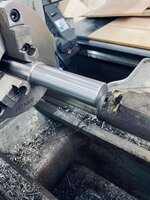
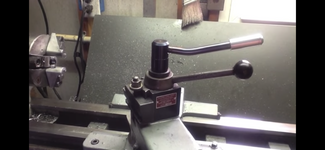
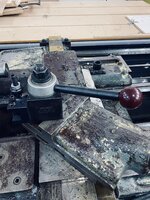
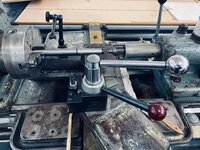
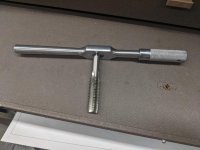
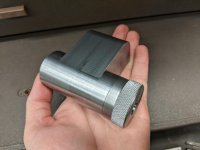
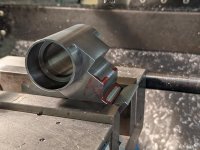
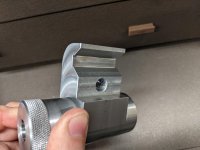
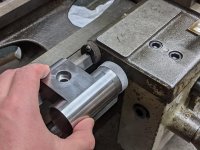
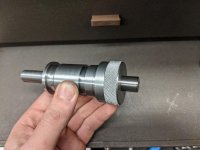
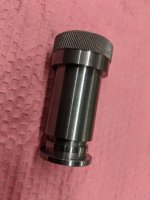
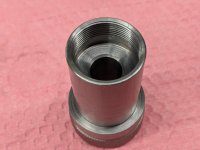
Finished the handle project. I’m happy with it for my first lathe work.


No. I'm trying to sort out which chuck I want. I'm thinking Toolmex (made in Poland) Set-Tru with two piece jaws. Trying to decide between 8 and 10 inch. Leaning toward 8 because I don't see any big parts in my future and I have a 12" four jaw if I did.
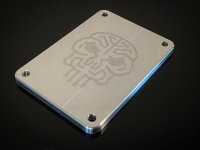
Here is a fun project.
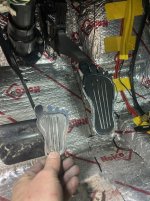
I’m building an old truck. Wanted the “foot” gas pedal that I had in my first car. It’s just fun. Lol.
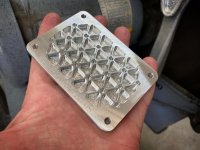
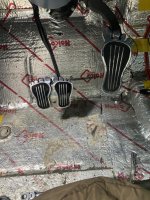
I always wondered if they ever made a brake pedal cover with the”feet”. I never saw any.it looked like I needed to make them for the grandkids. they should get a kick out of it..
I printed out a pattern then cut it out and traced profile and etch-a-sketched it.
Came out ok.
Dimmer is on column so no place to put that.
The Brake Pedal cover was either square or rectangular with the same cross ways ribs. I seem to recall a couple of sizes for manuals , the Large Power Brake and a foot parking brake, [J.C. Whitney I think for some of them]


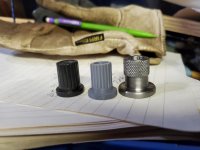
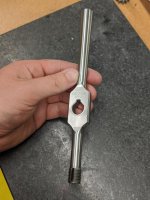
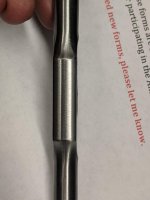
I posted the large 91D tap wrench I made a couple years ago. I just finished the copy of the Starrett 91B I have been working on. Made from hardened and polished A2.
Real nice! Gotta love some precision working...
Out of interest, the A2 that I know (in Europe) is identical to AISI304 stainless steel. I doubt that's what you used, could you say what material it is?