MrSurly
Well-known member
That looks like Chevy pickup rear brakes?

Nice, I was a decade behind you at tech but my brother did his time at state college PA.
That looks like Chevy pickup rear brakes?


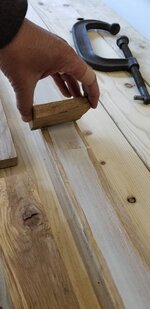
BB: great save on the fence boards. I've never known anybody to use OAK for fencing so i'll have to take a closer look at the torn down free fencing from now on. since i'm thinking of making my own support beams for my deck out of old good wood i'm very curious to see how your BUTCHER BLOCK idea works out.
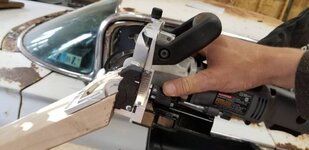
so you are going to make sections 10 inches wide and are you just clamping the 3 inch 3/4 inch oak boards and glueing or are you planning on using nails or screws too?
the garage has been looking great and sorry I don't post as often on your thread as I do on others, but I do usually read what you post and love the pictures.
cheers and best of luck on the oak butcherblock bench project!!

BB: sounds like a great plan on making a very nice OAK butcherblock benchtop.
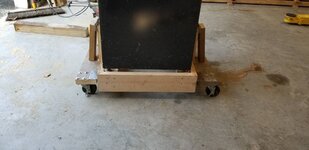
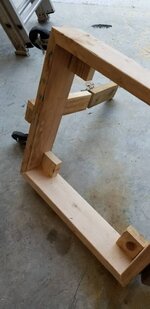
you might need to make something similar to these stands to keep that heavy 10 foot section of oak going through your planer or maybe you already have some metal ones?
best of luck and i'm really looking forward to seeing how your butcherblock turns out. I know it's not always easy to take pics during or before or after projects, but I for one would like to see some if you have time to take and post a few.
How's the remote control on the air compressor working?
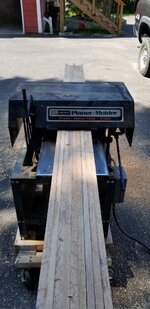
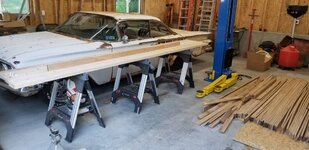
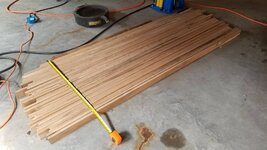
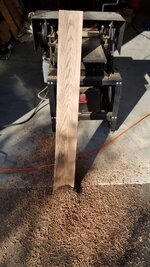
After putting a new set of handles on the wheelbarrow (only had them on hand for two months!), I decided to have a start at planing down the old oak fence boards I'm going to use for my workbench surface.
These boards had been sitting out in a field on my parent's farm for nearly 15 years. They were under a tarp, and so somewhat protected from the weather, but the tarp also held in the ground moisture. The boards had started to rot, and my Mom wanted them in the dumpster. However, as my son and I started to go through them, I saw many of them, though covered in fungus and mildew, still had solid wood. I cut the 16-ft boards in half and filled my truck bed for the trip back to Mass.
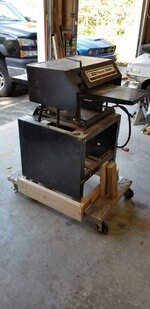
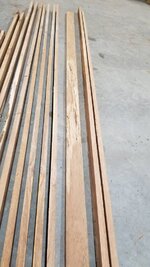
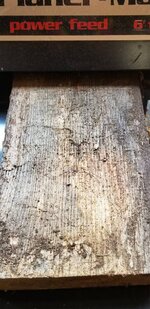
I ran the first board through the planer, and it cleaned right up. It also put all that mold and fungus in the air for me to breathe--not good. I stopped and got some safety equipment on.
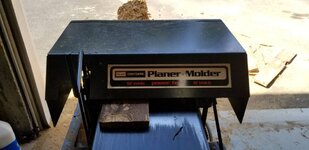
Much better. I ran about 14 boards through, planing both side and taking the boards down to a uniform 3/4" thickness. This was my first big test of this estate sale-scored Craftsman planer, and it handled the boards just fine. It could stand a new pair of feed rollers, but otherwise, I'm impressed.
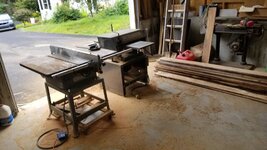
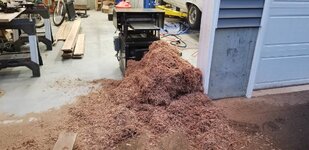
The plane made a huge pile of shavings, and this is only a quarter of the boards I have.
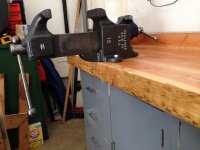
I think I'll take the boards I planed and go all the way to butcherblock with them to see how well it will work. I'll split the six inch boards in half lengthwise, and after cleaning up the edges, I should end up with a bunch of 2-3/4" x 3/4" x 8' sticks. Then I'll square the ends and start assembling a ten-inch wide by eight-foot long chunk of butcherblock.


")
That's what I'm counting on!I'll bring you all along for the ride as best I can.


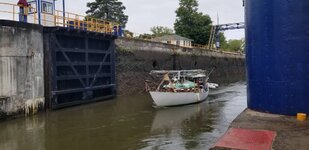

I would like to go on one of those cycle touring events. Did you have scheduled over night stops at motels and restaurants? I imagine a day of riding you would deserve a hot shower and good meals for dinner and breakfast the next morning.
How many muscles reminded you that you haven’t used them in awhile?