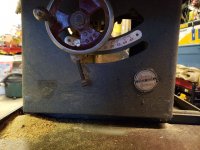
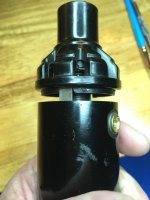
Lugz mentioned darkening brass with vinegar a while back, and today I had cause to check it out. I was cleaning layers of crud off some 1-1/2” brass hinges (yes, garage sale acquisitions, though not recent). There was dirt, grease, paint, rust (on the steel pins), and on this one, verdigris. I popped it into some white vinegar for an hour and what I think happened to make areas turn pink is loss of zinc. The pink copper will probably turn a darker, or faster, brown than the yellow brass.
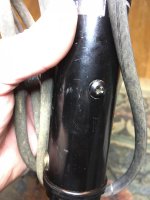
I cleaned the calcium crust out of a garden hose nozzle with vinegar a few days ago, too. (Allentown’s water supply comes from a calcium-rich aquifer, unlike Bethlehem’s soft surface water source.)
I have been hesitant to add salt. As a child, I found a thin dime that was pretty corroded from long burial in soil. My grandmother enthusiastically submerged it in a vinegar-salt bath, and to my eyes, dissolved most of it away. Looking back, I suppose most of the silver was already lost, but the trauma remains.
Attachments

Last edited:


 If so, dude, it's all good. I was just venting.


 sorry if this is a double Double post.