If you wouldn't mind could you elaborate on how you get the joints so tight. Do you only use a tubing notcher or do you also fine tune it after? And how do you measure for the cuts so they hit exactly where you want them to?
Thanks in advance
Rick.
HI Rick-
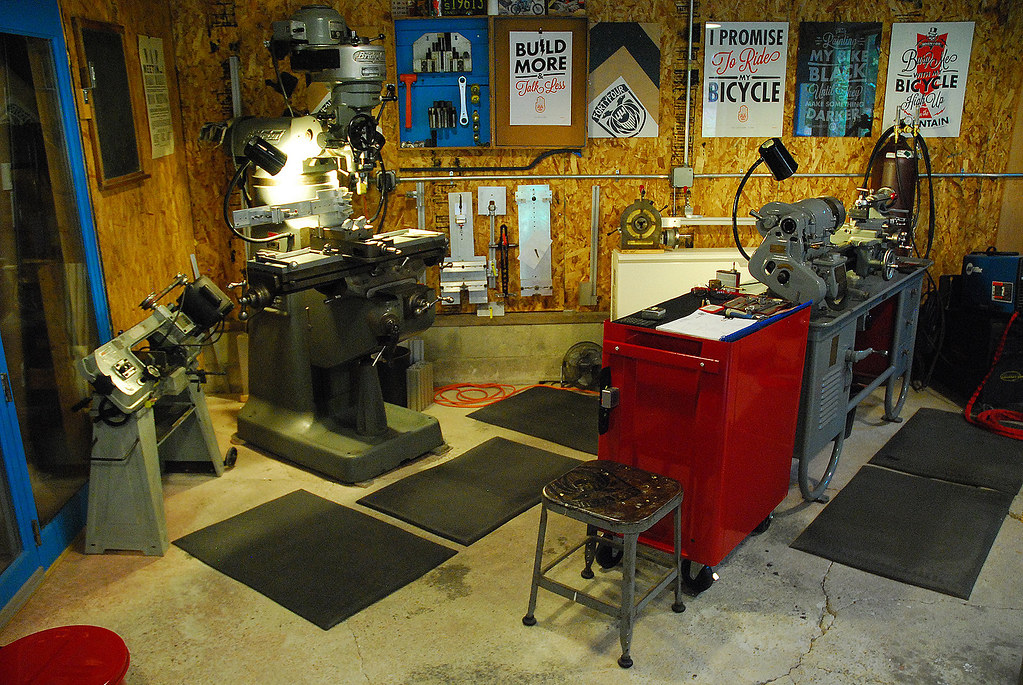
Good question. It all starts with a good drawing. All of my measurements, angles etc. are all mapped out ahead of time for me to reference. All of the tube to tube miters (or copes if you prefer that jargon) are performed on specific tooling. Here's the main tube mitering set up (top tube, down tube and some times seat tube):

Here's a close up at the cut. Mid cut I've taken off the excess so it does not interfere with the rest of the cut (in this case, it is the down tube):

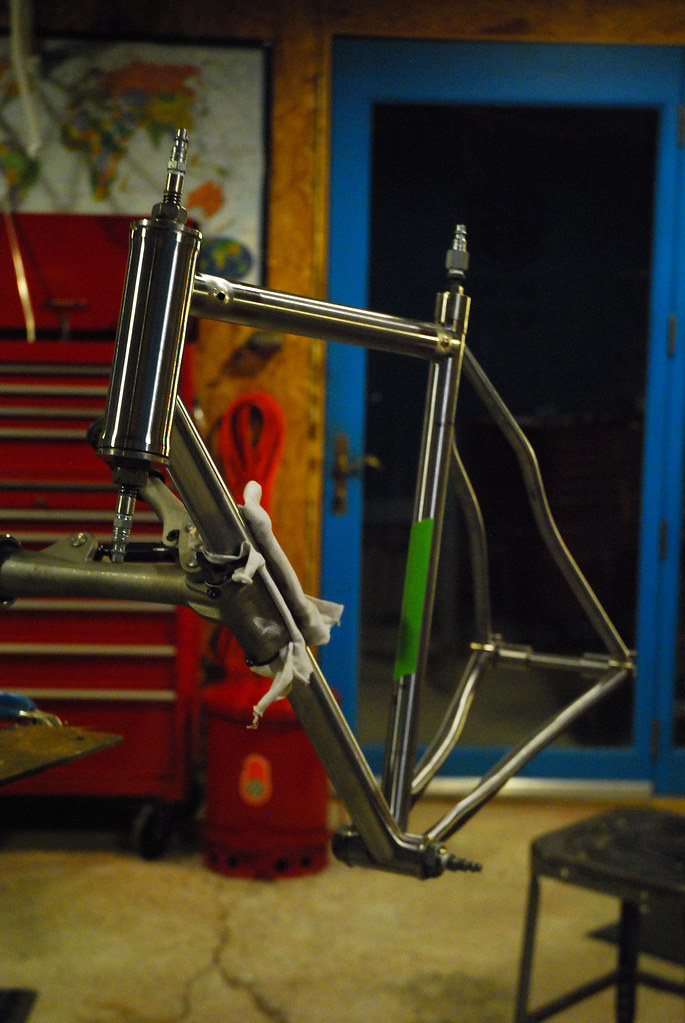
Don't let this photo fool you - this is a rather large and heavy piece of tooling. The set up is very rigid and carries a lot of mass to soak up any vibration that resonates from the cut. RPM's of the head on my mill are very slow and the cut is equally as slow. To get good tight miters, one of the keys is to utilize the mass of the head on the mill as well. Tubes get two tubing blocks. One at the end of the cut and one in the center which follows the tube throughout the process until it is finished. This allows me to index each cut and I reference the drawing for angles/measurements. All tubes are mitered and assembled into my frame jig:

I use another specific piece of tooling for the bottom bracket assembly too:

Here's a bunch of process specific tooling:

Most of the clean up happens with file and tube/tubing block in a vise. I clean, get rid of any burs and polish the inside / outside of each tube at the cut. One cut I will do by hand is the Down Tube to Seat Tube crotch for mountain bikes that sport a radius seat tube. Often I will make the initial cut on the machine, and then slowly tune it by hand with appropriate sized files. Here's that spot coming together. This one is JUST about finished - you can see there's just a little bit of room still left at the bottom bracket and I'm fine tuning that seat tube to down tube junction by hand:

The other place I actually miter/fit by hand are the seat stay bridges, and if Disc Brakes are used, I'll do the fitting of the ISO disk mount and it's brace by hand as well:
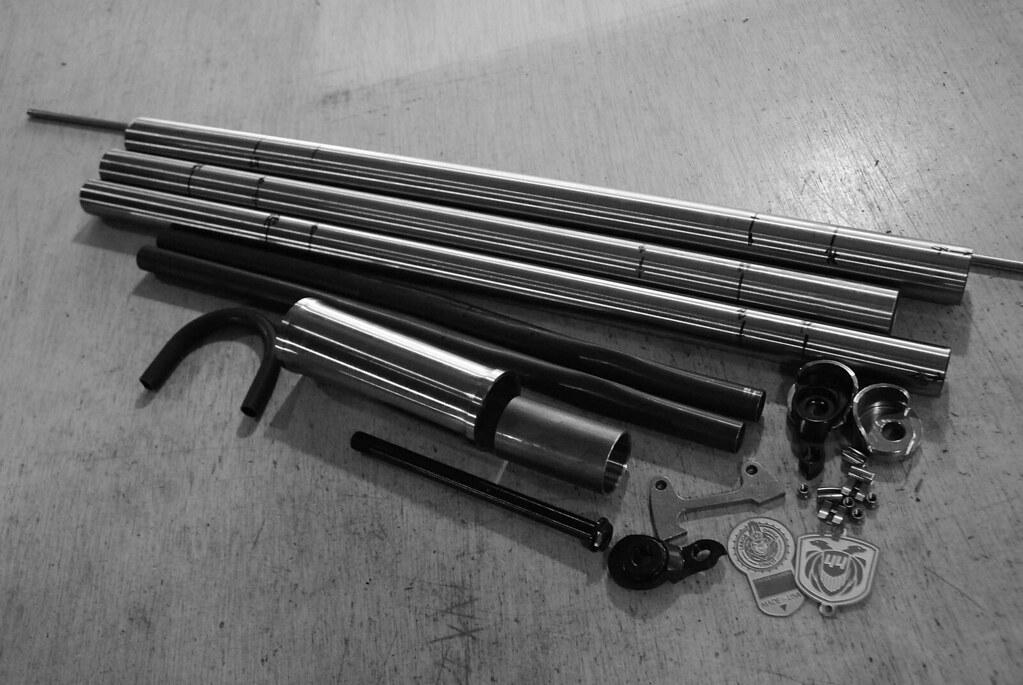
Here's the parts out separately:
And the Seat Stay Bridge fitted - this one is about to be silver brazed into place - I just use a simple piece of 1/8" weld wire bent/fitted to hold this in place using the seat tube slot as an anchor:

My hole saw of choice is Starrett. The more teeth the better. These are just bimetal hole saws on a 3/4" arbor, used in the Bridgeport with it's R8 collets. There is a saying " A lathe is a beautiful thing". Well, a Bridgeport is even MORE beautiful. I purposefully purchased this machine first and it is literally the heart of my shop. Every tool I made I machined on my Bridgeport. I now have a lathe, but honestly, none of this couldn't have happened without my bridgeport.
For those interested:
Here is the set for my tooling builds.
Here's the set for the frame jig.
If there are any other questions or something I missed or is not clear, just let me know. I'd be happy to explain. There is more than one way to skin this cat of course! Hope that helps.
Last edited:


 Fantastic bikes.
")