IBEW702
Well-known member
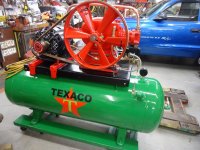
That looks much better than mine. Mine is a LeRoi Dresser 2AVC. What model pump do you have and what size motor?
View media item 72507
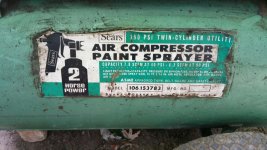
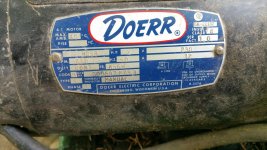
This is the only info I have. I couldn't find any info tags on the pump.


That looks much better than mine. Mine is a LeRoi Dresser 2AVC. What model pump do you have and what size motor?
Sure-Hope it helps!
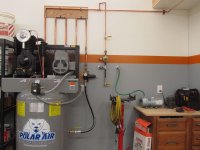
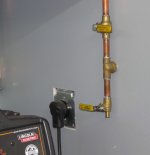
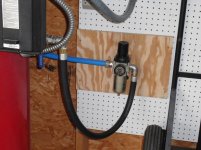
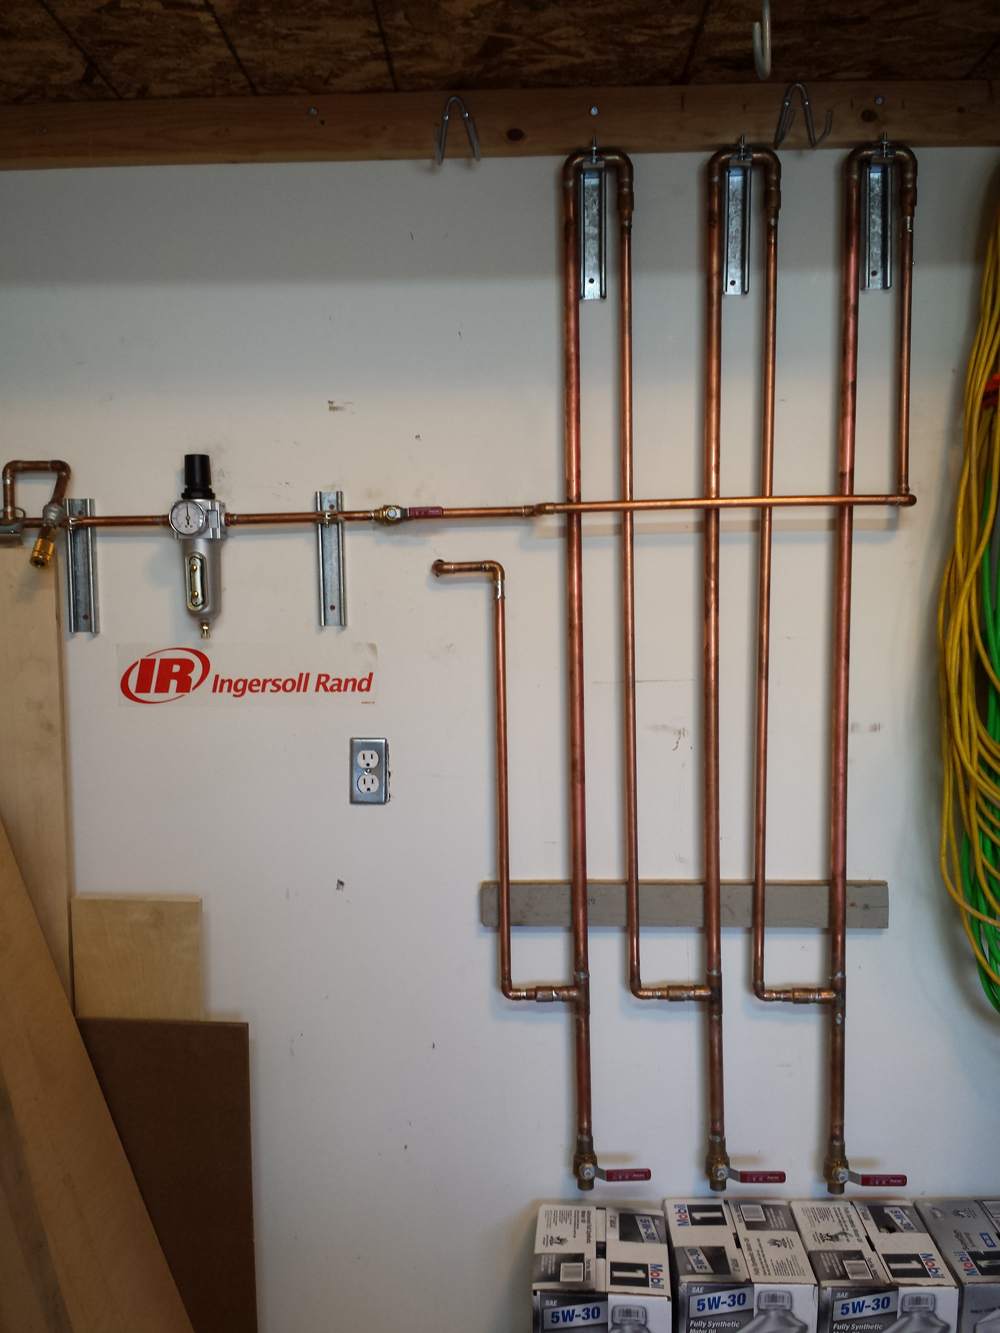
I use a 3/4" Filter/Dryer/regulator and a 3/4" flexible hose from the tank to the piping. Set the outlet at 125 psi. The tank runs up to 175 psi.


It's just a cheap chinese unit I got off EBay. A bit of a problem getting a 3/4" one as most are smaller. All pipe fittings (including the ball valve) are Stainless Steel as they are cheap on EBay and I HATE rust!
.
.
.
 But I know other people on here do the exact same thing!
Newest one.....of many!
Speedaire 3L494 single cylinder, 2 stage, 5HP, 3PH, 60 gallon tank.
$100
Bill
That looks like a twin cylinder in line. Nice pump.


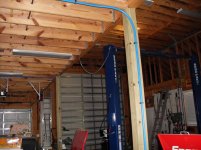
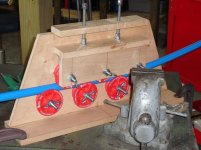
Wanted to post back as I have been asked for the plans for the pipe straightener I made.
As I said I copied it from someone else. It must be pretty good because RapidAir has it posted in their technical section!
I have attached some instructions and a nice diagram.

.
.
.
I have one I really like.
Newest one.....of many!
Speedaire 3L494 single cylinder, 2 stage, 5HP, 3PH, 60 gallon tank.
$100
Bill
You ****!
One heck of a deal.
I have one I really like.
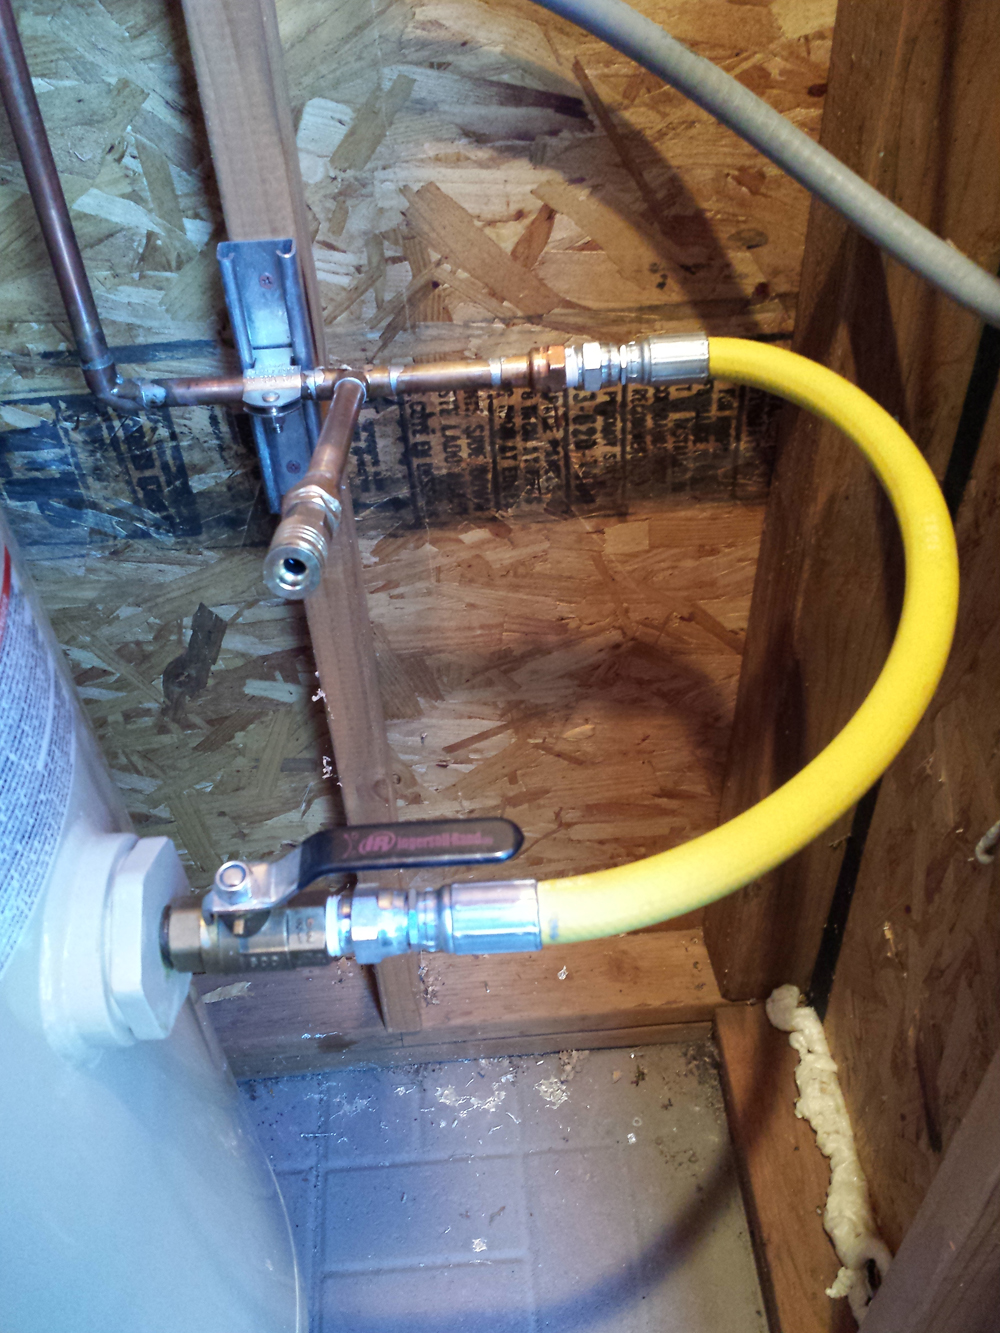
Here's a few from my setup I did this summer.. And I would like to apologize for the image size. I'm working on that.
[snip]
Flex hose made at the local house of hose. Gorilla hose good to 500 psi.
[snip]
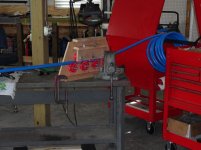
My little half made franzinator. I have a few peltier to affix with a few more things to make it work well, but it's a start.
Where did you get the pipe stand off that is attached to the wall

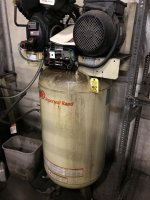
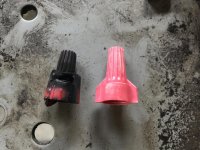
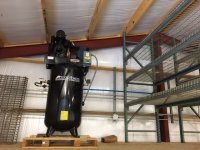
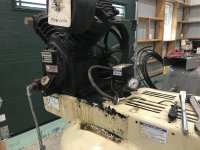
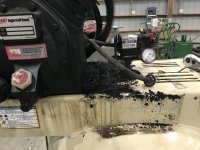
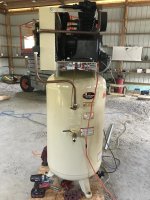
I feel like I stole this compressor setup. I purchased the Ingirsoll Rand 2475 along with the spare T30 tank at an auction for $250. Yes you read that correctly $250 for both. The listing said the motor was bad, turned out to be a loose connection at the capacitor bank that melted a wire nut and left the circuit open. I haven't finished cleaning up the tanks but think I got a great deal!
Here is the compressor all cleaned up and in good working shape. It cost me 1 wire nut, 1 roll of paper towels and 1 can of WD40 to get it in full working order! I soldered the connections where the wires tied in with the capacitor bank and capped with wire nuts and the fiberglass sleeves so I didn't have another short due to vibration and heat.