Re: The Classic Craftsman 100/150 Drill Press
Yikes...not one of their more elegant designs that's for sure.
I agree completely! I picked up four of those '68-'69 models for the parts and part-out. Many of those parts fit the earlier classic styles.
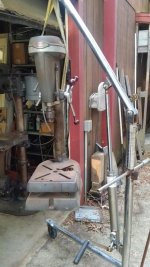
I love your double grinder stand that is a brilliant repurposing of the lathe stand
Yeah, it works great! I really like my repurposed drill press grinder stands tho, so I'll be flipping the lathe pedestal.
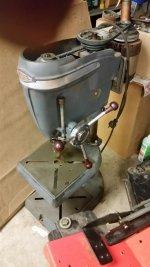
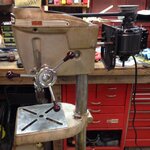
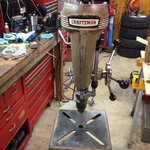
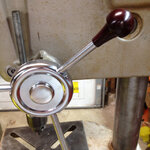
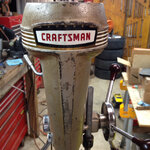
I figured I would post my Dp instead of just commenting on everyone else's [emoji1] I was able to finally get my 103.24531 with original paint up and running! I bought the press from aneuman for a very low sum and with some elbow grease was able to clean, lube and install some of Franklee's rubber o-rings and get this beauty back up and running ! It did not come with a motor but I was able to find a nearly mint one on Craigslist thanks to an alert from rileysan ! All told I am only into the Dp for a little over $100! I was able to get a lot of the rust stains off the paint by soaking it in wd-40 and then rubbing the stains with a brass brush! It is not perfect but I thought it was too nice to repaint and I really like the patina in this one! I cleaned up the column and polished all chrome surfaces! The craftsmanship and attention to aesthetics in these machines really shows! It is definitely one of my most prized machines in the garage!
I dunno... it looks perfect to me! Nice work!
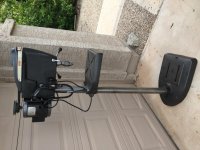
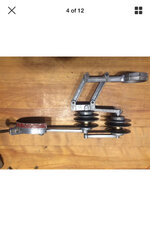
I am wondering if my motor angle is correct ? Also the instructions for the motor say to wire it for a switch so if someone has an extra cman motor switch to fit the larger diameter motor plug hole I would be interested! I do have 2 other drill pressed that will be getting full restorations, both bench top versions but one has a broken varislow assembly so if someone has a varislow control head/knob I would be interested! Thanks Franklee for this great resource thread! I could not/ would not have dared tried to tackle these machines without you great thread!
Yes, the motor does look slightly cocked and the belt seems very long. IIRC, the owners manual calls for a 44" belt for the 150. It may be just appear that way due to how the belt and pulleys are set up.
It also looks like the motor mount plate prevents you from mounting the motor any lower. That won't allow you to line up the pulleys to use the slowest speed. Depending on the model of the motor, you MAY be able to flip the motor over and reverse rotation. That MAY work, I'm not sure.
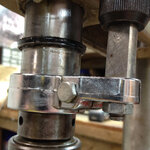
The profile and diameter of the motor pulley does not match the spindle pulley. That won't be a problem unless switching belt positions often.
You're probably already aware that the feed stop collar should be above the casting slot on the head frame.
I appreciate the feedback, thanks!