A Wheely Good Time…………….
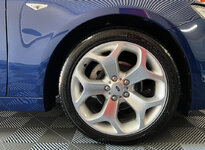
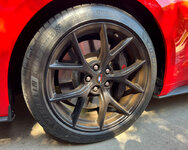
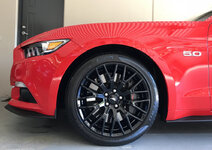
You would think being a detailing freak I would relish the challenge of maintaining these wheels…………..
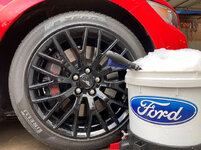

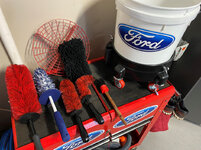
I can’t begin to tally how much money I spent on brushes and wash tools to deal with those Performance Pack wheels. In fact, I would love to meet the nut-job who designed those wheels, we could have a little chat about the subject…………

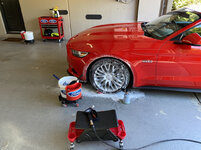
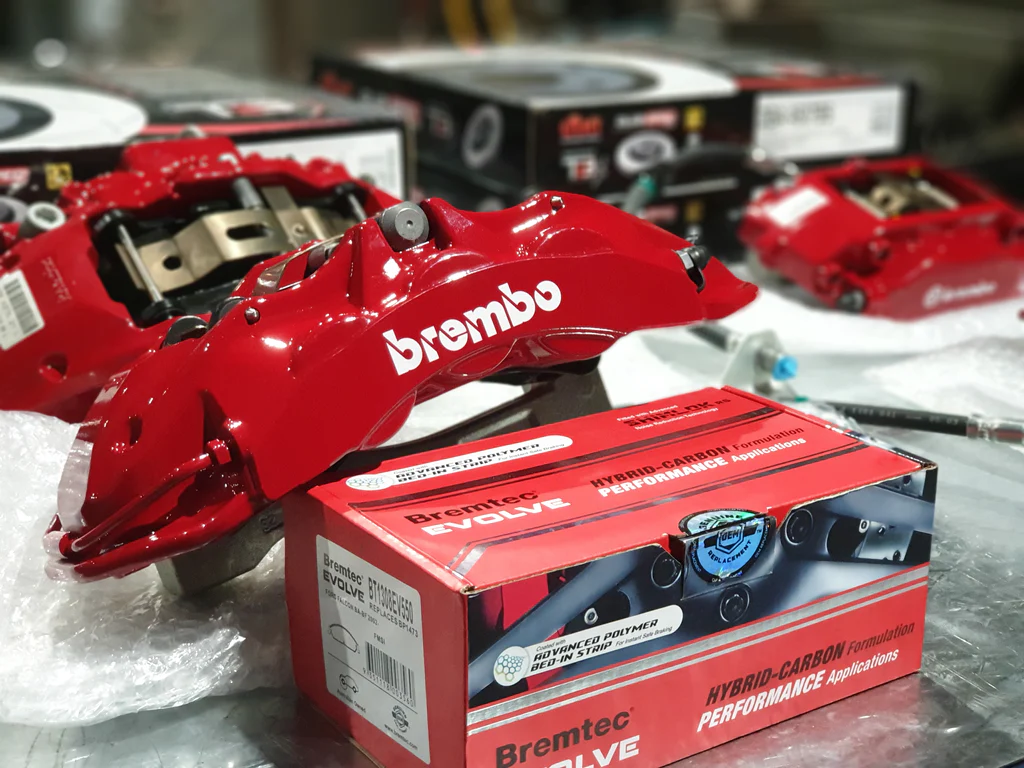
To be honest, I never really loved those wheels. Unlike the US market, Aussies had no other factory option, other than having them painted black or silver. I nearly went with silver but changed to black at the last minute. I’m sort of glad I did, the black at least hid some of the Brembo brake dust.
Some………….
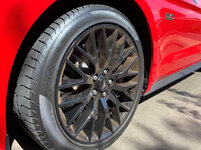
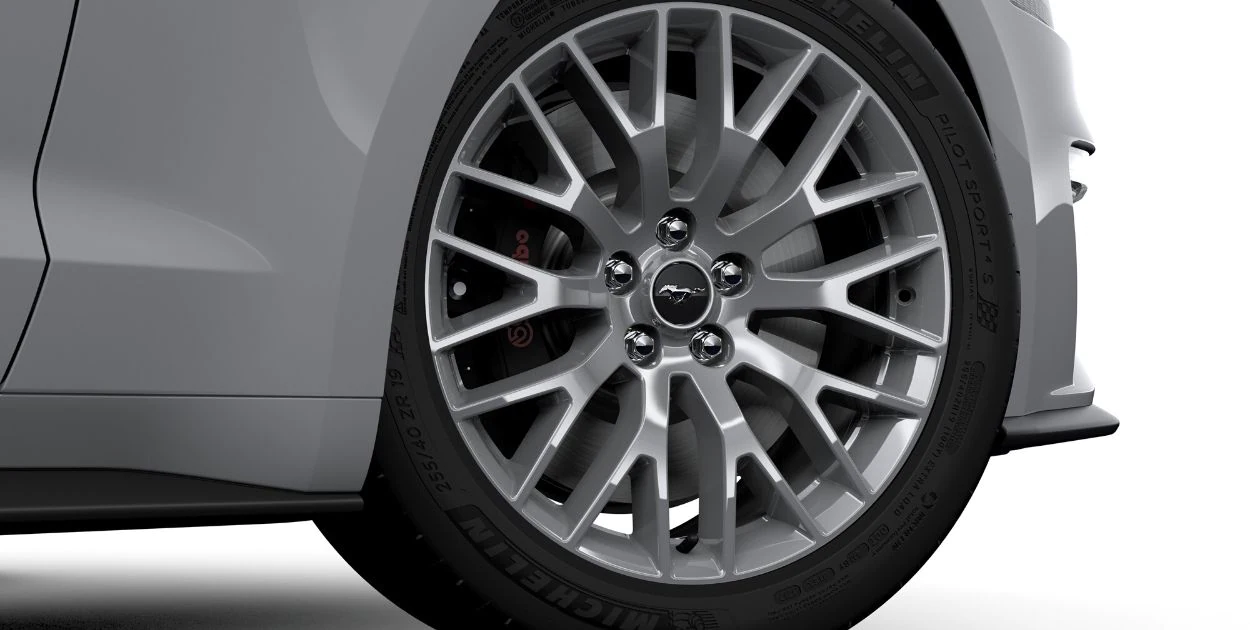
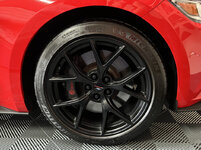
I will admit though, when they were freshly cleaned, they could look amazing……………
It took me 4 years before I gave up trying to love those wheels. I went looking for an OE style wheel, something that would look different but not too out of place. I will highlight at this point that this is the beauty of the Mustang, don’t like something, then change it! Both Ford and the aftermarket cater to this, allowing you take you blank canvas and go as mild or wild as you like. There were two wheels I had shortlisted, the original GT-350 design, and the PP2 design.

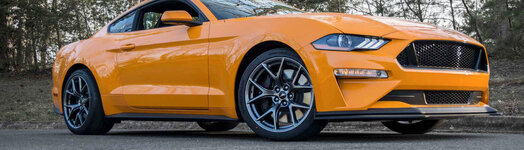
Once again, Australia syndrome kicked in and of course, I was having trouble finding what I wanted. Well, finding them was easy, but getting them into the country was the challenge. Now, both of these wheels are sold both OEM and via the aftermarket. But for various reasons at the time, I just couldn’t make it happen. I then decided to pursue the wheel Ford fitted to the locally Australia-only GT R-Spec, which came with Ford Performance HP Performance wheels, the matte black version of the PP2 wheel.
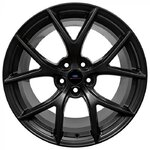


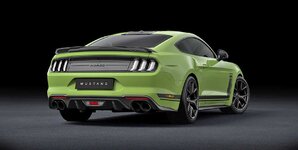
You would think it would be as simple as ordering a set through the dealer network, but no, these were VIN protected. The smart thinking parts interpreter used a VIN already in the dealer's system, ordering a single wheel to see if it was the correct part, but ended up with a standard PP1 wheel.

(The R-Spec was locally put together at the old Broadmeadows assembly plant, taking a standard GT and adding a bunch of Ford Performance parts, including a Roush Supercharger. As such, the VIN was not altered to reflect this, hence why the standard wheel turned up.) In the end, I ordered a set from CJ Pony Parts at considerable cost. Don’t go there, I stopped looking in the end, at least I got what I wanted.
A month later, my wheels arrived from the USA. It was then another 3 week wait for a set of tyres. (This was peak Covid, so every single thing was delayed, from cars to car parts, tires, detailing products, everything!)

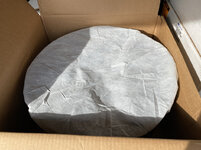


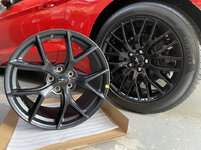
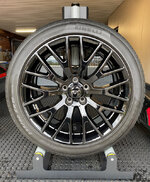
Ford Performance offer this wheel in four different widths, I chose to go with 9.5-inch on the front and 10-inch on the rear, a 1/2 inch increase over the stock wheels. They also come supplied with Ford Performance branded center caps.
There was no cross shopping for tires, there was to be only one choice, Michelin Pilot Sport 4S or nothing! The key here is I decided to use the factory spec sizes, 255/40/R19 on the front and 275/40/R19 on the rear. Compared to the Pirelli's, these tires have a much chunkier sidewall and a squarer tread face, making them look bigger. With a much better tire and the 1/2 inch increase in wheel width at both ends, this would lend a more stable contact patch and increased traction. As mentioned in a previous post, the Pirelli tires that come standard on the Mustang were absolute rubbish. No grip, hot or cold, wet or dry. The thing was borderline sketchy in the wet, and would spin through second and third gear in the dry. I just wish I gave them a smoky send off!


Once the tires arrived, I had them and new TPMS sensors fitted to the wheels in preparation for the next step, which was to be a new learning experience for me.......................
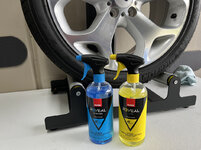
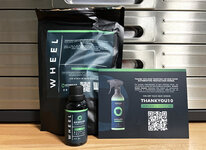
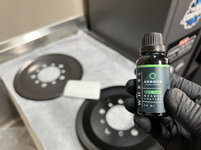
From the very beginning, I knew I wanted to do this right and have the wheels ceramic coated prior to putting them on the car. (Before this, I was using Capro Hydr02 to easily coat wheels, making them easier to clean and dry.) Having brand new wheels, this is the very best time to do this, before they become contaminated with iron from the brakes and general road grime. Coating the wheels is mainly to ensure ease of cleaning, and with super dusty brakes, this is an important factor for me. I will state at this point, apart from applying Carpro DLUX to plastic trim, I had never applied a ceramic coating to paint before. I considered using DLUX again, a dual wheel/plastic coating, but chose to go with NV Wheel instead.
High-temp ceramic wheel coating with 2-year protection. Repels brake dust, enhances gloss & resists harsh cleaners. Rinse clean with no agitation. Shop Now!

www.waxit.com.au
A durable, protective wheel coating that repels dirt, contaminants and heavy grime from sticking to your wheels. Important Note as of January 2021: Due to bottling supply chain constraints, Nova Wheel will be bottled in a 30ml container. Because the product is dispensed as 20ml for full...
nvcarcareusa.com

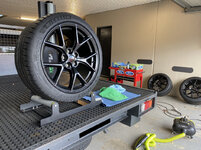
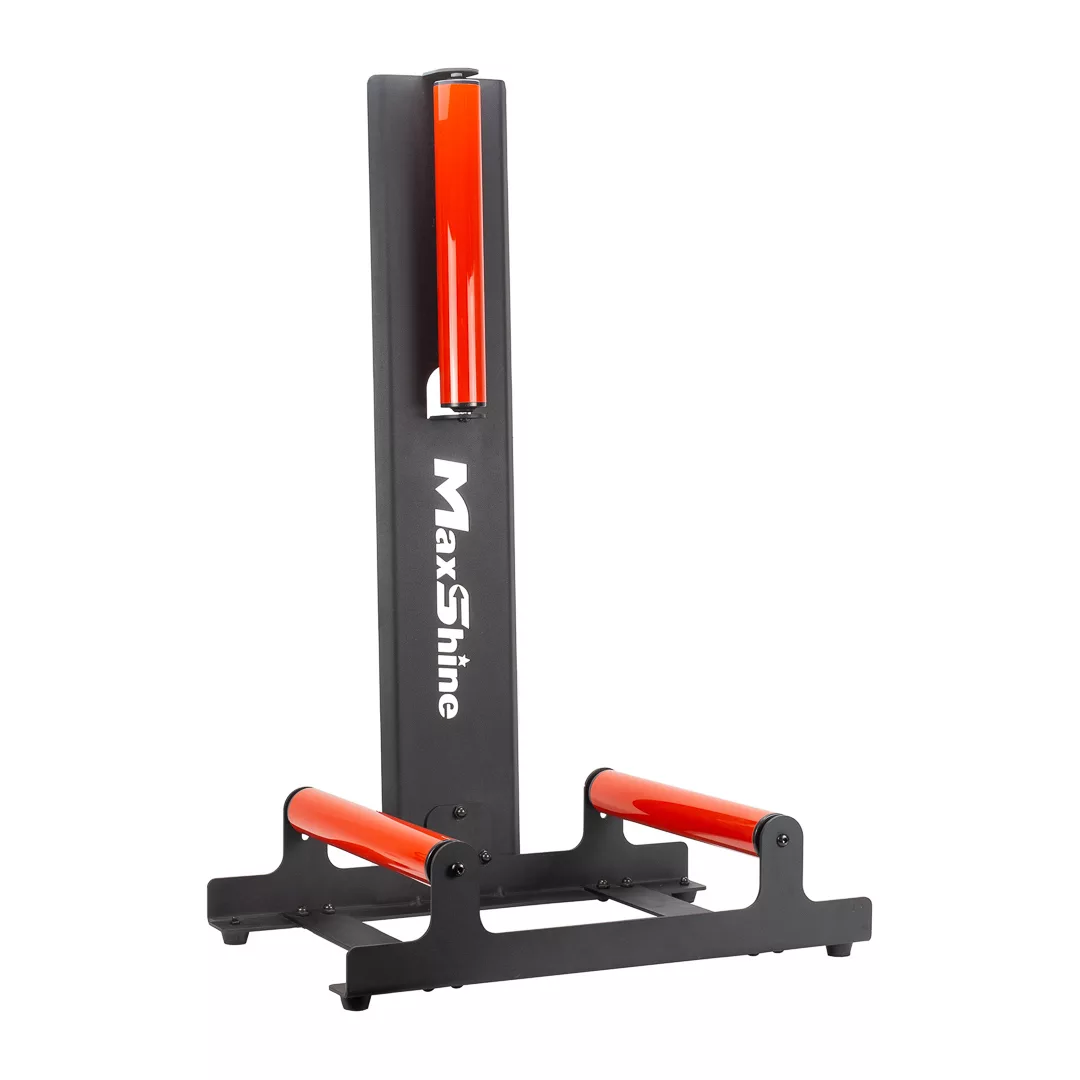
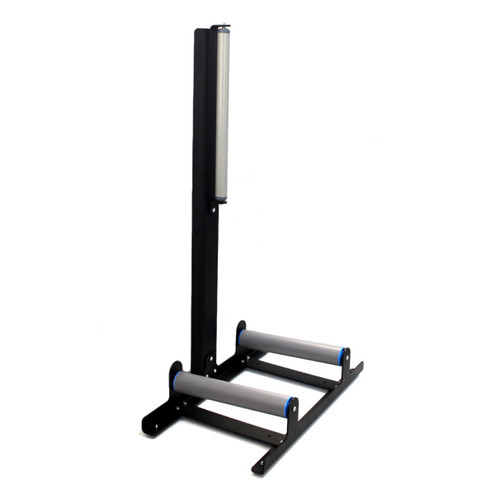
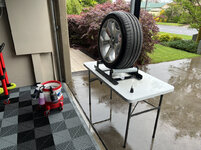
I will also note at this point that when I do something, I go ALL IN. So of course, I just had to have a wheel detailing stand………………
Maxshine Wheel Stand Tyre Roller - for Wheel Coating Cleaning and Polishing The Maxshine Wheel stand is suitable for deep cleaning of wheels, coating and polishing of wheels, and other tyre protection activities. Suitable for use for tyre Coatings, repair, cleaning and polishing.Heavy car and...

detailingshed.com.au

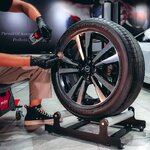

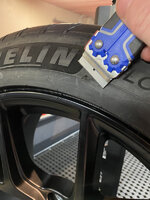
First step though was to prep the rubber. Fresh, new tires are contaminated with mold release agents and fitment soap. This needs to be removed to provide a clean surface for a tire dressing to properly bond. Before that, I removed all of nibs from the sidewall. This is super-**** level detailing! I had never done that before, but I thought I would go the extra mile with this project. And I must admit, it does look better with all those nibs removed. And for next level detail, I did the rear sidewall too, I mean when in Rome and all!


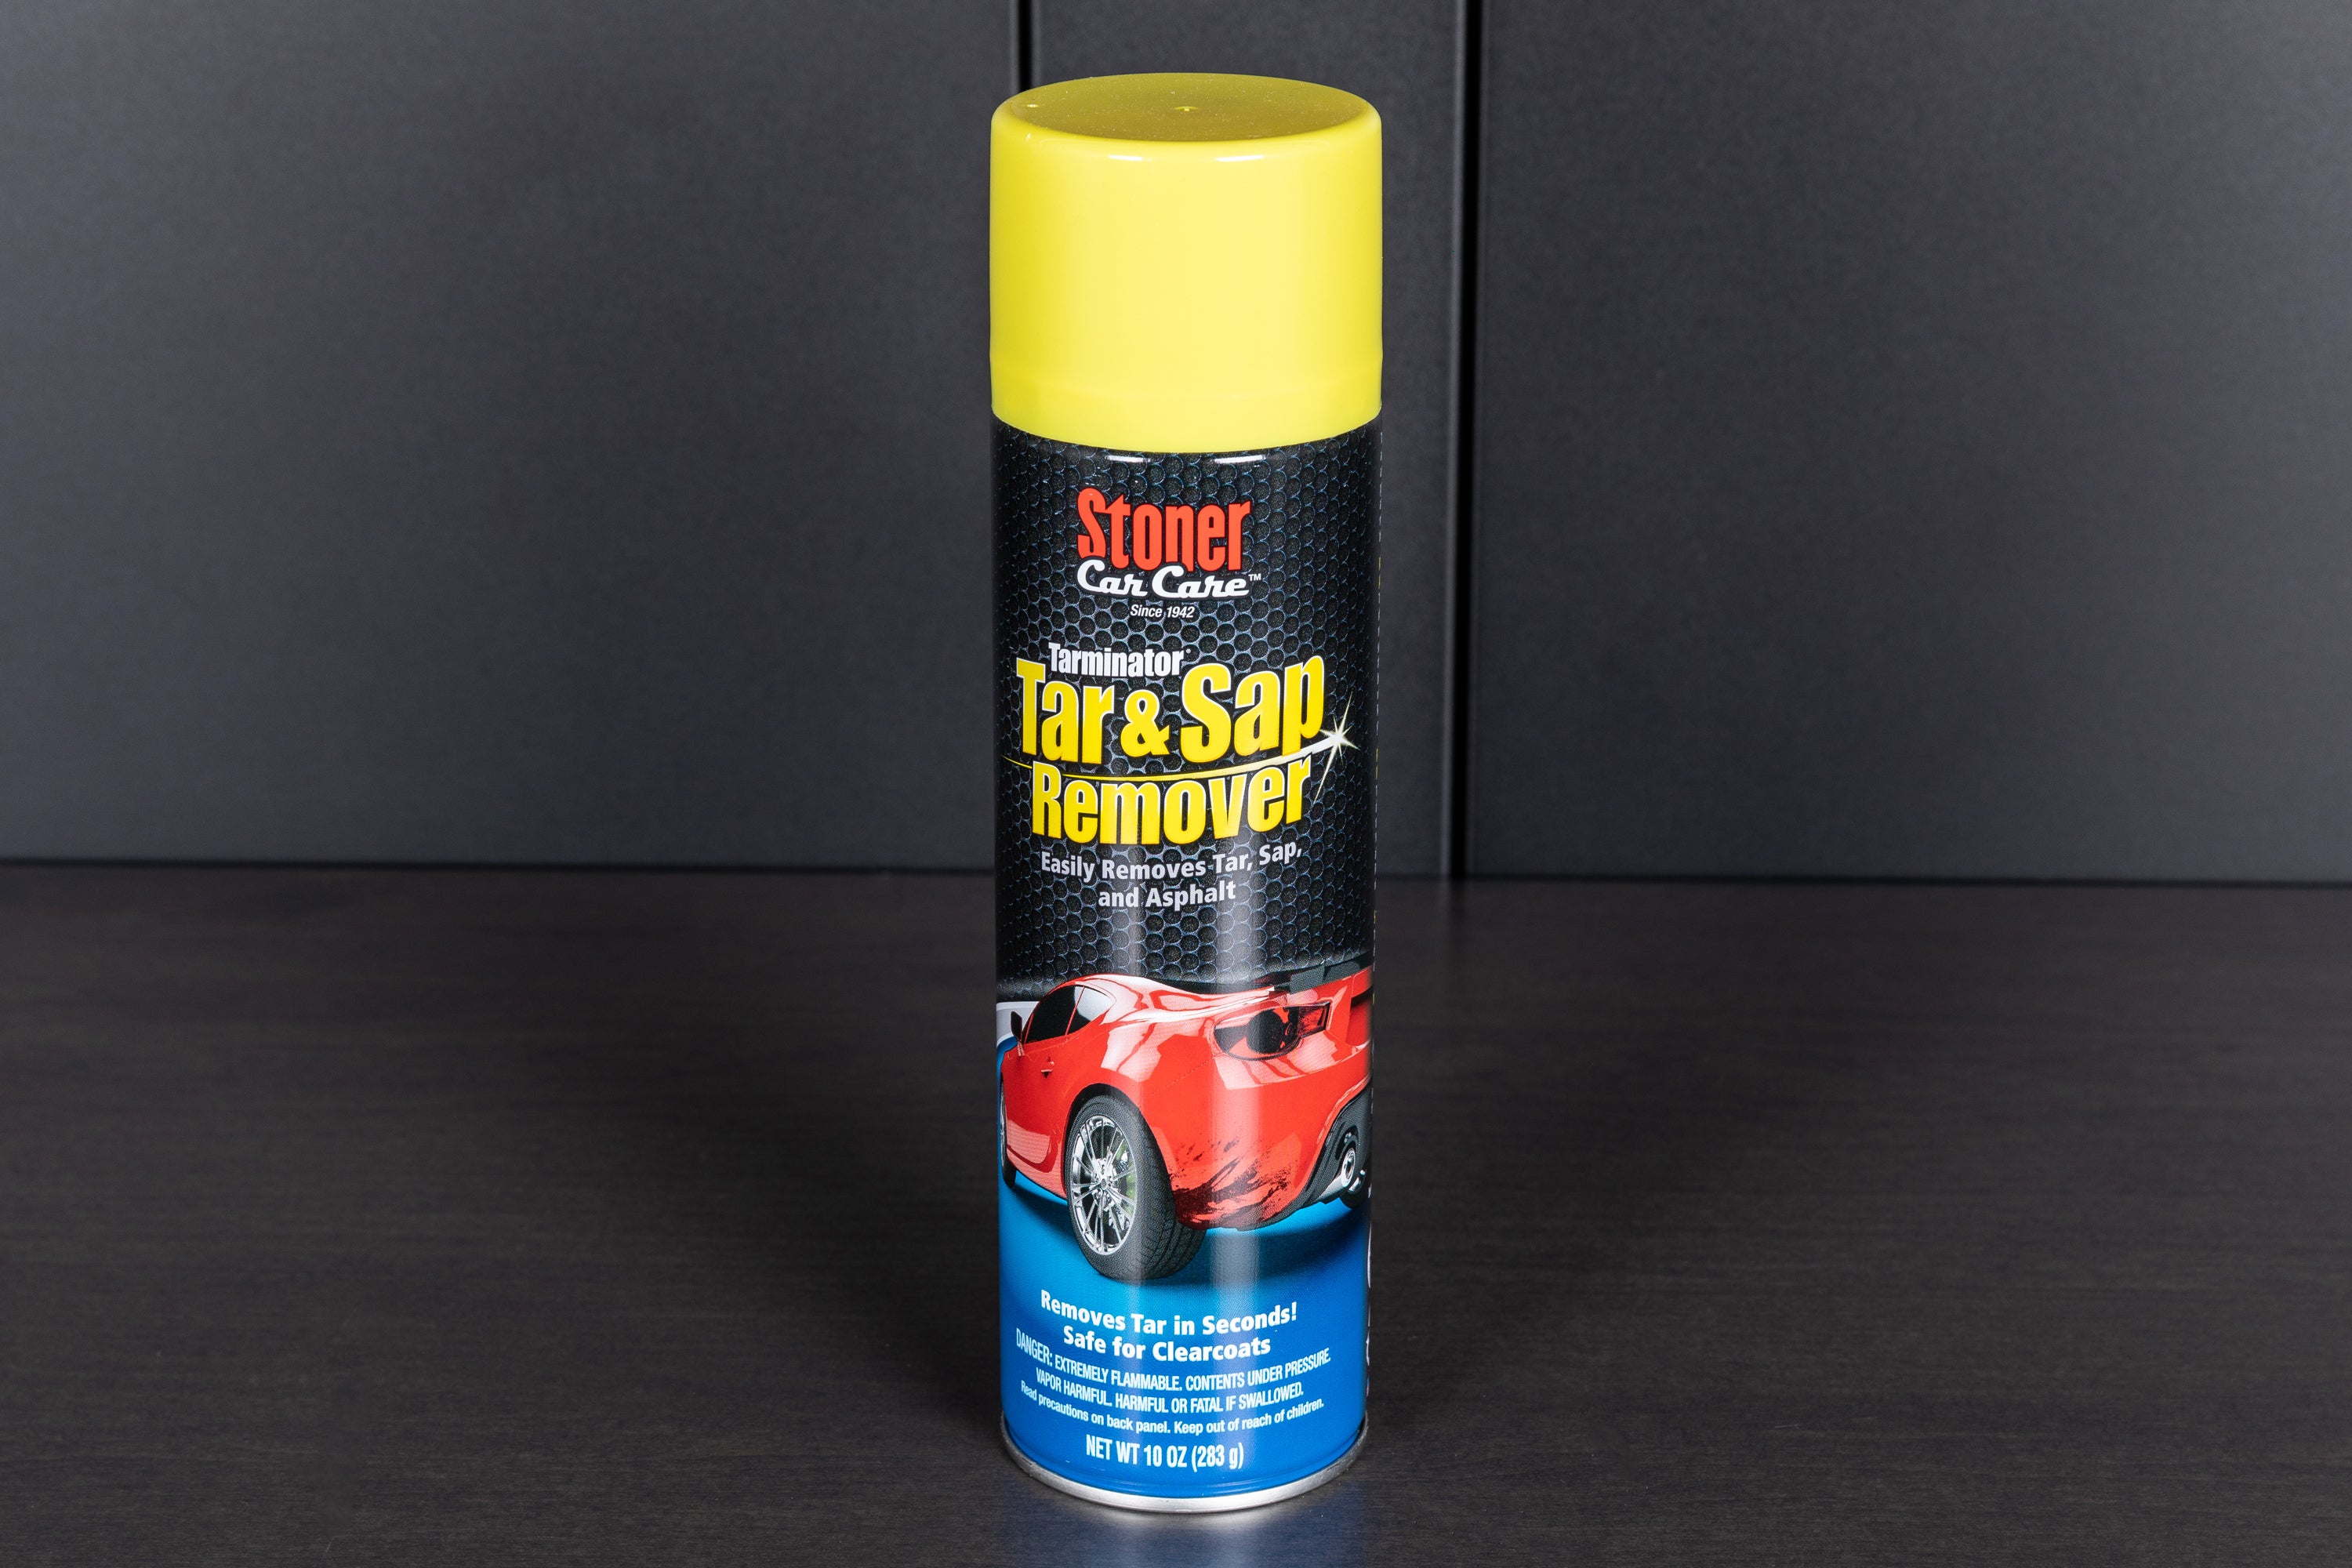
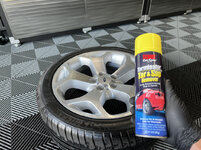
Next was to use Stoners Tarminator to strip the tires bare. Many products can be used for this including APC, degreasers and tire cleaners. Mineral Spirits works too, but tends to dry out the rubber too much. The benefit of Tarminator is the ability to do the job without using water. You can see how grotty the tires were in the before pics –
Remove tire residue effectively with Tarminator, the ultimate tar and sap remover. Ideal for prepping tires for dressing, it eliminates mold residue, oils, and mounting soap. Enhance your cleaning routine with the Wheel & Tire Towel. Fast shipping from OGHQ in Lady Lake, FL.

www.obsessedgarage.com

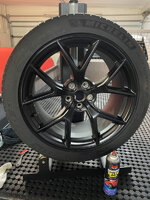
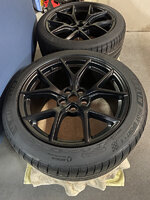
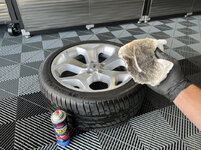
Tarminator is best sprayed onto a towel before scrubbing the tires clean. This stuff is extraordinarily strong, both in smell and cleaning power. I would show caution when using this around painted surfaces, especially matte finishes, and remove any residue from overspray/overapplication. As you can see, this will ruin a towel so make sure to choose wisely. Those white microfibres are basically single use items so I threw these away after this job.

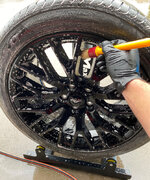
Now for wheel prep. Because I was dealing with brand new wheels, I had the ability to skip a few steps here and go straight to an IPA wipe down. If your wheels are used, you will need to use iron and tar removers, then clay them to remove all contaminants. Polishing may also be needed. Product of choice here was the delightful smelling CarPro Eraser. Liberally spray this over the wheel face and barrel before wiping with a towel until it has evaporated away. Then follow up with another application, this time sprayed into a second towel and wiping over the wheel again.
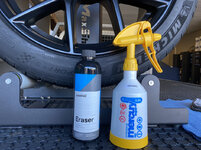
From here, you are ready to apply the coating.


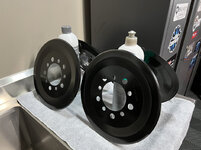
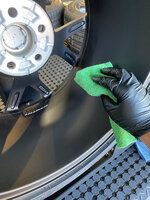
Open the bottle and apply a generous line of the product to the applicator to prime it. Once primed, a few drops are all that is needed. I started using a small round finger applicator before switching to the supplied suede cloth as I was having linting issues with the round one. Working somewhat quickly while showing care to get even coverage, wipe the applicator over the wheel face and spokes. Allow the product to flash, then start wiping with a low pile microfibre towel. Once levelled, take a second towel, and give a final wipe to ensure you have removed all the high spots. Flip the wheel and repeat on the barrel and the back of the spokes. Repeat the process for the three other wheels. NV Wheel is generally fine with one coat but can be layered with a second coat after 45min, but I stuck with just the one.


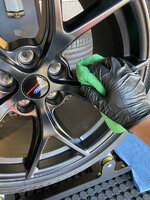
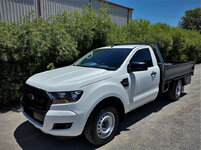
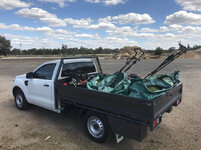
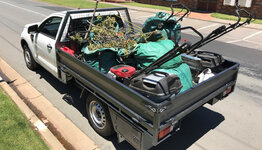
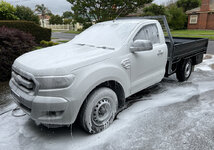
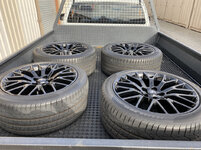
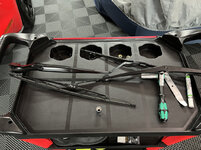
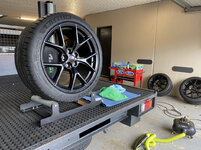
As you can see, with the sides removed, the tray of my Ranger made for a perfect work bench for this job.
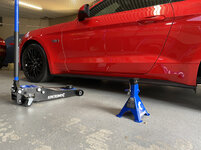
Now for fitment, allowing me to play with some toys.
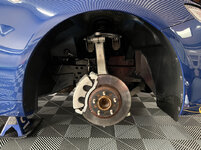
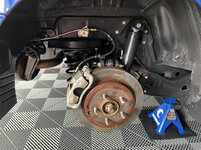
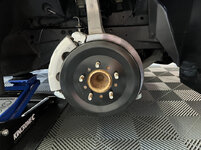
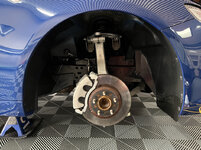
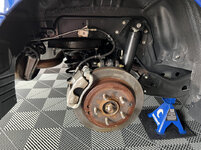
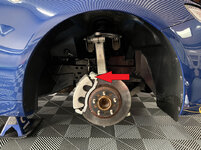
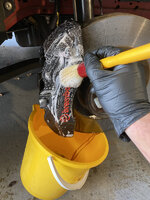
During this process, I took the opportunity to clean and then coat the front calipers while I had the wheels off. The rear calipers are nothing to look at, so I skipped doing these. With a bucket suspended under the caliper, I rinsed with water then applied NV Purge. Allowed to dwell for a few minutes, I agitated with a brush then rinsed again with water.
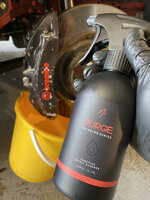

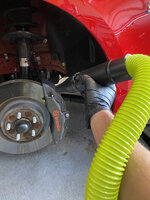
Then a wipe down with Eraser and dried using my blower.
Apply the coating using the same method as the wheels, apply with an applicator, level after about a minute then wipe again with a second towel.
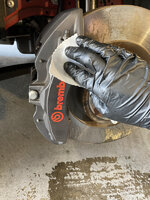

These calipers are anodized and not painted, so the coating was more about ease of cleaning rather than improved appearance.


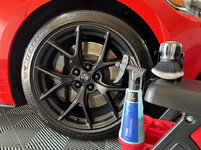
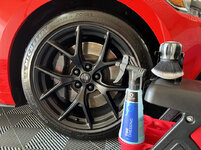
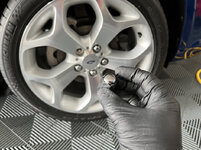
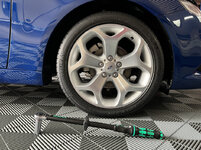
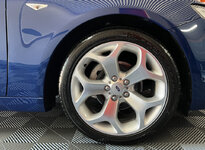
The wheels were then fitted, the lugs torqued to the factory 204 Nm / 150 ft lb spec, I then dressed the tires –
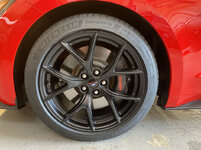
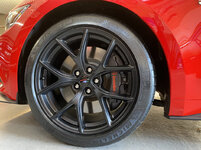

All up, I used nearly one 30ml bottle of NV Wheel, several suede applicators, and several low pile microfiber towels. It is worth noting that those towels are either destined for the bin or for shop use only, the dried coating in their fibers has rendered them not suitable for painted surfaces again. At a couple of dollars per towel, I'm not worried about this. You will absolutely need some nitrile gloves for this task, and a well-ventilated space.
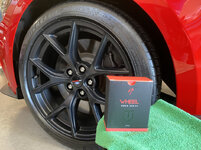
With this project, I learnt things I had never done before. I used a trolley jack for the first time, likewise a torque wrench. I had also taught myself how to apply a ceramic coating to wheels and calipers. These wheels represent nearly 6 months of thought and action, and I’m grateful for not only the results, but the learning process along the way as well.
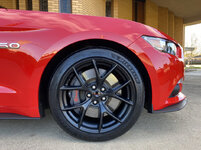


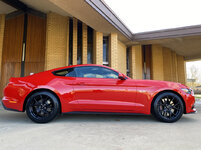

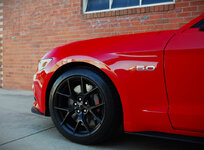



I will also say that those Michelins transformed the car. Not only did I now have this thing called "traction", they ride better and seem to produce less noise. A win on all fronts; looks, grip/traction and.............much easier to clean!