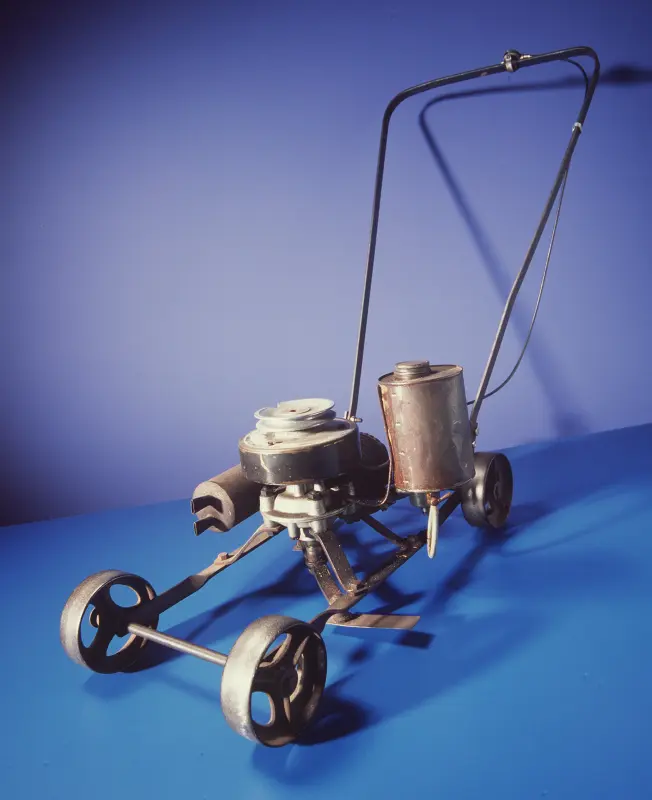
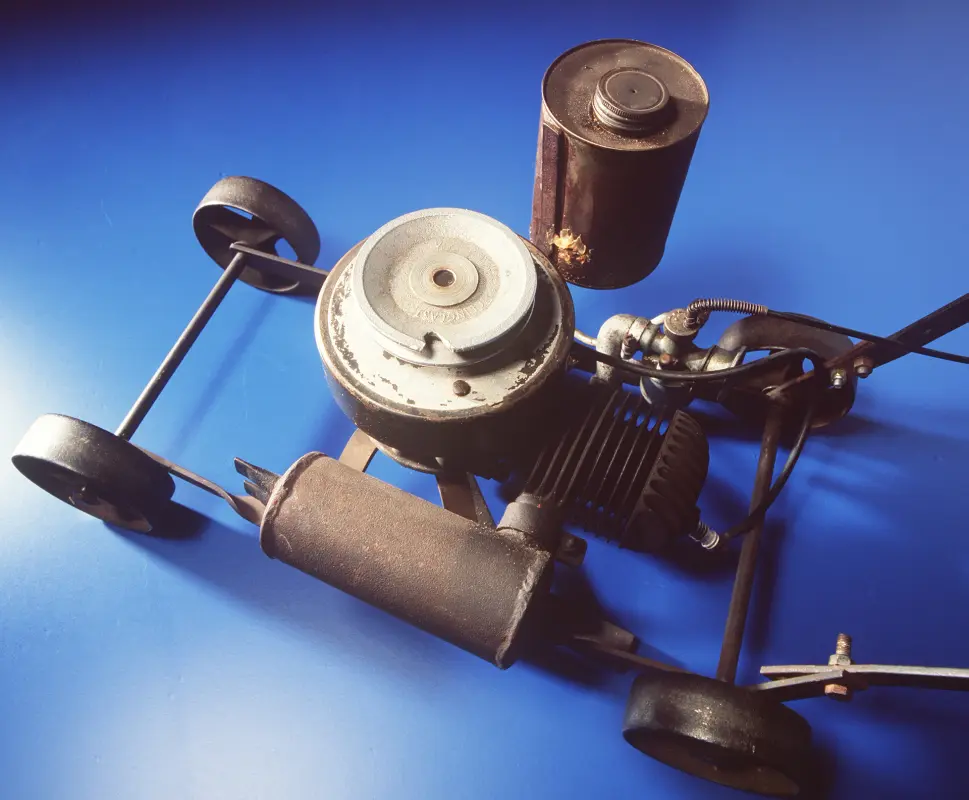
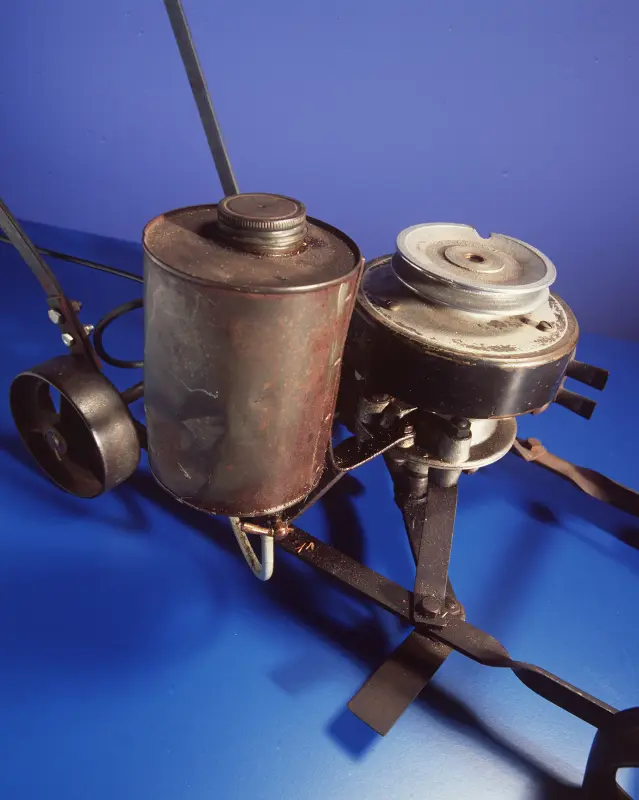
Some parts arrived for the Victa 18 today.
After getting my mowing run done, I was going to save rebuilding the carb for tomorrow, well, I couldn't resist.................
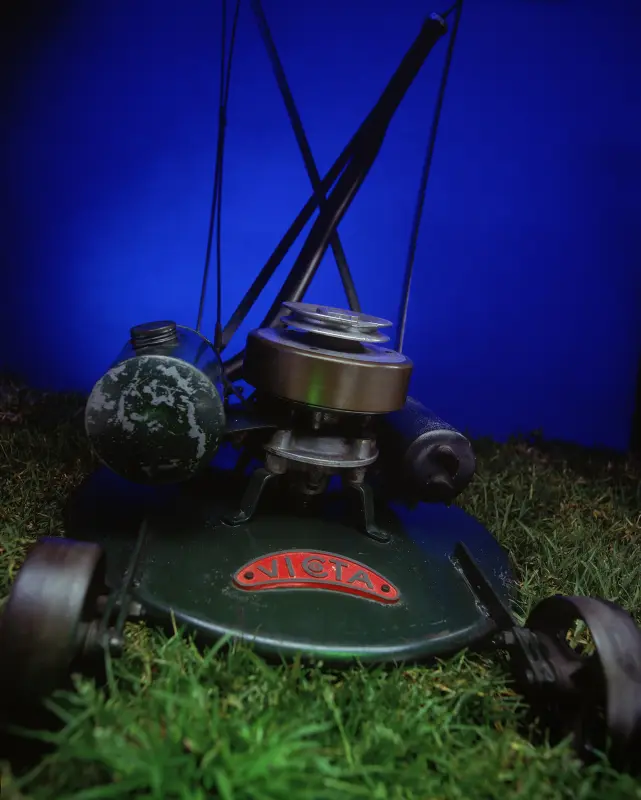
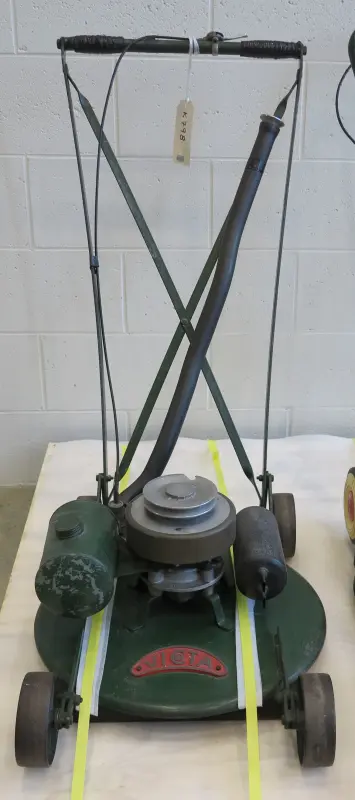
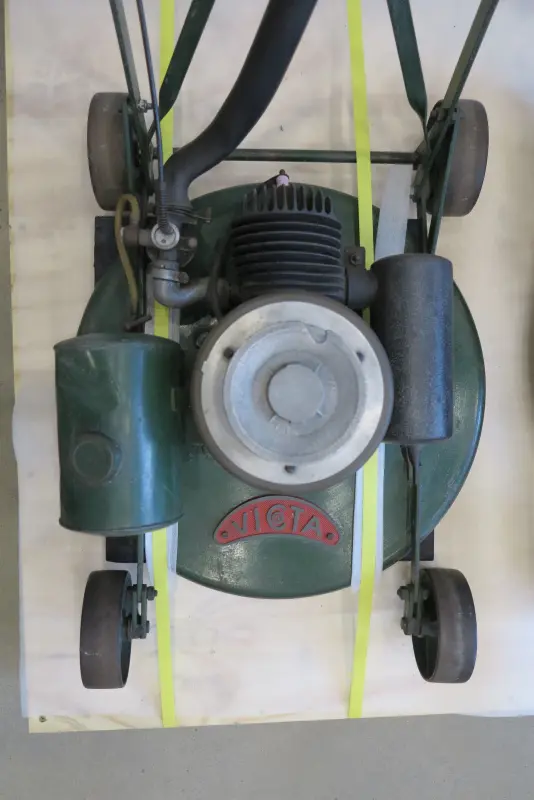
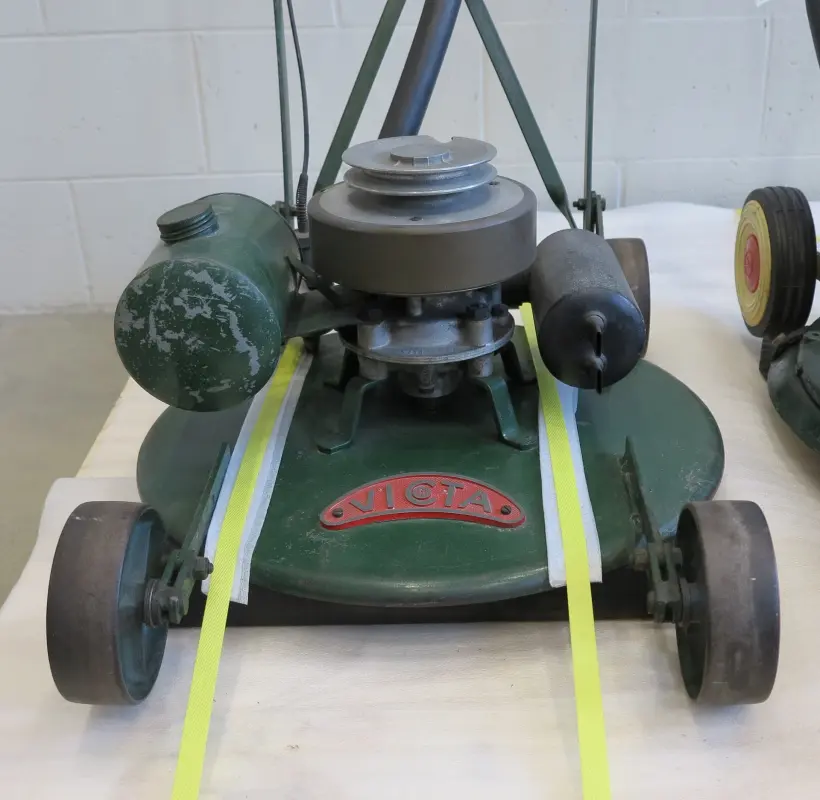
Over the last week, I couldn't begin to tally the number of hours I have been online reading and researching these early Victa's. For the most part, it's been to track down parts, but also to figure out how these things work. I've quickly determined that Victa were making so many of these things that often parts would be superseded without notice. Also consider how old these things are, the possibility of parts being replaced as needed without staying with original style parts is a high possibility. This especially applies to the air inlet tubing, filter and choke arrangement, more on that later. Having said all that, mine appears to be pretty faithful to how it left the factory.
I've also been seeking out workshop manuals, which I've found very useful in regard to the carburetor, I've never rebuilt one like this before.

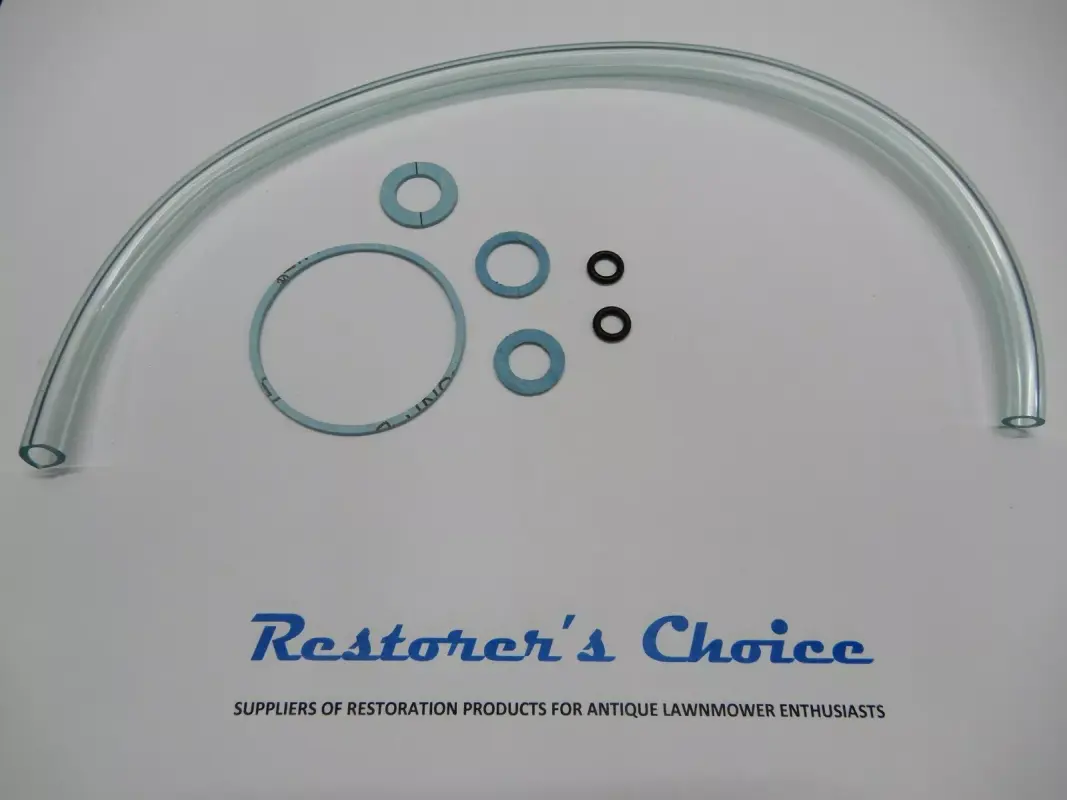
To my surprise and delight, replacement gaskets are available for these Victa 3F carburetors. Several kits are available depending on what version of the carb you have, again there were changes along the way. Once you know which carb kit you need, you then chose which material you want to go with.
The standard 0.8mm orange/red fibre gaskets are the OEM spec, which are desirable for those restoring a machine to factory original.
https://www.ebay.com.au/itm/3535543...xhx58VYfgVF0lFhn11n5MgRFnP|tkp:Bk9SR8ywl82RZQ
The kit I chose has the 1.0mm blue fibre gaskets, which were designed to be softer and provide superior sealing on machines with wear or those that are still in regular use.
https://www.ebay.com.au/itm/3527548...FNOu0ixabDjYUqG8iMdoE+xwE=|tkp:Bk9SR6T7zM2RZQ
With the carb fully disassembled and cleaned, putting it back together was far less daunting than I was expecting. Helping the situation, the seller of the kit includes an instruction sheet. In my case, I didn't need to make an adjustment to the float level, which must be set at 3/16" (4.78mm) between the top of the float and the carb body. If an adjustment was needed, you'd gently bend the float lever to achieve the desired gap.
Being such fiddly work, I didn't take many images. This one displays the carb put back together, save for the throttle spring and top cap, which will be done once the carb is back on the machine and the cable reinstalled.

Next, the fuel tap. The carb kit includes two replacement o-rings for the inner slide, the originals were hard as a rock.

New o-rings installed, the slide was then reinserted into the brass body, followed by the holding screw. Initially, the new o-rings make the movement very tight, but with a bit of working, they free up and begin to function properly.

After rinsing out the tank with carb spray, I then reinstalled the tap, which are a tapered thread and go in very tight. Some fuel in the tank verified no leaks from the fitting or past the o-rings. Sucess!

I then connected the new fuel line included in the kit, turned on the tap and filled the carburetor bowel with fuel. I even gave the tickler and tickle to verify it was working. Again, success! No leaks.

Super pleased to get this step completed, let's just hope it works as it should.
Still to do -
- Refit the carb to the machine, re-install and adjust throttle spring, cable and cap.
- Figure out what I'm going to do with the broken choke/run lever function. The switch on mine has been broken, meaning selection of choke/run is not possible without removing the air filter cap. Those air filter assemblies are hard to find and most of them are broken like mine.


Also, those round air filters are no longer available, of which I've tried to find an alternative, but dimensions need to be very similar to work properly in the housing.

At the moment, I have an idea on how to modify the choke insert and rig up a makeshift switch. With the switch missing, the central choke insert simply pops out, so I'm thinking of cutting off the shaft, drilling out the centre of the cap, then use a long bolt to replace the shaft. I'm hesitant to butcher a relatively rare part, but its broken anyway, so what do I have to lose?

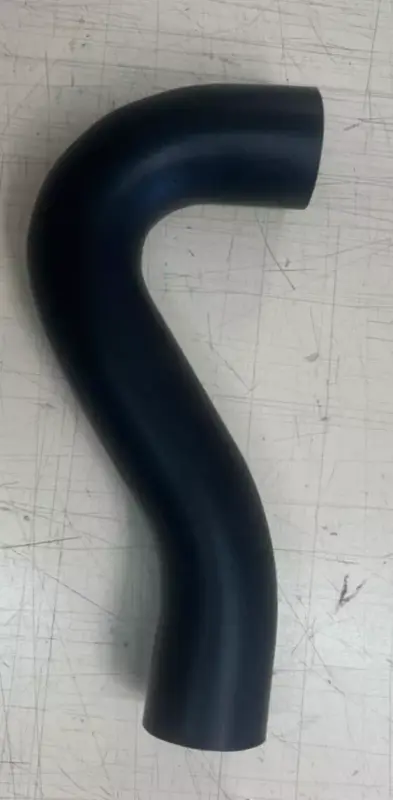
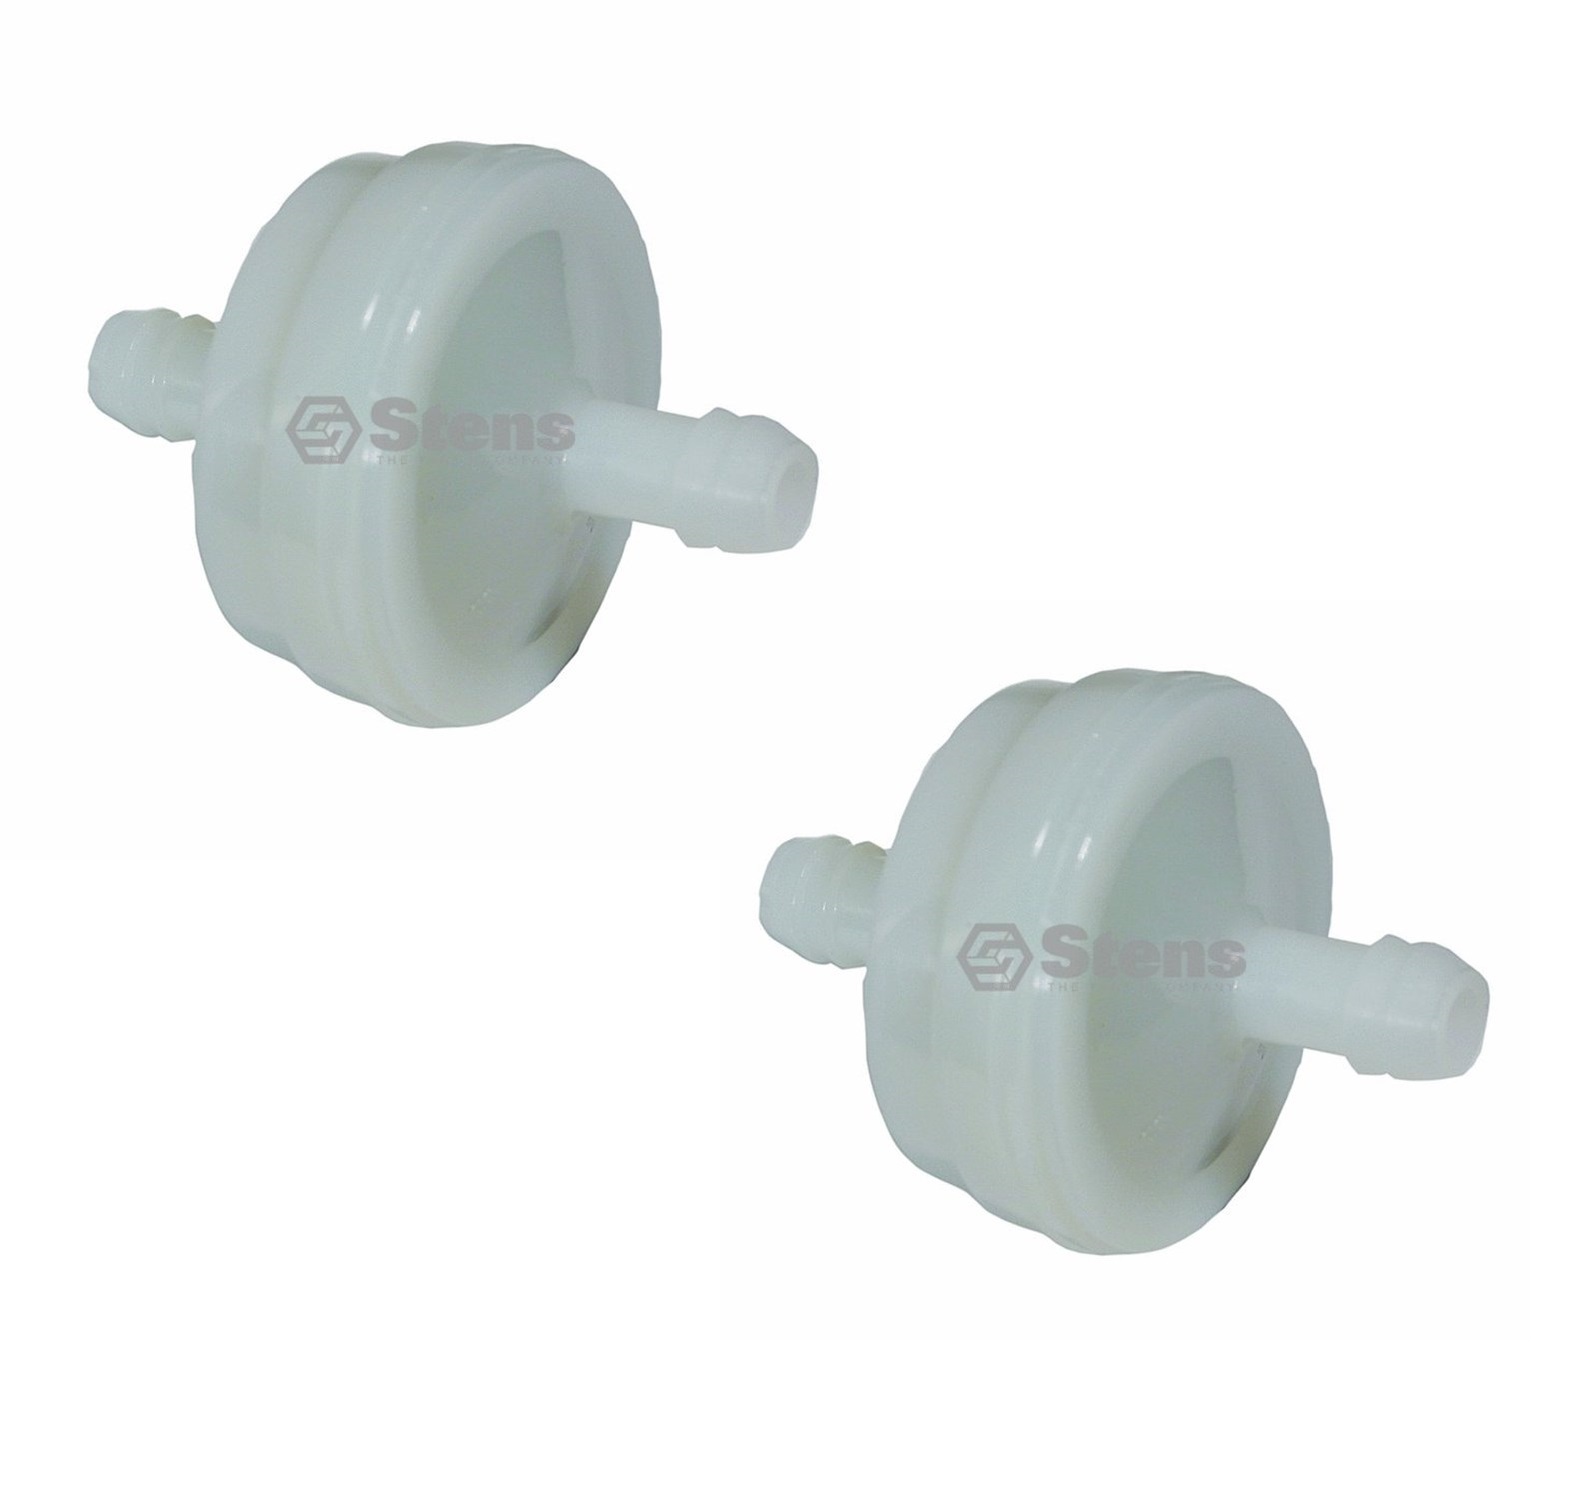
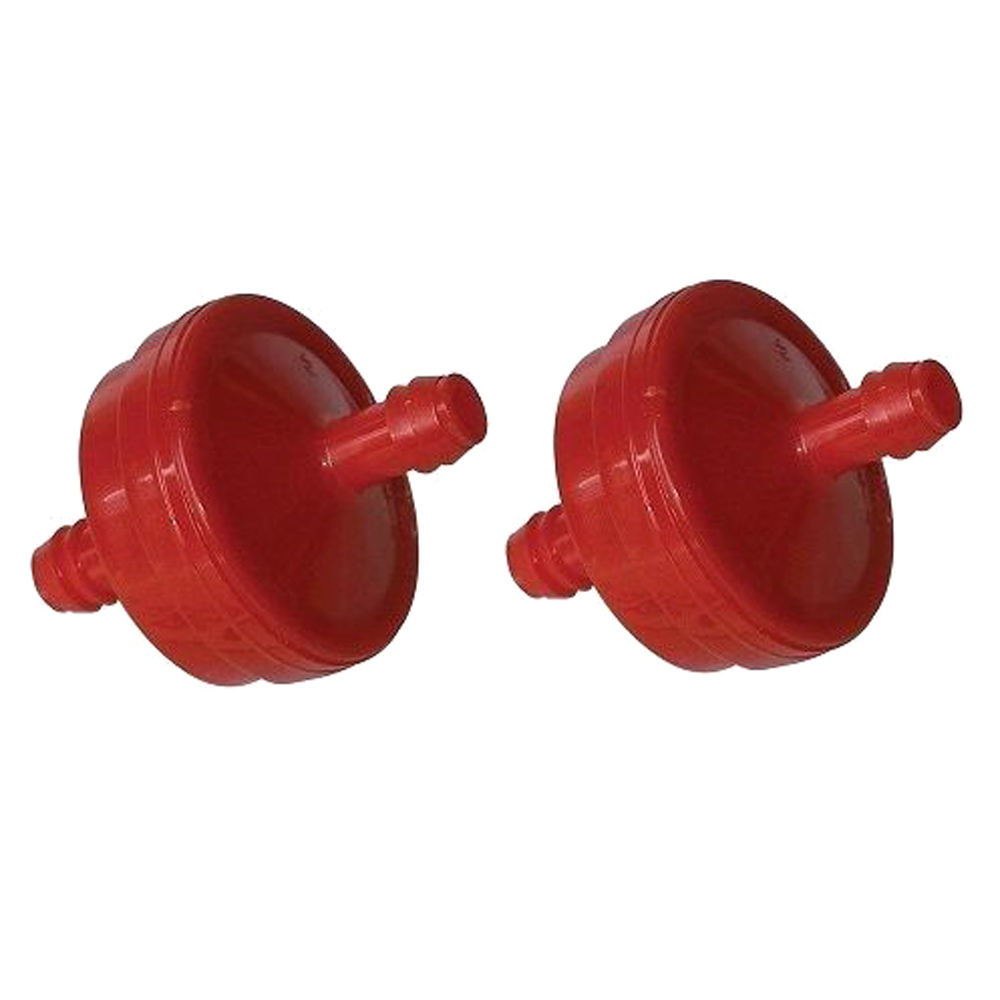
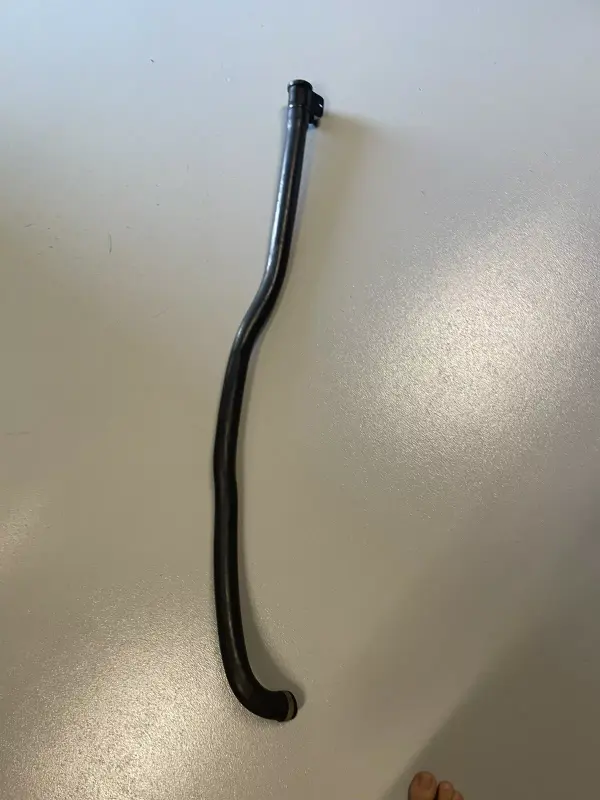
- Also of concern is the rubber intake tube. Considering the above, I went ahead and bought a long tube and the basic filter body, which Victa dealers were retrofitting to machines once those round air filters became NLA in the 1970's. The trouble here is there isn't a choke integrated on this particular one.
So, I'll decide on what setup I use depending on how my repairs pan out on the original choke switch.
The reason why I'm putting so much emphases on this aspect of the project is the filter assembly is necessary to the correct running of the engine. In effect, the carb needs restriction up stream to help form the right air-fuel ratio.
- Sorting out the blade situation. I ordered a replacement blade carrier disk and a set of NOS blades. However, the blades don't come with the bolts, nuts and washers. I just spent 30 minutes trying to remove the old blades from the old carrier, not necessarily to re-use, but to have something to match up with when I go shopping. I ended up having to cut the face of the bolt off as they were so worn down that I couldn't get a socket on them to stop it from spinning.
This blade arrangement is needlessly over complicated, with bolt, sleeve, washers and cupped washers. So, I'll see what the local bolt place can do for me.

So, things are progressing, I'm kinda hoping to get it to run tomorrow.


")