Re: E-tek Resto's 56 Chevy Truck
Todays episode: Sanding, sanding....and - you guessed it ....more sanding...
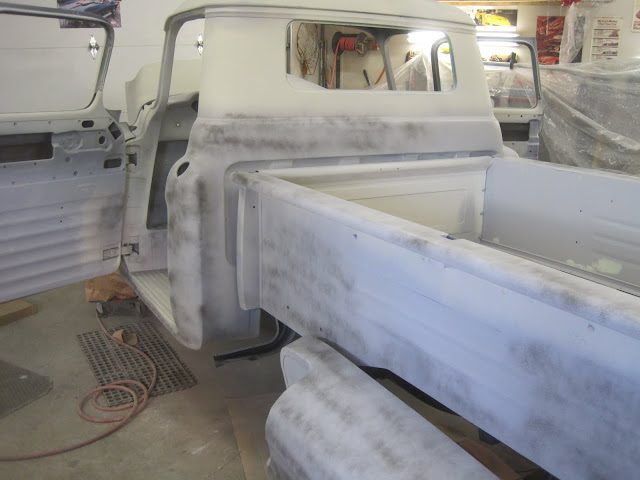
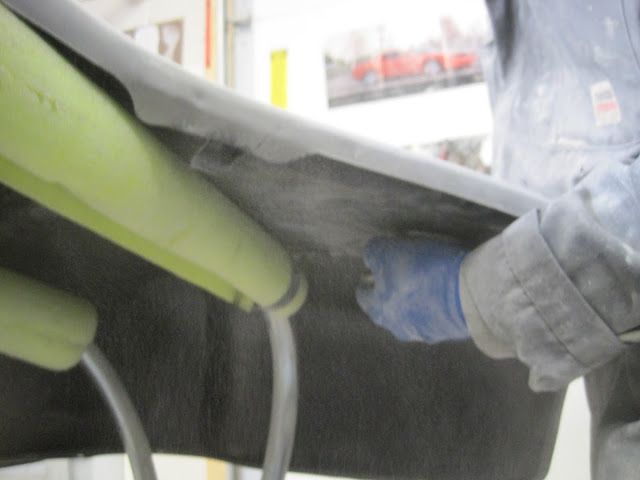
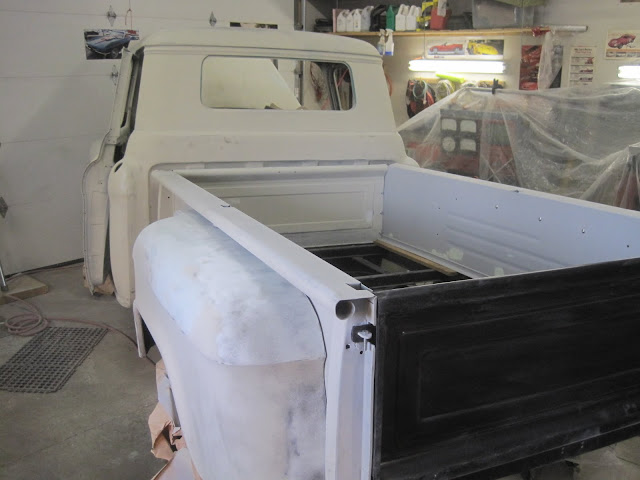
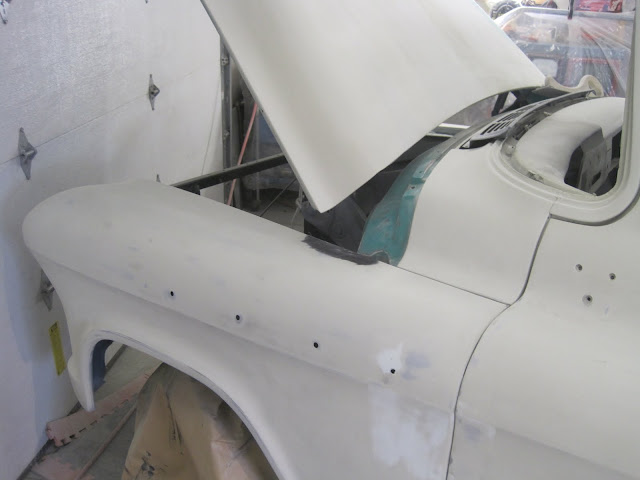
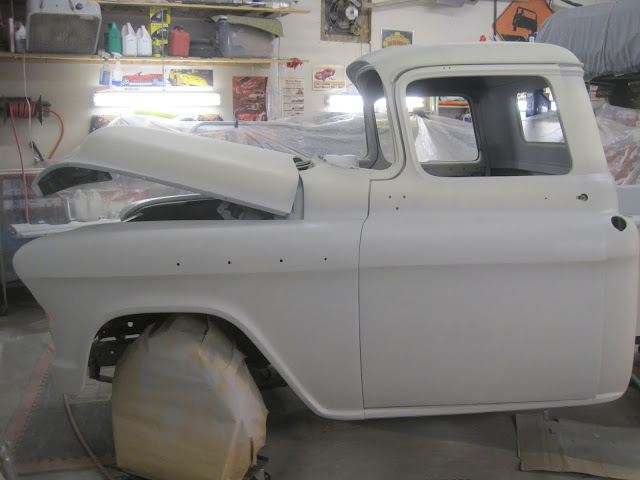
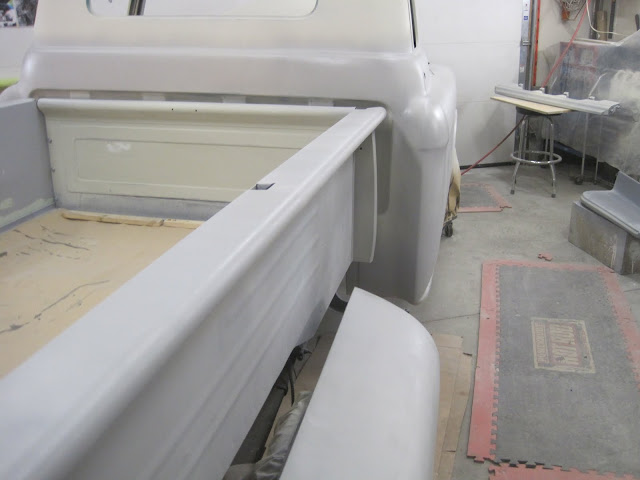
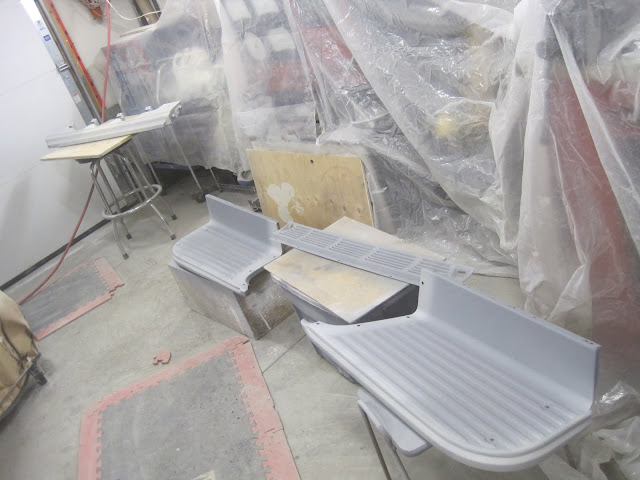
Once again: new primer with guide coat
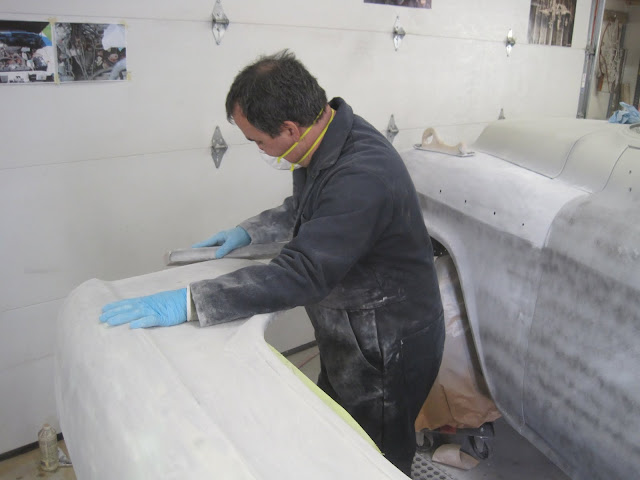
Today, the owners SIL (Trent), who's spear-heading the restoration project, came over to lend a hand with the sanding. He did the diificult interior and floor portions, while I got the body panles done again.
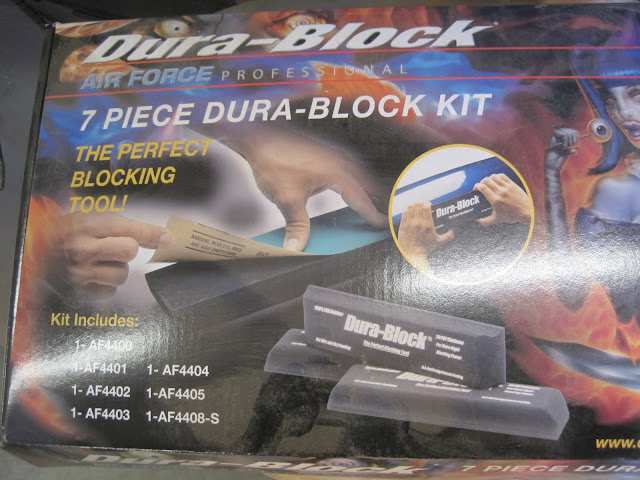
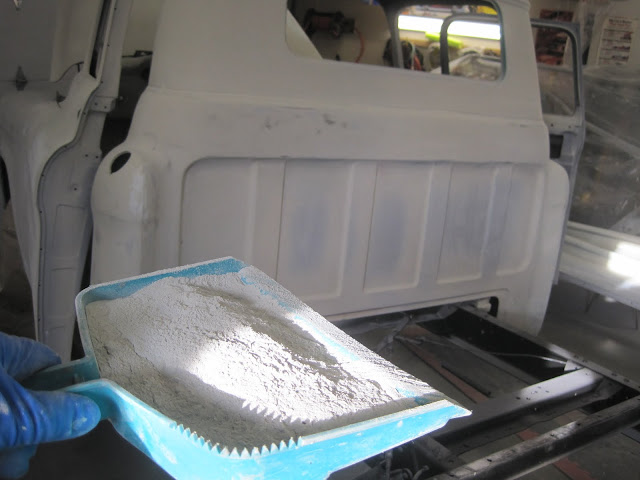
He also brought over a set of Eastwood's Durablock sanding blocks to use. Apparently they're the "
Perfect Blcoking Tool" - says so on the box! We'll see about that!
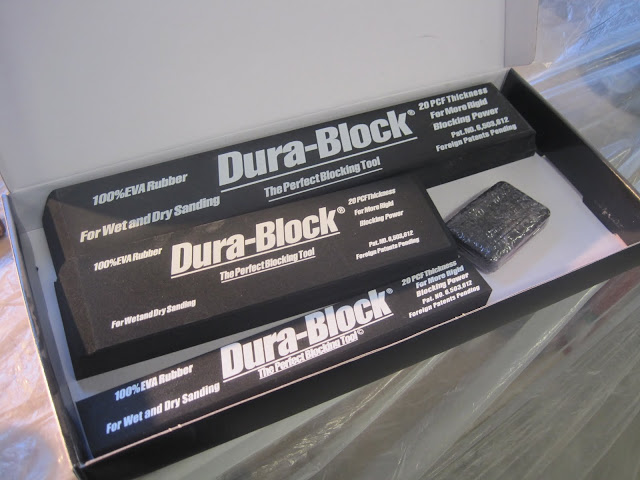
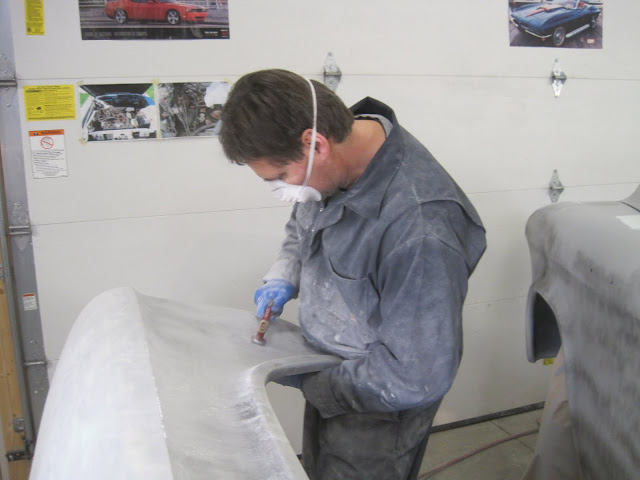
Jury's back with their verdict: these blocks ARE good. Being a little Old-school, I still use a wood sanding block (not quit a 2x4, but close), with handles, but the Durablocks have just the right stiffness yet give a little, so they gouge less and follow contours better. Plus they're extremely light, making them easy to hold onto to. You use them with adhesive-backed 3" paper, available in rolls, which wasn't an issue as that's what I use with my sander as well.
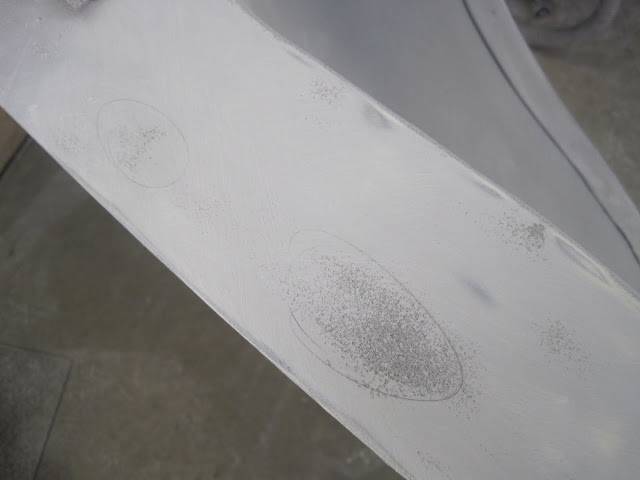
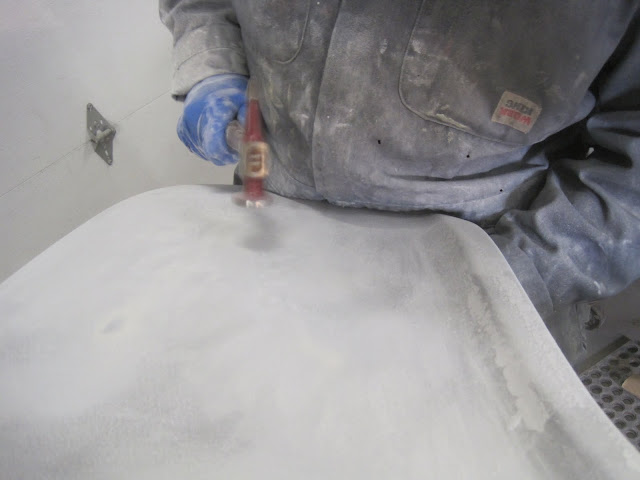
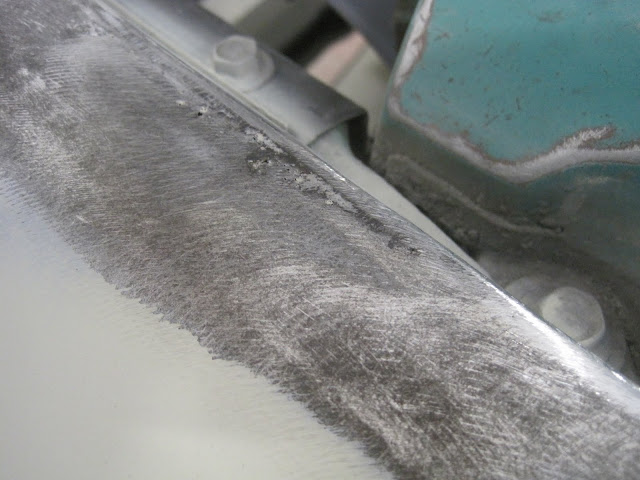
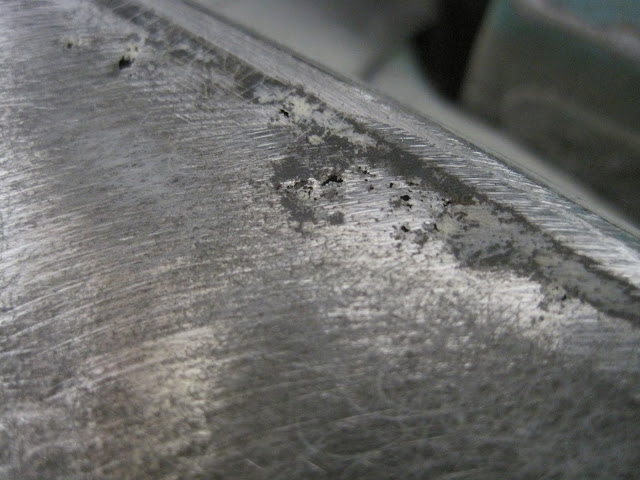
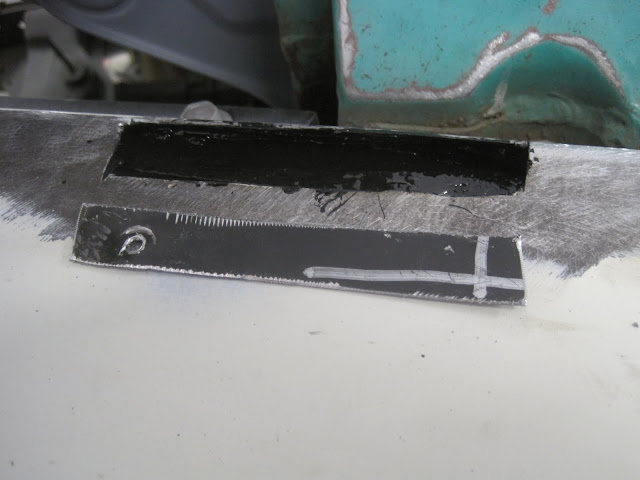
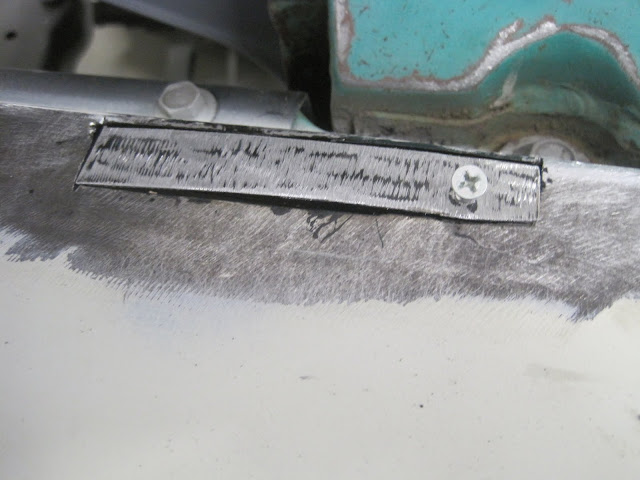
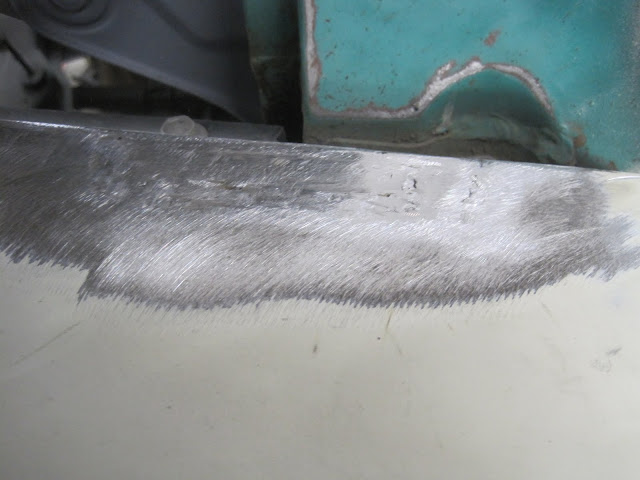
Again, we sanded with the blocks until we saw either metal or filler. If you see filler, you can still go a little further, because it's a high-spot that you can sand-down some more. But if you see filler and/or metal all the way around a low spot, it's best to stop and either repair the area with hammer and dolly, or fill it so that you can re-block it later:
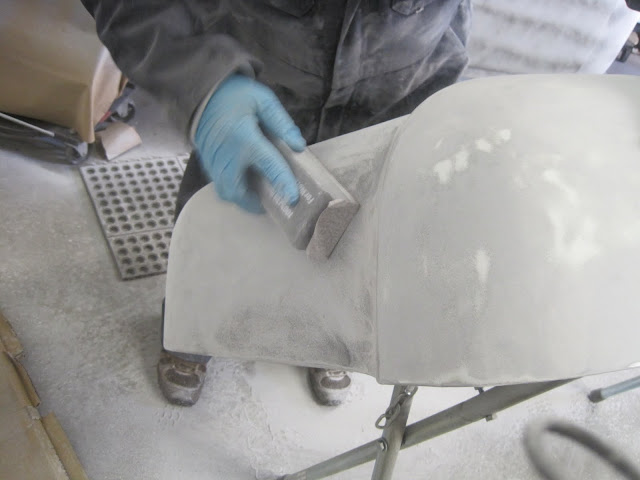
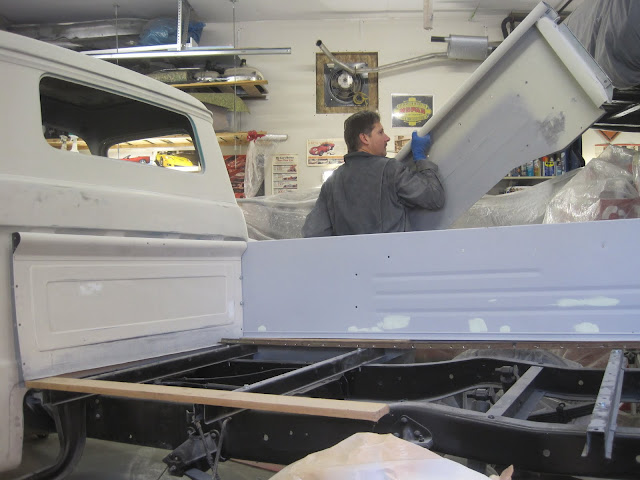
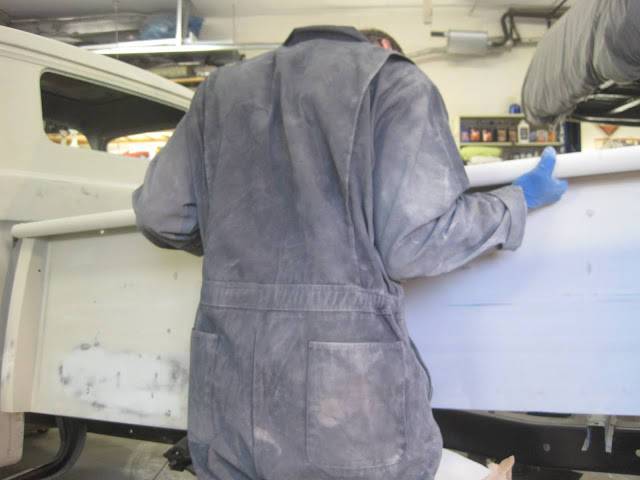
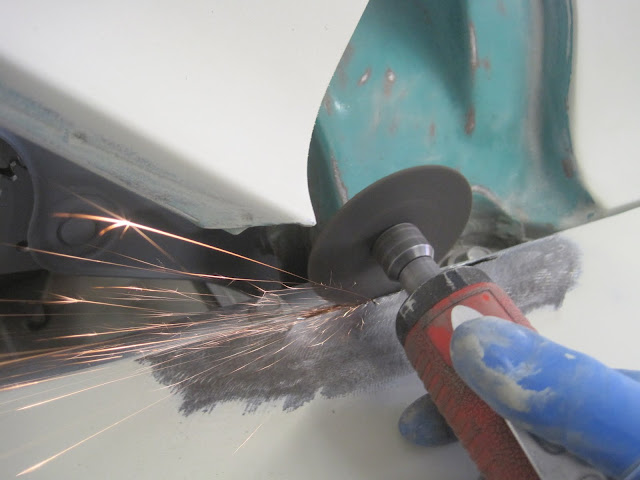
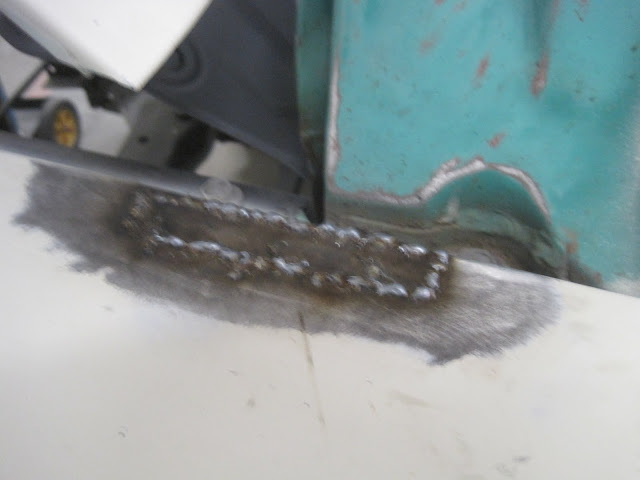
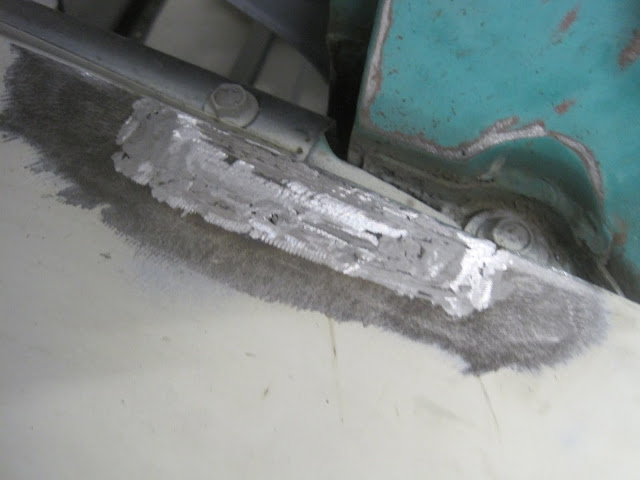
Below, I'm holding the dolly under the low spot, bumping it up, then holding pressure on it to bring up the low spot, while tapping down around it with the hammer. I swear these fenders where either used to heard Buffalo - or maybe they just took a good ol' Saskatchewan sh!t-kicking over the years....

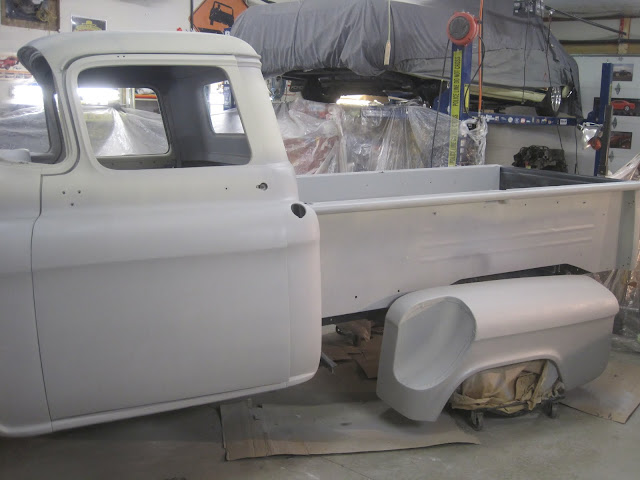
As for time-lines, once this is blocked and the last rough-areas repaaired, it'll get one last (?!) coat, which will then be wet-sanded with shorter blocks in 400. A final (thinned) coat of primer and it'll be off to the paint shop. We're guessing 2-3 weeks from now!


 I don't like stuff sitting for too long...
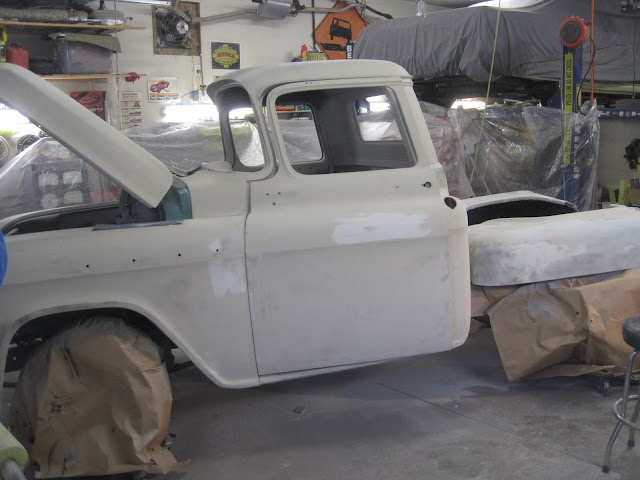
 no....


")