MP&C
Well-known member
Ed, going to do a drop on the heavy 32?

Be careful with the old brake shoes and dust. They may have asbestos in them.
I was going to suggest David's jig but I see you've already found it!
Long time lurker here. Lot's of great threads on this board, but this one inspired me to get OFF my lazy **** and OUT into the garage to clean up, reorganize, and mainly tear into my decrepit 390 and get going on my first full engine build. Thanks e-tek!

Long time lurker here. Lot's of great threads on this board, but this one inspired me to get OFF my lazy **** and OUT into the garage to clean up, reorganize, and mainly tear into my decrepit 390 and get going on my first full engine build. Thanks e-tek!

"Also, sold this 352 today....for $600. Soon the shop will have some room to move around in!"
E-Tek, you just know that next week someone will want to give you a highly desirable vehicle that the 352 would be perfect for! lol


was to soak them in water to swell up the wood,

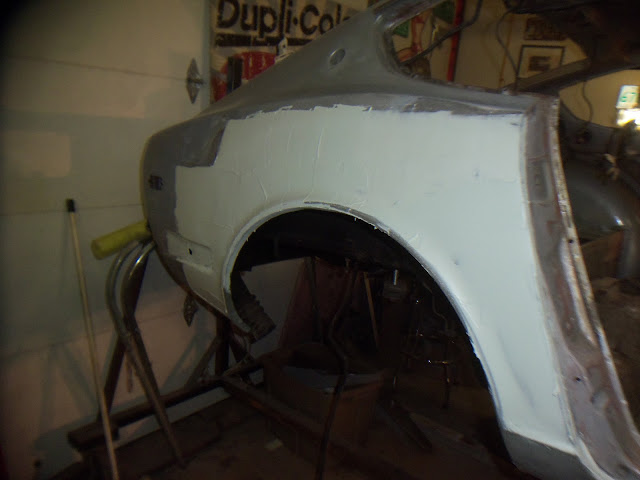
E-Tek, as always, its fascinating to see someone take a flat piece of metal and 'convince' it to be the shape you want.
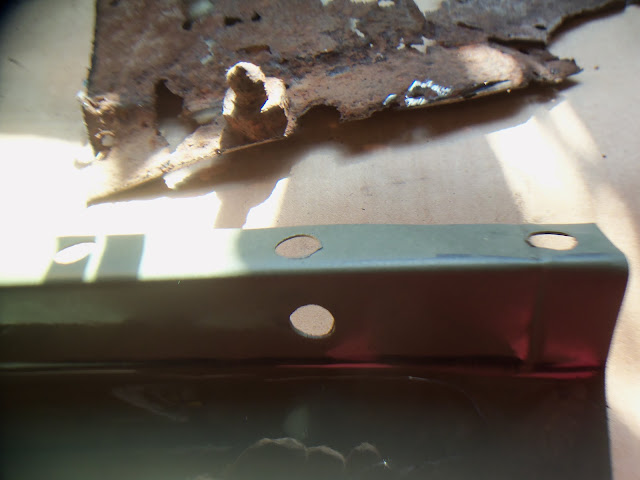
Question - It looks to me like there is an 'inner' rocker panel that has a series of dimpled holes along its length; yes? Since you had the nose of the rocker opened up, is there a standard treatment you give to the inside of the remaining rocker hollow? For some reason, I thought the inner and outer rockers joined to form a solid (no holes) metal tube shaped unit.
It's amazing to see the 240Z at this point when for so long it was a rust bucket you moved around your shop. You're going to have it running long before Colton is old enough to drive it. Perhaps Mrs. E-tek can get back into racing with it?
Robert (MP&C) mentioned repairing a loose hammer head on a wooden handle. If you've been around body hammers much, you know this is a constant issue. The trick I learned from the men at my Dad's shop - some 40 years ago - was to soak them in water to swell up the wood, keeping the heads snug as a bug! The bodymen at my Dad's used to toss their hammers in a bucket every Friday night.
This is a hammer that someone tried to repair by whittling the handle, pressing the head down further and re-inserting the wedge. Of course it came loose again very quickly, so I inhereted it. After a soak it was good as new and it's been one of my favorite hammers ever since! (Sorry about the crappy photo..)
Was that a nibbler or electric shear? I had a Makita nibbler, those half-moon slivers always seem to find your fingers..

eeeeew SU carbs.... hate those things....
Yeah E-Tek, you are getting close to the point where the mechanicals get some luvin'. What's in store for the power plant? Blueprinting? Competition parts? Fuel Injection? What's on your 'wish list'? Since it's going to be a "show car", might as well make it a 'GO CAR' too!
I AGREE! There is a lot bench work you can do on SU carbs to make them perform (needles, jets, gasket matching, different float oils, reshaping with a Dremel tool, etc.) and once you master a Unisyn (pictured above) you can try a rubber hose and your ear to synchronize them.C'mon now....they can be great carbs if tuned well. I've never had much problem with them. Need to balance them with a Vacuum cup.
I AGREE! There is a lot bench work you can do on SU carbs to make them perform (needles, jets, gasket matching, different float oils, reshaping with a Dremel tool, etc.) and once you master a Unisyn (pictured above) you can try a rubber hose and your ear to synchronize them.
SU carbs take a lot of unecessary blame but they are really a good carburettor.
I AGREE! There is a lot bench work you can do on SU carbs to make them perform (needles, jets, gasket matching, different float oils, reshaping with a Dremel tool, etc.) and once you master a Unisyn (pictured above) you can try a rubber hose and your ear to synchronize them.
SU carbs take a lot of unecessary blame but they are really a good
carburettor.