zmotorsports
ALLIANCE MEMBER
The bench looks great Steven, but daaayuuuum.... that air tank setup is sweeeeeet.


Dude, I love the red CVT panel! The mounting is so clean with the magnetic covers.
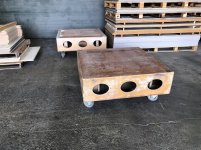
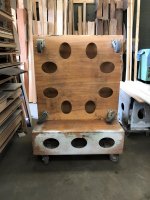
I'm also really digging the card holder, would you be willing to make and sell the pieces for one?


Ouch, I have done the same thing. Will be very sore tomorrow.
Love the shop, I am about half way through it. Great work
Sent from my LG-LS777 using Tapatalk


")
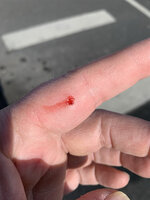
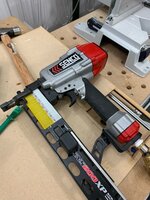
First pneumatic fastener puncture ? It will heal. Wrap it in duct tape and keep going. Wait till your framing nailer bites you.
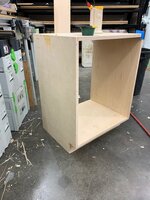
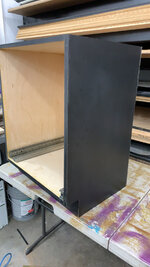
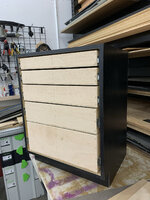
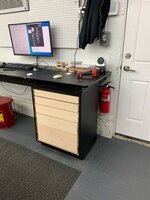
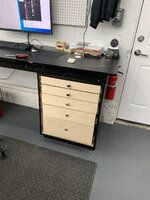
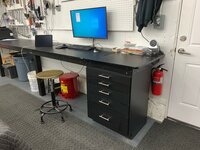
Made the drawer fronts and got them installed.


I've had the nail thing happen once or twice. One time I had to get the vise grips to pull the nail out of my bone. That hurt for a little bit.
Hey man, the card holder looks great! The gf is a receptionist at an Audiology place and the holder looks great in her office. Thanks!
Sent from my Pixel XL using Tapatalk


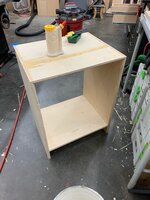
Have you considered making the shelves adjustable so you can stack more material if needed on a single shelf? Not trying to add to your workload, but it is easier than adding to mine.
JB