nova66mussl
Well-known member
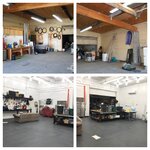
Lots of cleaning and laser setup/learning thus far today. Finally got things to a point where sweeping and mopping the tile made sense.. it was quite the mess but it cleaned up really nice!
Here's a before/after photo for reference:
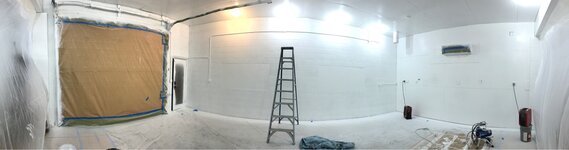
Next up is getting primer sprayed in Bay 1..


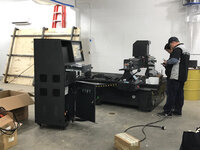
Hi Steven. Thanks for taking the time to journey over here to check out my project. It was great to meet you in person. I look forward to collaborating with you on the car. After viewing the above photos I do have a request. When my car arrives....... the sofa and TV have to go, unless of course you are working all night and just need a little nap.