xtremek
Well-known member
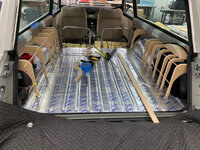
That's a lot of sawdust. Is that from just one car, or just a part of one?

Thank you!
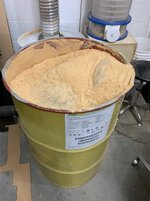
Emptied a very full cyclone dust bin for the first time tonight. Turns out the photo eye didn’t detect the full condition like it’s supposed to.
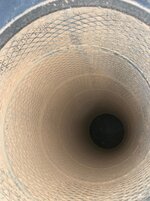
I recognized that I had a air leak somewhere in the cyclone quite a while ago. Decided to handle it all at once. I cut gaskets out of 1/8” rubber sheet on the laser. They fit between the two filters and at the top of the filter coming out of the blower housing. I also used some aluminum duct tape. I’m thinking (hoping??) it is sealed better than it was. I really wish I would have bought an Oneida. The Clearvue is too clunky for my tastes. I want it to work, not tinker with it.
All back together. It took a while to fill the 55 gal drum.


Still enjoying the monumental progress with this place! Looks like you're turning out some great work!
How are you liking the Frontier? My daily beater is a '98 Frontier regular cab as well, though mine is 4x4 and I've bobbed the bed. Bought it pretty hammered and painted in bedliner but lots of QST has made it somewhat acceptable.


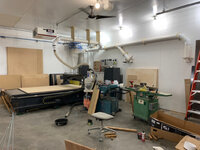
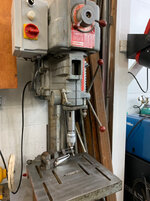
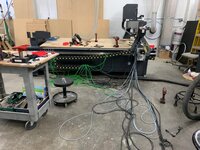
Had some drama with the cnc router. Stepper motor died. Turned into a bigger project than I wanted. It now has closed loop servos and is running great.
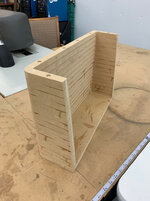
An in progress photo of that project about half way through.

Wow, big job. Can you share more of that project when you get a chance? I've been wanting to upgrade mine.

")


Pretty cool. I think the owner will like that!!!

I don't know, I hear he's difficult to please.
I thought you lived far enough away you couldn't hear those rumors!!!