xtremek
Well-known member
I liked the sled up in the sky, but I love it aired out.

 Your workshop is amazing. That new lift looks super nice! Is it made in USA?


Have you, or will you, be using any Griots leather reconditioner? I have a 30 year old LeCarra steering wheel for my Chevelle and it seems a little too hard. It has been in the garage 99% of the time.
Suggestions? Thx!
.
Sent from my SM-J320V using Tapatalk
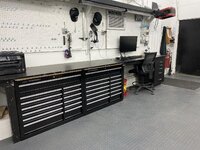
Thanks guys! The Schaller bins are useful all over the shop.
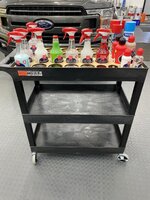
I went down the detailing rabbit hole recently. Visited the Griot’s Garage flagship store and picked up a G8 and G9 buffer. They were low on stock on a lot of stuff. Sounds like I’m not the only one getting to detailing my cars. Needless to say I have a bunch more coming from their website.
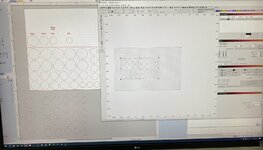
I knew I’d want it all organized and easy to move around. I bought the cart from amazon. Little drawing and some laser work..
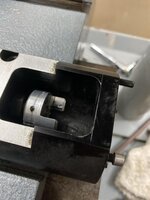
Made the test part out of mdf. I’ll use it for a while and see if I need to change anything. Then I’ll make it out of composite. Will keep things from moving around.


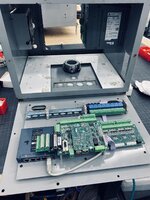
........ I talked to a guy that worked for the company that did the existing CNC retrofit. He essentially told me I was over my head and "wished me luck". I just giggled.


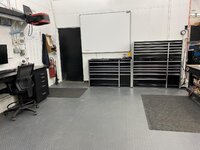
 I'm not even jealous. It just makes me smile to see that level of organization. Well done Steven!


Got the boxes in.