ez-duzit
Well-known member
This is how we learn.

This is how we learn.


...Still trying to decide how best for me to get the sides done to a higher standard
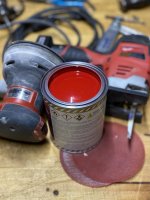
One guy rolling; another guy tipping with brush.
Use a foam roller.
Like I said: "One guy rolling and the other tipping."
I'm toying with the idea of building a step-side bed for my '72 F-250 out of fiberglass...
Have you ever tried to find an 8' stepside bed?...

How bad are the Stepside ledges?
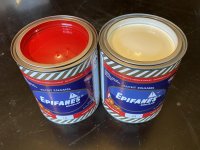
Yacht Enamel... that dinghy is getting more upscale by the minute. You going to wear your Ted Knight captains hat while painting it?
Now you're NOT going to Get Any Respect! LOL! Harry Thanx for the Chuckle!Rodney Dangerfield’s pants seem to fit my personality a bit better
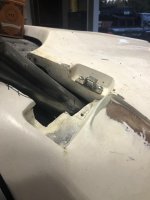
I hope this is the correct spot to post this. I'm completely new to working with fiberglass and am working on a fiberglass front clip for my Toyota Pickup.
This truck is meant to be a wheeler/overlander and the whole thing is going to be coated in Raptor Liner. I'm not going for perfect so this is a good project to learn on.
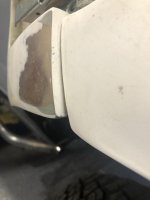
The mini fenders are about 1/4" off from lining up with the front clip. How do I build these up so they match? I also had to hack away quite a bit to fit the cage tube through it. At this point I'm thinking my best bet is to fill in the latch recess and surface mount the latch.
Any tips or instruction on how to proceed from here would be much appreciated. I'm definitely new so a resin recommendation would also be appreciated.
Thanks,
Spencer
R--looks good from here.
If it is badly oxidized, scratched and/or pitted, just try some brown Scotchbrite pads.