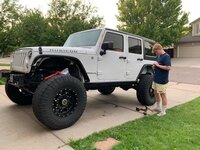
How is your Jeep project going?
Good, suppose I owe everyone an update. We got the sliders and the fenders installed. No real issues. Motobilt makes some very nice parts. Their fit and finish is better than any Offroad companies I’ve experienced (and I’ve seen just a few).

And that’s right about the time I got distracted by the Covid-home-project-a-thon 2020. Wife said we needed to redo the fireplace

Ok, so I demo’d it.

No good deed goes unpunished though, just before I started to tile, I was chatting at my neighbor over the fence about how crappy our HVAC systems are (no returns upstairs) when he mentioned that he thought it was possible to extend the return that was behind the fireplace to go up into the master bedroom. We’ll hell, I now had access to behind the fireplace so I did some measuring....and then some more cutting

So now I can stand above and behind the fireplace figuring out if it was even possible...

And a plan was formulated. As luck would have it, the studs on tat particular wall were actually perfectly aligned with the studs on the upstairs master bedroom wall. Like no F’n way...but they were. So we moved the bed in the upstairs master bedroom and I cut into the wall so I could get into the attic behind.

and started to box in 2 cavities in the wall for the new return. I now had access to the floor vents we had always talked about moving so...yeah, moved them 12 1/2” out on either side of the bed.


the bed posts actually sit where the old vents were so I had to beef the **** up out of them below the floor. Like way over-built (2x6 enough?)

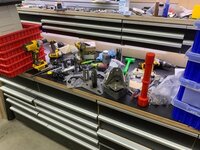
right about that time I lost my **** when I kept mis-placing my tape measures because I was running back and forth between rooms, floors, and the shop. My wife got me a care package to help me overcome my frustration.

Now I couldn’t access the whole cavity behind the fire place so I had to cut into the wall under my wife’s desk in the office behind it in order to.

Meanwhile, in the house caddy corner to ours out back, they were busting out their porch and re-poured it. Got a kick out of where they put the back door step. Wonder if they even noticed?!

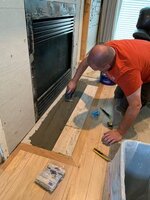
Got after the floor tile. Goes fast enough but is killer on the back and knees.

Got Andrew in on the grouting and cleaning process.

And then the veneer to the face of the fireplace ended up being much easier than all that other ****. Start at the bottom and work to the top.

Until you’re piecing in the last few by hand. Done?

Before/After.

We’ve come this far, should we get a bigger TV? Maybe an 80”?!

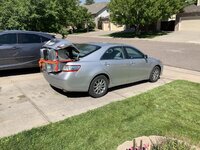
The next day “at work” (from my makeshift office in the dining room) a car stopped in front of my house and started taking pictures. Turns out it was some looser taking pictures of my trash cans which resulted in a nastygram letter from the HOA a few days later.

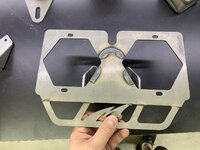
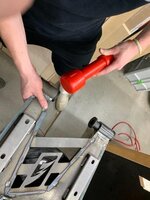
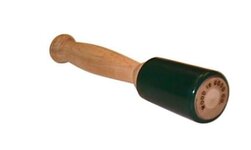
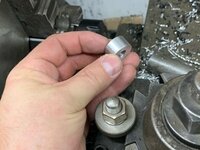
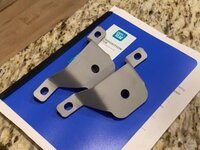
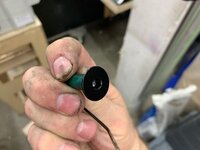
Snuck out to the shop to get a few minutes in on the Jeep. Needed to modify the rear license plate bracket so I could mount a rear facing camera under it using a camera mount that Motobilt makes for the JL (mine’s a JK). Had to cut off their logo (I paid full price anyway).


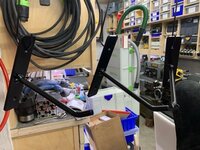
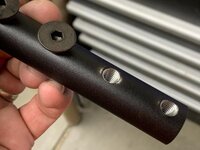
Needed to clearance it a little more so the mount would fit up under it.

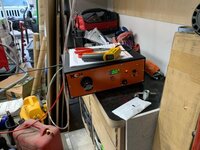
Used the mill to square up the bottom and get the clearance even side to side.

That’ll work.

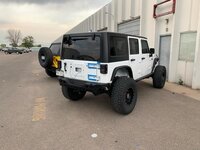
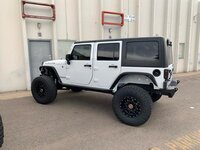
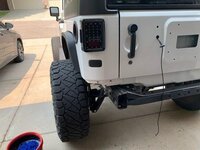
Andrew’s front 2.5” Fox Factory Race shocks finally arrived. Took FOREVER but they look damn good in place. Seems my measurements were just barely off so we needed to add an additional 1” of bump. Wasn’t a big deal, kinda needed it, there was some rubber on the underside of the fender so it was rubbing anyway.


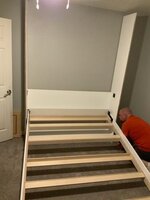
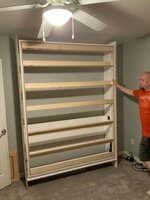
Working all day at the dining room table is **** and 5 months is enough of it. Decided I needed to convert the guest bedroom into an office/guest bedroom. Built a Murphy bed...yeah I did.

Hard to believe such a huge bed can really fold up out of the way.

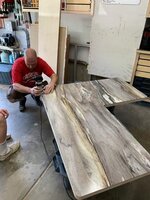
Found some kick-*** laminate to use on the desktop. Made it out of Baltic birch ply.

Then had an idea - what if I age/weather the edge of the plywood and then poly-finish it? Attached to the bottom of the bed using a French cleat so it would be easily removable. The leg is one-piece only needing 2 screws to attach/detach it. Strong as hell.

And this is my new home 8-5. Still need to paint the underside of the bed, decorate it a bit with pictures and ****, and then add an LED strip for desk light. Otherwise, it’s SO much better.

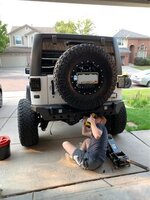
AND I got the parts uninstalled from the Jeep and down to Powder Coat. More to come on the Jeep.