gahrajmahal
Well-known member
I use coat hanger or welding wire to test out my tubing path. Sometimes what looks like a good path won't work in a crowded engine compartment due to interference not immediately apparent . Nice work.

I use coat hanger or welding wire to test out my tubing path. Sometimes what looks like a good path won't work in a crowded engine compartment due to interference not immediately apparent . Nice work.
Great thread and excellent work.
Subscribed.....
Love your attention to detail.
Thanks for sharing
Yaidunno.
I just found your new thread tonight and spent the time going over your projects.
After working on my 62 Vette I can identify with your feelings on the exaust and plumbing issues. I need to look at a couple of my fittings that won't stop leaking. Reading your thread may have helped me identify some of my issues.
I'll be checking in often for sure.
Thanks for the help
Don
Also in the Fox Valley, so I'll be following this one.
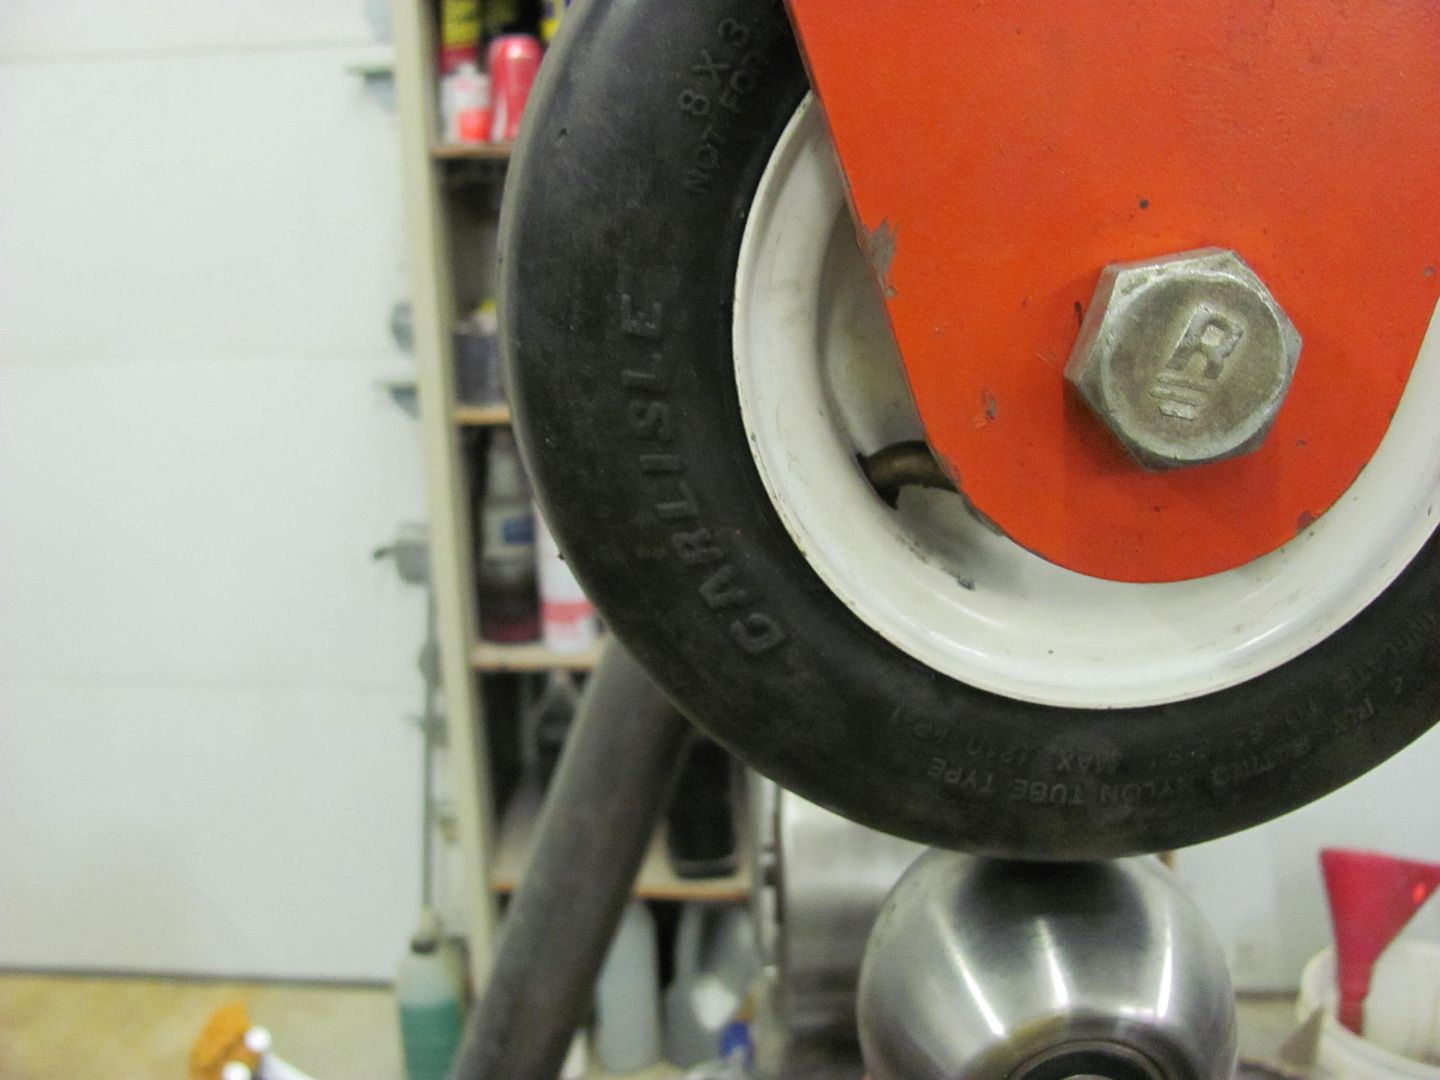
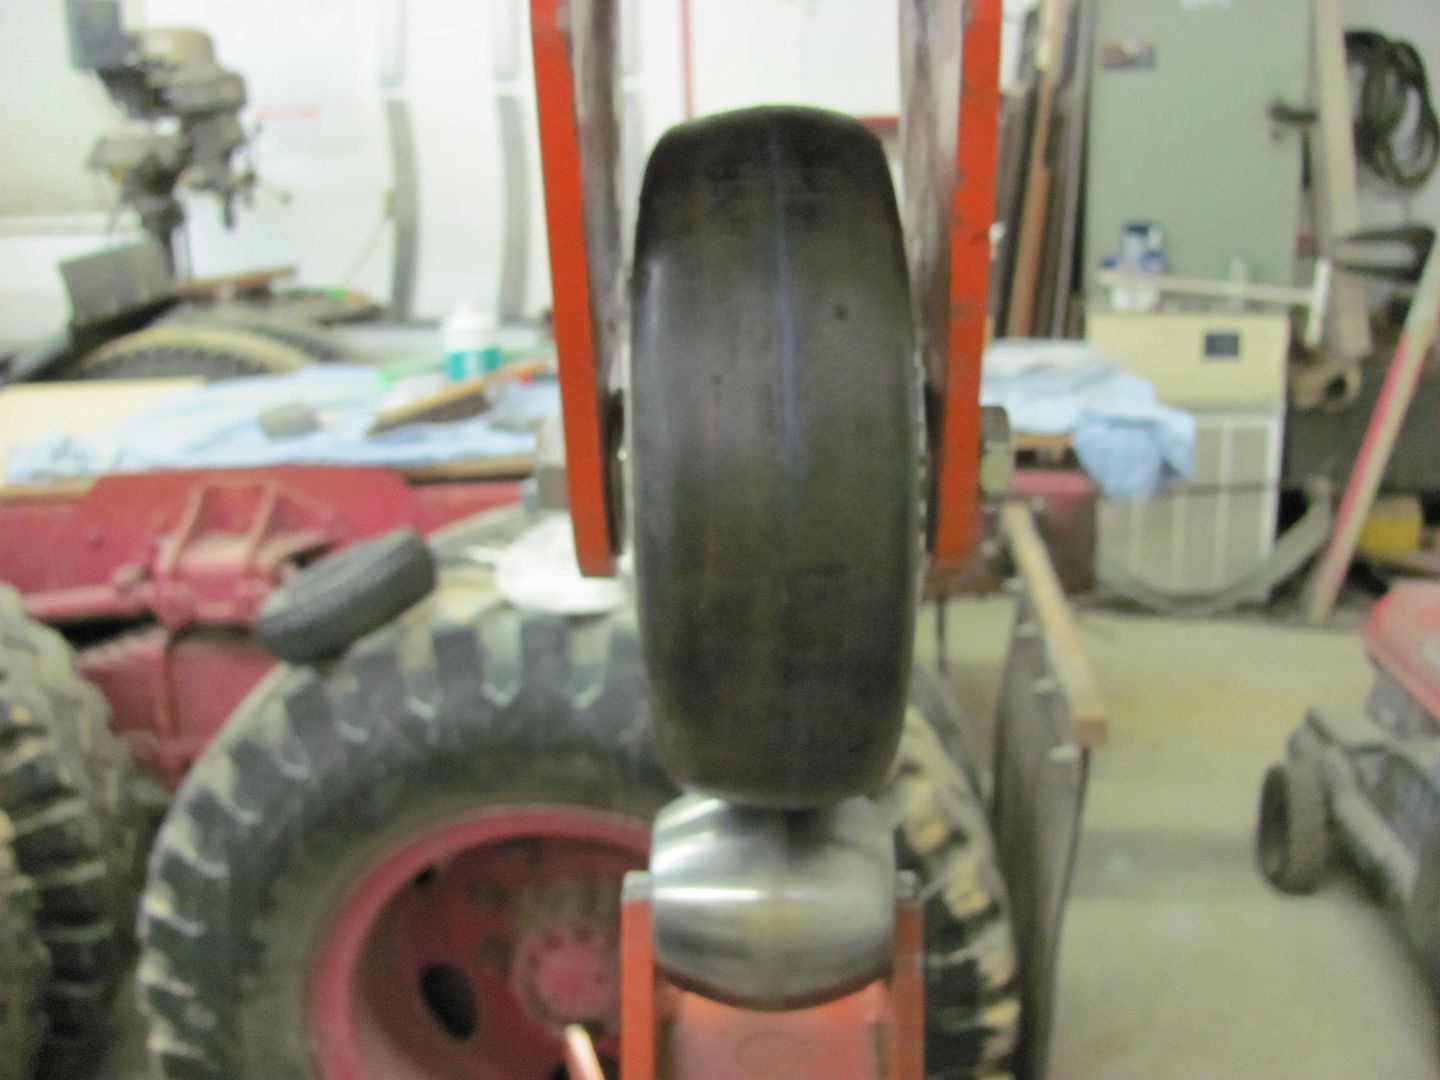
Nice work on the door. You can also use a cross section of an inner tube for your upper wheel. I prefer the go-kart slick though...

More give, better response. What size is your upper wheel? Axle size?
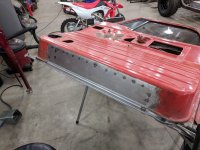
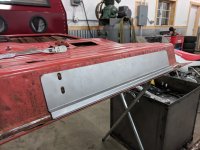
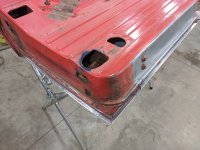
Great job on the door repair. It is items like that I wish I had a pan break. Very nice and clean repair on that door bottom.

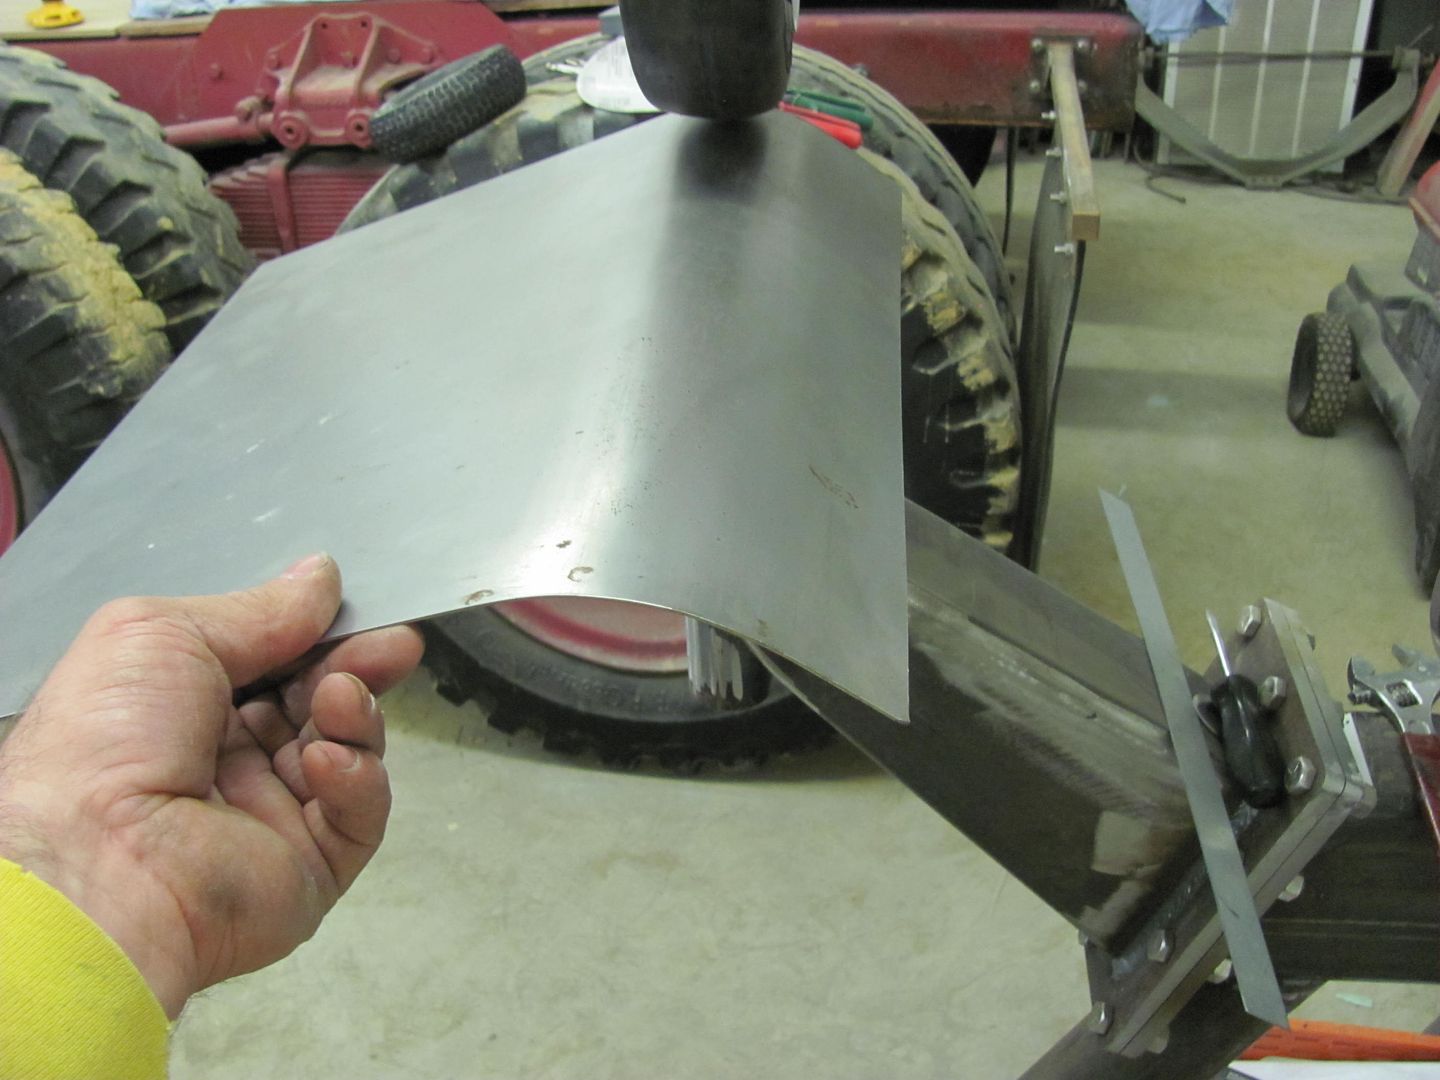
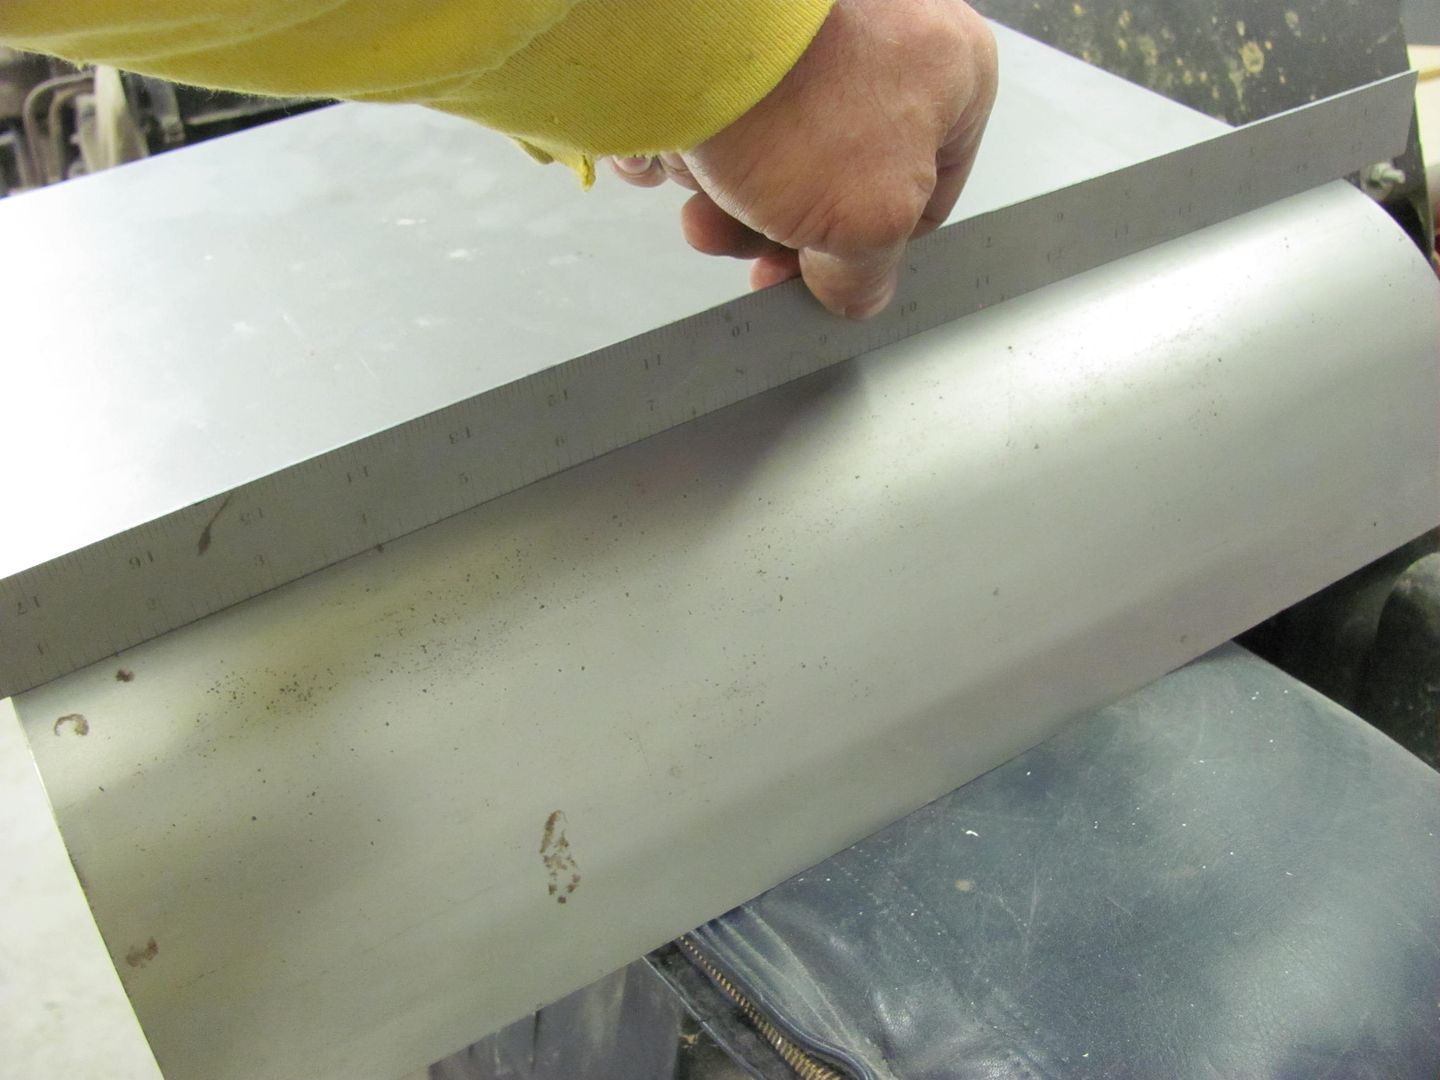
Those are some clean patch panels, well done
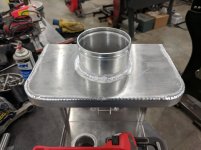
Great job on the airbox. I'm with you, I kinda enjoy welding on aluminum and working with it and wish I had more projects out of aluminum.
Just found your thread, and am in awe! Phenomenal work everywhere, and that aluminum intake is a thing of art and beauty!
Definitely subscribed!
What's up with the dual inlets on the airbox?
Looks awesome!
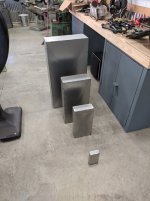
nice assortment of projects and well done work !
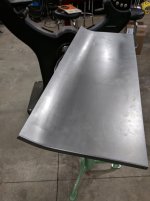
That new door skin you made looks awesome! Great job!
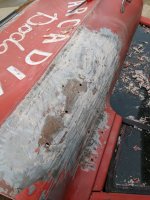
Too bad you had to cover up the old lettering, I kind of like the vintage look on the old door skin...
Nice job on the door skin, you'll have to take your wife out in the shop more often!
Not doing anything to the inside of the door?
the new repairs and door skins look absolutely beautiful!
and the old door repairs look really familiar!
Fantastic work on the door skin.
Wow. Looks great.