larry4406
Well-known member
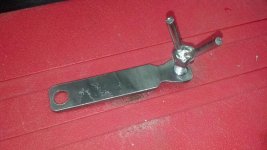
I rebuilt a Mitsubishi Montero Sport 6G74 engine. Part of that process was a new timing belt and hydraulic tensioner.
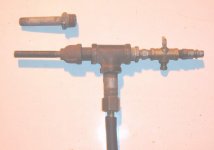
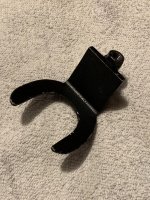
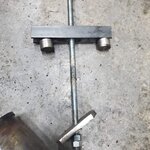
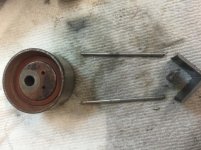
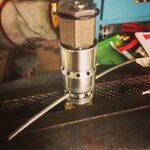
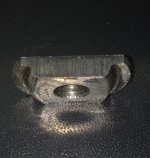
There is a special tool with pins that is needed to rotate the eccentric for the tensioning puller to compress the hydraulic tensioner a certain amount. I made my own tool with some scrap angle iron and some nails.
There is a special tool with pins that is needed to rotate the eccentric for the tensioning puller to compress the hydraulic tensioner a certain amount. I made my own tool with some scrap angle iron and some nails.
Attachments
-
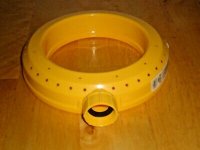
 OTC7997 timing belt tensioner tool.jpg33.8 KB · Views: 370
 -
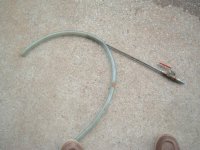
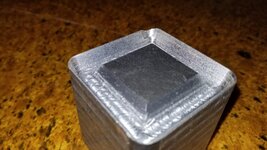
 Timbing Belt Tensioner Tool Parts.jpg101.1 KB · Views: 279
 -
 Timing Belt Tensioner Tool Welded.jpg111.8 KB · Views: 311
 -
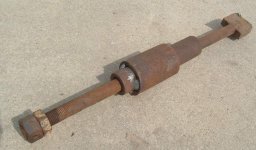
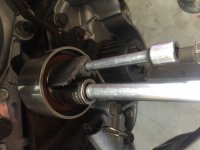 Timing Belt Tensioner Tool In-use.jpg121.1 KB · Views: 275
 -
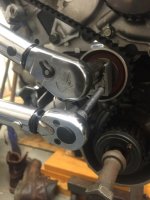 Tightening Cam Belt Adjuster Pully Alternate View.jpg94.6 KB · Views: 300
Last edited:


 .
.