Farmall450
Well-known member
Wow, looks good OP. Lots of concrete in this one!

")
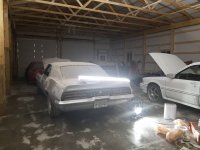
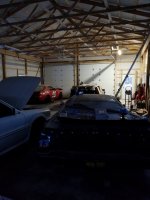
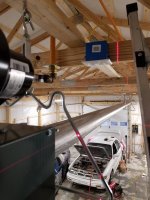
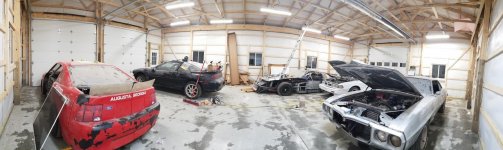
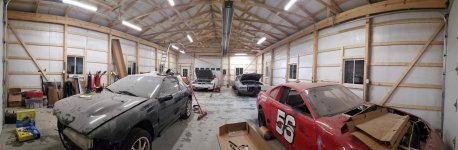
Famall450, thanks! Yes, a little over 4500 sqft of concrete, generally 4" thick but it was thickened up in a few key areas (where it meets the road and where the lift will go)....actually by my measurements the entire concrete floor must be 5"+ but that is just a bonus

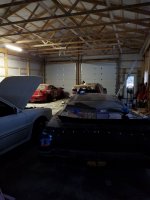
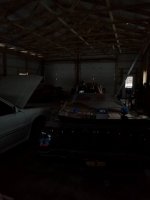
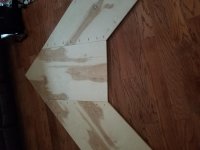
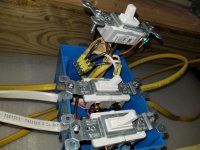
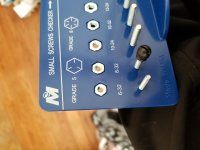
 . I can't stand paying people for jobs that I can do....because apparently I don't value my time as much as they value theirs lol......now all I have is final electrical, heater and final building. (3/4 plywood birch veneer)....ok another lastly, for Christmas the Wife got me a thread/nut/bolt checker that I have been wanting for a while, it came in handy when my exterior lights only came with one(not two) of the nuts needed to secure them .......the rest of my "stuff" is packed into the 3 car attached garage at the house, not looking forward to moving it all over but I am looking forward to it getting over there lol