WarrenJ
Well-known member
^^Looks great^^. lots of storage


I wish my kitchen was that awesome! Oh wait thats not a kitchen. Lol. That really is cool, were those used cabinets you repurposed or something else?
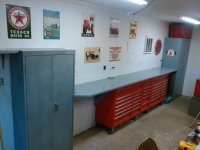
I finally mounted my 3 52" Griplatch tool chests on stainless legs made for kitchen equipment. This allowed me to level, and mount across the back wall. With a 2"x4" top, I made one 166" long workbench. Not 100% sure I wouldn't have been better off to make the top out of 3/4" Plywood...( still may )


WE just skinned the doors of the particleboard cabinets with diamond plate aluminum bent on the shop brake.Those metal cabinets on top? Like the diamond plate look.
Sent from my iPad using Tapatalk
WE just skinned the doors of the particleboard cabinets with diamond plate aluminum bent on the shop brake.


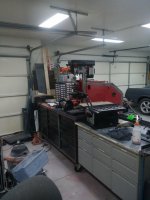
 20160326_213106 by Noah Scott, on Flickr
The bench and cabinets look great but I'm too distracted by the Vette (which from what I can see of it is gorgeous)...
Not much work goes on here. Check out my build at: http://www.garagejournal.com/forum/showthread.php?t=293752&highlight=1carguy


I finally mounted my 3 52" Griplatch tool chests on stainless legs made for kitchen equipment. This allowed me to level, and mount across the back wall. With a 2"x4" top, I made one 166" long workbench. Not 100% sure I wouldn't have been better off to make the top out of 3/4" Plywood...( still may )

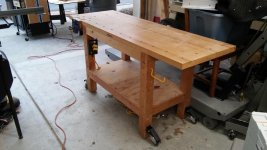
It may not be pretty but it was free to build. Not counting nails and glue of course.
Heavy Duty is an understatement I could barely lift it to plane down the bottom side of the 2 x4s . I only did the underside cause I am thinking about attaching some drawers that I have laying around. Wooden drawers that came from the old kitchen. Any good simple ideas for that plan?
The lumber was free from my brother who unloads trucks at a warehouse that he manages. He managed to save the 2x4 s for me out of the trucks.
The 4x4 legs are from a pile of them that came with the farmhouse.
I planed the top down so it was even. It will probably be a splinter maker. Would I stop that with a shellac or something?


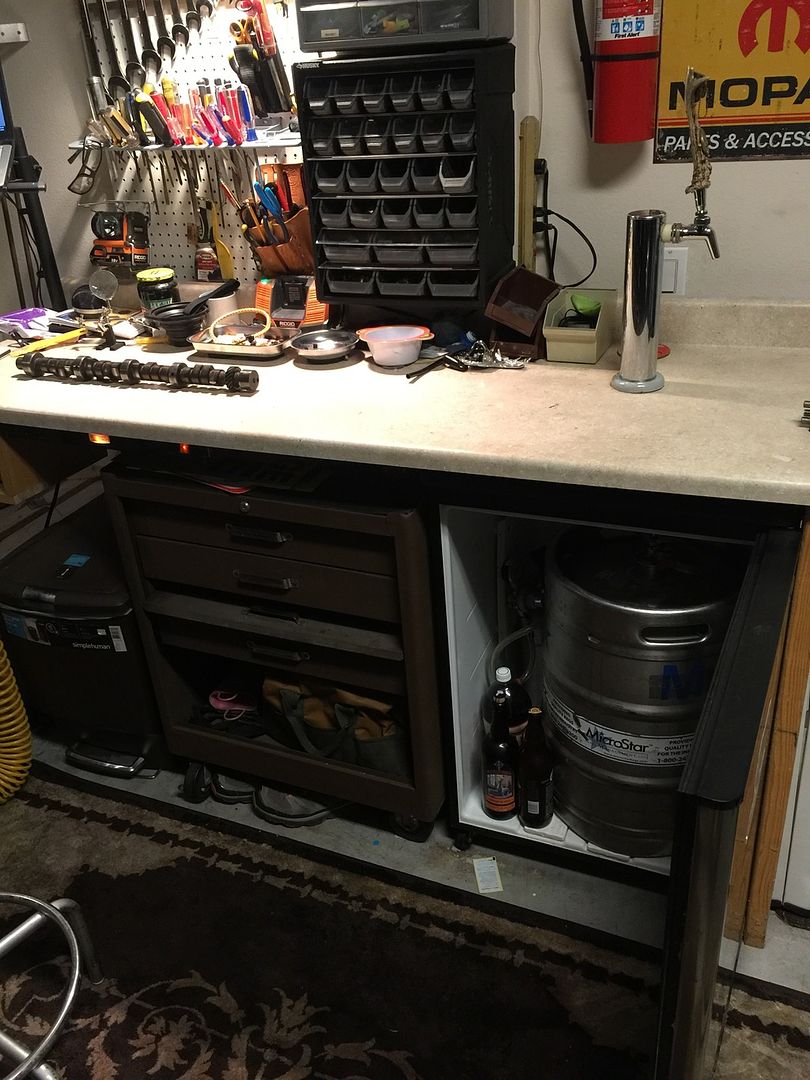


Fishy:
You have an awesome workbench with the kegerator right there!
(But IMHO, you need a bigger vise!)
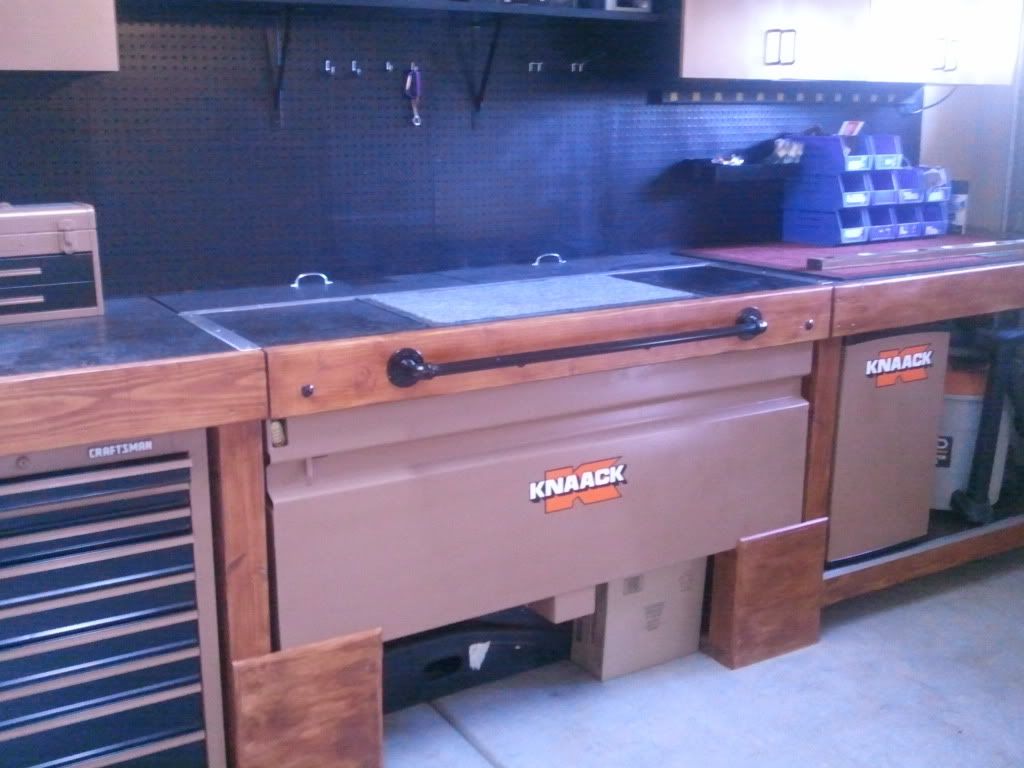
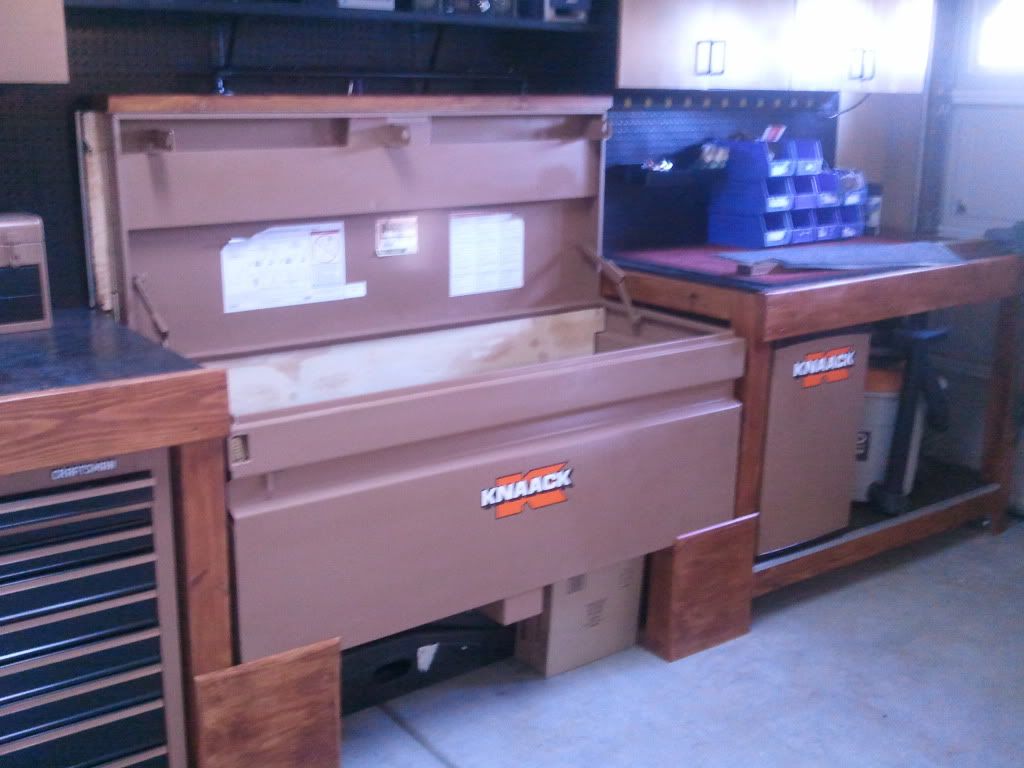
I built this in my previous garage a few years ago.....I plan a similar route with an embedded jobsite box for tools and things that go bang. Looking forward to kicking that project off this summer.
That is really cool, thanks for showing it off!I built this in my previous garage a few years ago...


Just a countertop that was in the blemished section of HD. It does pour cold beer though!
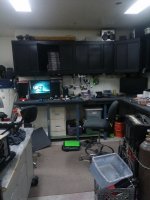
This workbench came from a factory my Dad worked in for over 40 years. They closed down and I purchased it at auction last year. The Wilton 400 bullet vise and work light were from his workbench. This thing looked terrible when I got it so I sanded down the top with a belt sander gradually working down to 120 grit. I intentionally left the imperfections as I feel they add character. The bench top was then topped off with 5 coats of Minwax Antique Oil Finish. I cleaned the grease/grime off the metal bench parts, vise and light and left them alone otherwise. I finally mounted the vise and light on it this week. Now it's time to get it dirty again.

Looks great, what sort of things do you work on on there?A little busy but functional for me...