LX-Markham
Well-known member
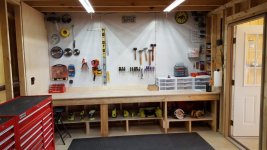
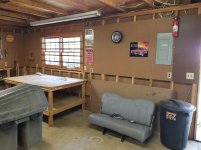
Yes, when in the lifted position the base cabinets actually block the wall wall cabinets. So I use them to store stuff I need infrequently, or stuff I use when lift is down. During the week, for the most part, the lift is up and we use the space for our daily drivers.So your base cabinets move up and down with the lift? You must only use it when you need parking? Is that correct?
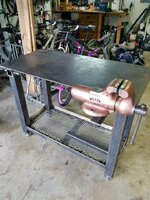
Thanks! Yes, that was the purpose of the whole project: to make room for my Mustang. The extra sides of the double wide lift are bonus. The left side ramp is where I have my tools, compressor, table saw, drill press, etc. So if I'm working under the car, sometimes it's a bit inconvenient to climb back up for a tool.That's a neat setup, LX. Looks like you can still get a single car up the center of the lift. Where do you put your tools when the lift is up and you're working underneath a car?
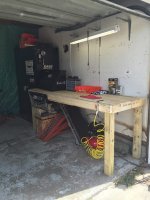
It's exactly like a movable mezzanineWow! I didn't expect that when I looked at your previous workbench photo. Sorta like a movable mezzanine. So if you ever get flooded like Texas has, your tools & red car are in no danger of getting wet, right?
Yes, if we get flooded at least the Mustang and my tools will survive, LOL.


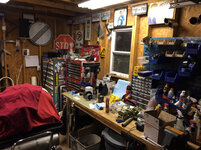
 . I putty'd and sanded those mistakes so you can't really tell... I'm going to try to keep up, but knowing me, it probably won't stay this spiffy for very long, lol.