WinonaRail
Member
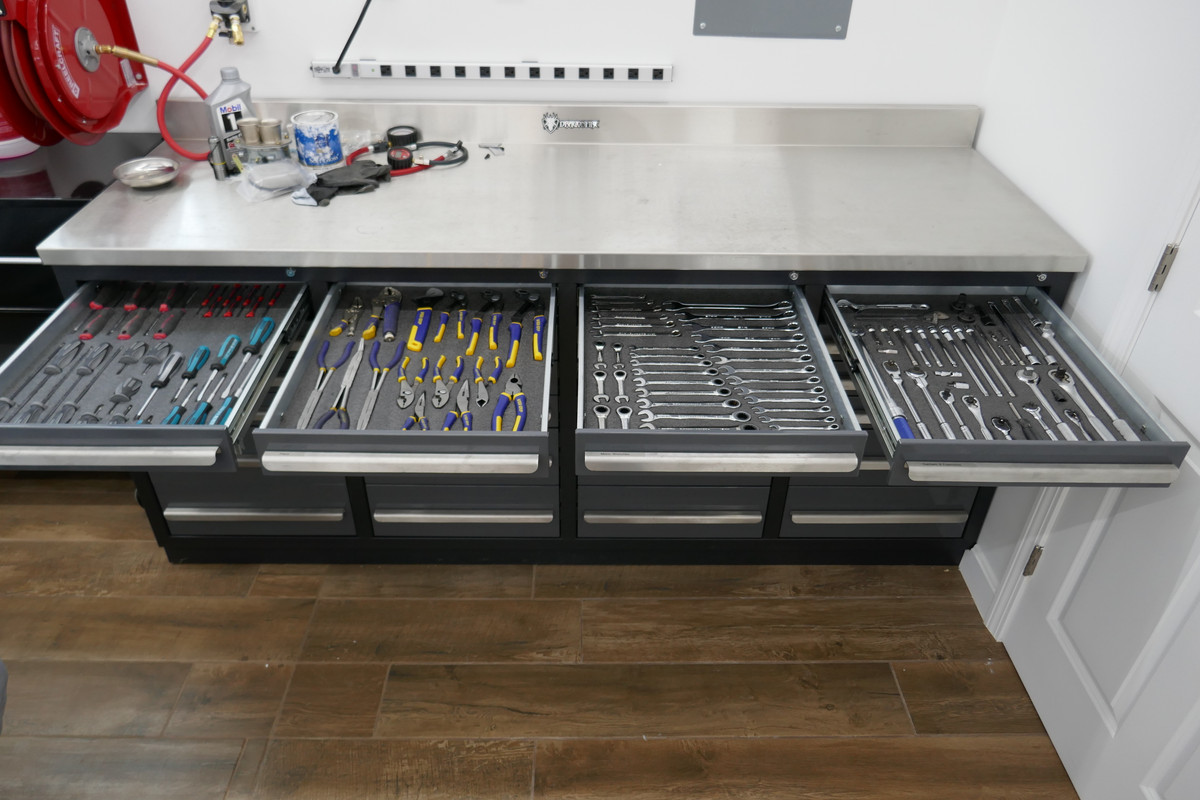
My 22X96" beech joiner bench, my shop help, and my 1/2" plate welding table/fab bench
Do you have more pics of this bench and the shop it's in? Thanks!


My 22X96" beech joiner bench, my shop help, and my 1/2" plate welding table/fab bench
I sat on the top and it's super sturdy!
M
I just picked up a 44 and 26 base cabinets from HF to start my bench, hung the cabinets over the past week.


Just got mine cleaned off last night. First time it's been completely free and clear of parts from my son's latest Jeep project in almost 2 years.

Beauty![emoji481]
Adjustable feet, quick detach vise, 3/8" top, 3x3 legs. It's stout. These are the feet and nut plates for the legs.
Sent from my SAMSUNG-SM-G930A using Tapatalk
3/4 10 thread 3" jig head machine leveling feet with rubber bottom. Made the nut plates out of 3" x 3/16 strap and tig welded the nut. Not filler rod that's why there is some undercut. If I can find the link I'll post it.
Sent from my SAMSUNG-SM-G930A using Tapatalk
Sent from my SAMSUNG-SM-G930A using Tapatalk


CZ: how about cutting a hole in the top of the bench and making mountings for your grinder, vise(s) and other tools that drop in sort of like this vise does on this metal bench?
or maybe a hitch type mount out of wood? or metal?
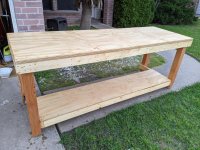
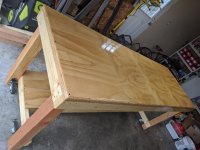
is that 1.25 inch thick plywood on top of your new wood bench?
Funny, it looks pretty bad in the pictures, but it's not that noticeable in person. I was more OCD about the screw heads being straight, lol.
I've been following this thread for years.
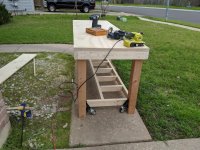
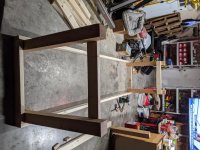
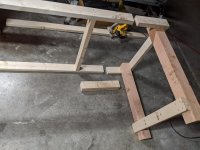
Longer than I've been trying to build my work bench. It's current evolution. In all its disastrous glory.


Imgur...Gotta drop the "s" in https.
It's frustrating AF sometime with imgur and TGJF.I swear I thought I tried that! Thanks! Fixed!
I've been following this thread for years.
Longer than I've been trying to build my work bench. It's current evolution. In all its disastrous glory.
I've been following this thread for years.
Longer than I've been trying to build my work bench. It's current evolution. In all its disastrous glory.
Nice setup.I've been following this thread for years.
Longer than I've been trying to build my work bench. It's current evolution. In all its disastrous glory.
Are those grey cabinets wood or metal? If not homemade, where did you get those?That’s a shame, I can’t believe you actually use your bench and keep it looking like. [emoji16][emoji16] a lot of them look to be a show piece.

Nice setup
Nice setup.
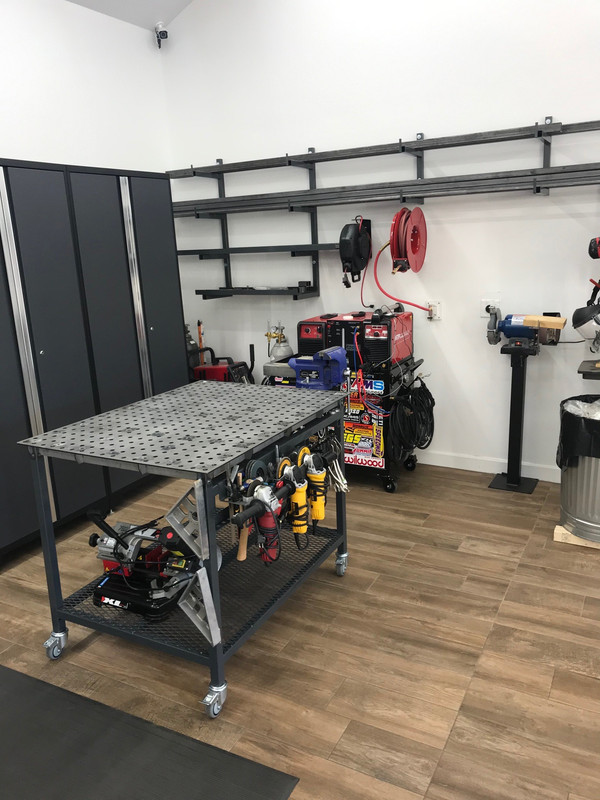
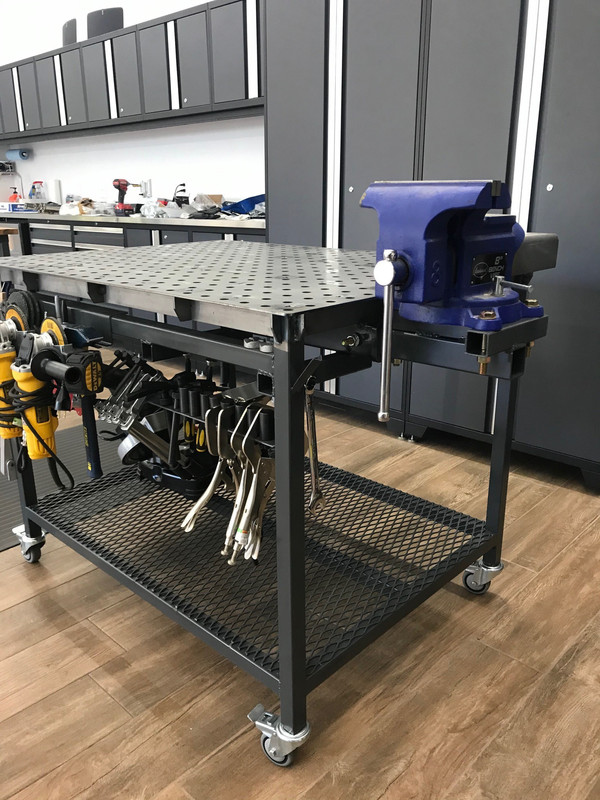
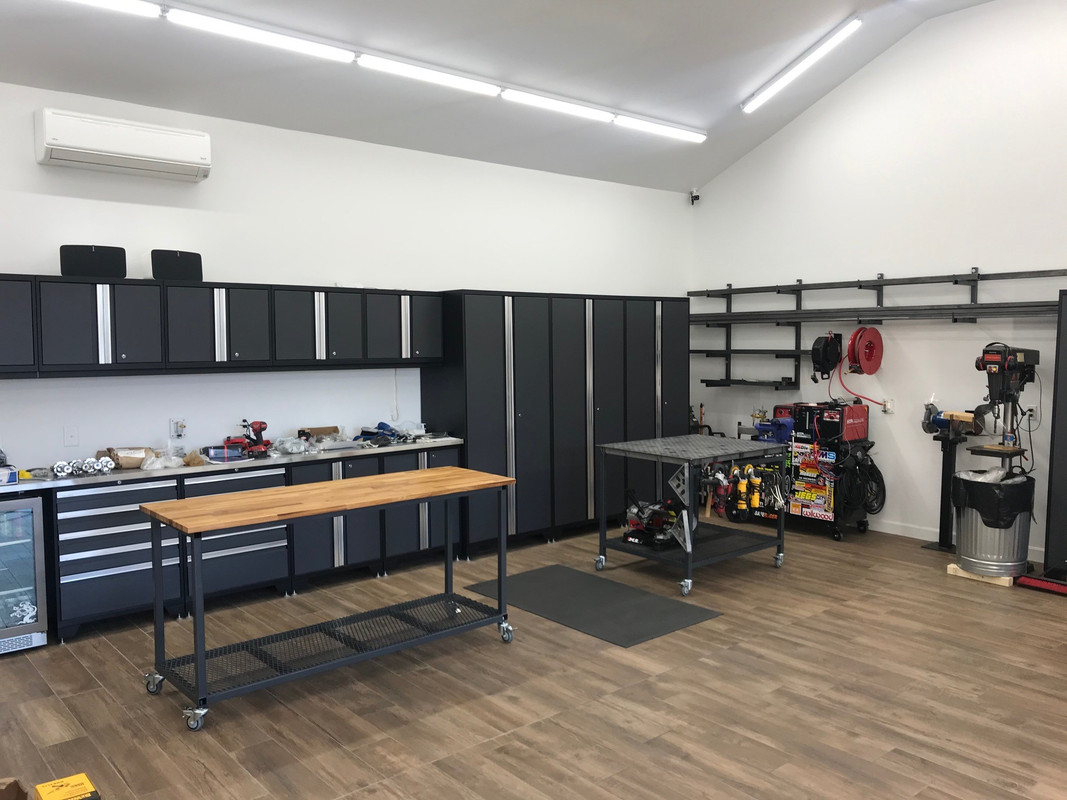
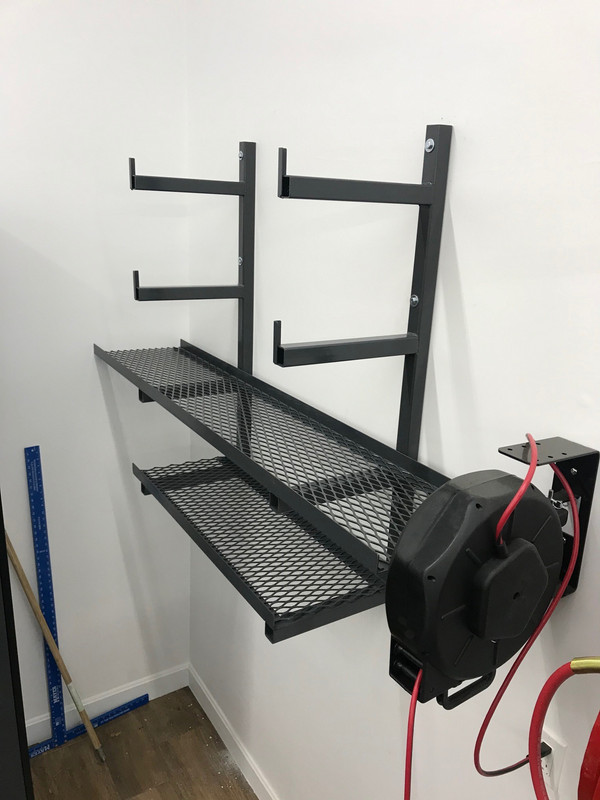
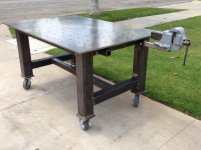
I mostly finished my fabrication bench and my butcher block bench this past weekend. The Fabrication bench is a wedtables.com 3x4' 3/16" pro bench with legs. I cut it down about 3" so it matches the height of all my other work surfaces. I added a swag tool holder, a receiver for my 8" vice or anything else I need to plug into it. Works pretty well. I used it to build some materials racks over my welders.
The more **** I buy, the more I forget where it is. Am I alone?
Not at all.The more **** I buy, the more I forget where it is. Am I alone?
I mostly finished my fabrication bench and my butcher block bench this past weekend. The Fabrication bench is a wedtables.com 3x4' 3/16" pro bench with legs. I cut it down about 3" so it matches the height of all my other work surfaces. I added a swag tool holder, a receiver for my 8" vice or anything else I need to plug into it. Works pretty well. I used it to build some materials racks over my welders.
I mostly finished my fabrication bench and my butcher block bench this past weekend. The Fabrication bench is a wedtables.com 3x4' 3/16" pro bench with legs. I cut it down about 3" so it matches the height of all my other work surfaces. I added a swag tool holder, a receiver for my 8" vice or anything else I need to plug into it. Works pretty well. I used it to build some materials racks over my welders.
What brand cabinets and toolboxes are these?
Awesome job on the garage. Really like the simple layout and the tile flooring. Any details in a build thread?
The ones in the above pictures are all Newage. On the other side is a Bendpak 2 post lift and a DragonFire bench.