Thanx!
Does the Porsche work at 128"?
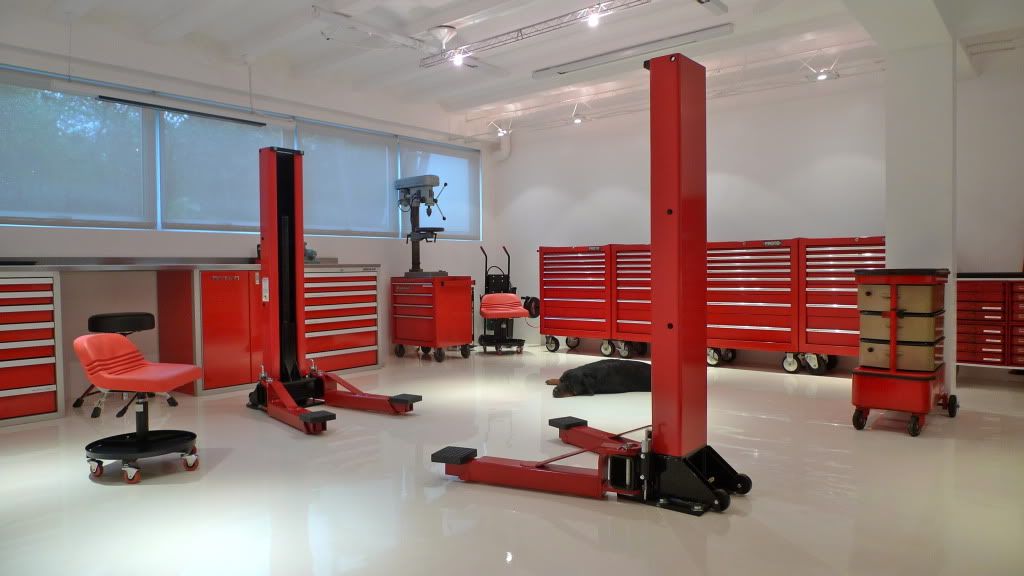
For the 1983 911, because of where the lifting points are, I have to use the 116" setting...
For the 2002 911 (which I no longer have, but a friend bought it, so I still get to work on it
 ), I use the 128" setting... helps with getting in and out of the car. Same setting for a Boxster, Pontiac TransAm, 1990-1998 Porsche 911


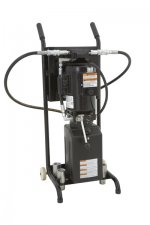
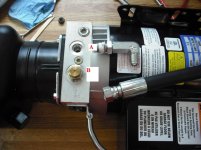
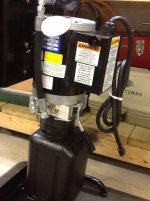
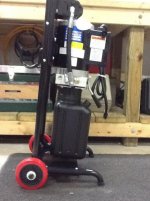
 ), but I decided to mount mine on the wall, so I didn't pursue this much further. However, I did collect a couple pictures along the way (Thanks Wachuko). His unit is shown (right), as well as the picture from the MaxJax site (left). My pump unit is also shown (center). If you have this type unit, the picture in the instruction manual is wrong. You want to screw your hose into hole "A", which is the back hole n the left side, not the front hole. IMPORTANT NOTE: Don't put teflon tape on this fitting as I have shown here.