Hey All,
Long time follower here with details showing the process for the garage remodel that I've spent the past 2+ years working on; with much of the inspiration and ideas coming here from GJ. To give a quick story:
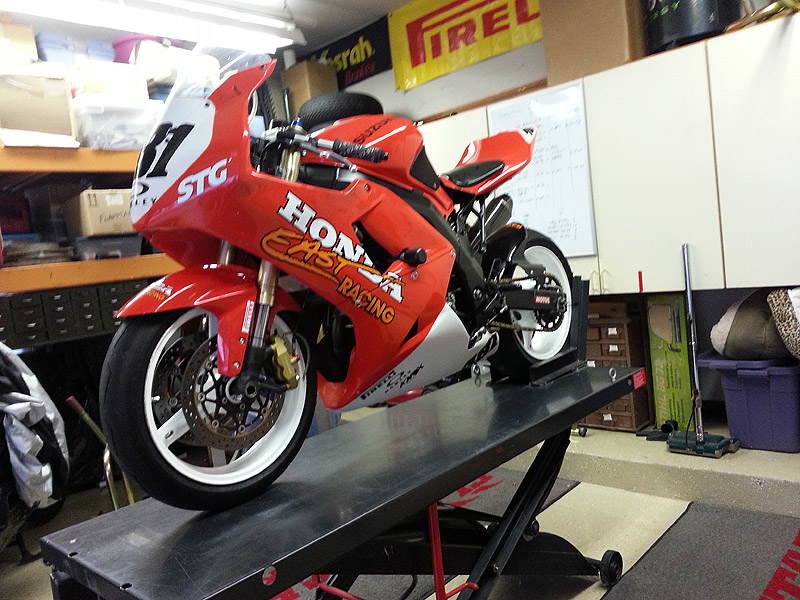
My dad and I roadrace motorcycles. Our bike work has always happened out of his garage (first photo shown below), which worked great. We strip bikes apart, rebuild them, pull and install motors, build suspension, etc. etc. All day-to-day stuff for us.
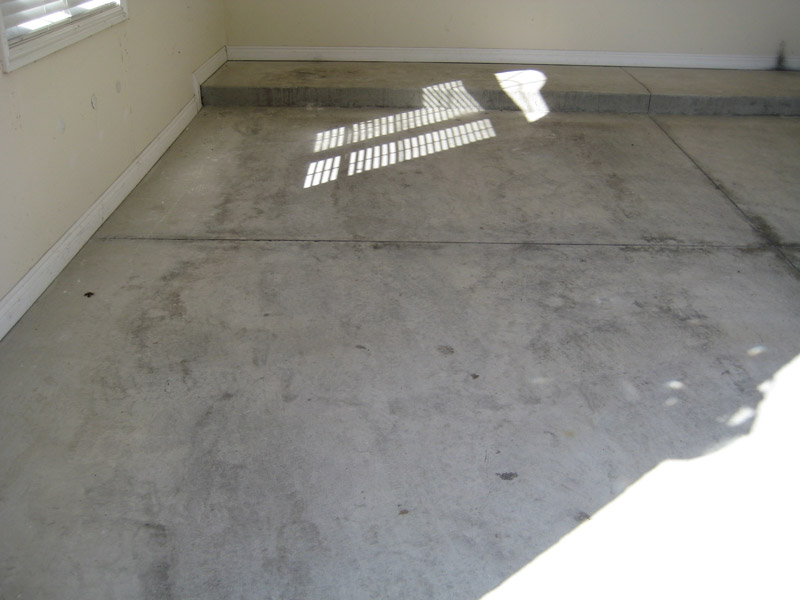
I moved into a new home a few years ago, but have always kept the bikes and such at his house - it made sense with the workshop he had, but part of the benefit of this new house was that it had a big garage. Well it was time to get my garage going and with the house I moved into, the garage always had the potential to be my dream garage. It's a 3.5 size, but there was a lot to be done. The initial problem was that nothing except a poor drywall job was done to it, so it was almost worse than starting from scratch. The order of operation for the project was going to go:
1. Insulation
2. Electrical wiring/running
3. Bike lift/pit
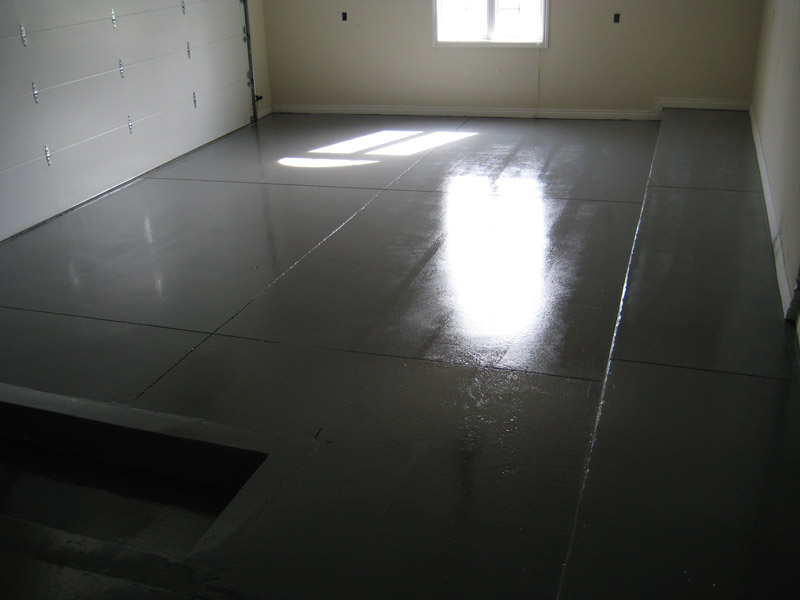
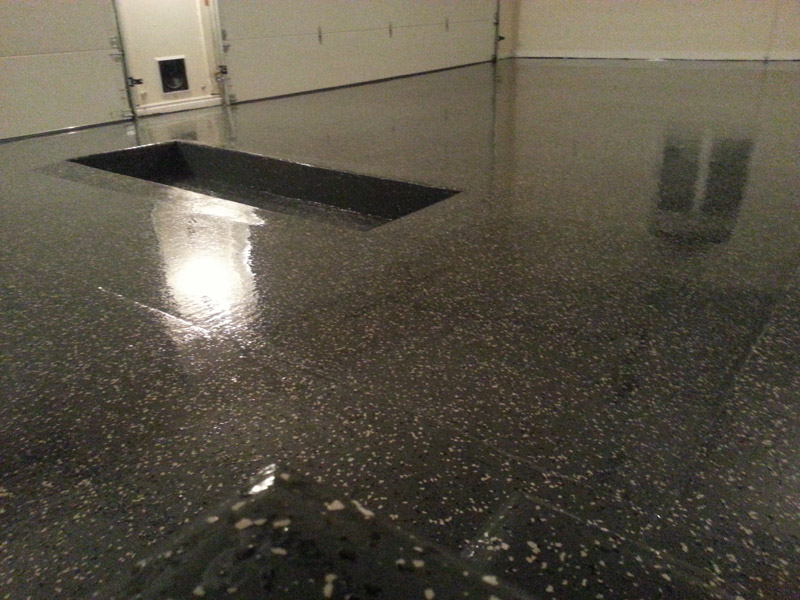
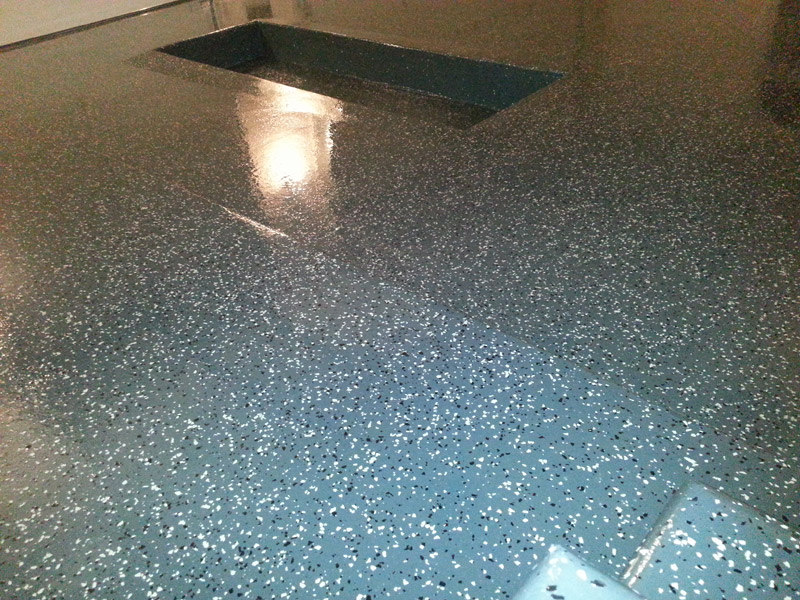
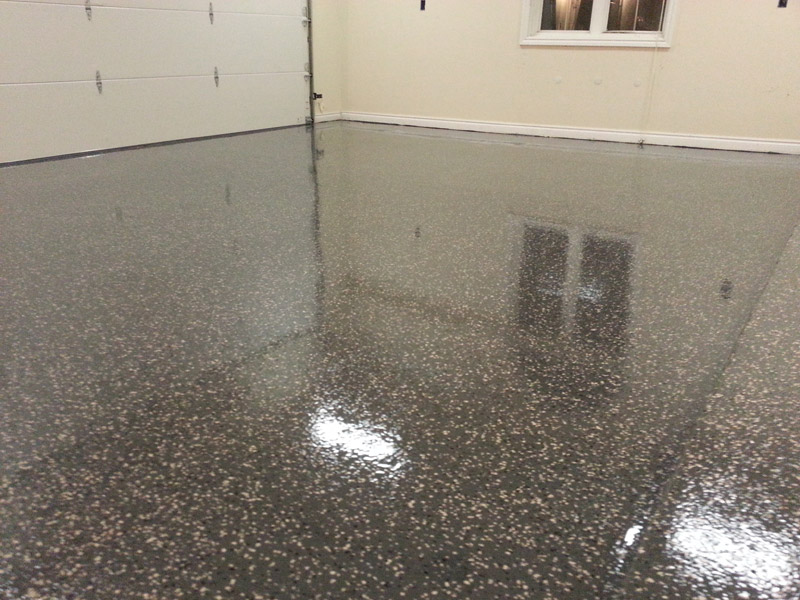
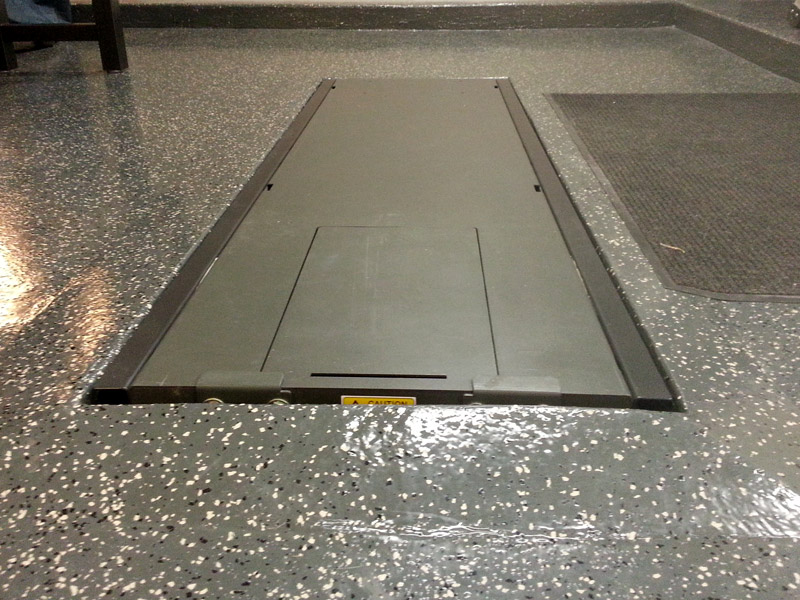
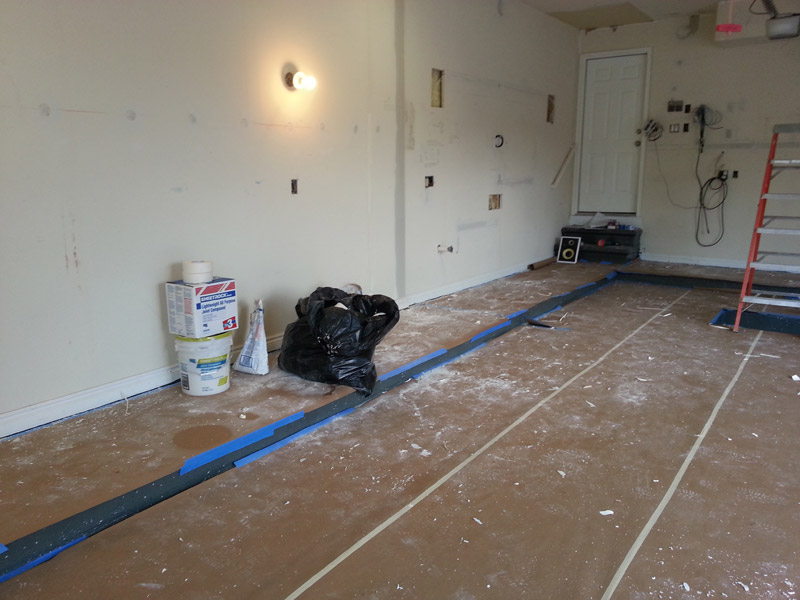
4. Floor
5. Drywall repair/paint
6. Garage doors
7. Cabinets/finish work
The first year in the house before any work was done, you could tell how poor the insulation was. Cold in the winter, hot in the summer. Phase one included blown-in insulation in between all the wall joists, and up in the attic (2 holes in-wall per joist). I found a reputable contractor and once that was done, made a significant difference. Step one complete.
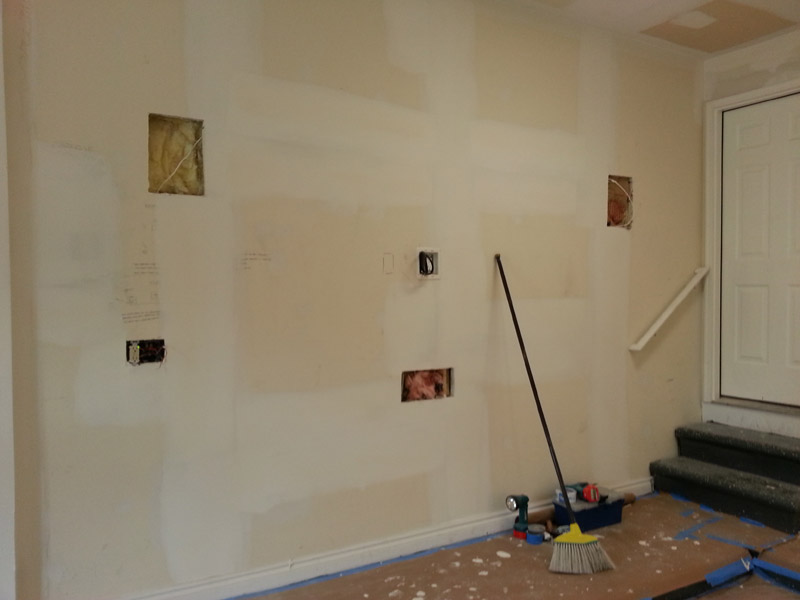
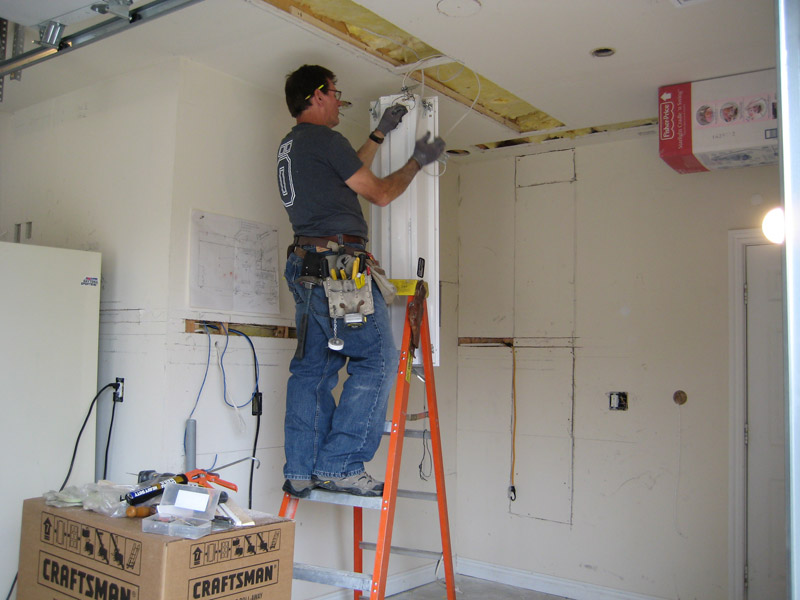
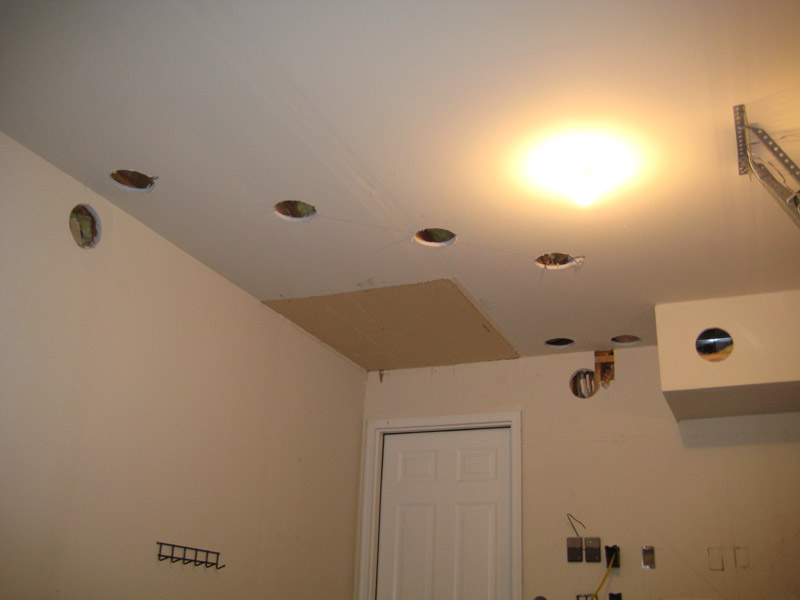
Step two was electrical. My dad's an electrical guy, so he did the majority of the wiring. As you can see from the photos, with drywall in place, running wires was a major challenge. There were many more holes than shown and before long, the garage looked like swiss cheese.
With the electrical phase overall, scope creep was a major problem.") What went from some ceiling lights, went to wall lights, in-wall speakers, network cable, HDMI cables and more. I wanted to have everything clean and then have a central "hub" for all A/V equipment at some point down the road. Might as well run the wire now right?
What went from some ceiling lights, went to wall lights, in-wall speakers, network cable, HDMI cables and more. I wanted to have everything clean and then have a central "hub" for all A/V equipment at some point down the road. Might as well run the wire now right?
Here are some initial photos:
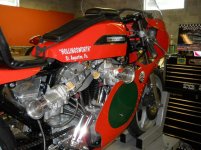
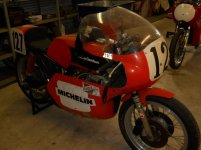
Dad's Shop (The Original):
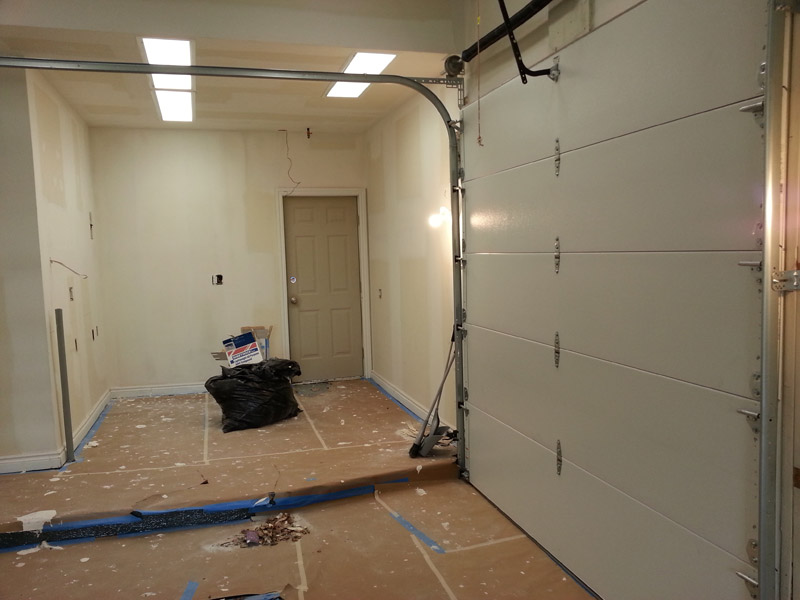
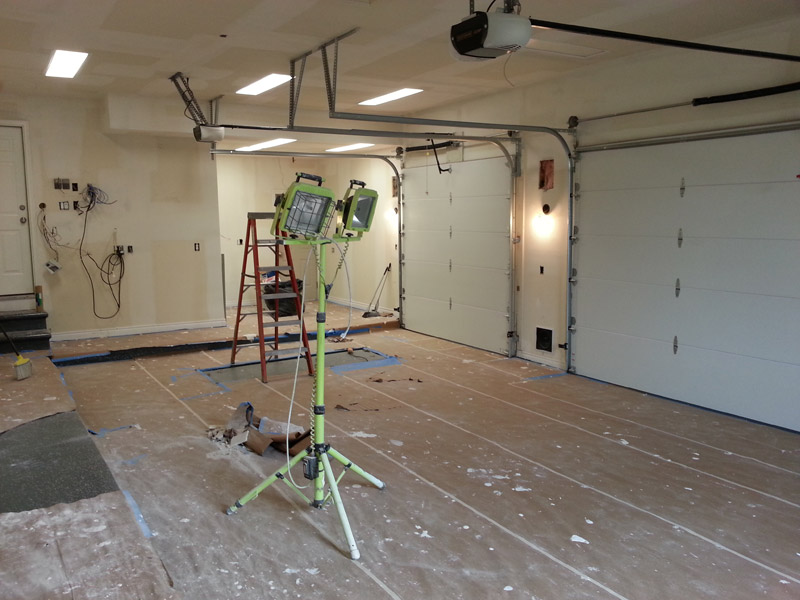
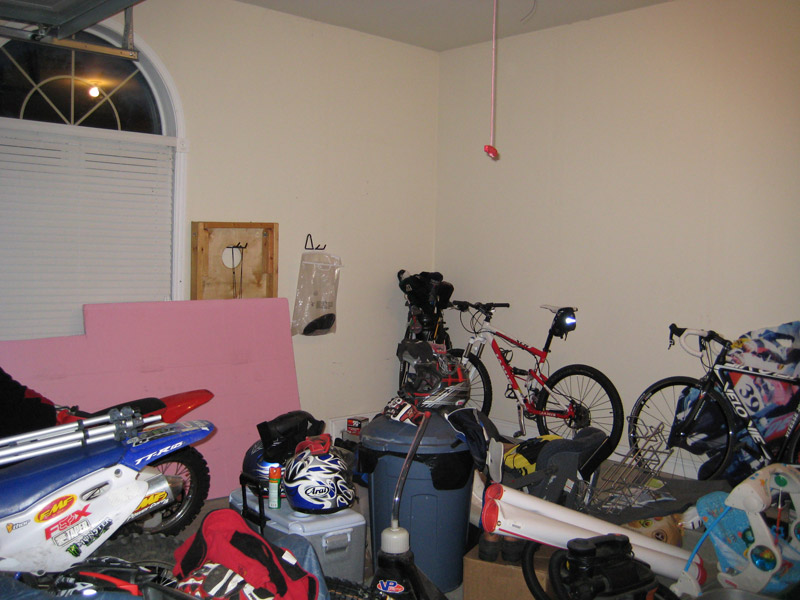
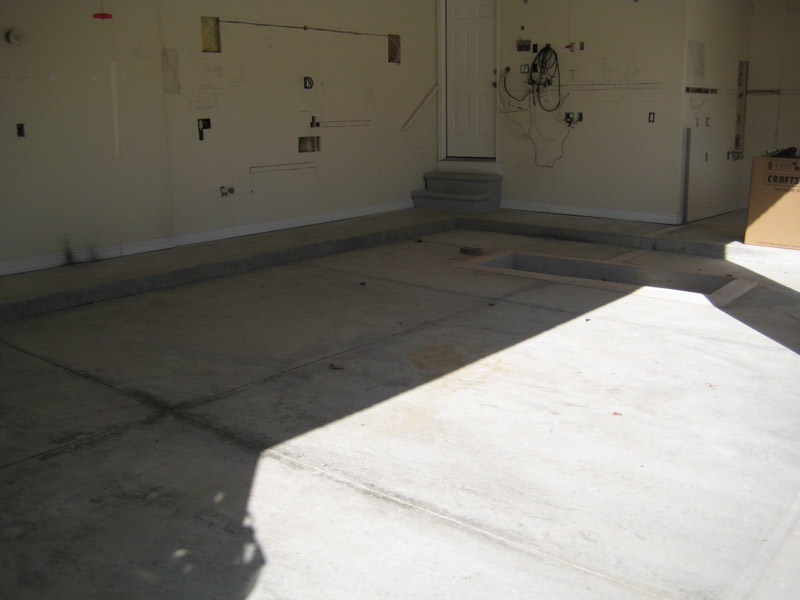
New Shop, Unfinished (w/Lots of Junk):
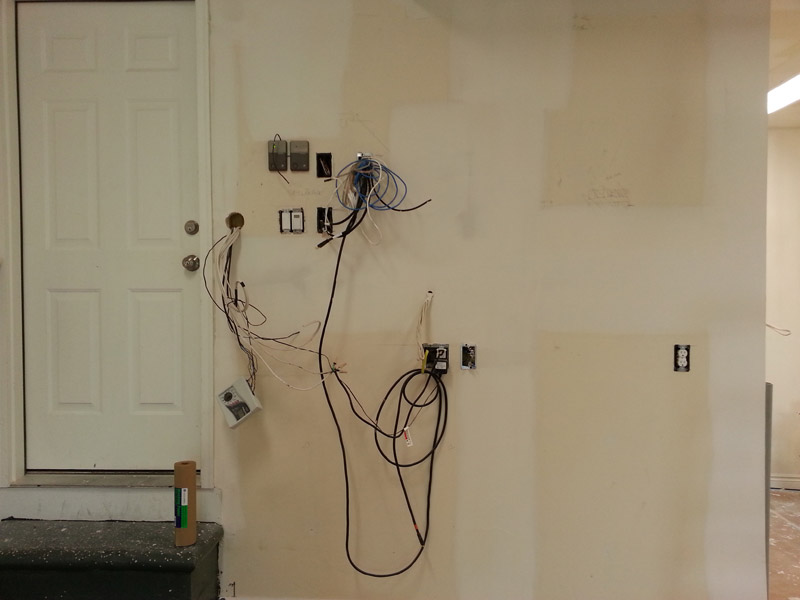
Electrical Roughing:

Dad Hanging Lights (Note Diaper Box in Ceiling, Mockup for Heater Down the Road:
Swiss Cheese:
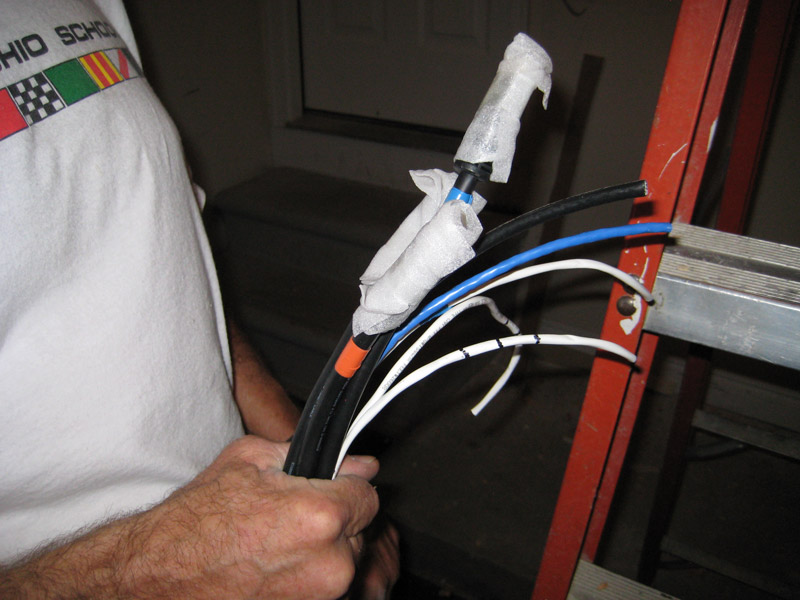
Speaker Wire, Coax Cable, HDMI and Cat6 Ethernet:
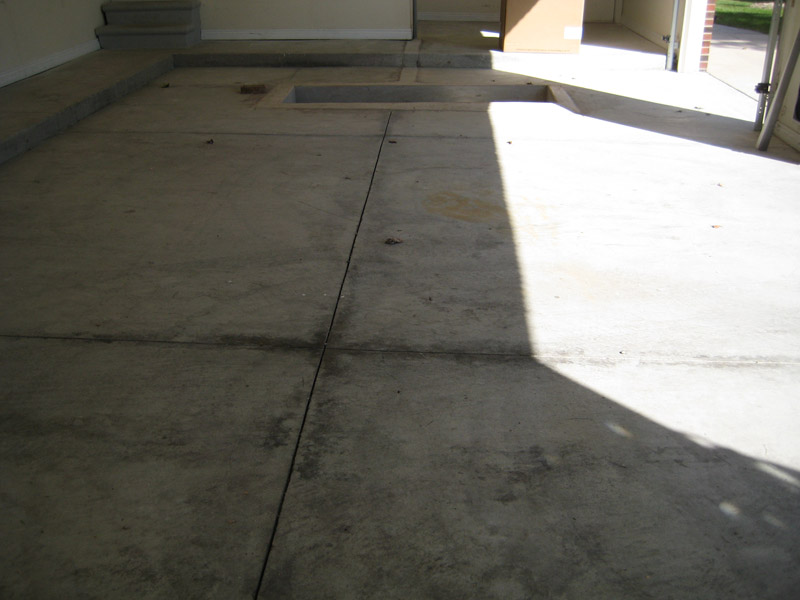
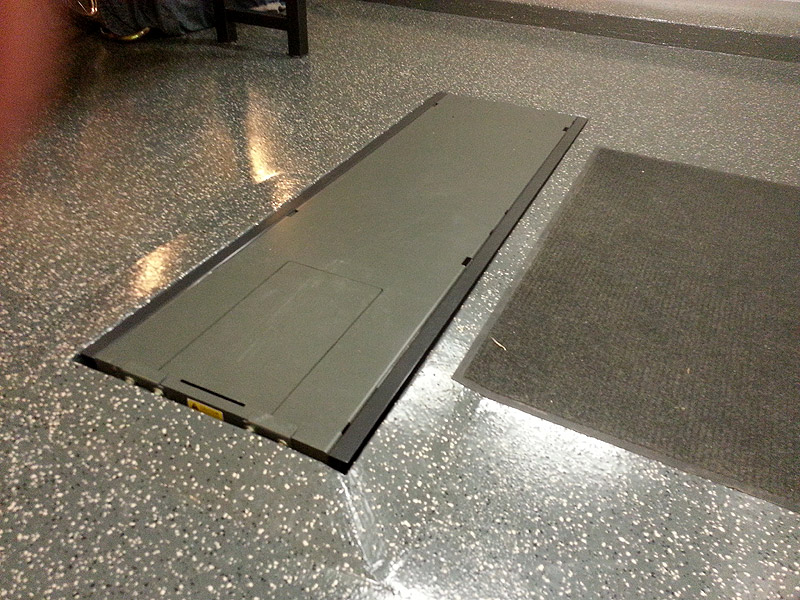
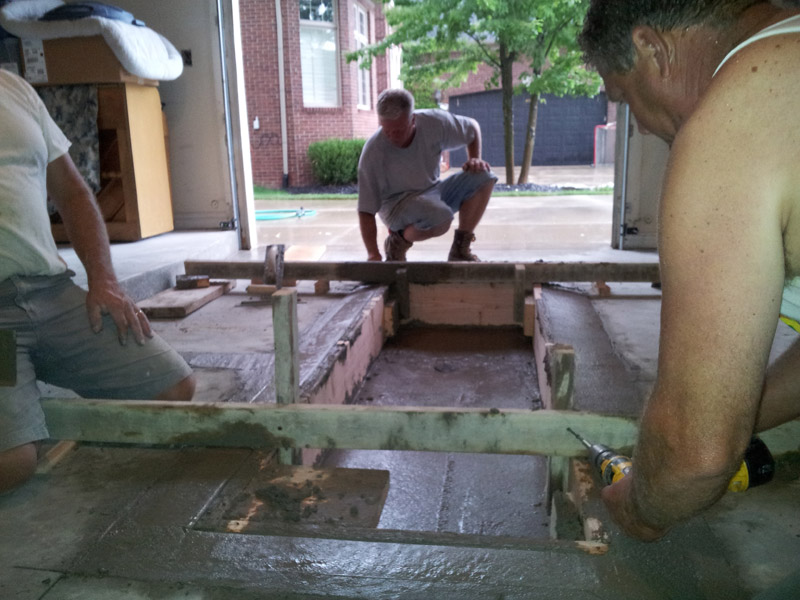
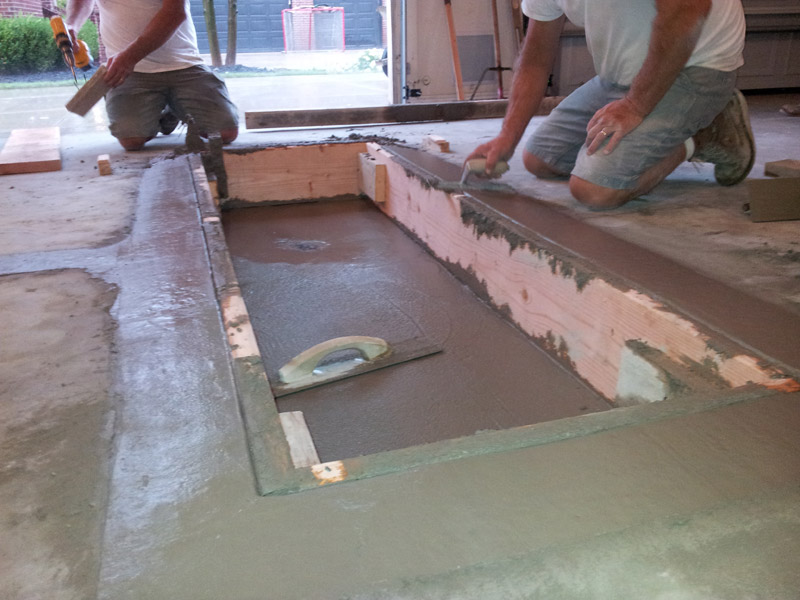
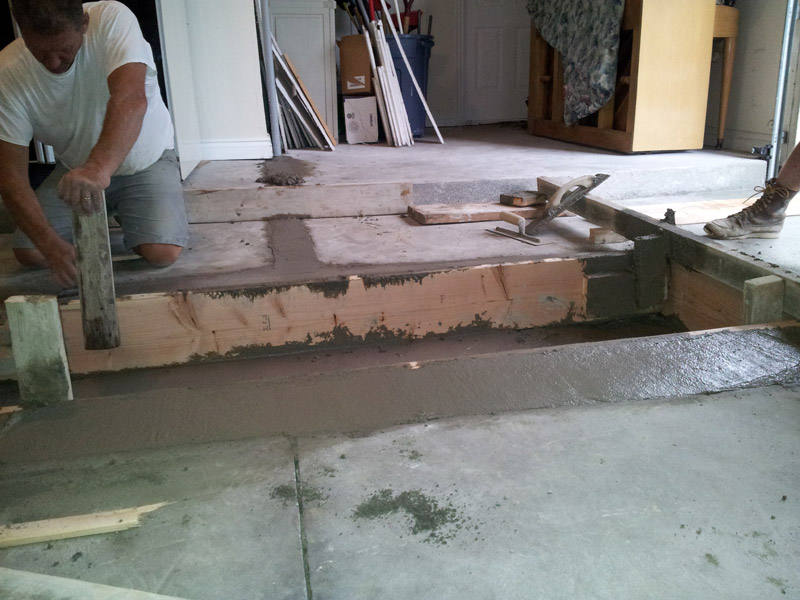
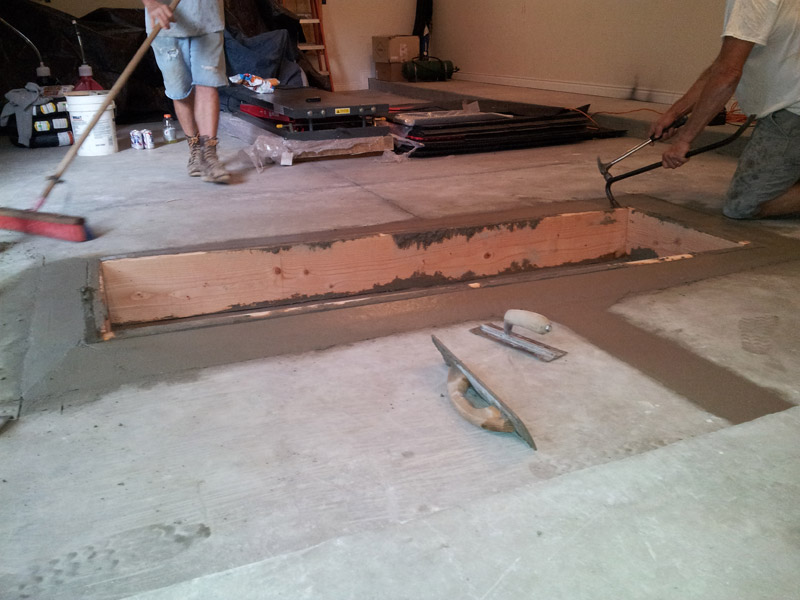
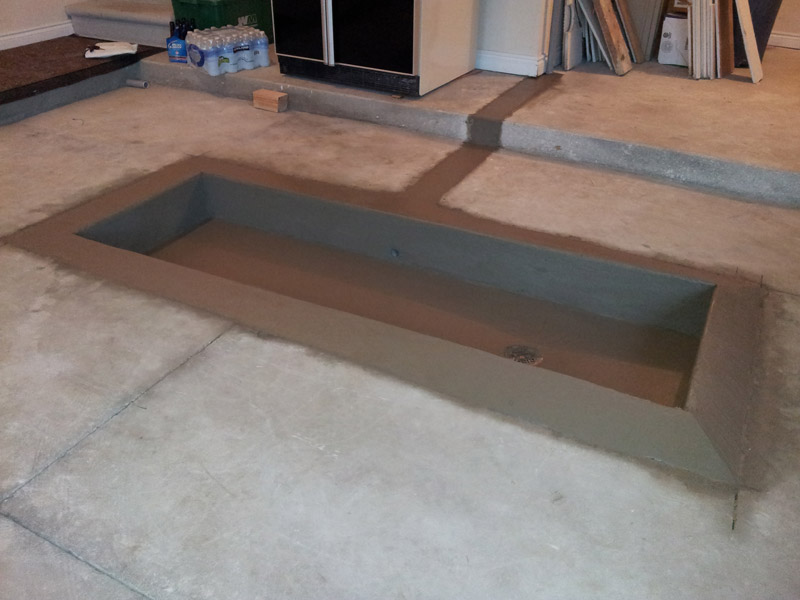
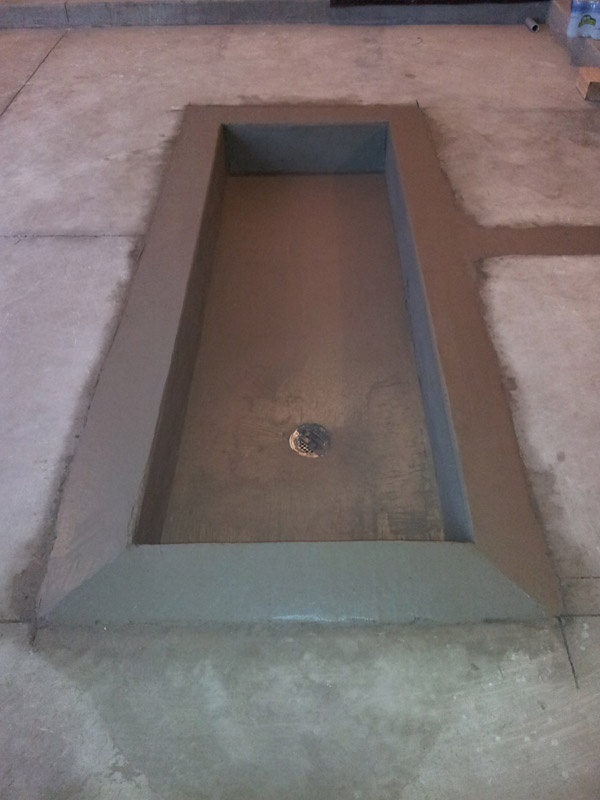
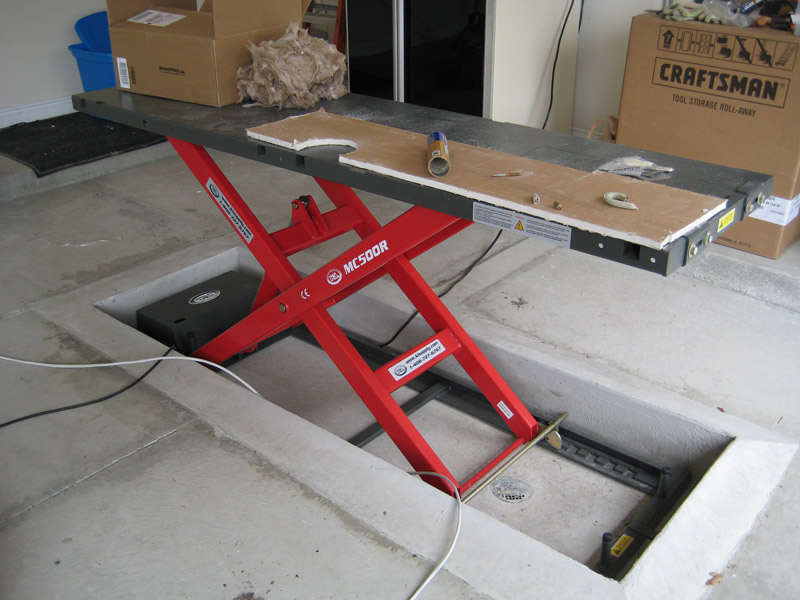
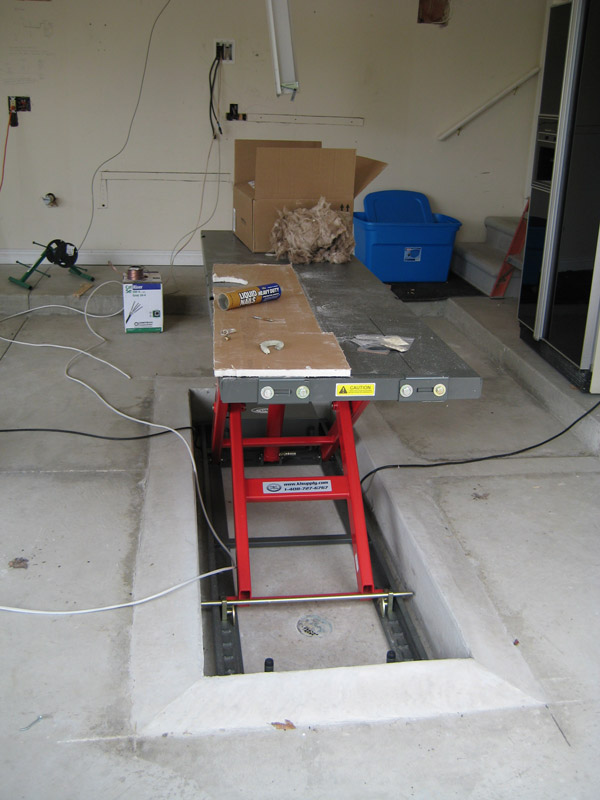
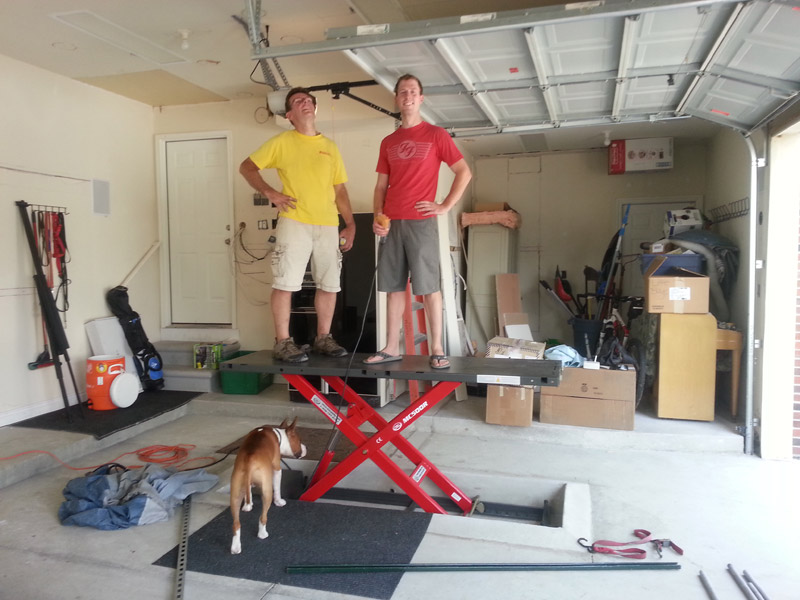
The next phase would be cutting a hole in the floor and repouring concrete for the motorcycle lift ...
Long time follower here with details showing the process for the garage remodel that I've spent the past 2+ years working on; with much of the inspiration and ideas coming here from GJ. To give a quick story:
My dad and I roadrace motorcycles. Our bike work has always happened out of his garage (first photo shown below), which worked great. We strip bikes apart, rebuild them, pull and install motors, build suspension, etc. etc. All day-to-day stuff for us.
I moved into a new home a few years ago, but have always kept the bikes and such at his house - it made sense with the workshop he had, but part of the benefit of this new house was that it had a big garage. Well it was time to get my garage going and with the house I moved into, the garage always had the potential to be my dream garage. It's a 3.5 size, but there was a lot to be done. The initial problem was that nothing except a poor drywall job was done to it, so it was almost worse than starting from scratch. The order of operation for the project was going to go:
1. Insulation
2. Electrical wiring/running
3. Bike lift/pit
4. Floor
5. Drywall repair/paint
6. Garage doors
7. Cabinets/finish work
The first year in the house before any work was done, you could tell how poor the insulation was. Cold in the winter, hot in the summer. Phase one included blown-in insulation in between all the wall joists, and up in the attic (2 holes in-wall per joist). I found a reputable contractor and once that was done, made a significant difference. Step one complete.
Step two was electrical. My dad's an electrical guy, so he did the majority of the wiring. As you can see from the photos, with drywall in place, running wires was a major challenge. There were many more holes than shown and before long, the garage looked like swiss cheese.
With the electrical phase overall, scope creep was a major problem.
What went from some ceiling lights, went to wall lights, in-wall speakers, network cable, HDMI cables and more. I wanted to have everything clean and then have a central "hub" for all A/V equipment at some point down the road. Might as well run the wire now right?Here are some initial photos:
Dad's Shop (The Original):
New Shop, Unfinished (w/Lots of Junk):
Electrical Roughing:
Dad Hanging Lights (Note Diaper Box in Ceiling, Mockup for Heater Down the Road:
Swiss Cheese:
Speaker Wire, Coax Cable, HDMI and Cat6 Ethernet:
The next phase would be cutting a hole in the floor and repouring concrete for the motorcycle lift ...


 5 hours on a dirt bike in the dust and heat will usually take it out of you. She has not been able to may of the races this season and the last one we went to she entered! Yep, we are married now (she planned it around the start of the season).