bradpac
Well-known member
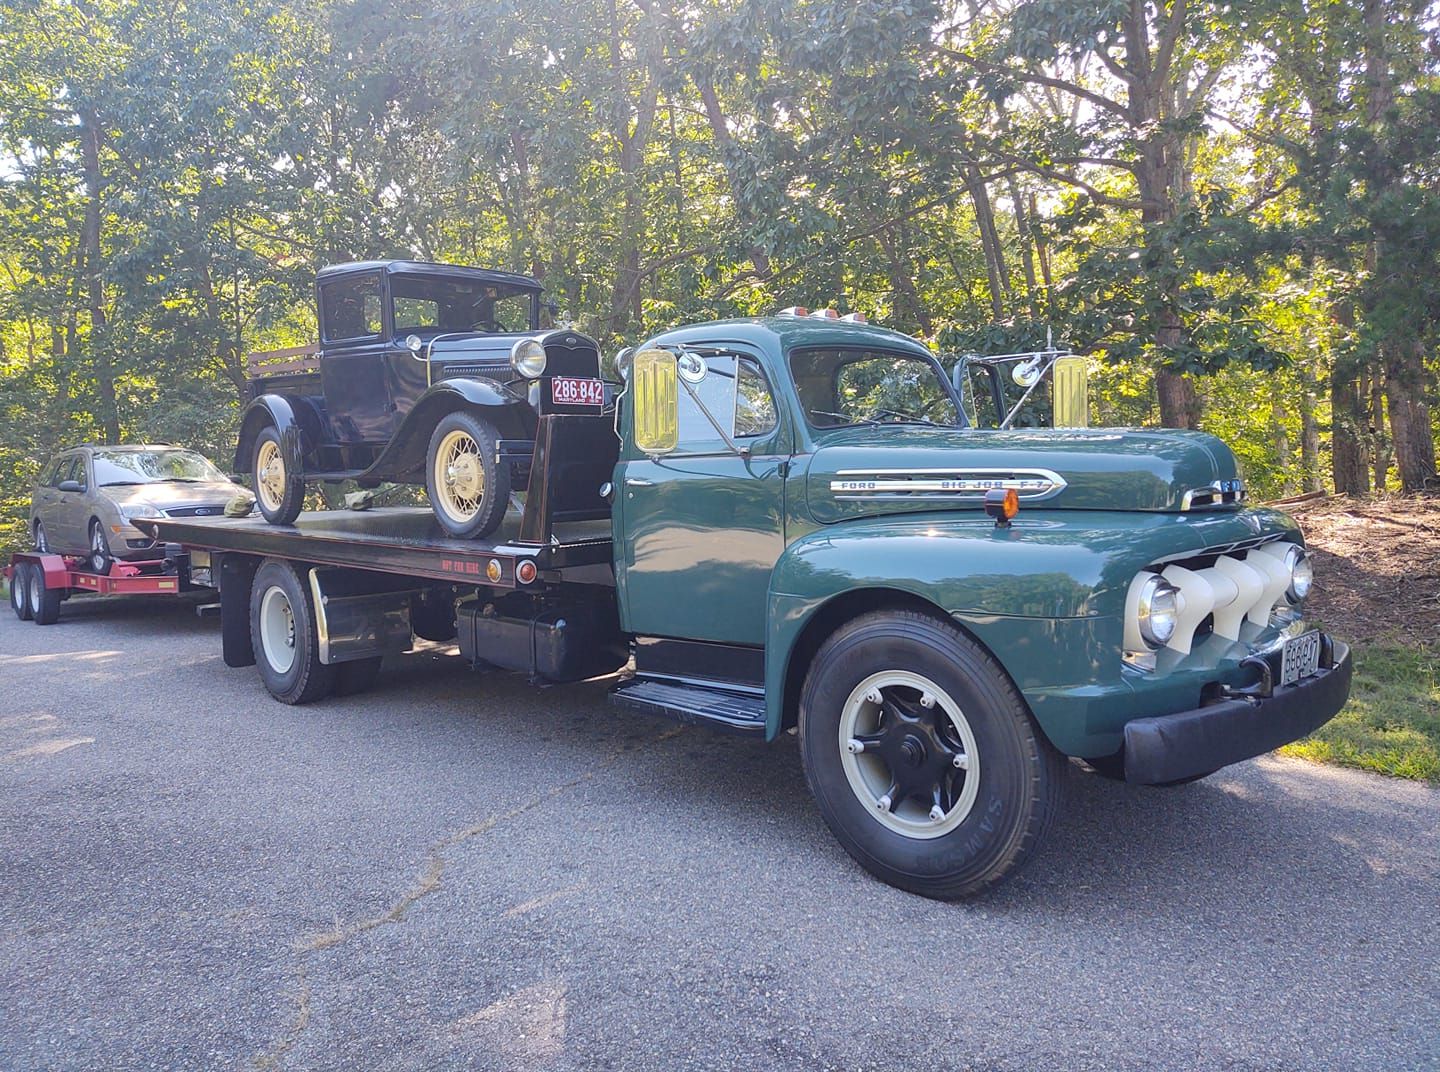
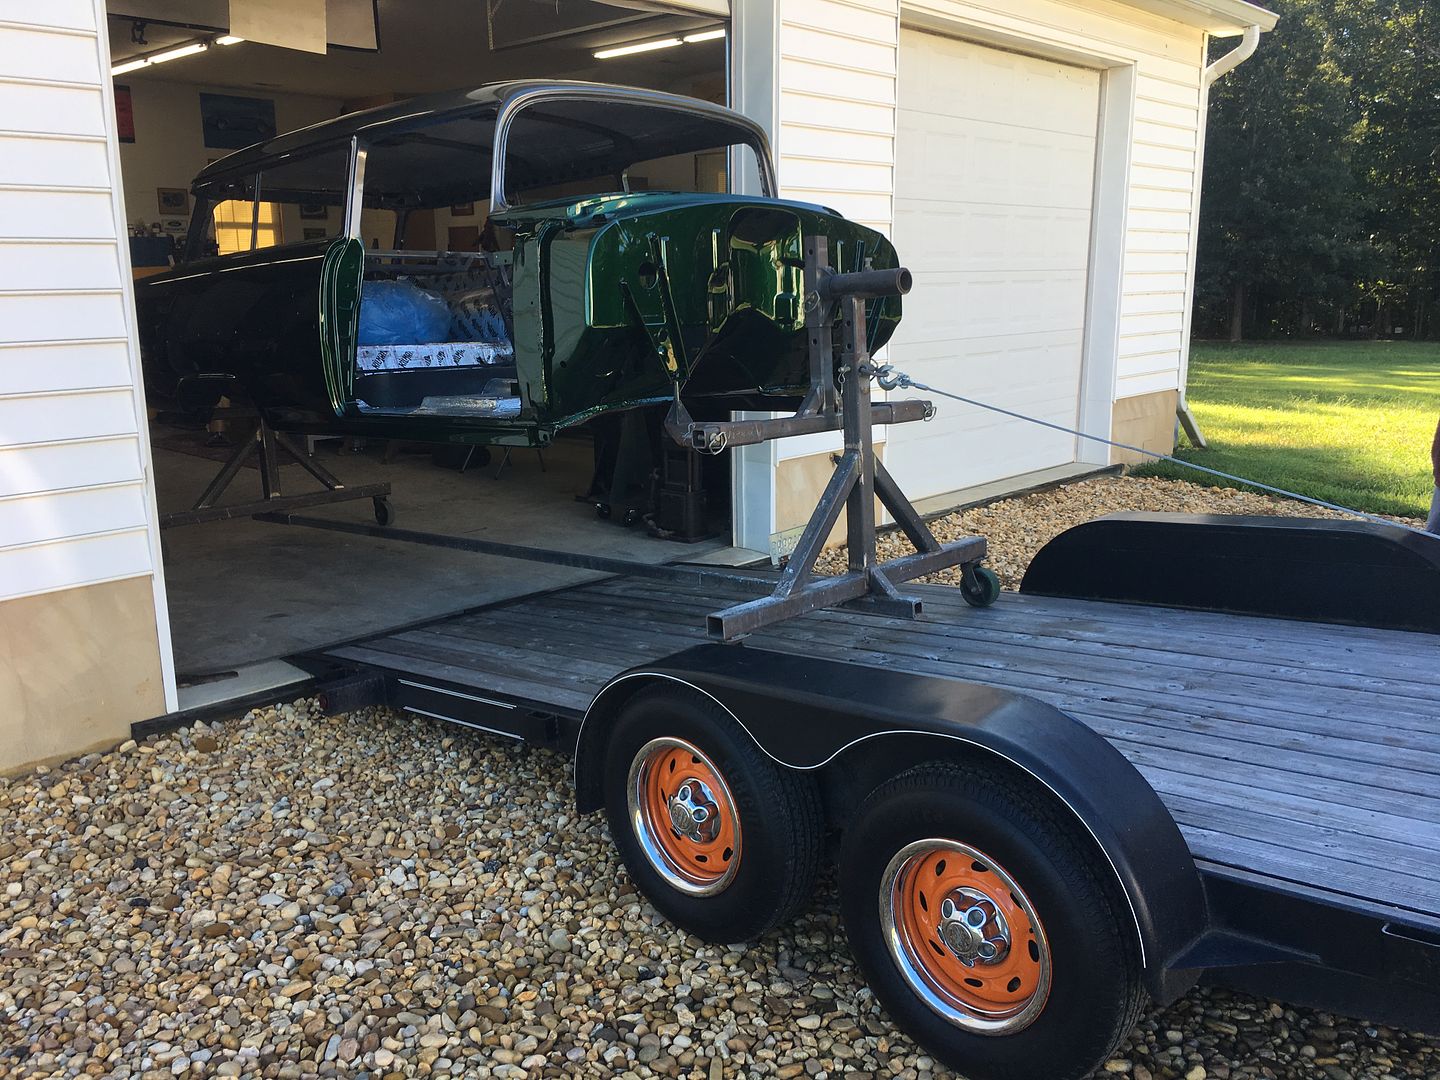
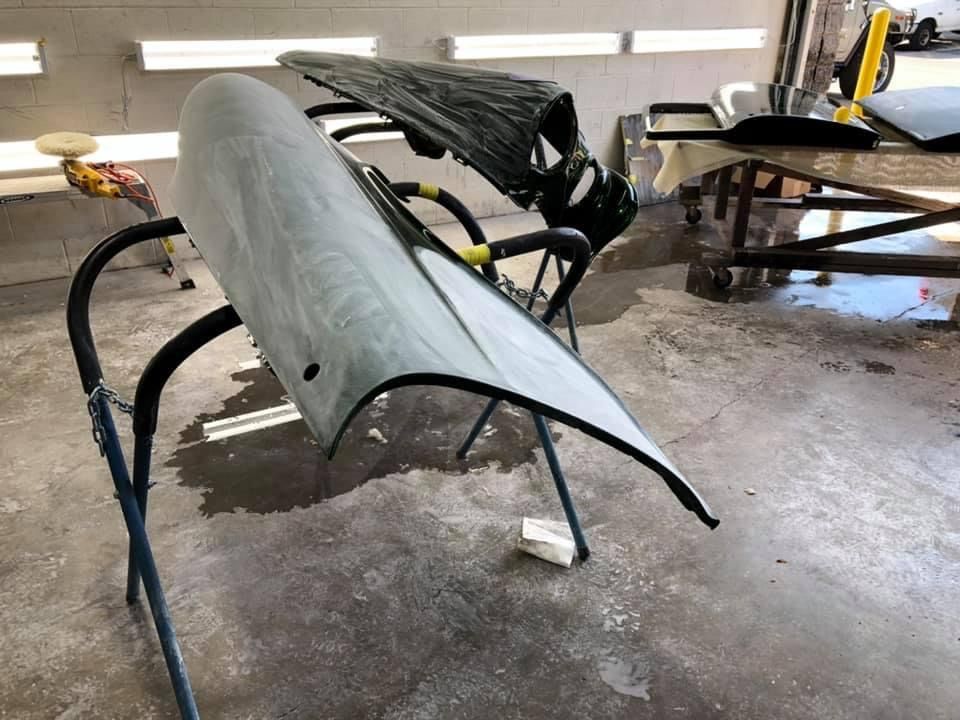
Using the hood attachment points for blocking versus a generic stand is a great idea, how you get things right.


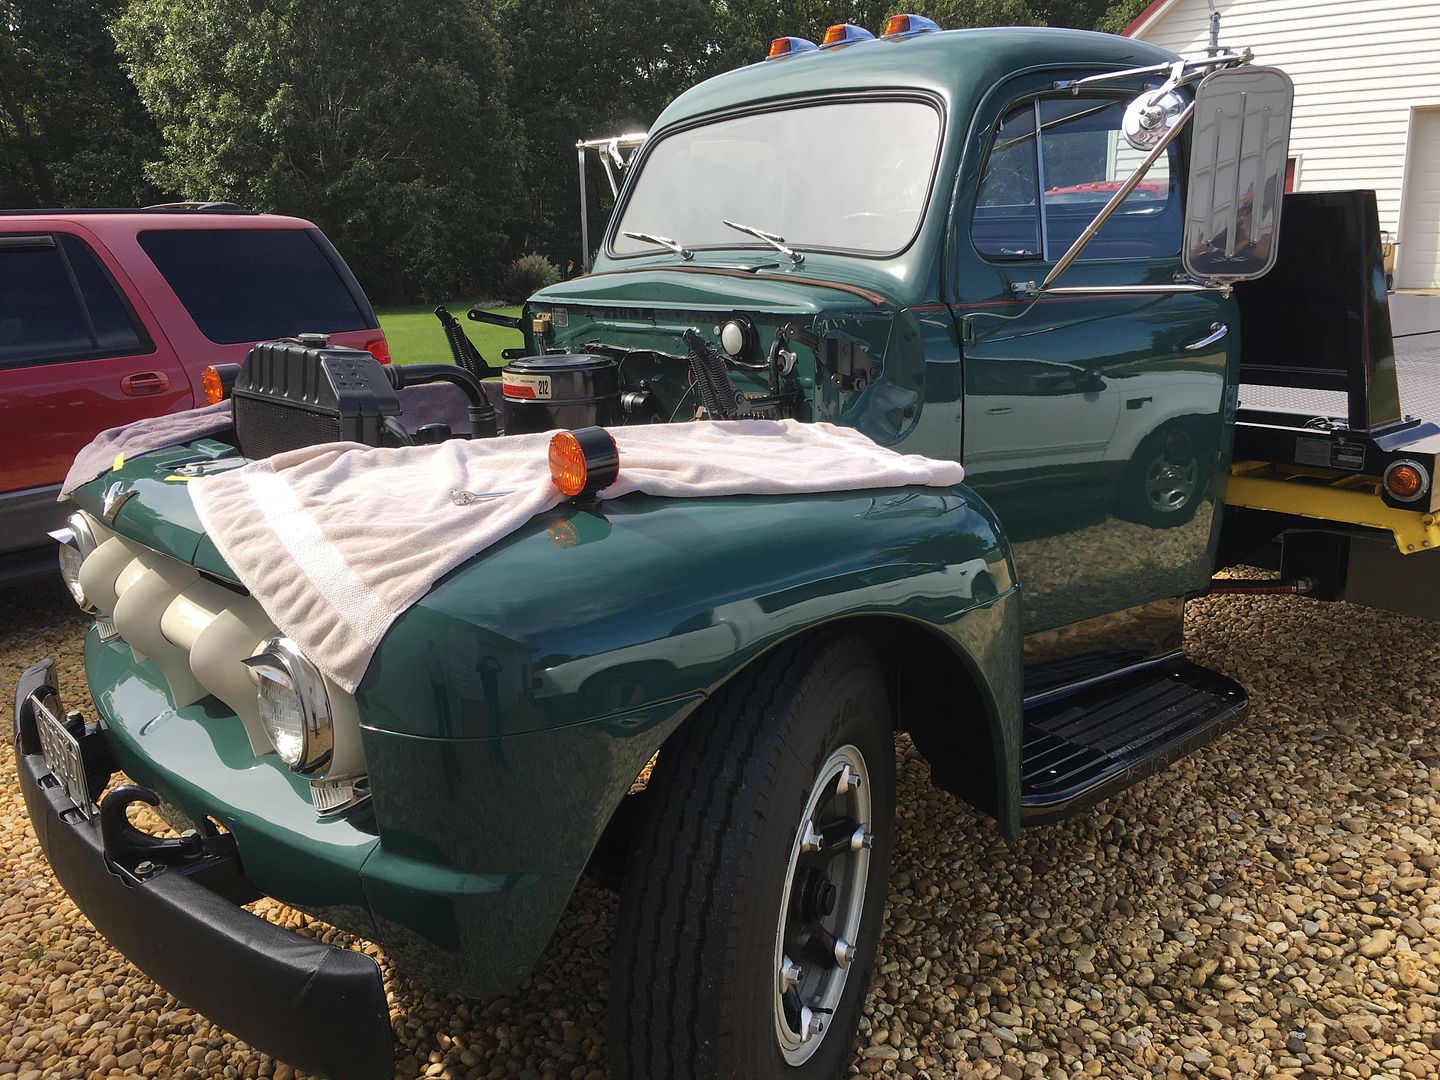
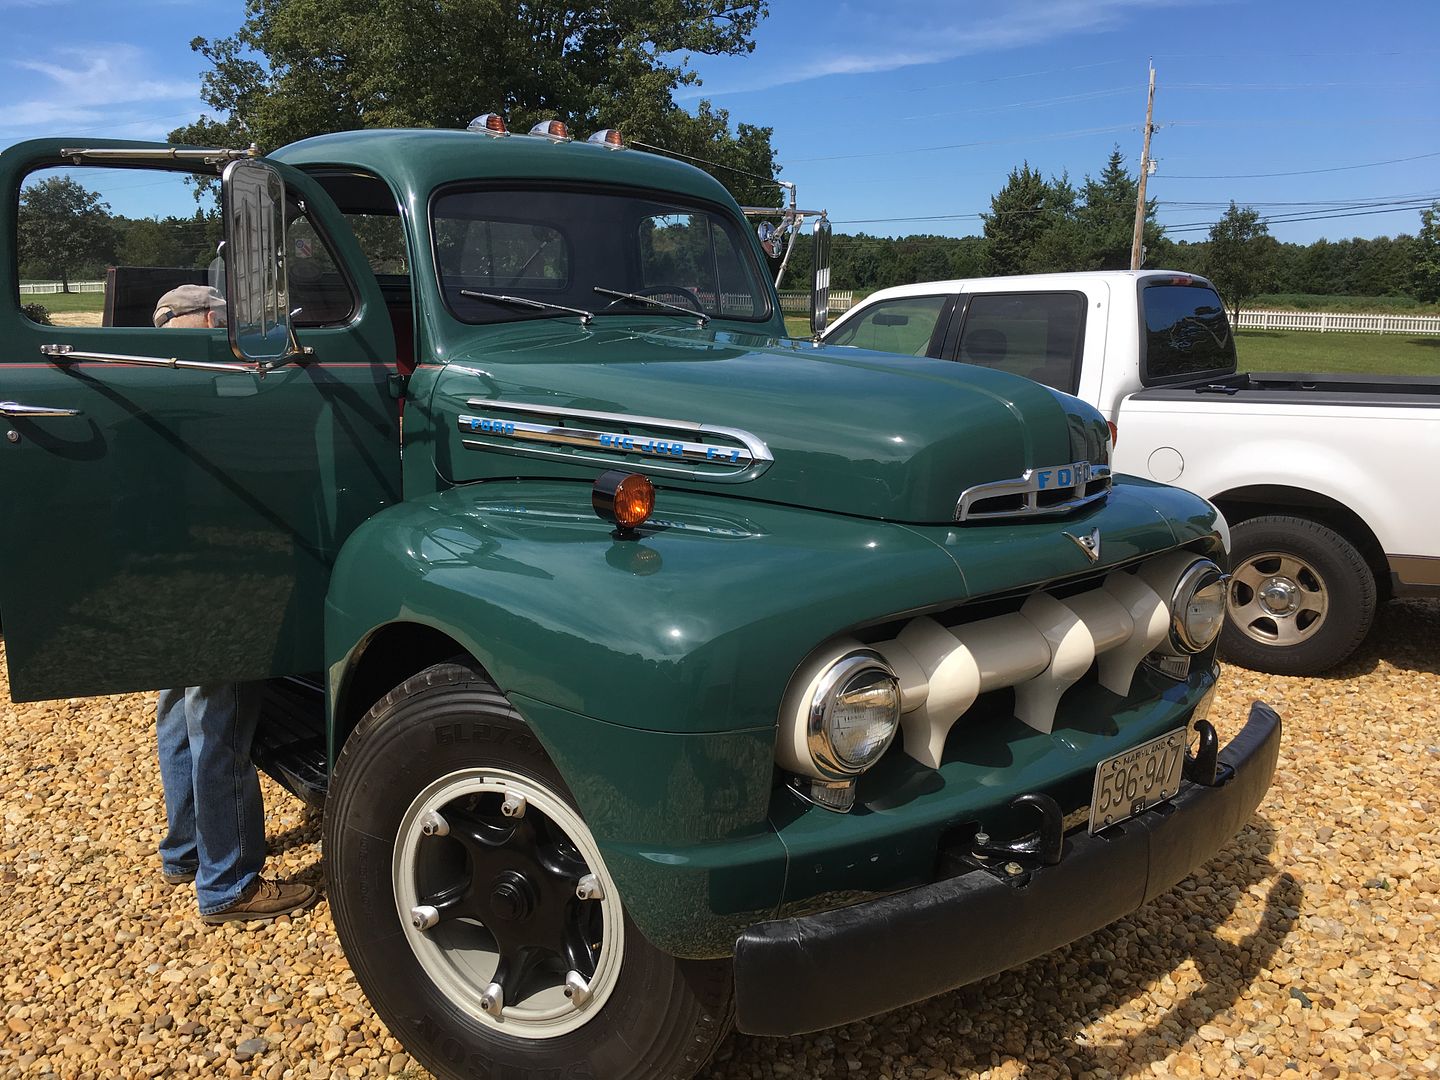
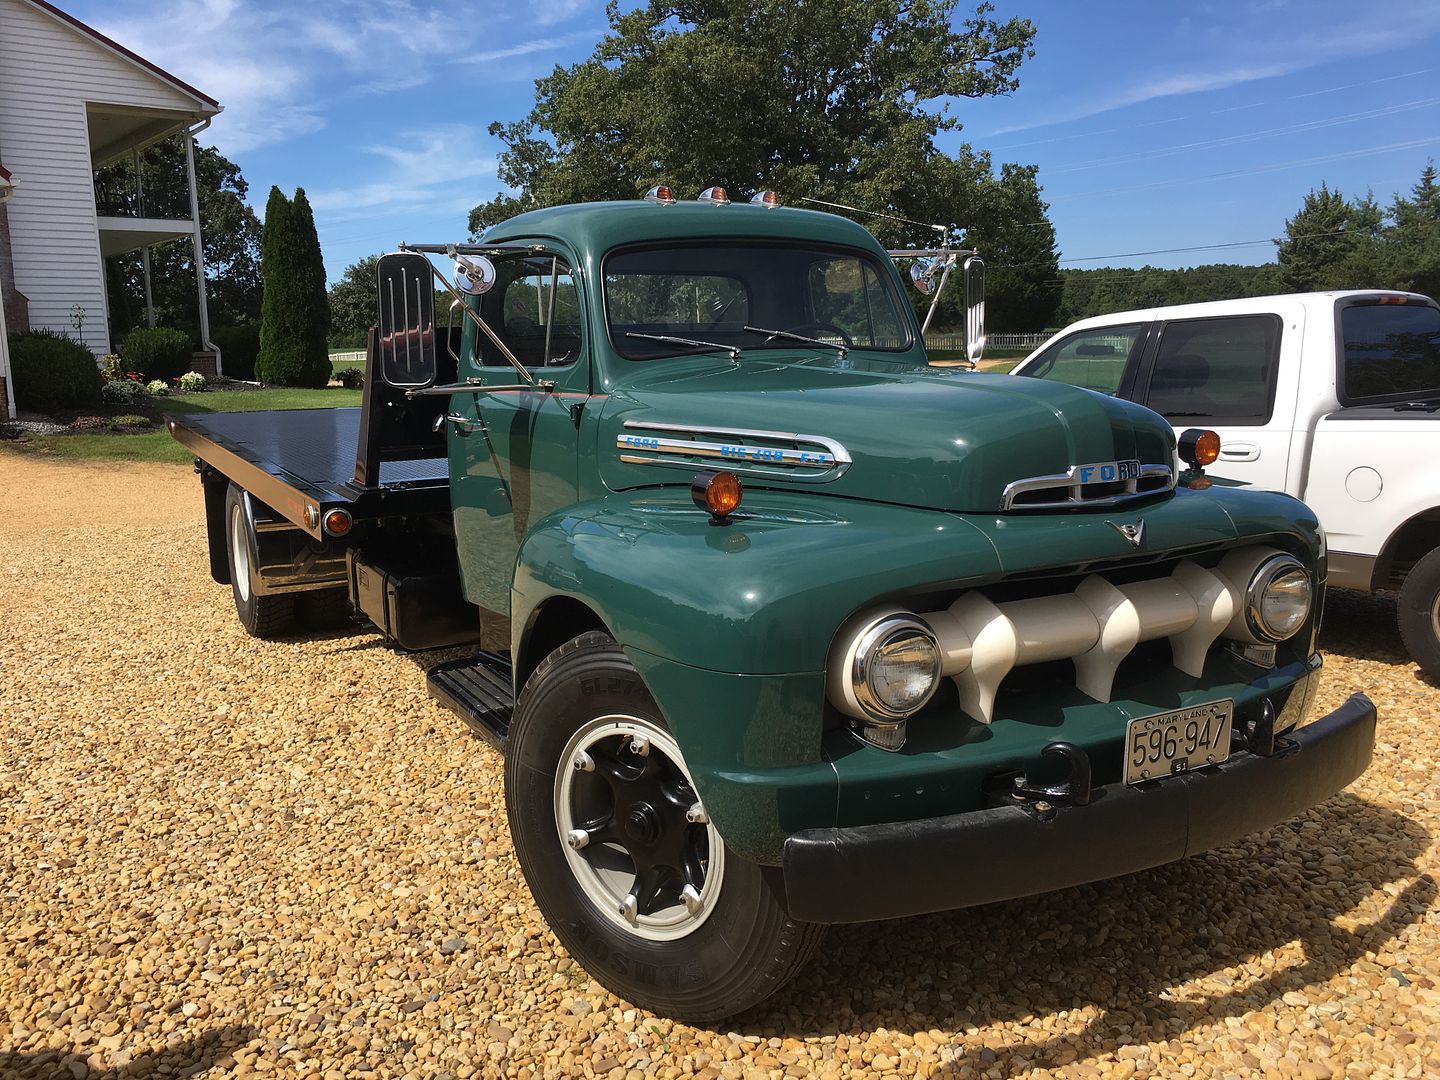
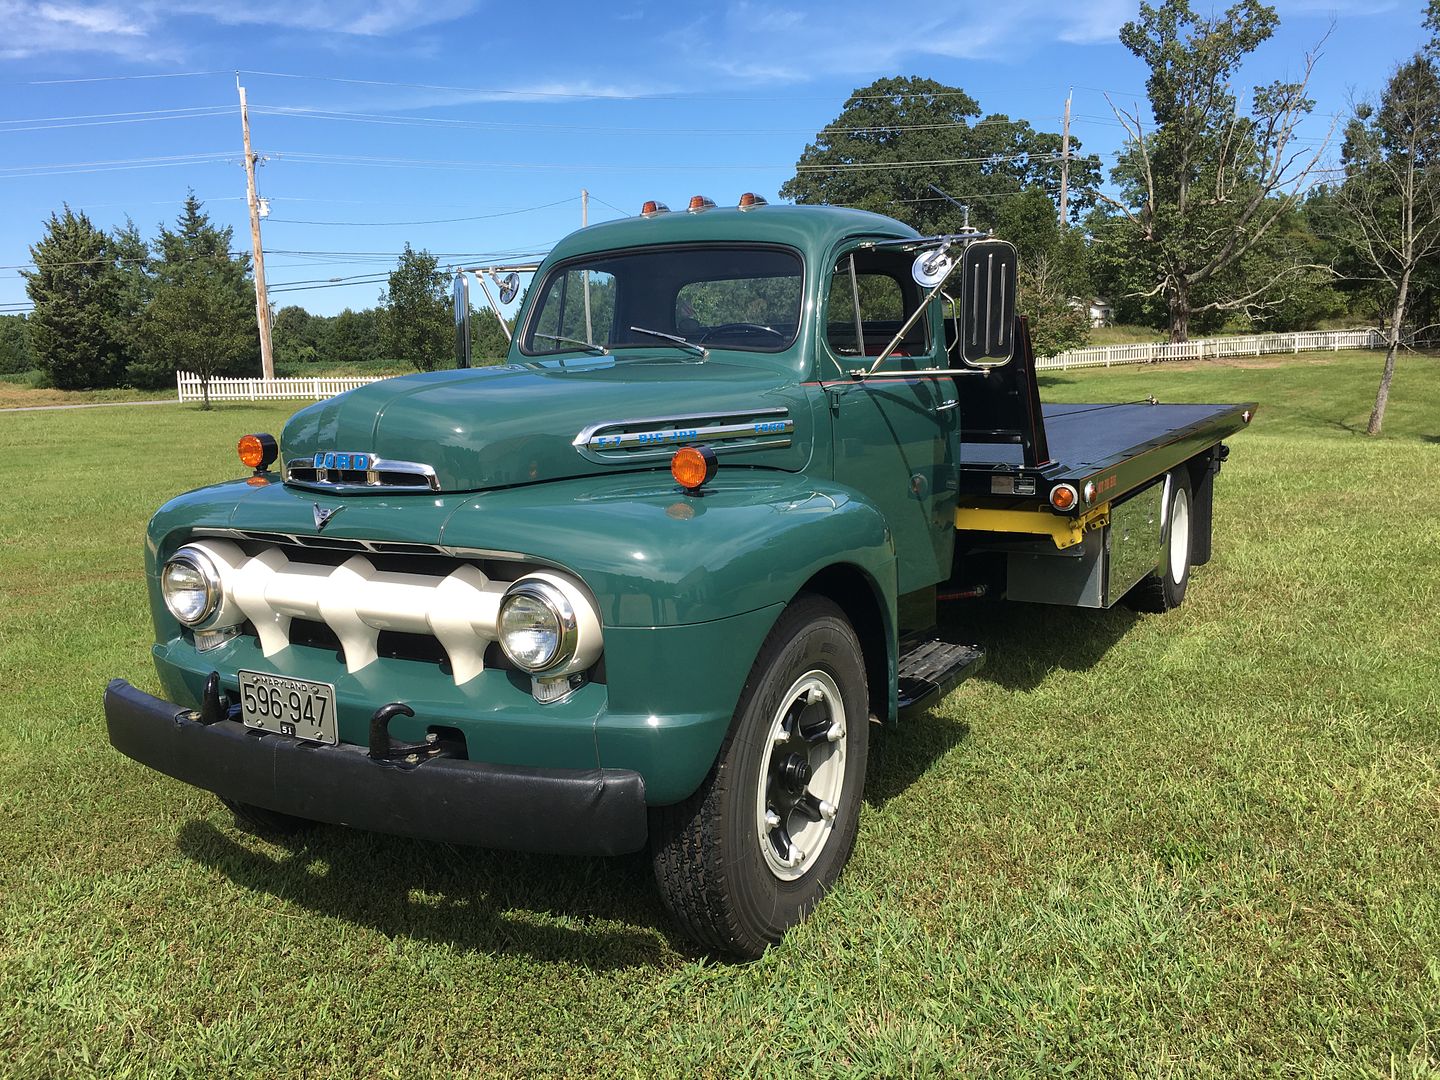
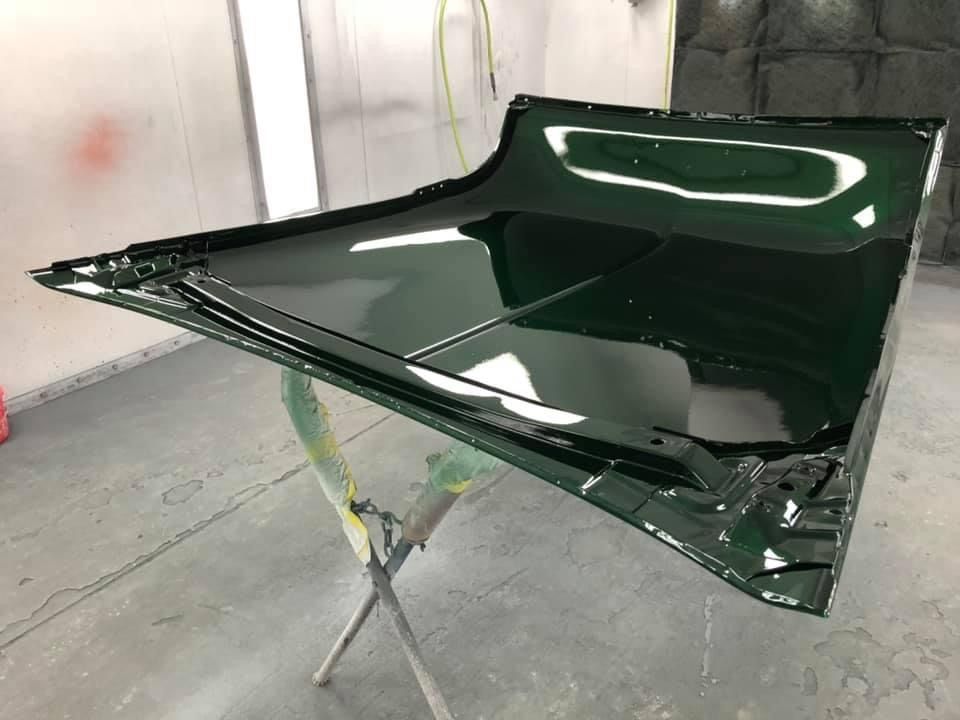
That's a nice looking truck!
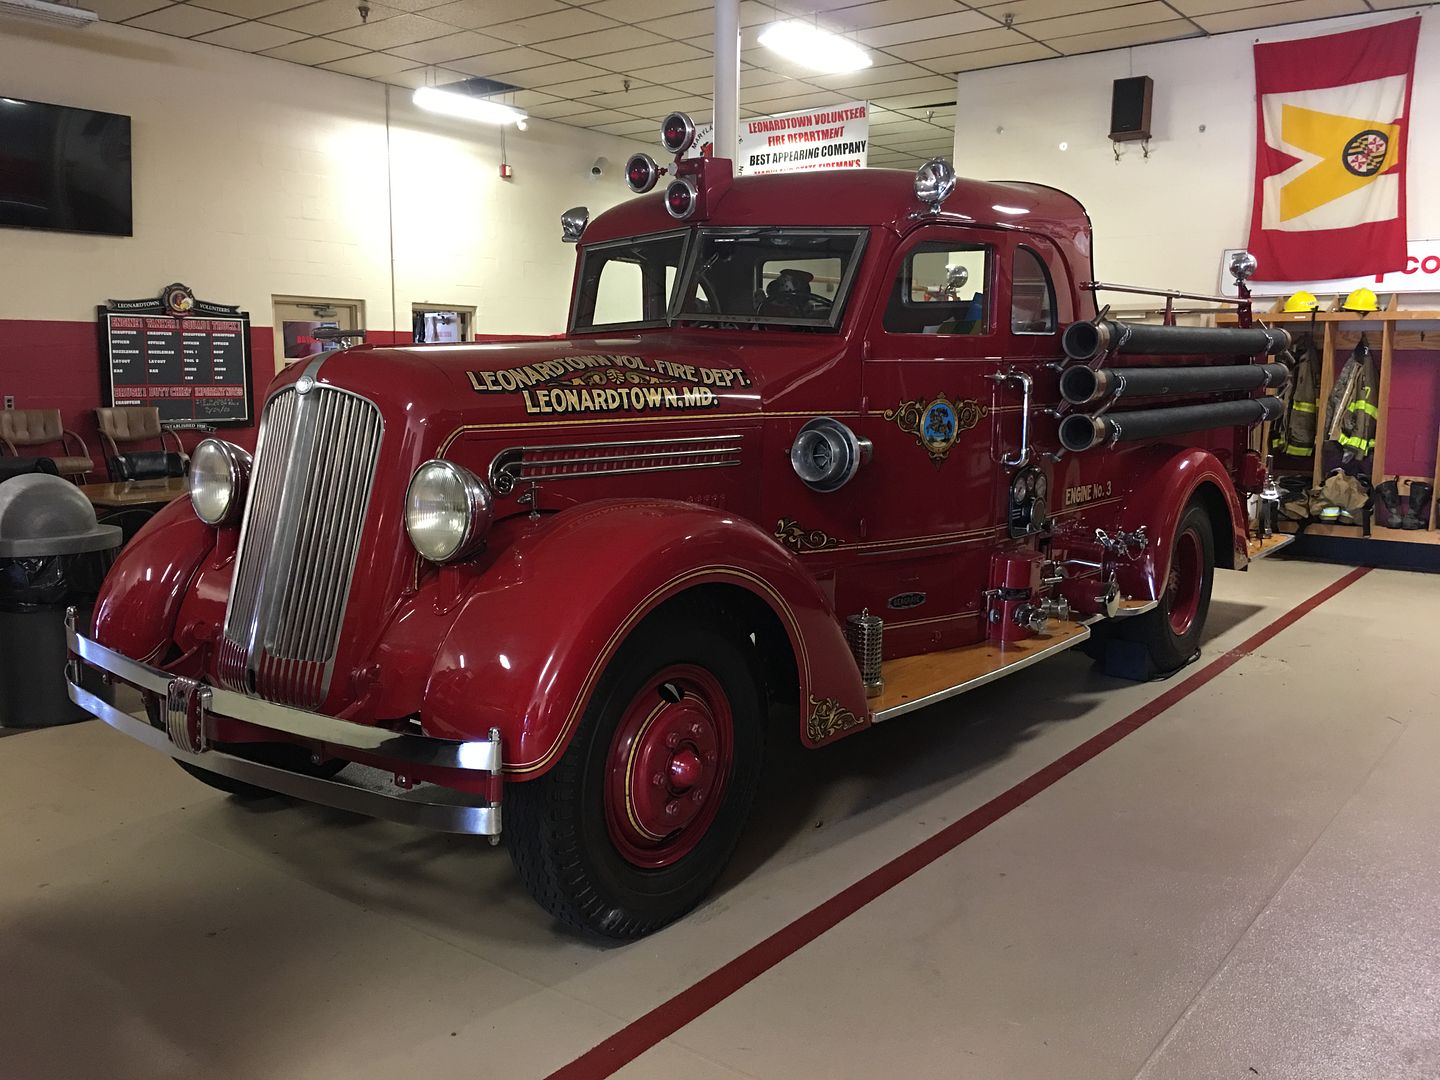
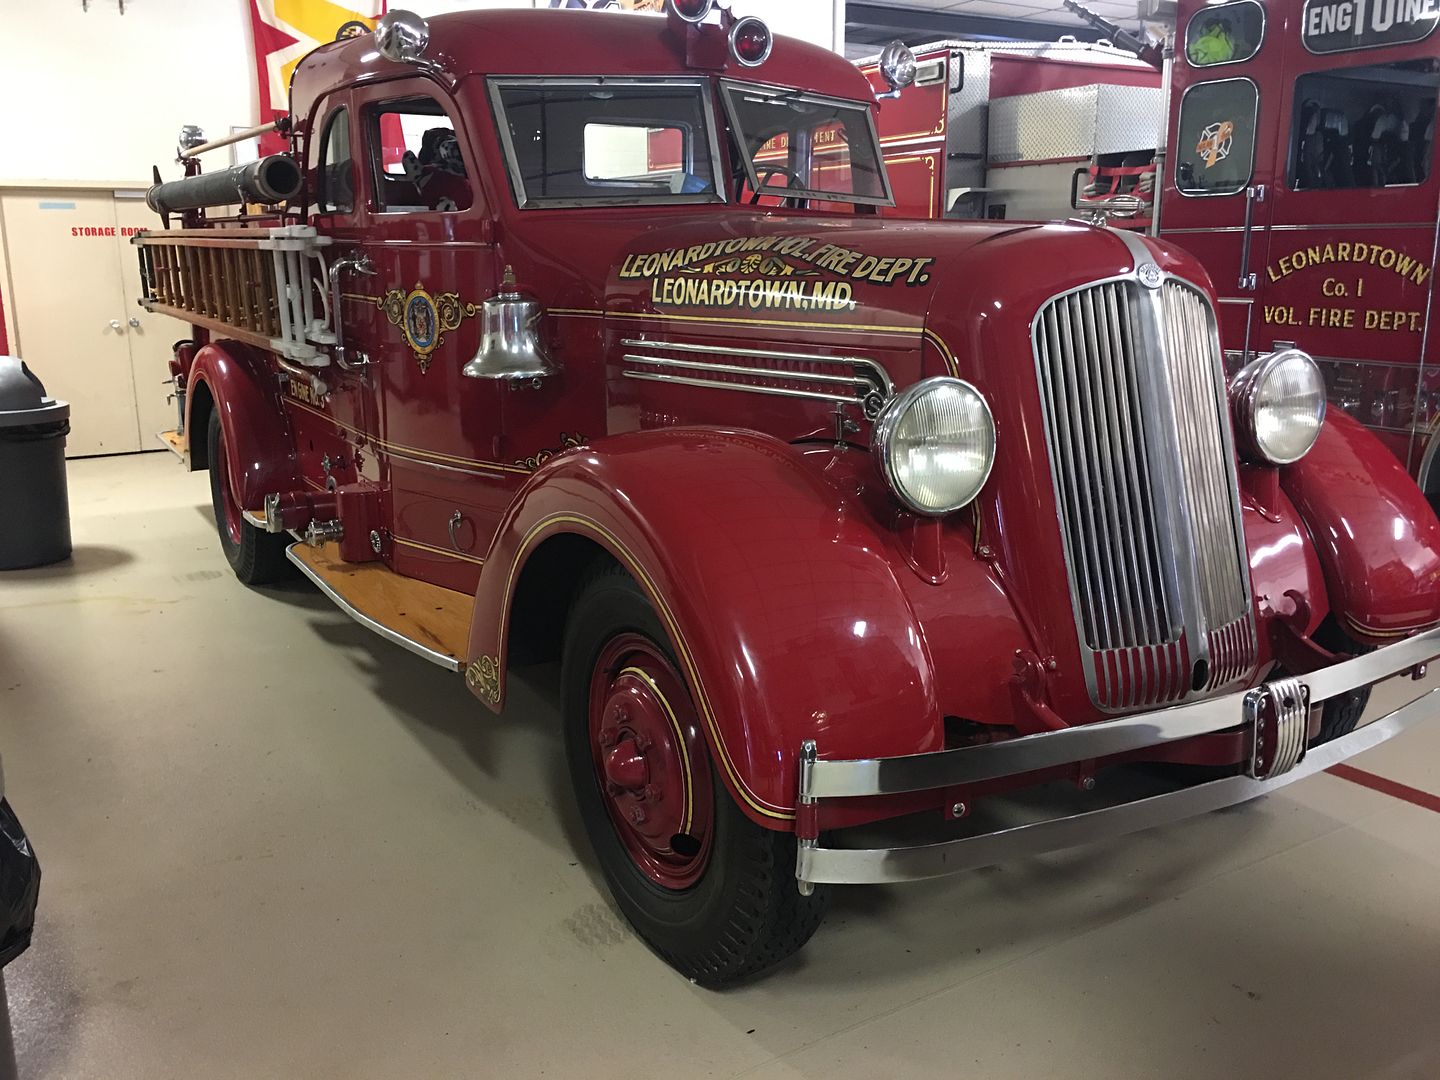
Fire Truck Lead:
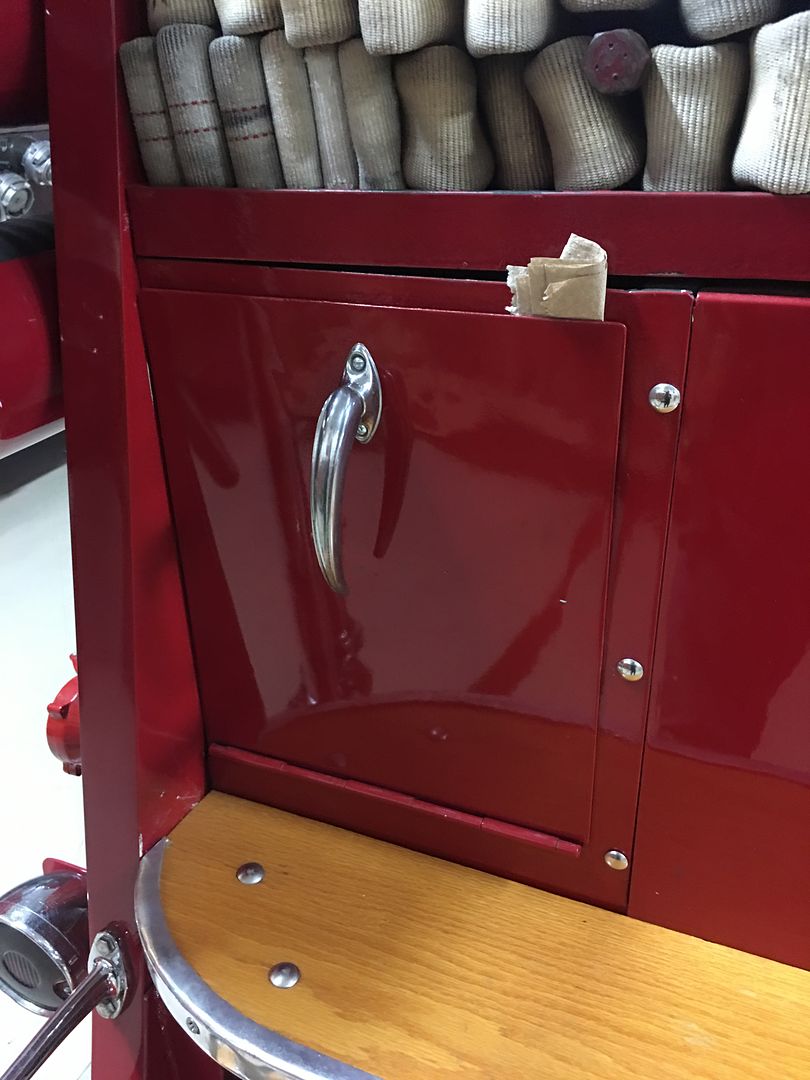
This truck was restored for use in funerals for Detroit area Firefighters
If you can track down the restorer, he may have parts connections that could help.
https://www.mlive.com/news/bay-city/2014/09/antique_fire_truck_returns_use.html


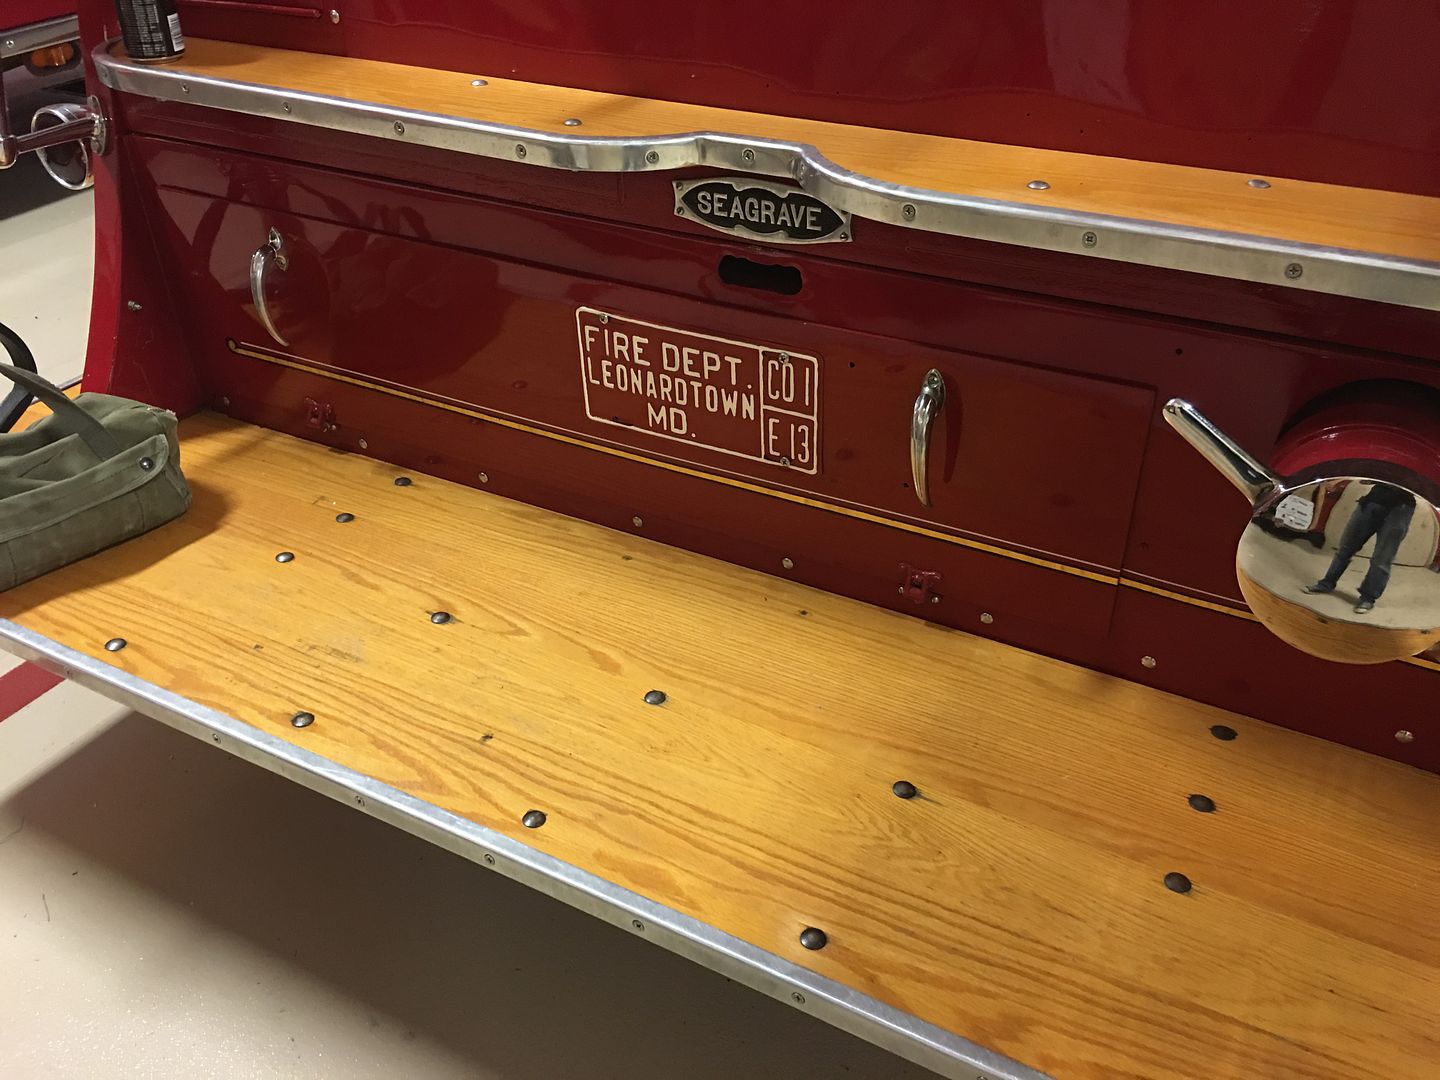
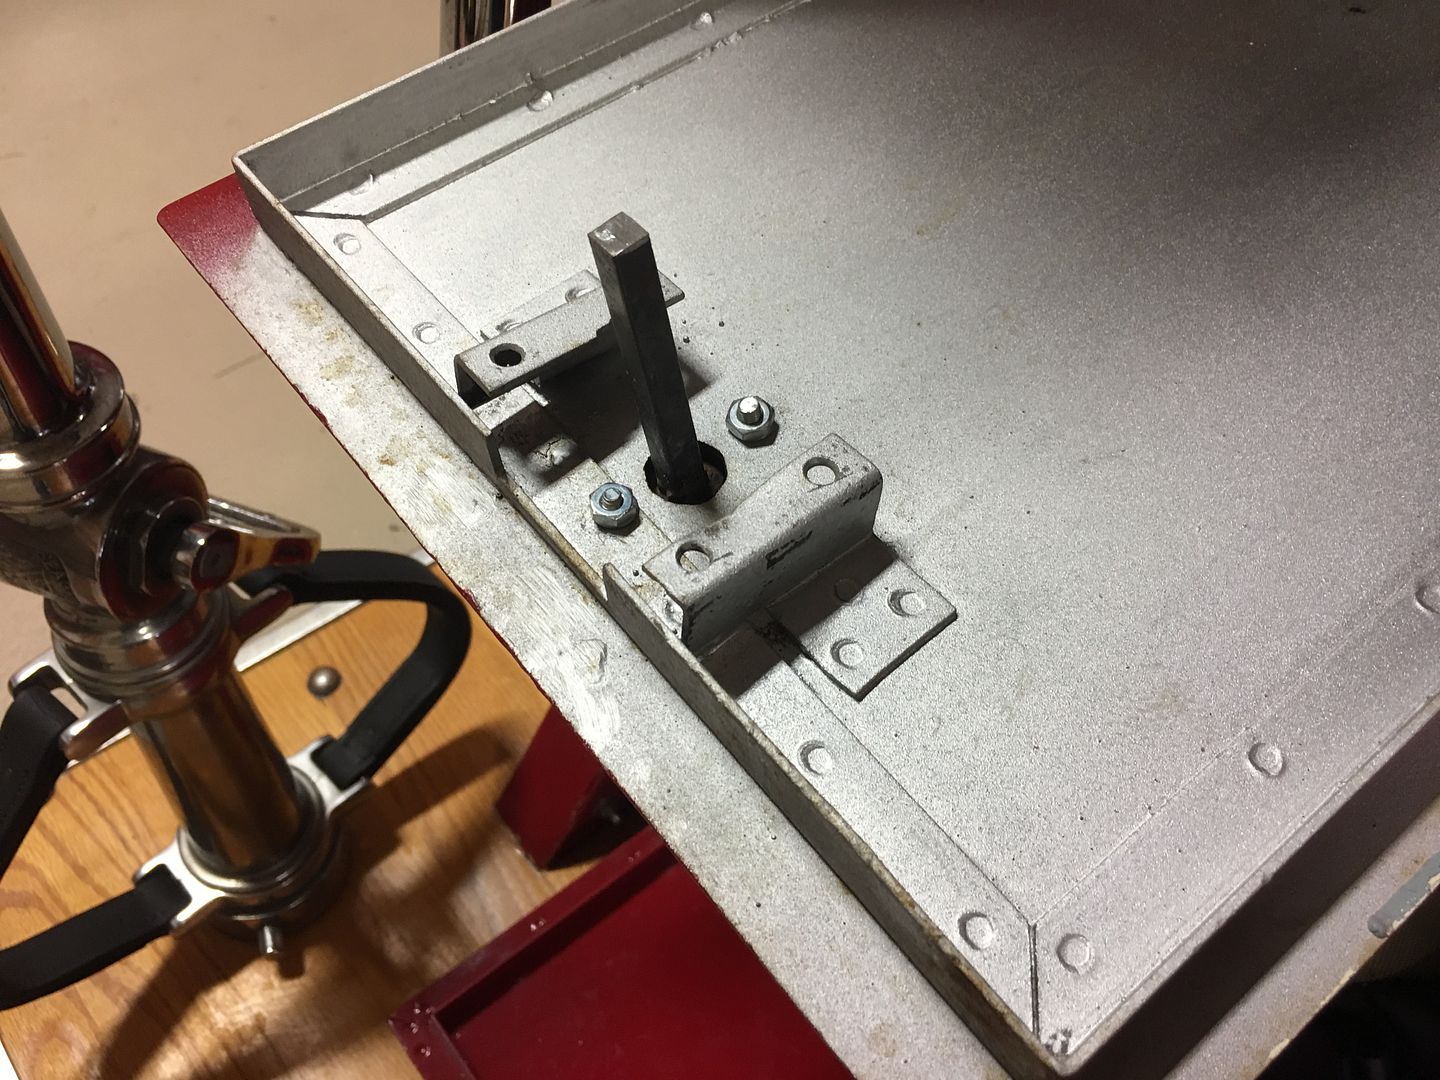
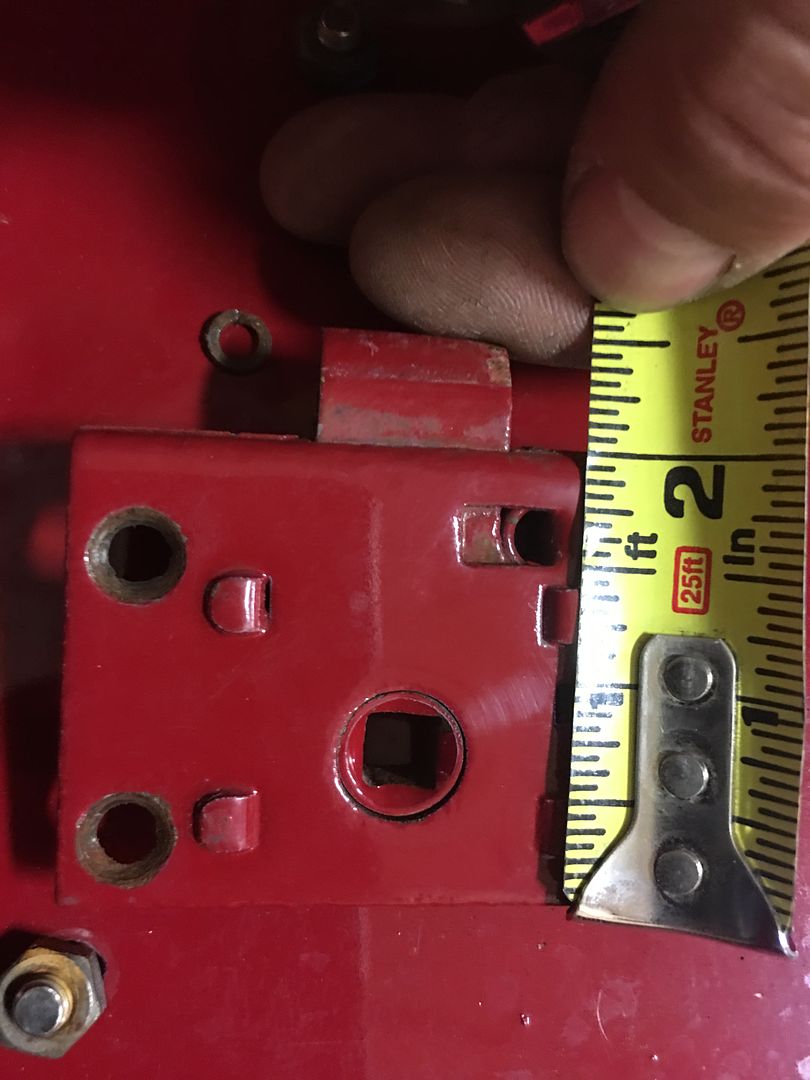
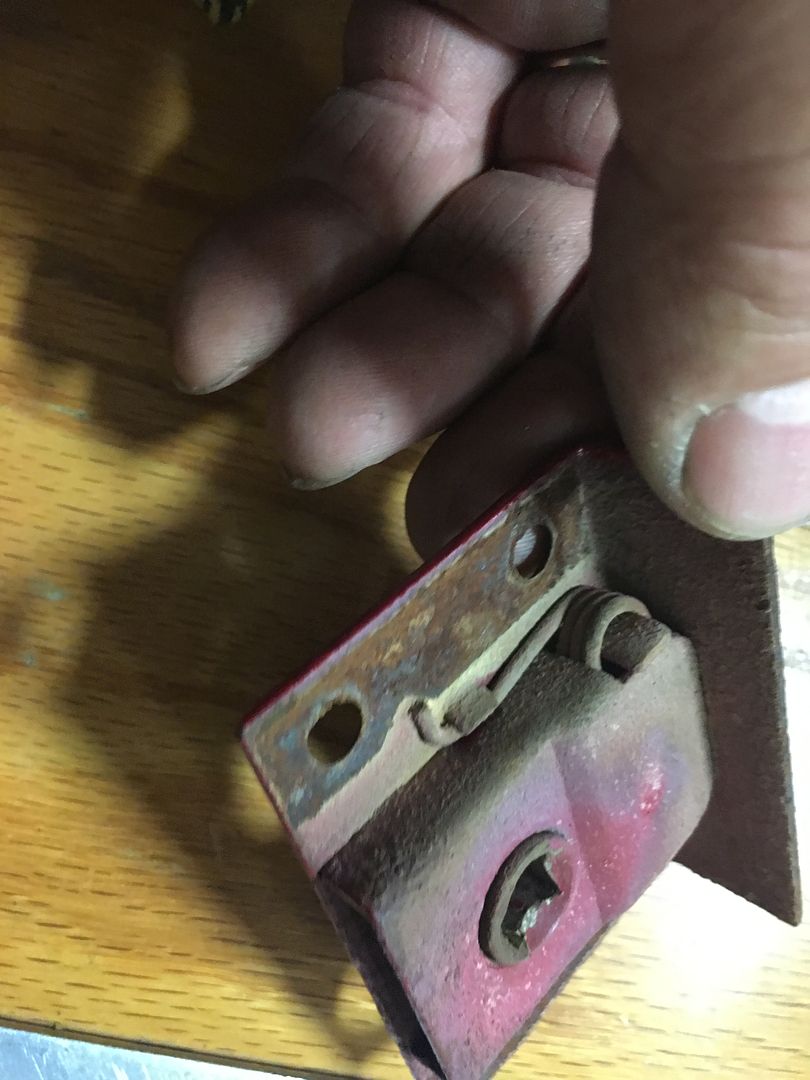
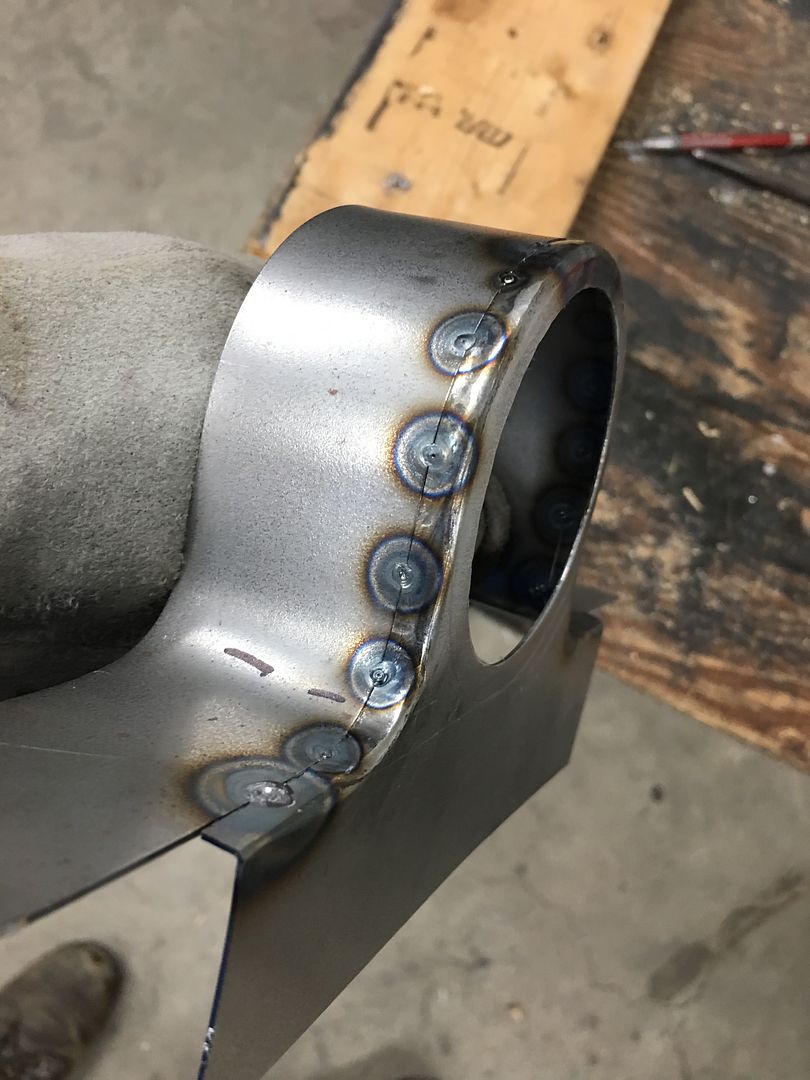
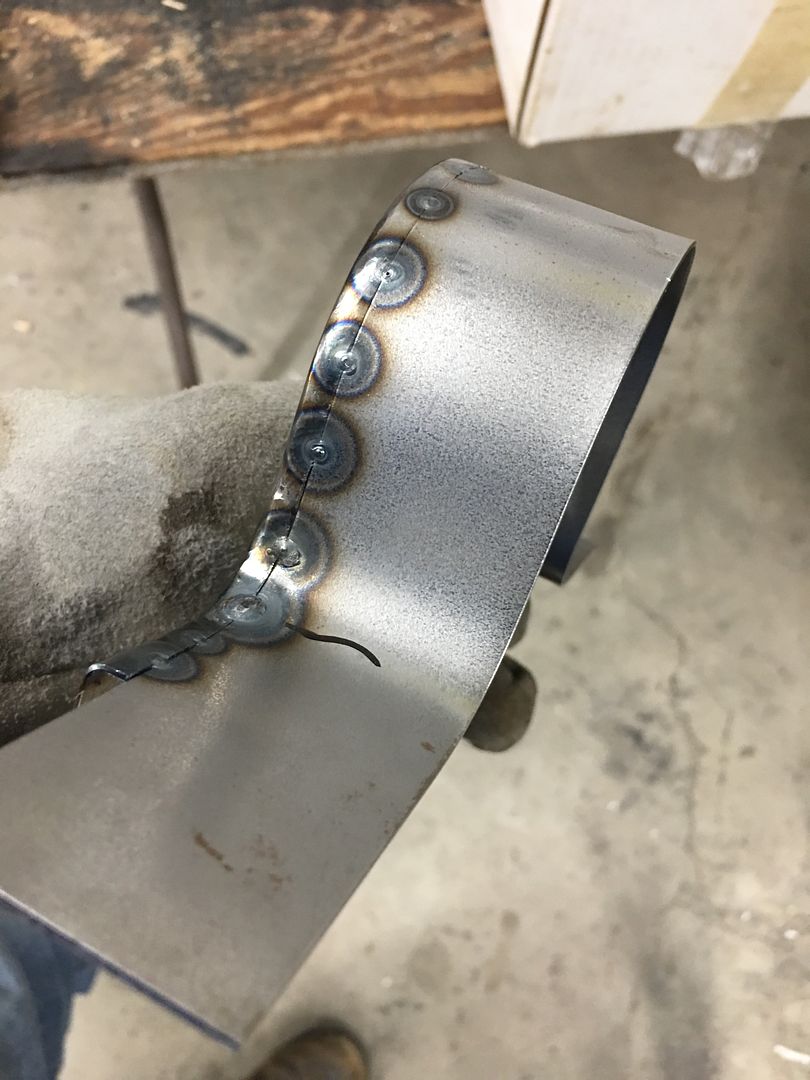
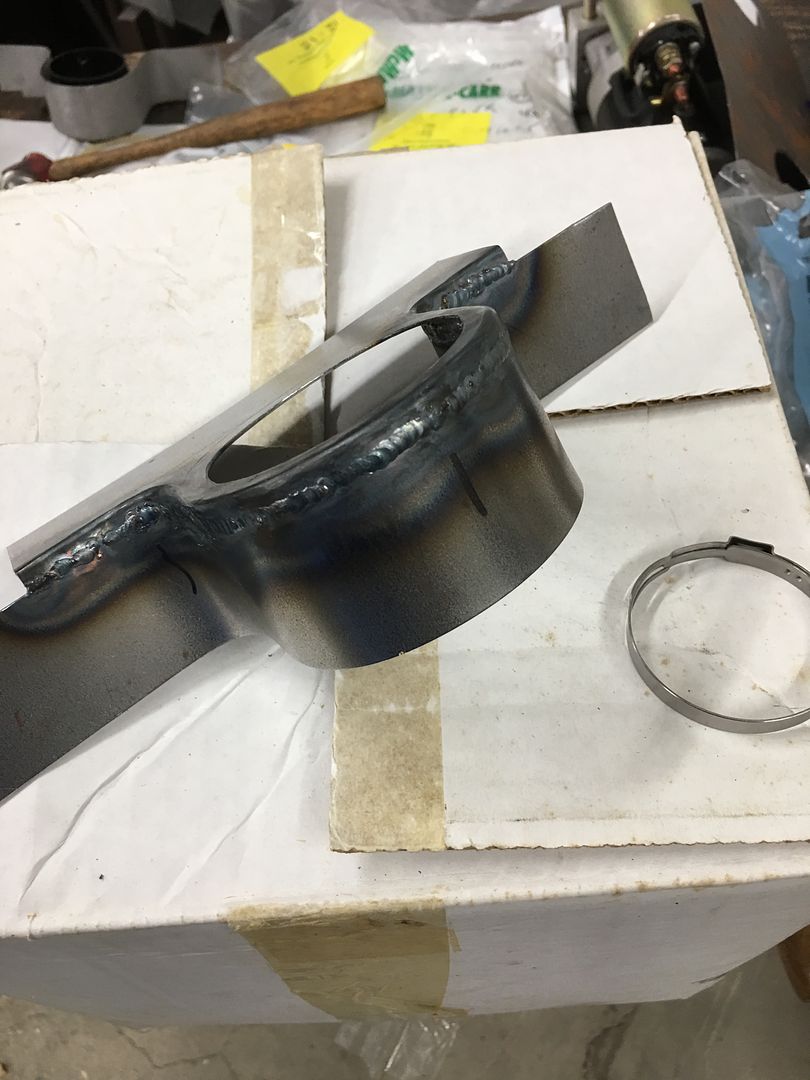
A video we did with some basic stuff, making a vent bracket for under the dash using a hammer and piece of pipe. Excuse the audio quality at the start, what you get for filming with an iPhone 6S. S stands for *****... apparently the phone gets confused as to which of 3 microphones to use. We filmed the rest with a different phone..
.
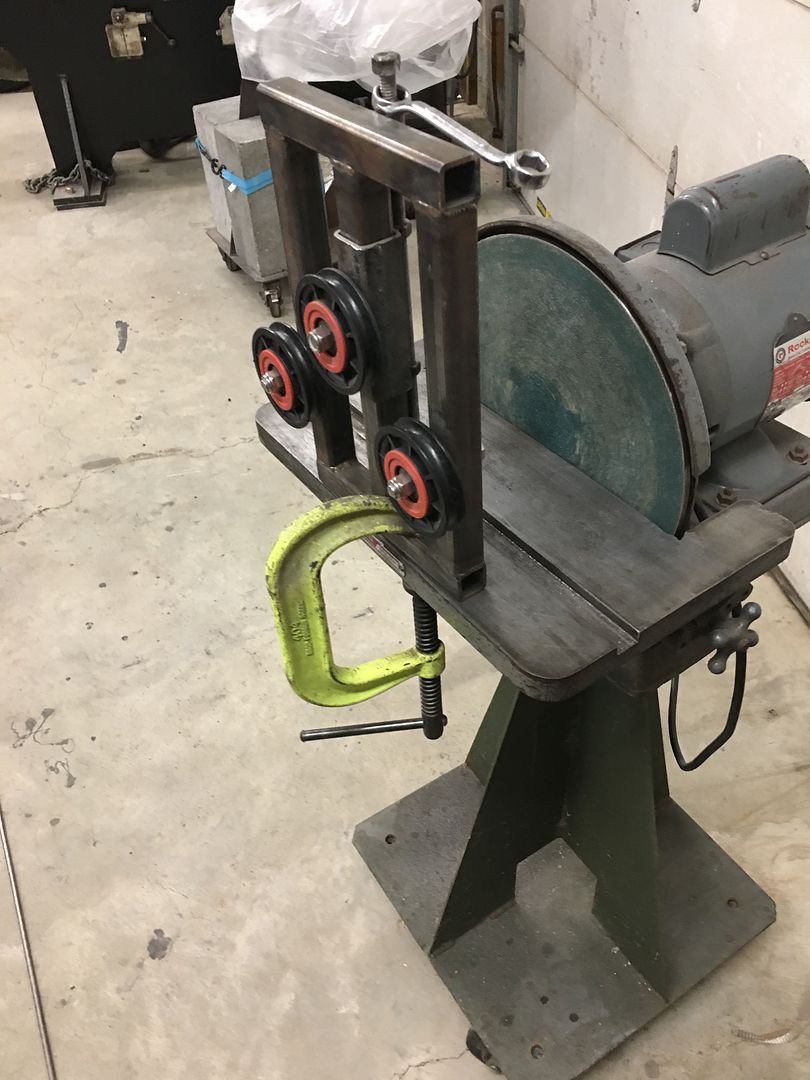
 I think I heard someone say anything is a tool.
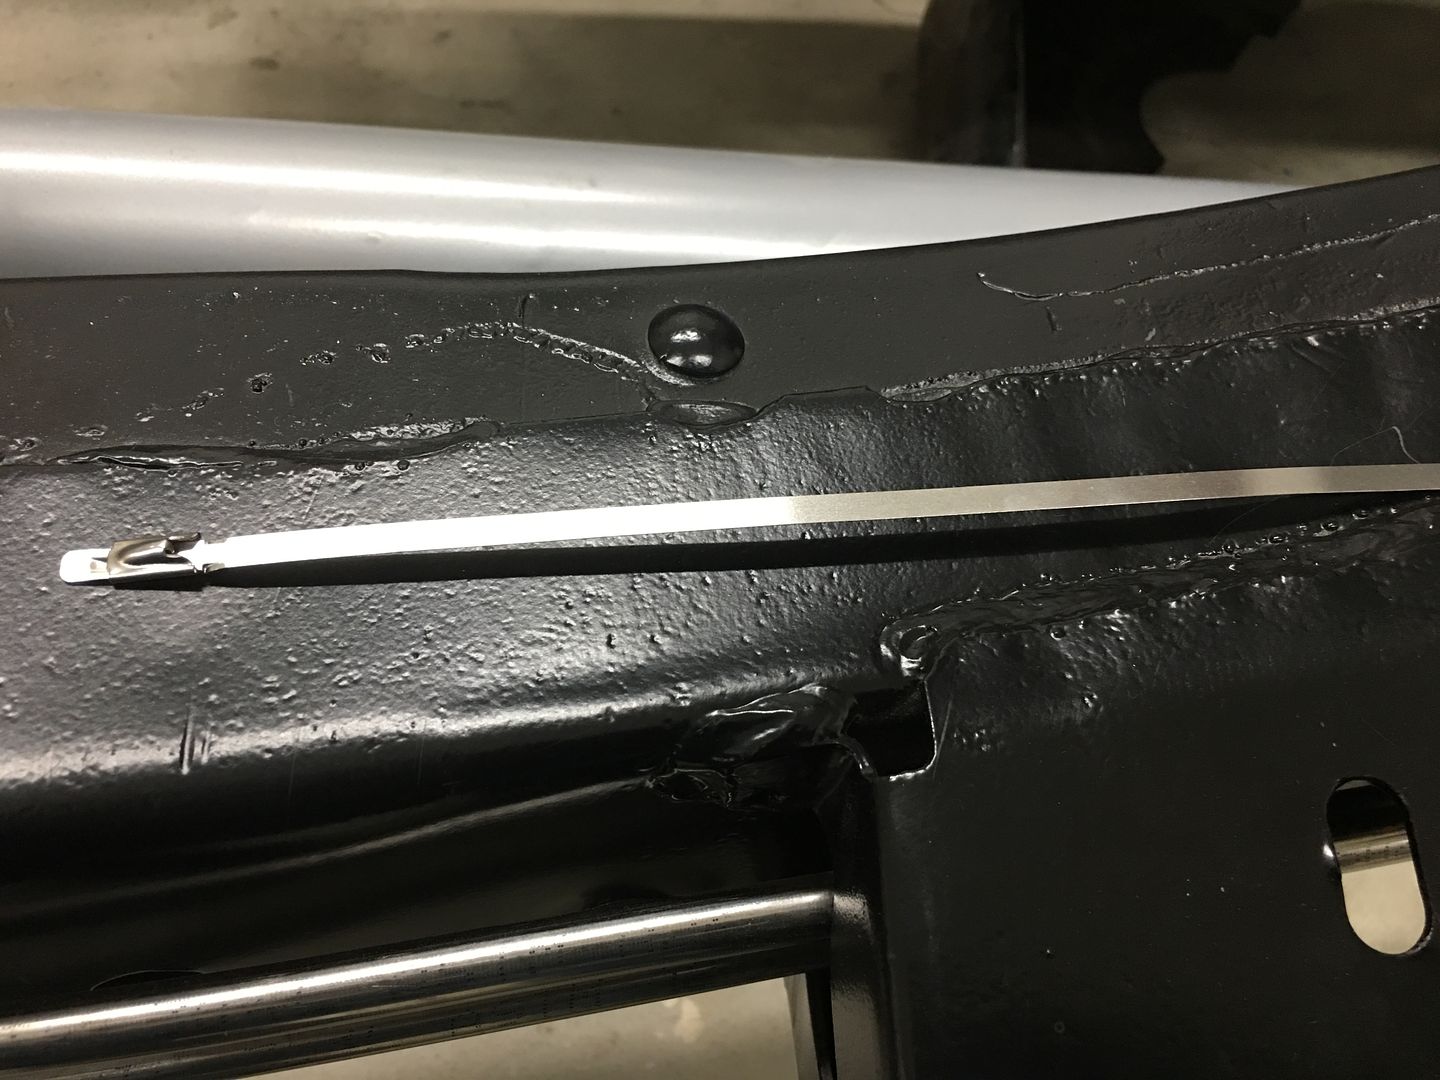
Nice show and tell on that Robert... just curious , why not just weld the face to the 2nd piece without tipping the edge over..then dressing the corners..

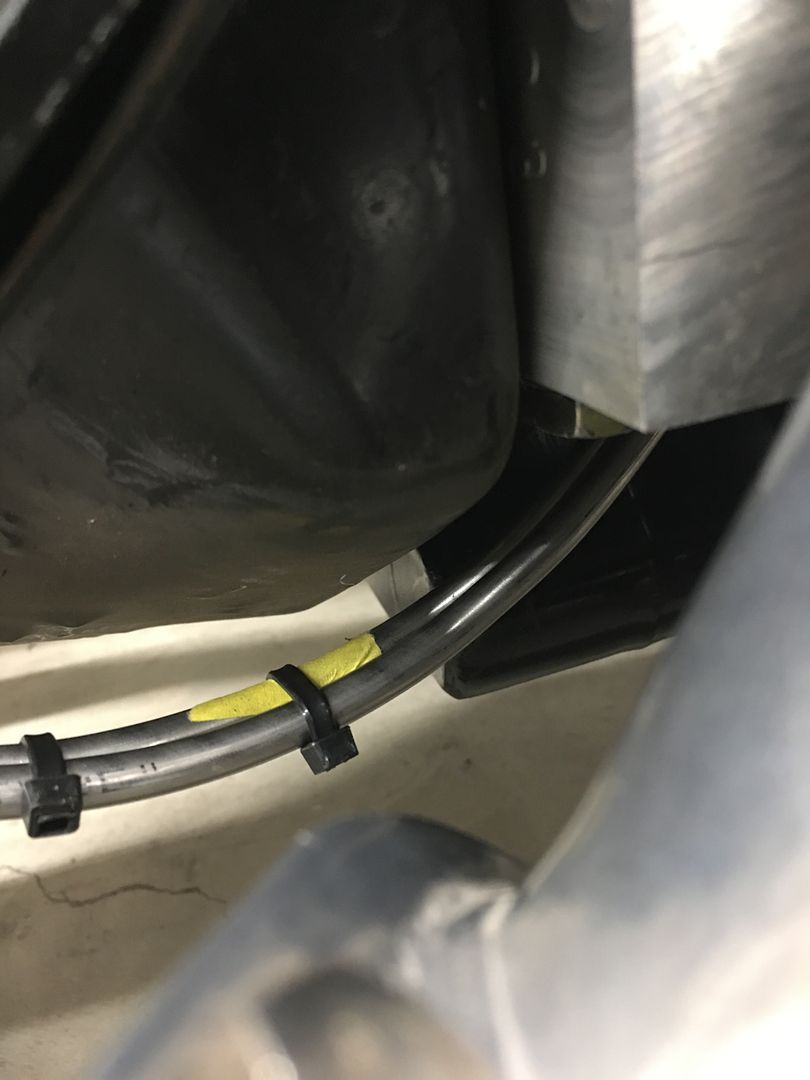
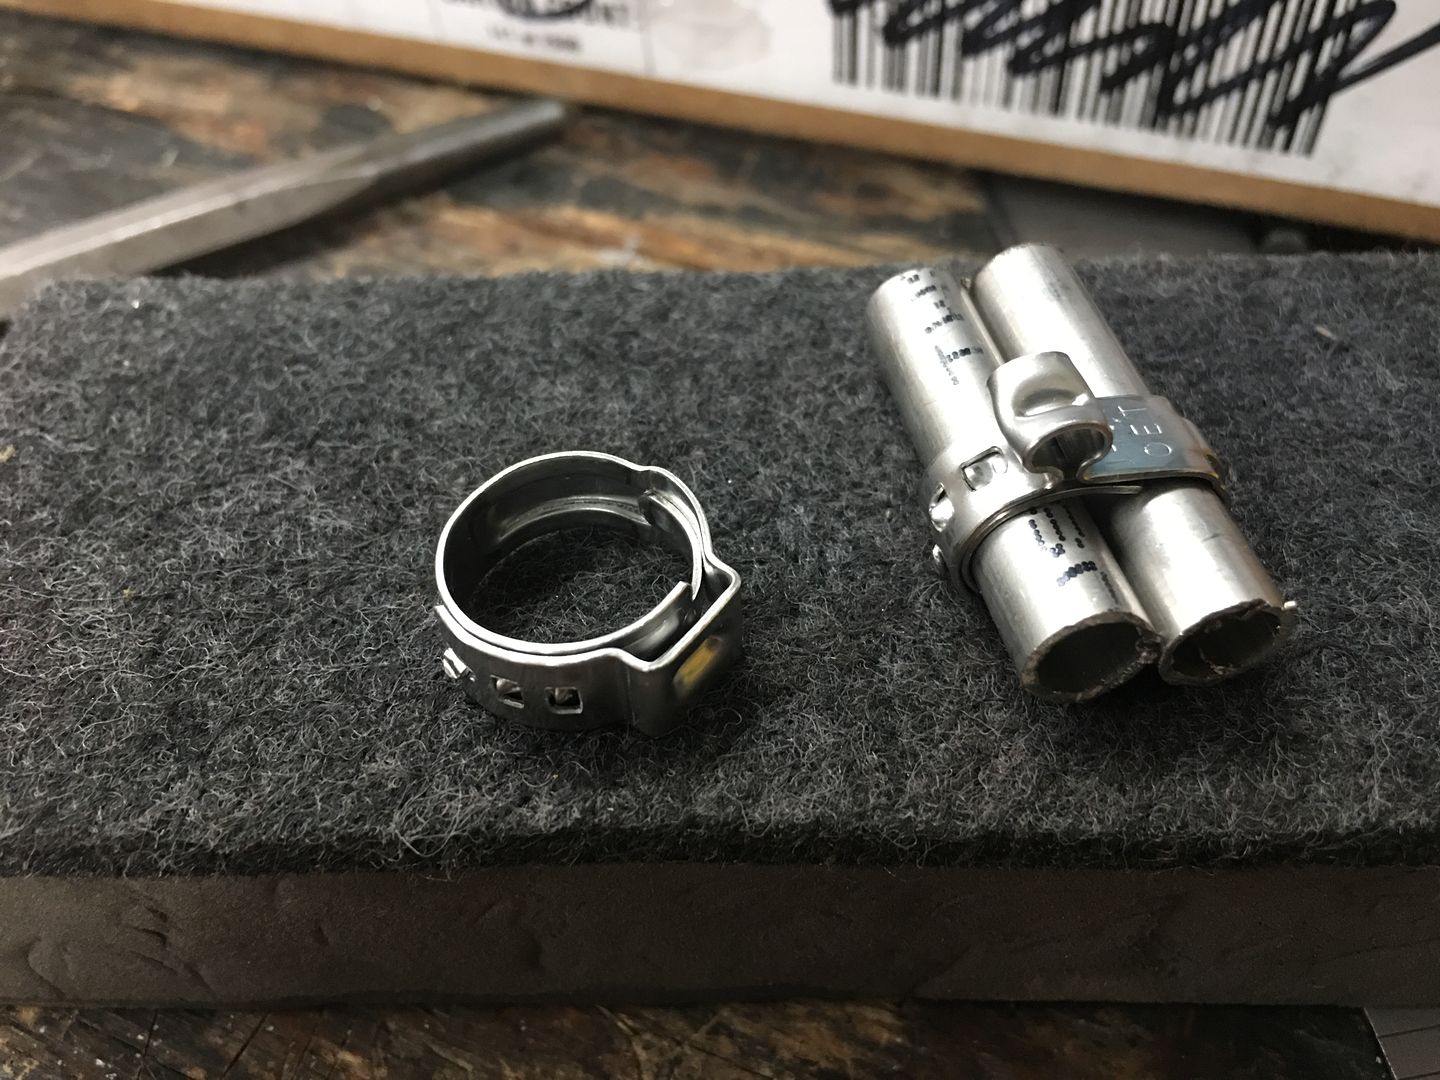
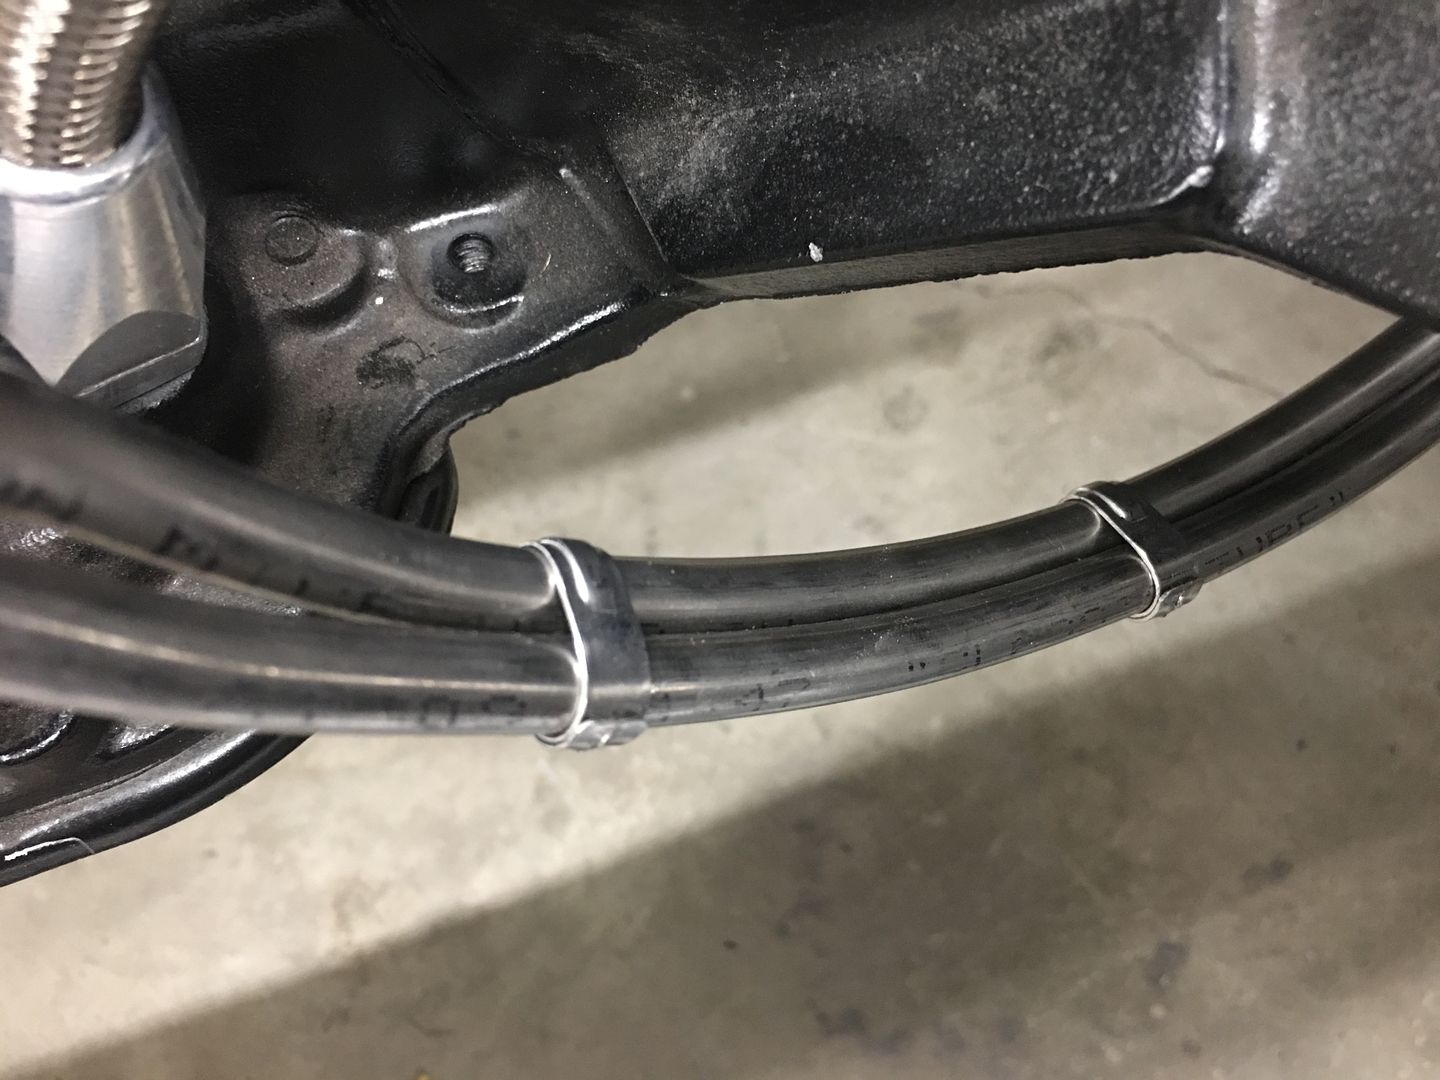
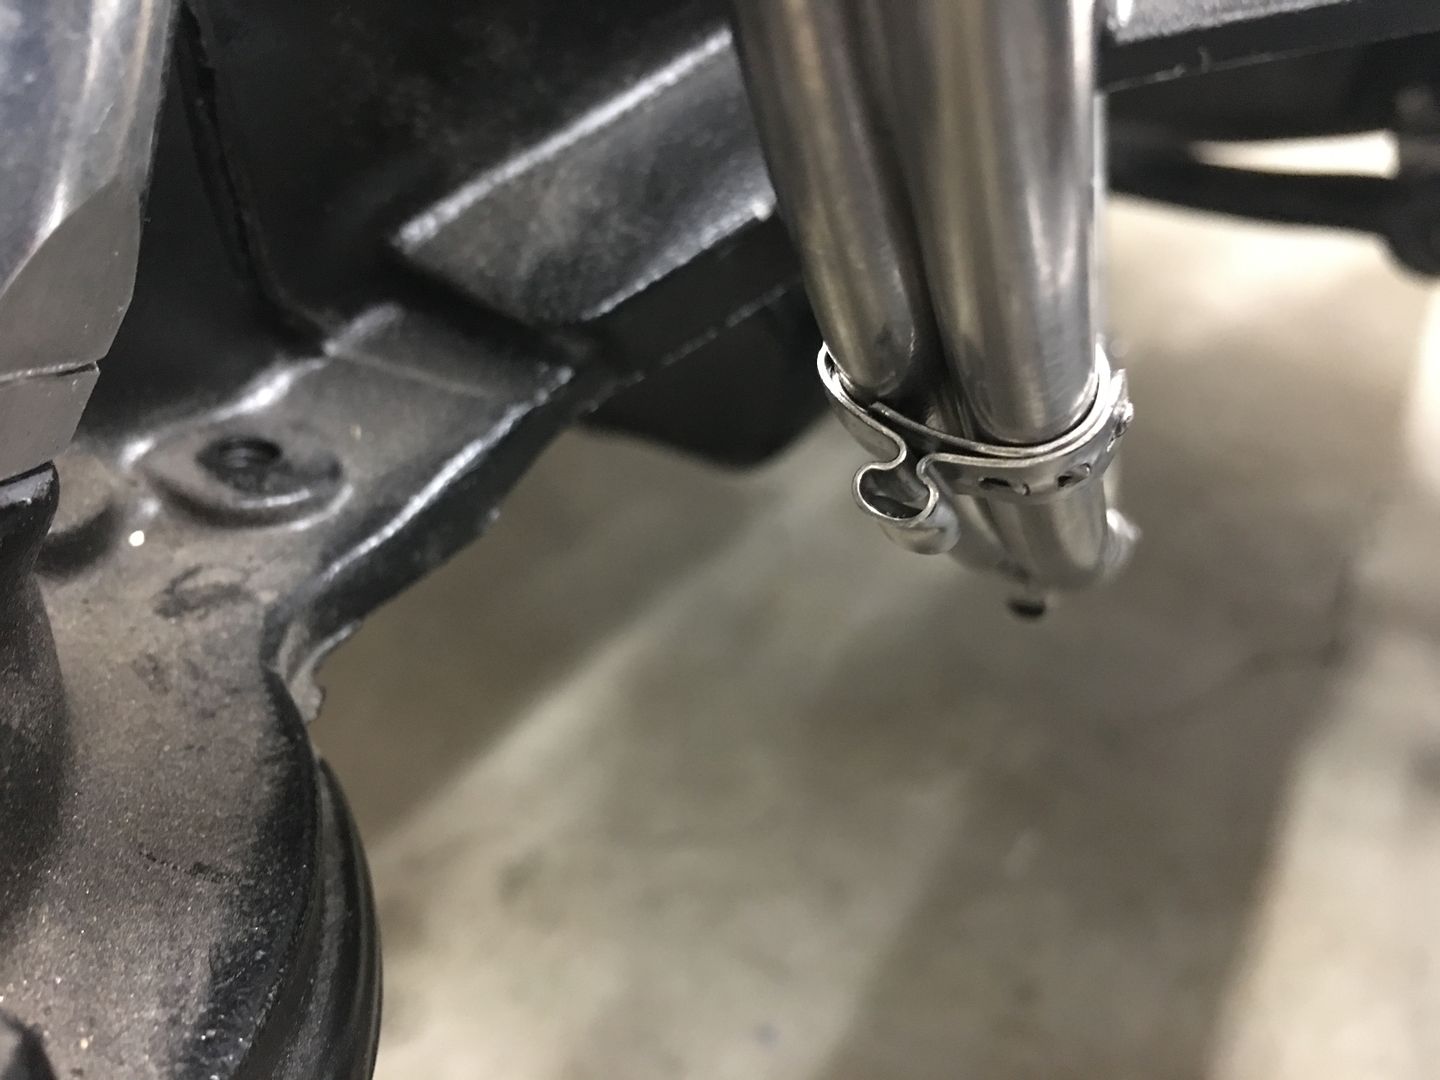
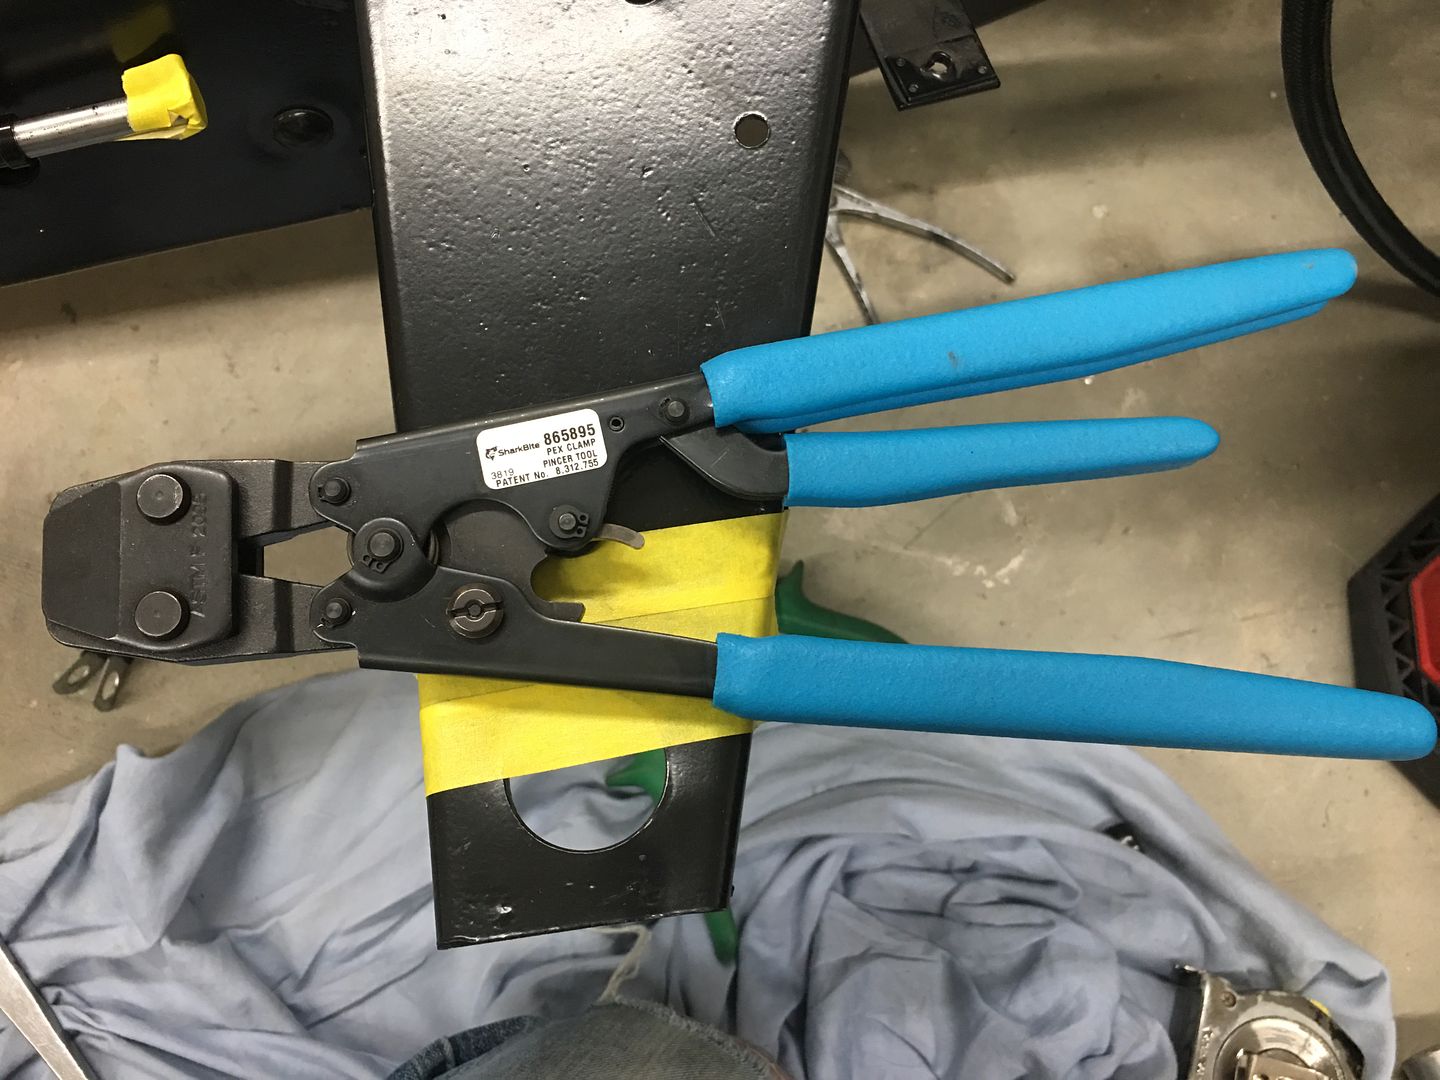

As always great work. Pex clamp idea stolen, thanks!