BORING HOP YARD
Well-known member
Nice work Robert!
Glad to see the car back in the shop.
Glad to see the car back in the shop.

Have you by chance used the Baileigh foot operated *********** shrinker/stretcher? I am just starting in metal shaping and can see the benefit of a *********** version, but also see many folks use the standard Lancaster's with stippled dies.
Love your thread. Thanks
Have you by chance used the Baileigh foot operated *********** shrinker/stretcher? I am just starting in metal shaping and can see the benefit of a *********** version, but also see many folks use the standard Lancaster's with stippled dies.
Love your thread. Thanks

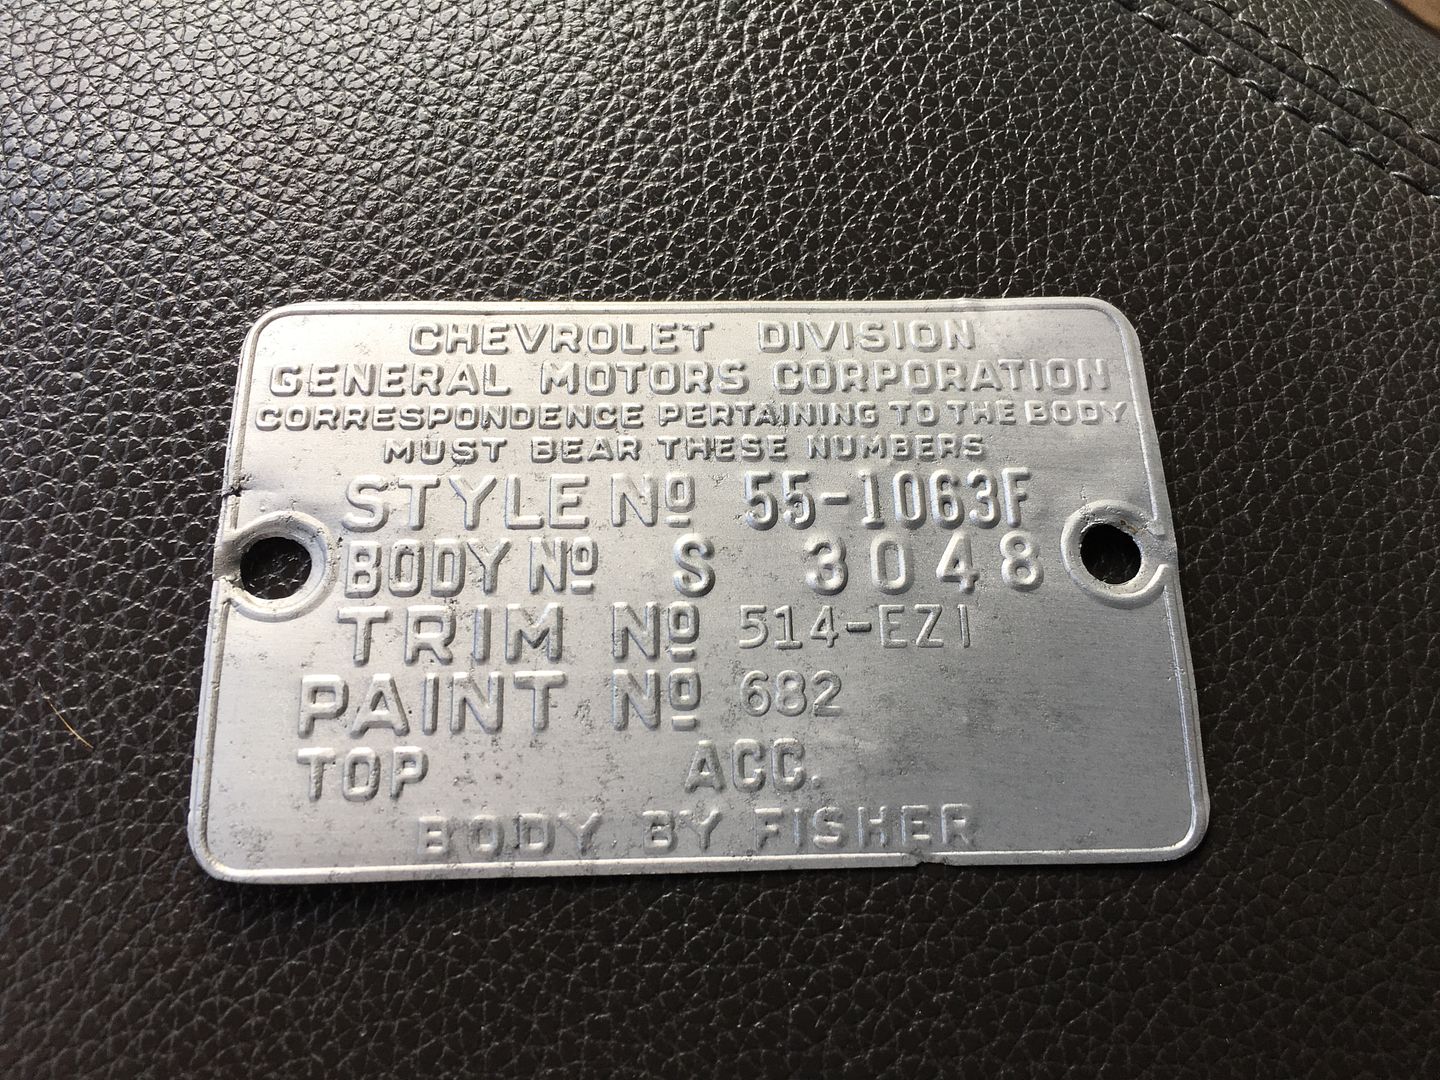
The black paint that was used on the frame and pulleys is that a satin finish Robert?
Great tutorial. Any chance he left that hole as a drain to avoid rusting out in the future?


Thanks for checking out the videos guys..
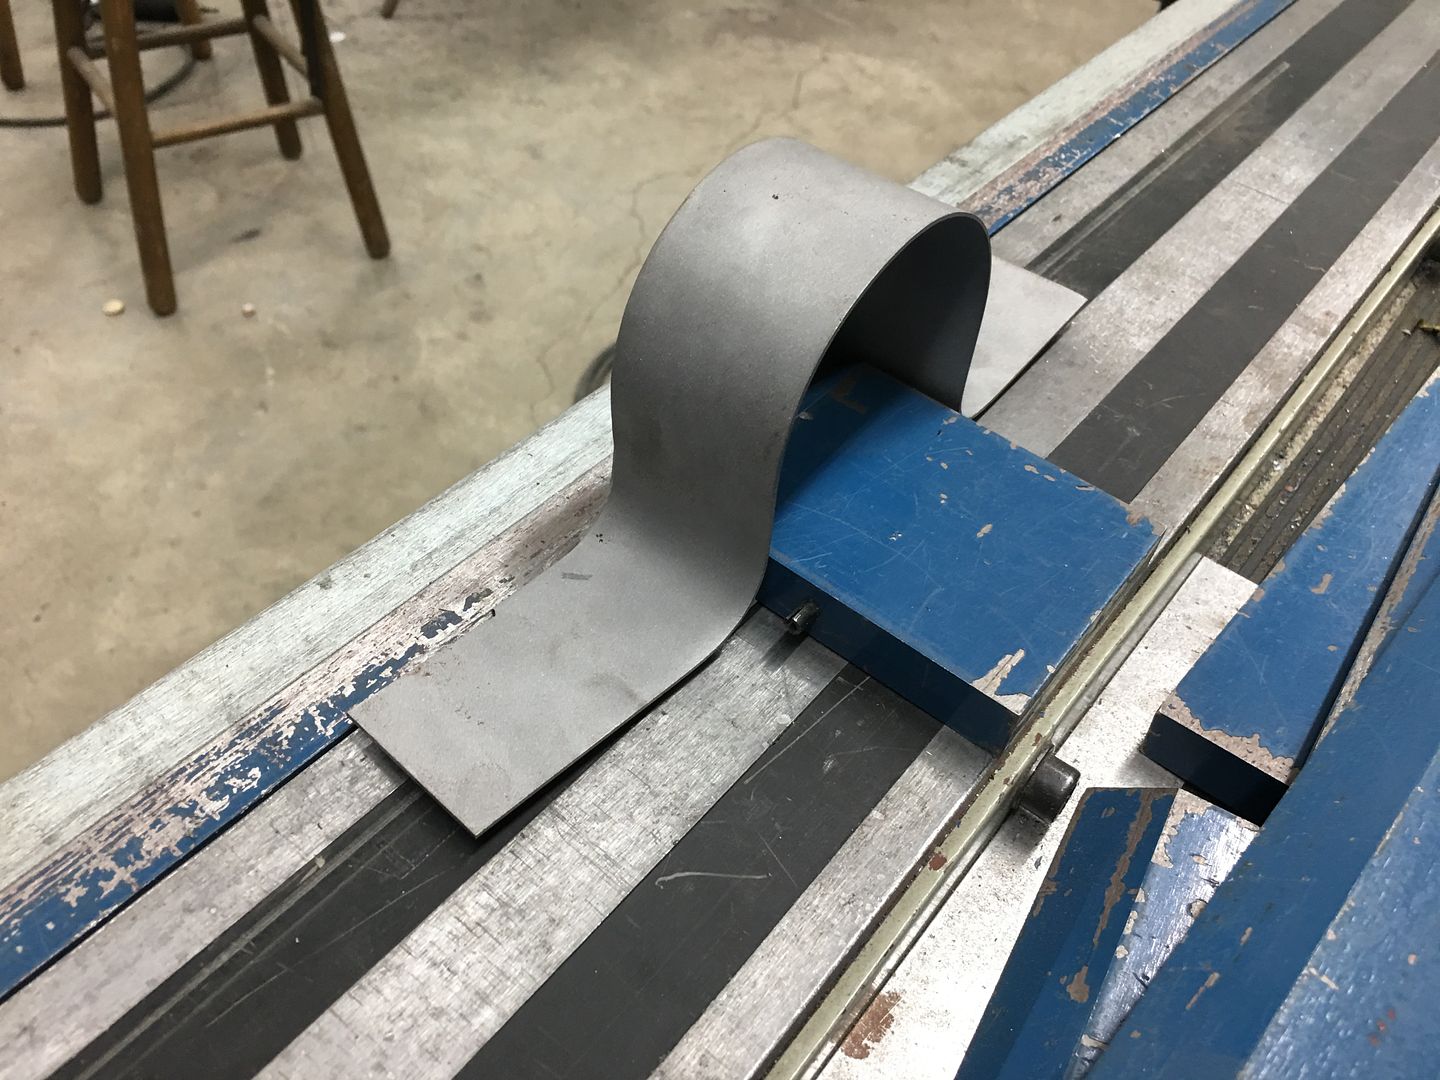
He told me he was going to attempt to fold the flange as I showed but chickened out.. I think he did what he knew he could do.
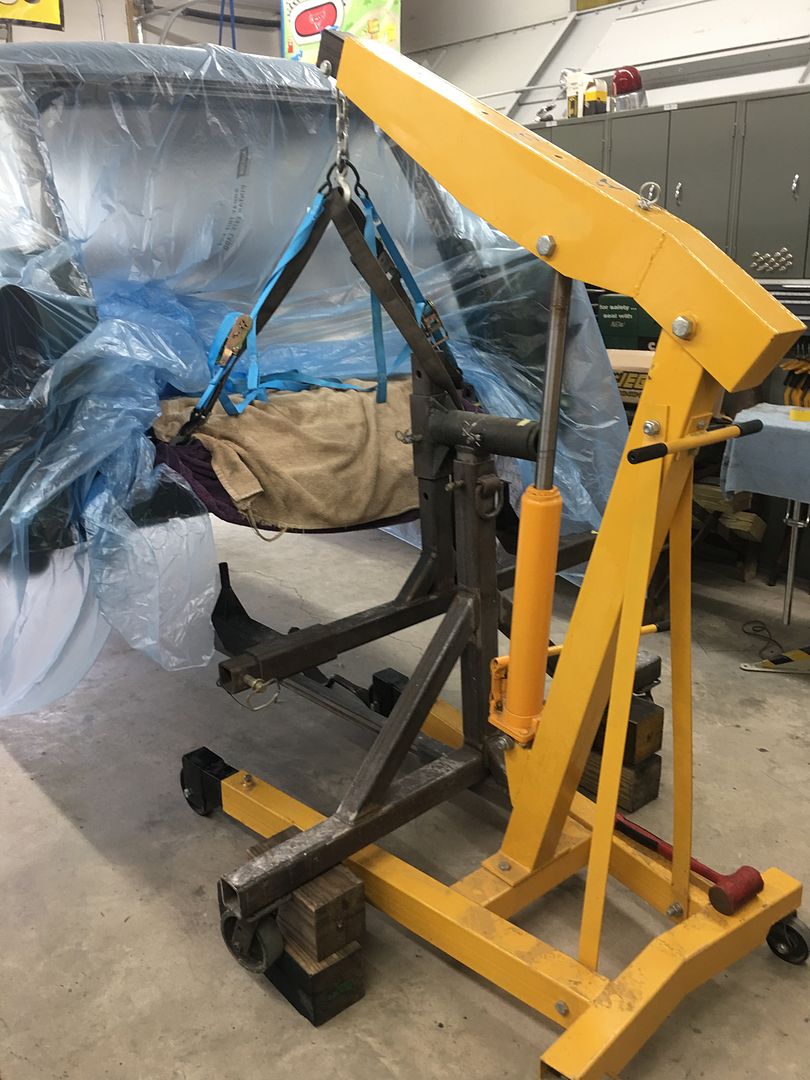
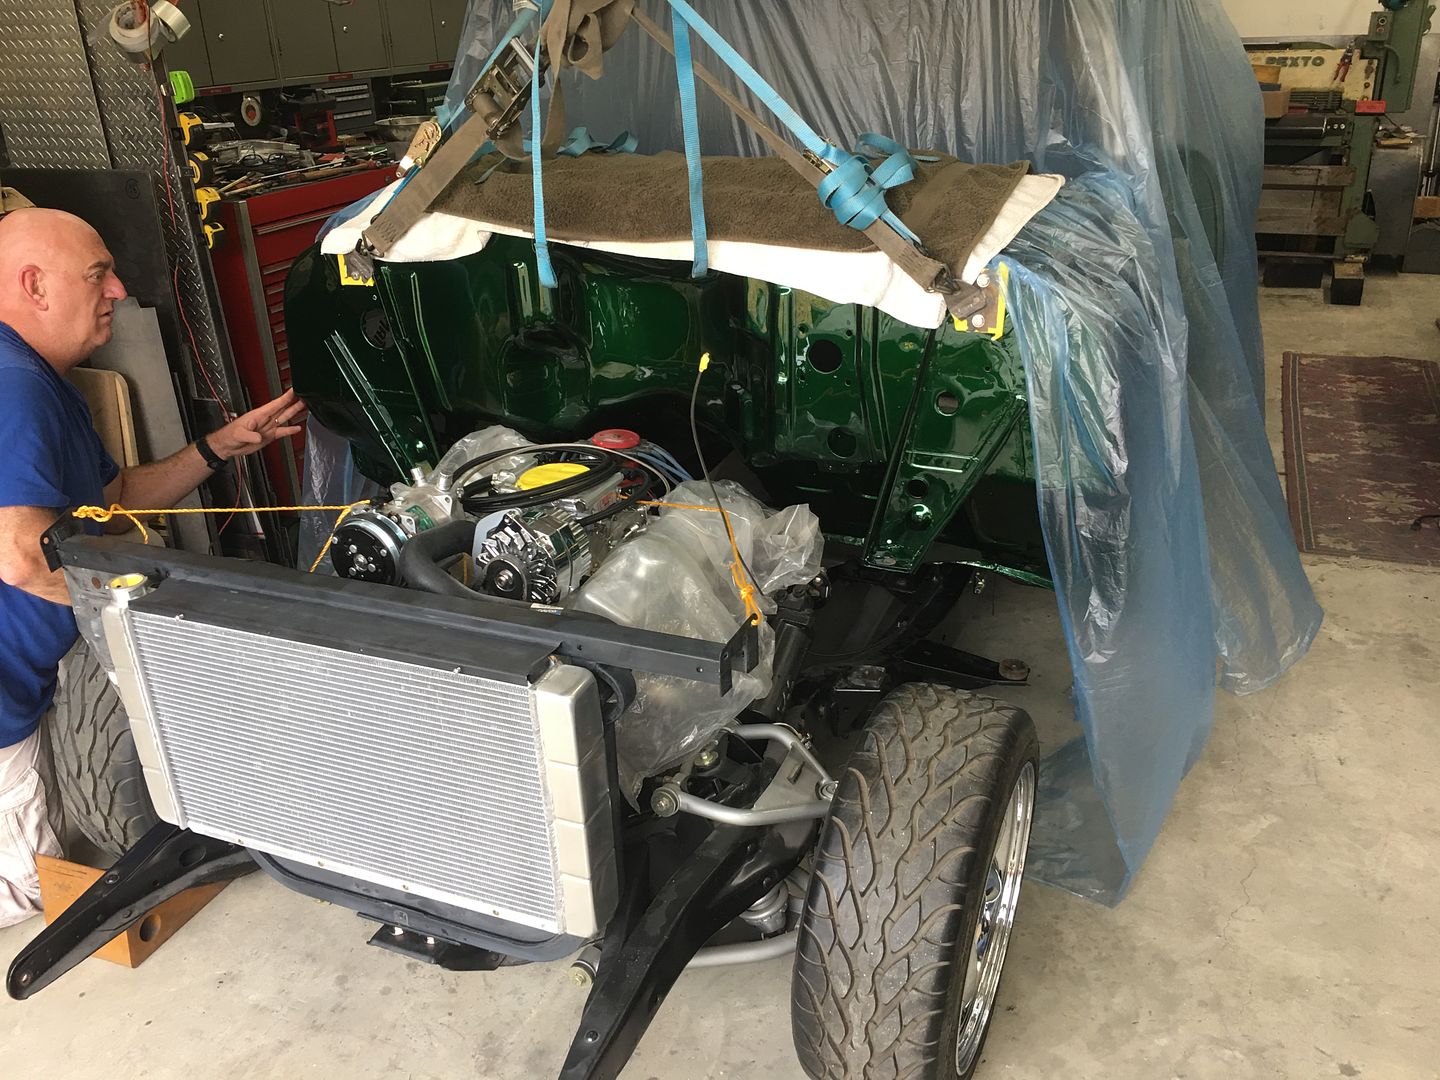
Well today was slated as lift-off day. So we got our lifting eyes installed on the body this morning and set up the lifting devices.
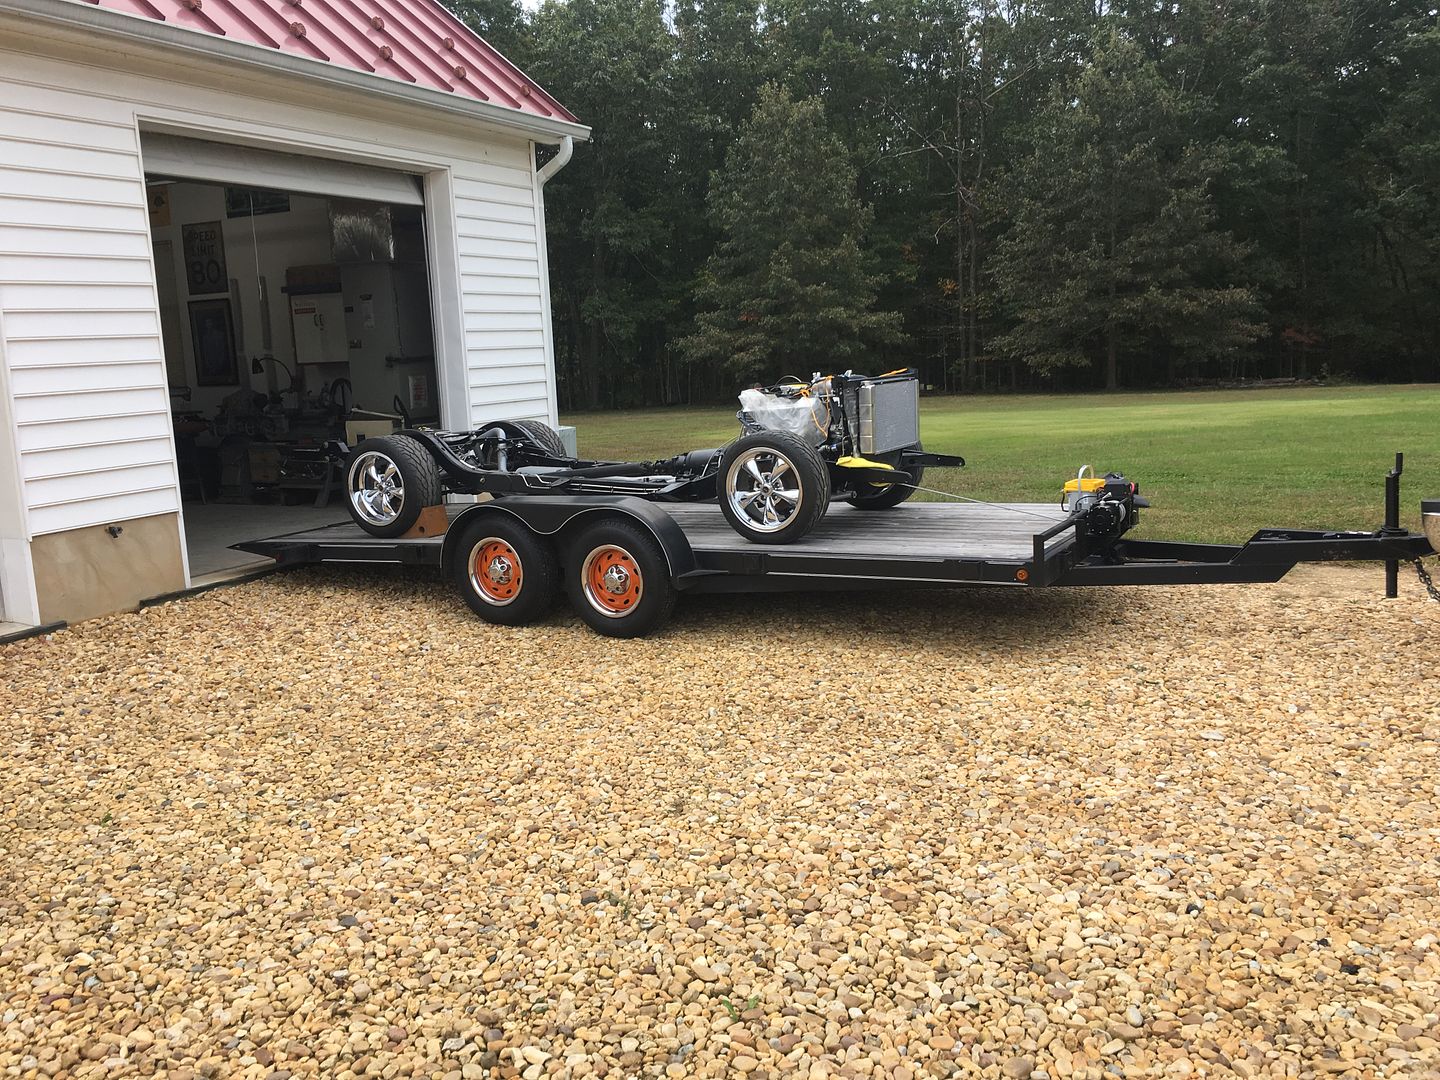
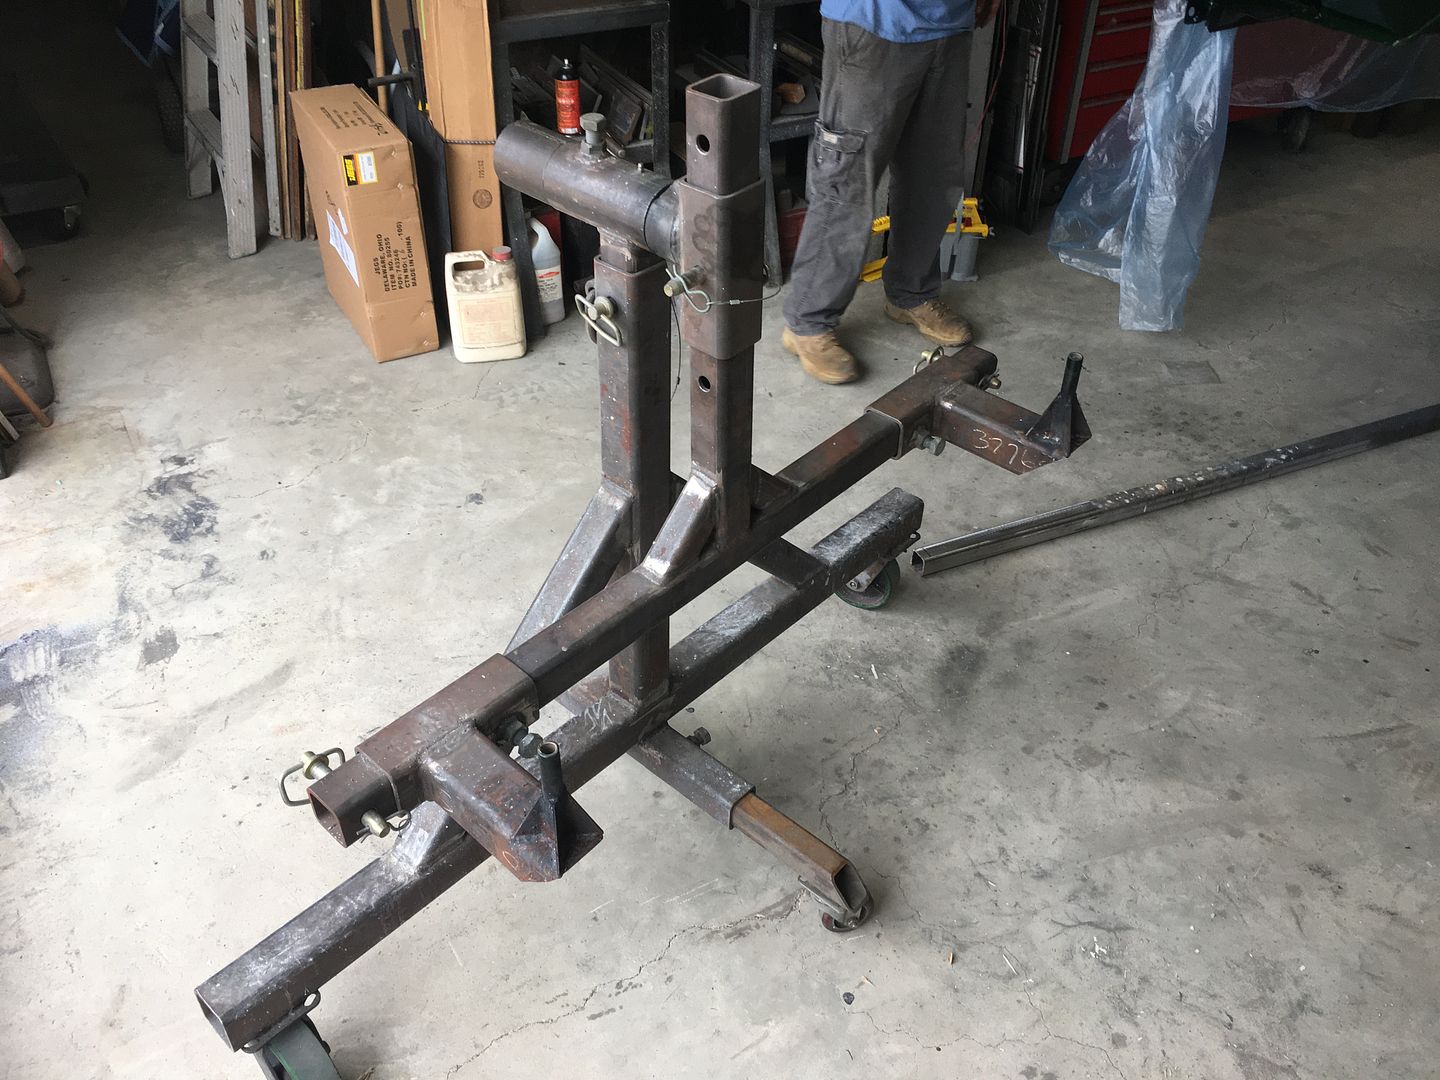
We loaded the frame onto the trailer, figured a winch would be easier than pushing..
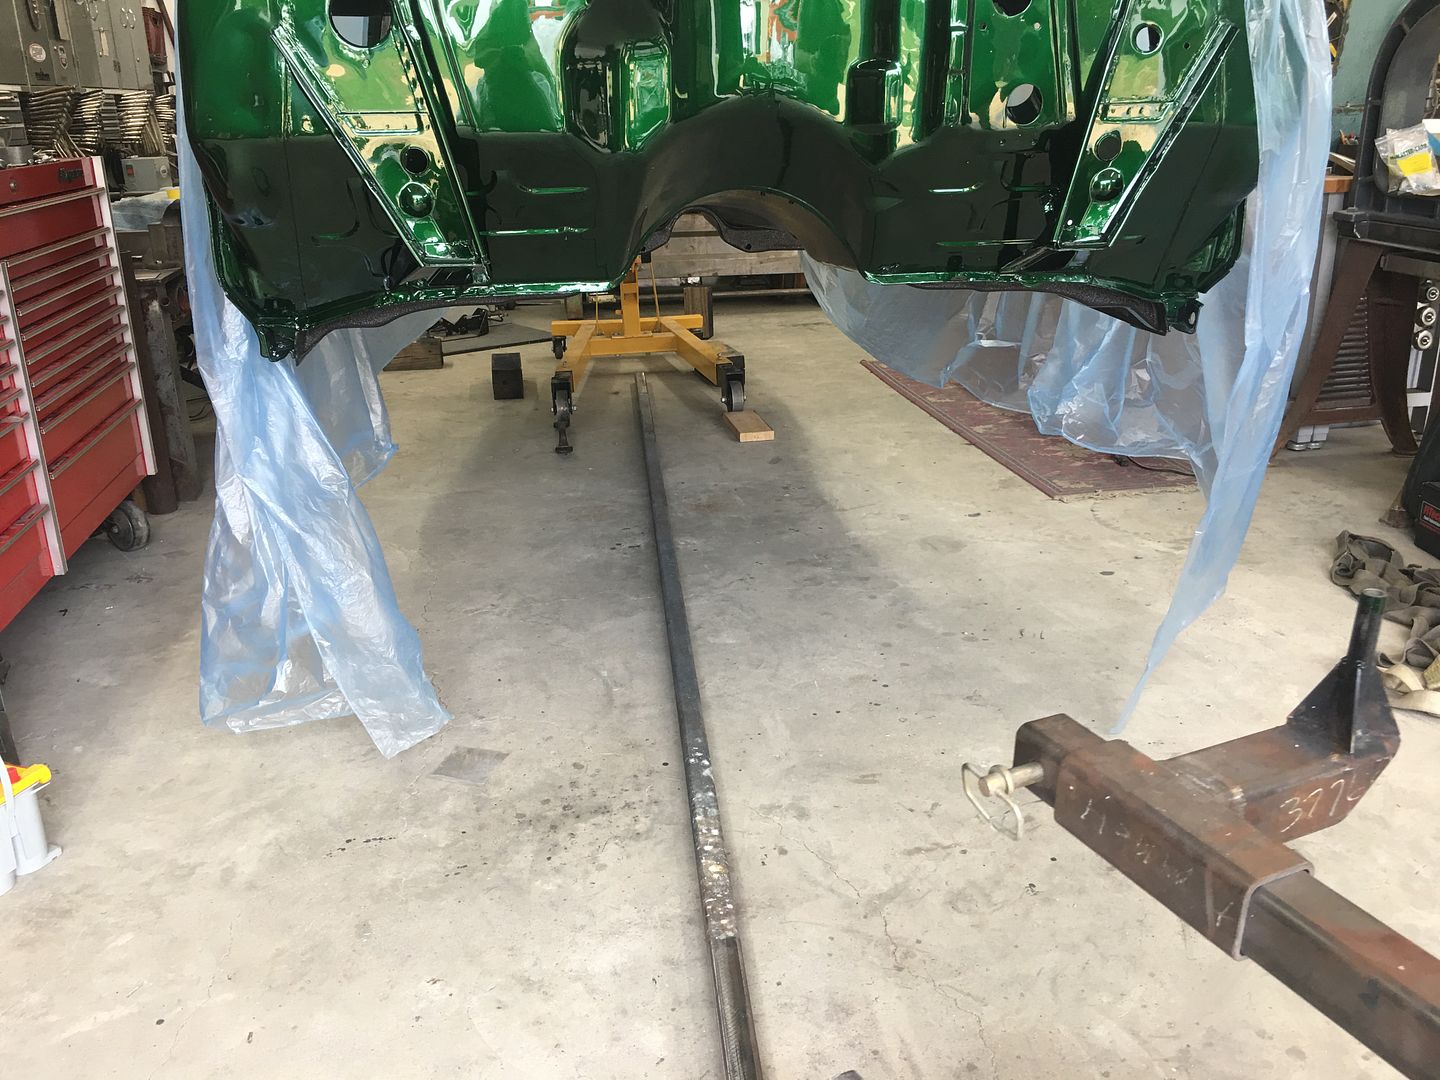
Getting the body ready to separate from the rotisserie...
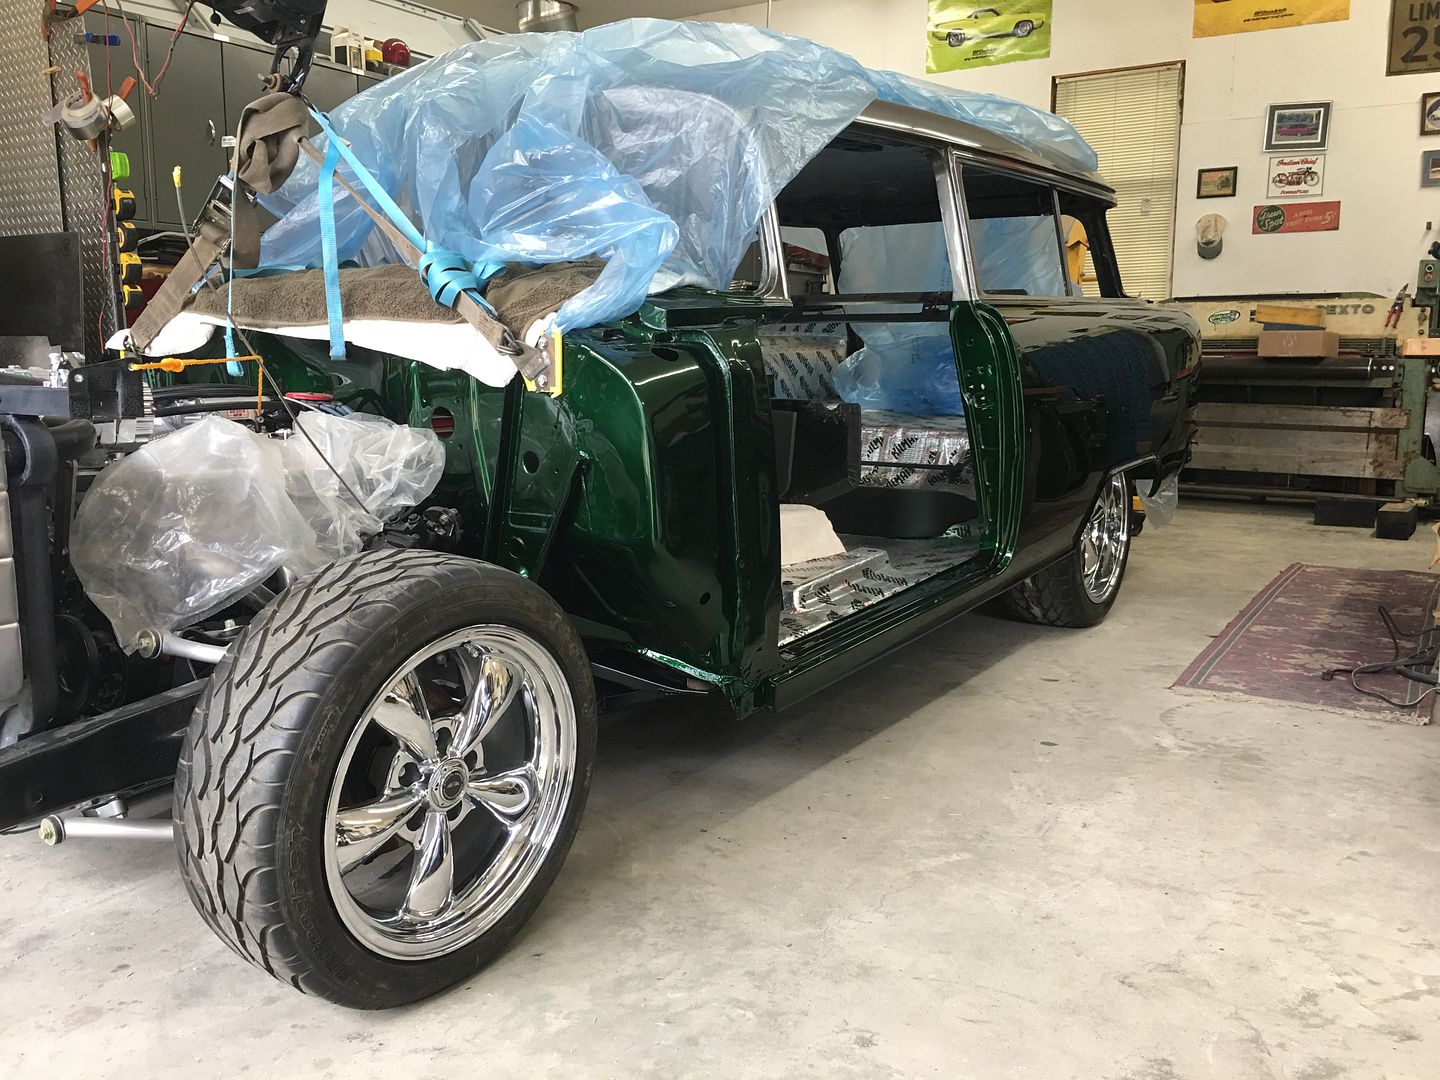
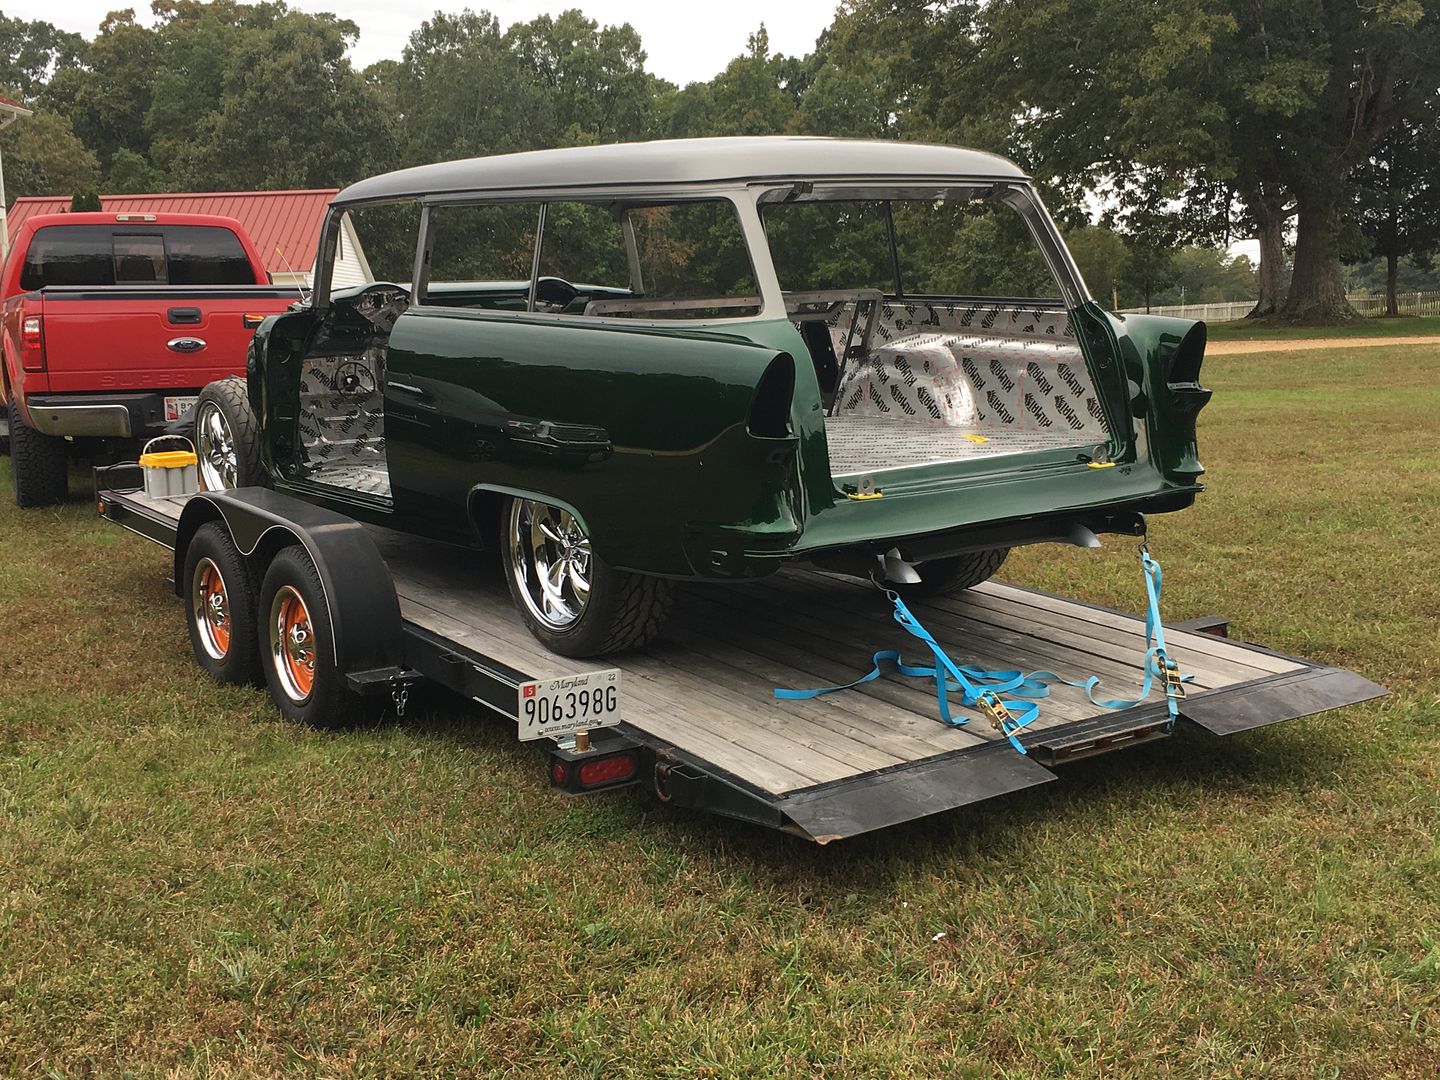
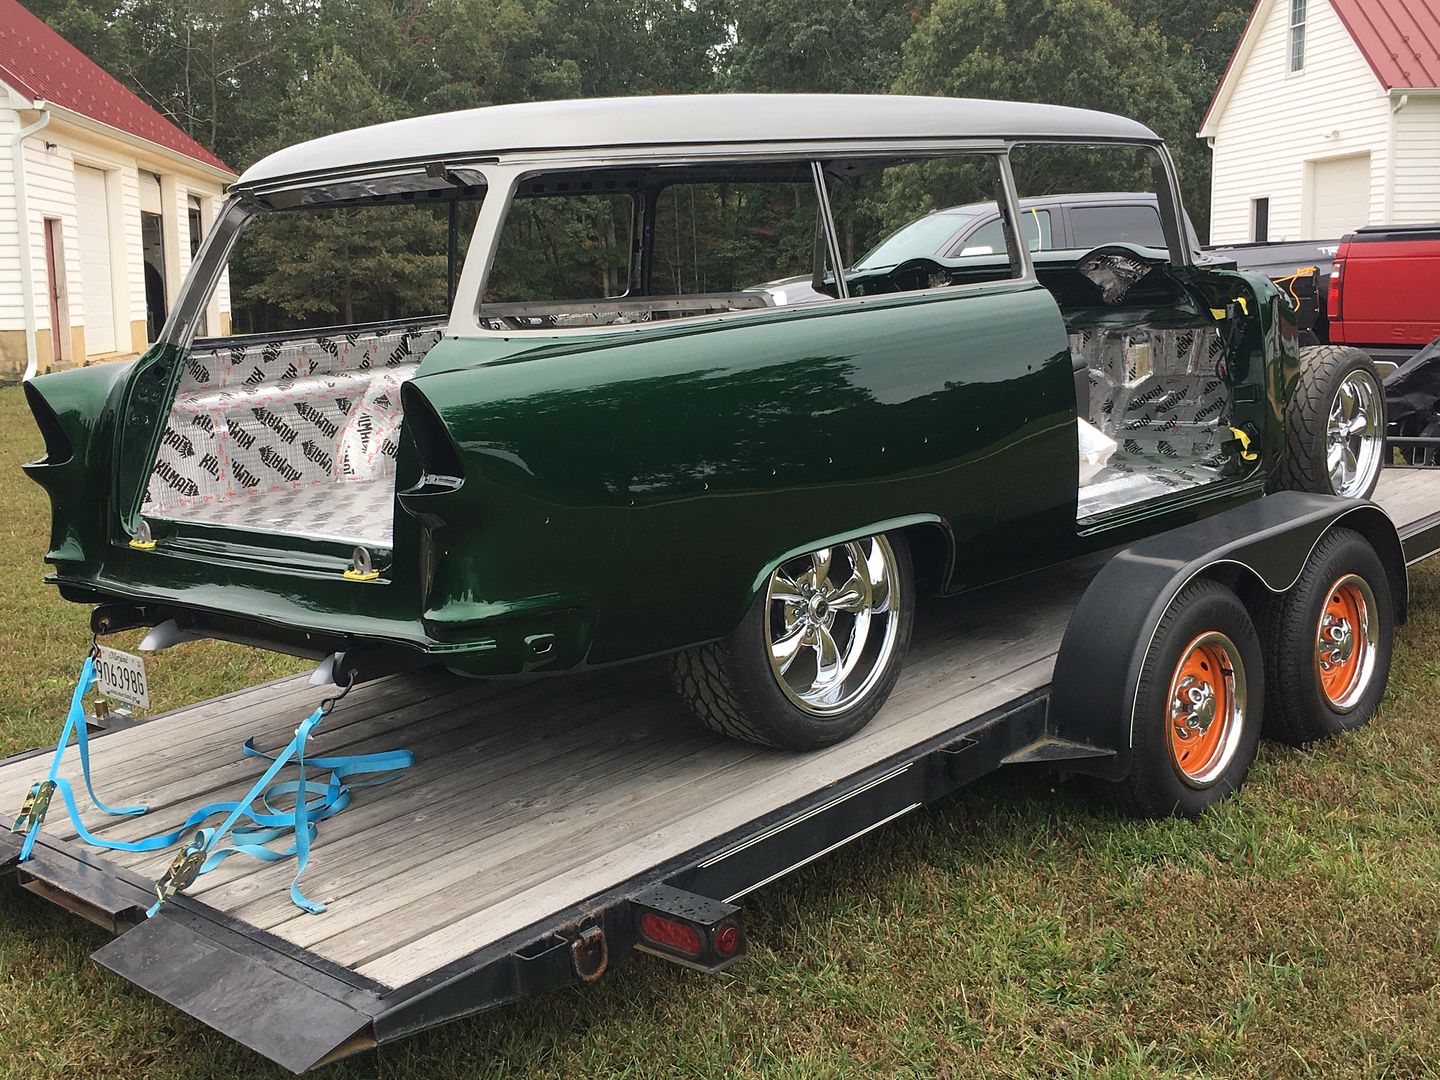
With the body bolted down, we moved it outside to take some pictures..
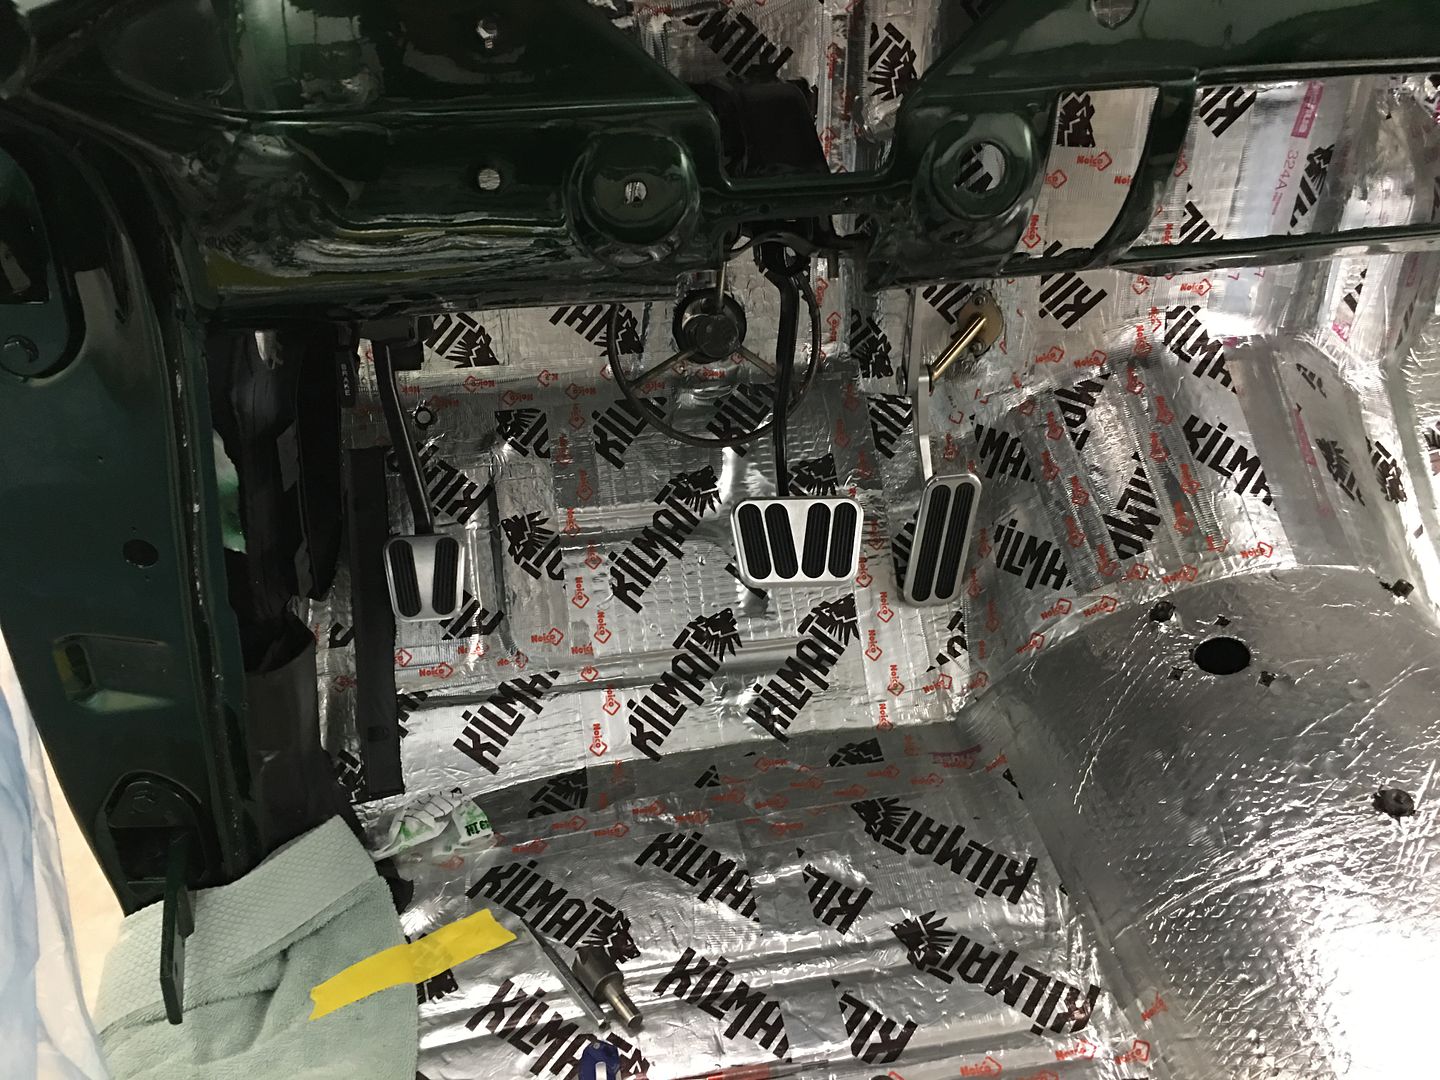
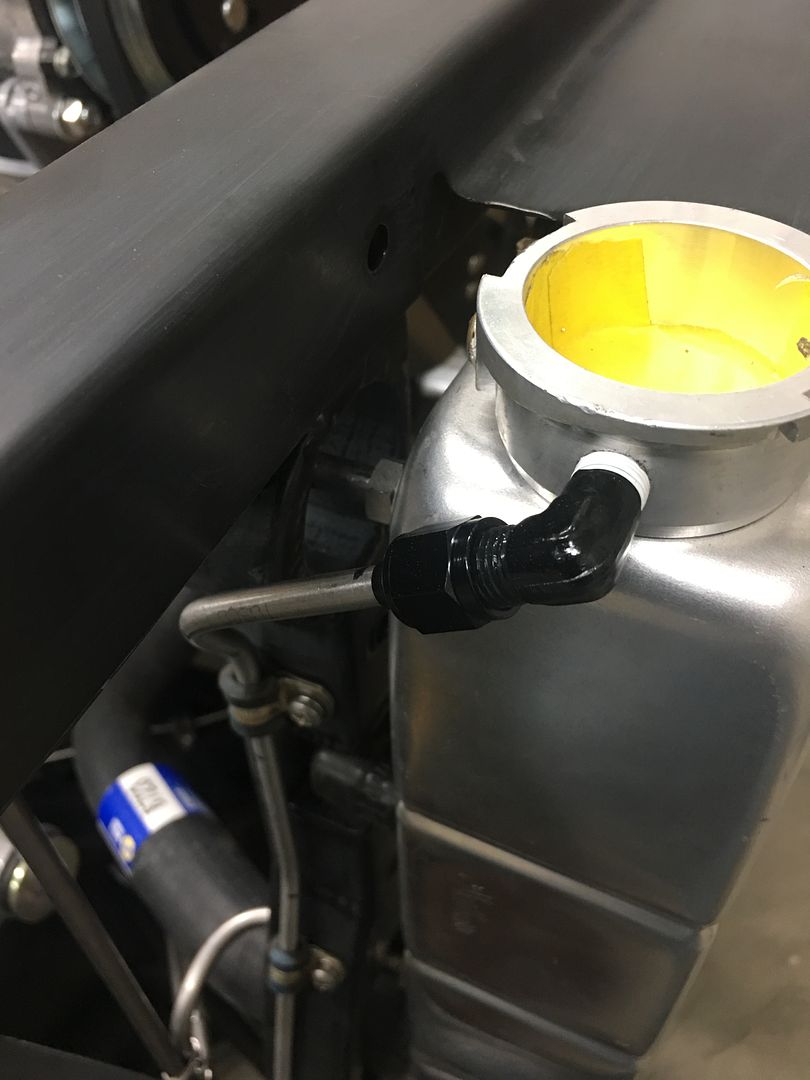
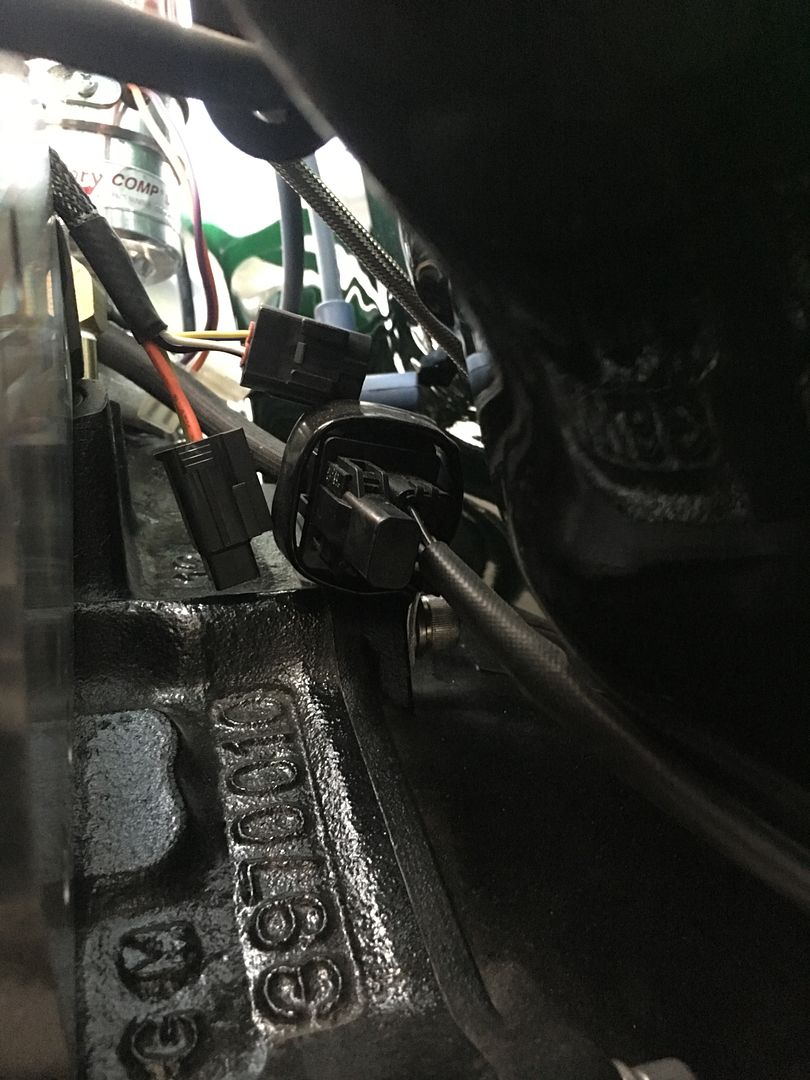
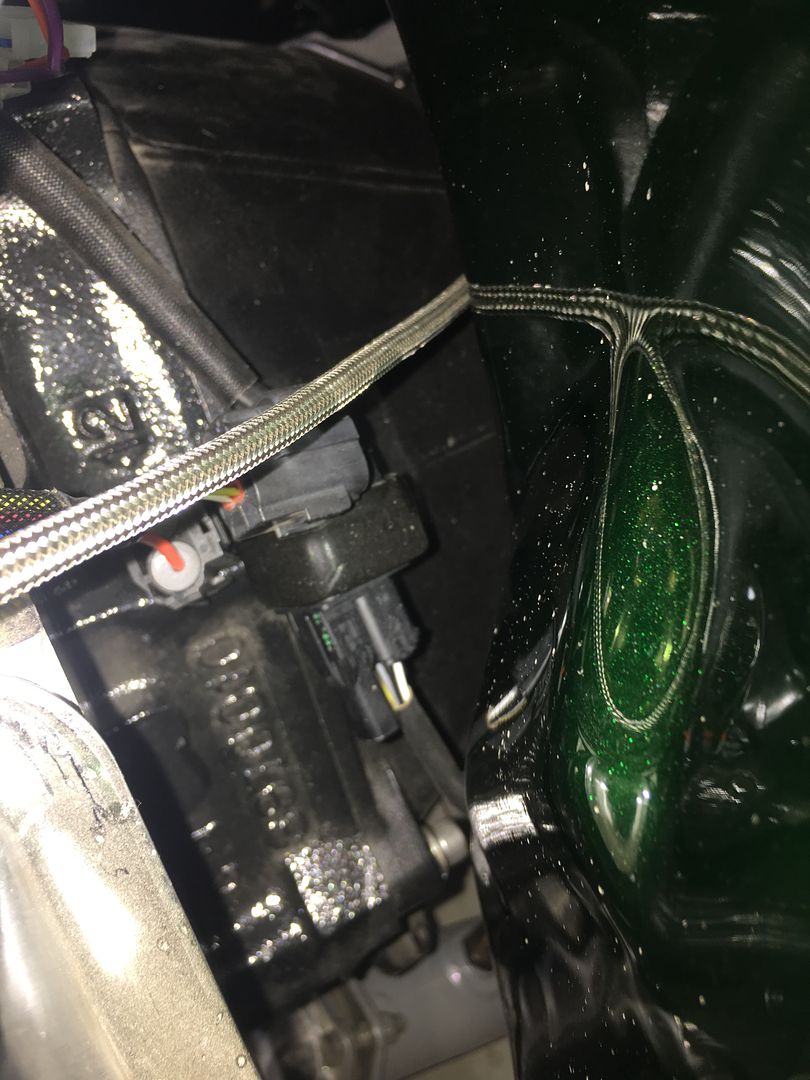
Randy, here is the room we have behind the engine for access to the O2 sensor connector...
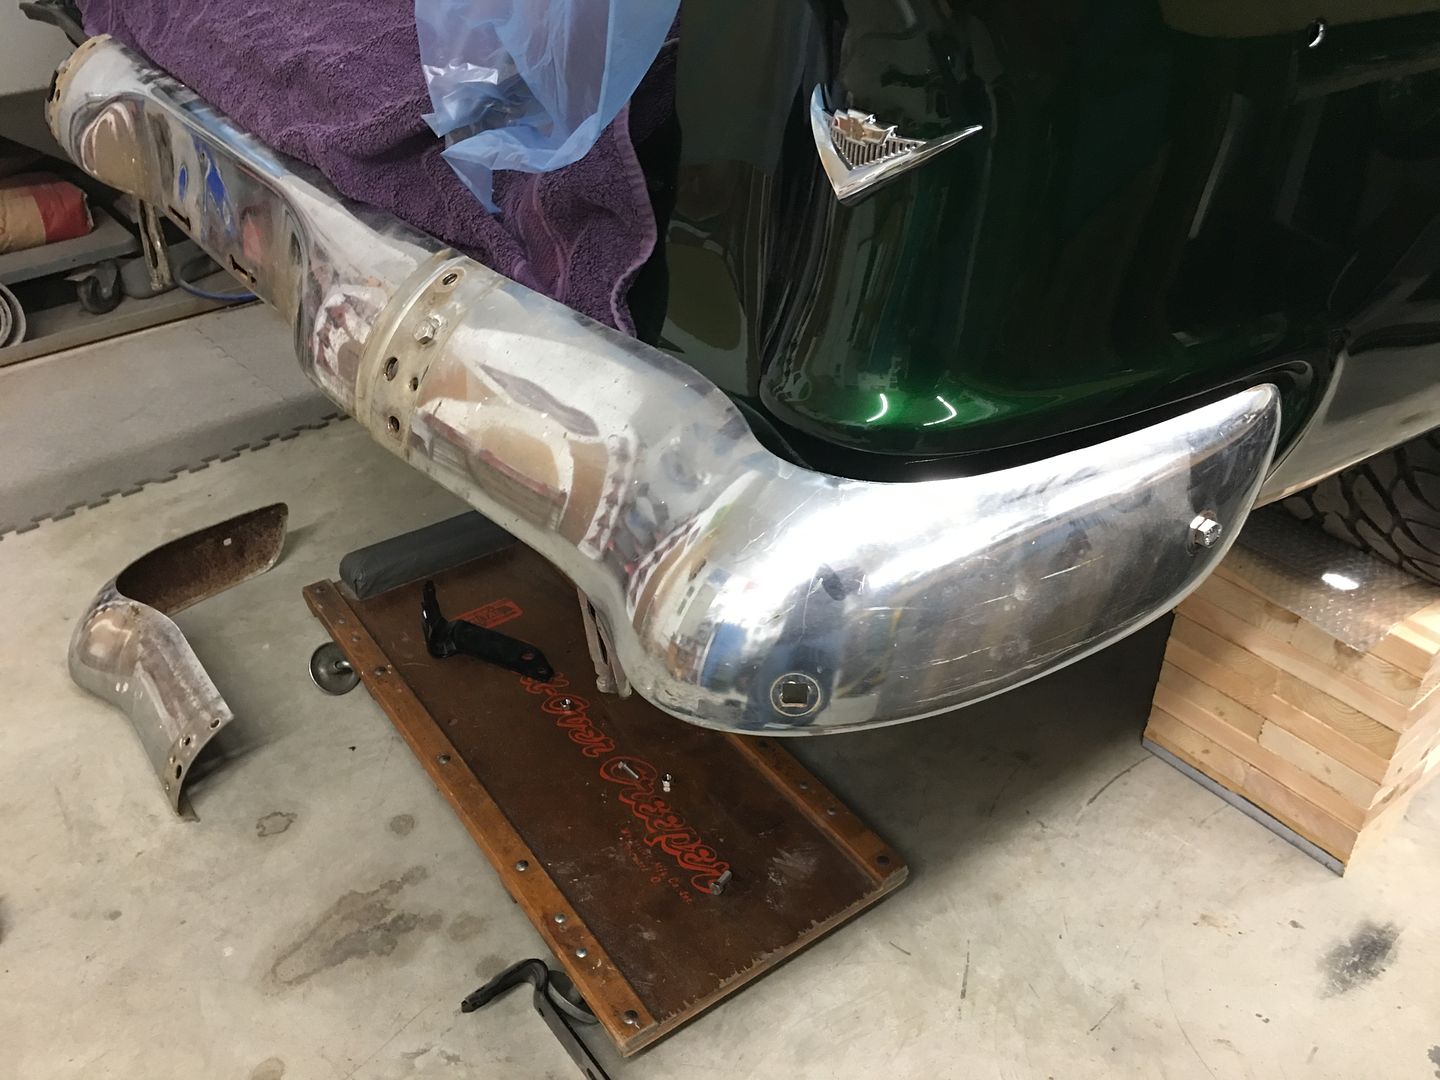
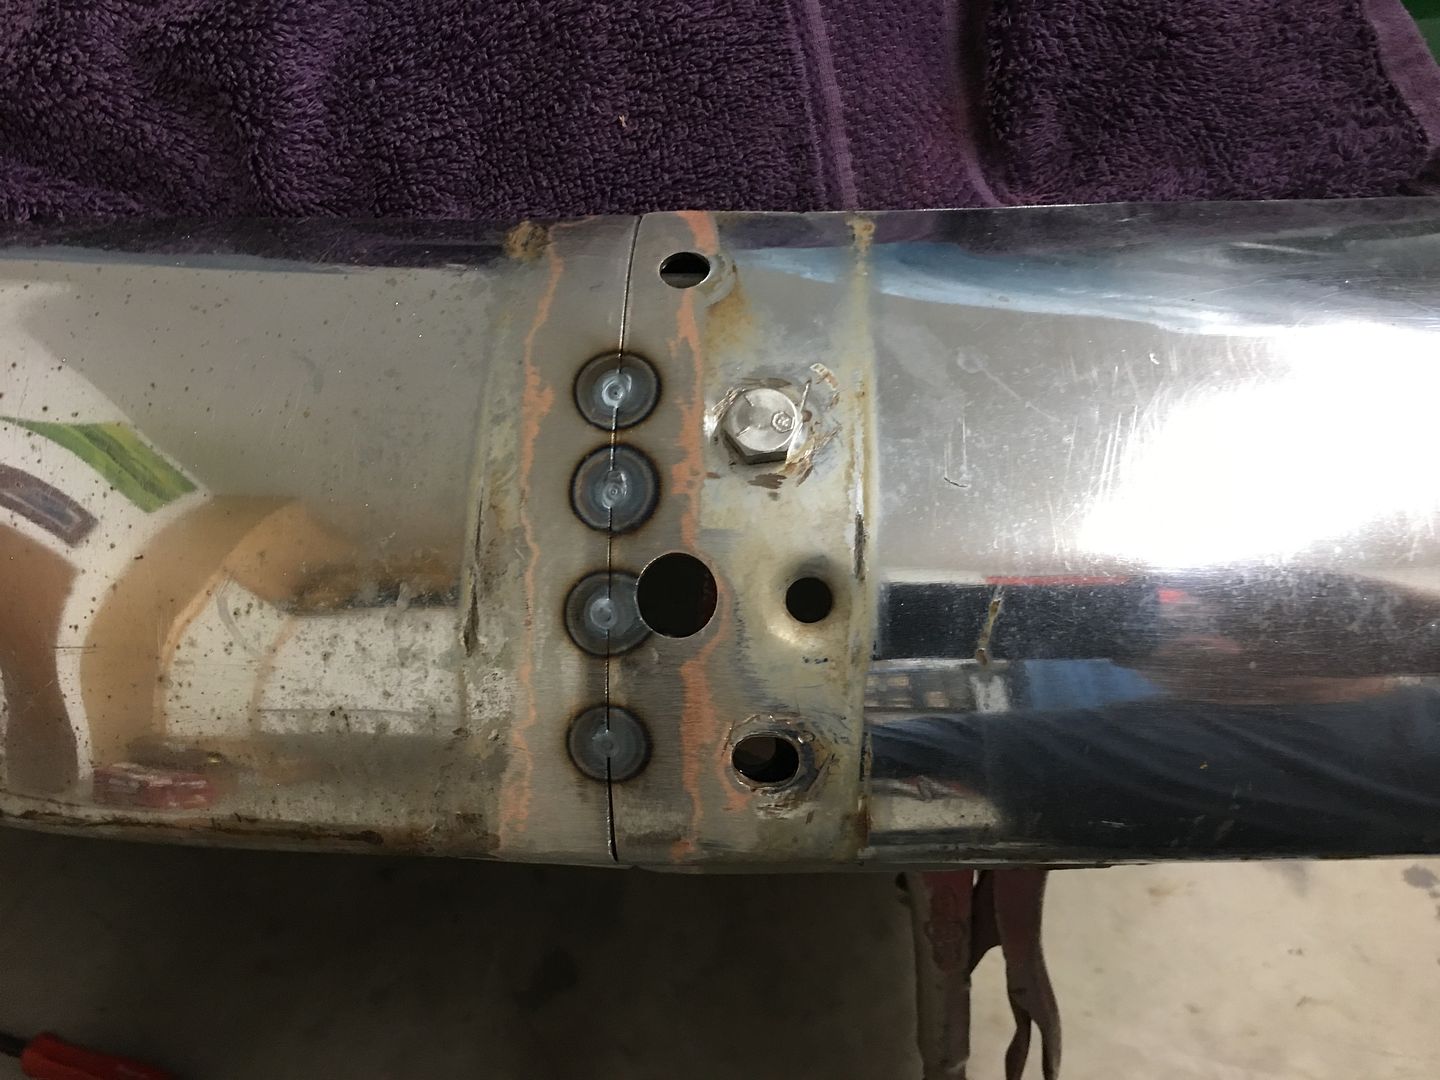
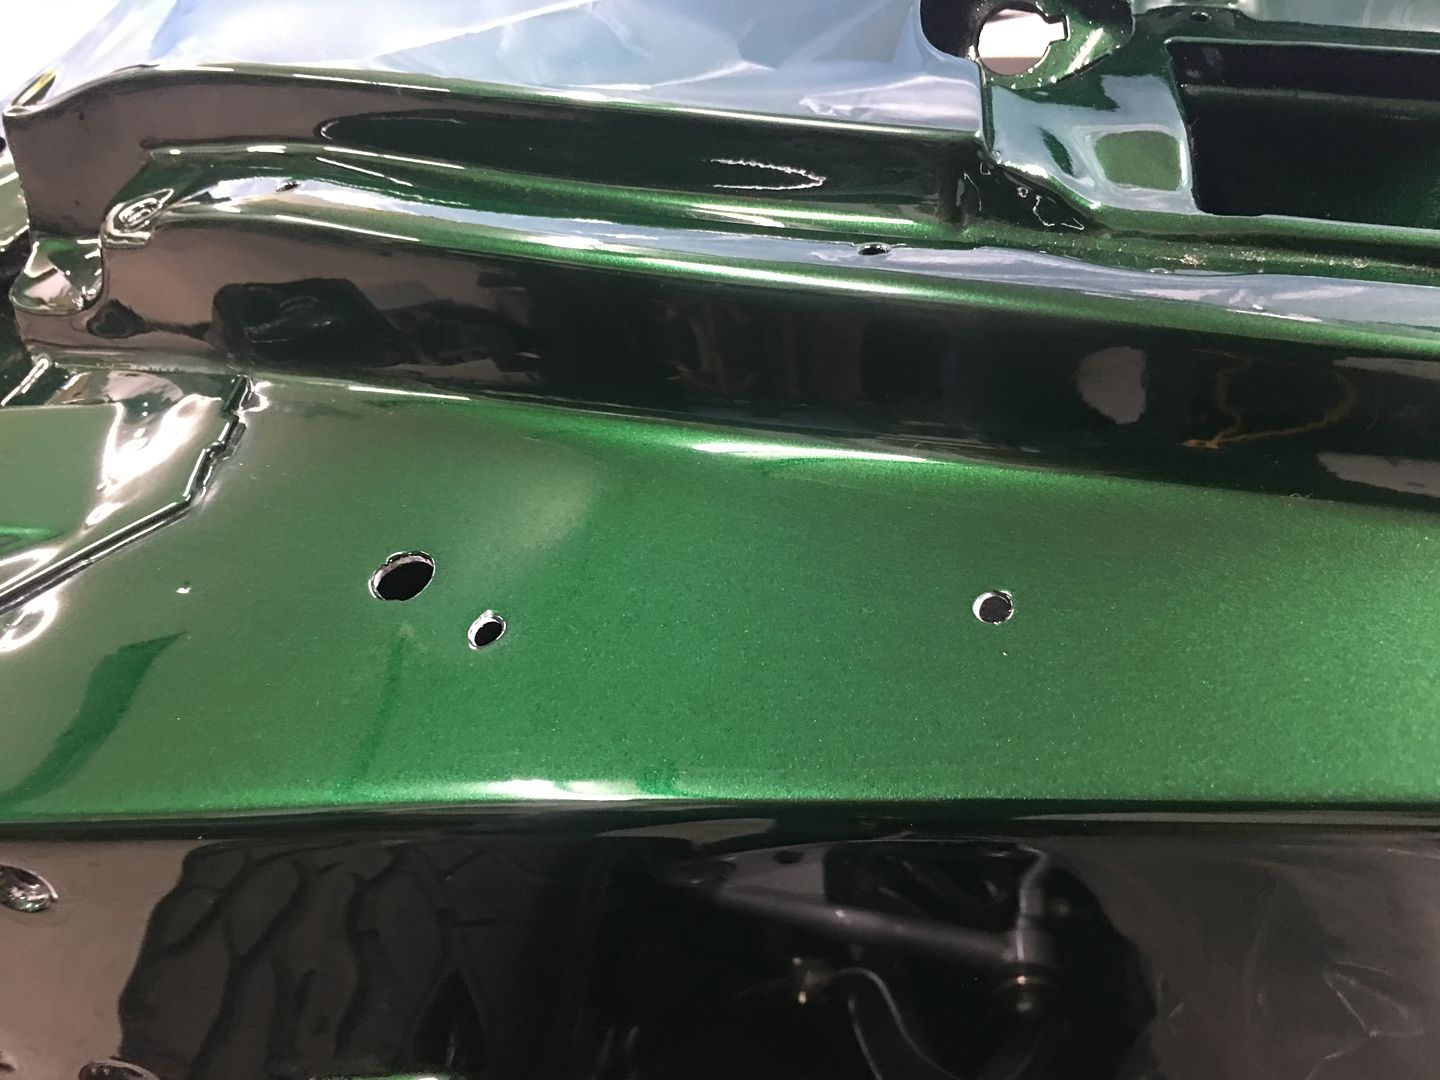
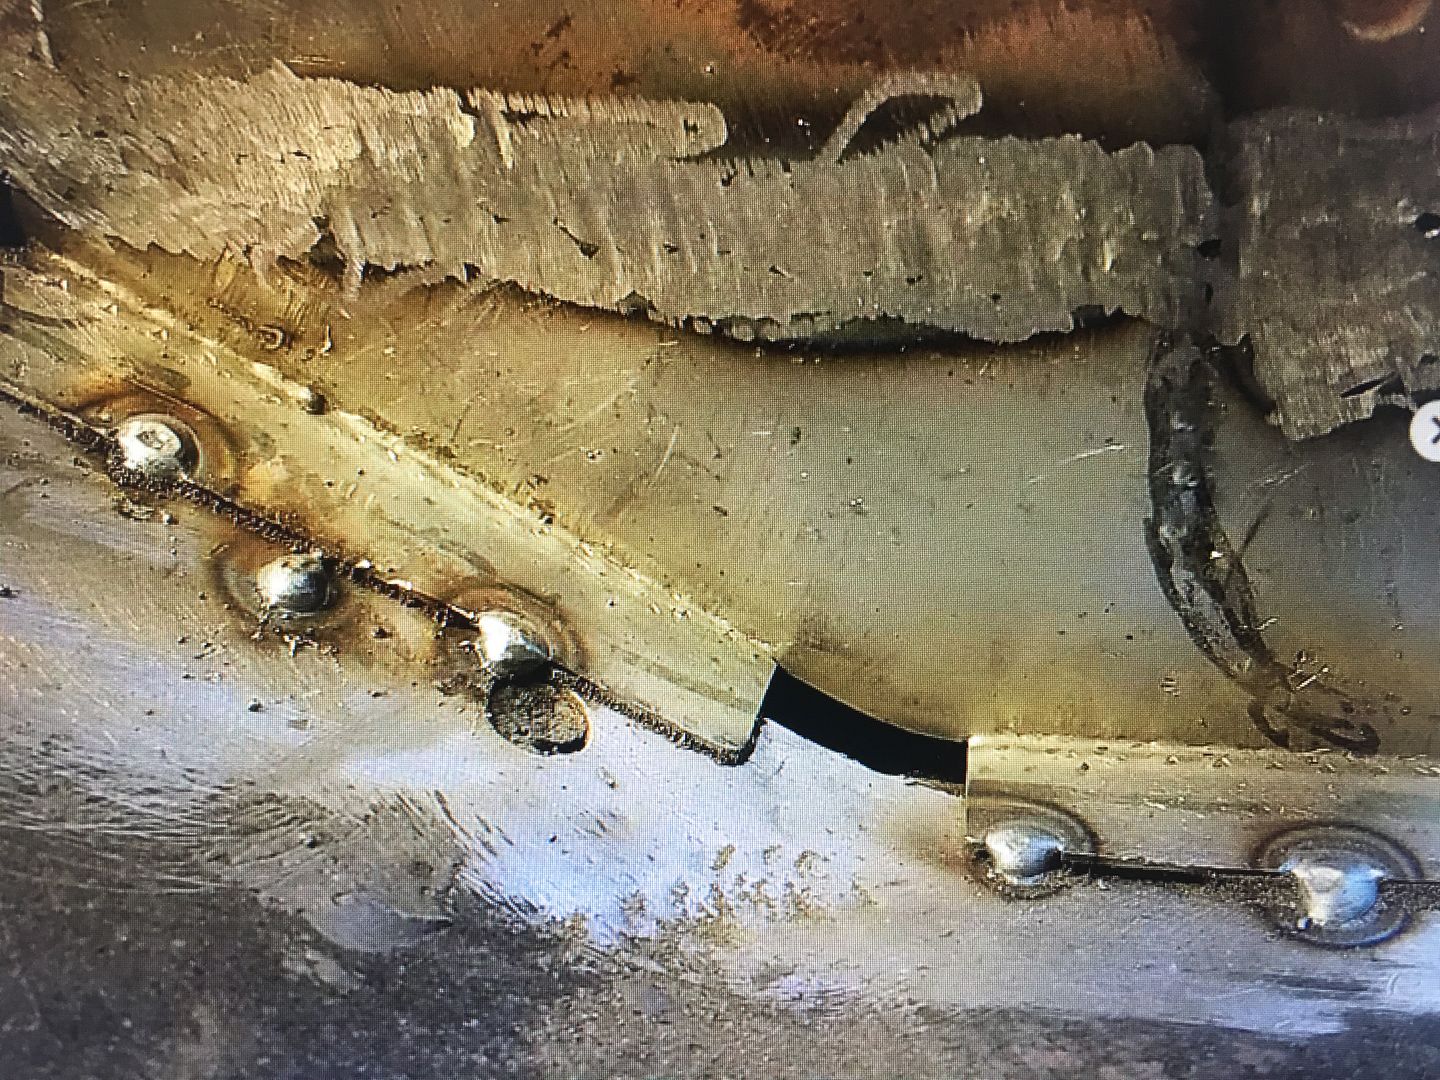
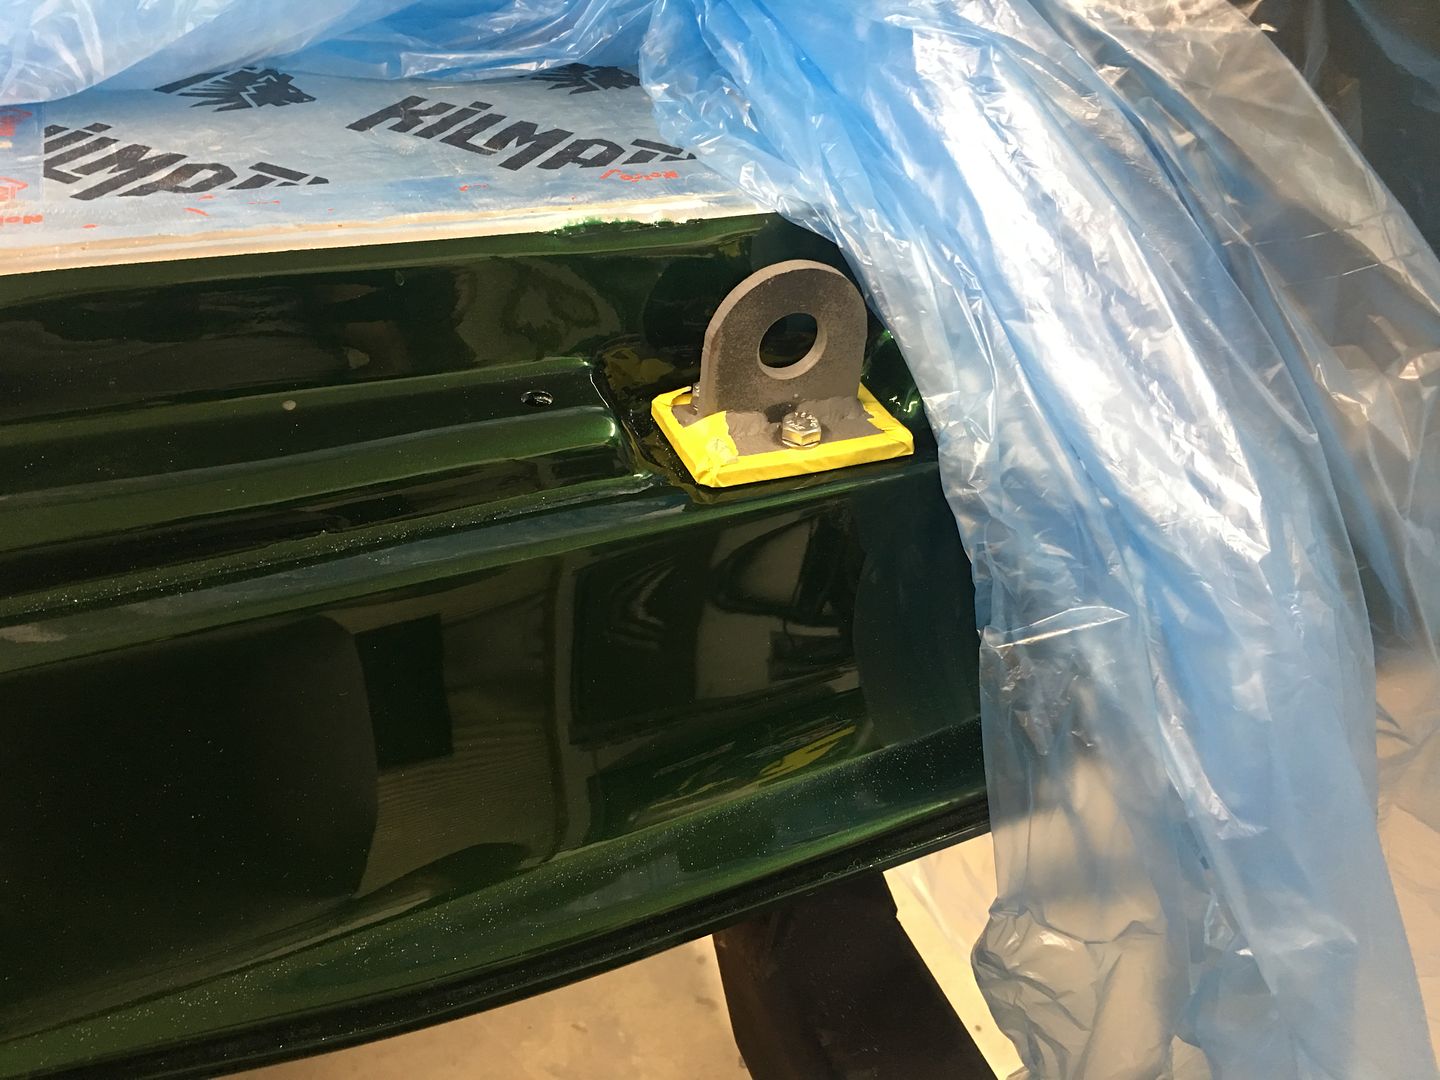
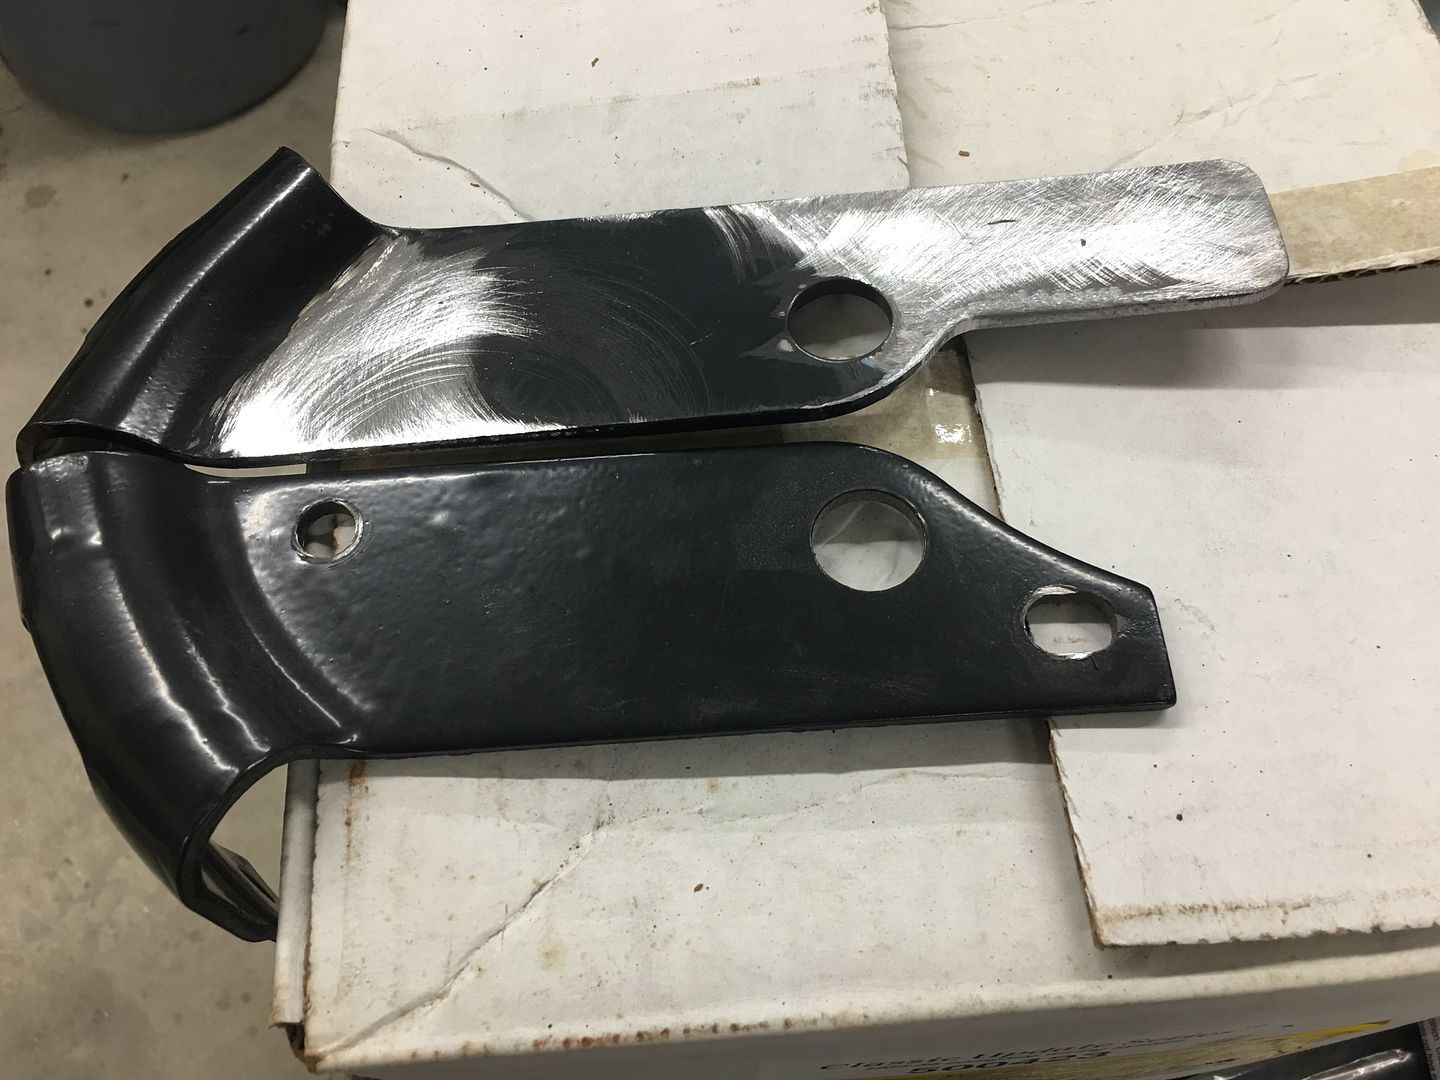
Our attempt to install the rear bumper so we could look at it with some chrome on the rear end did not fare well. The bumper brackets did not line up correctly, just my luck, so we added length and welded the original holes closed so they can be moved to the correct location...
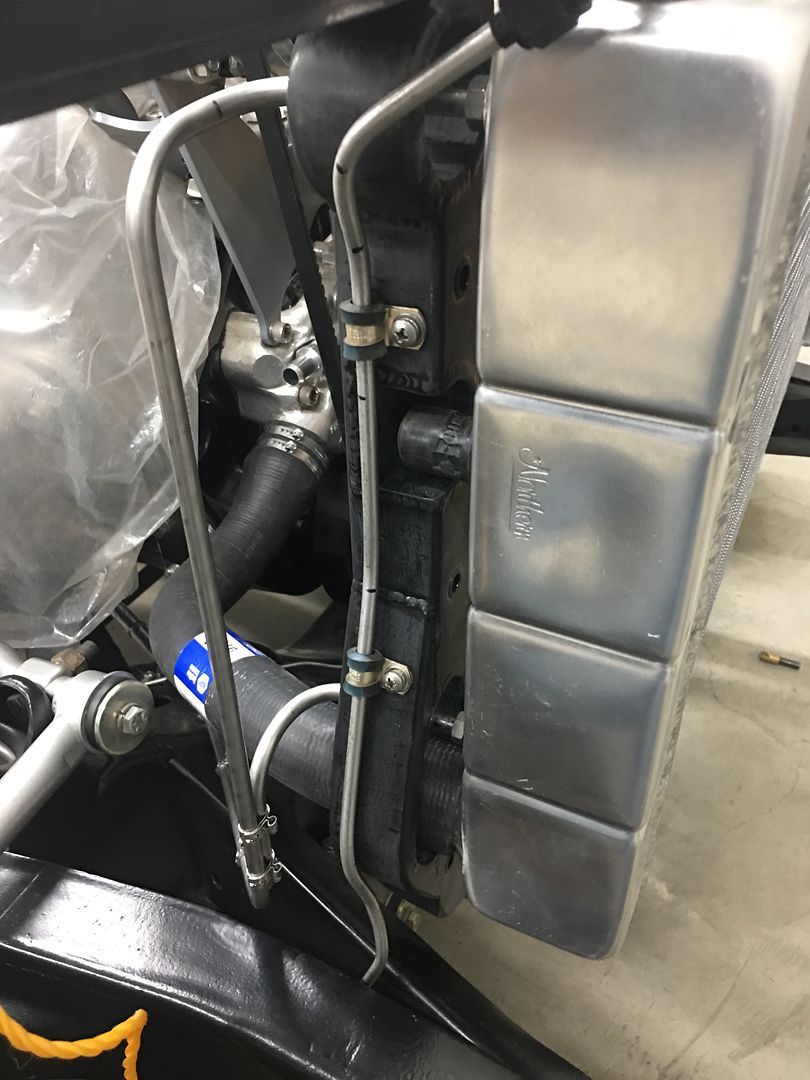
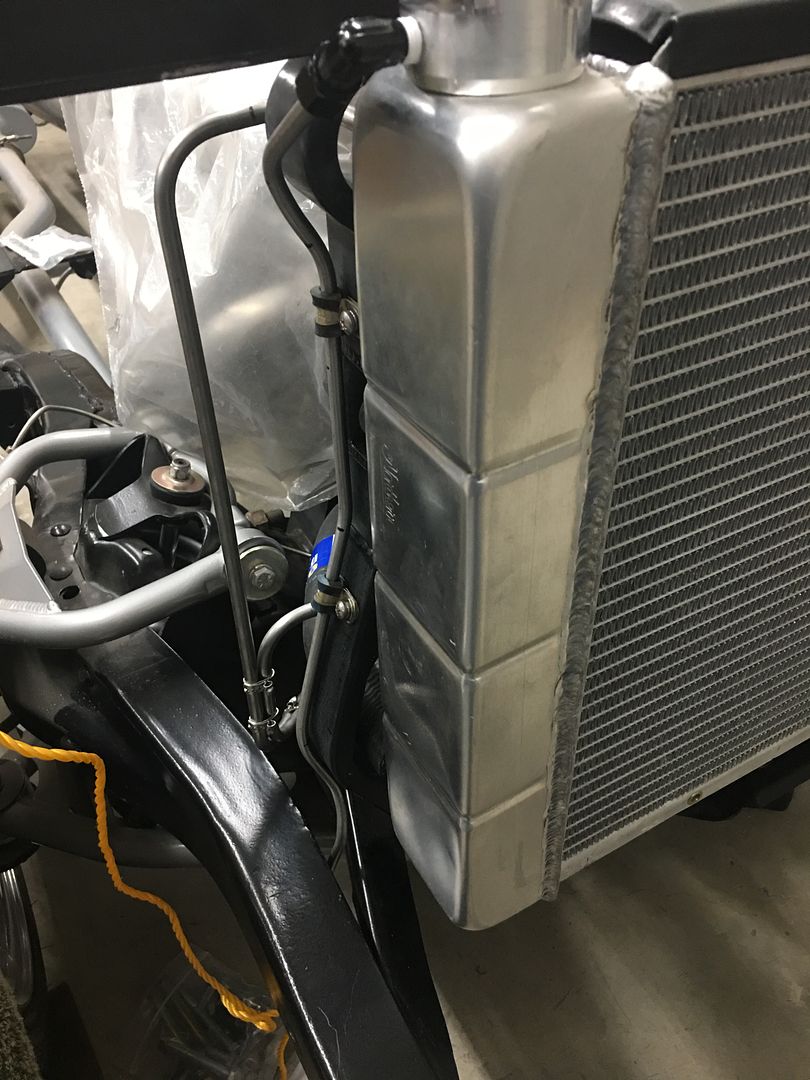
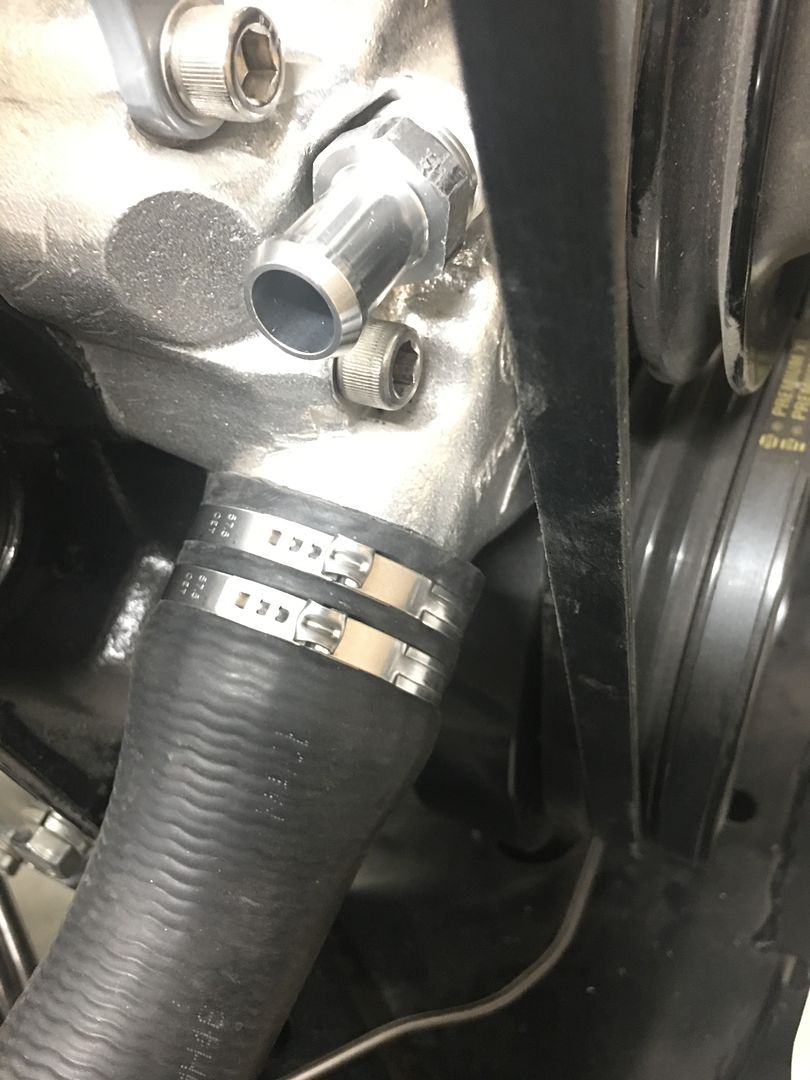
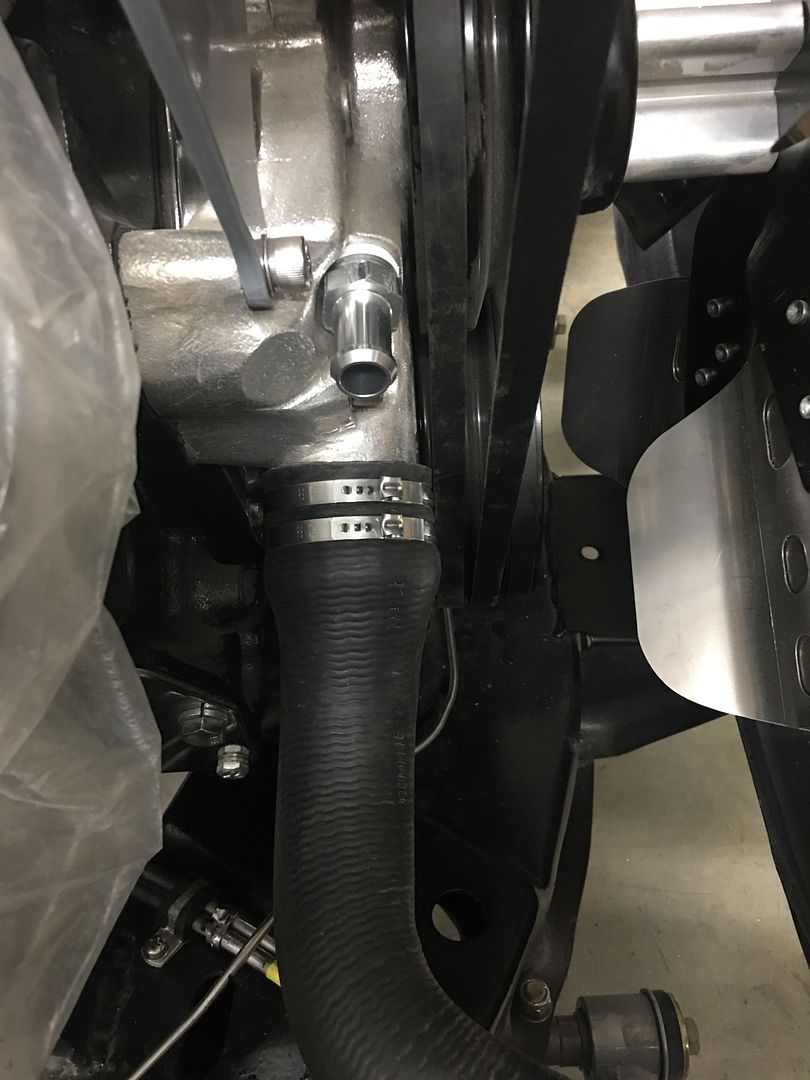
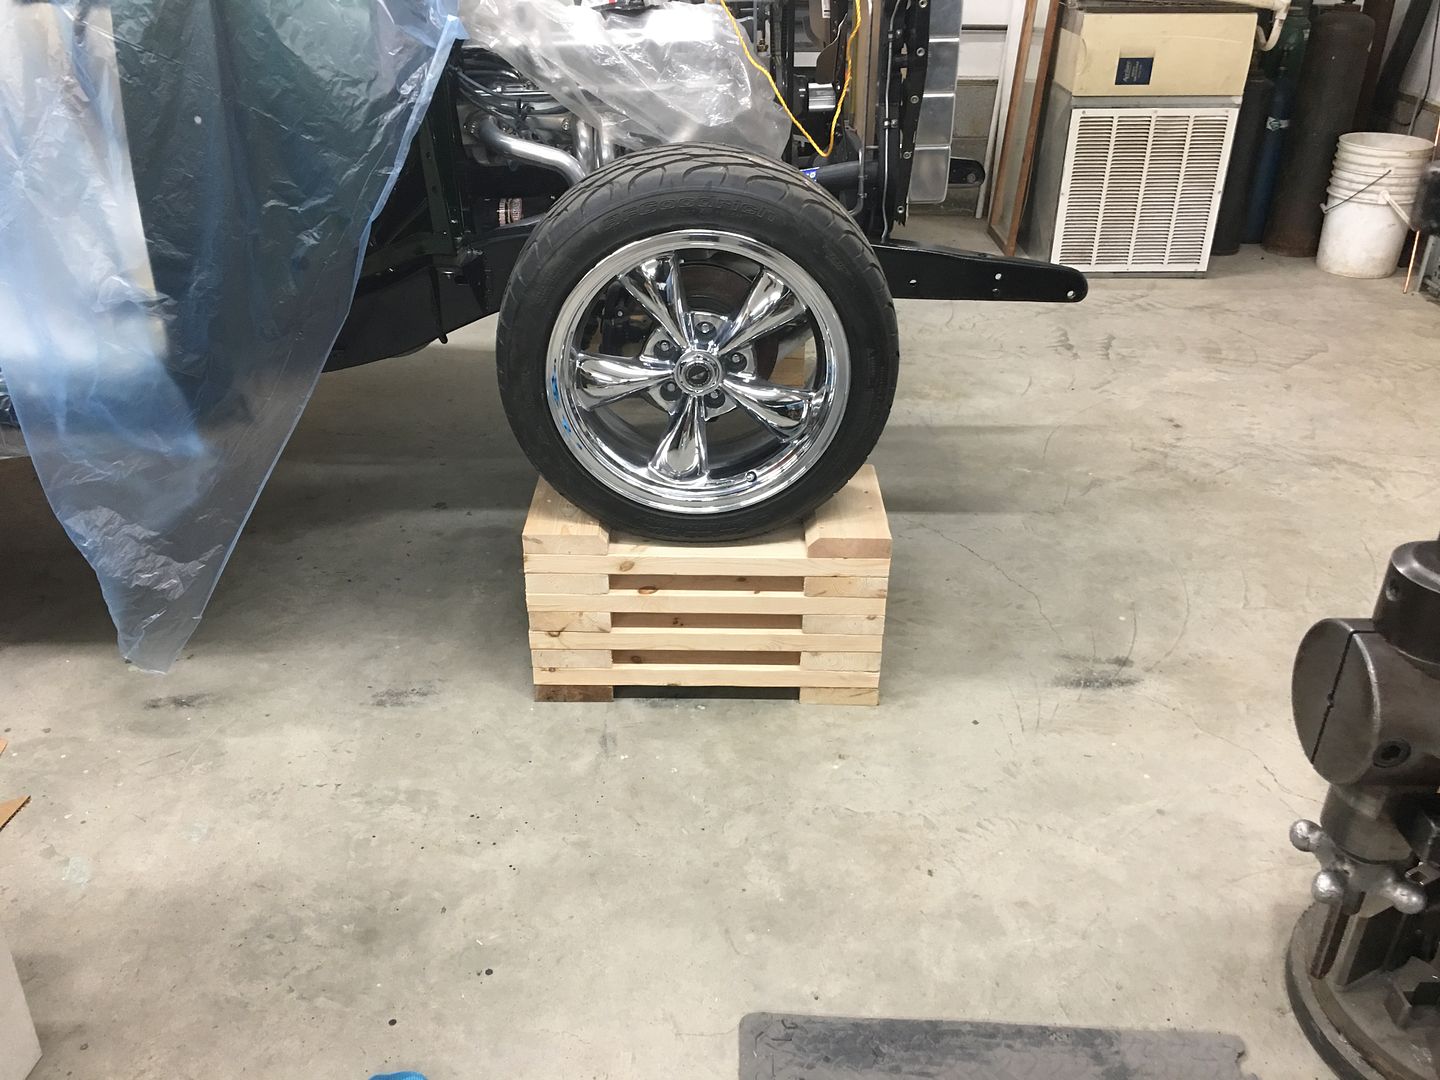
Tons of room! The LS engines must be a bunch longer as with engine up against firewall barely any room up front.
Must feel great having body mated with frame again?
Looking fantastic!


The LS is actually 1" shorter than the SBC was.
Awesome to see the body and frame together again.
JB