Kevin54
MEMBER EMERITUS
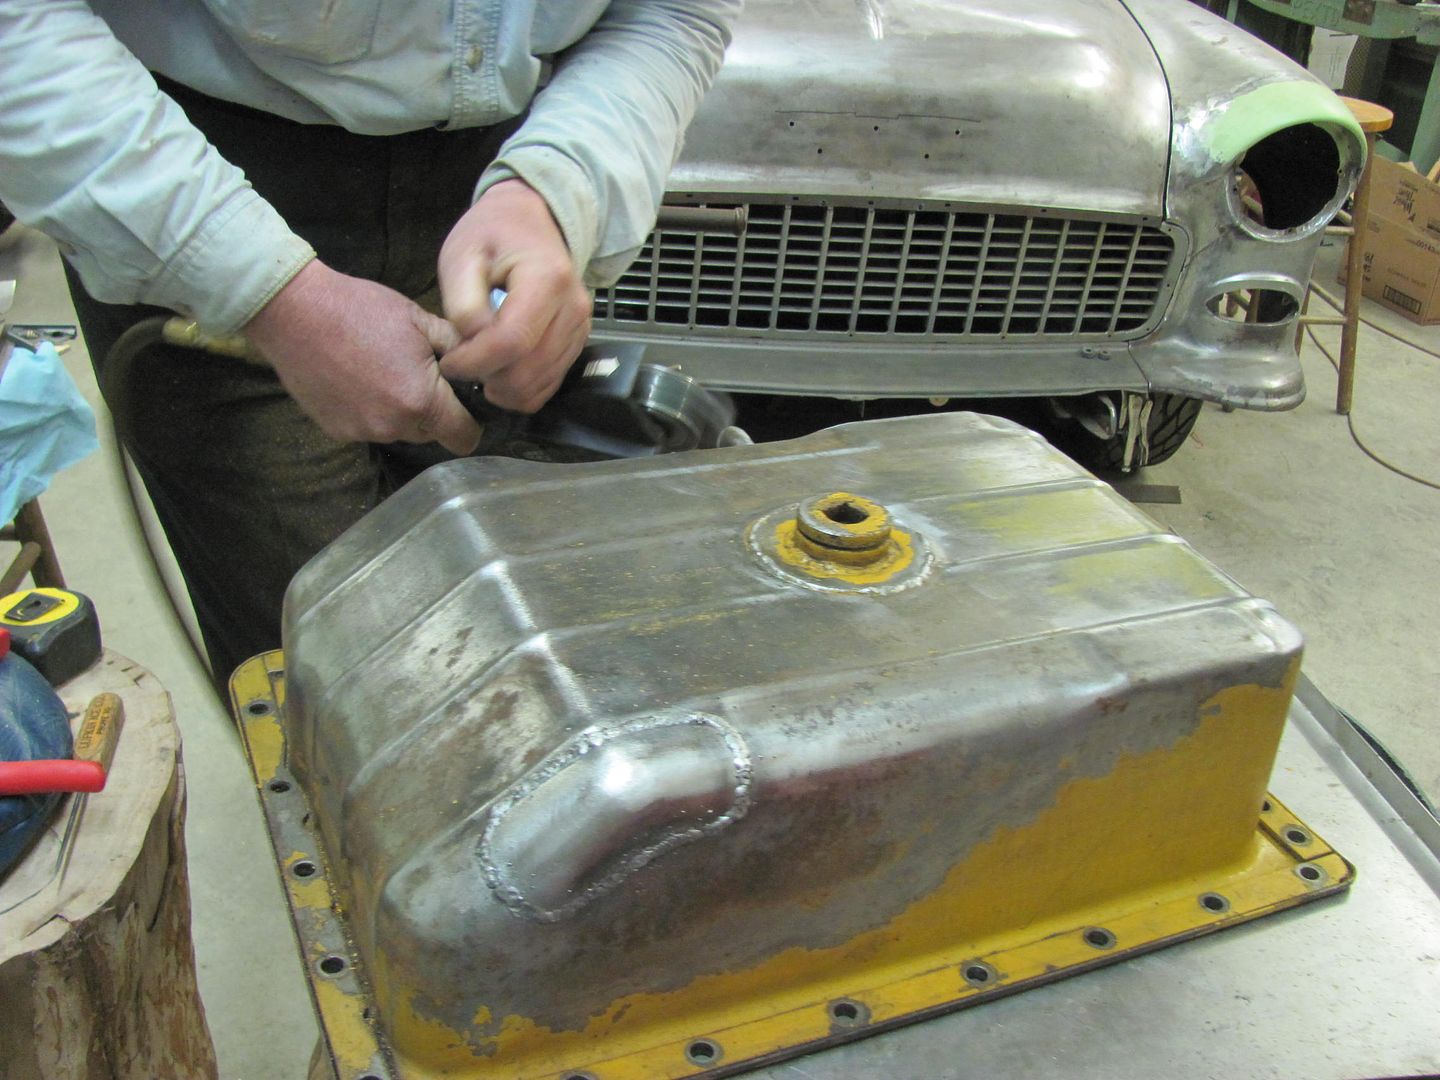
As a follow up to the valve cover repairs, the owner has the car just about ready, just needs some tune up work...
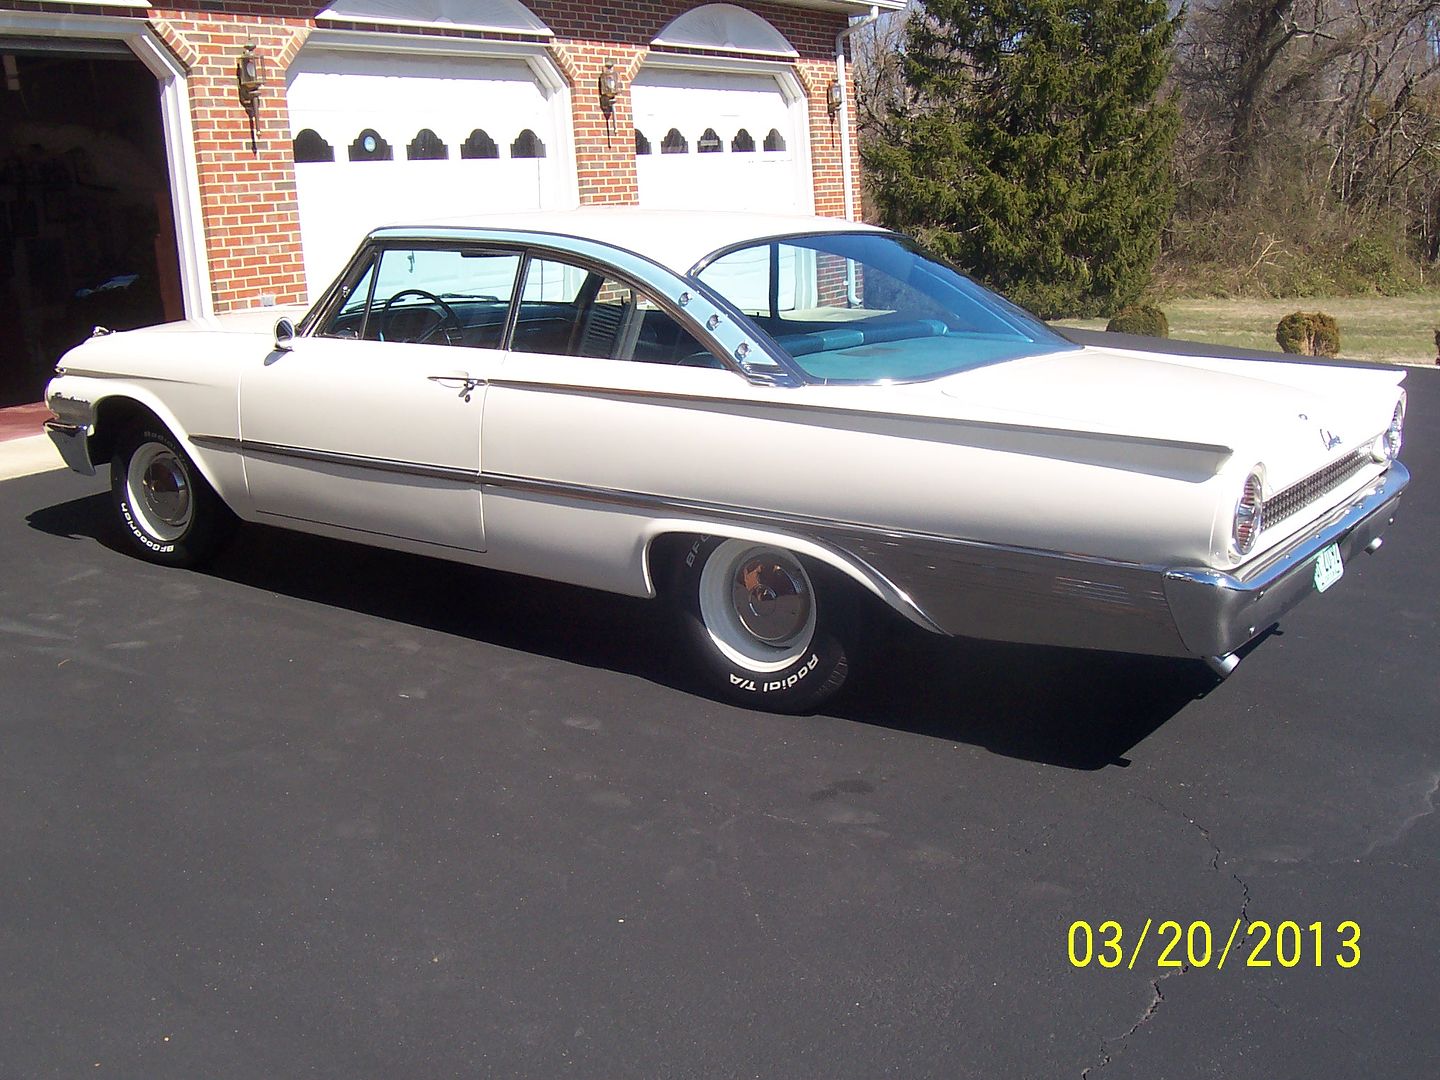
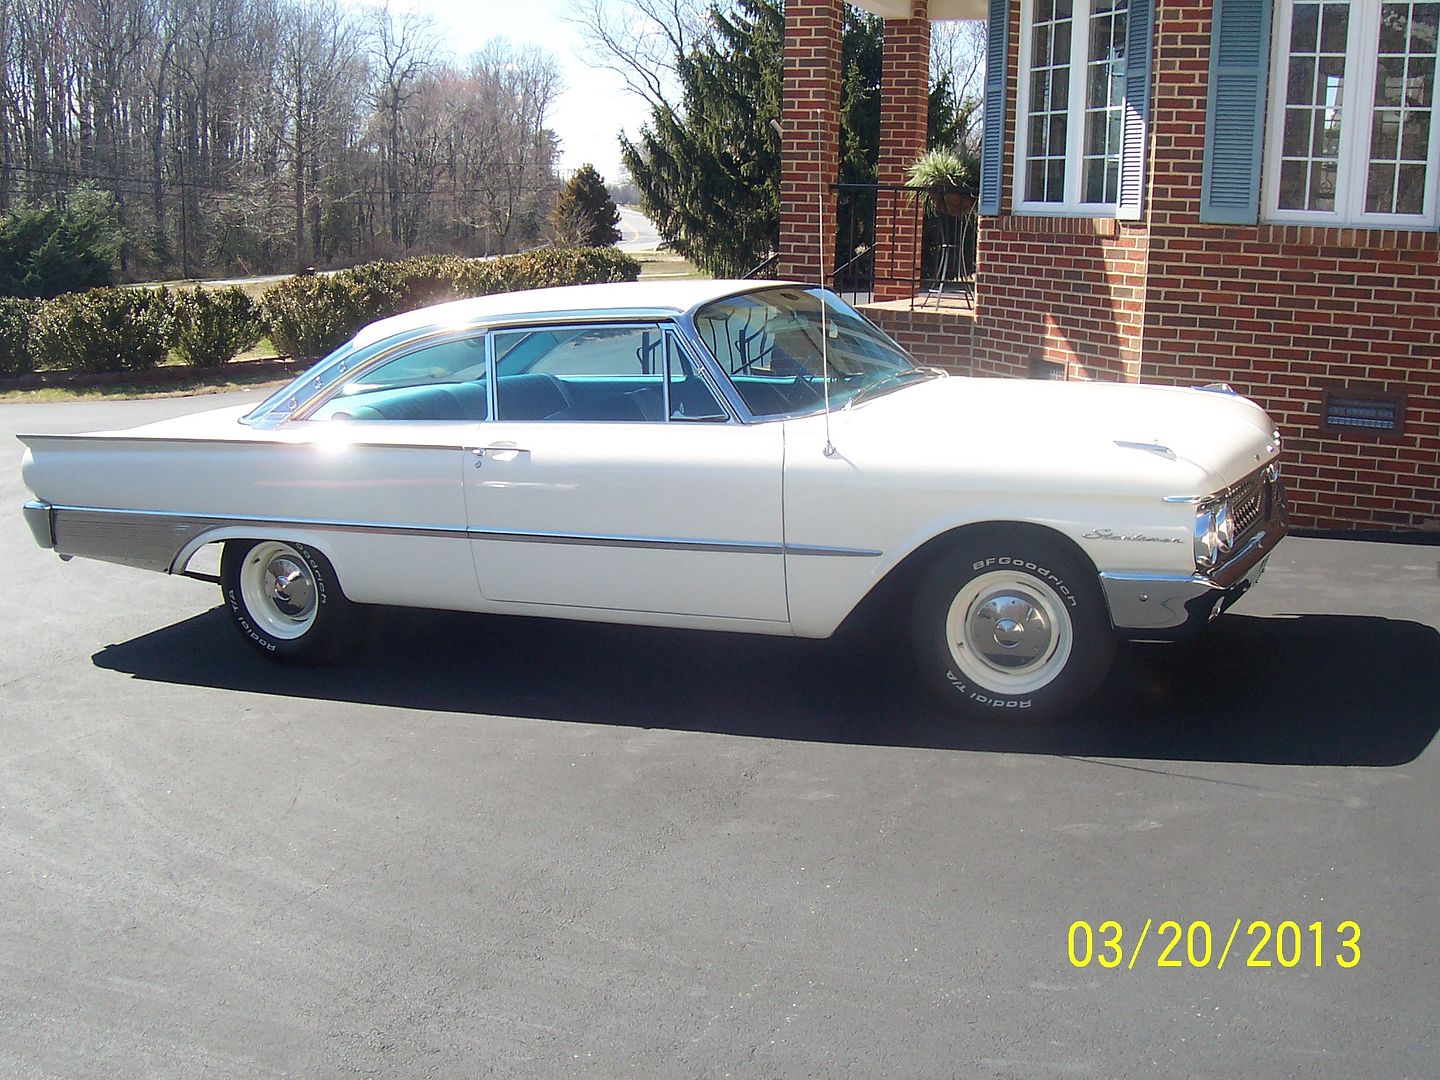
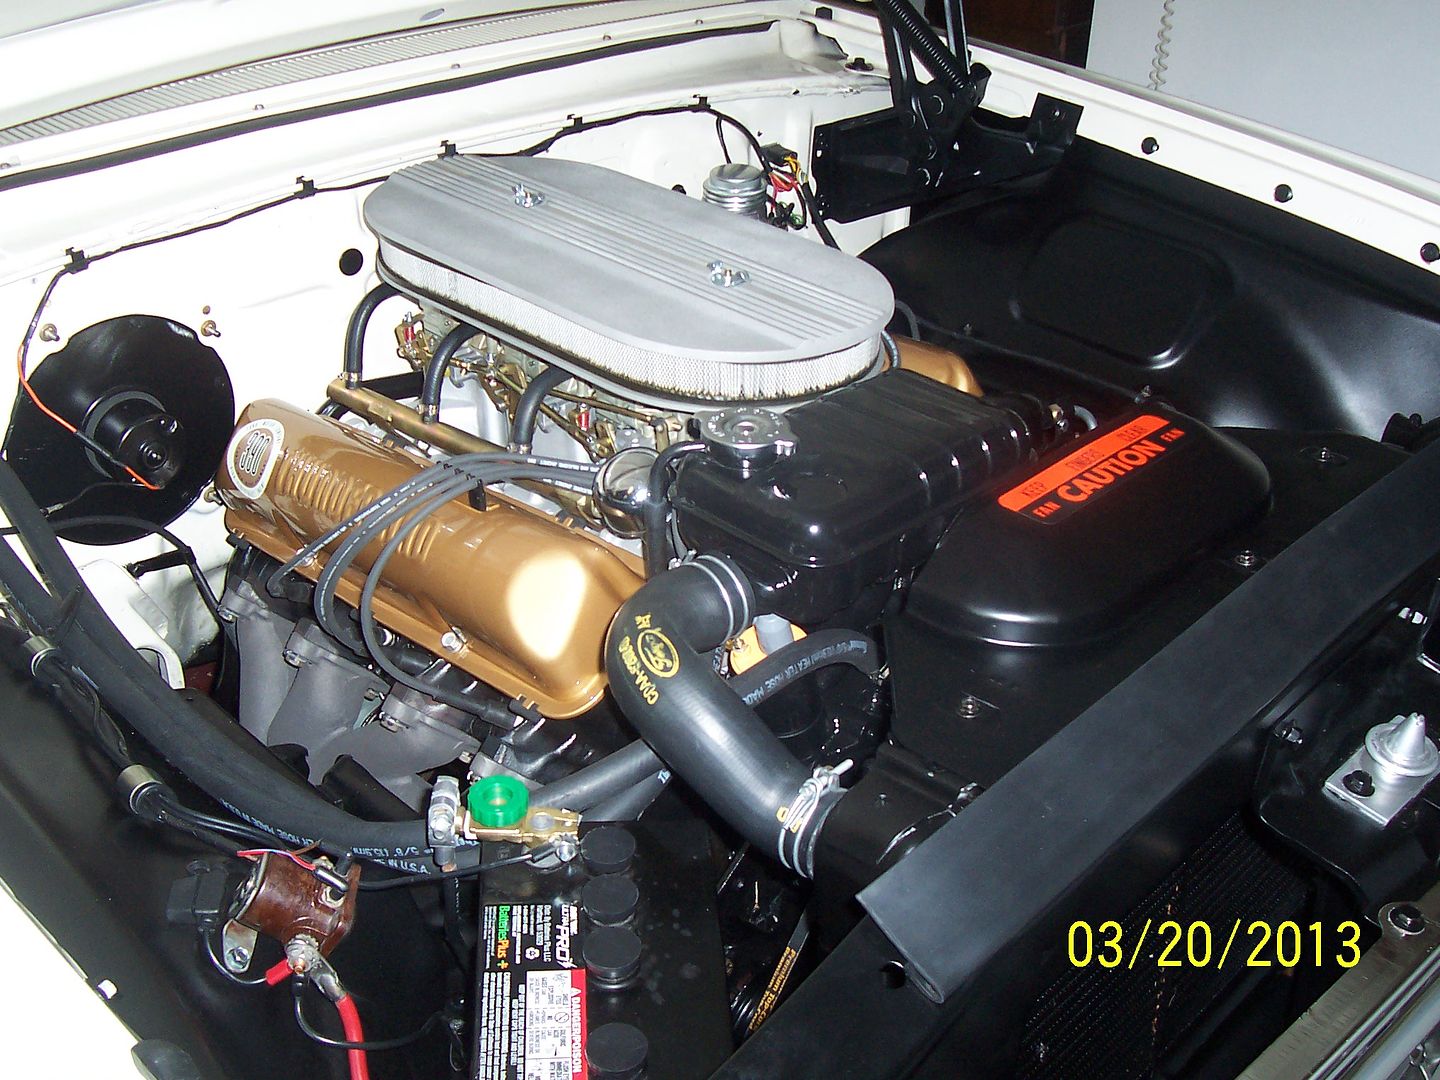
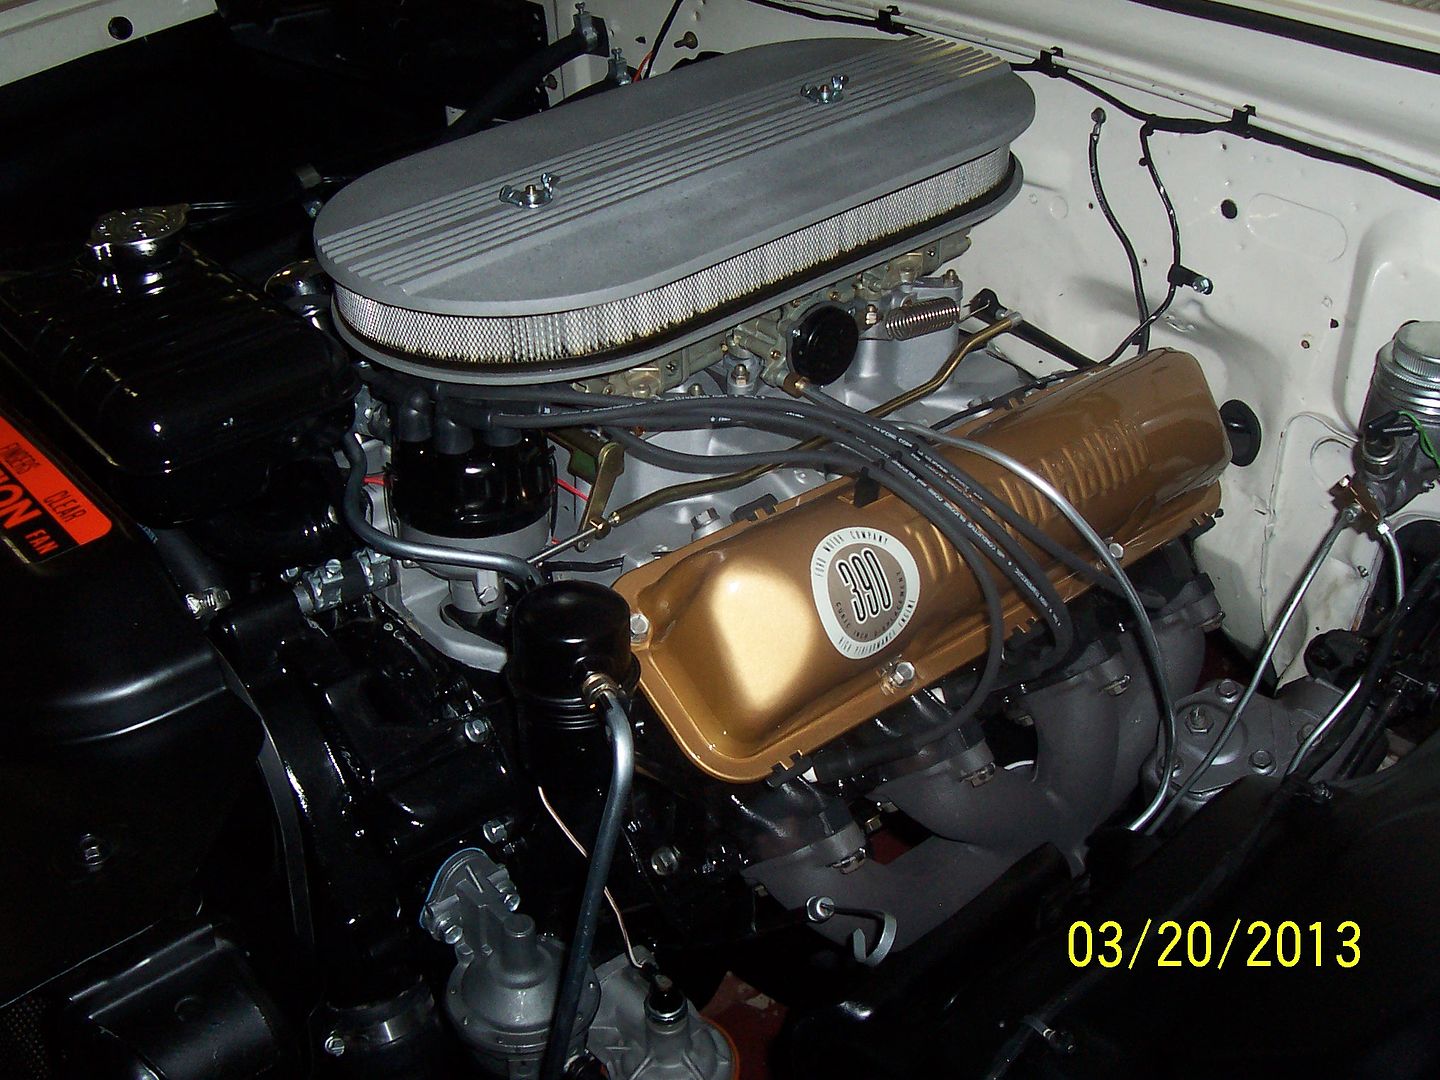
Sweet!!!! 4 speed or Auto? I'ma likin' a 390 with dual fours though


As a follow up to the valve cover repairs, the owner has the car just about ready, just needs some tune up work...


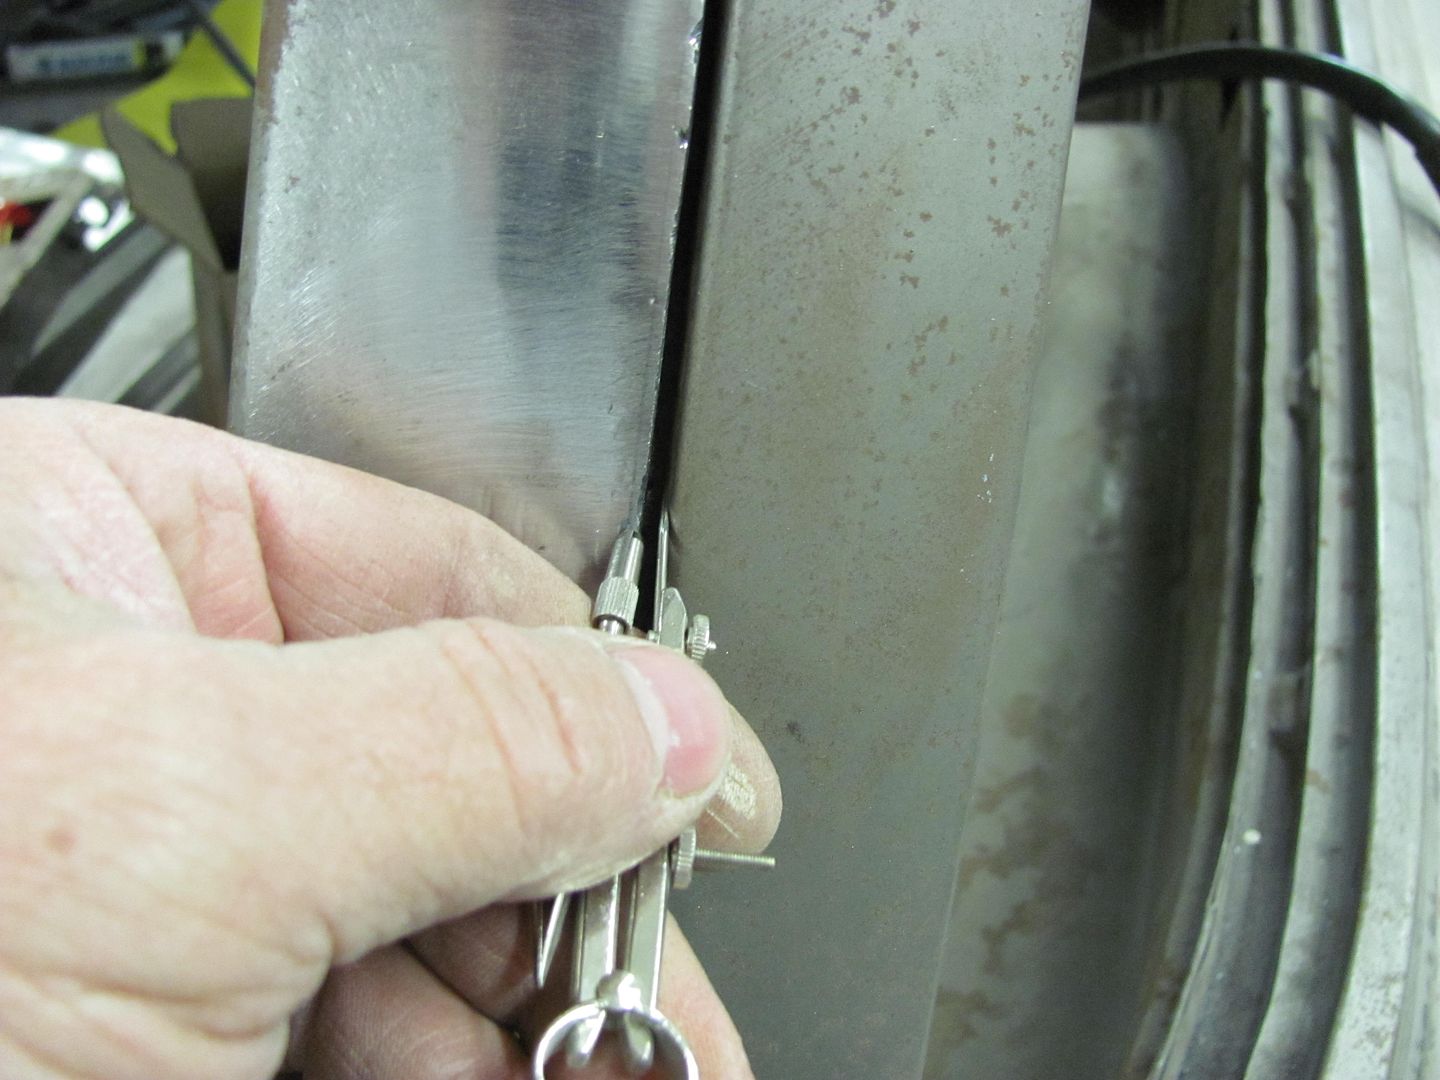
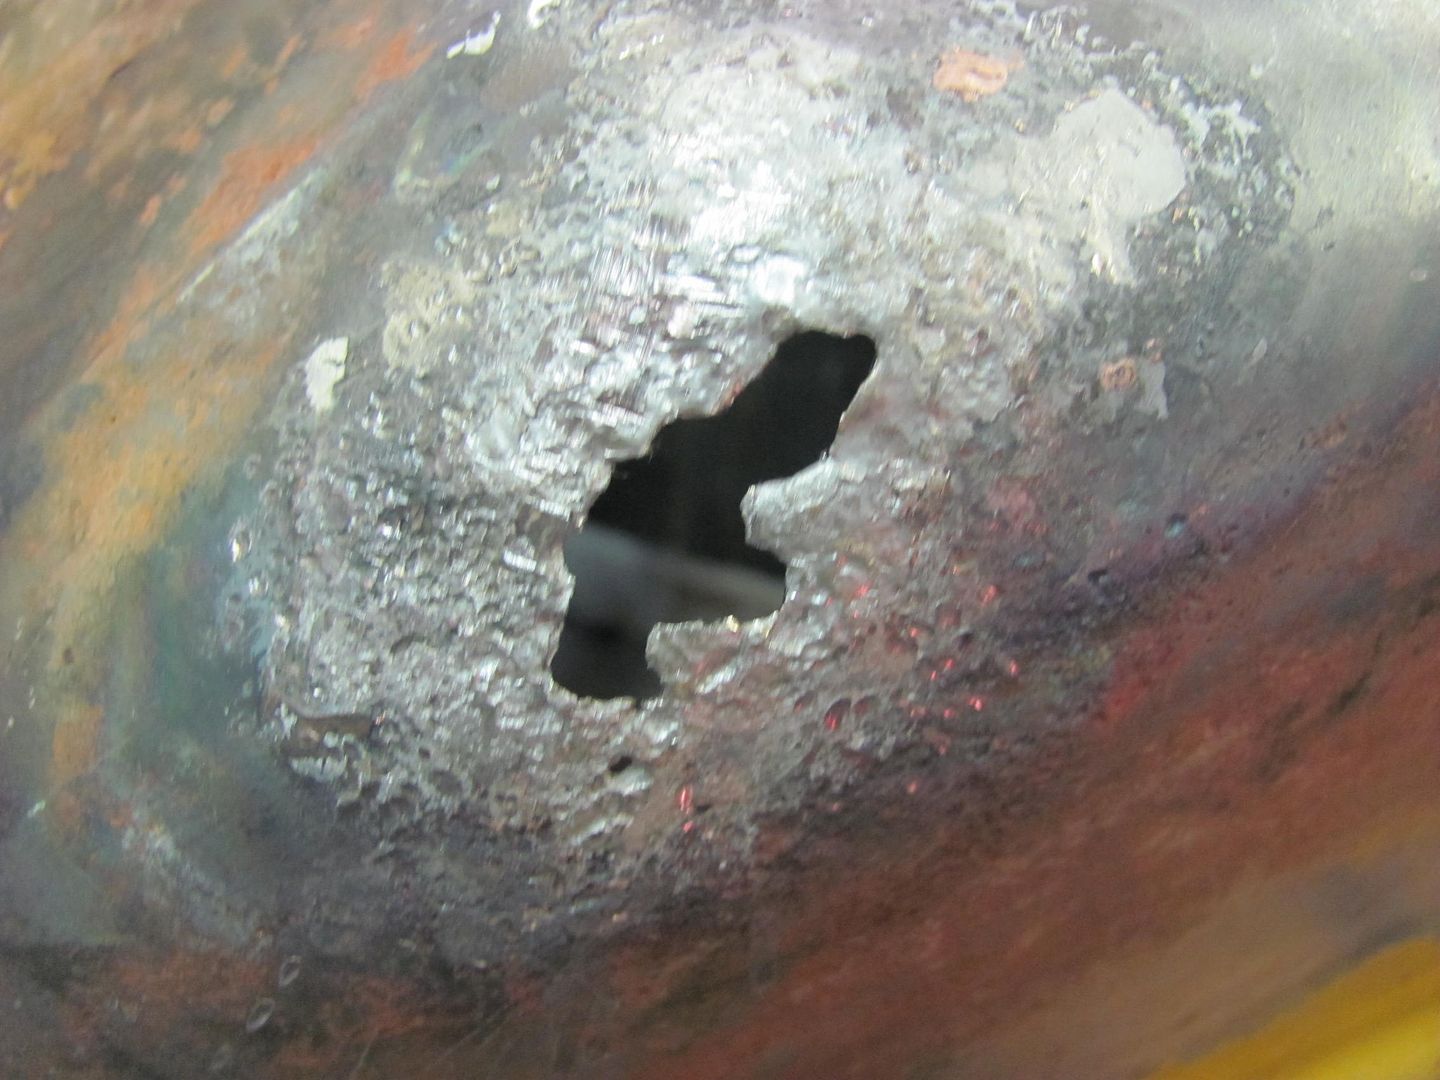
It's in great condition as you can see in the pics ,the only thing is it has some light engraving by the logo


So just when do you decide to use that 'nuclear solution'? It looks hefty enough to be used for straightening a bent frame! lol


I guess that other thread gave you a lesson as well as a sore end. Lol!
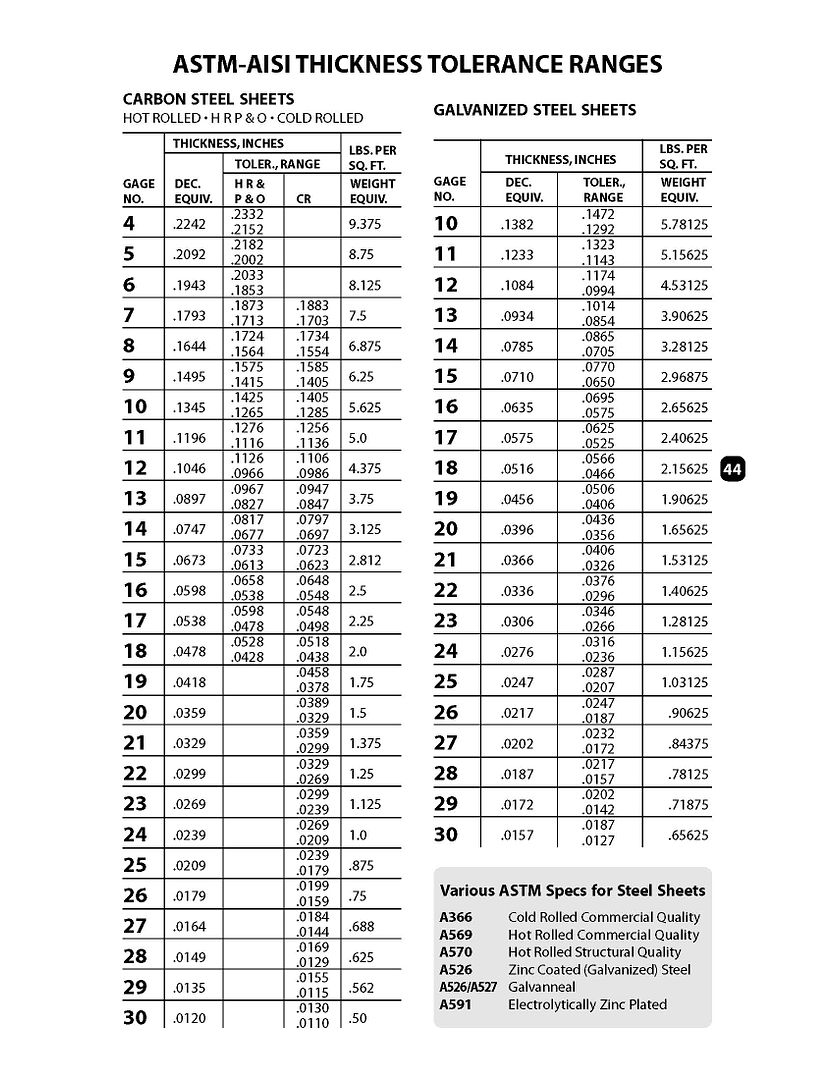
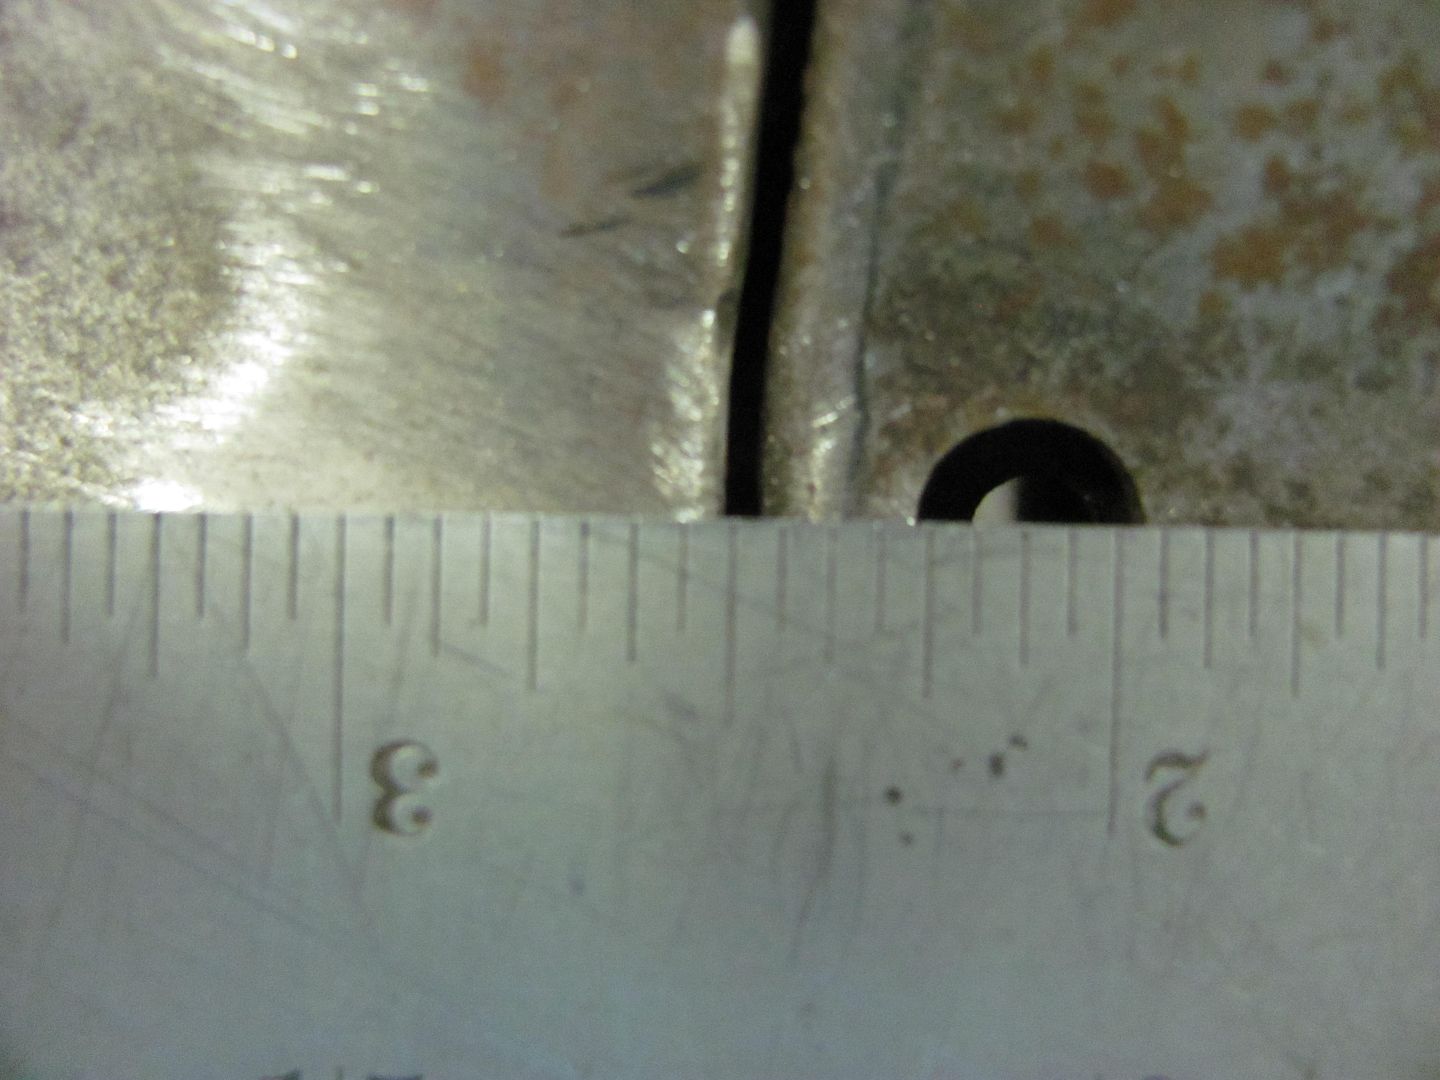
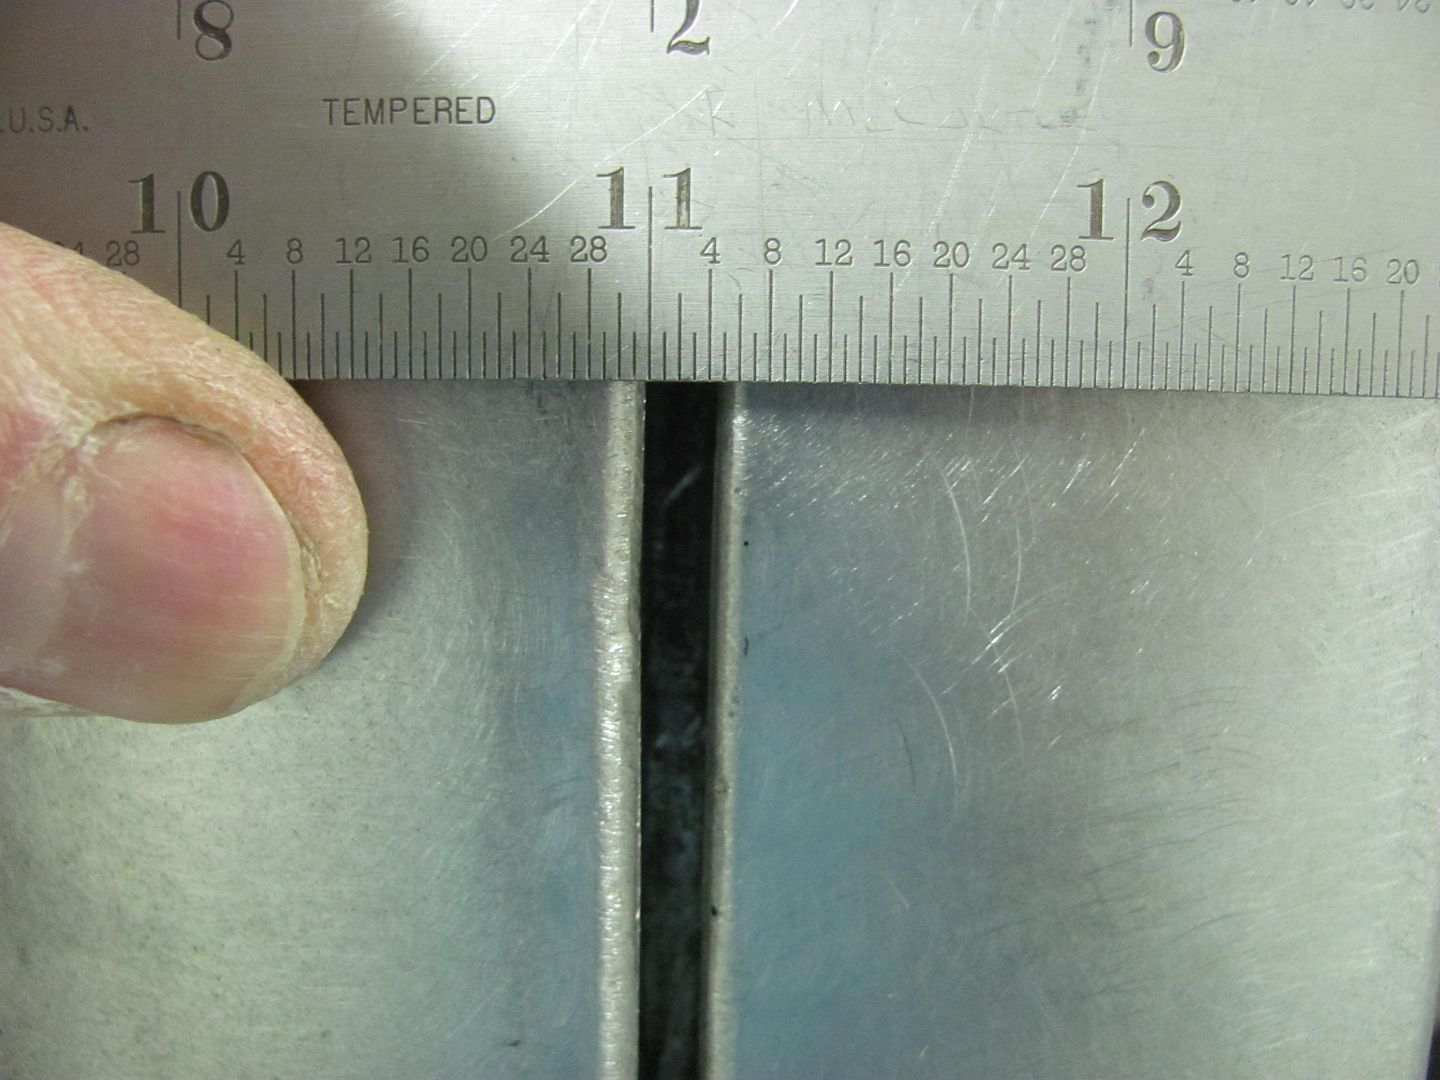
Kevin, my guess is that the difference is the thickness of the galvanized coating.

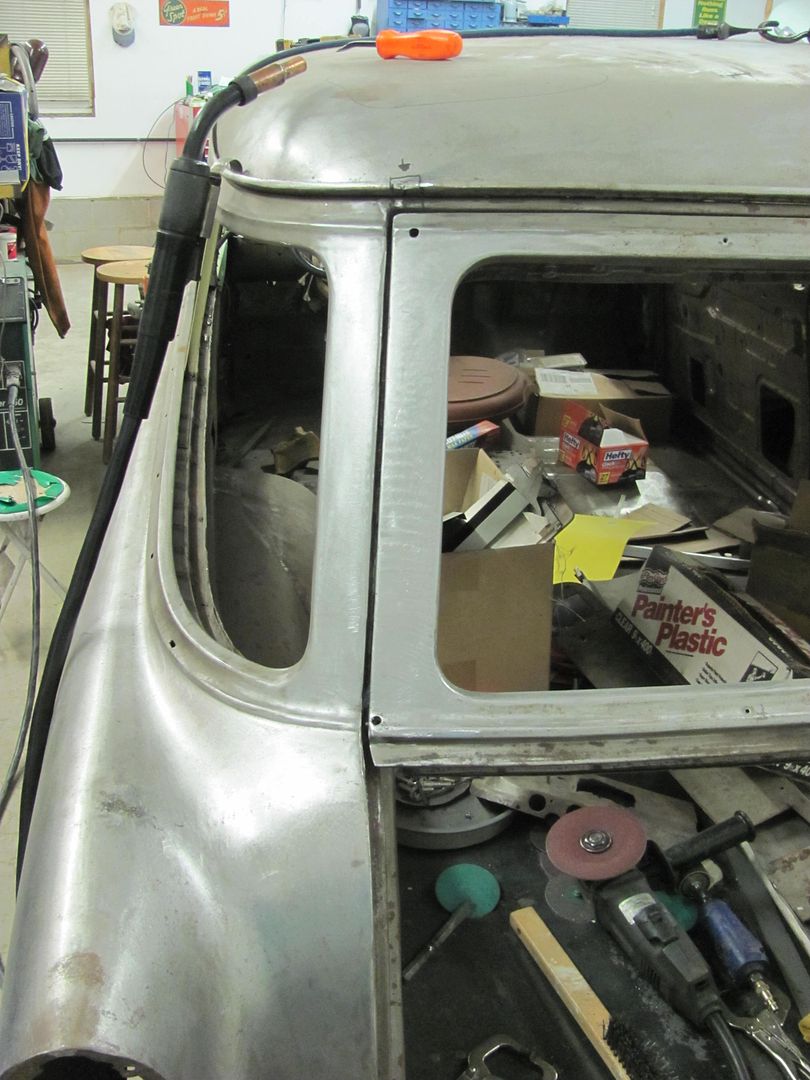
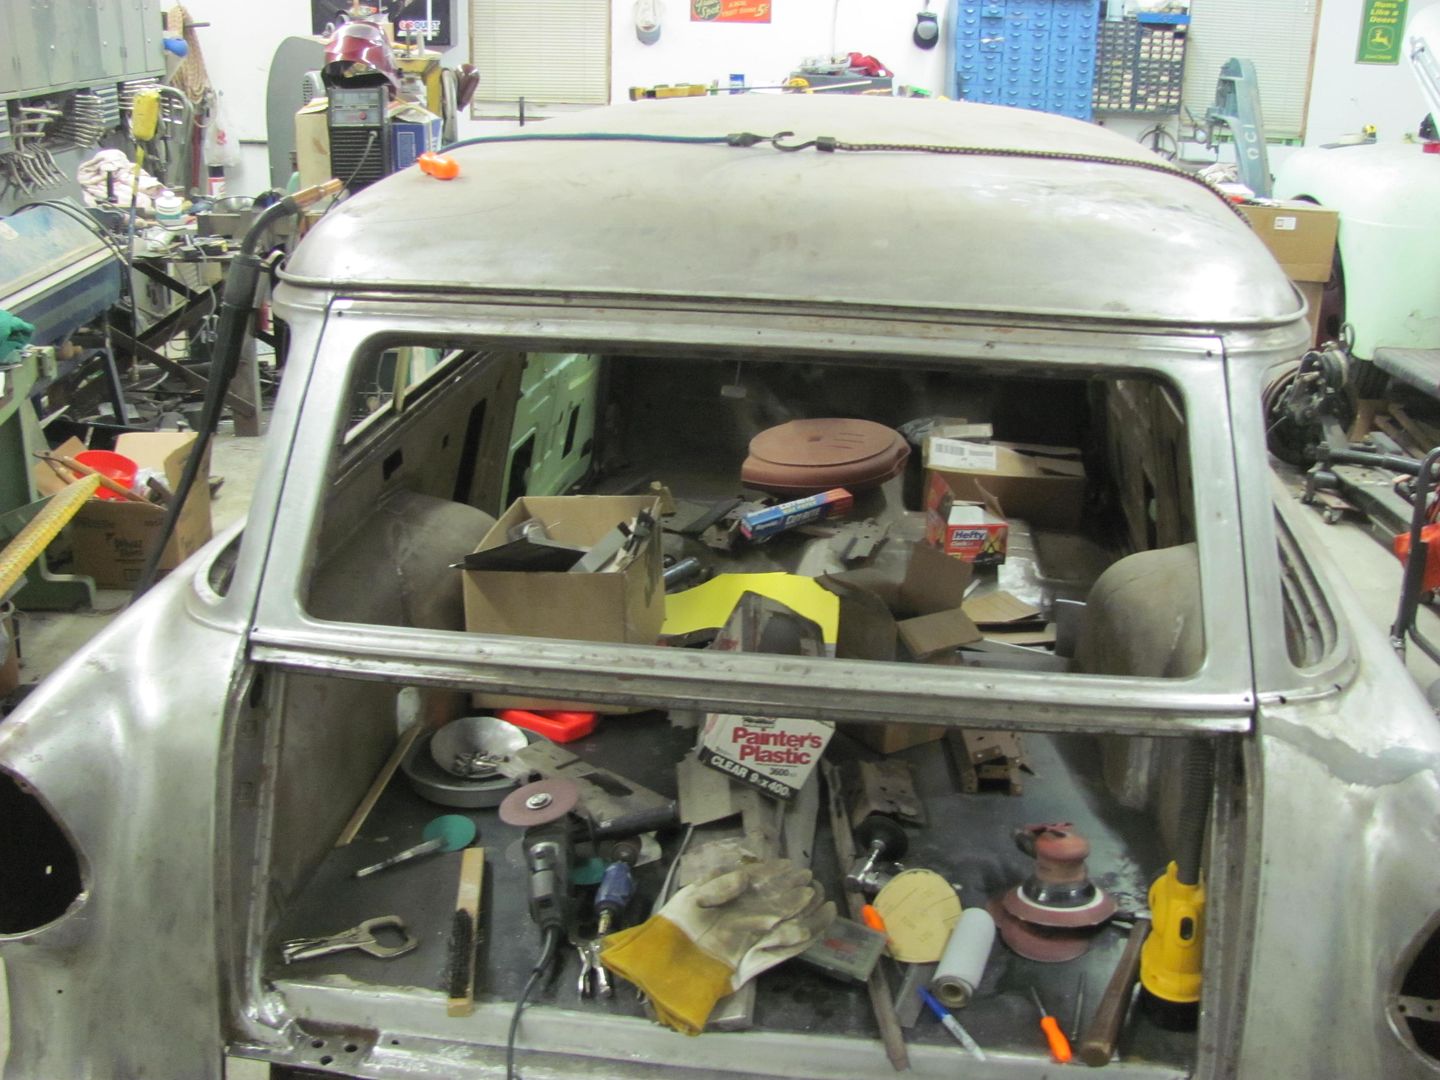

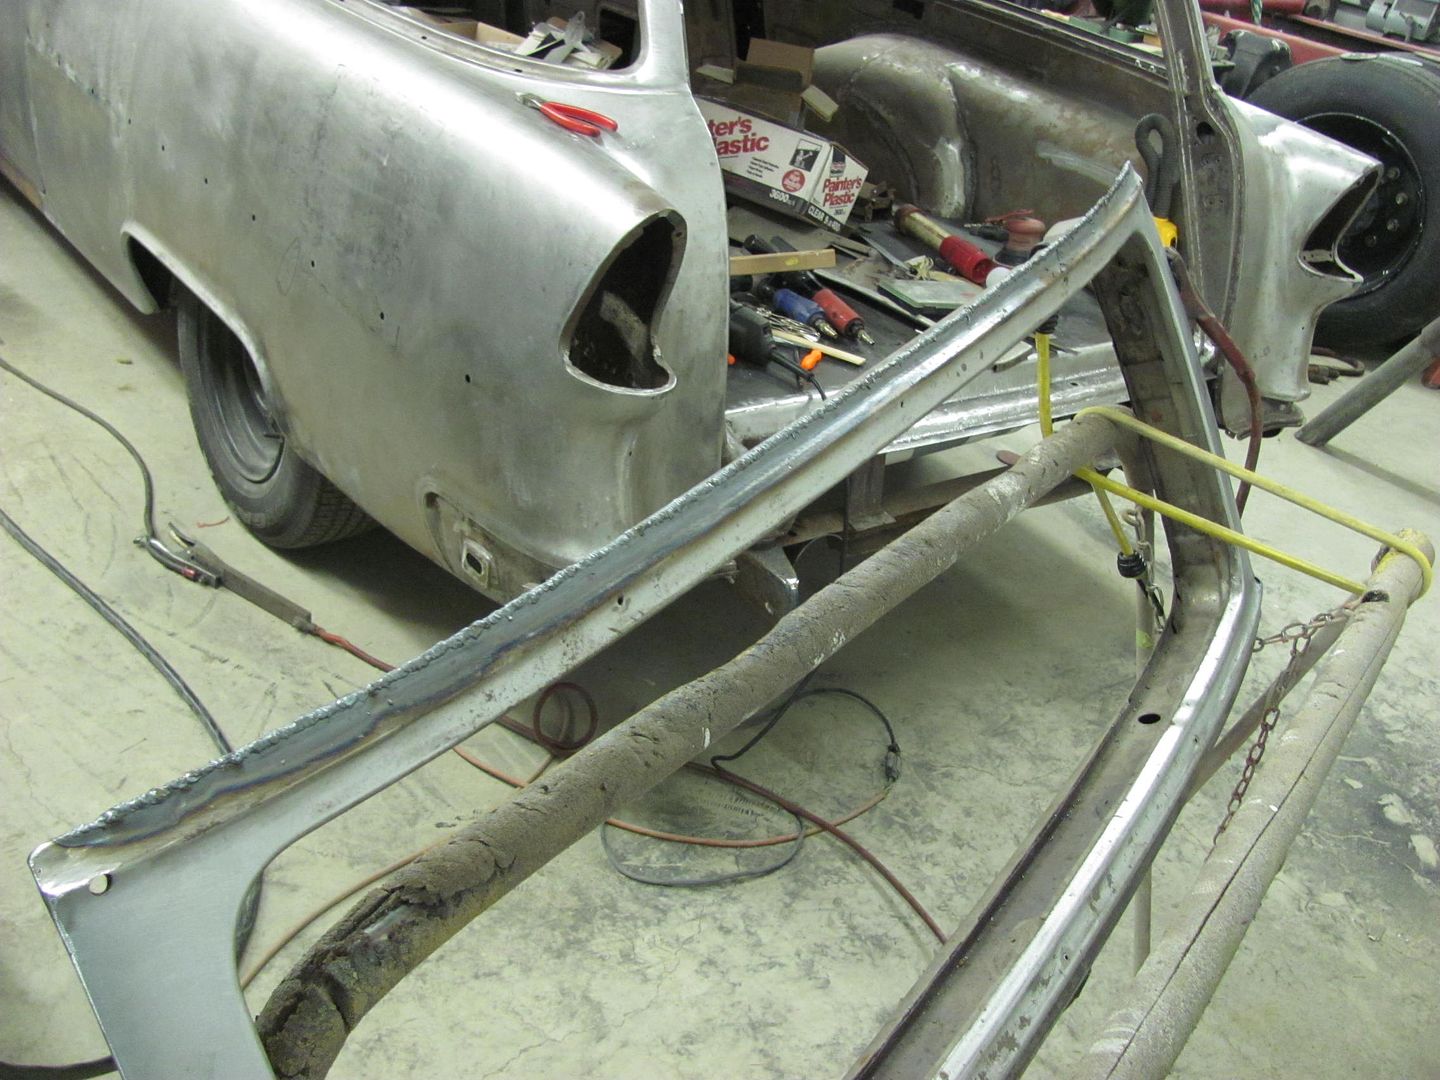
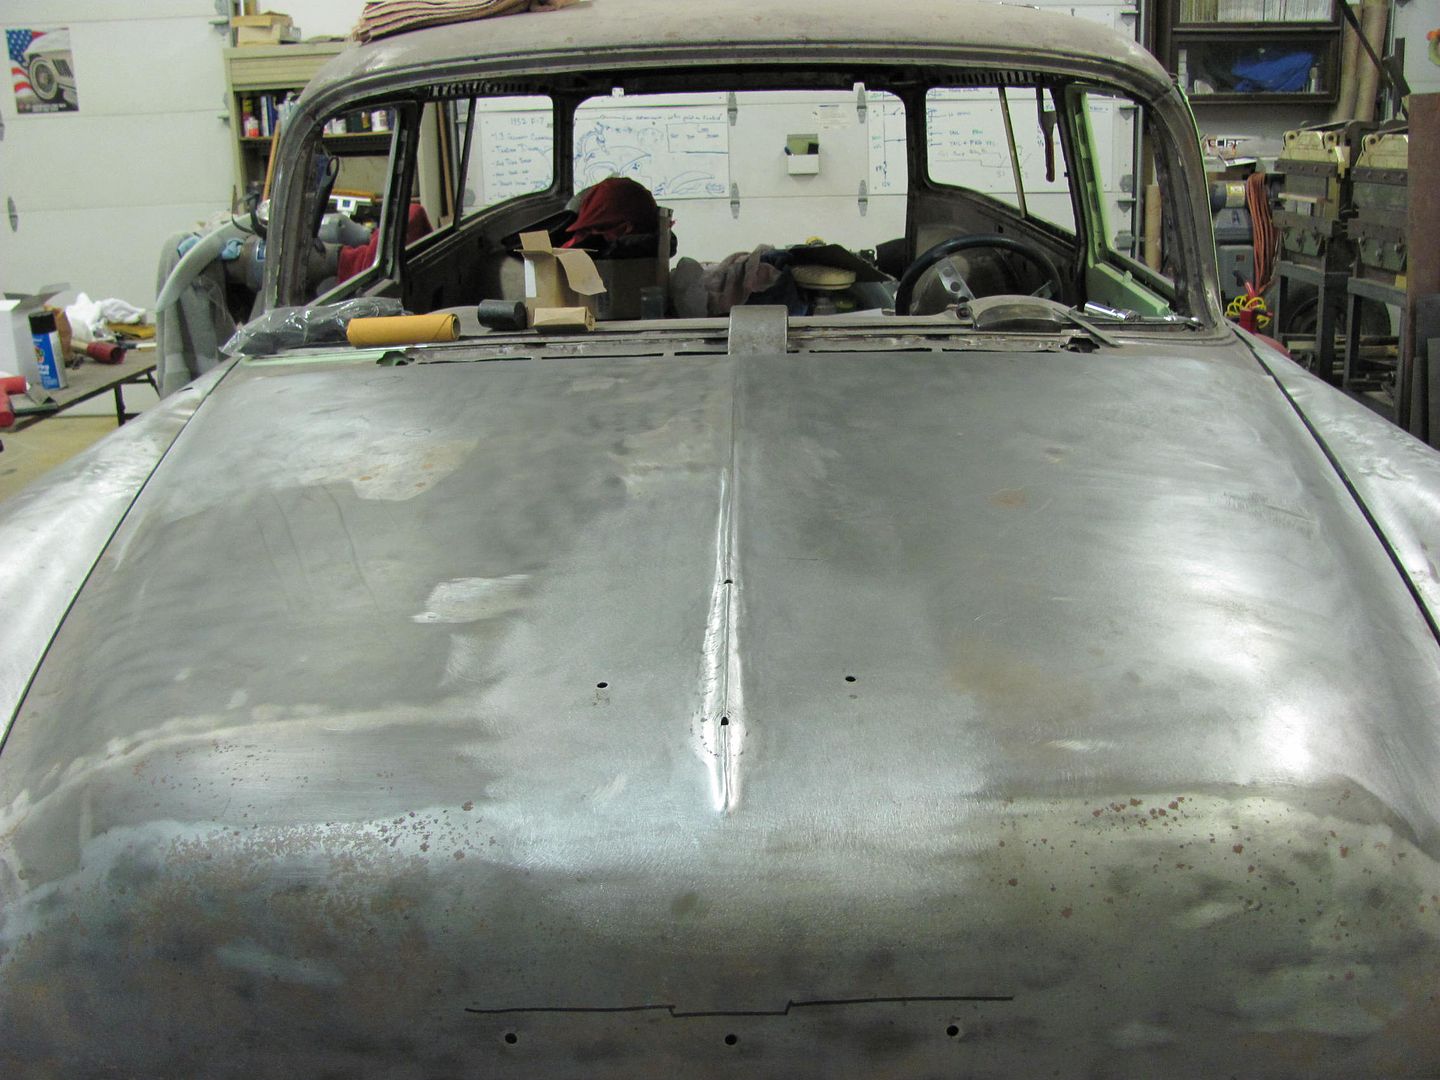
One of the tasks on the 55 is to de-bird the hood and bring the peak forward.
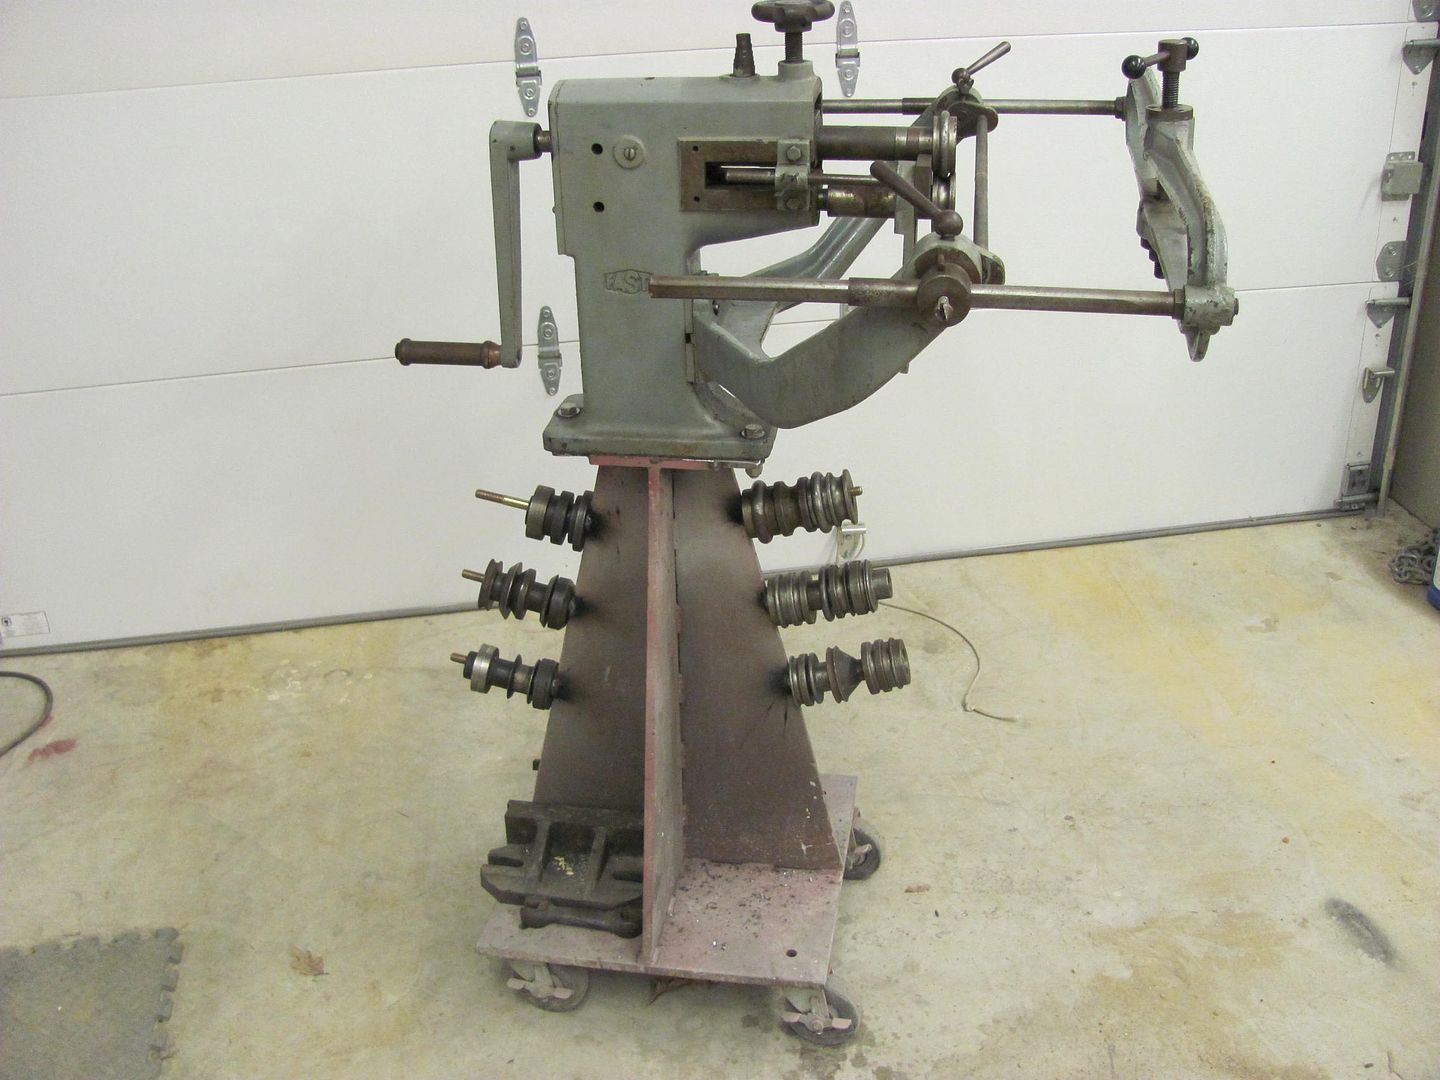
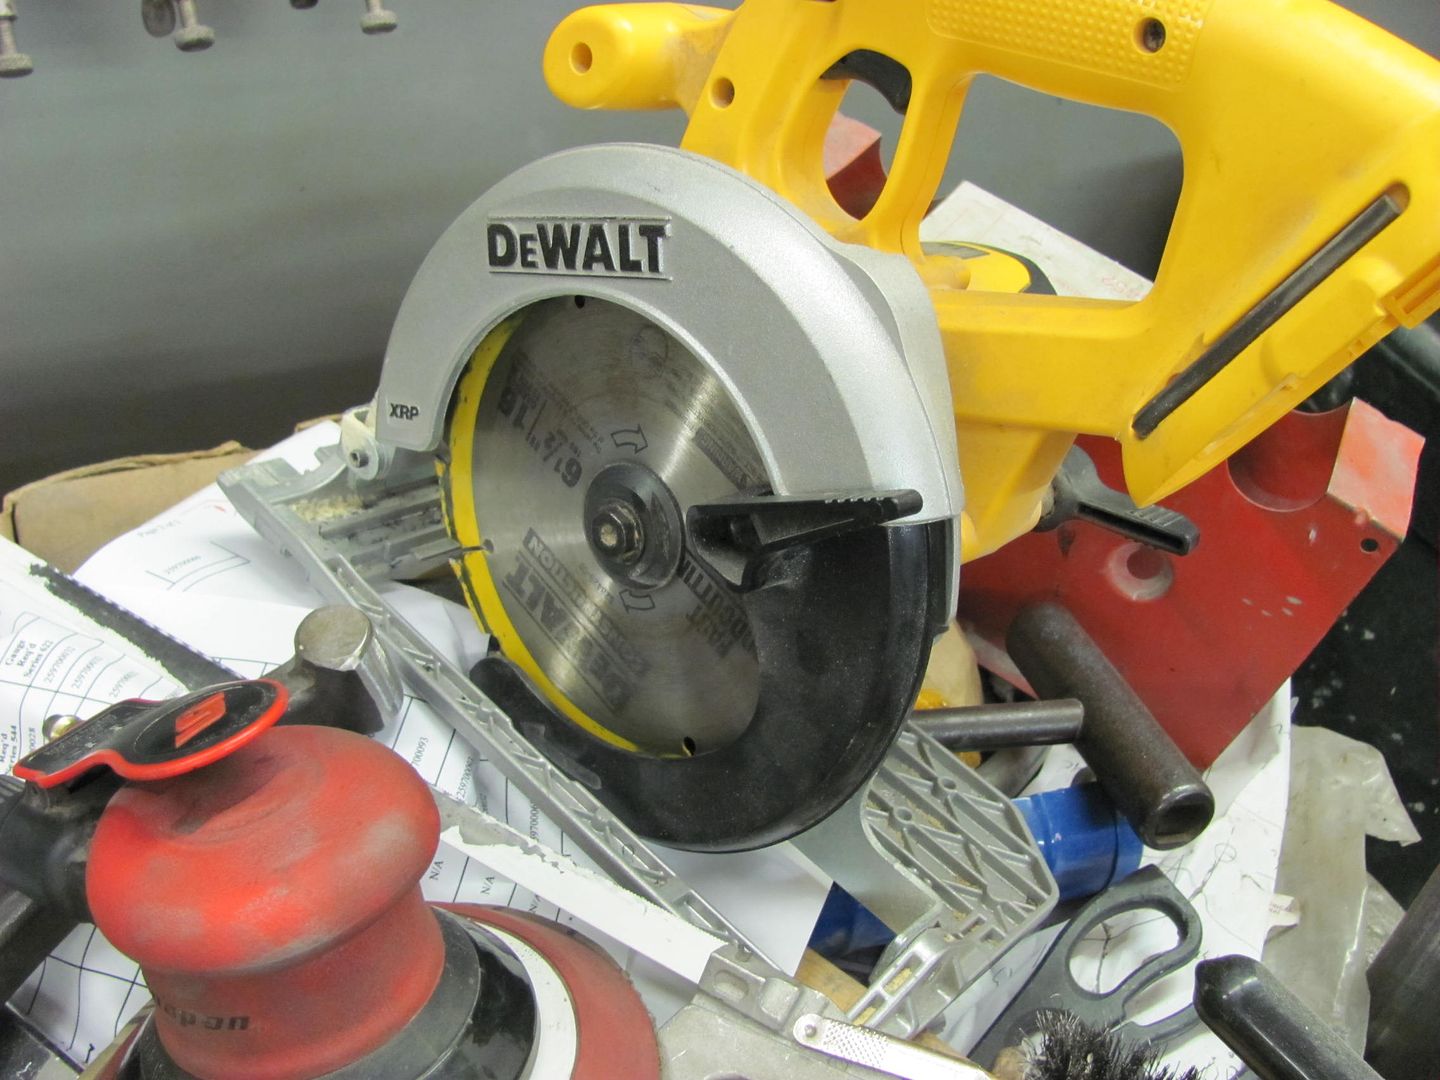
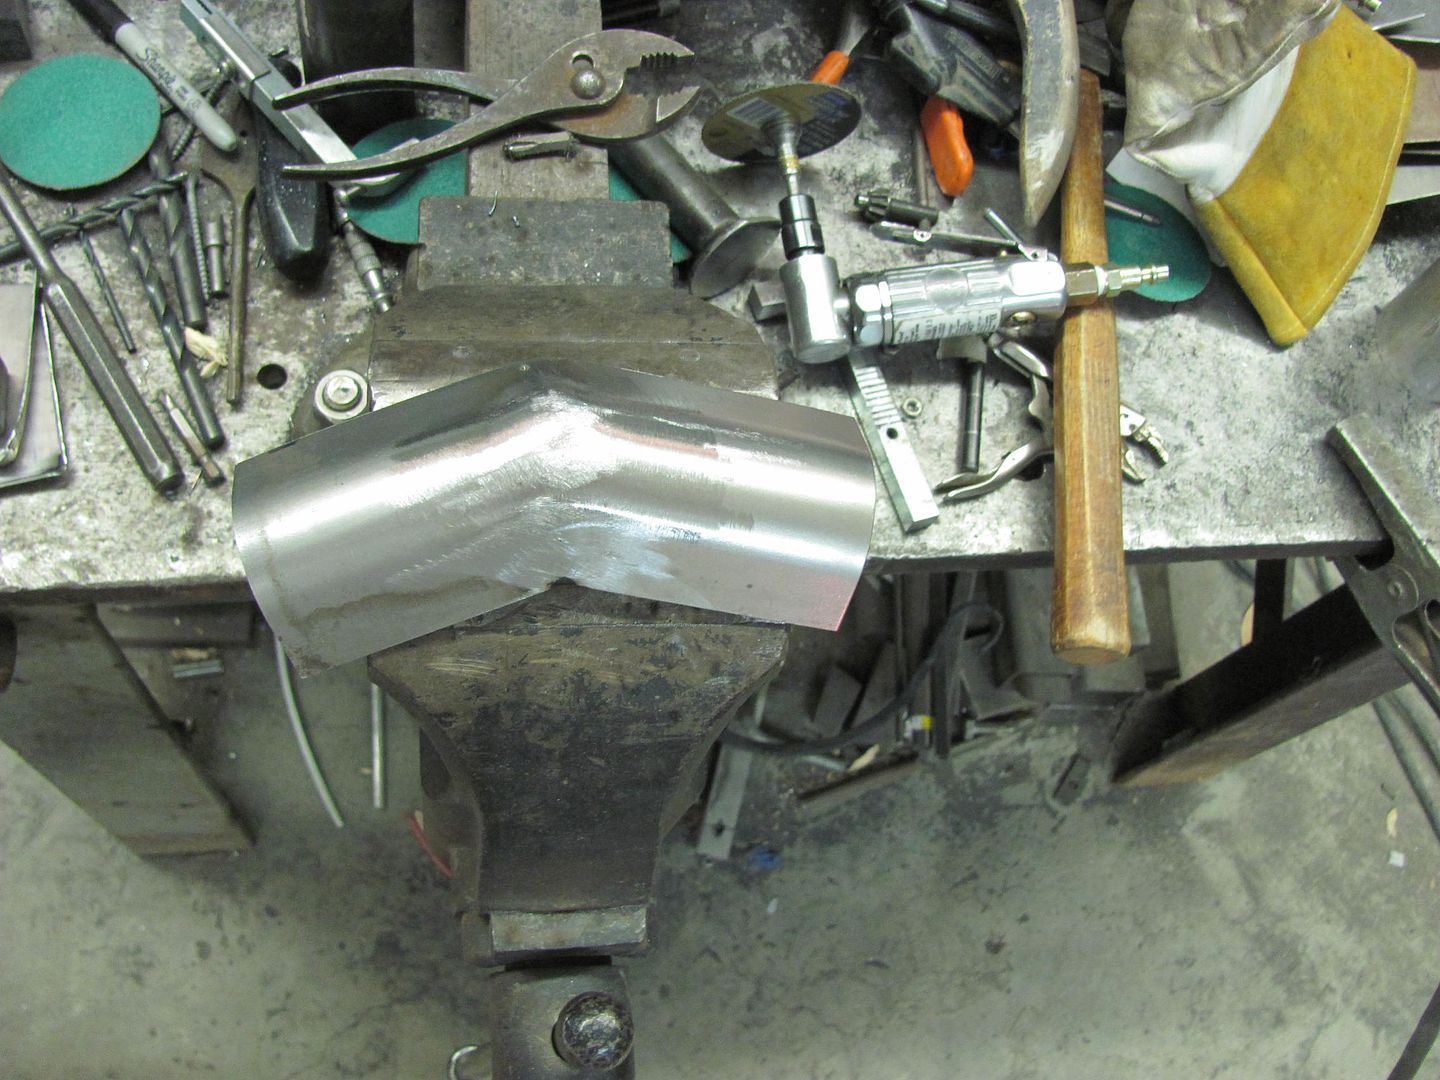
I know I can cut a strip out of the middle and duplicate a replacement with this little jewel...
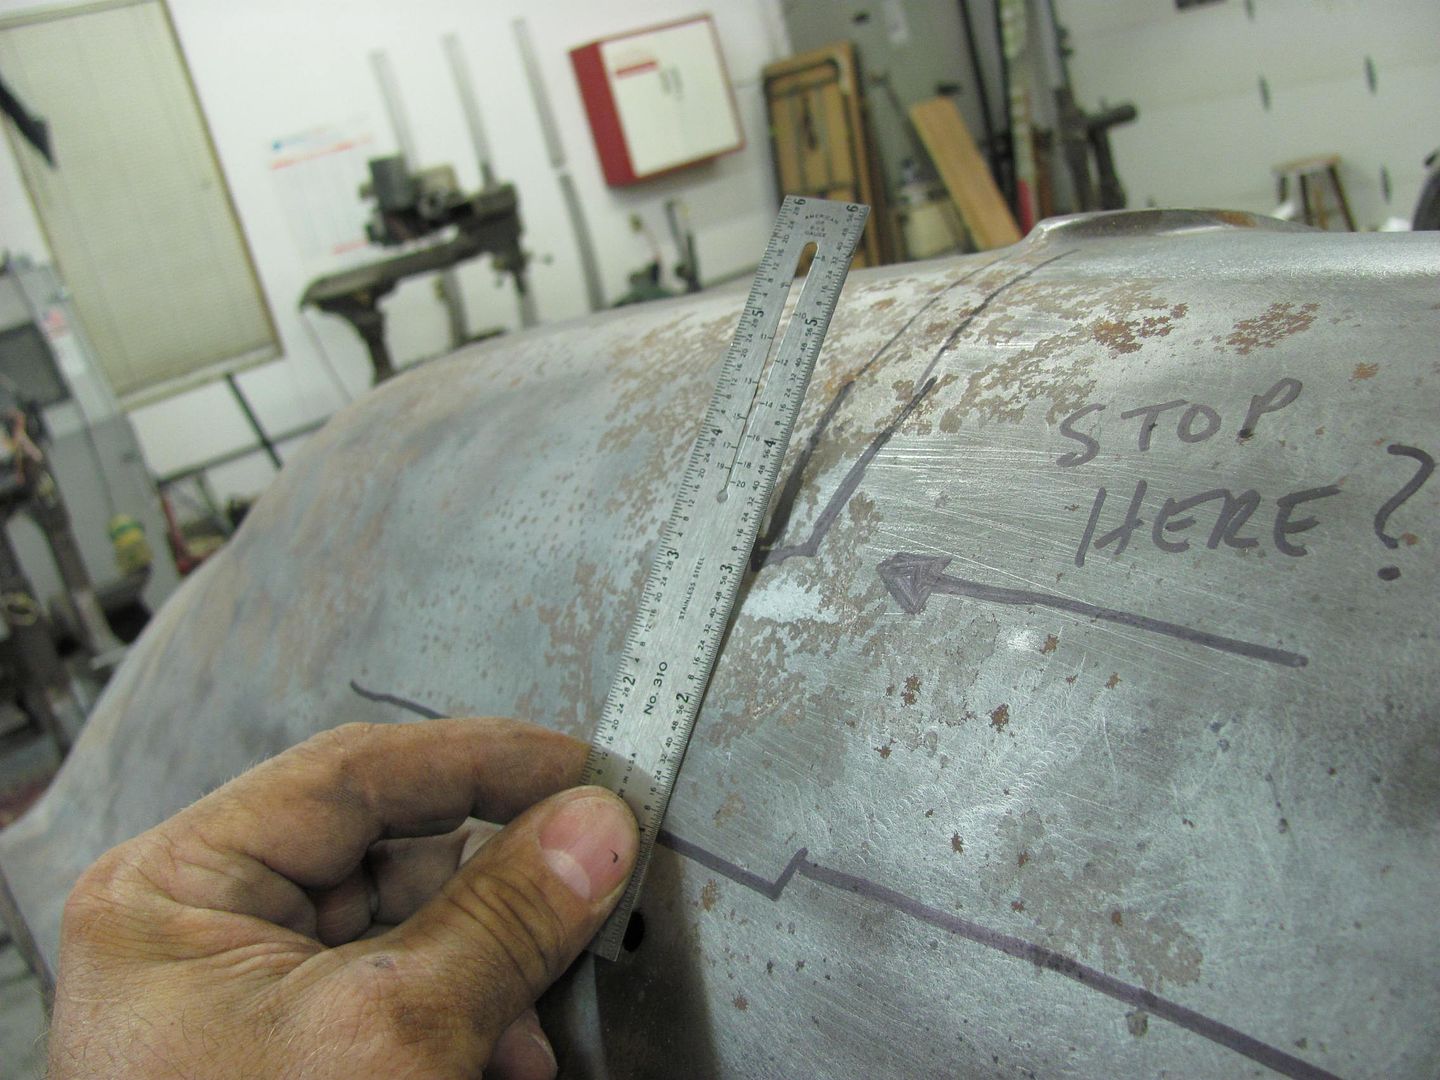
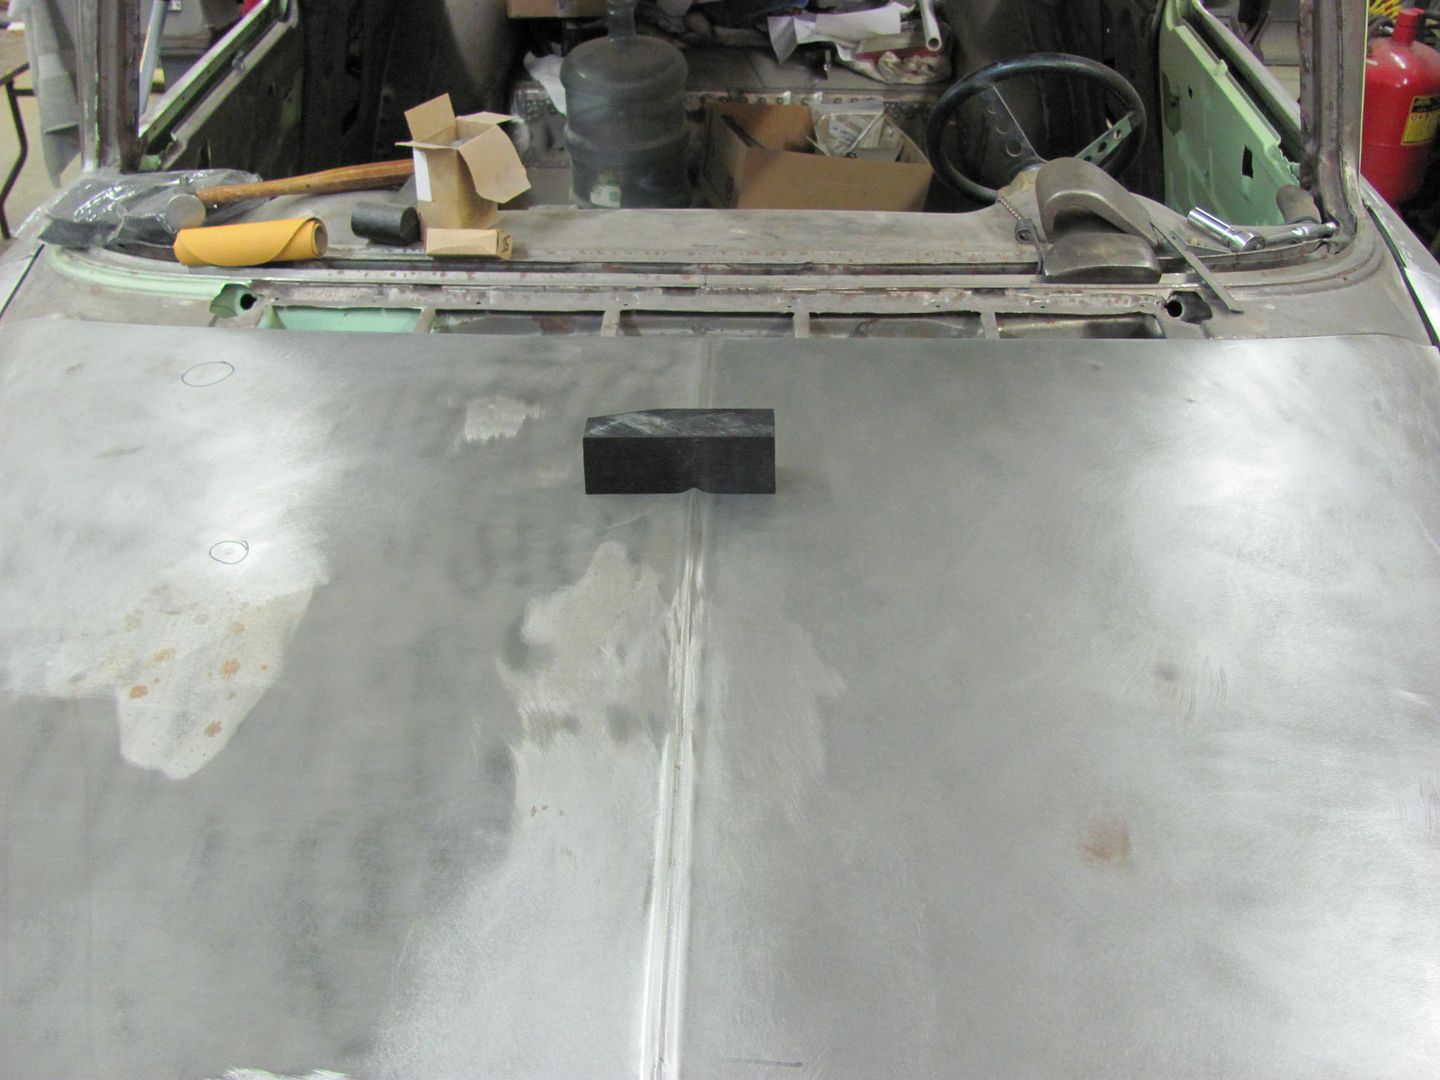
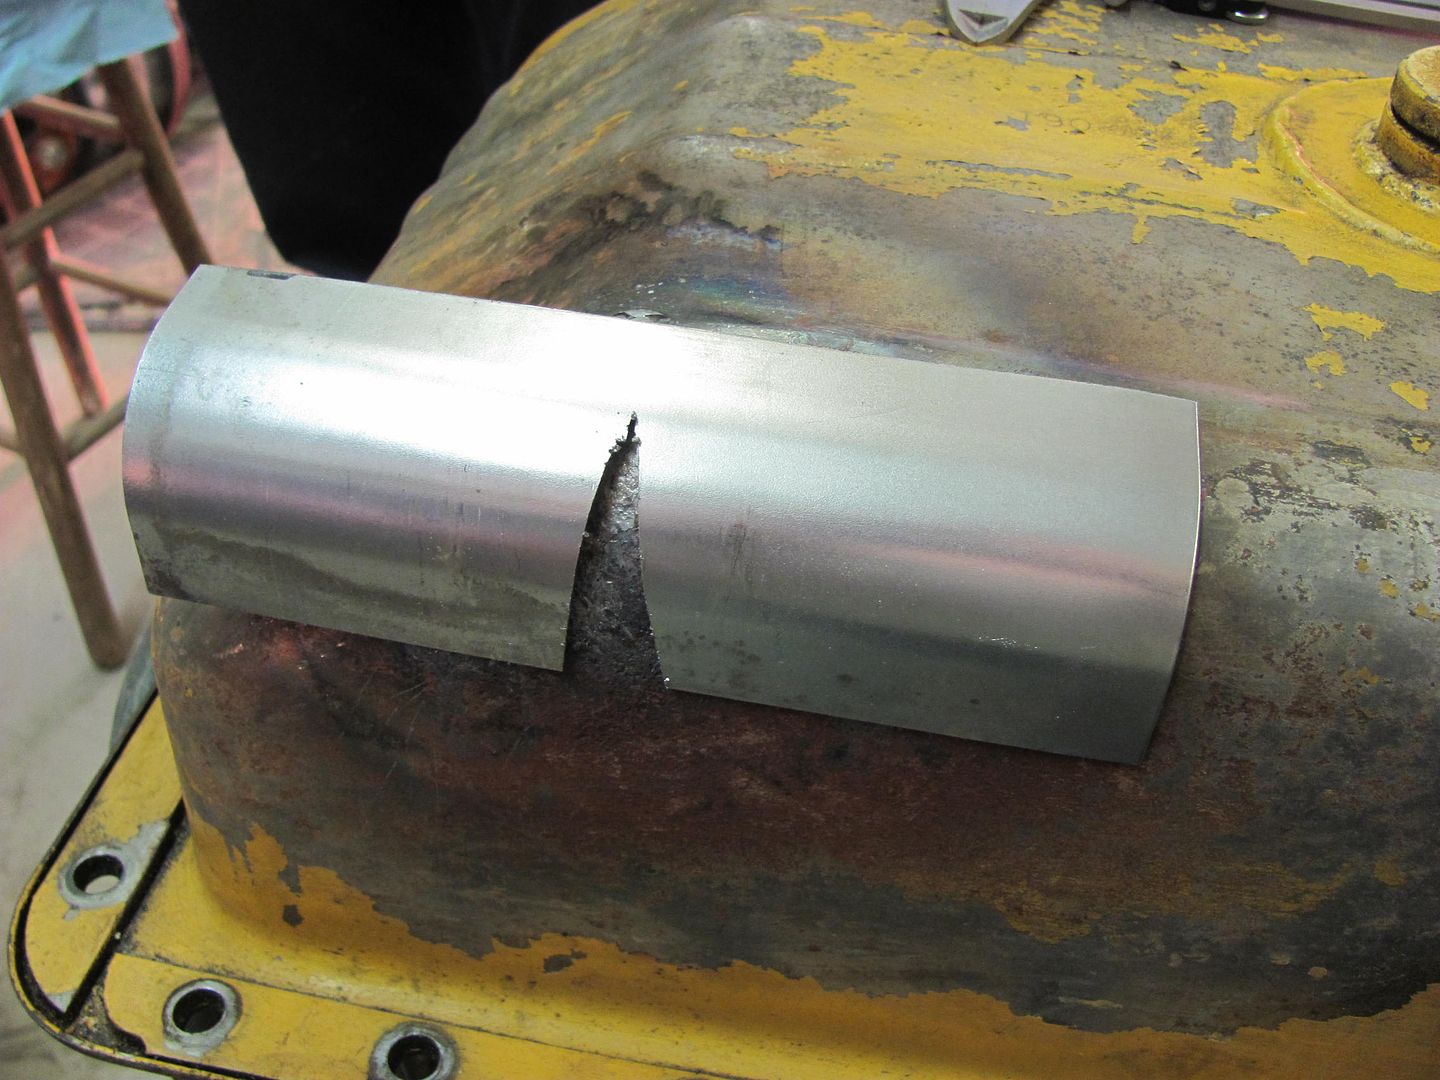
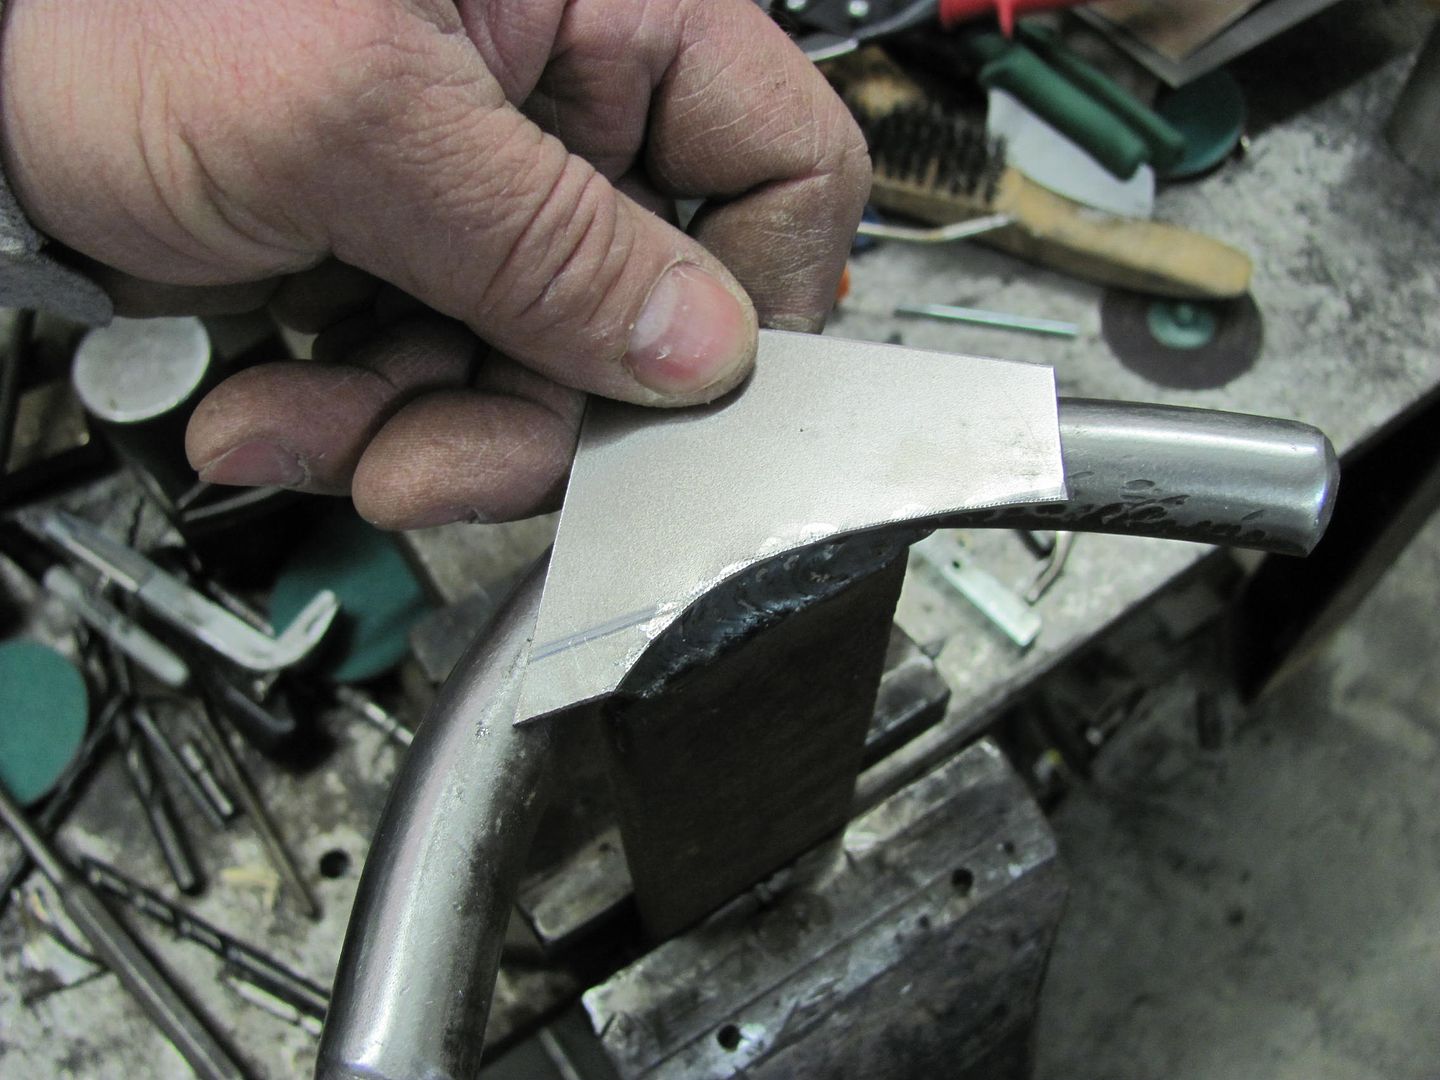
.....but this hood is relatively straight and rust free, so I'd like to keep it intact (without all that welding) if at all possible. I tried my hand at some manual "punch and die" tooling to see how well it might work, and all in all, it wasn't too bad although it will take some clean up afterwards:
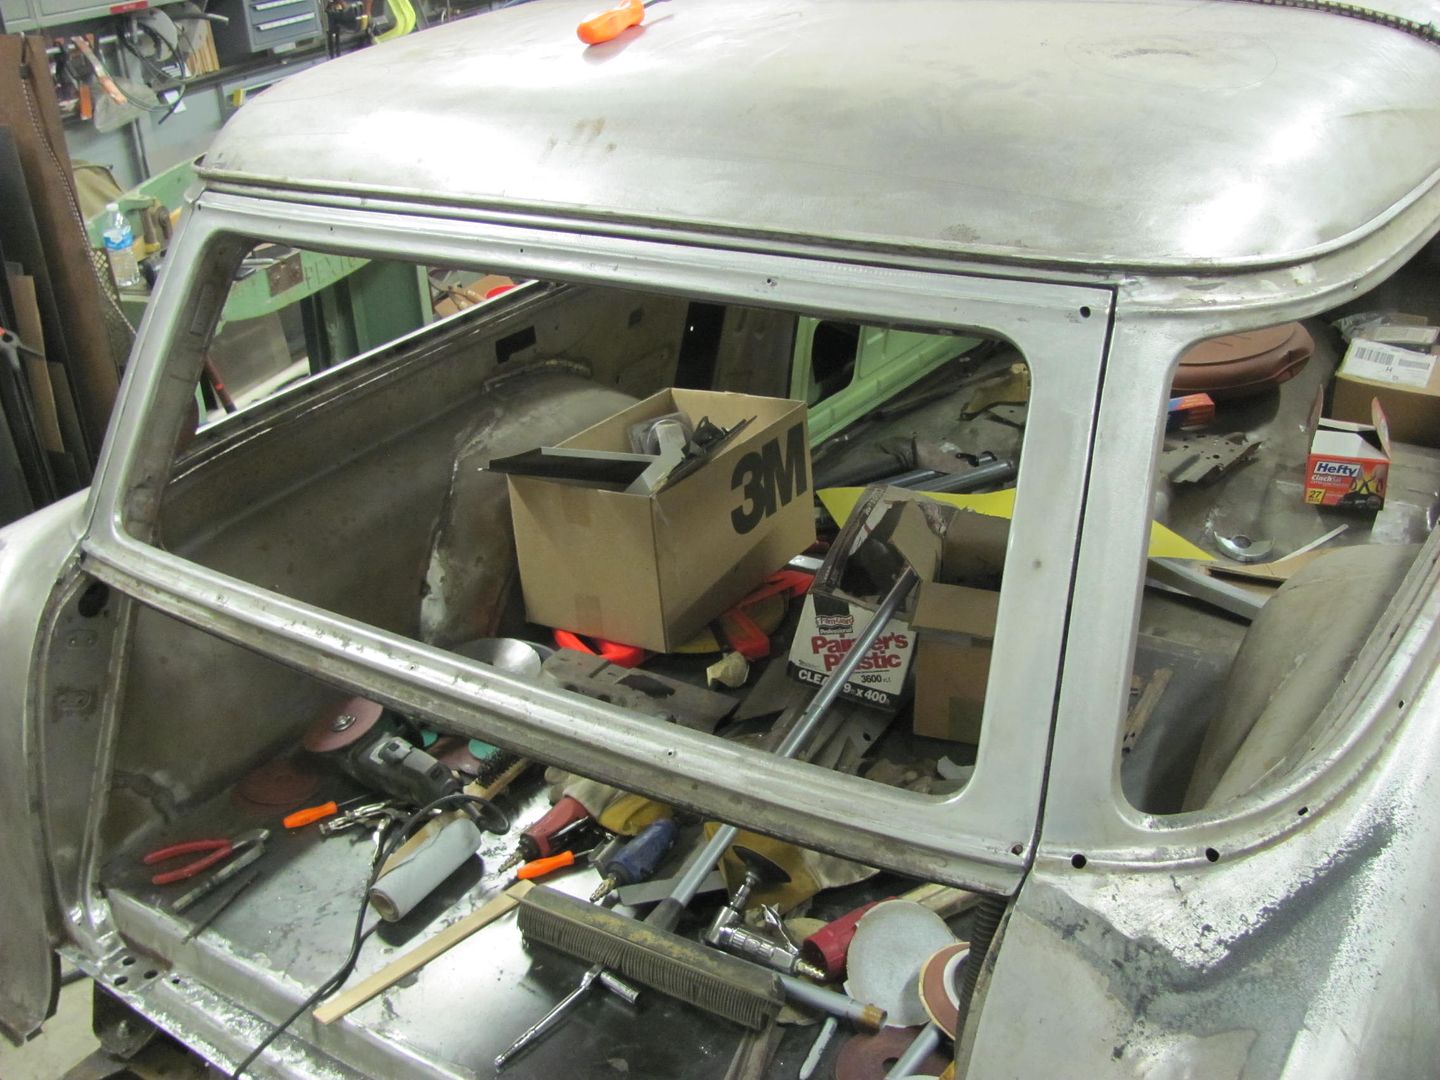
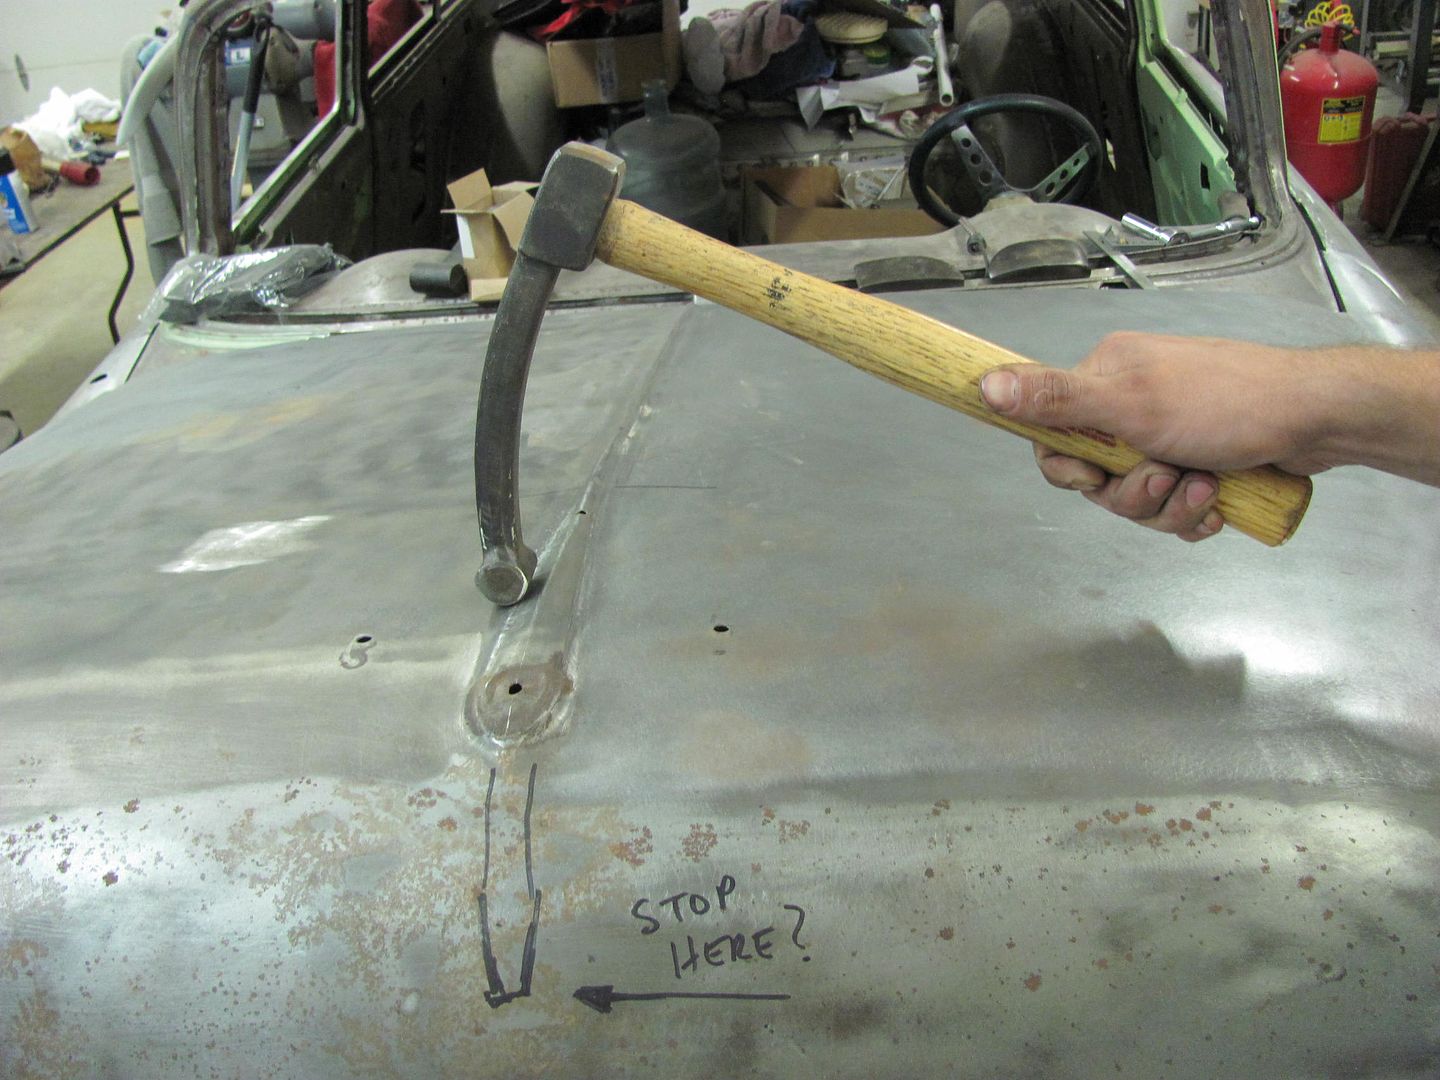
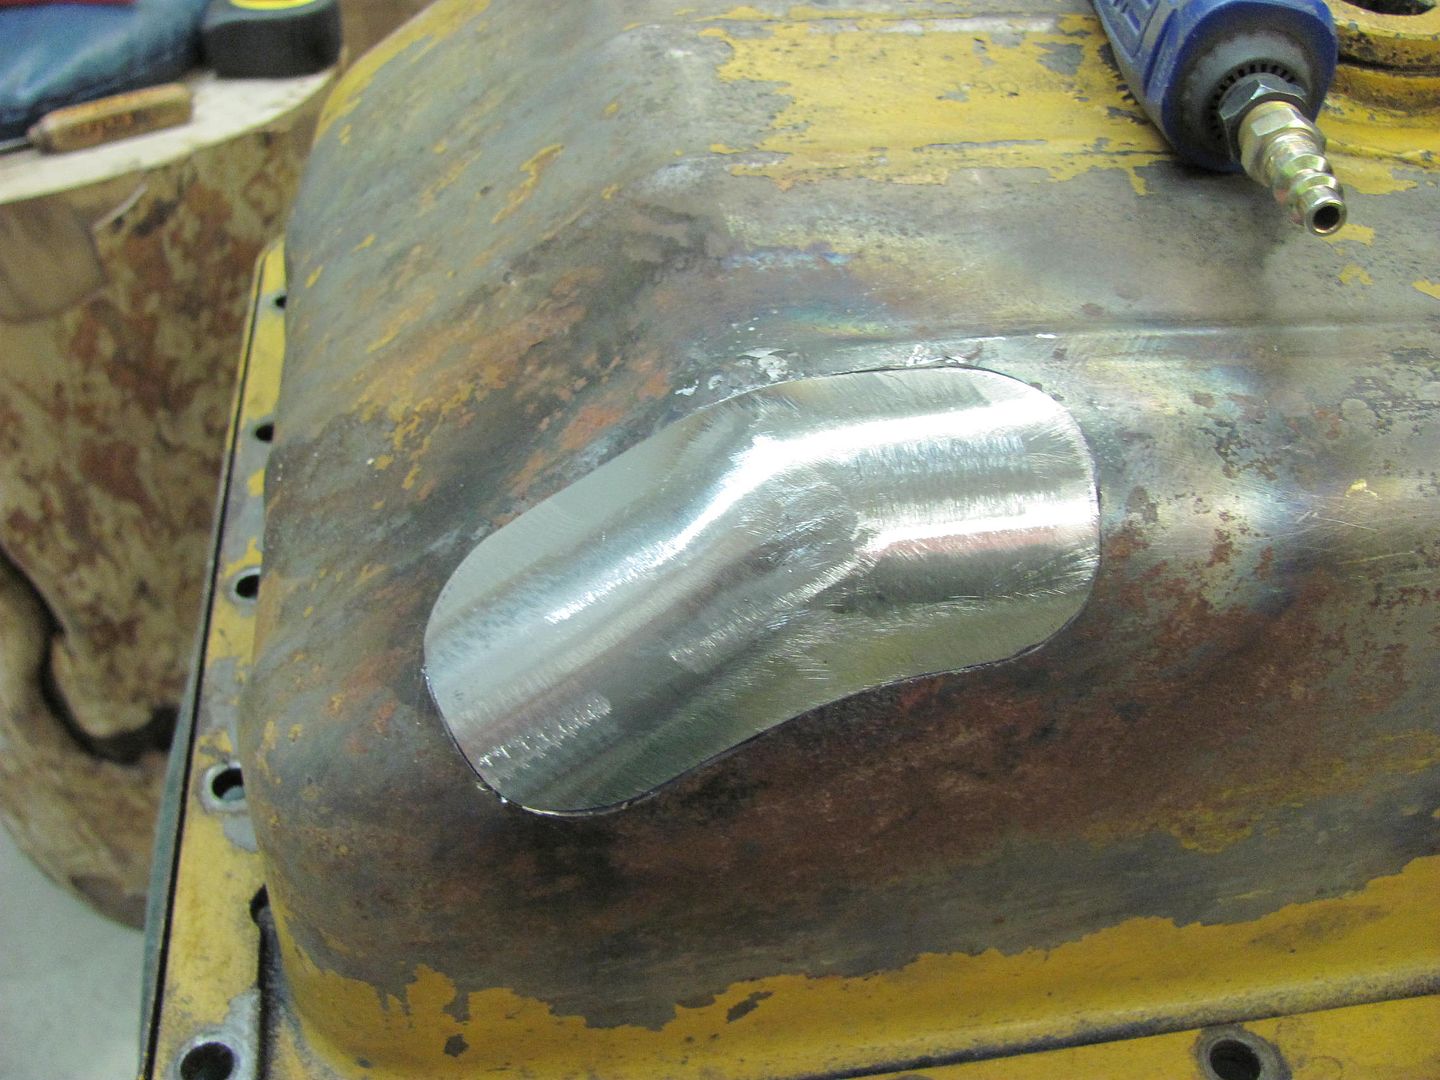
Results from the "start line"
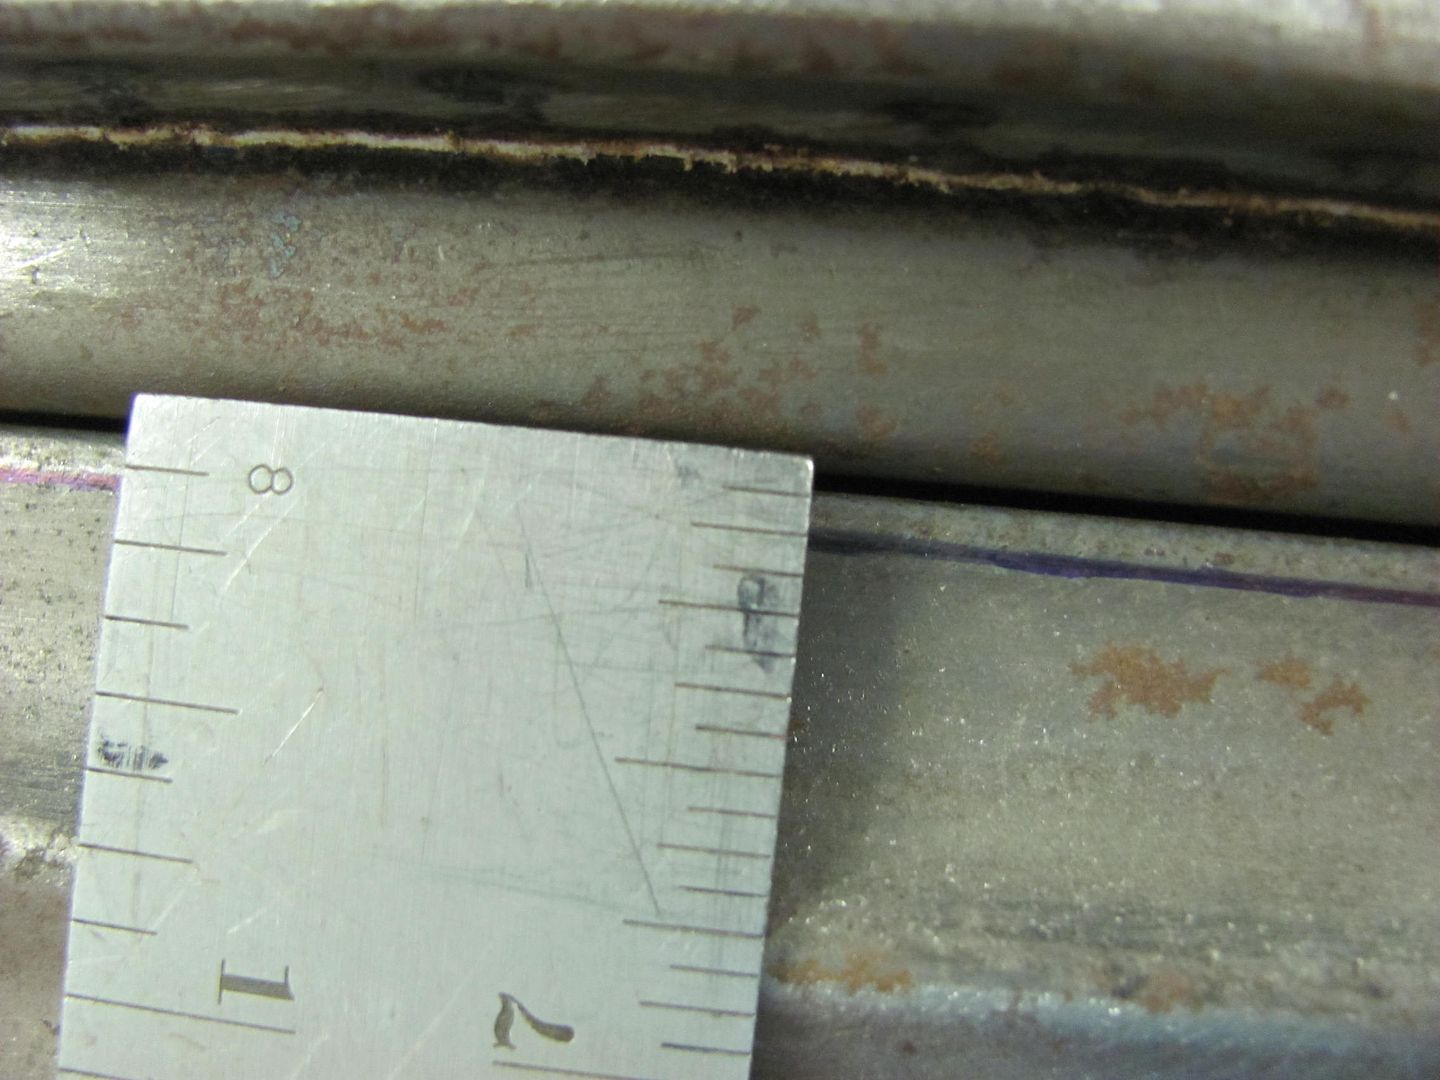
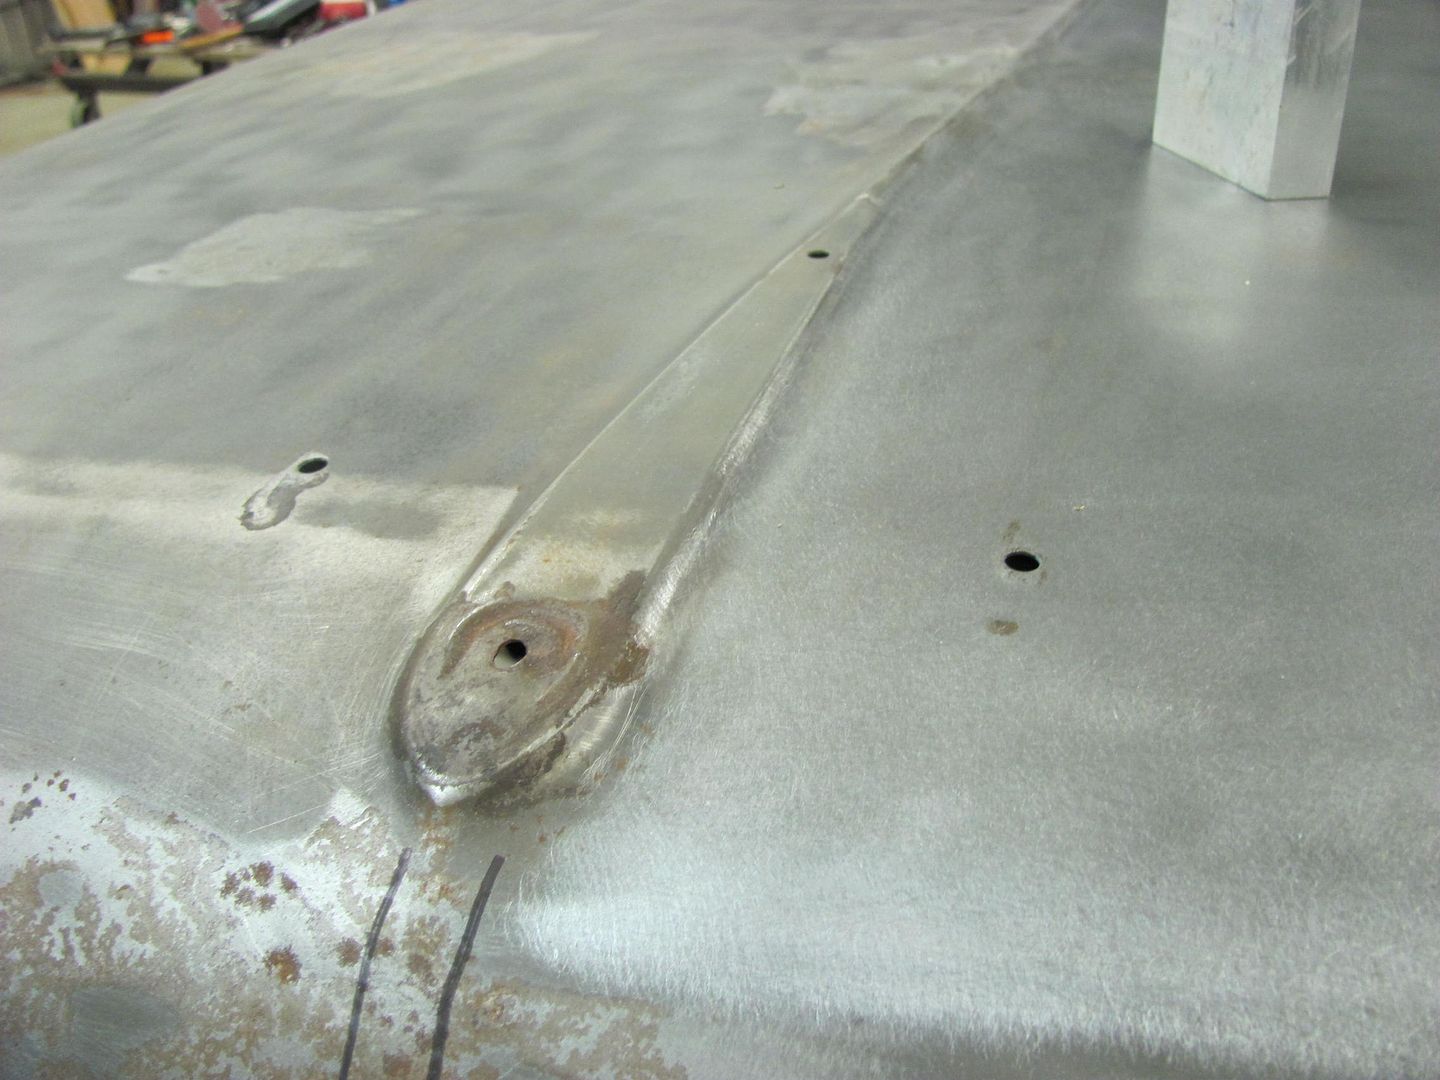
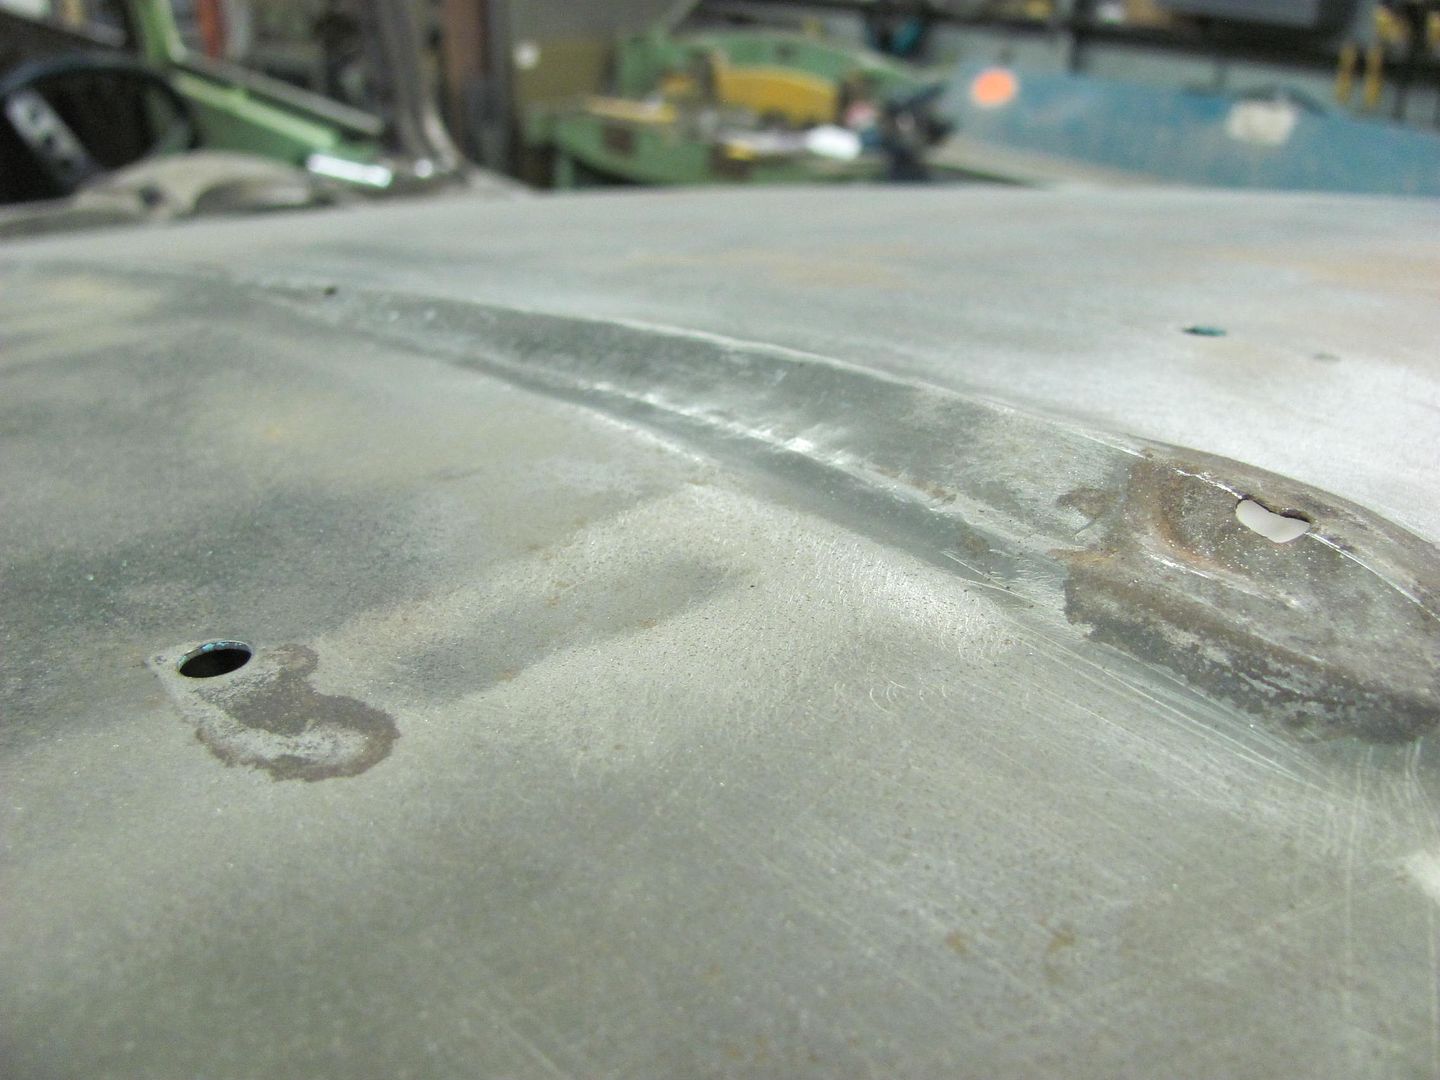
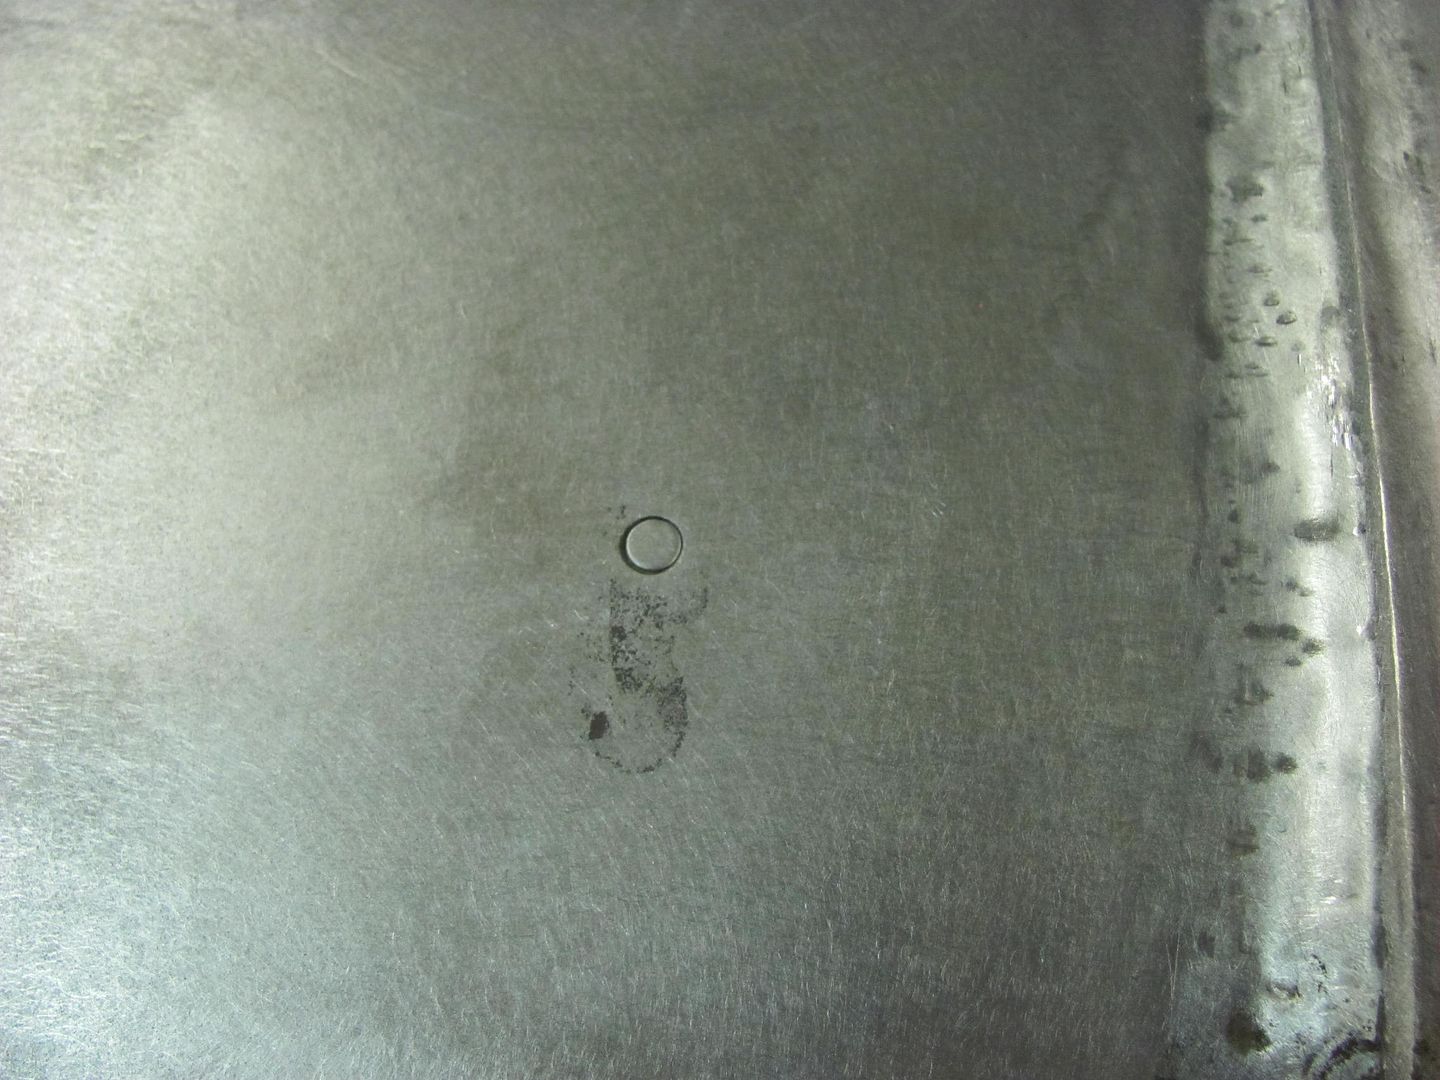
The pad, or "plateau" where the bird rested seems to have a nice crease around the perimeter.
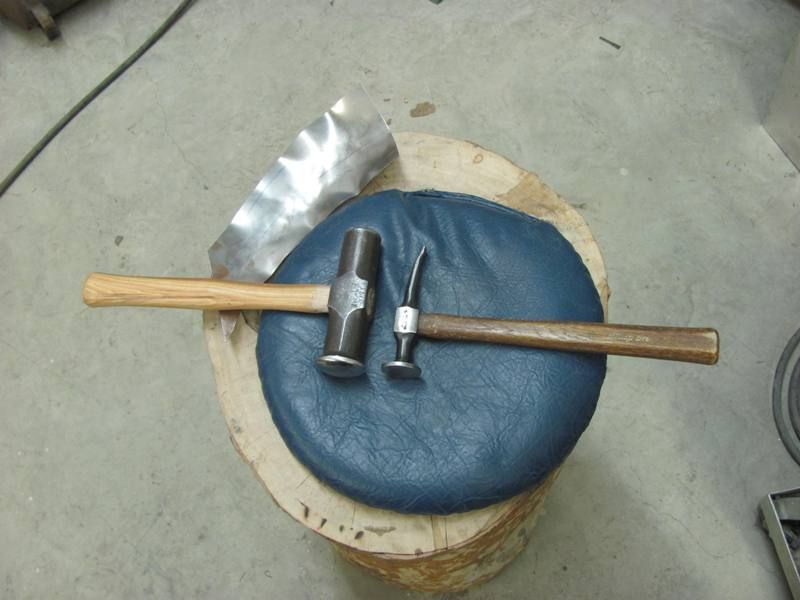
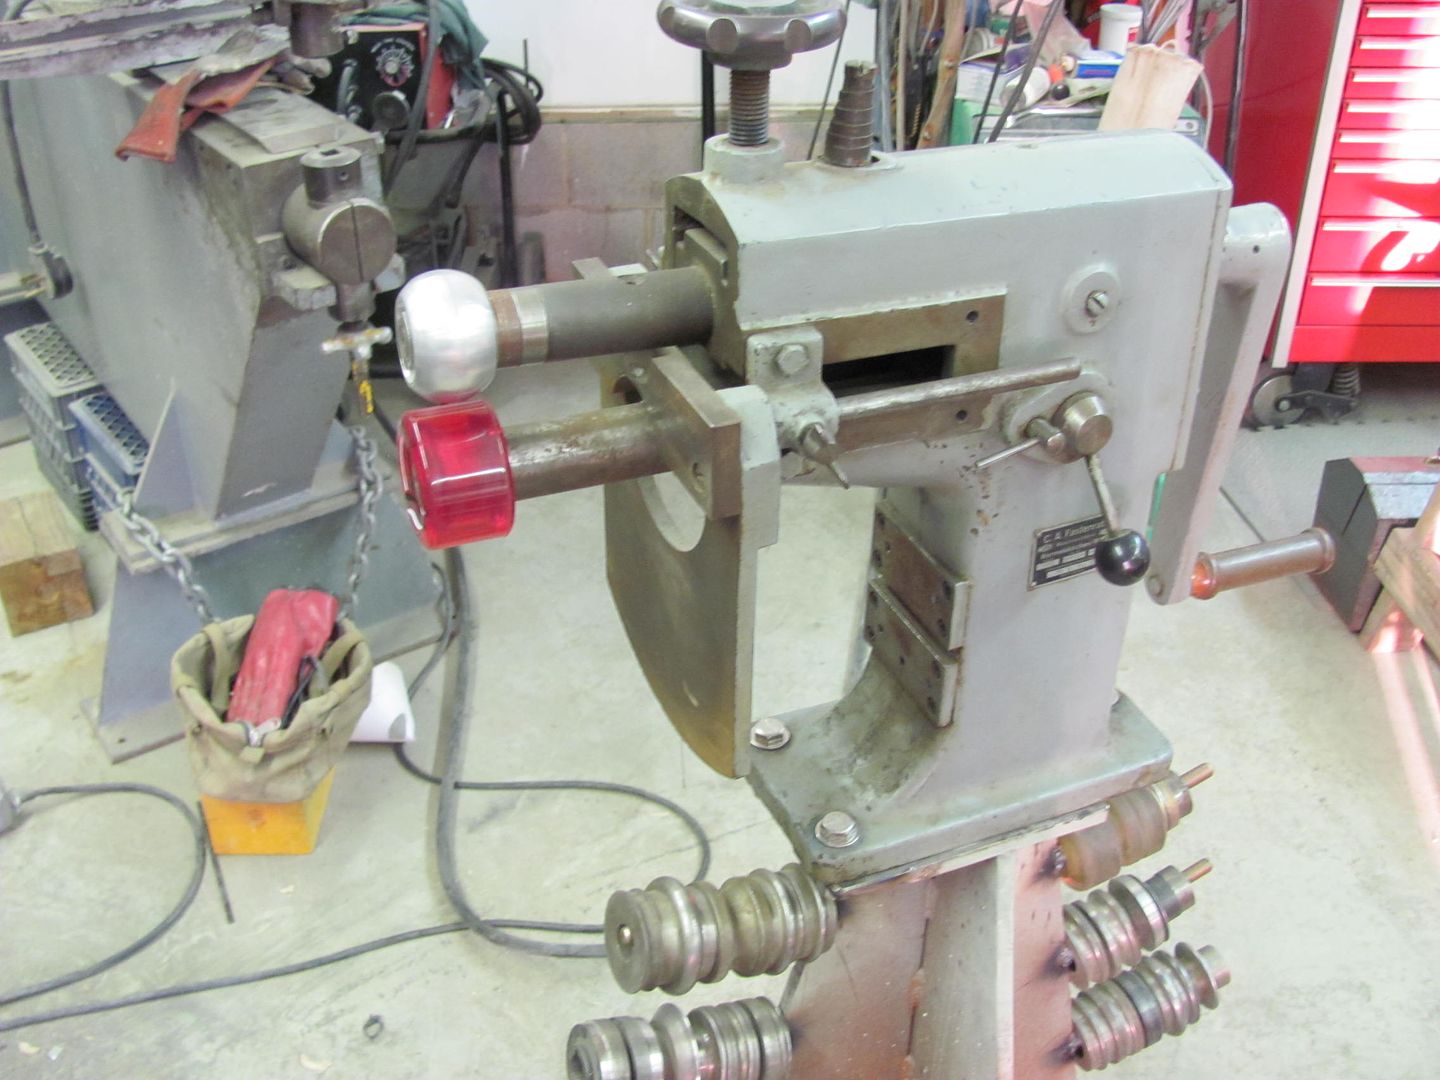
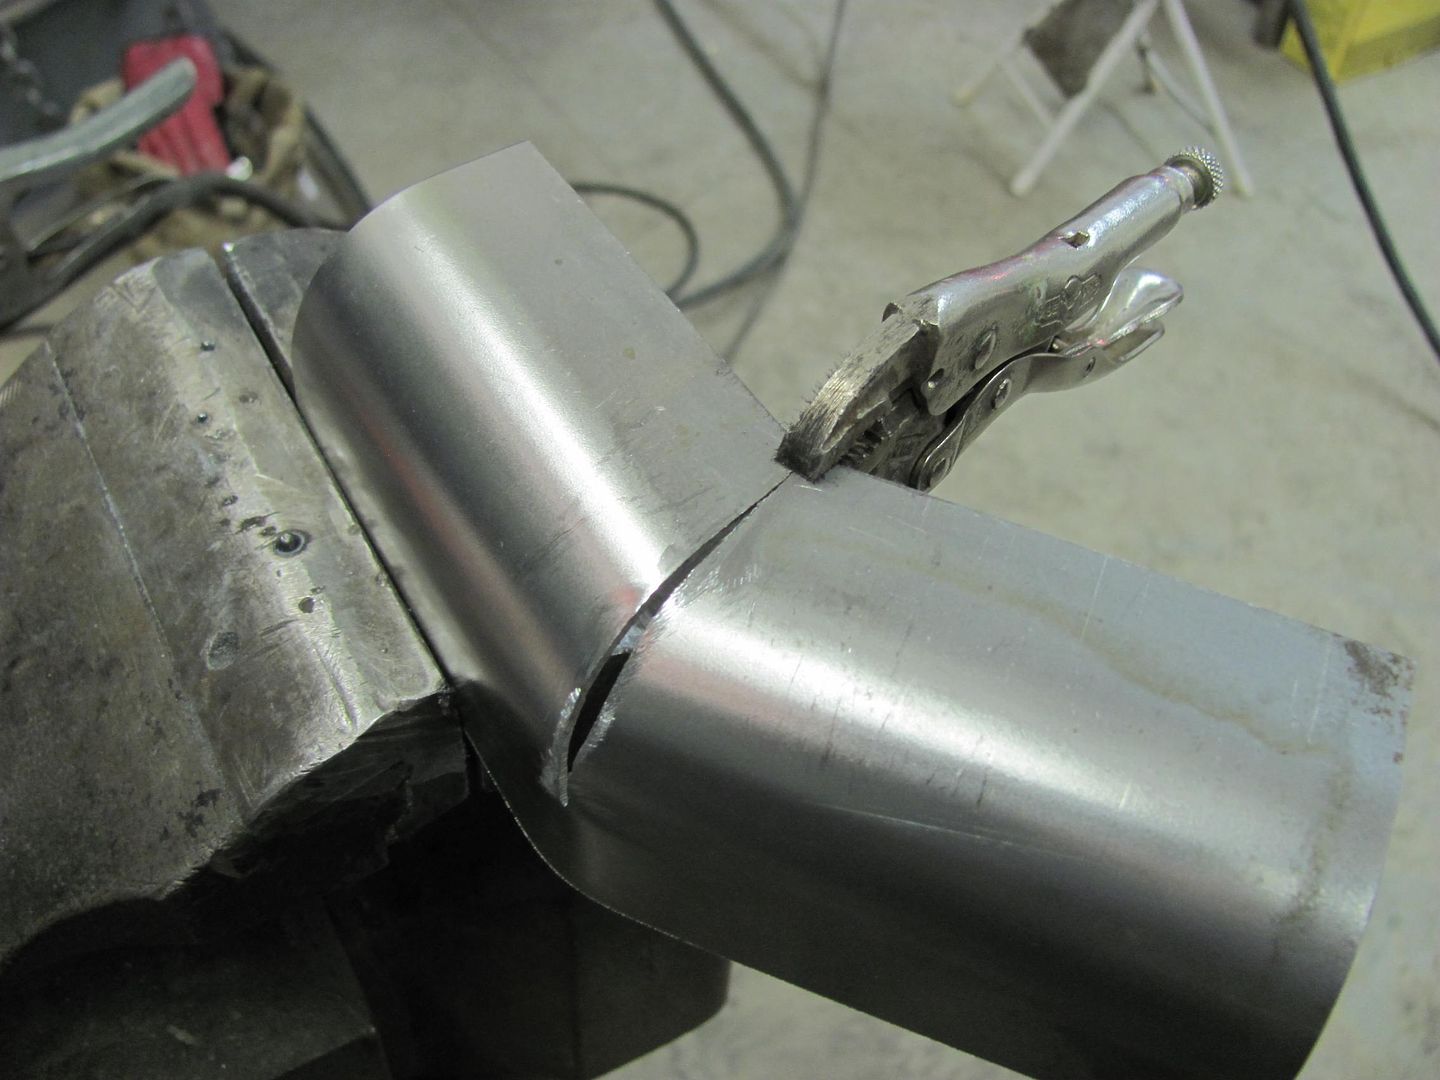
We started with using the crowned body hammer off dolly to knock the sharpness down a bit.
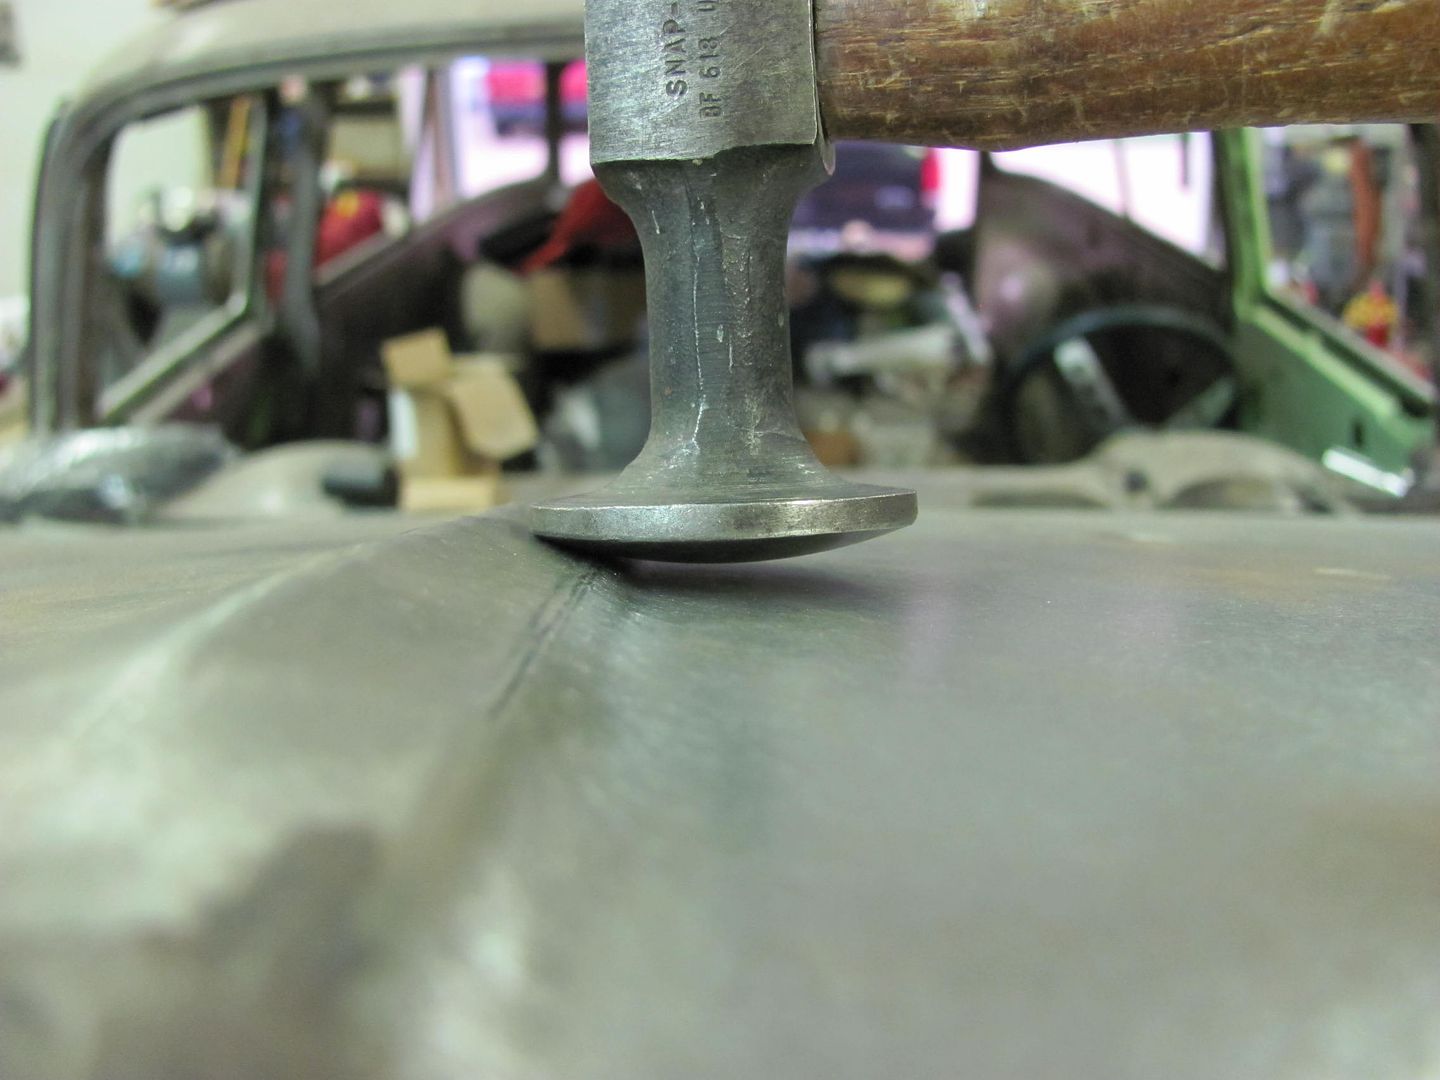
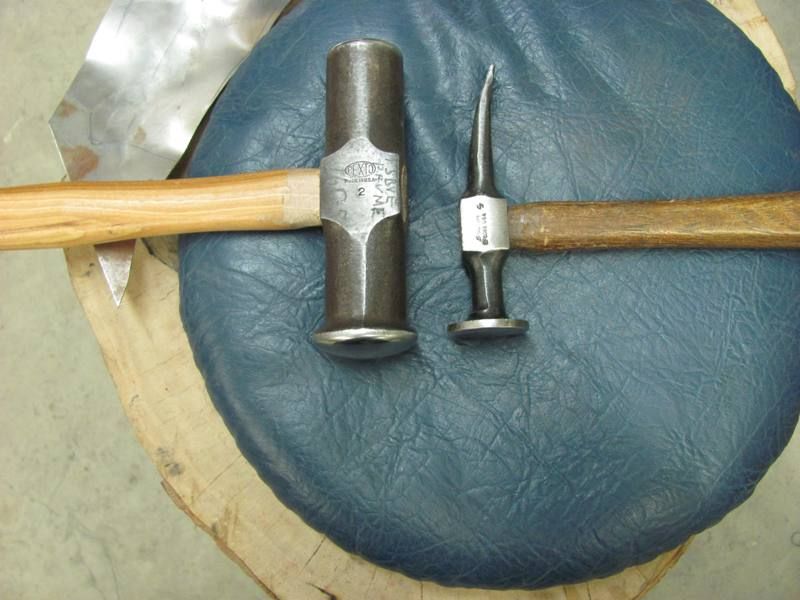
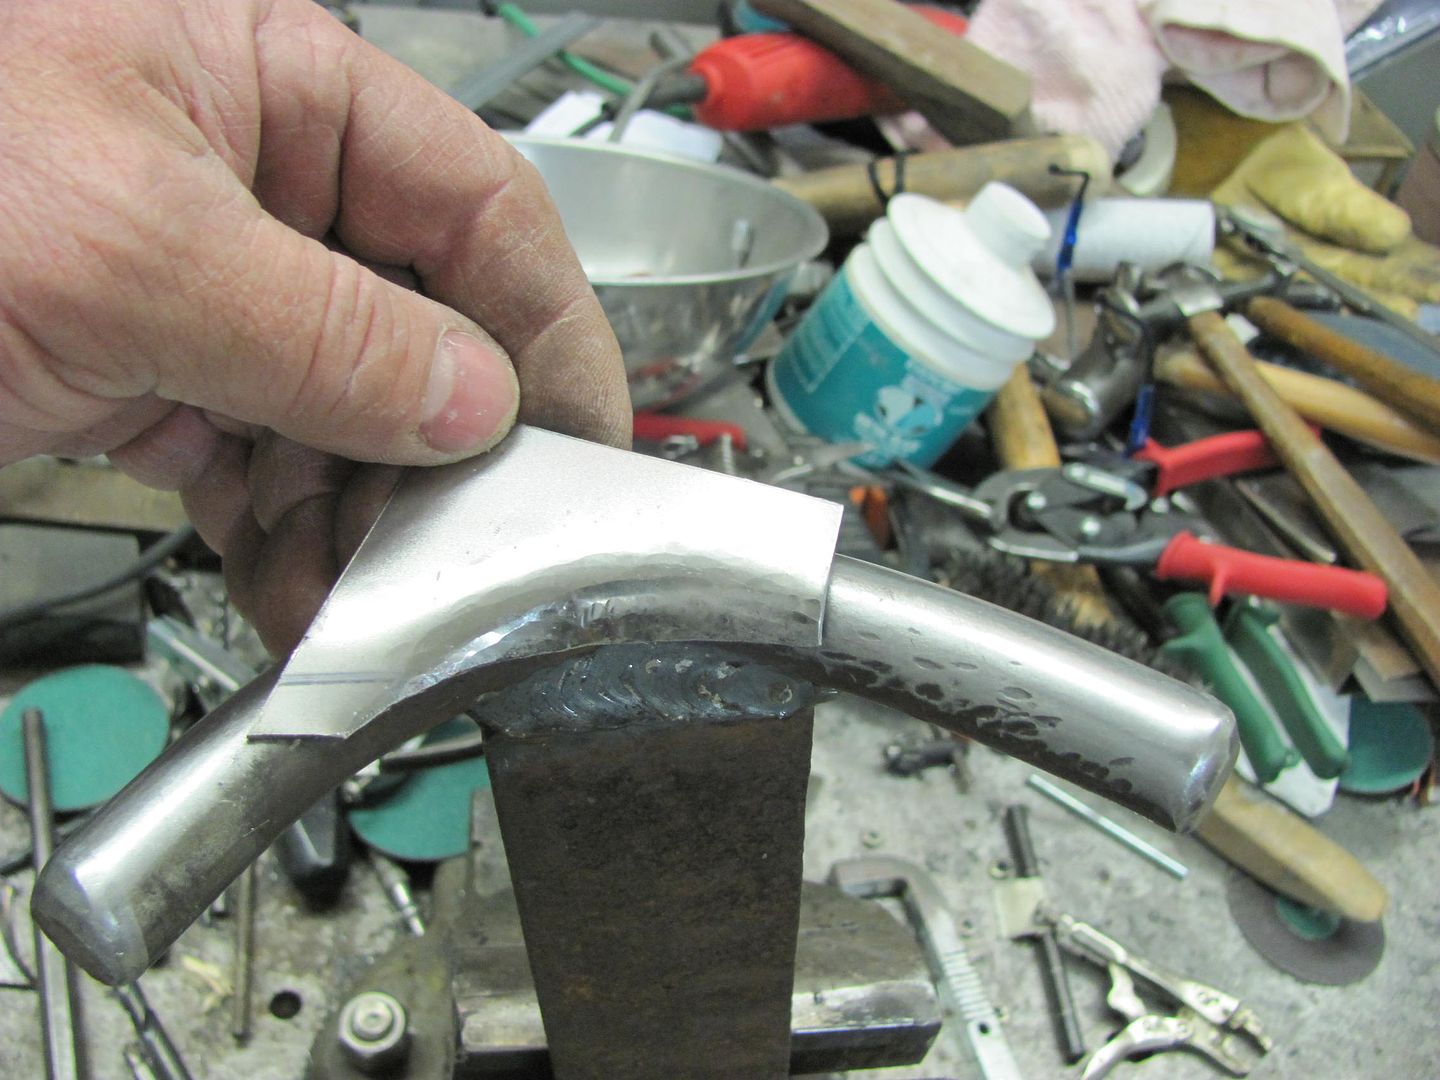
After that we needed something that more closely matched the inside radius. This would work if it weren't for that flat spot on the bottom of the hammer....
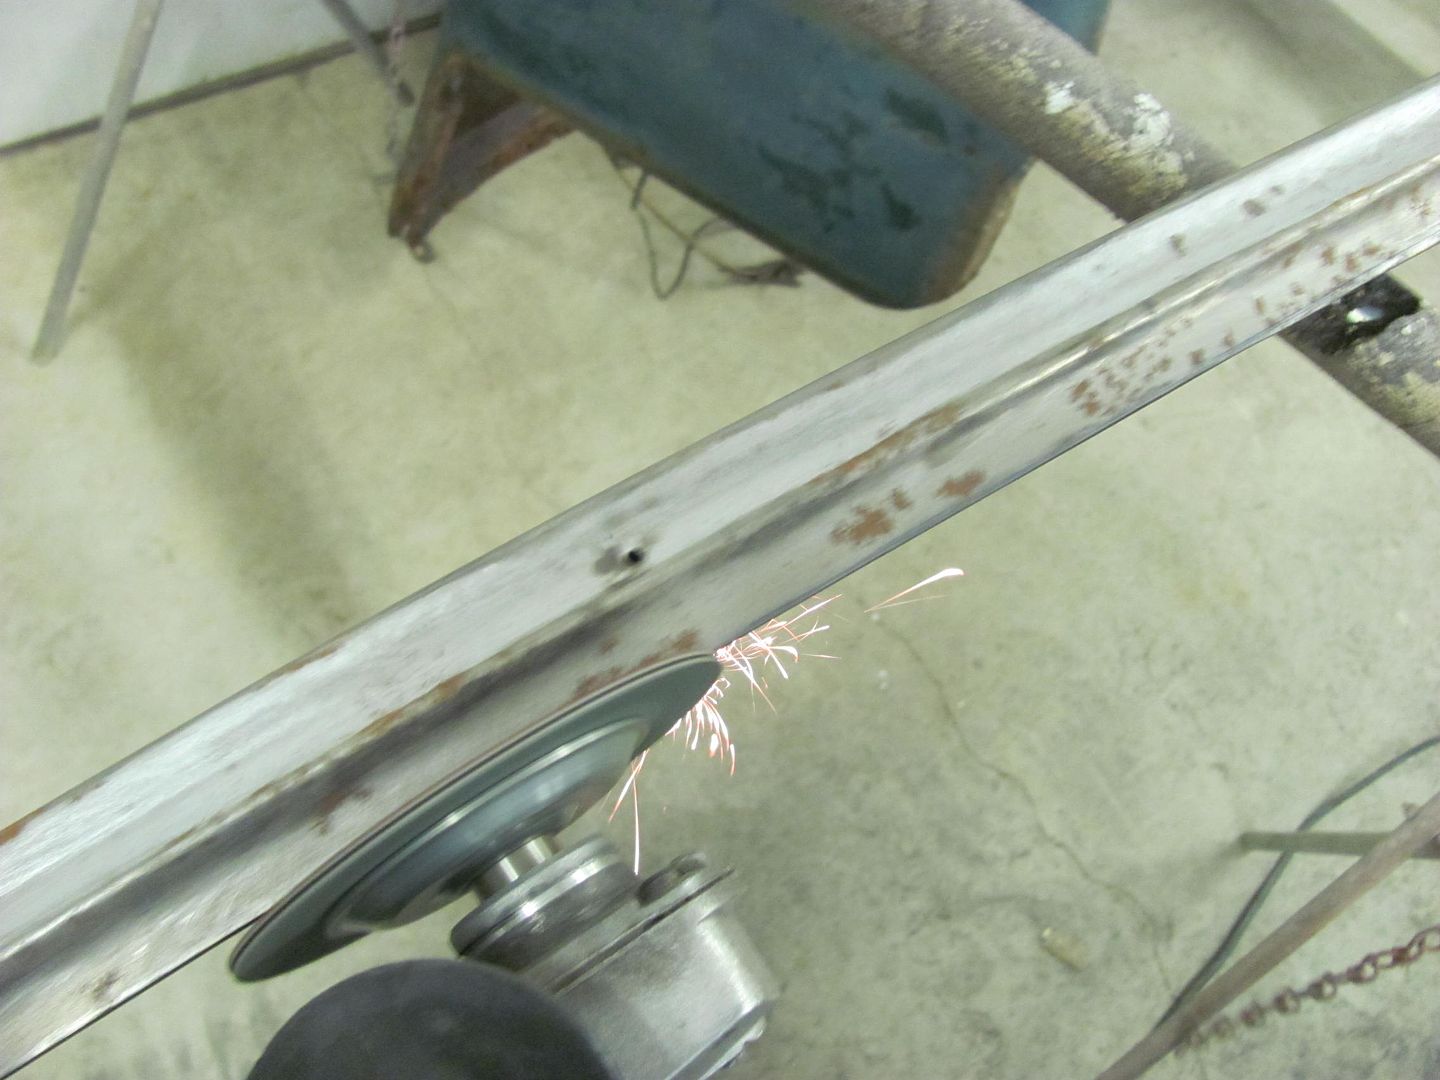
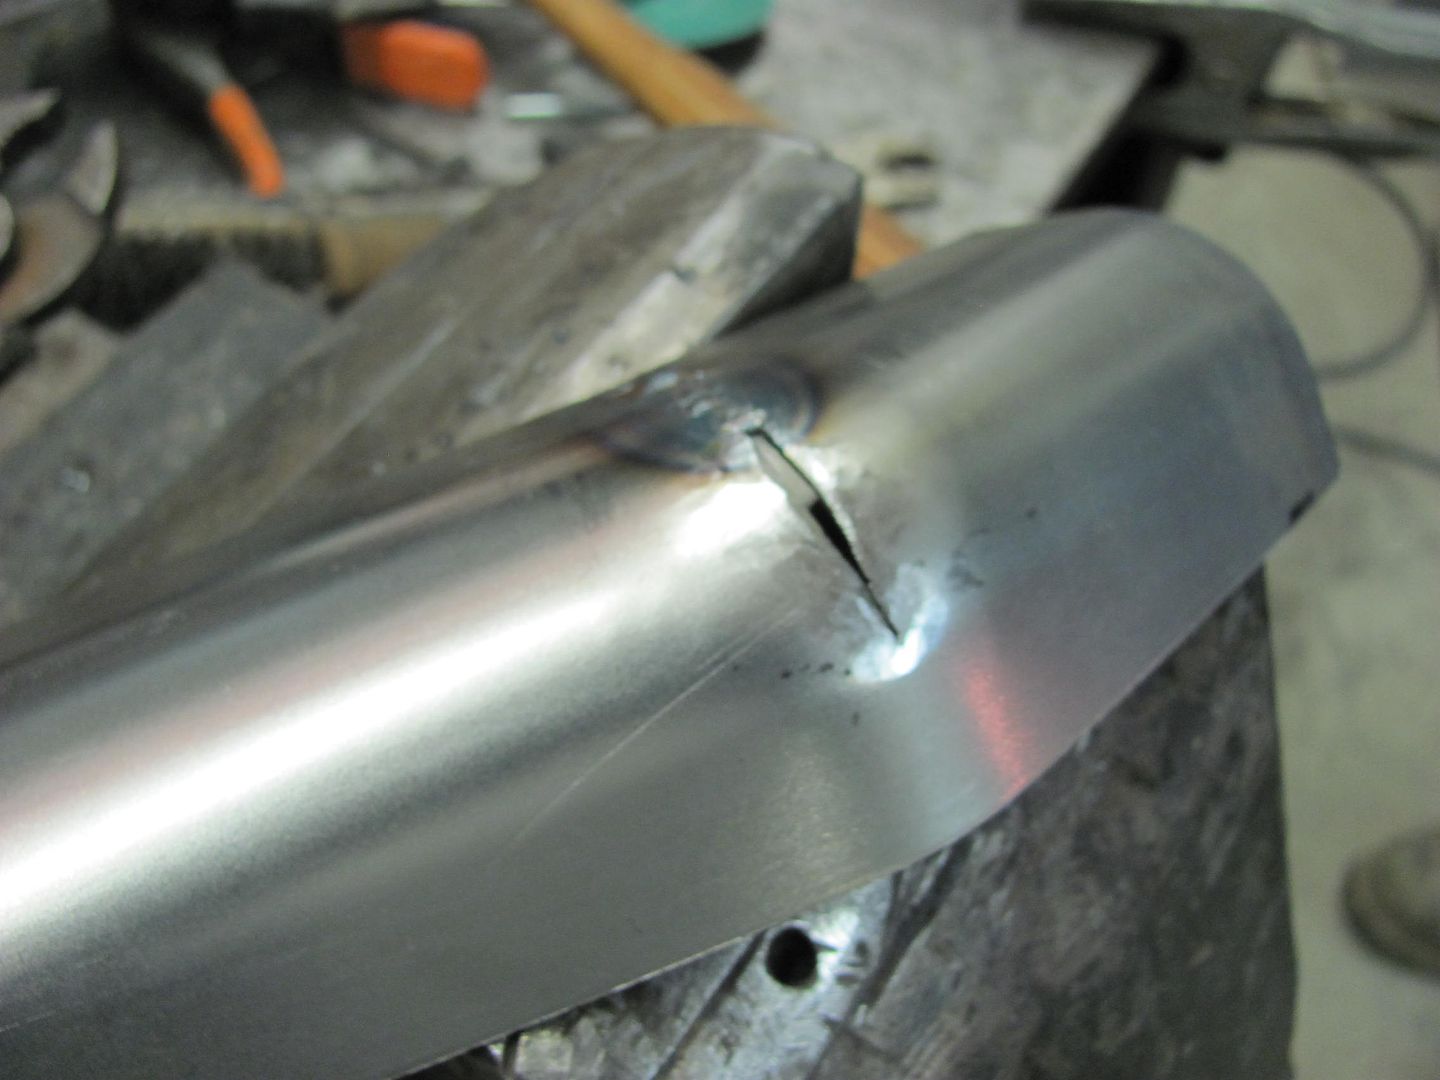
...but after about 5 minutes with the grinder it had a more conforming radius..
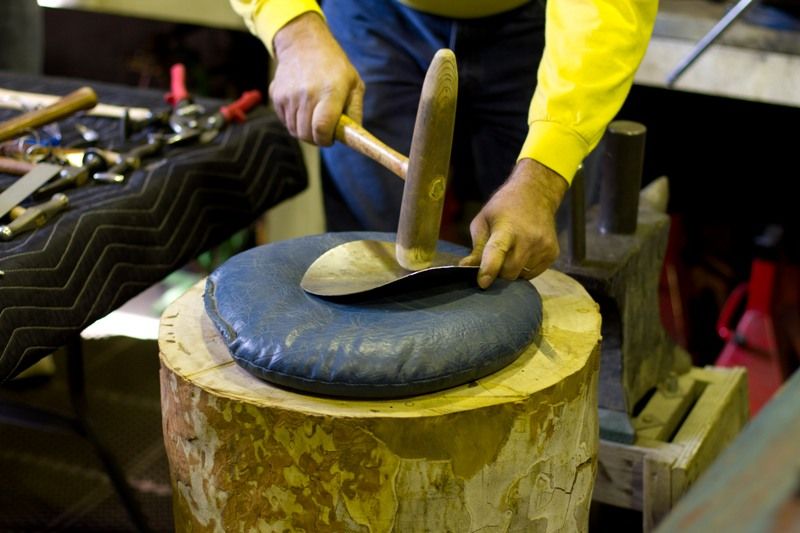
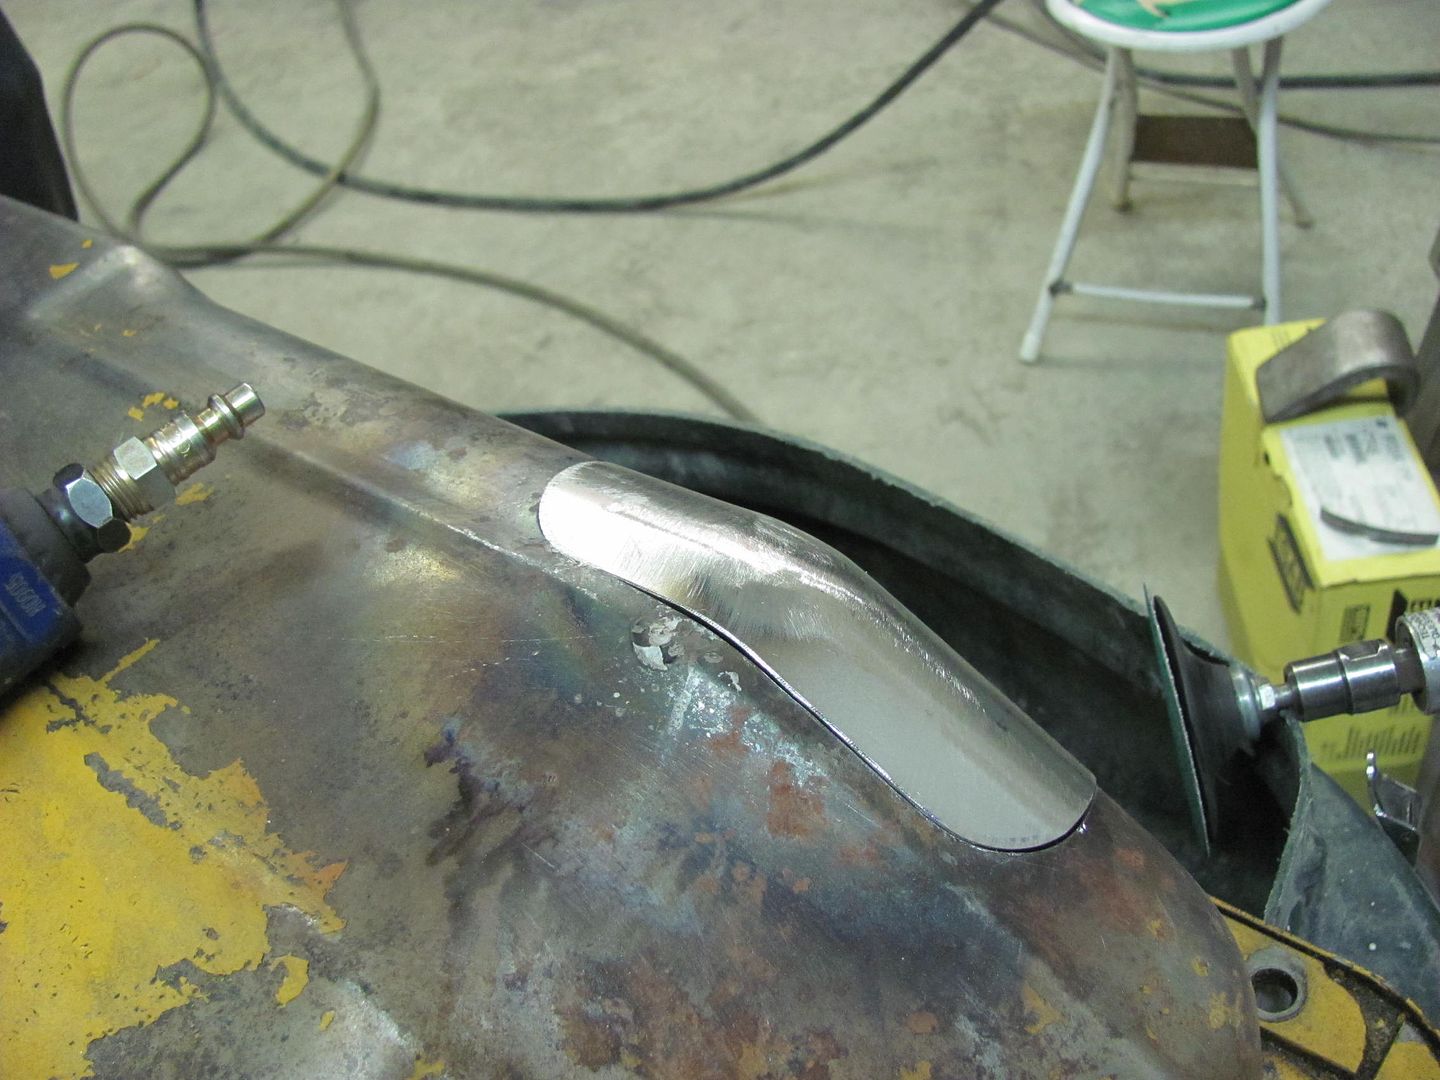
Kept working and working (and more use of the "Punch and Die" as well).....
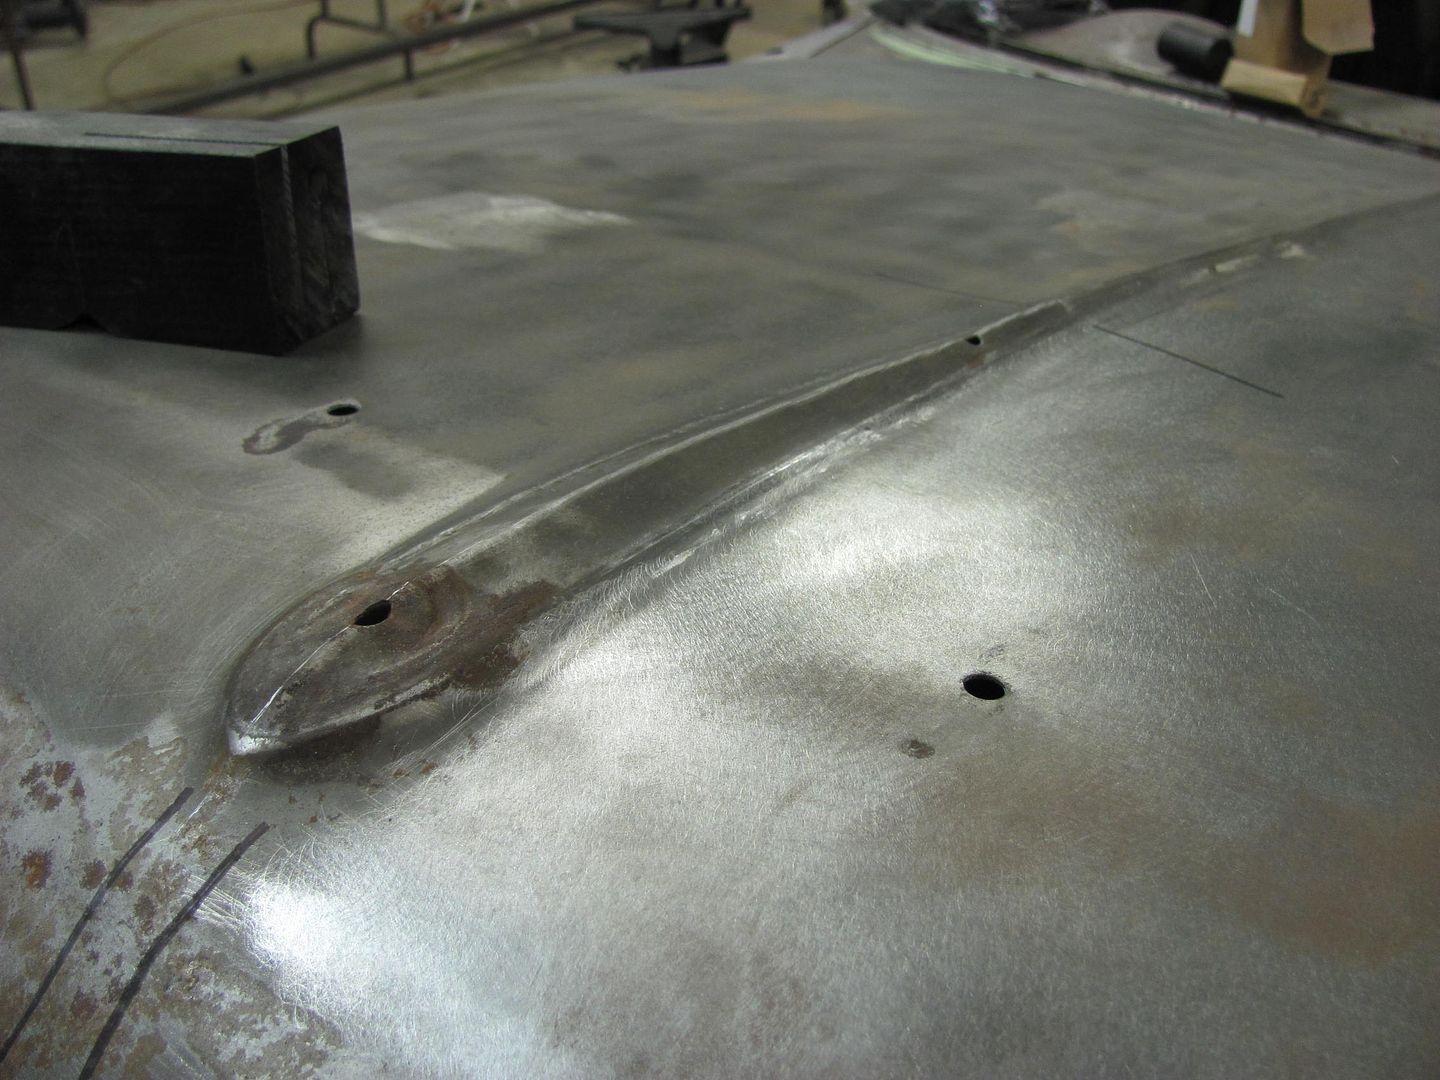
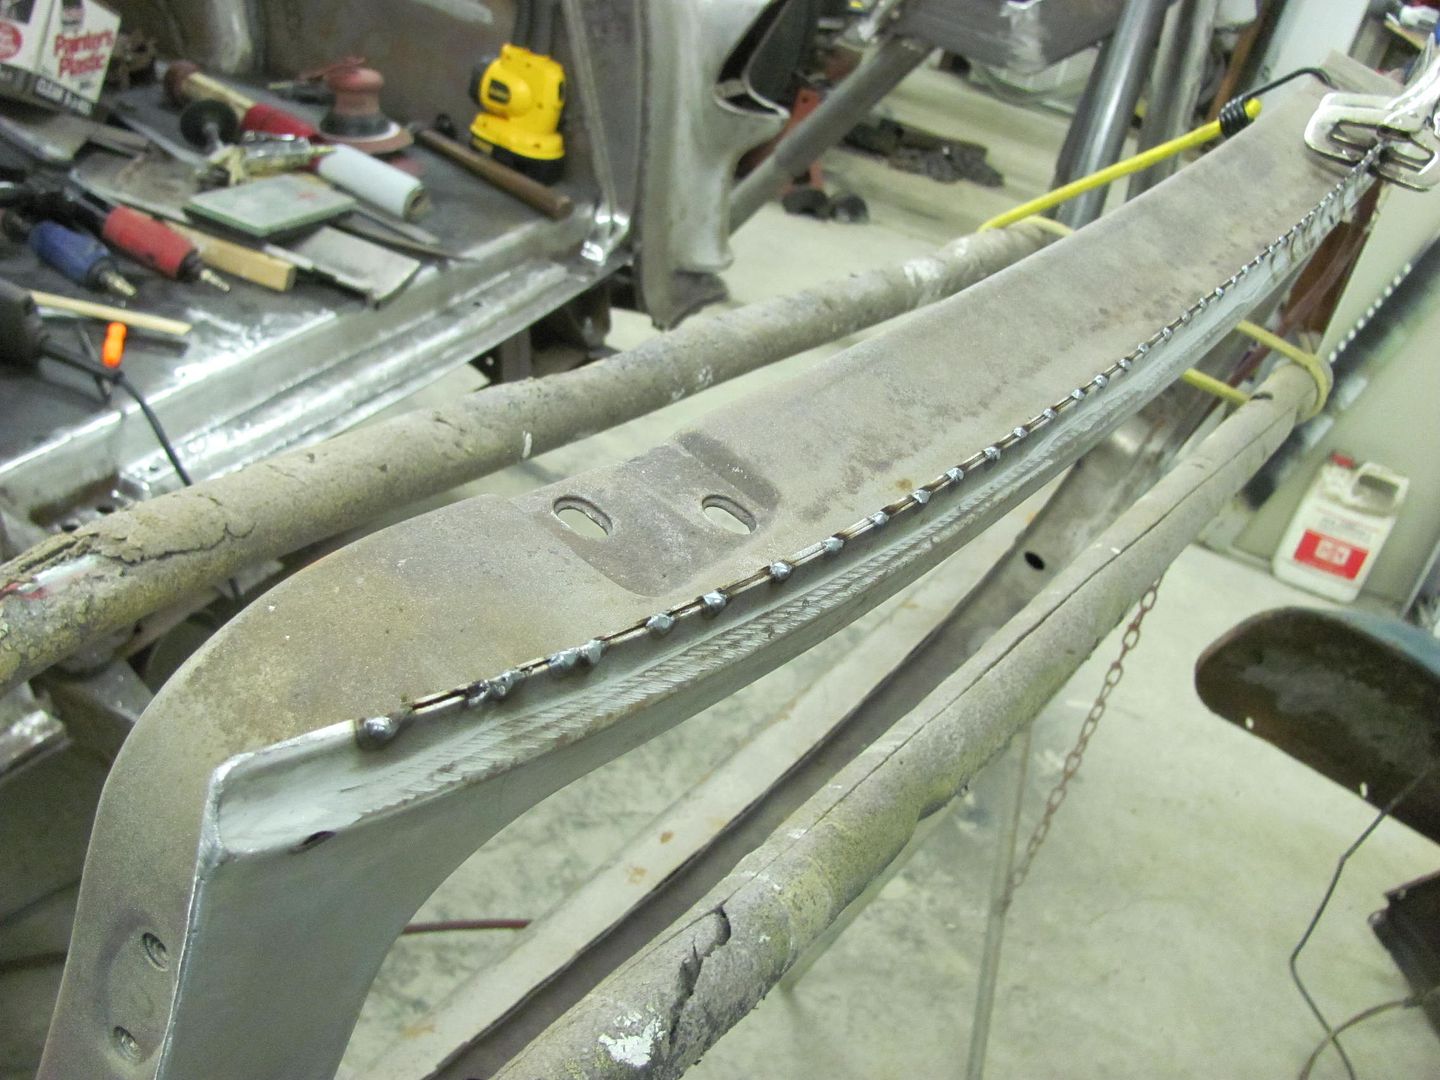
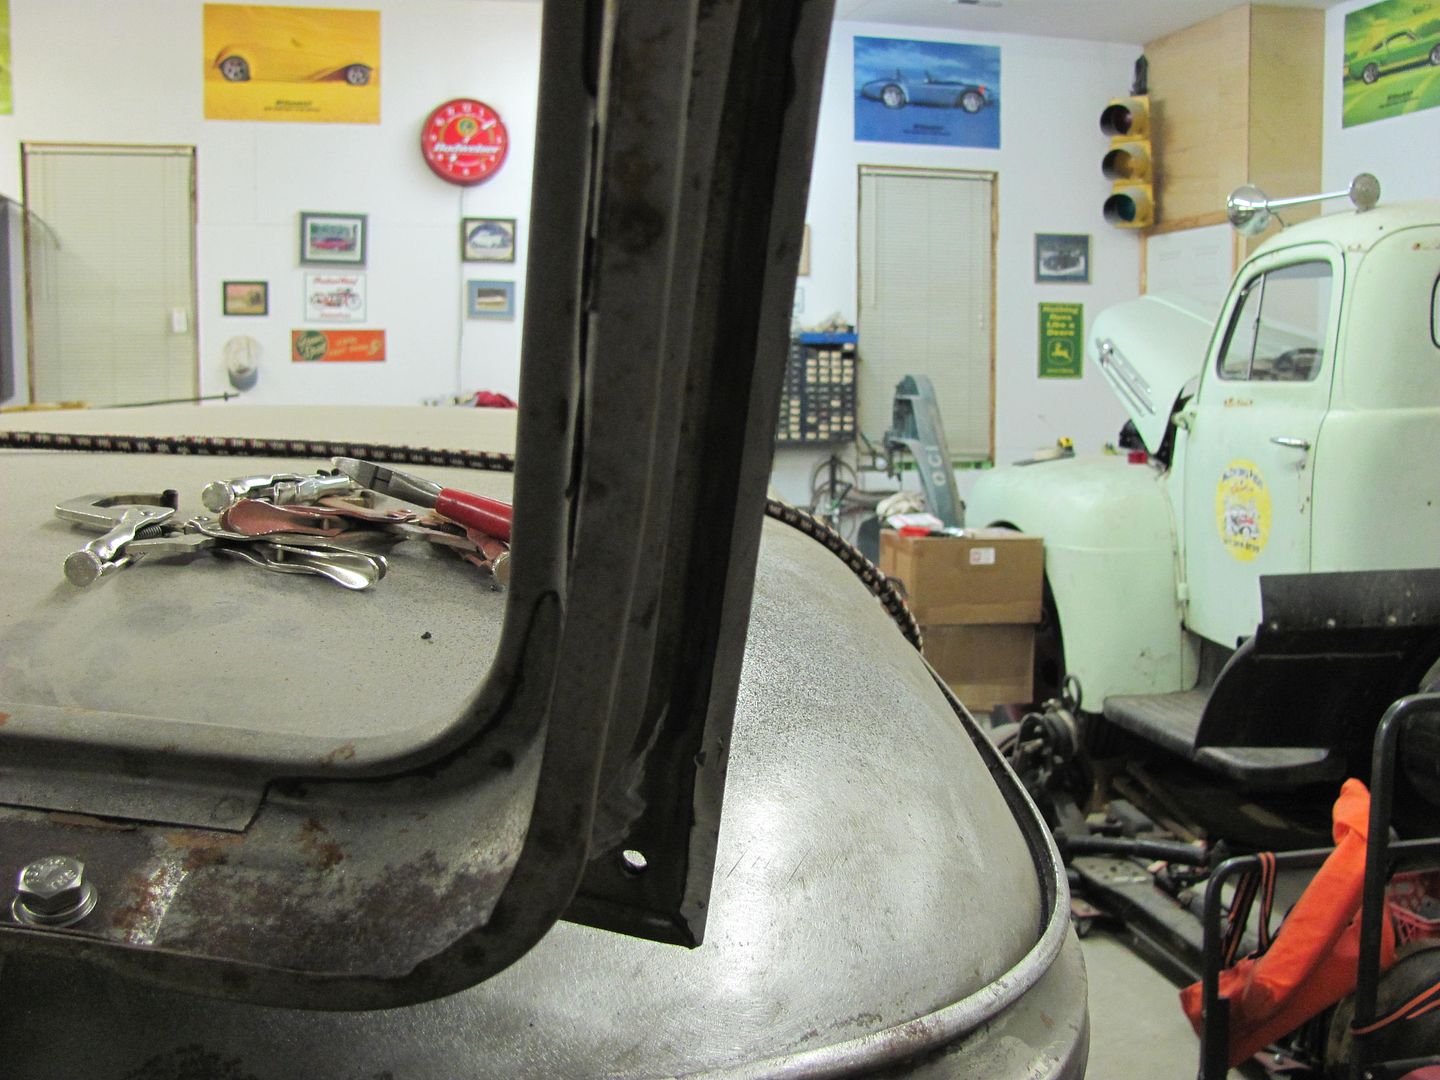
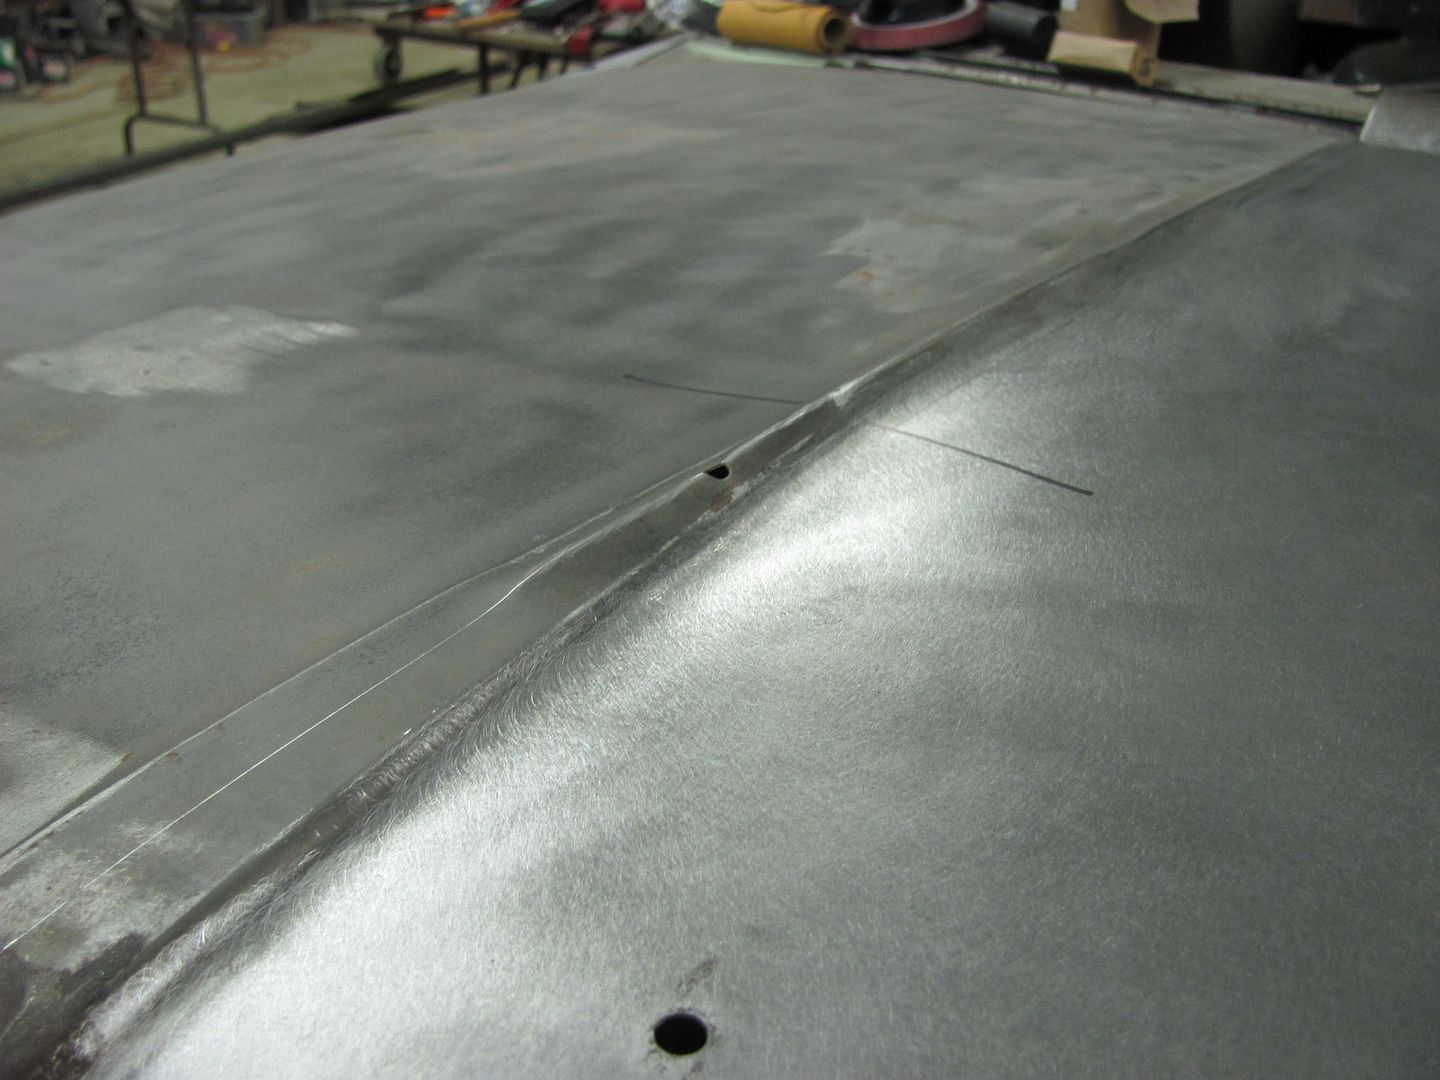
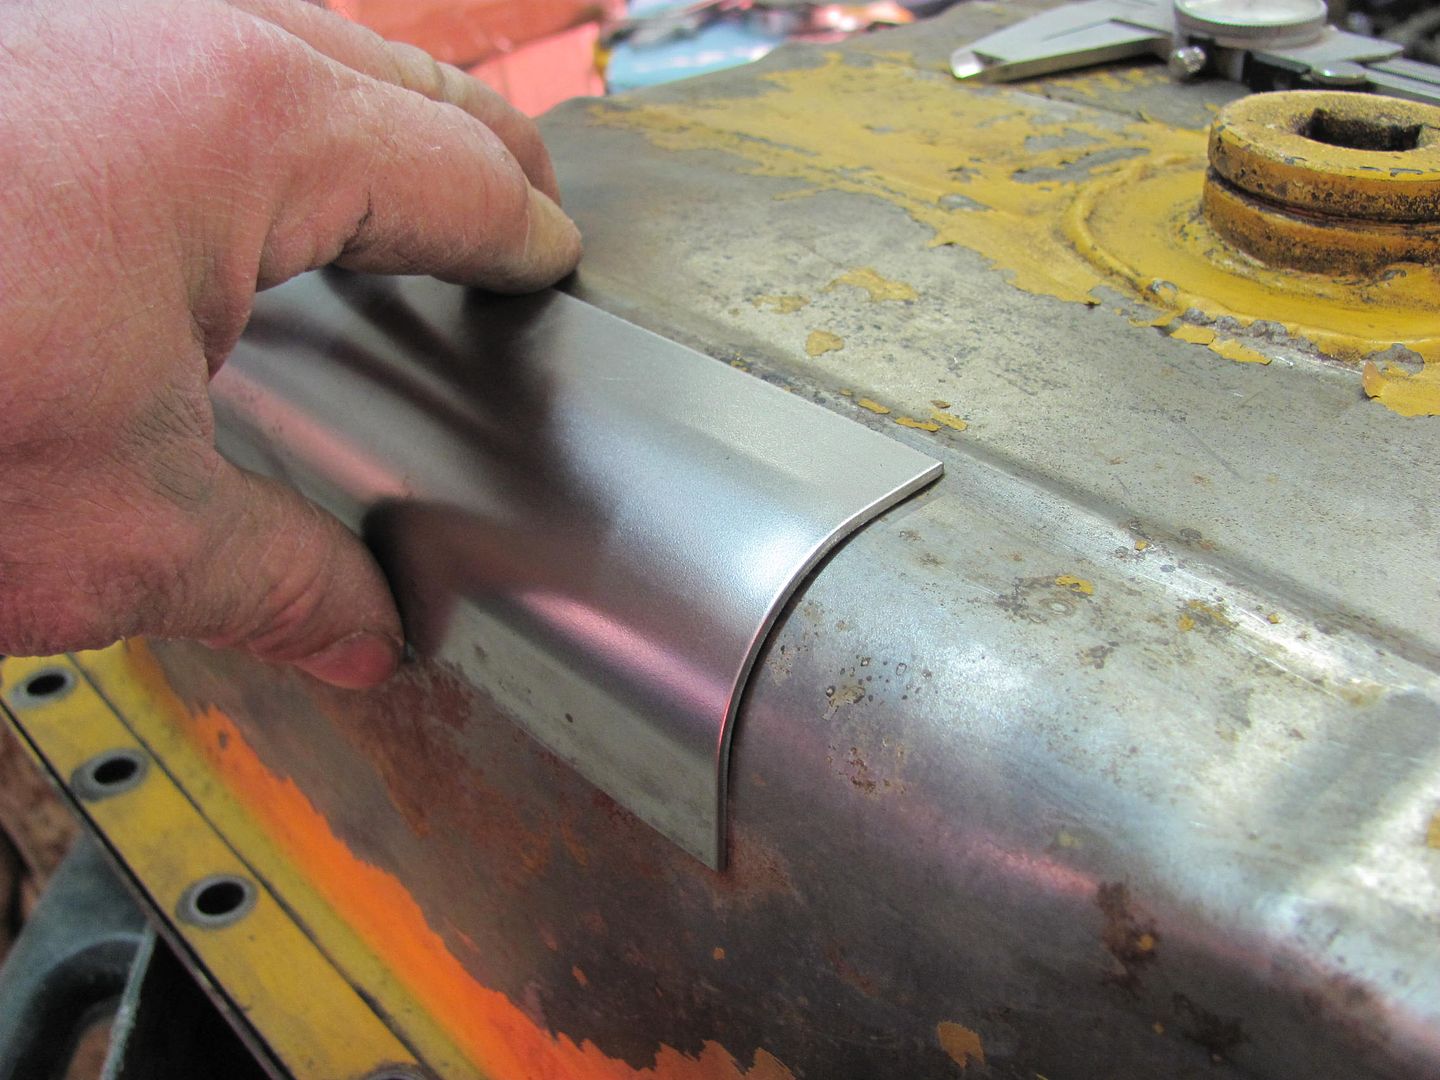
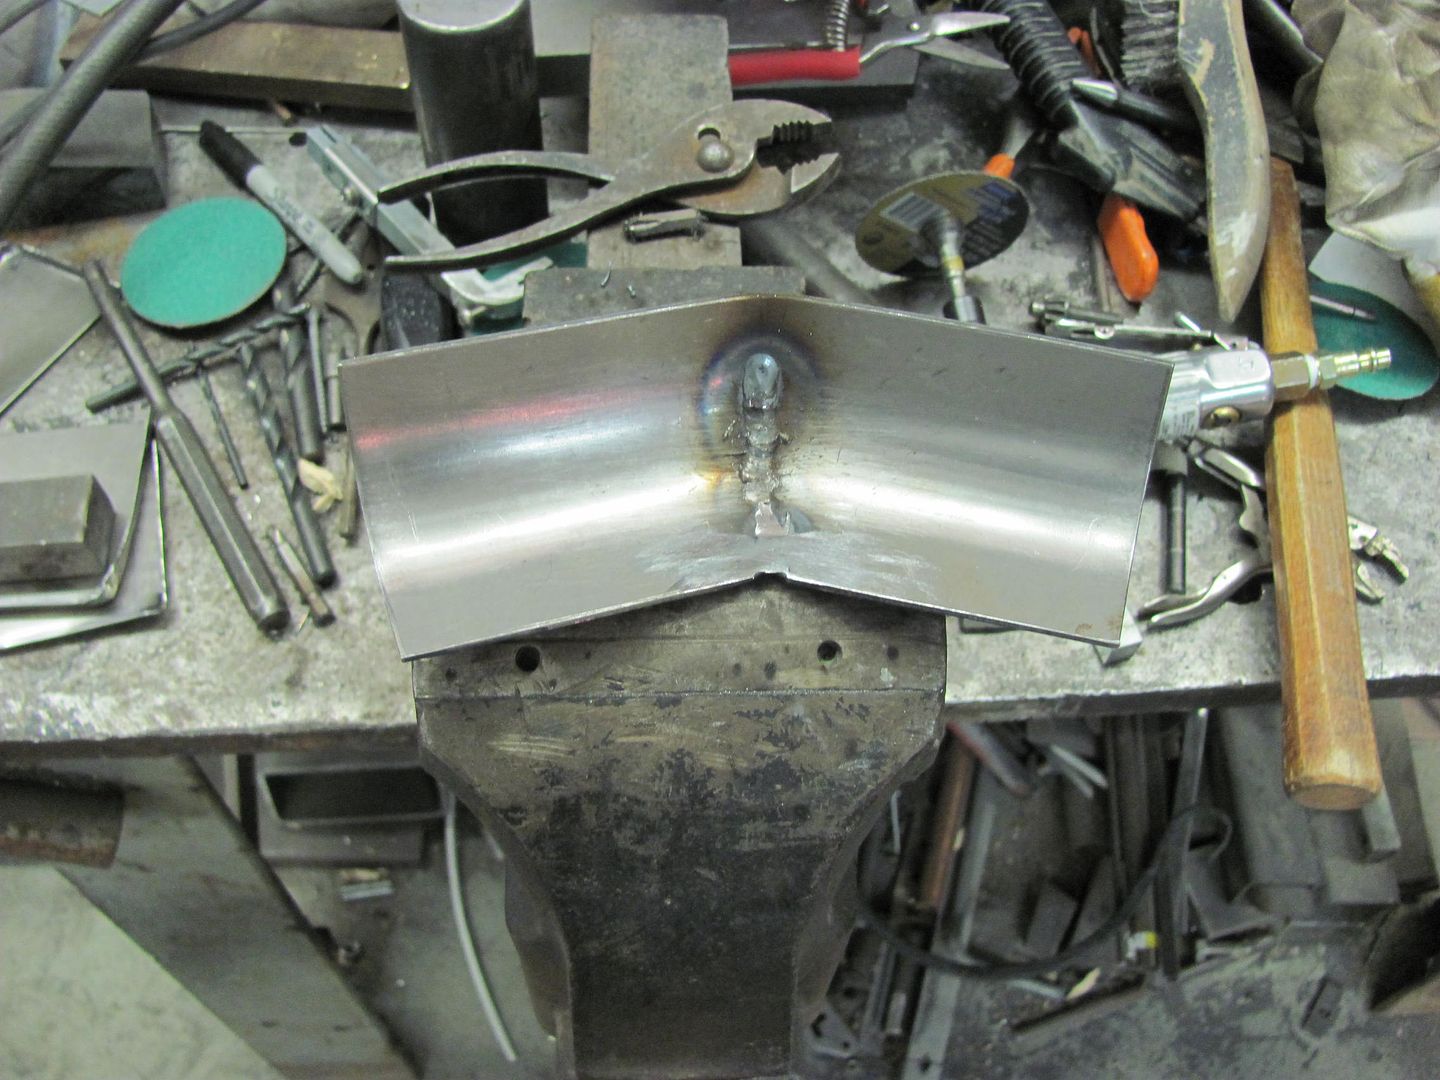
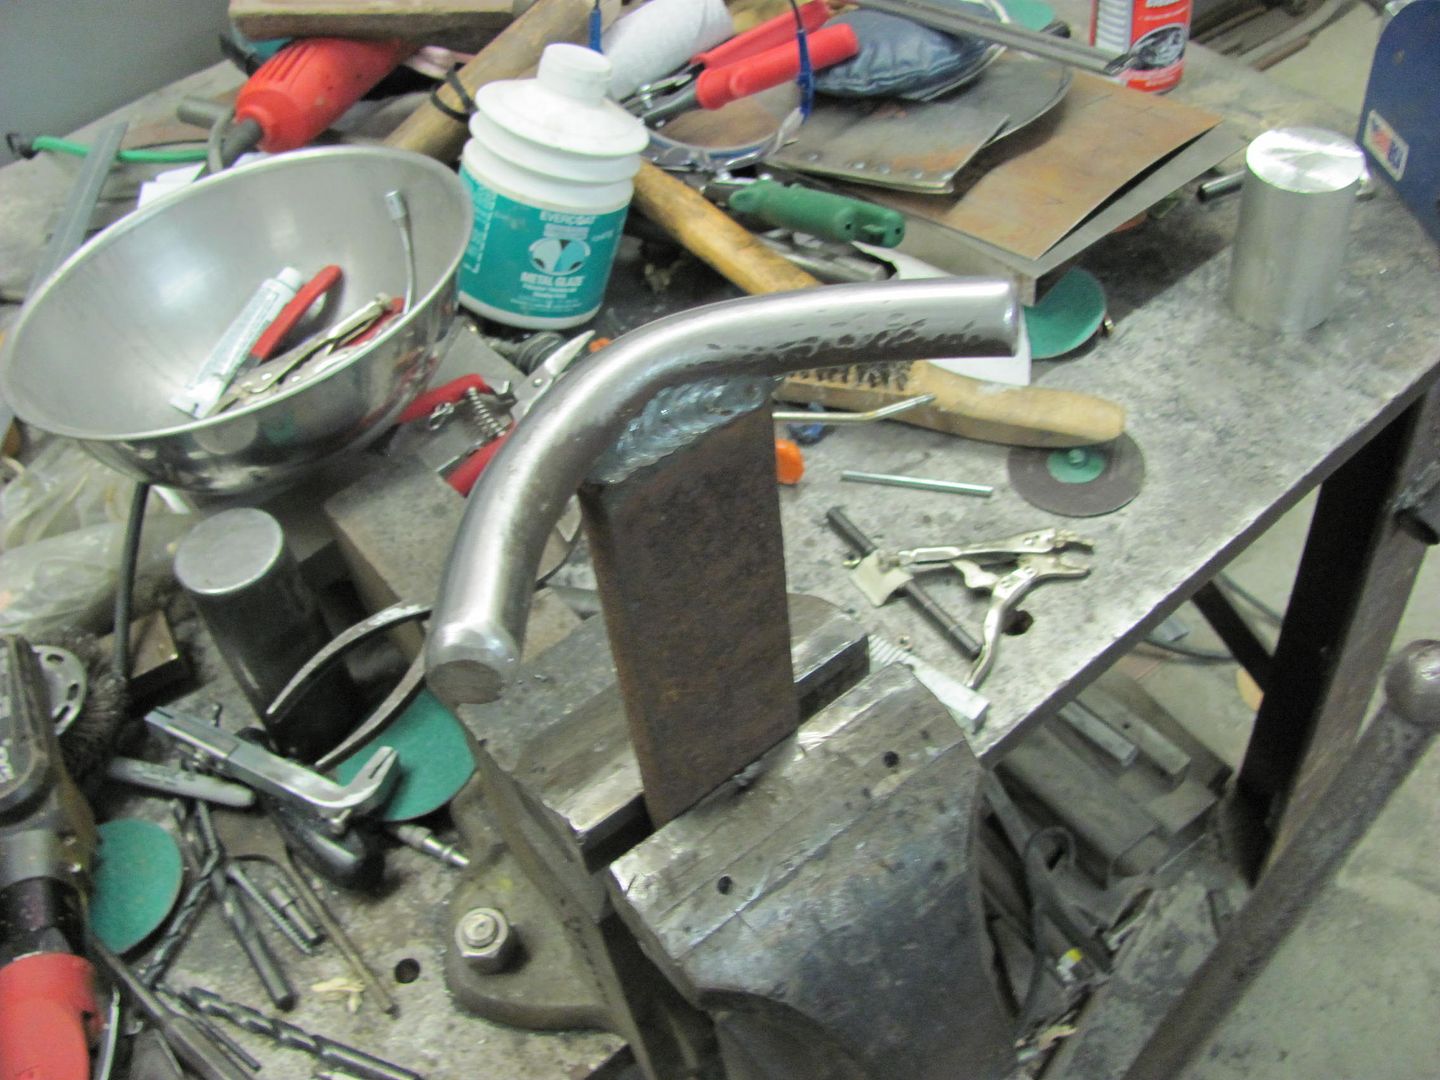
and this is what we ended up with....
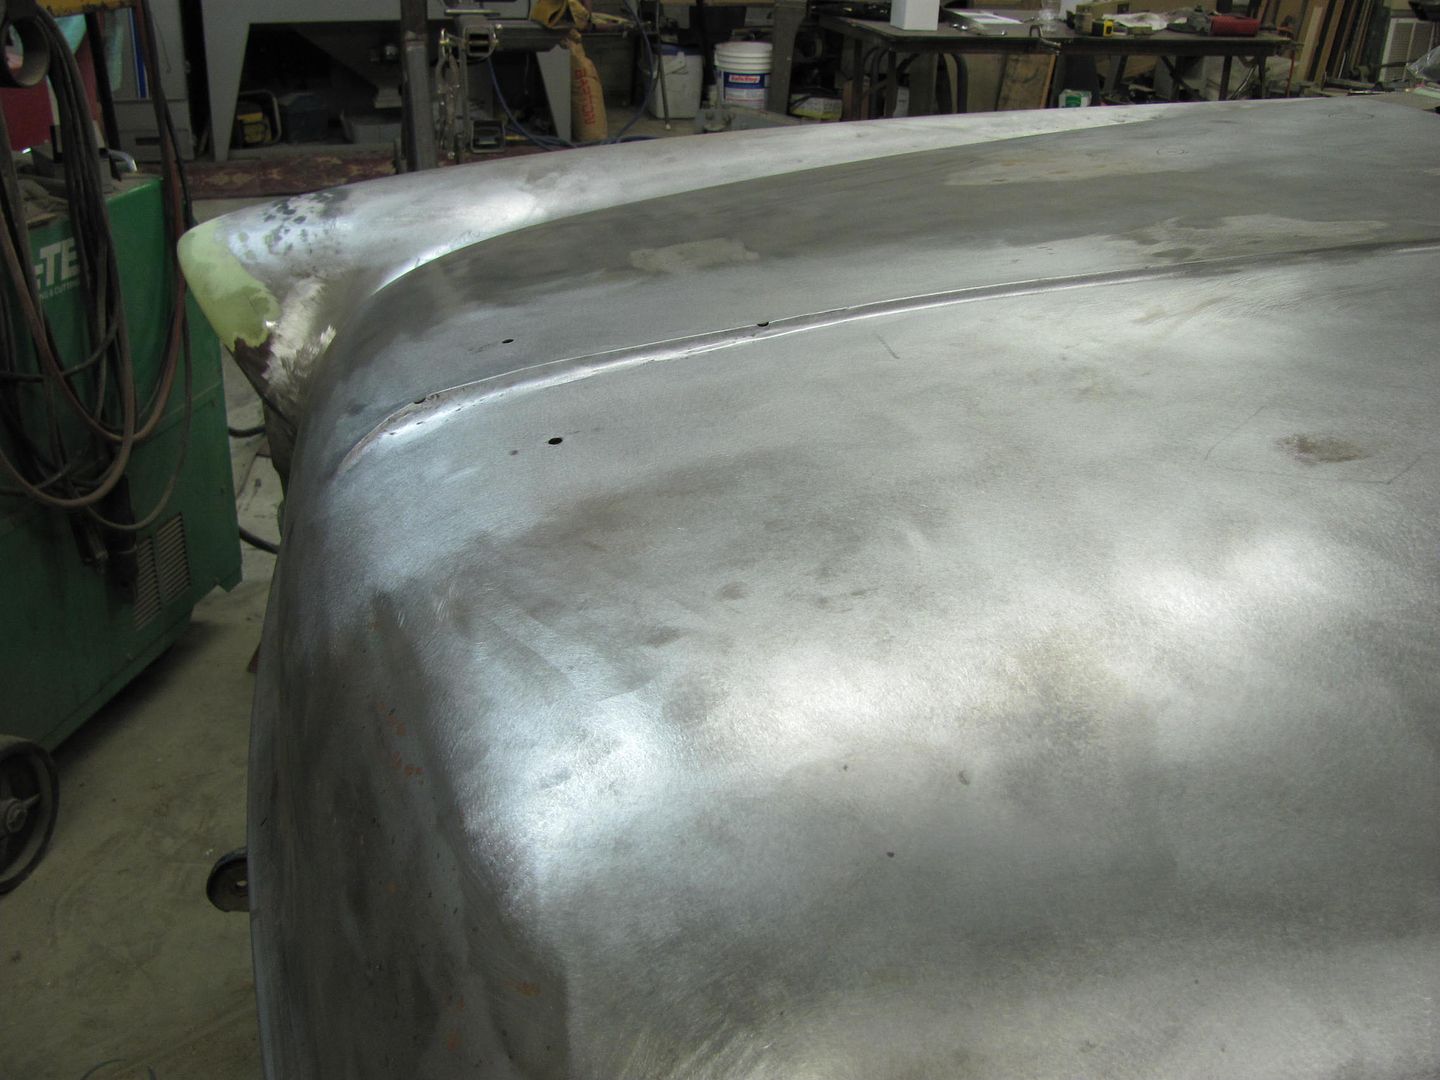
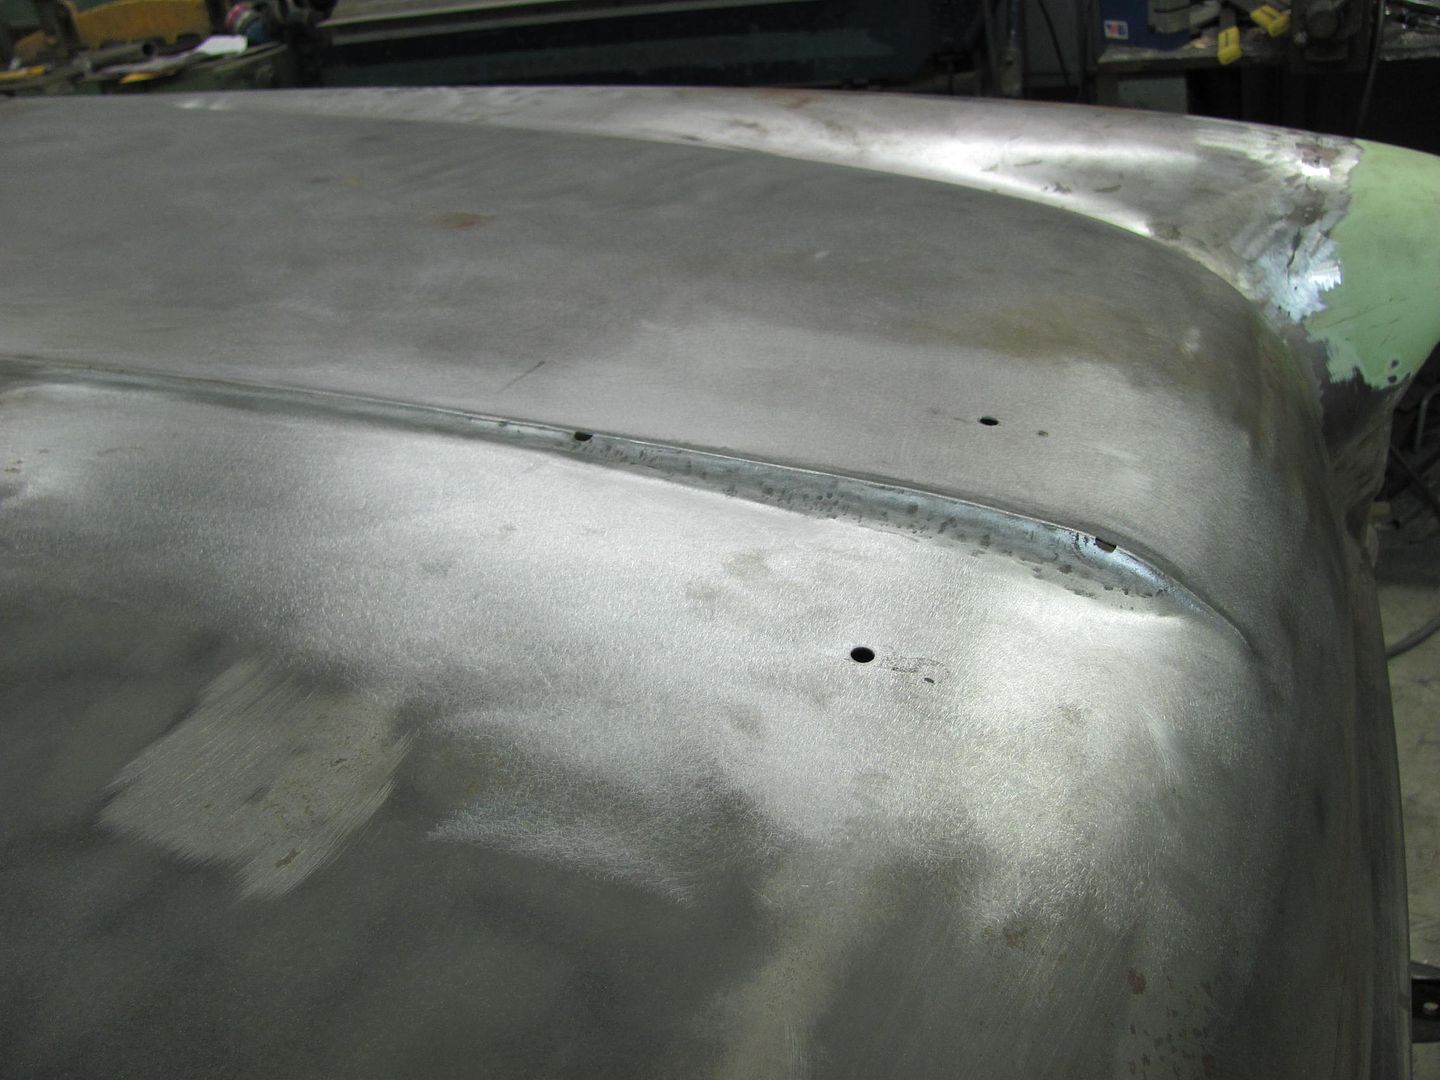

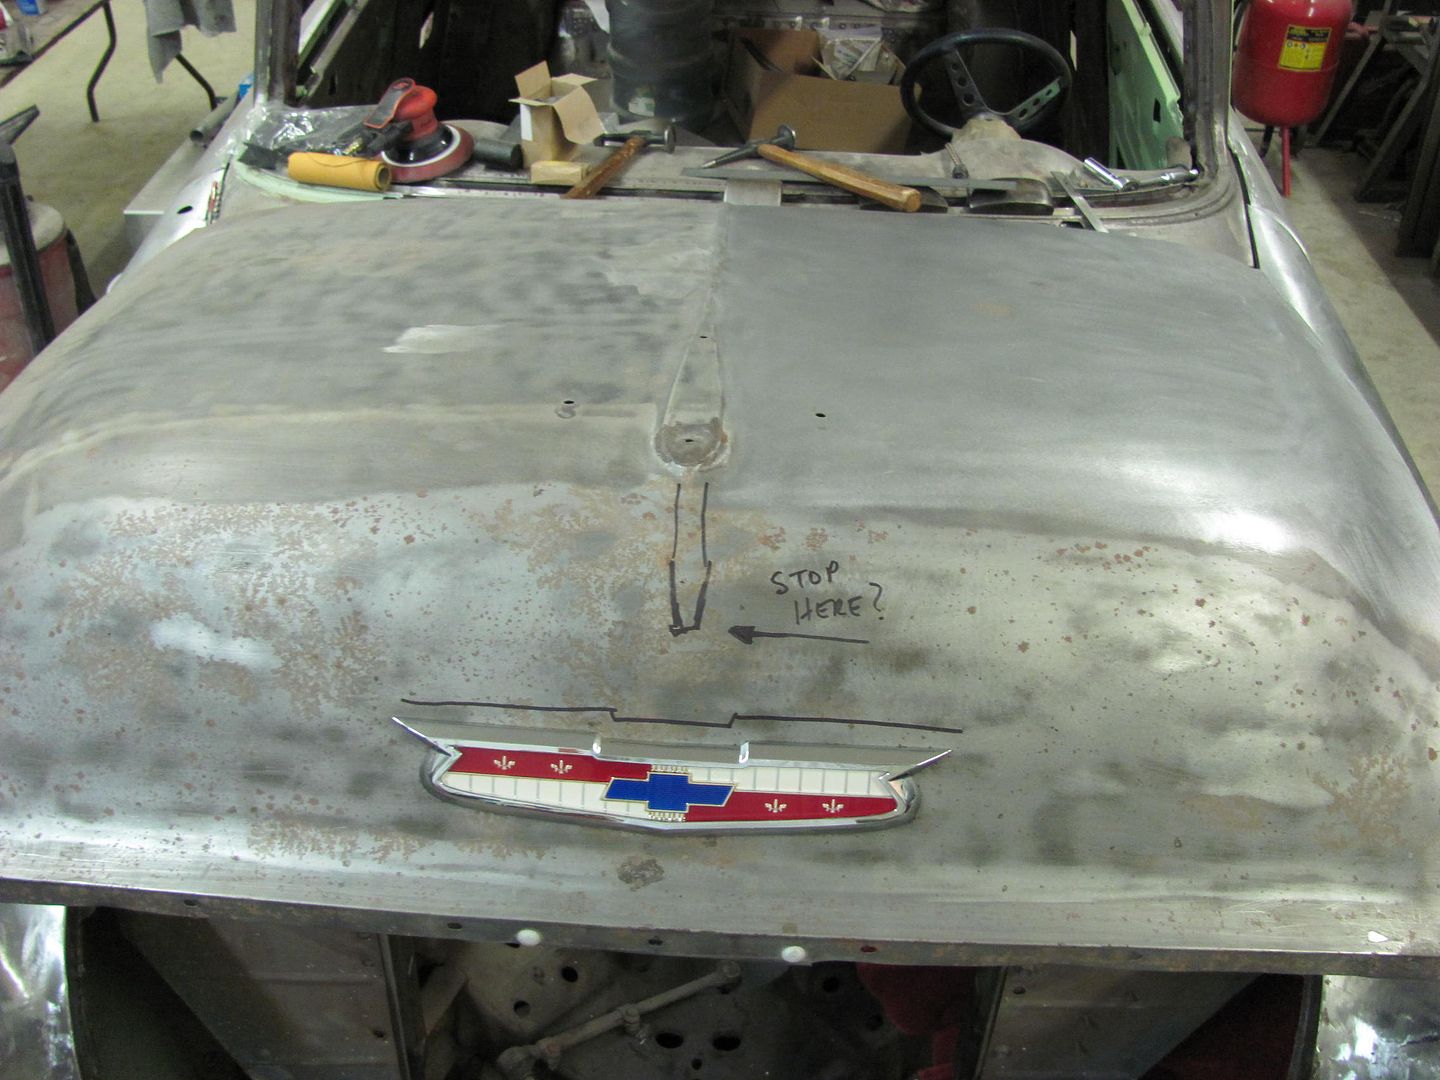
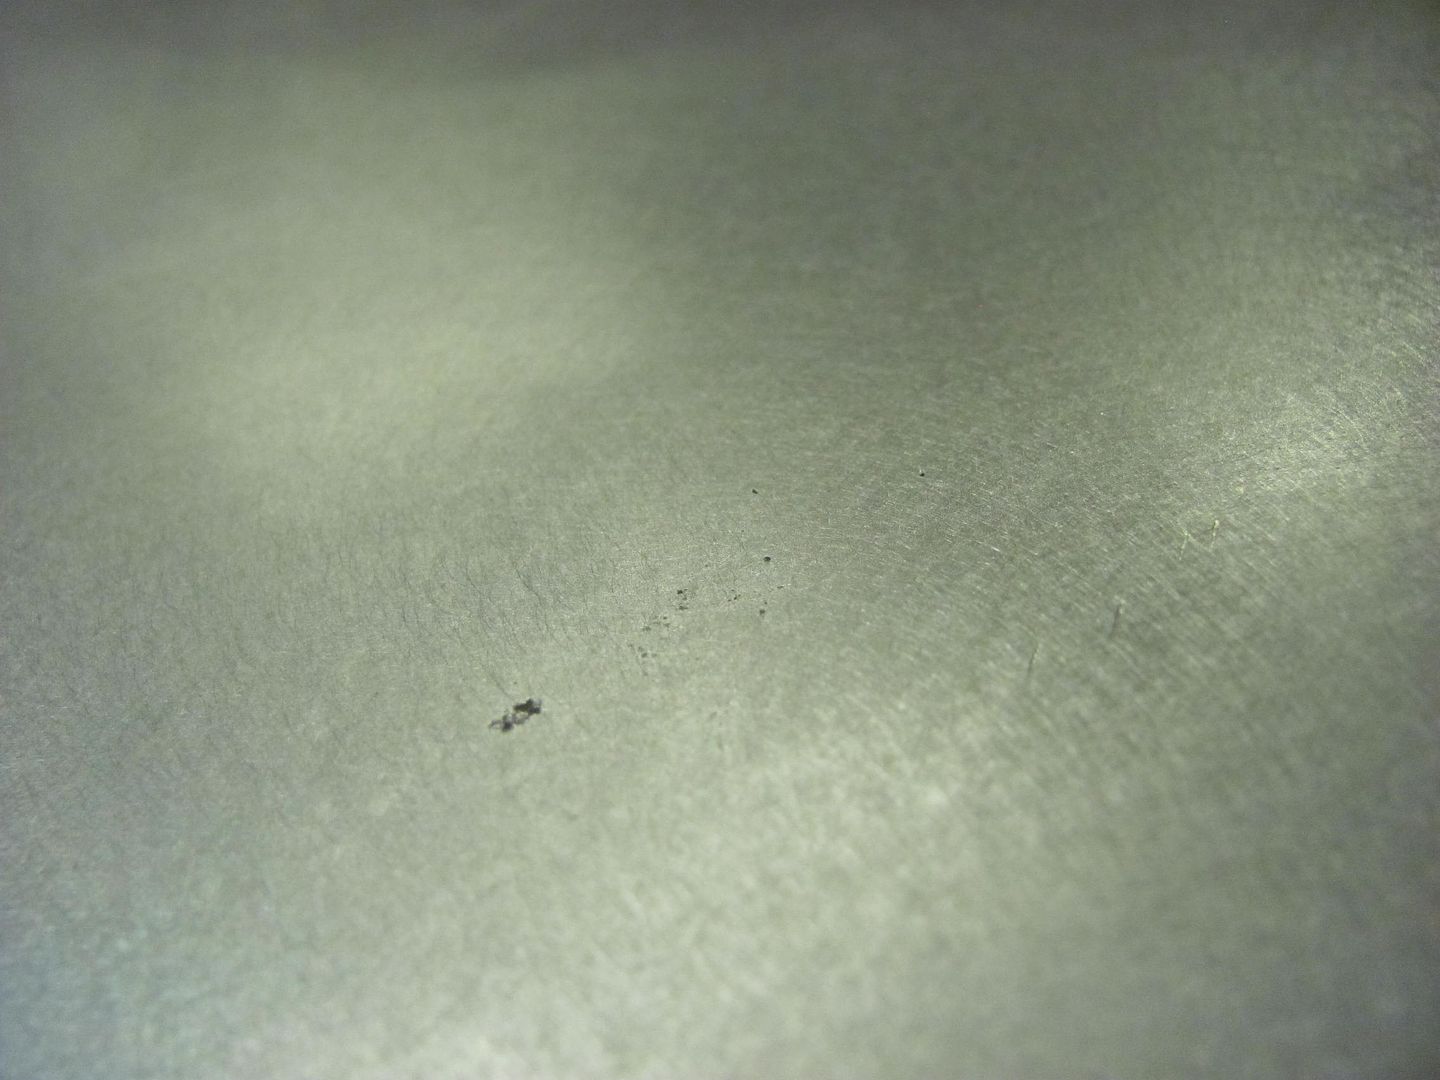
It still has some fine tuning to go, holes to fill, some shrinking in the "valley" down both sides towards the front and some tweaking here and there to make the peak more uniform front to back. But overall I'm real pleased with how it turned out.
Backing up a second, a few more details.....
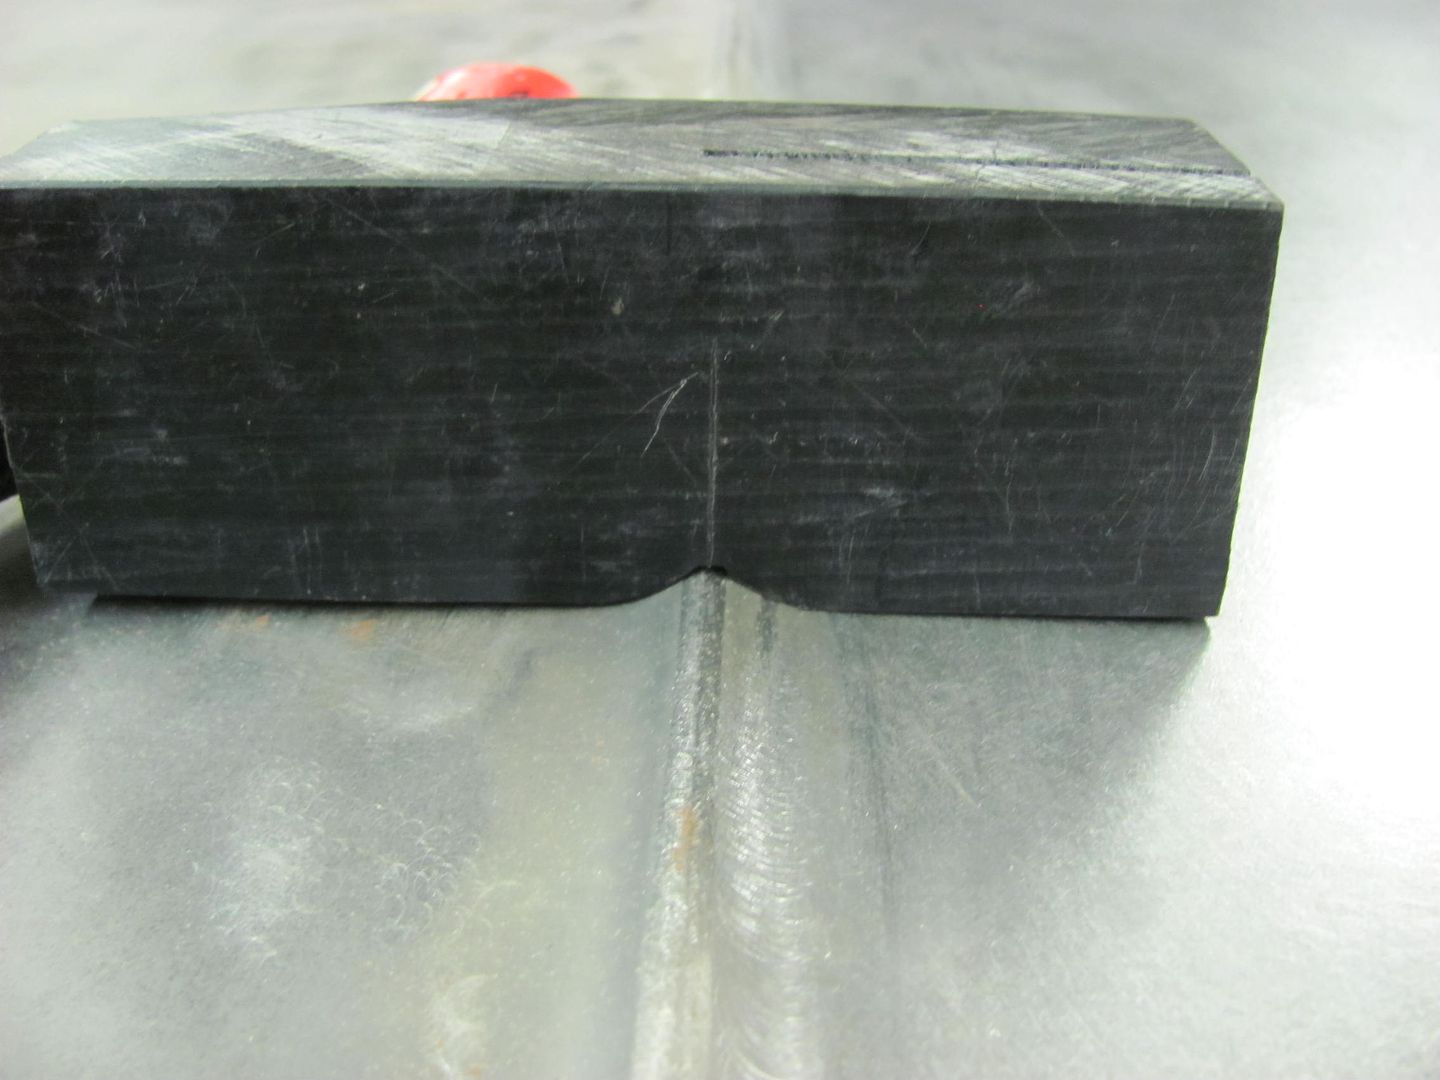
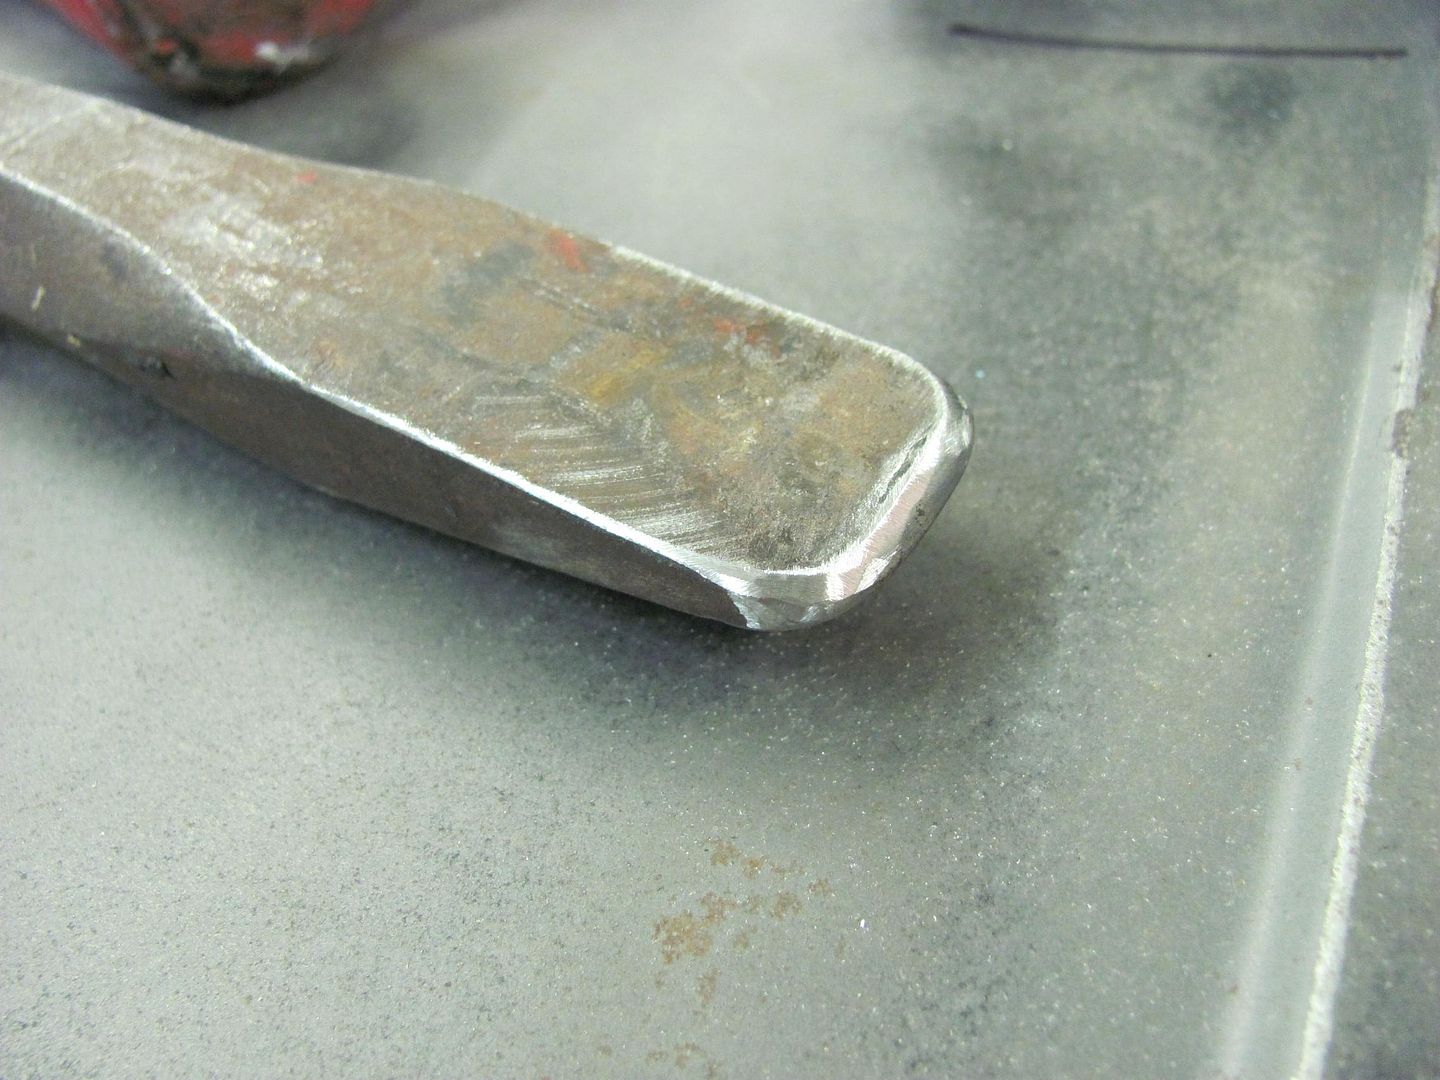
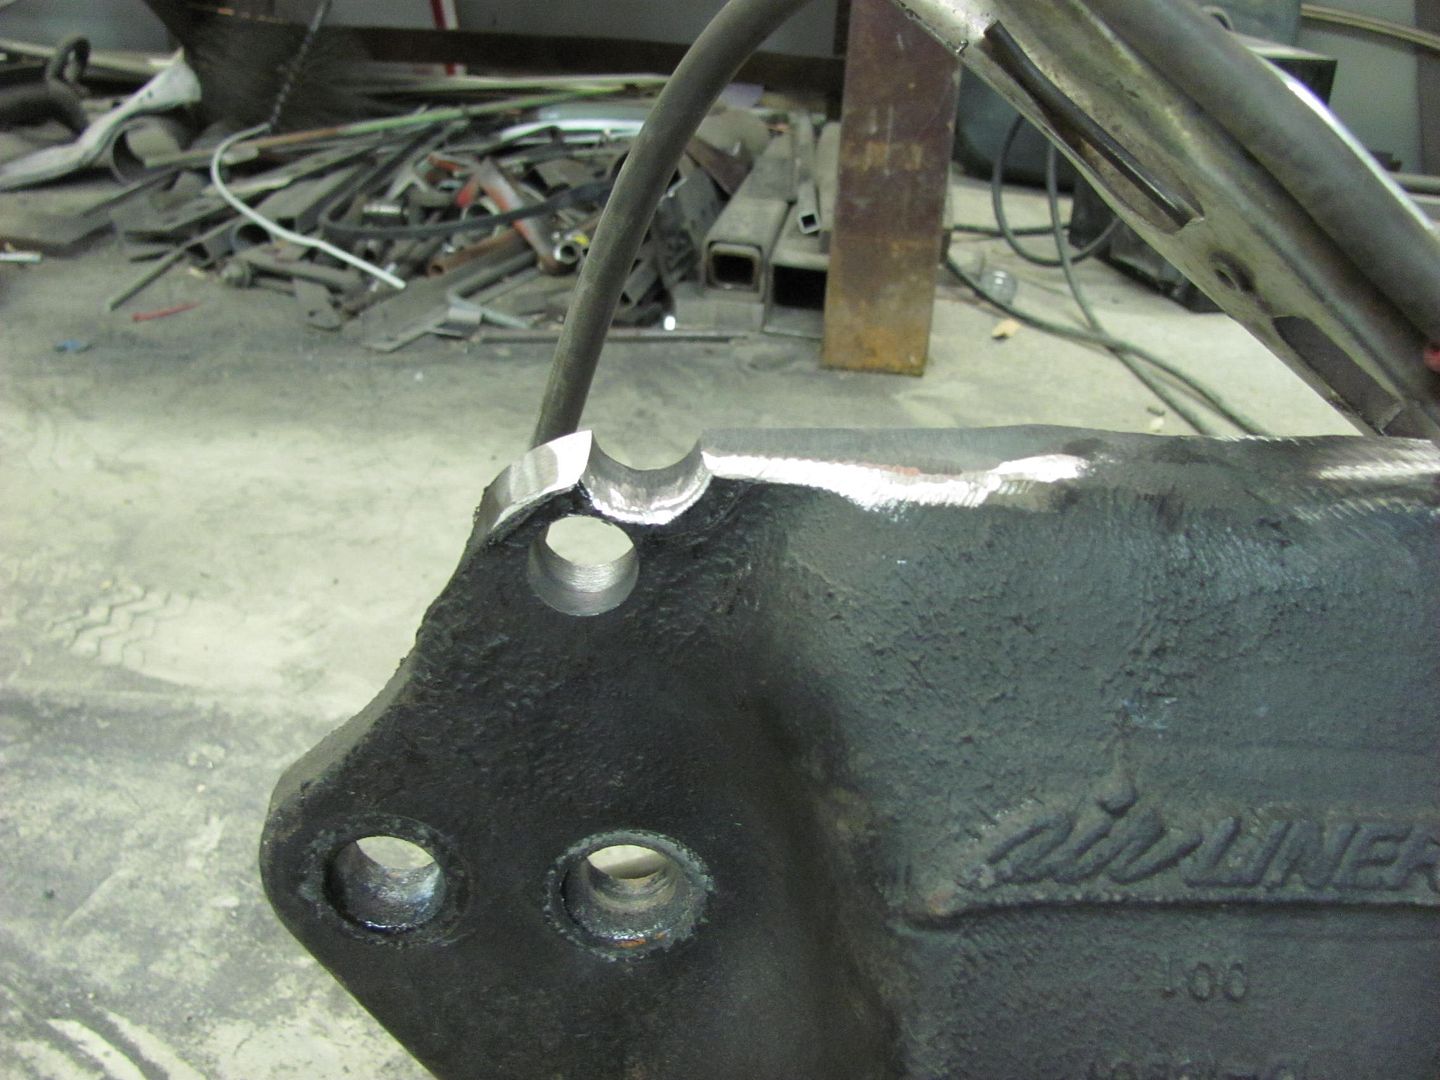
The plastic is a black delrin, it is some pricey stuff so if you know anyone who uses it try to latch on to any scraps for just such an occasion, but this stuff came from McMaster Carr. I have also used it for making a non-marring "punch" for persuading some stainless moulding into moving where I wanted it to. I believe it is in the Teflon family. It was made using the Dewalt, two passes at about 1/4" deep. The rest of the shape was using an 80grit 3" roloc. Shape, test fit, repeat. (Until it matched the peak on the rear part of the hood)

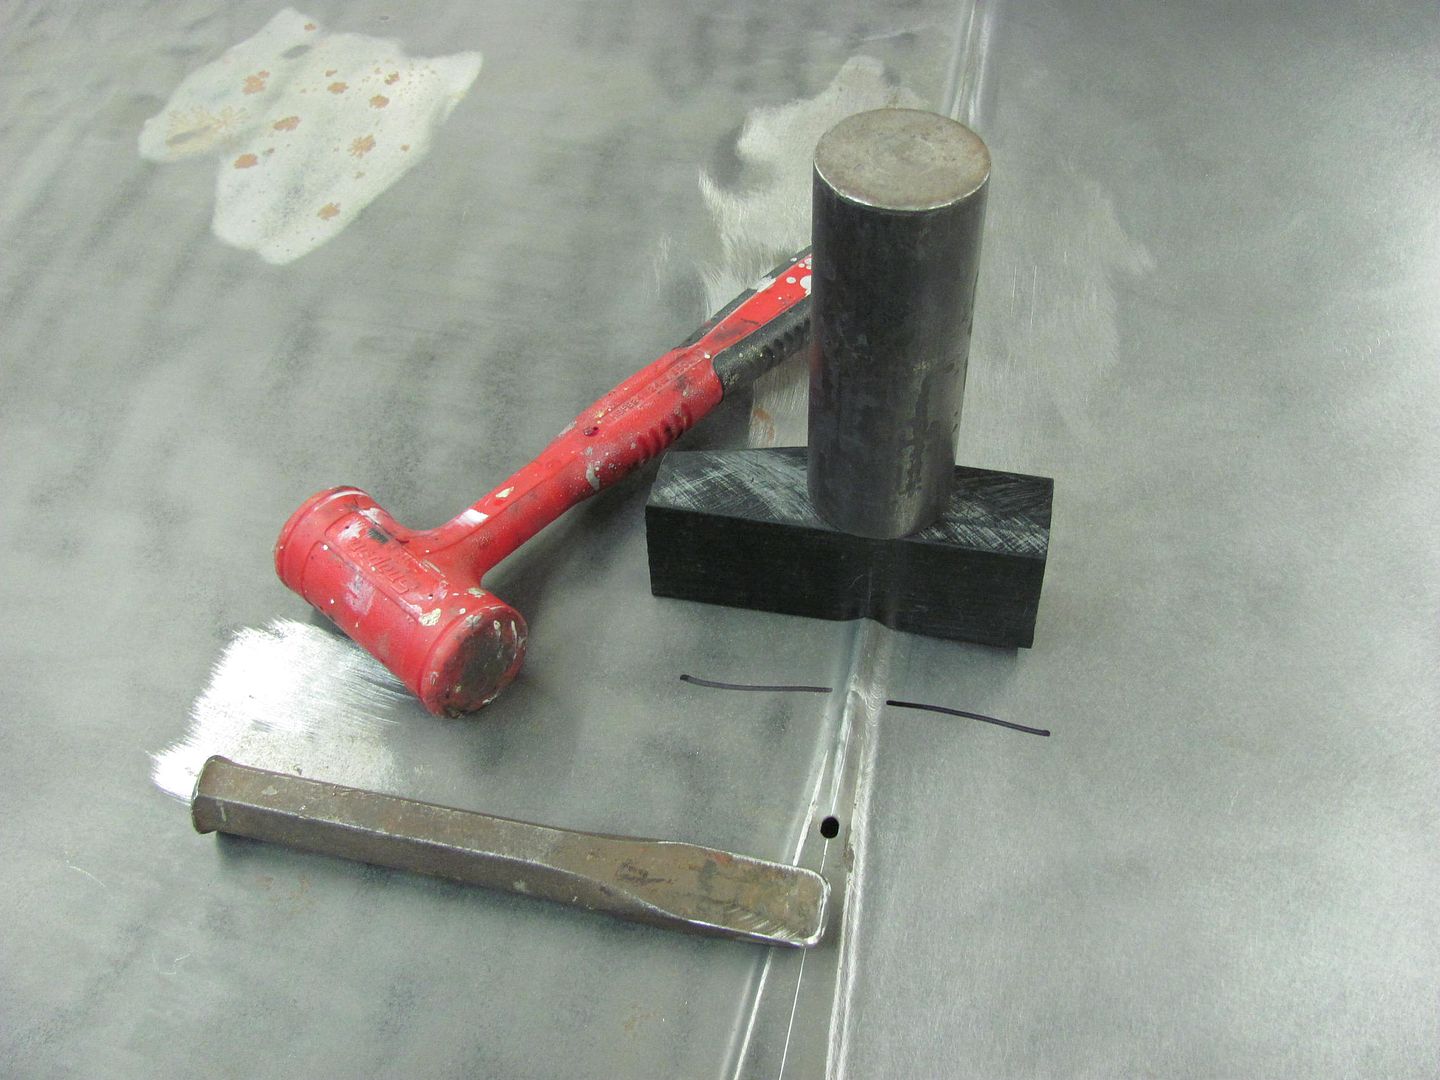
An alignment mark was located on the delrin "die" and down the center of the hood, and also on the underside for keeping the punch in line. Very much a two person operation, good thing my nephew Chris needed some money for a transmission
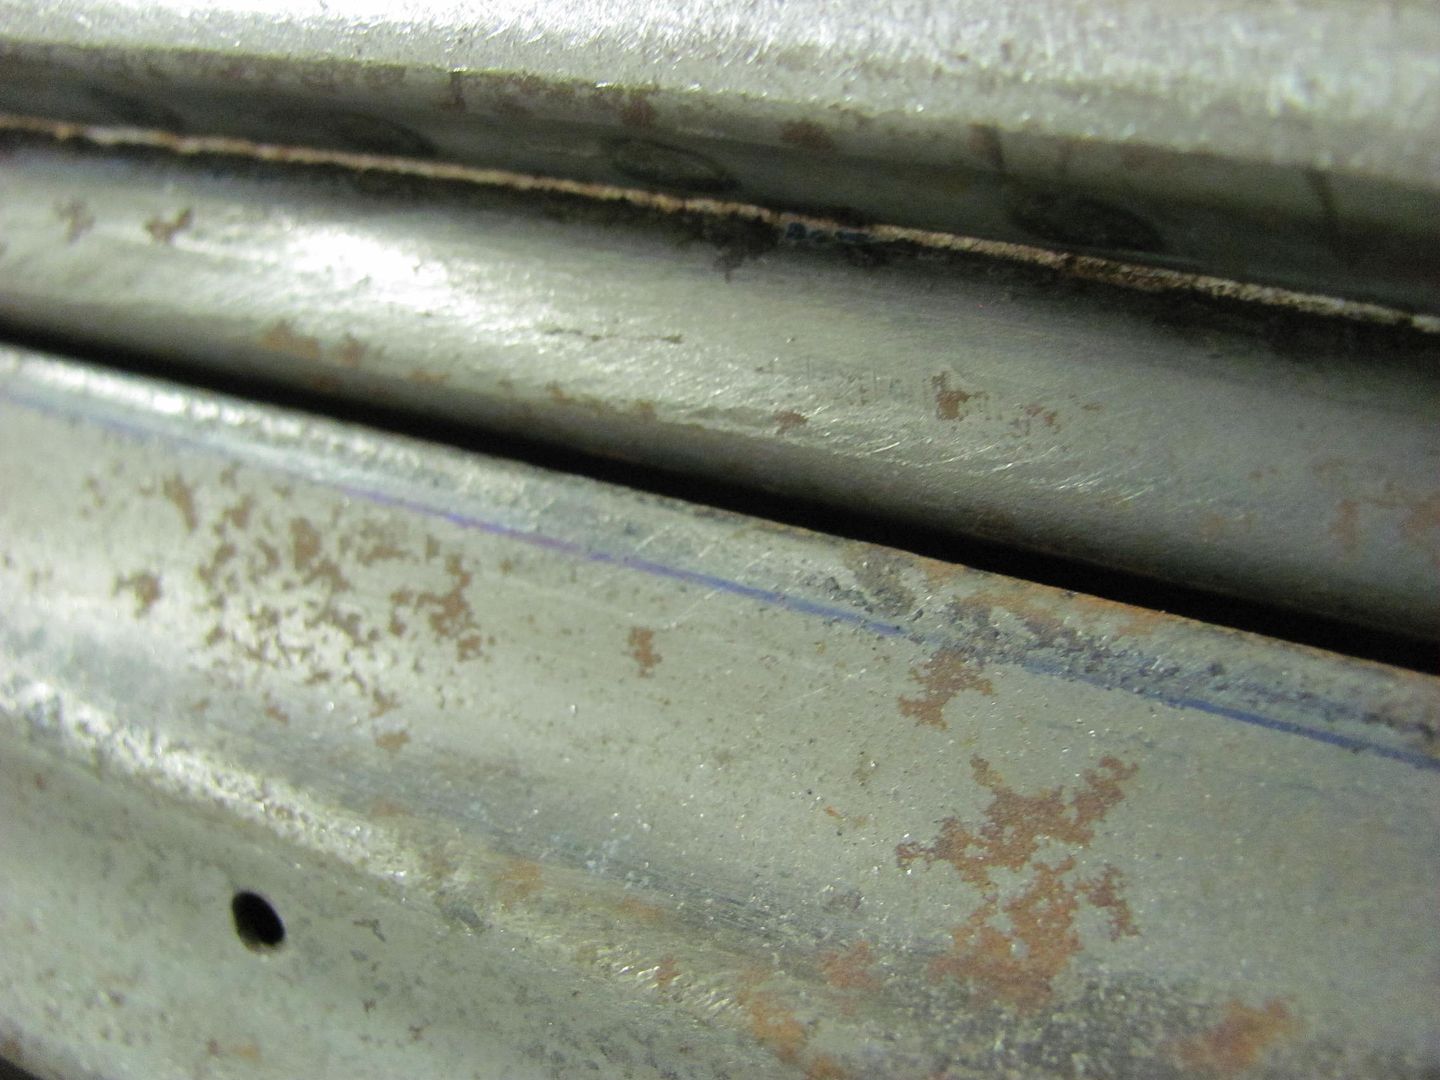
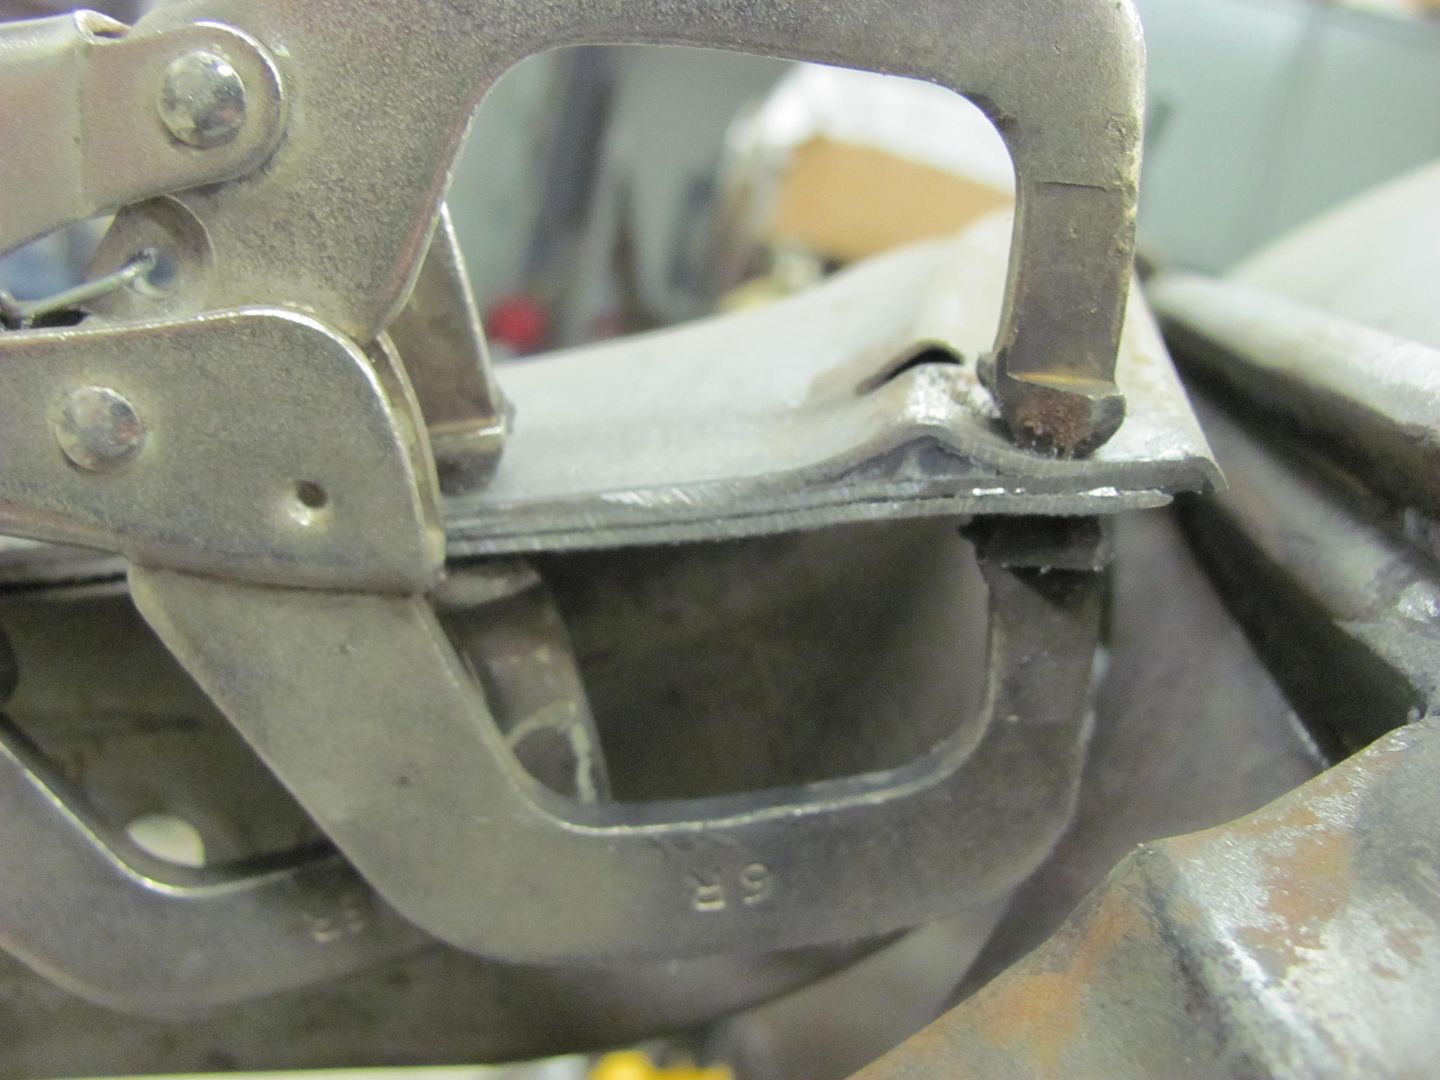
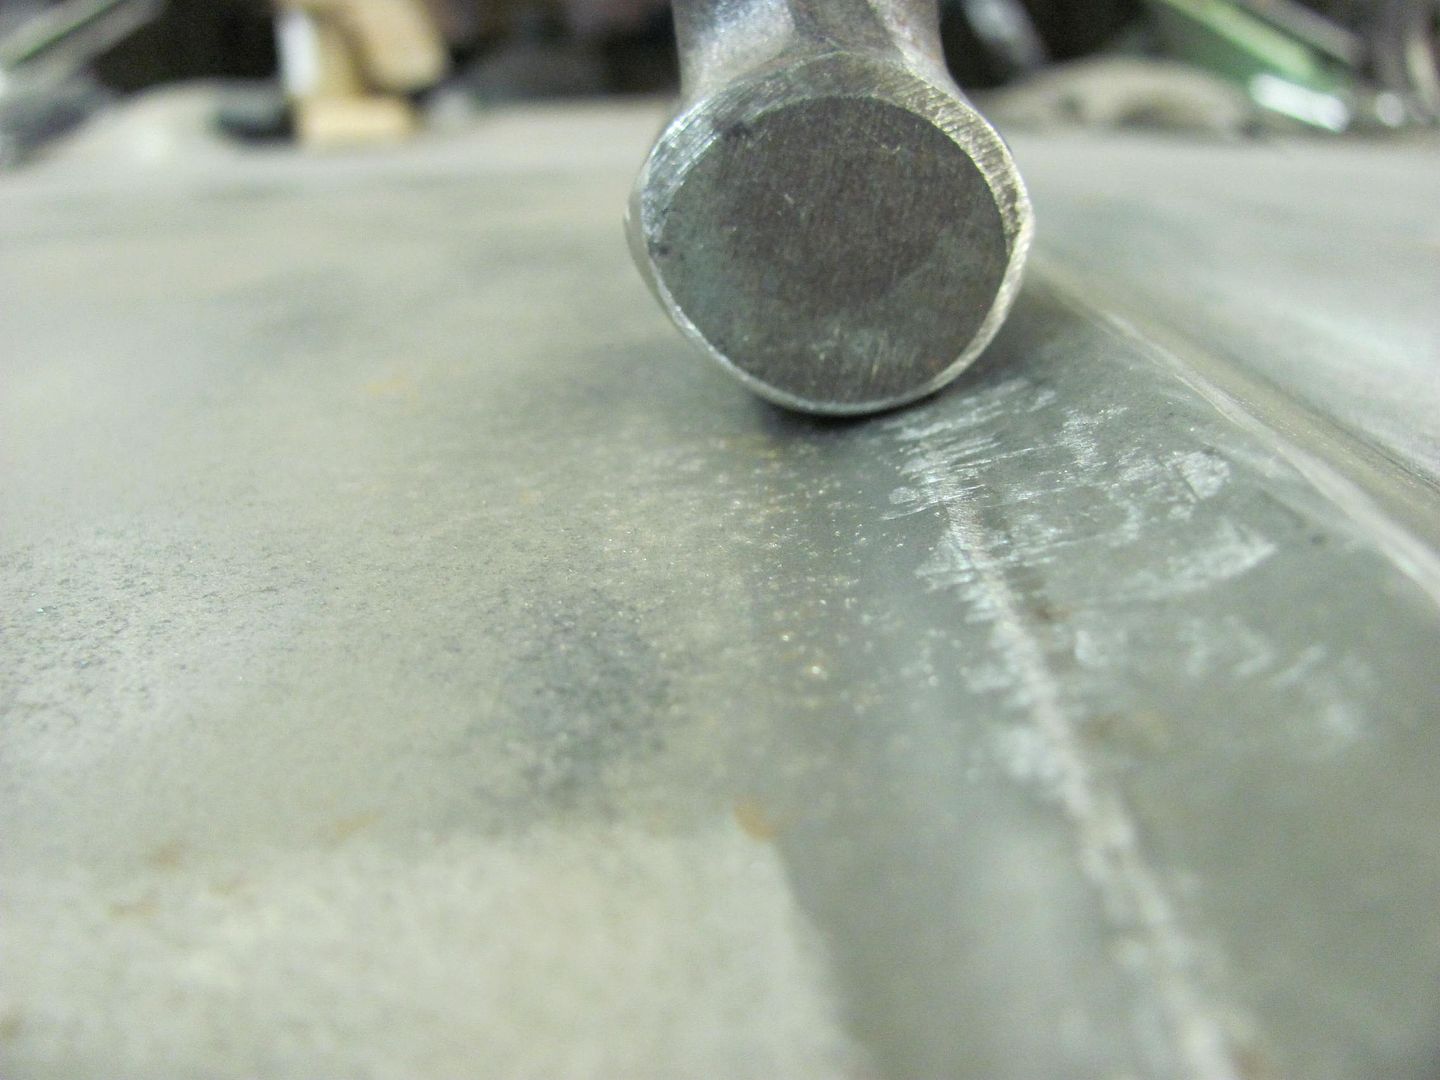
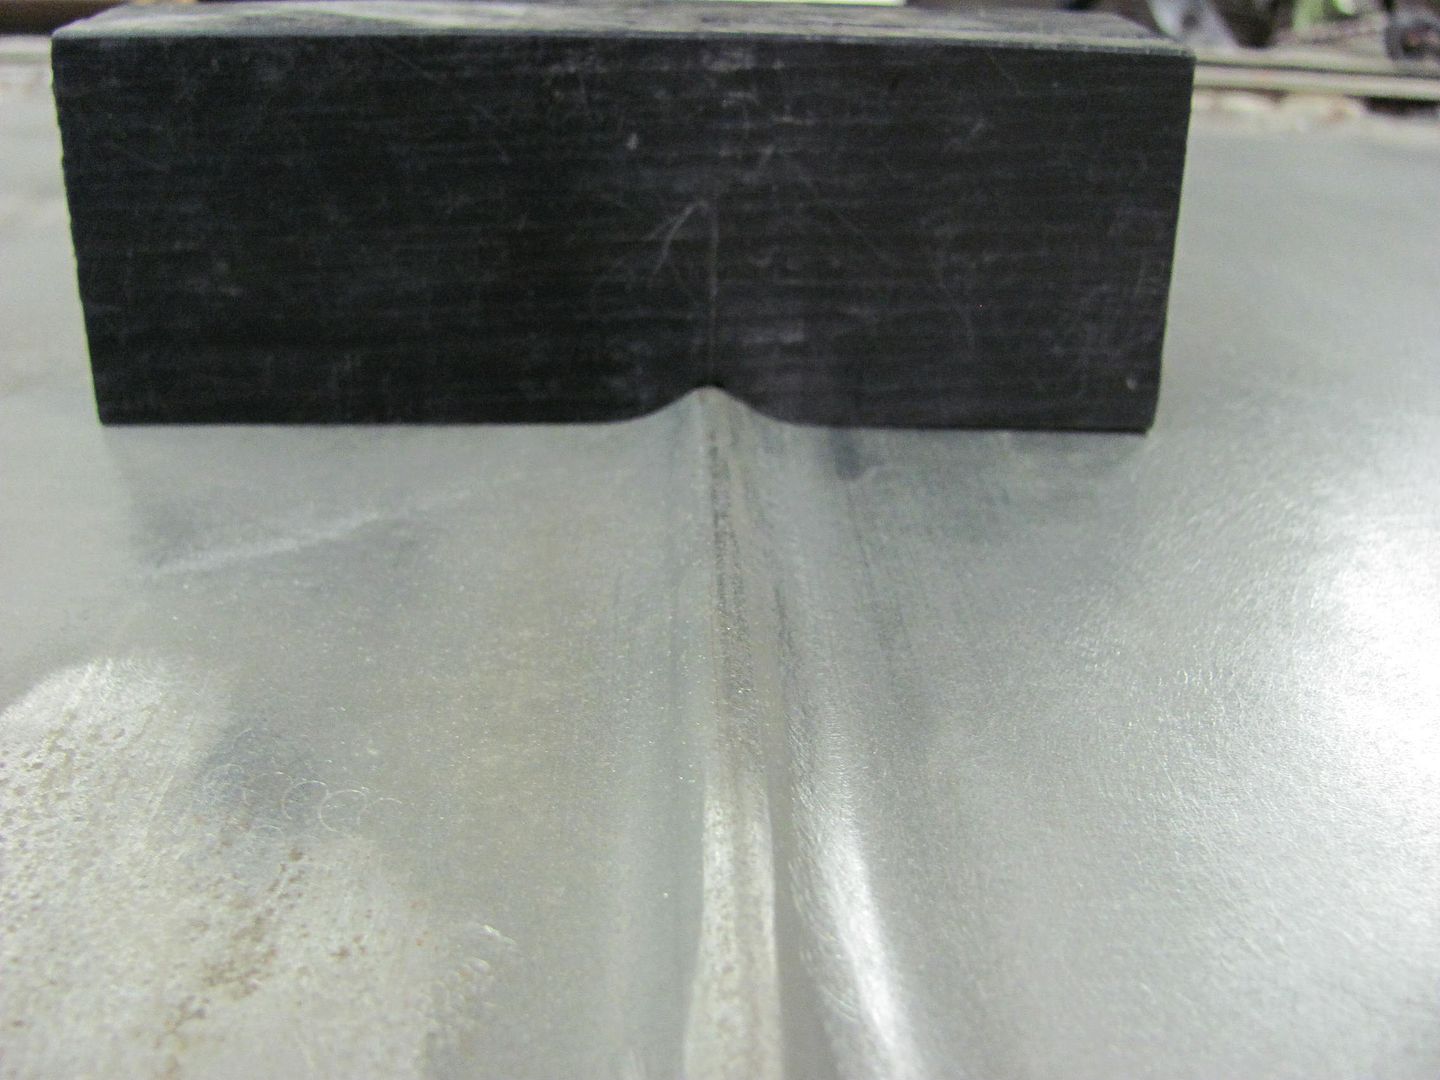
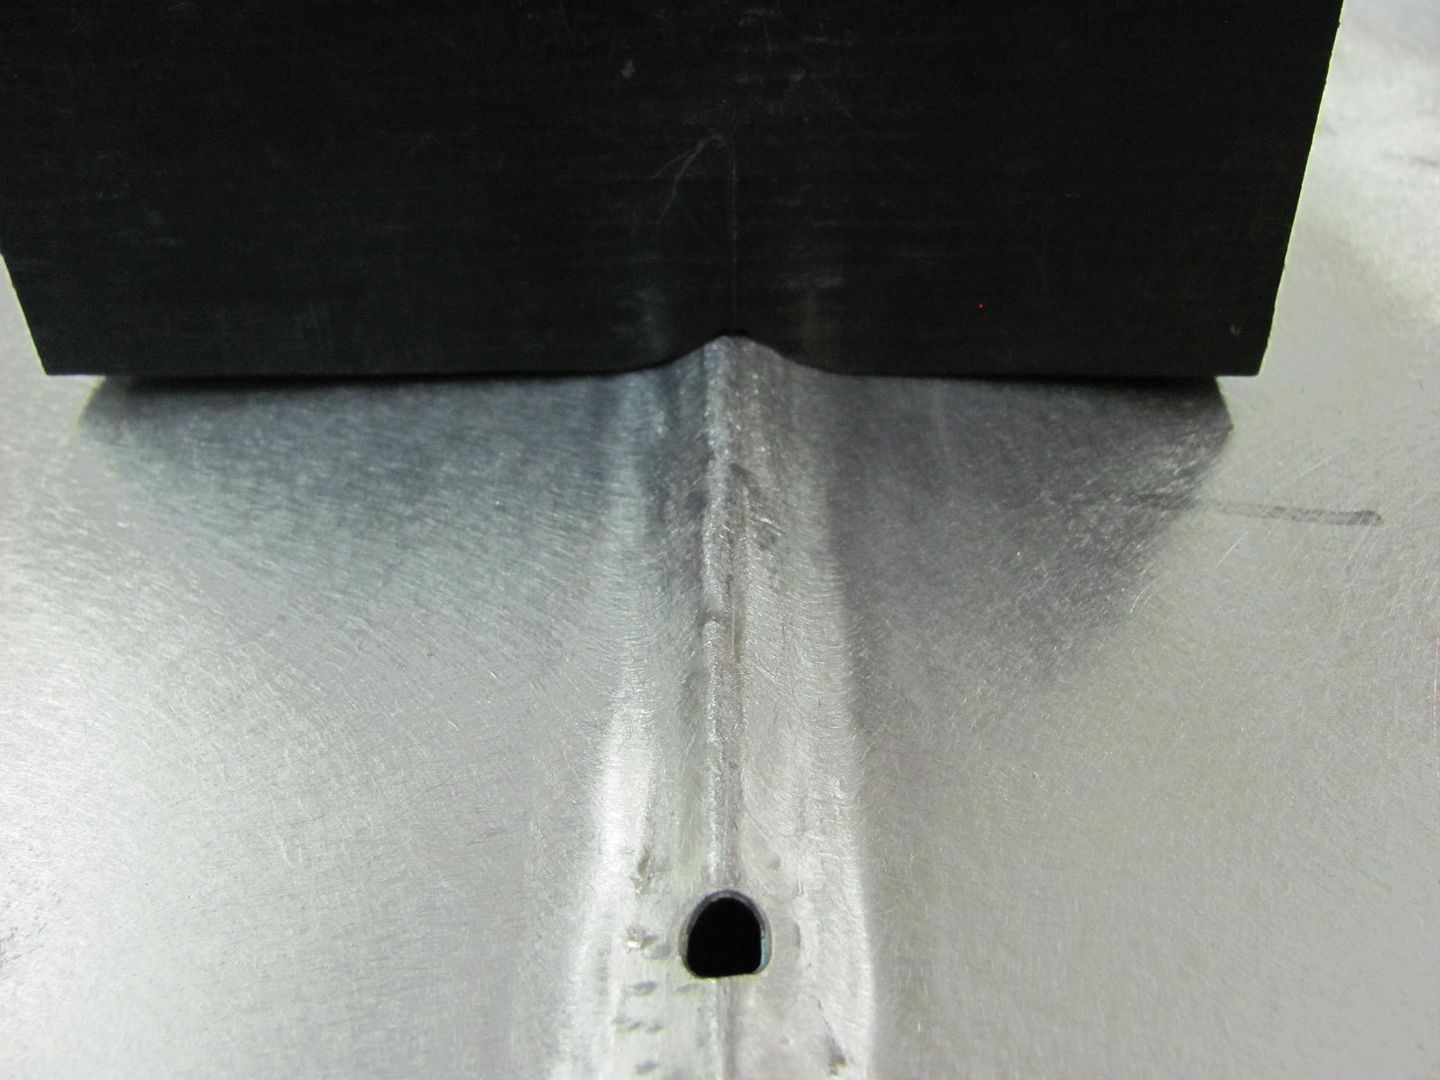
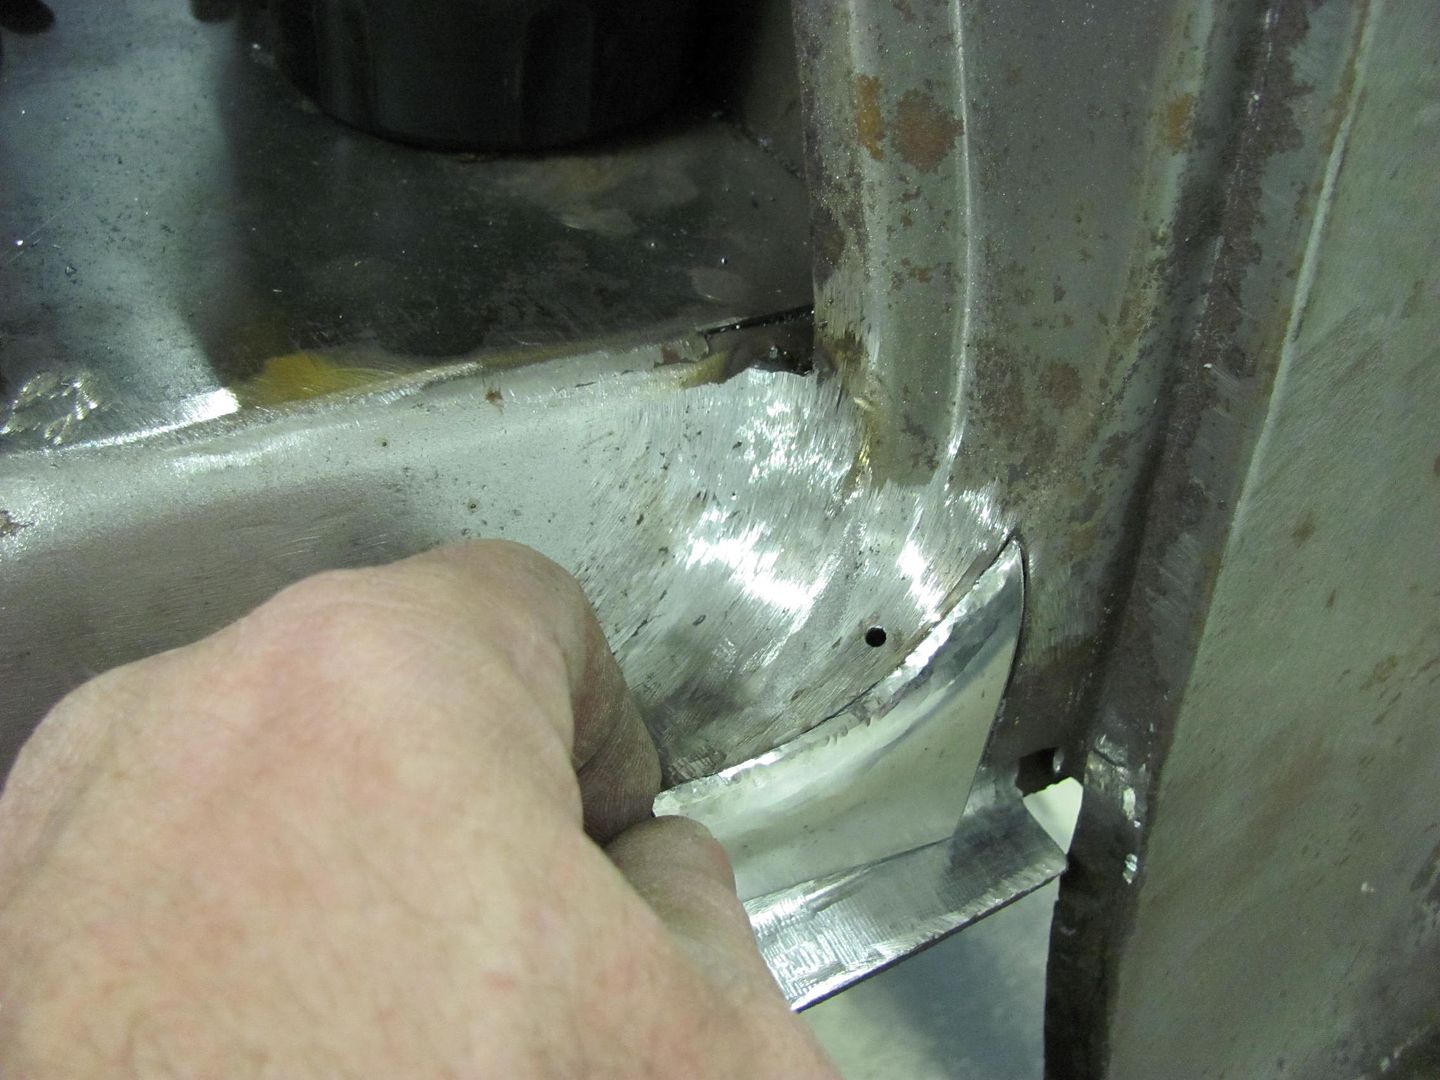
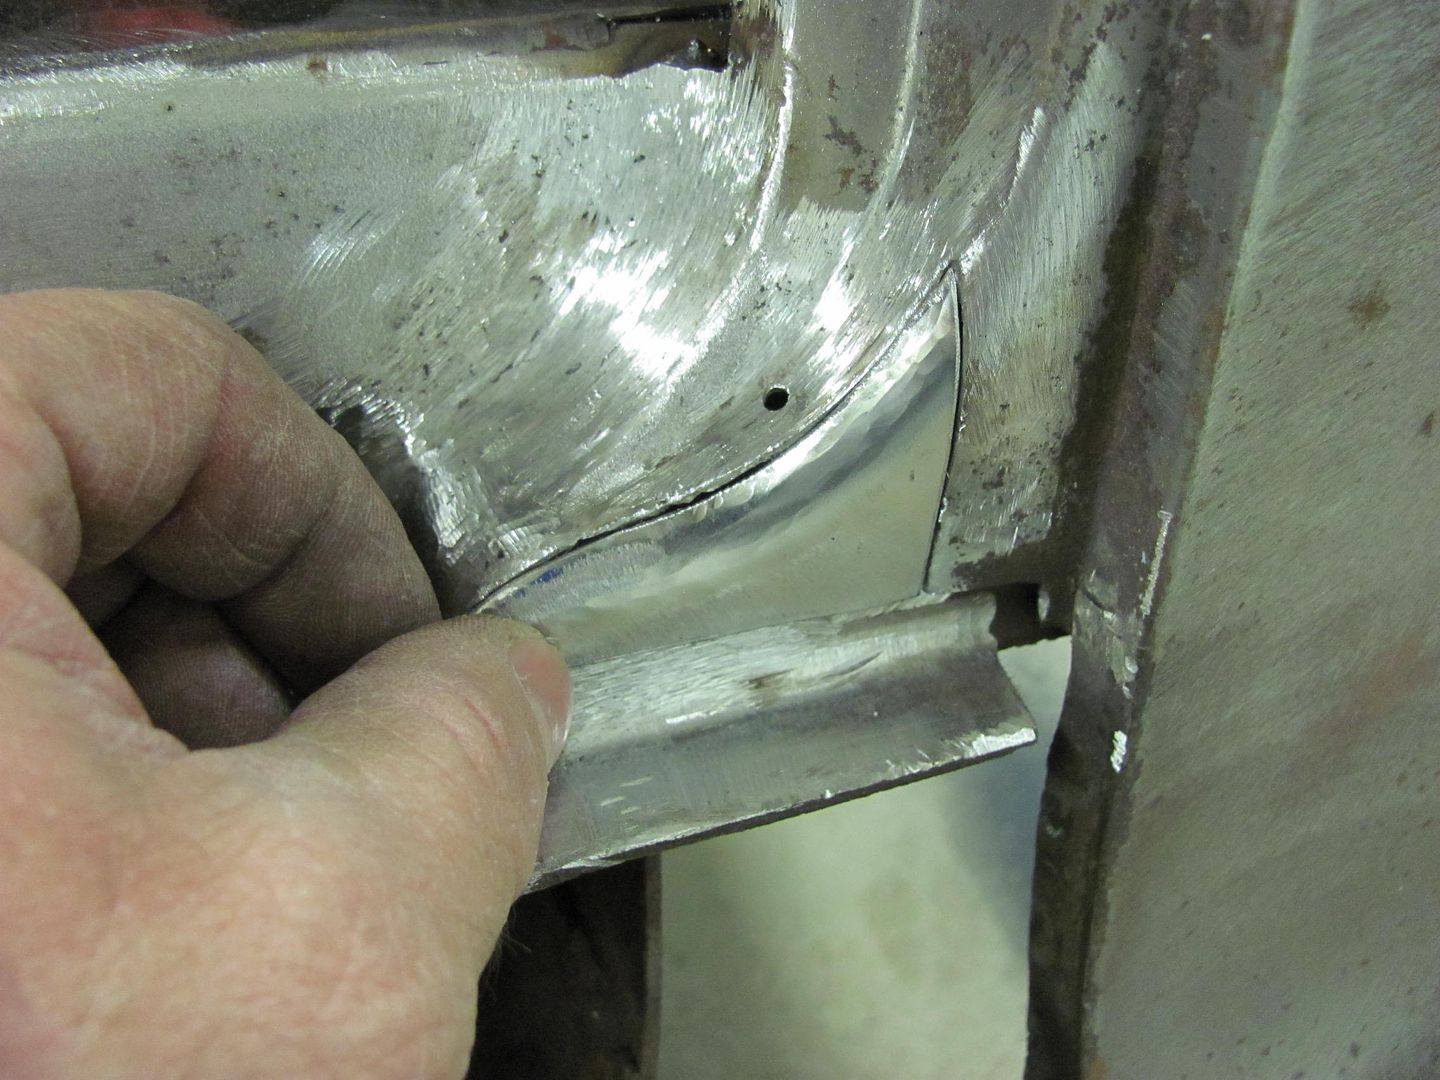
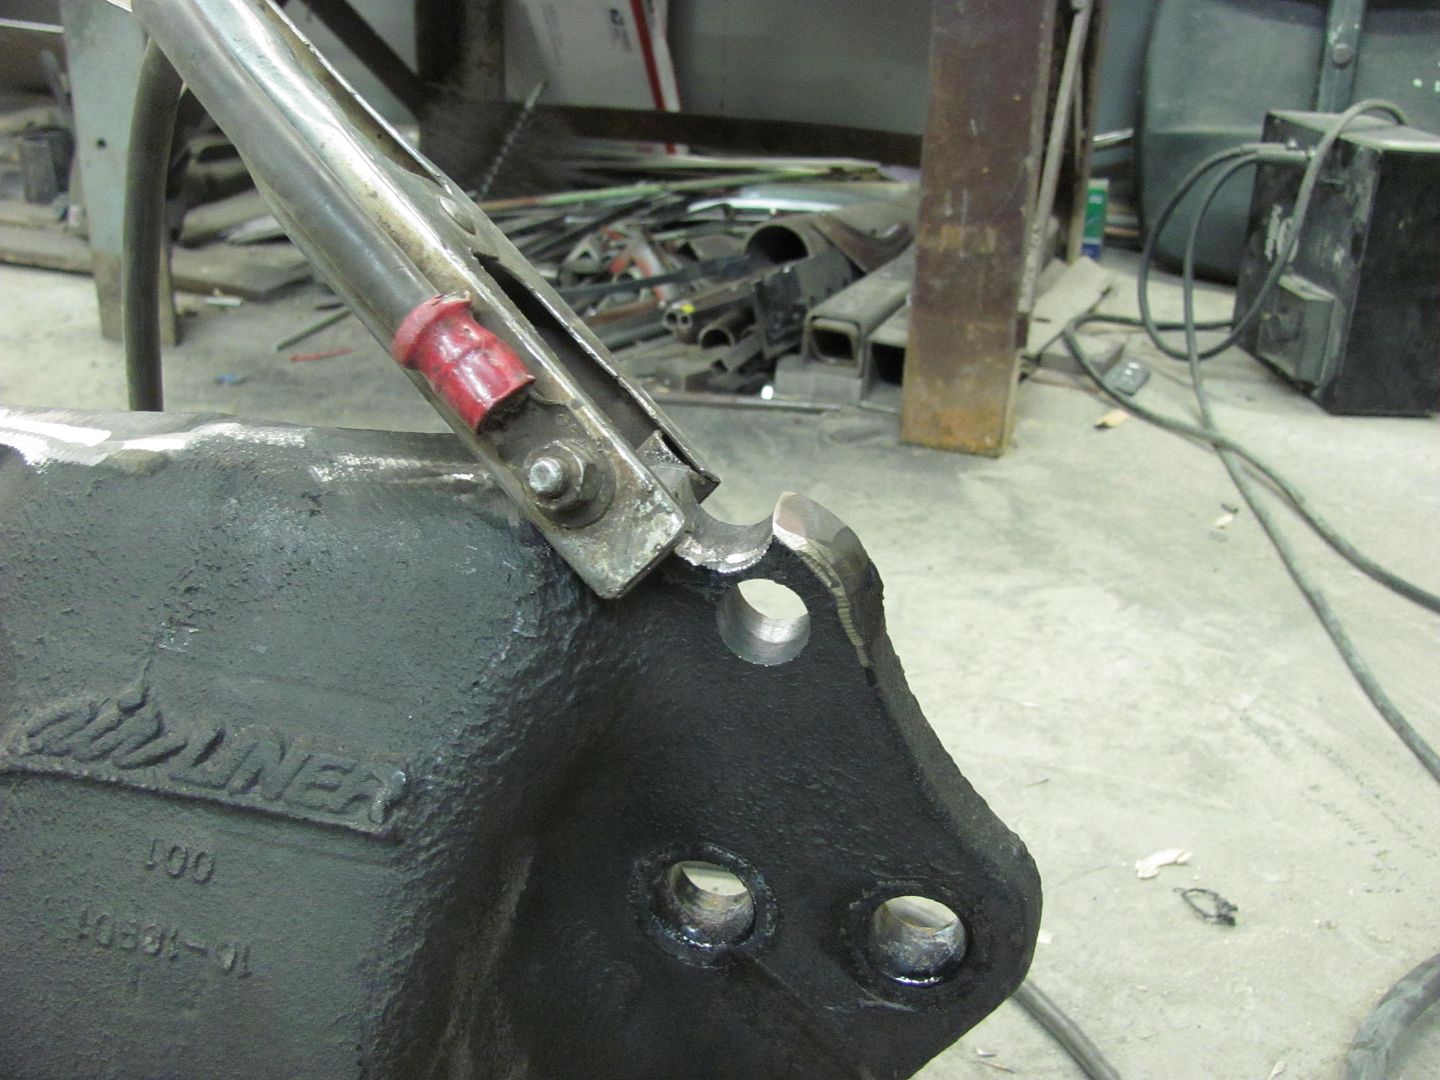
The Delrin, although a hard plastic, tends to absorb the "blow" much more than if made of metal, so it will tend to do more shaping and shrinking rather than stretching had it been metal. The 2" round stock in the photos (above post) was merely to keep the delrin from bouncing around. Also working in your favor using the punch and die arrangement, after having knocked down the sharp edge of the plateau, as seen in the next picture, operation of the punch (red arrow) will tend to draw the hood in from the sides (green arrows), very much an off-dolly operation. So all in all there should be minimal if any stretching of the panel.

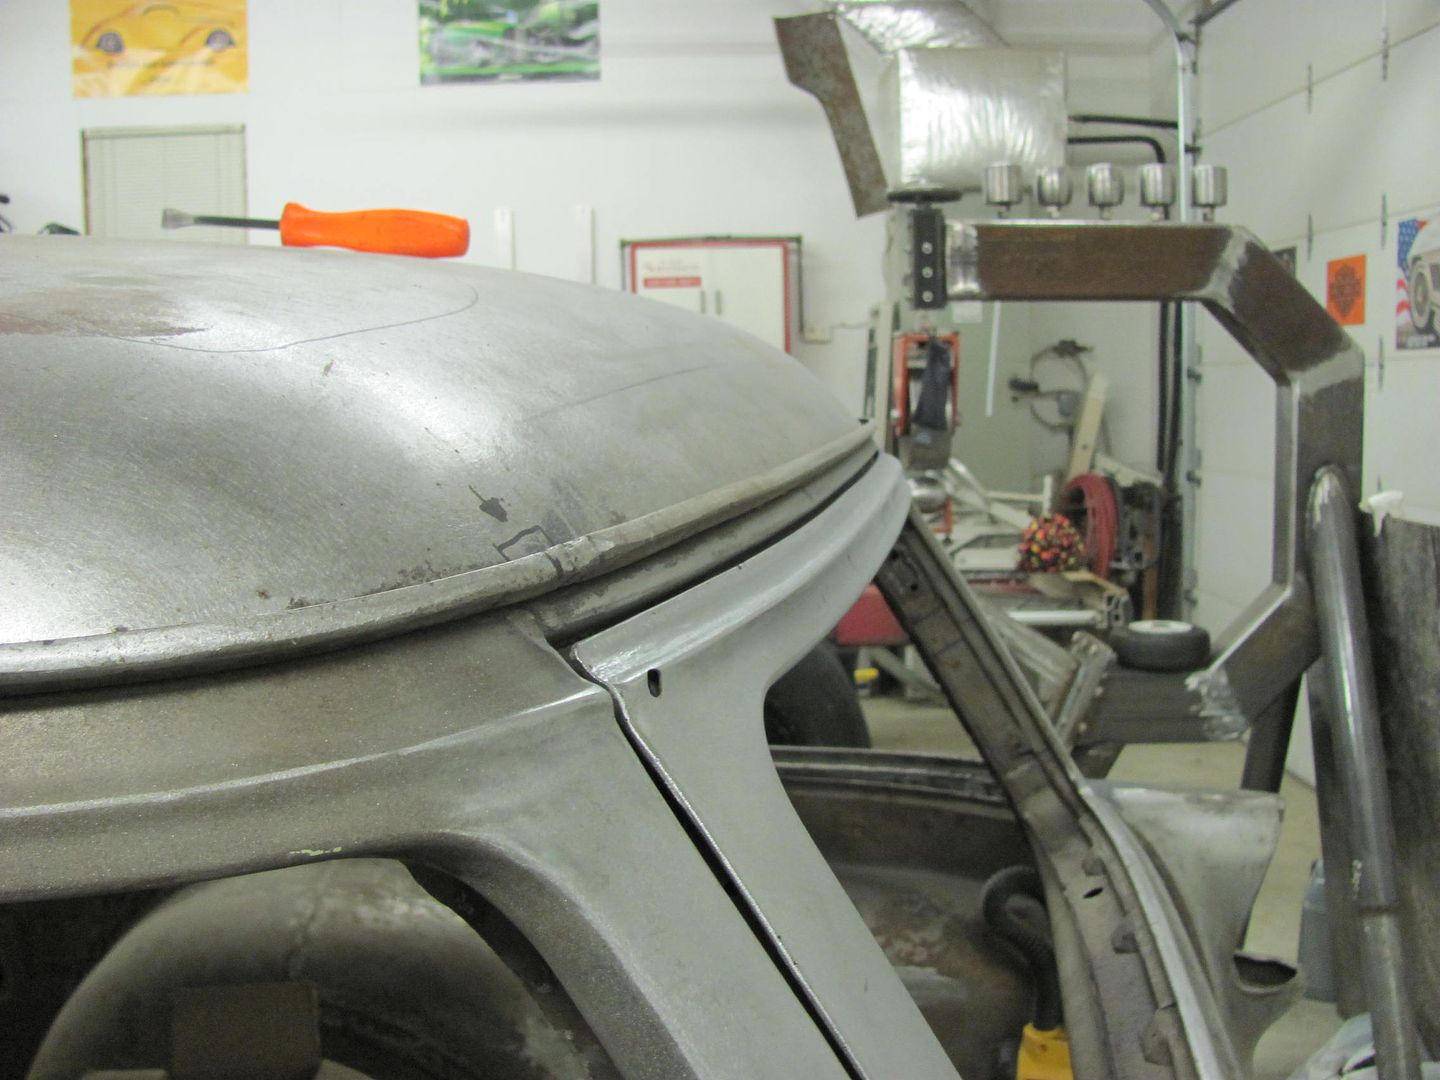
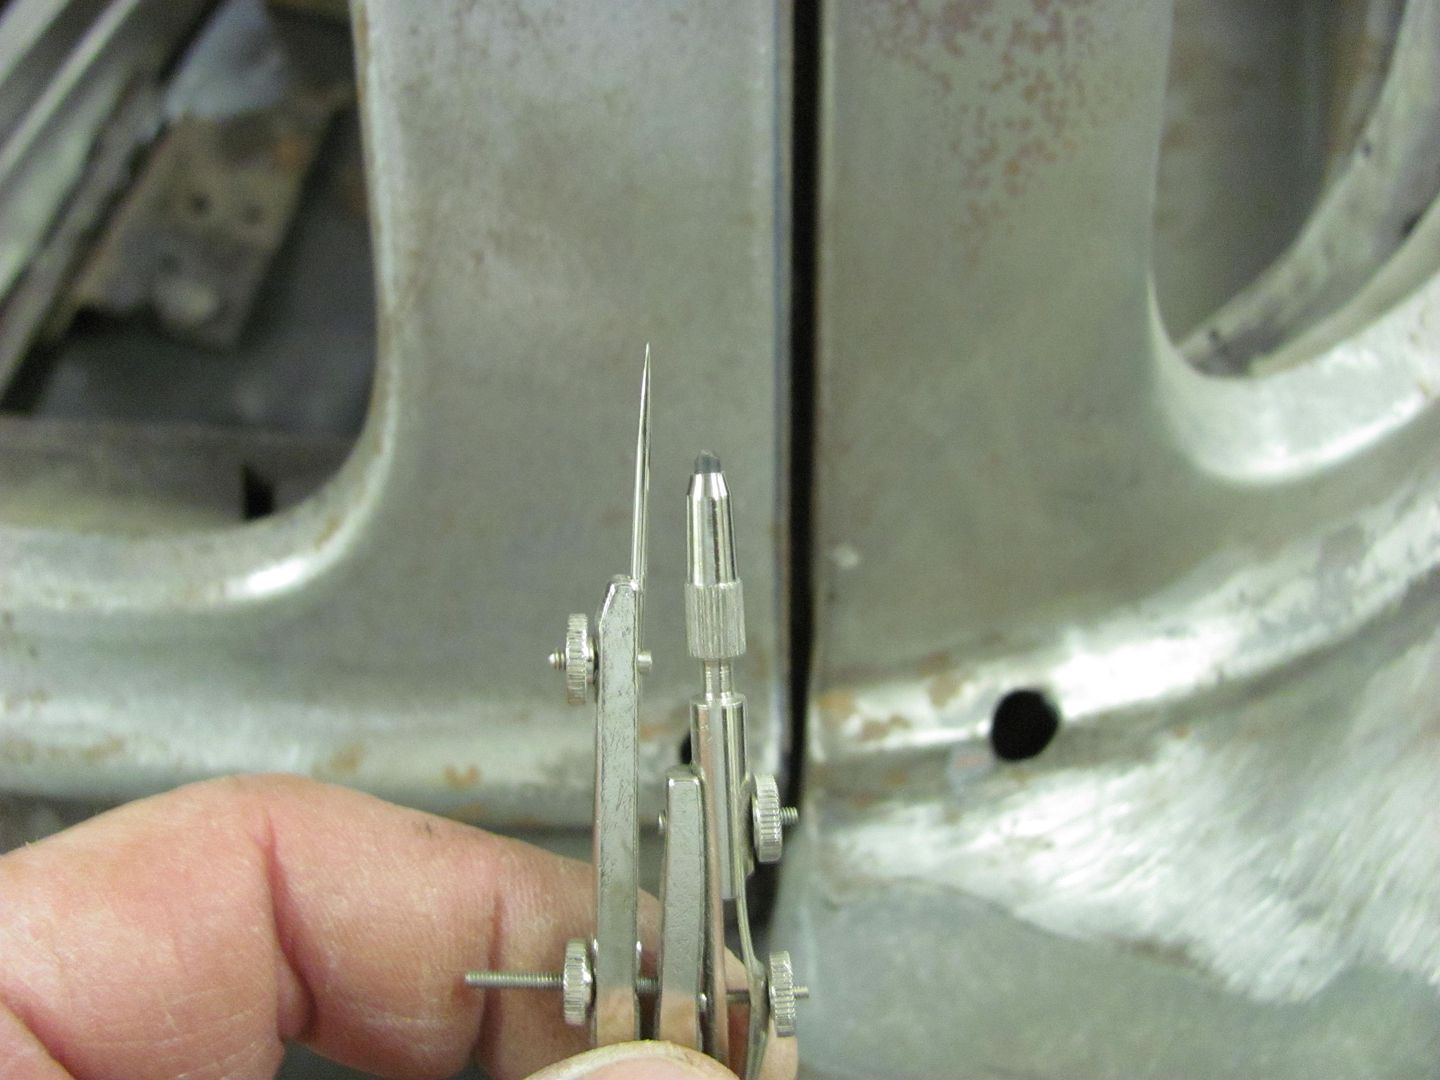
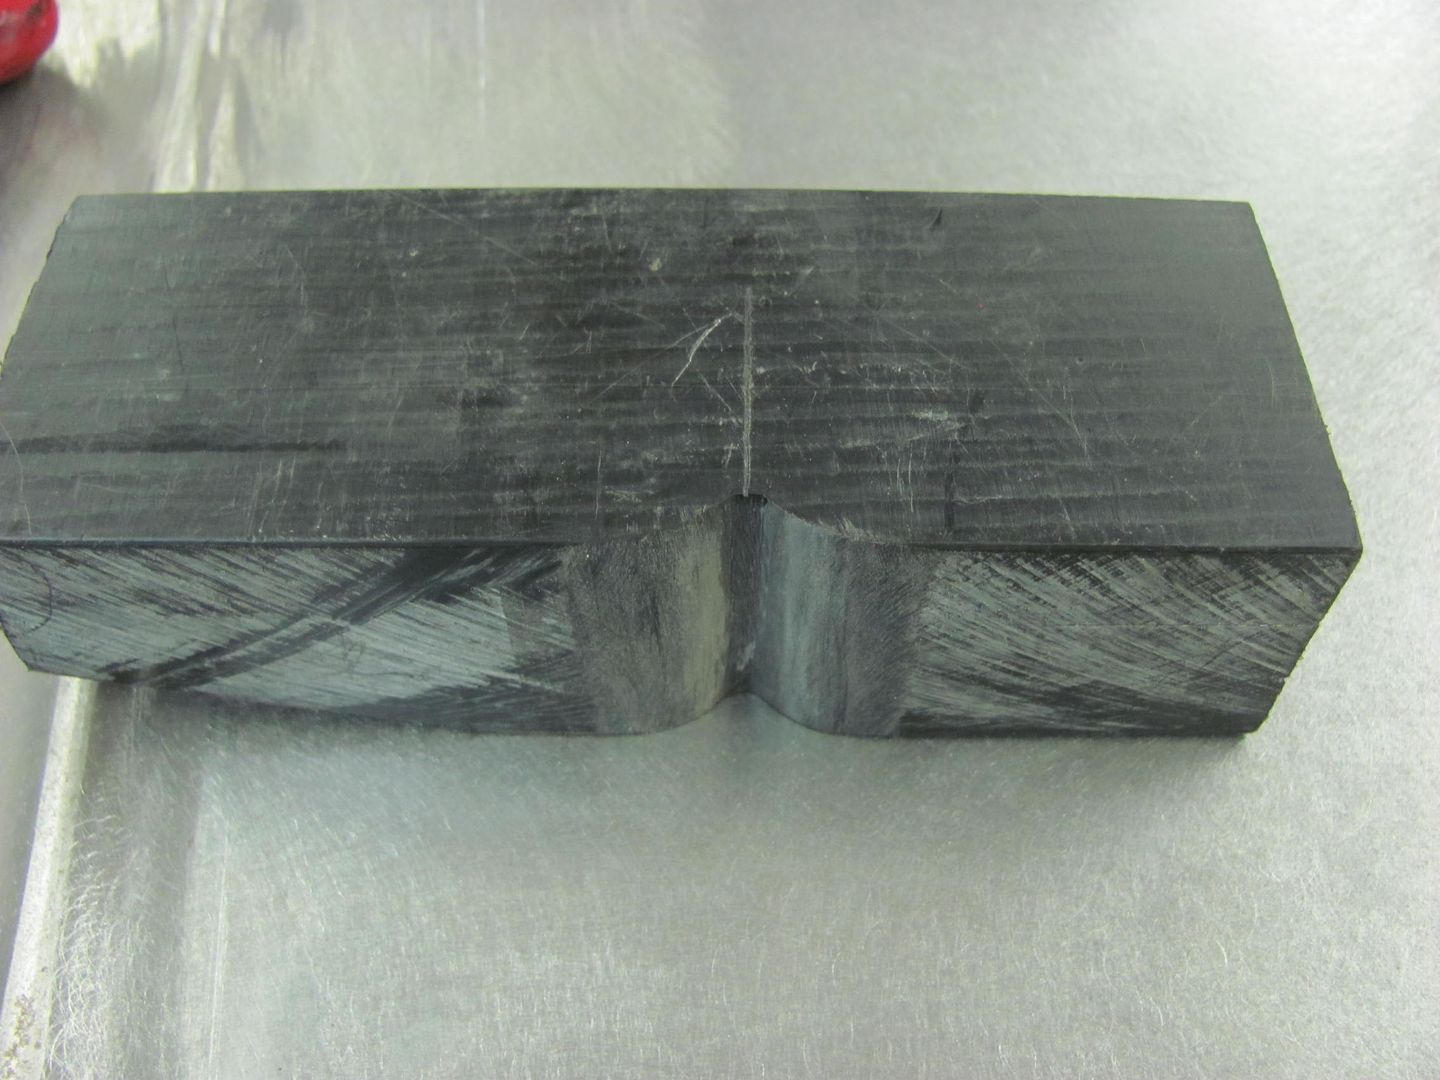
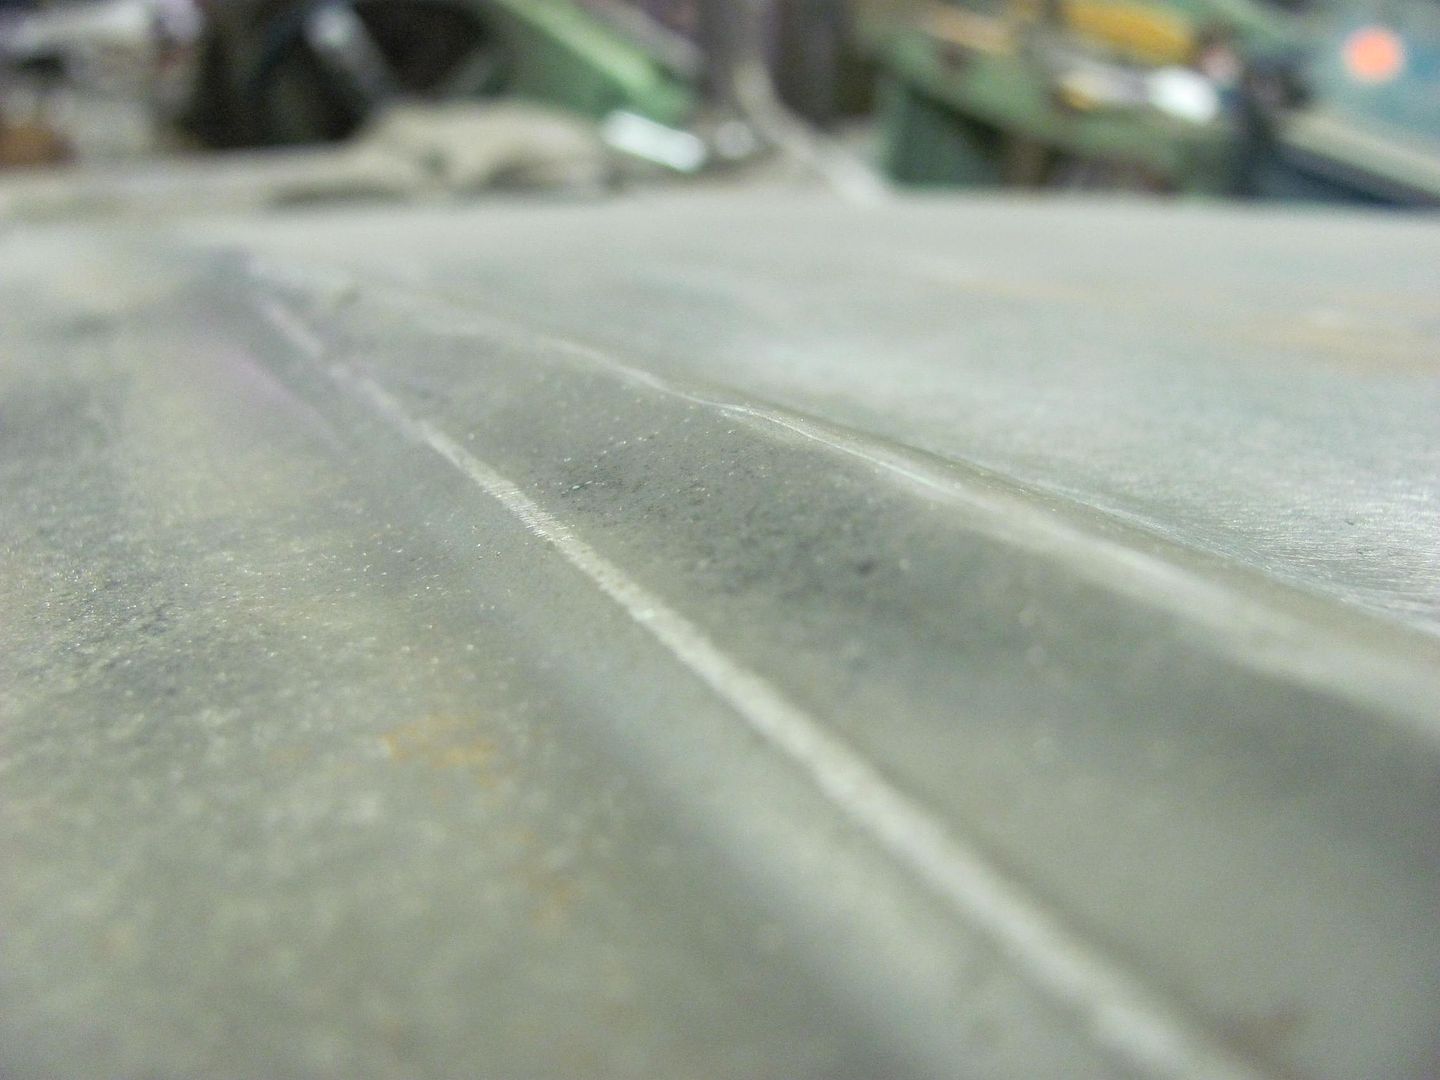
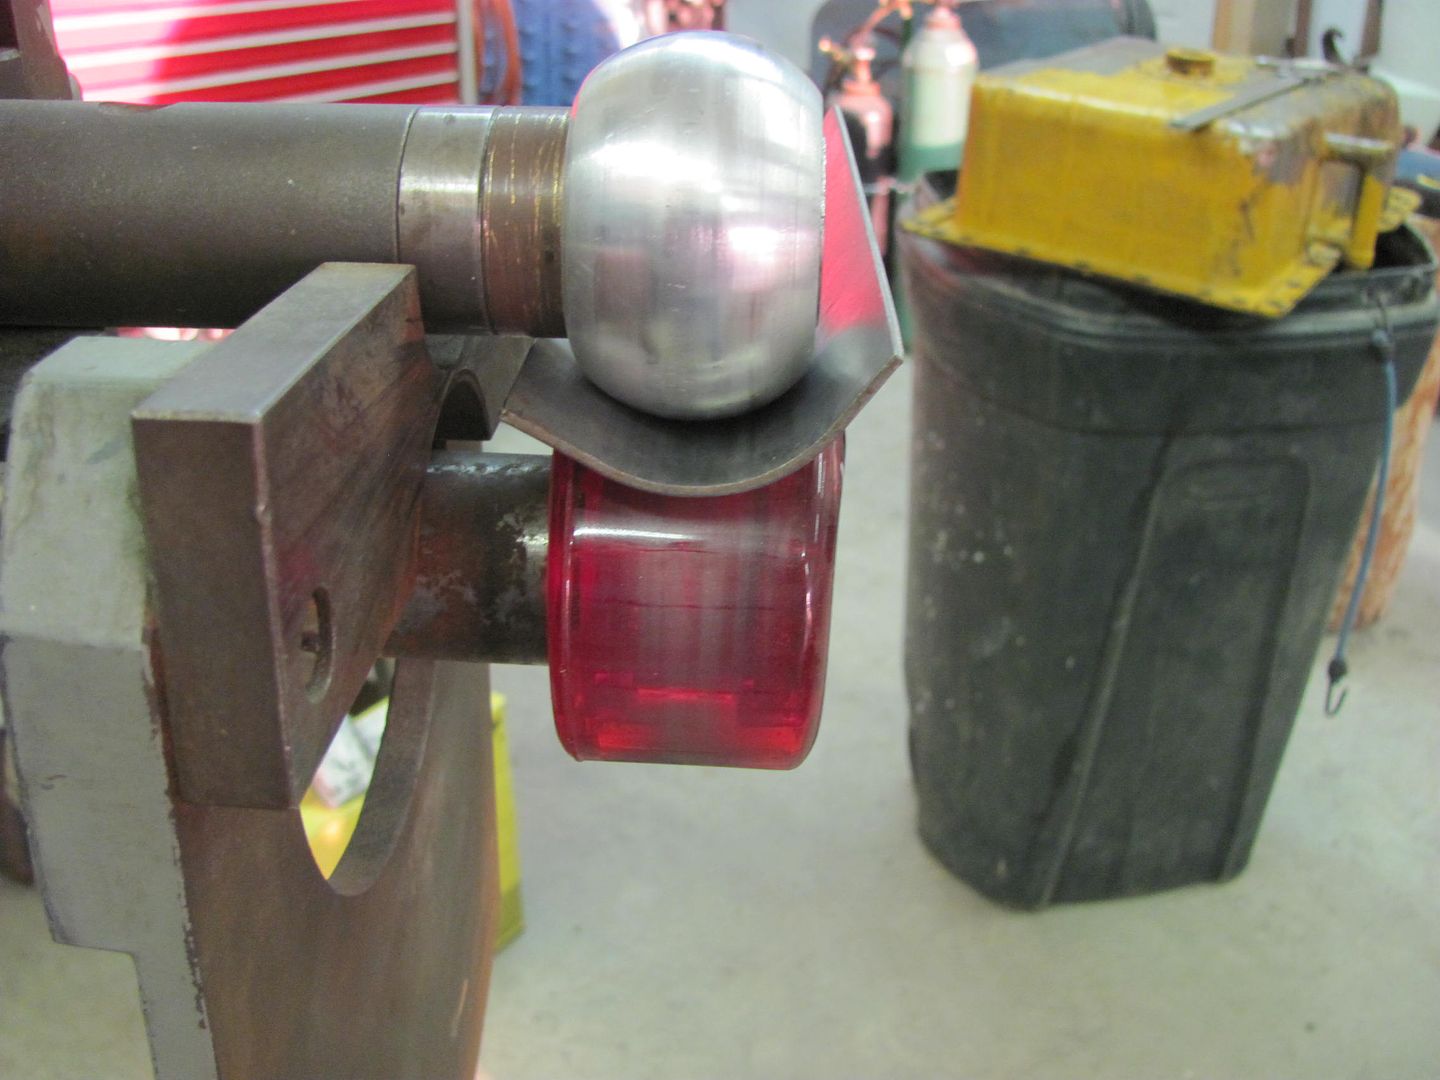
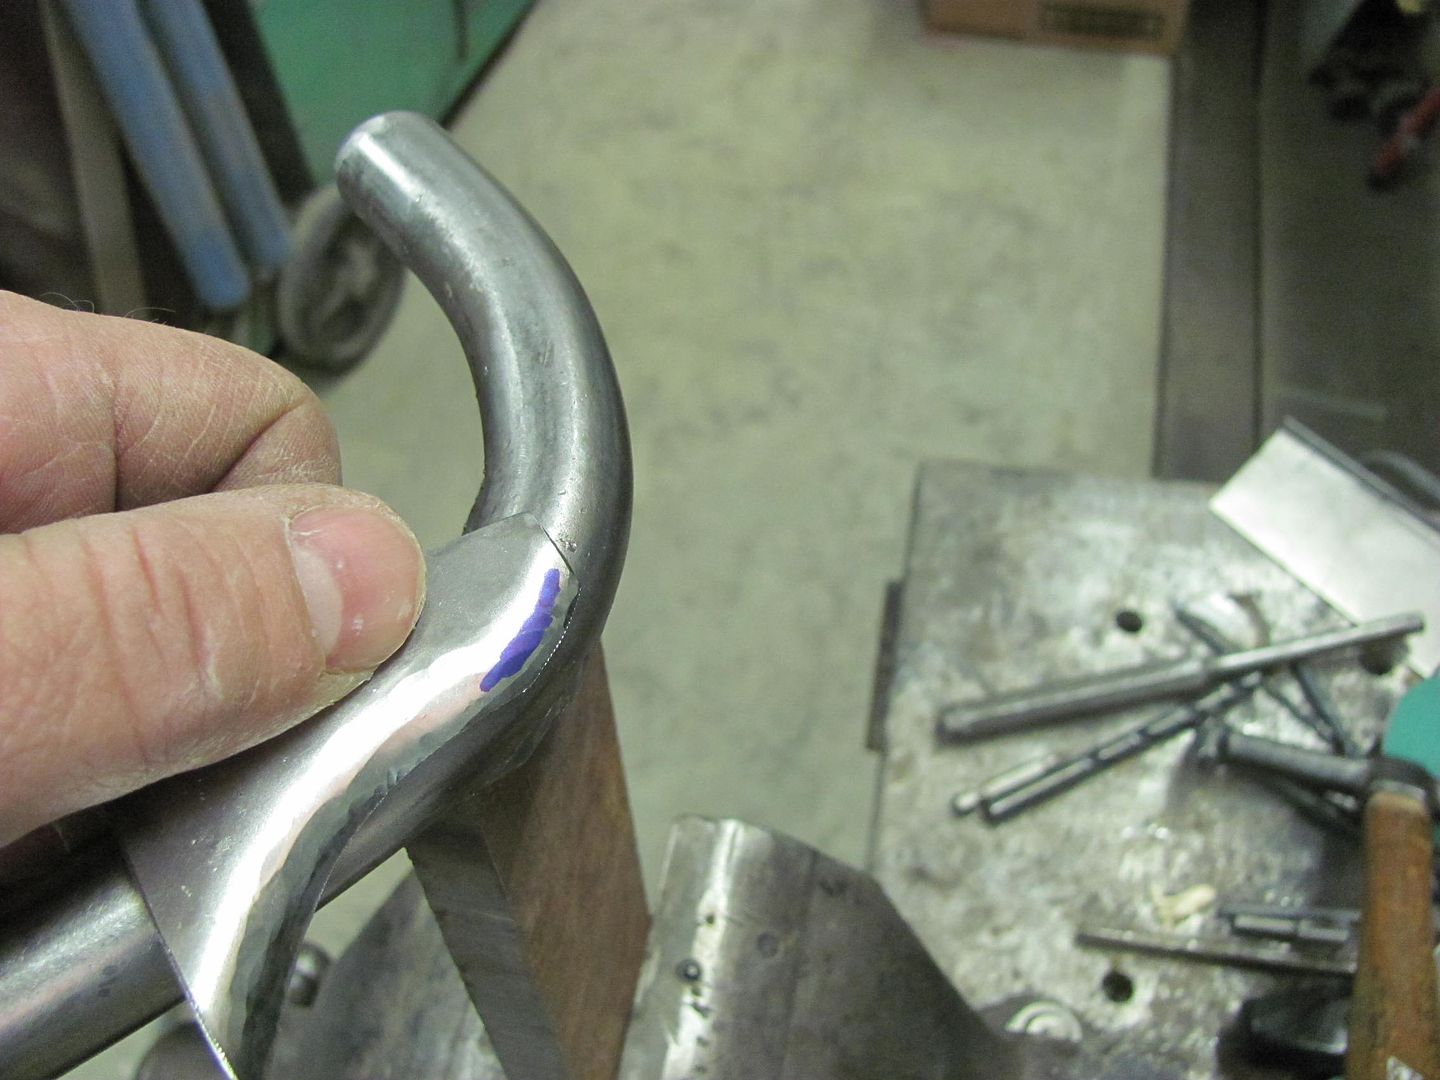
Here are comparisons of the delrin at the rear (factory peak), middle and front of the hood.
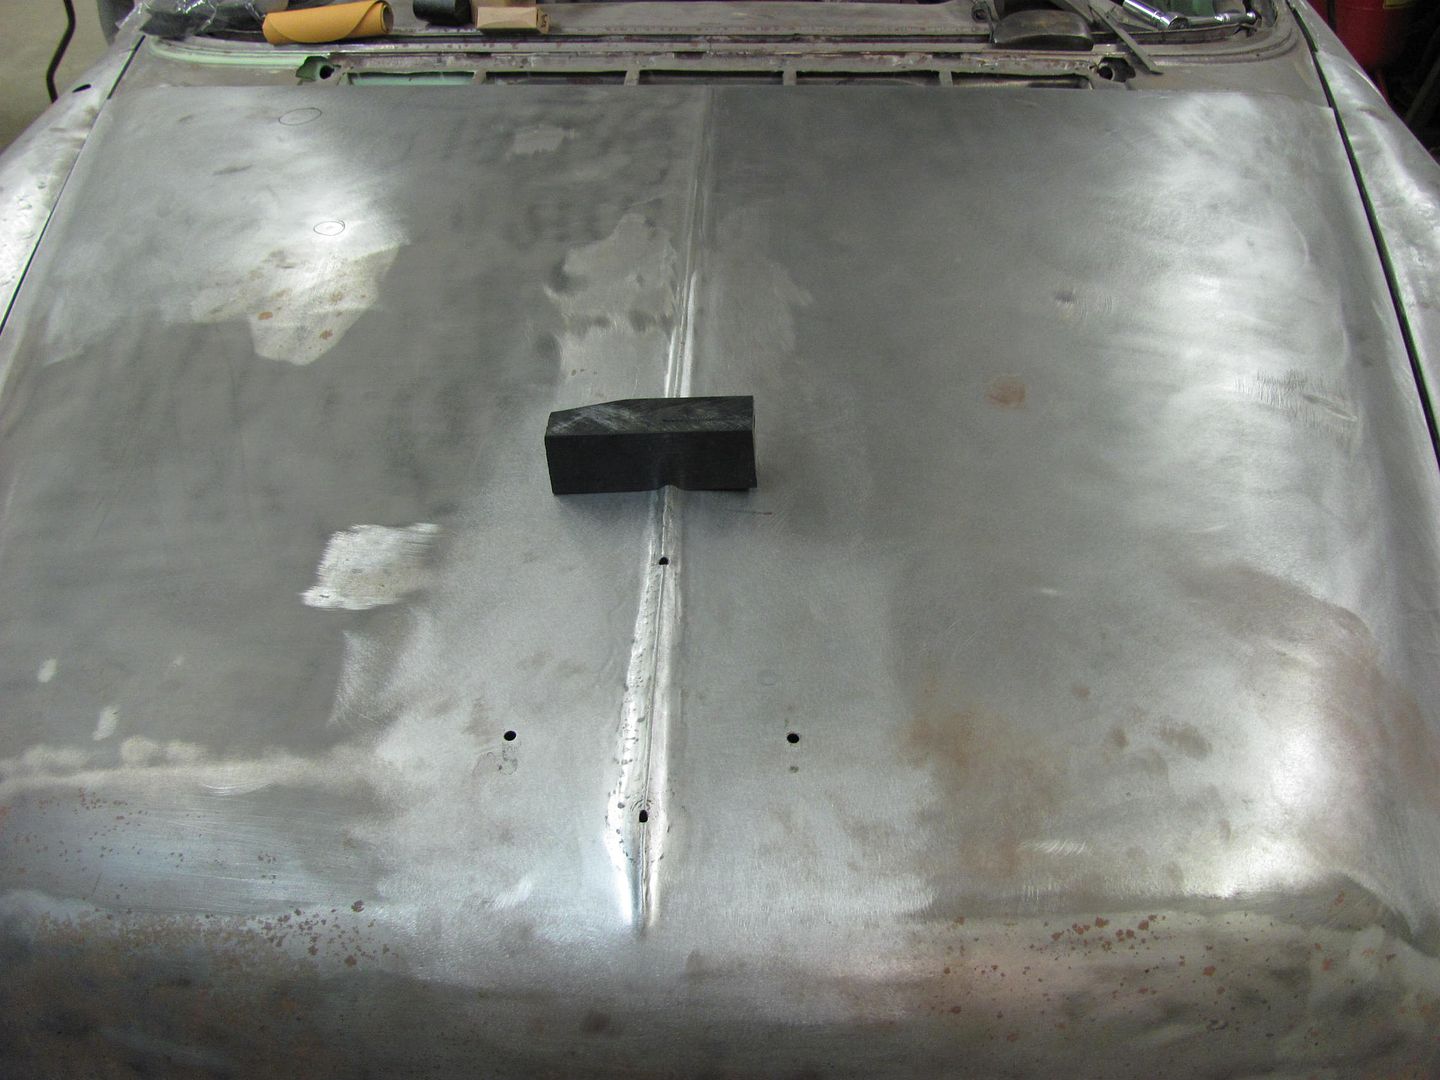
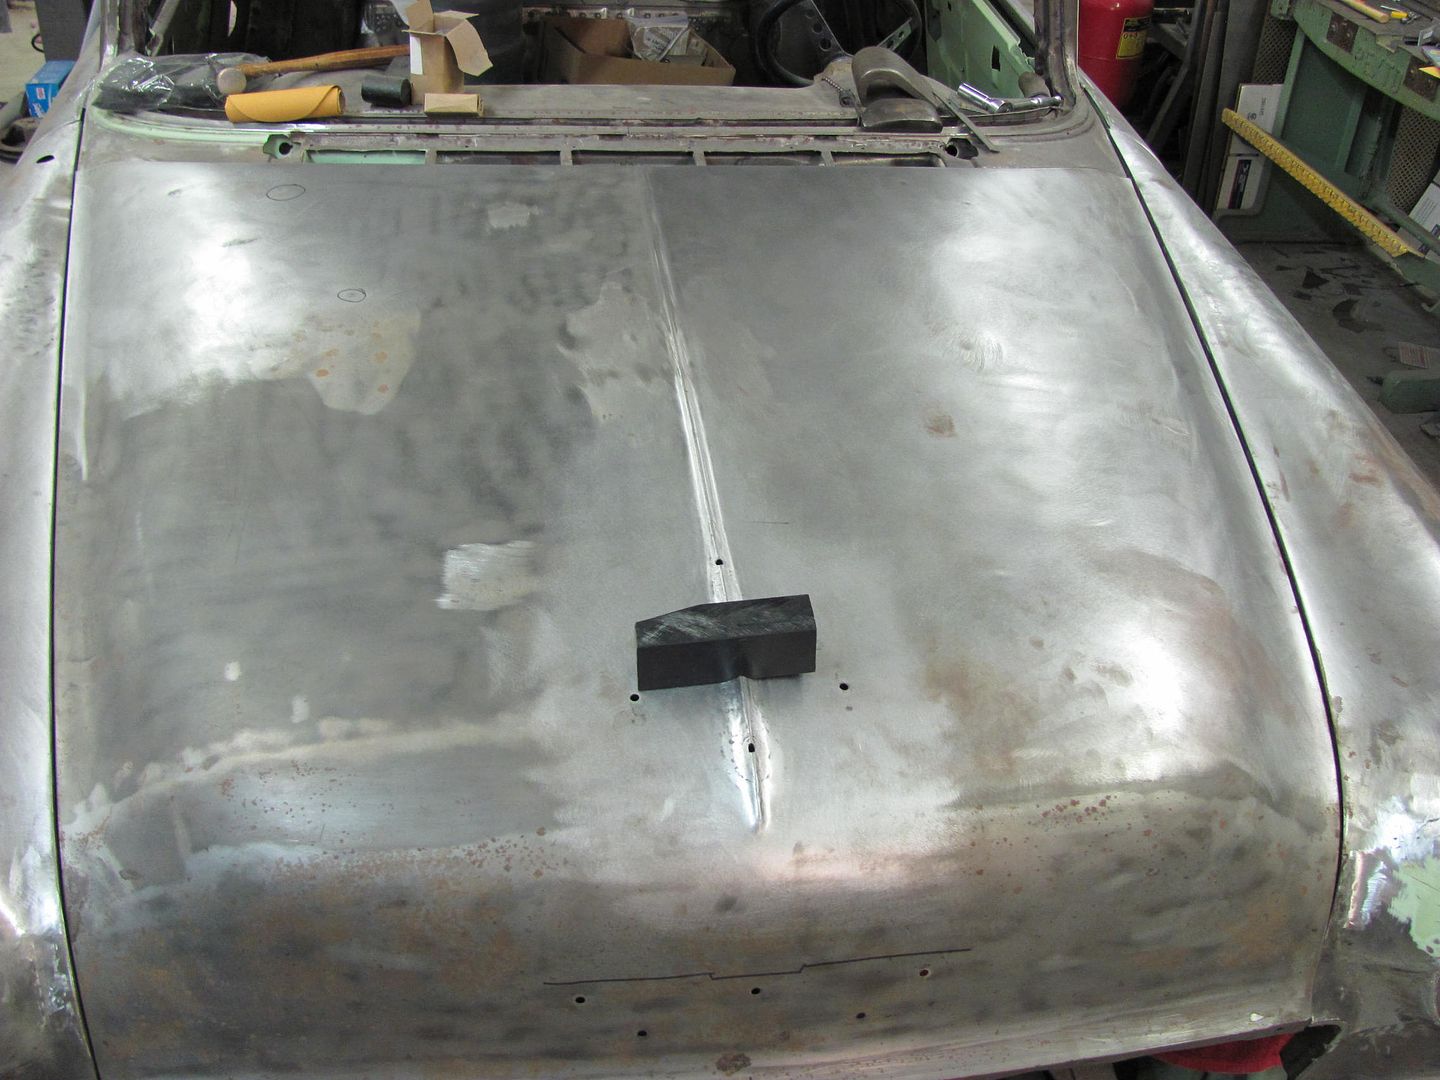
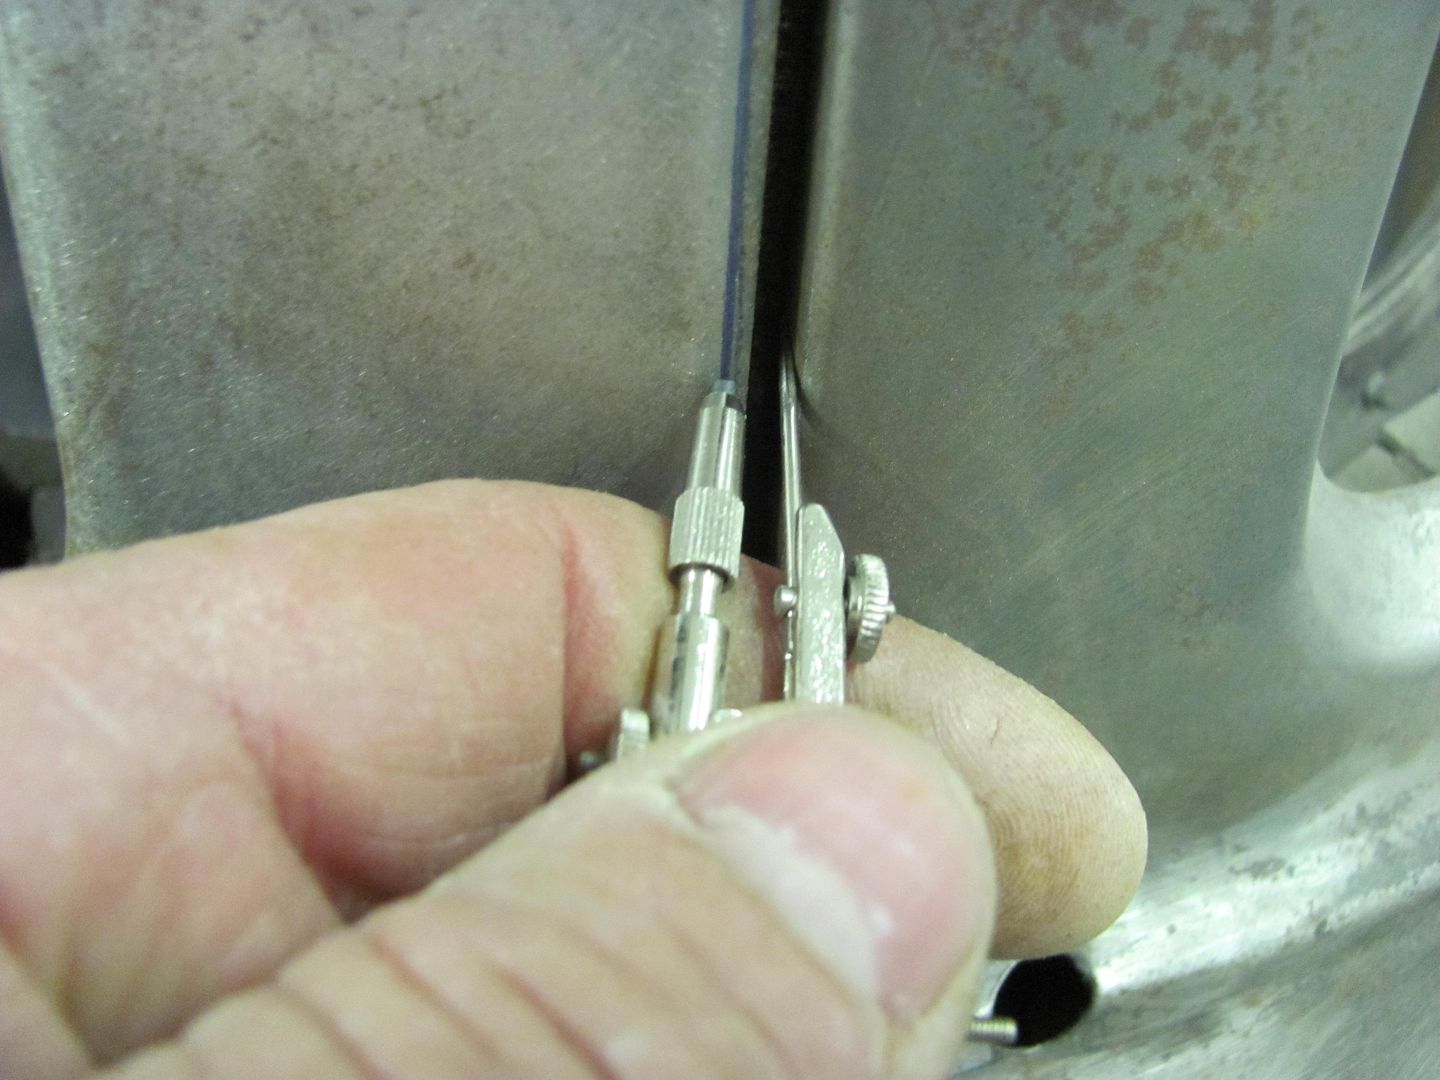
You can see the hood gains more crown toward the front, but the peak also seems to still have more altitude there. It's here where I'll use the shrinking tip on the dent puller to shrink the "valley" a bit more to try for better consistency out to the front.
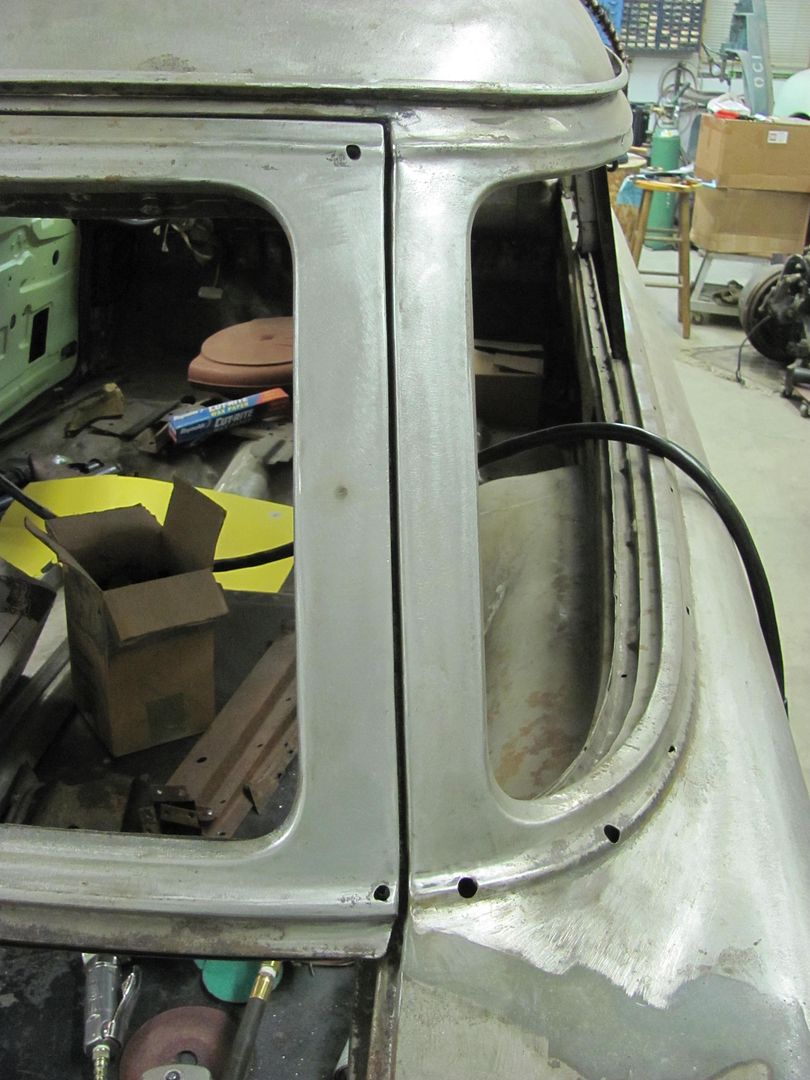
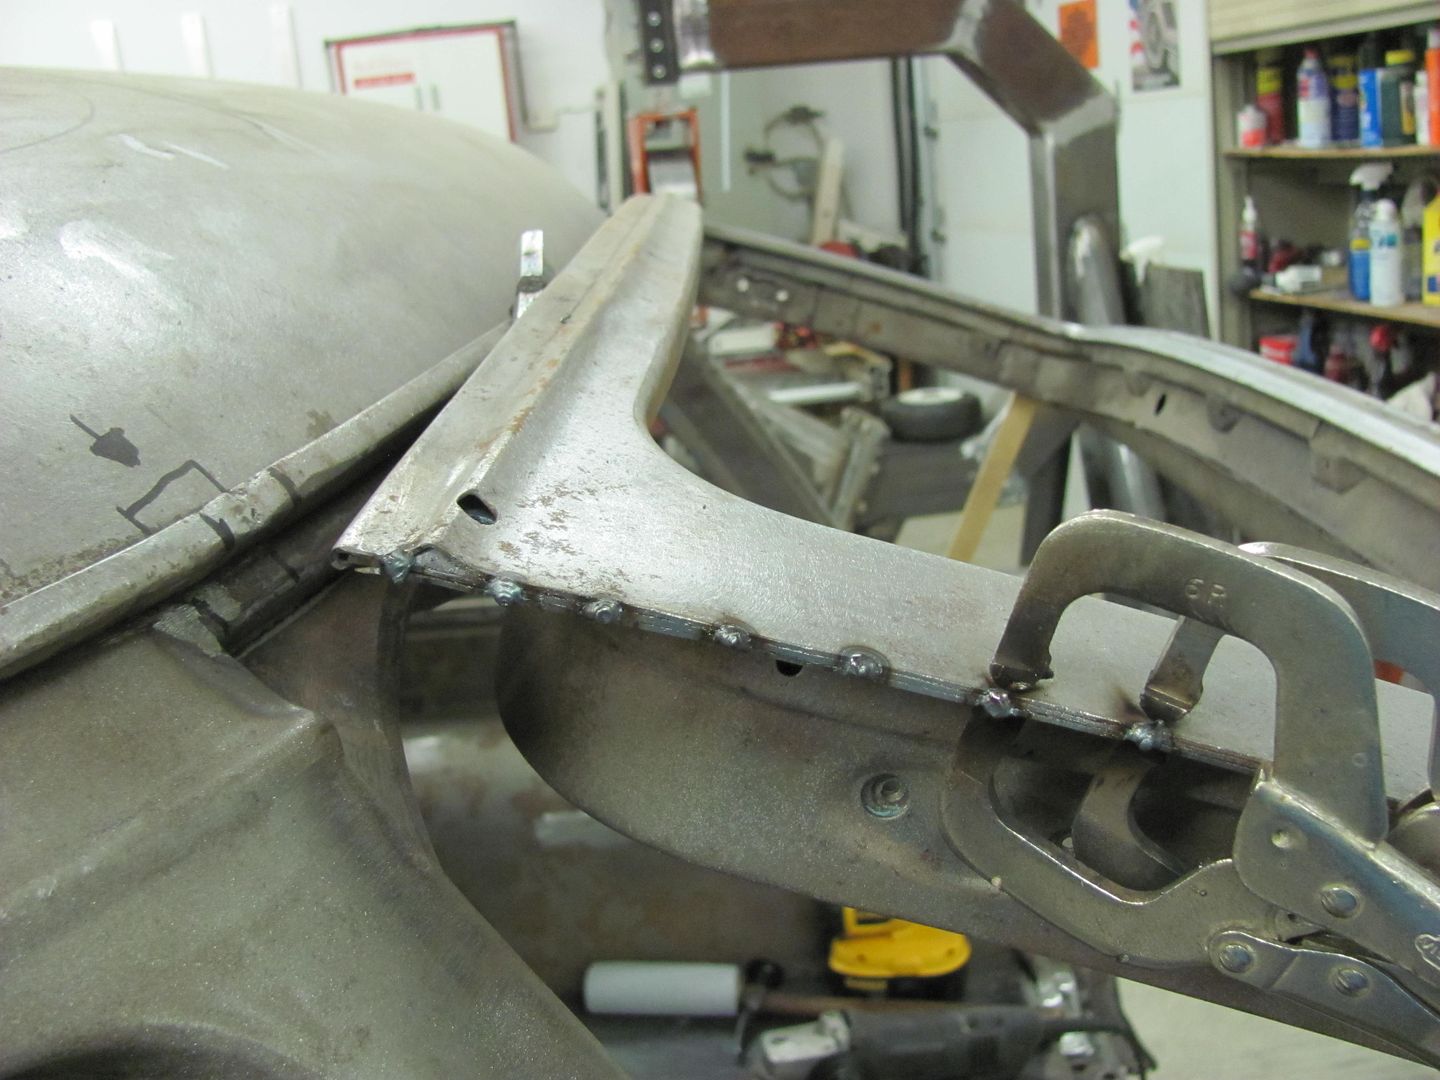
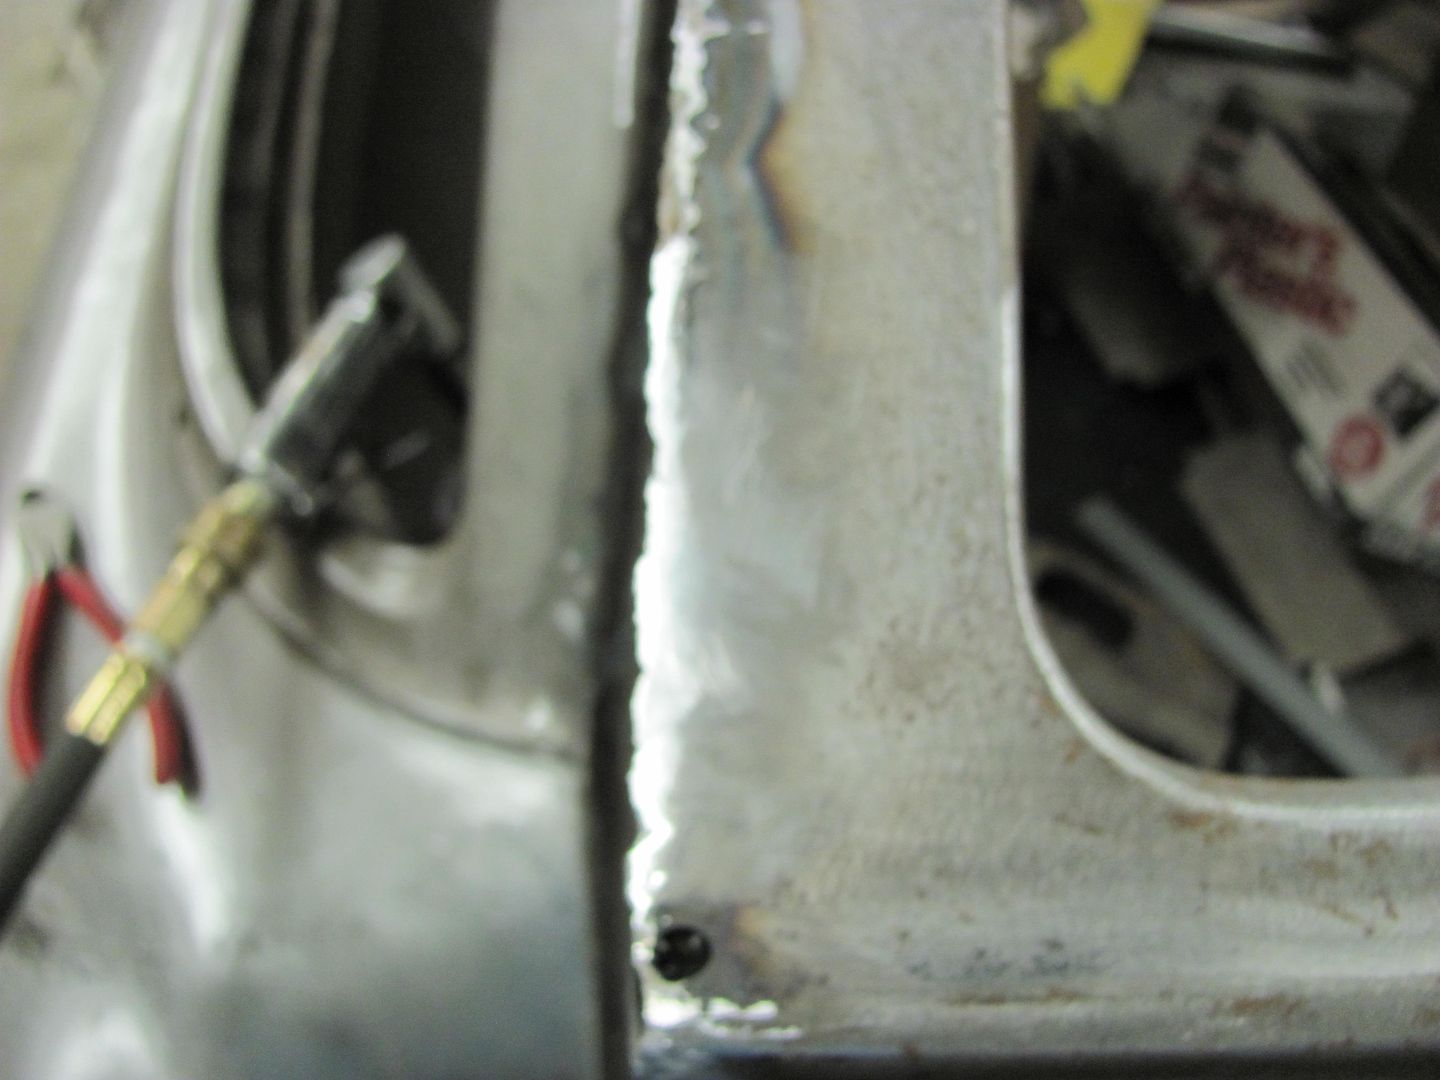
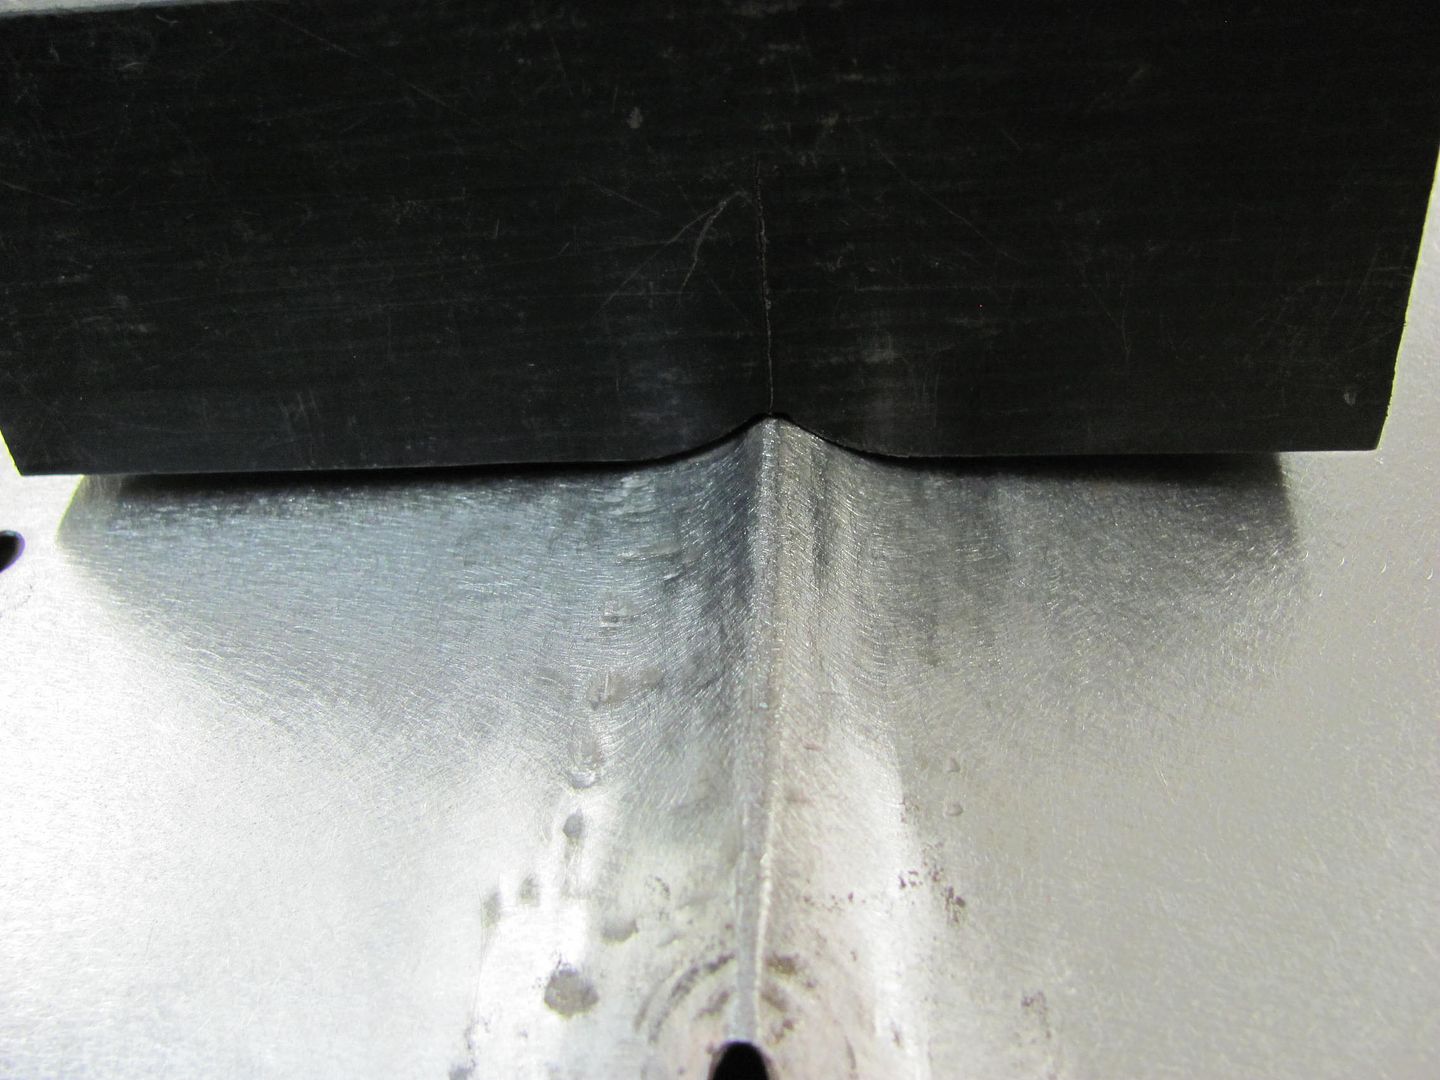
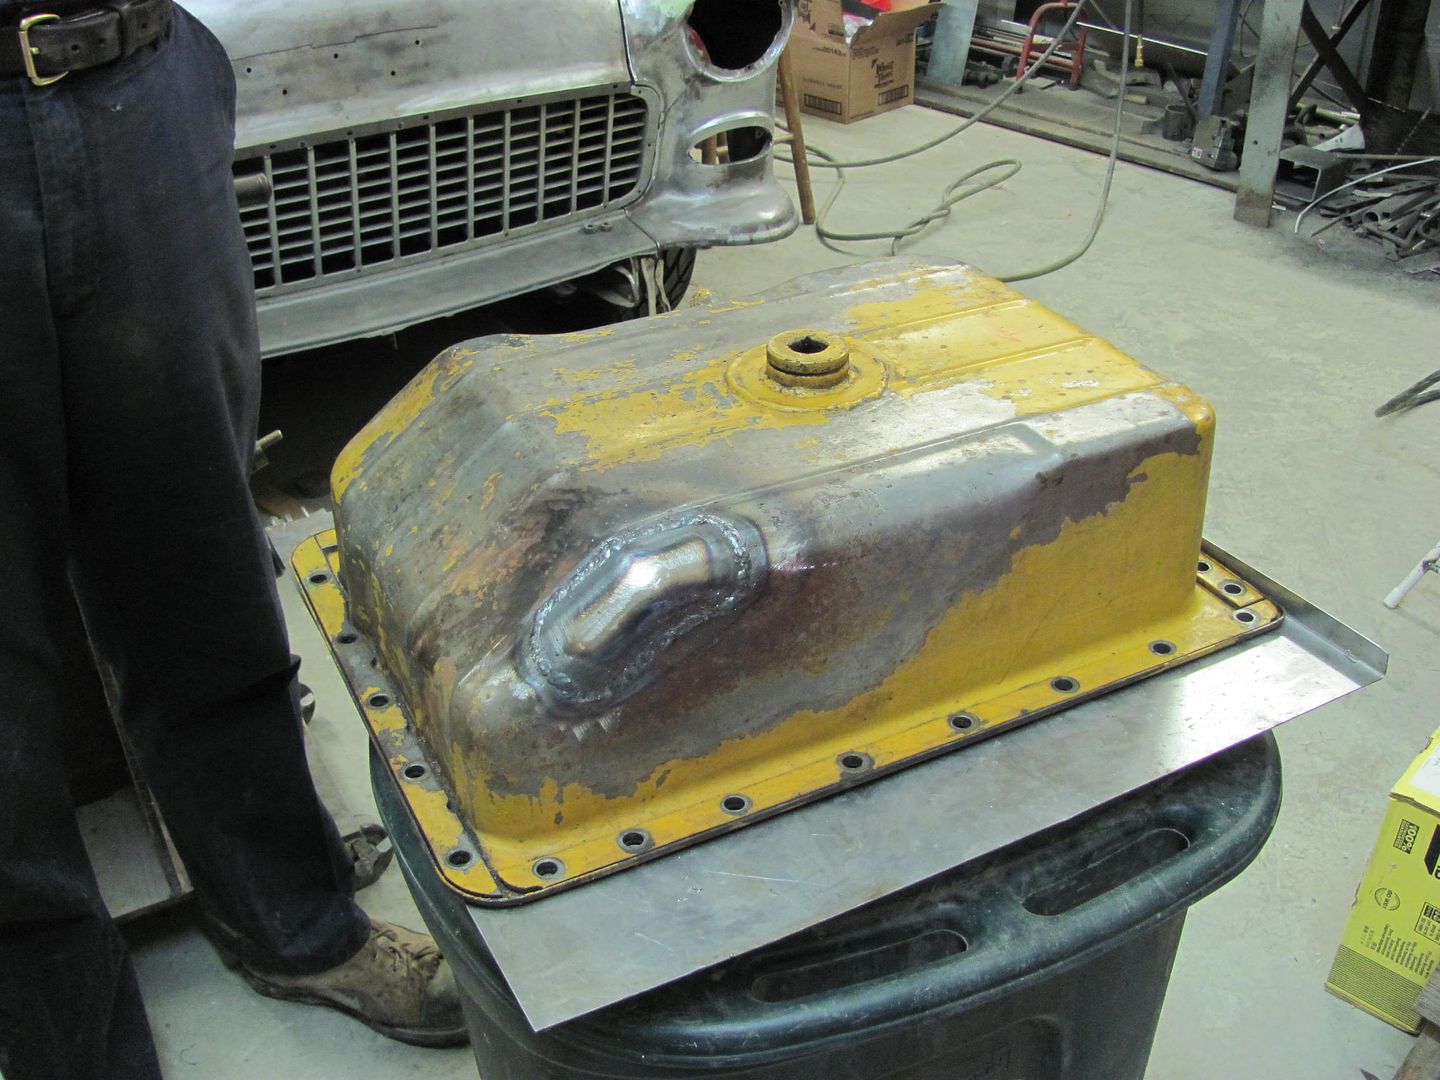
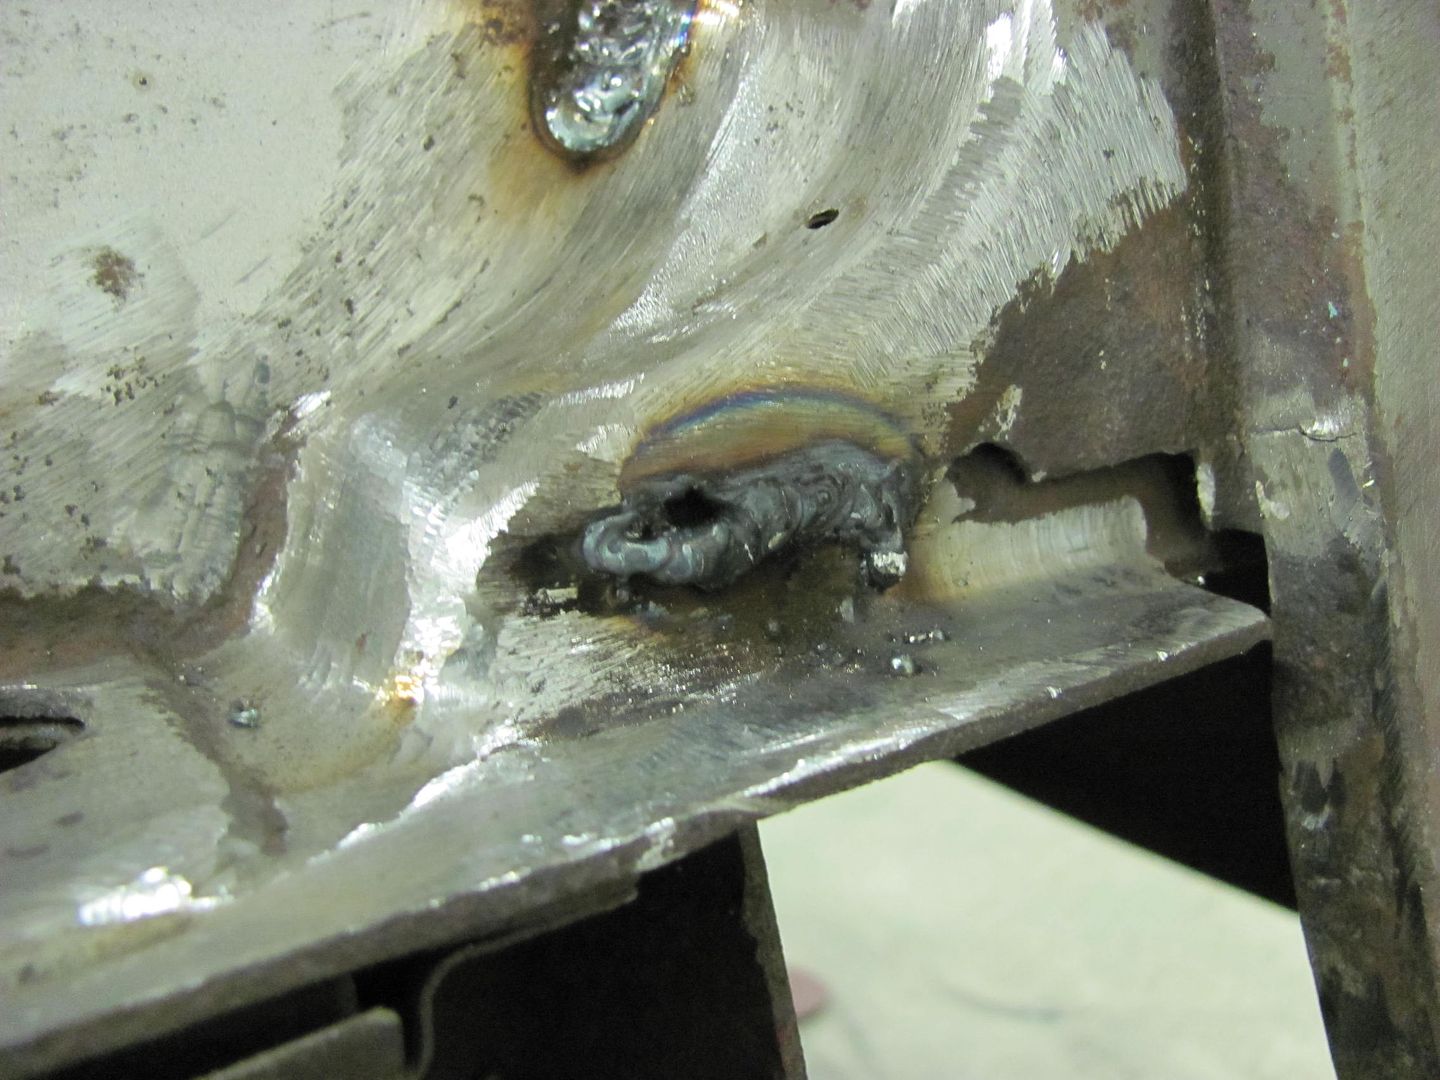
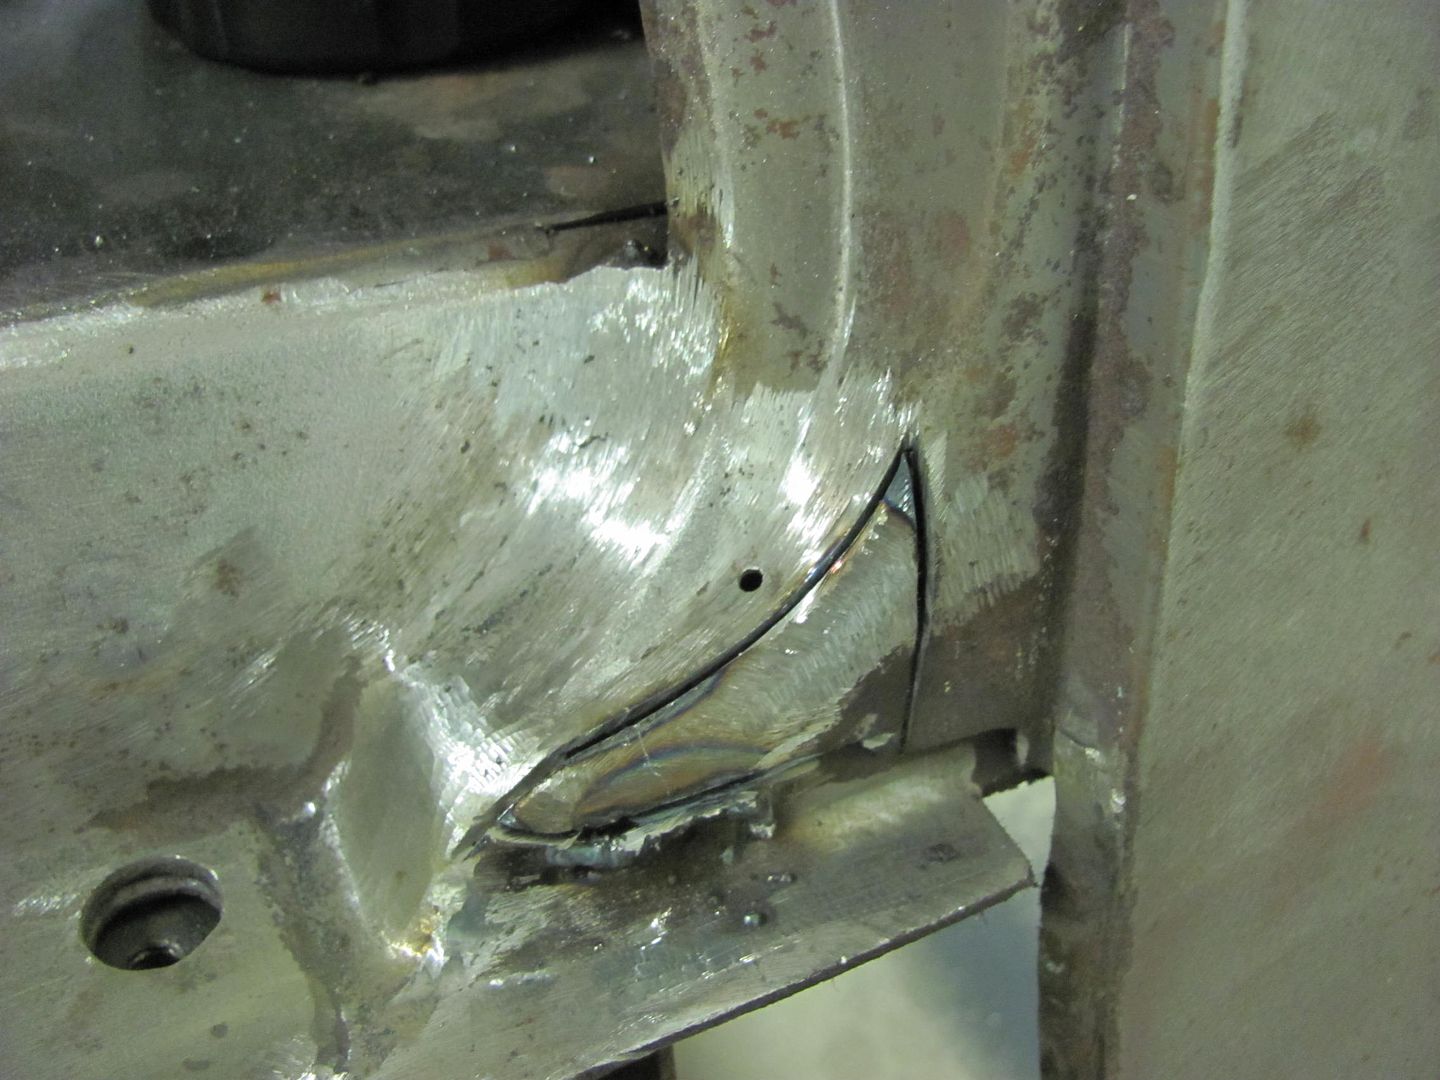
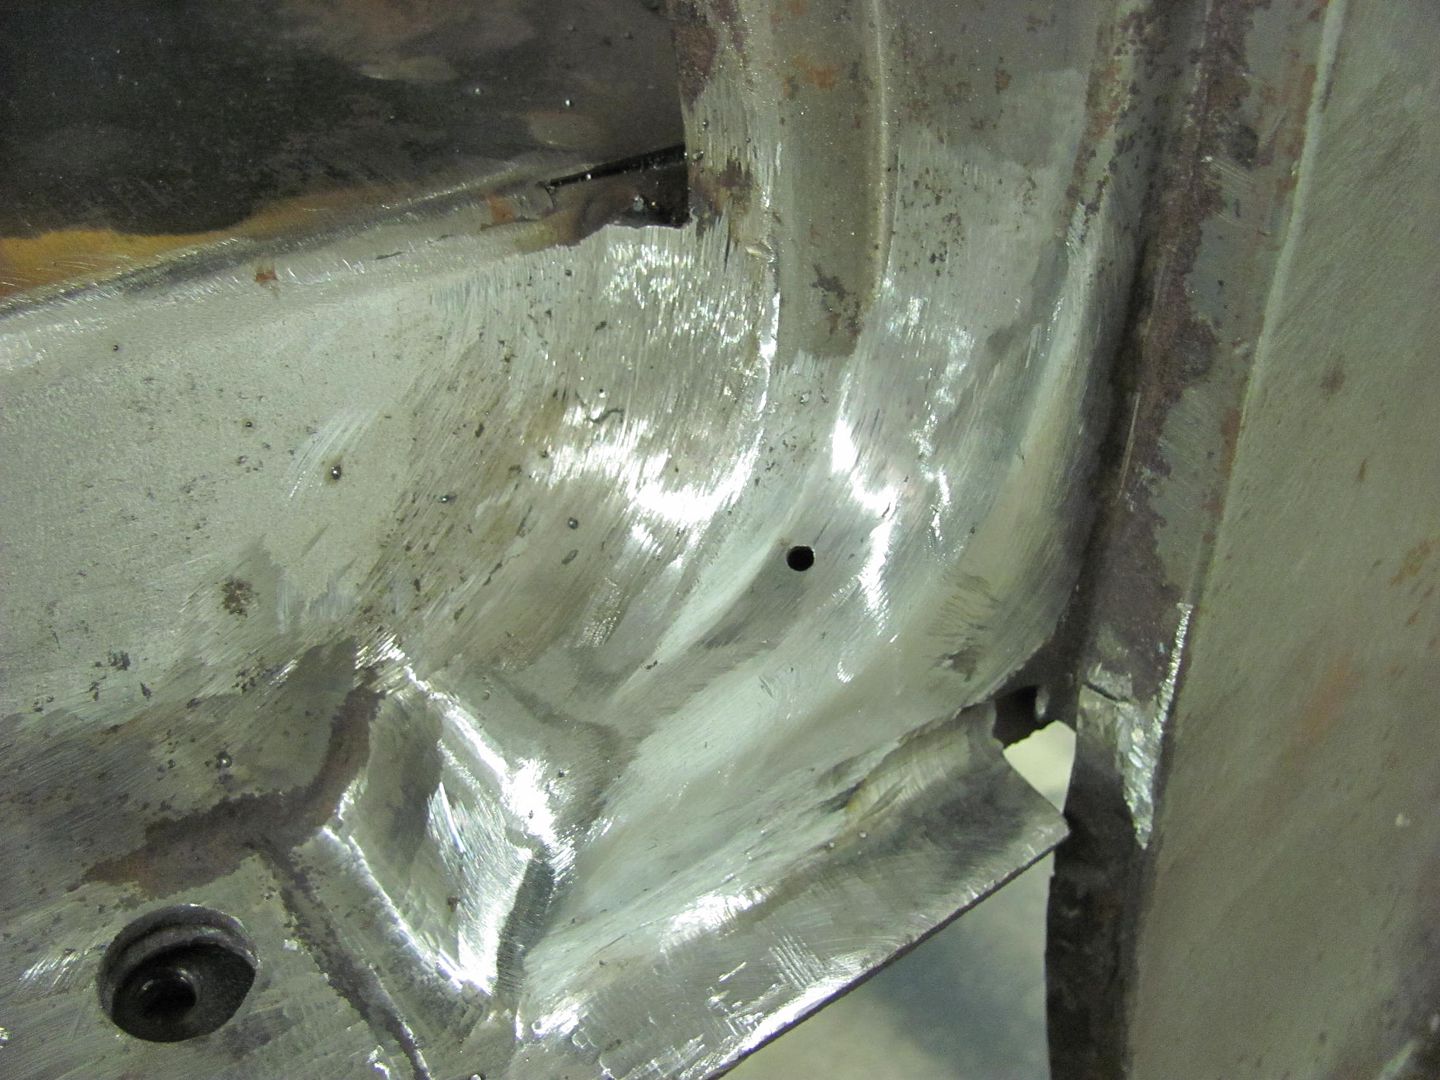
Now to fill in some bird mounting holes... Using my Roper Whitney hand punch to make some plugs for the holes, but the punch part has the locating center point, which will tend to distort the plugs. I found the correct size and ground off the point.
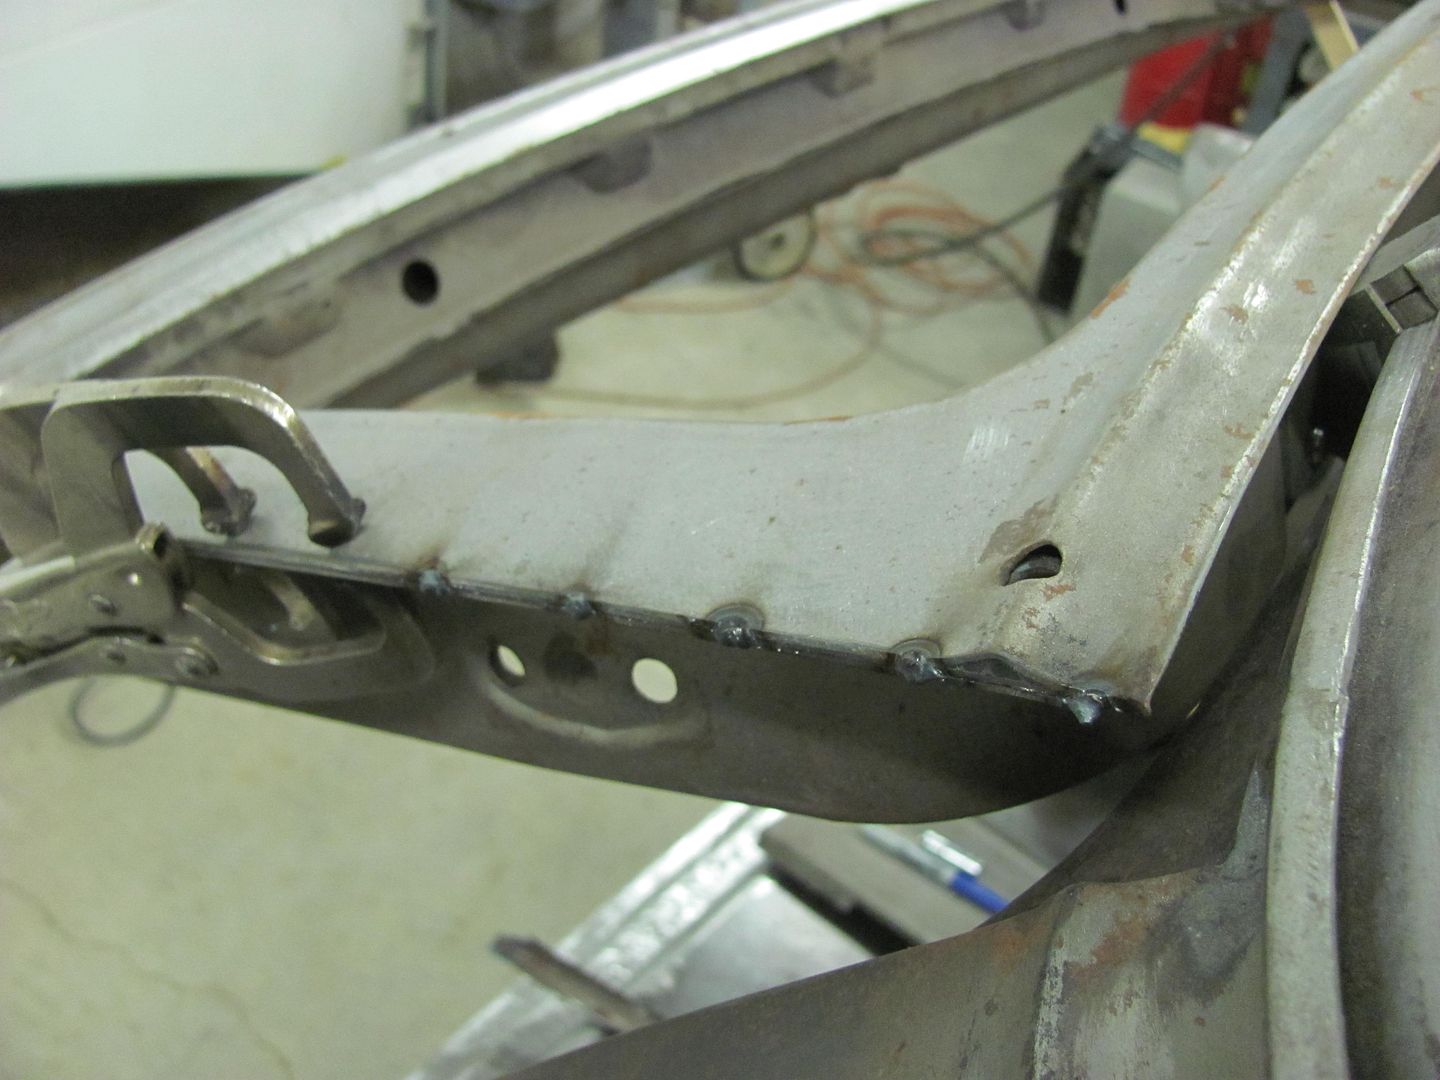
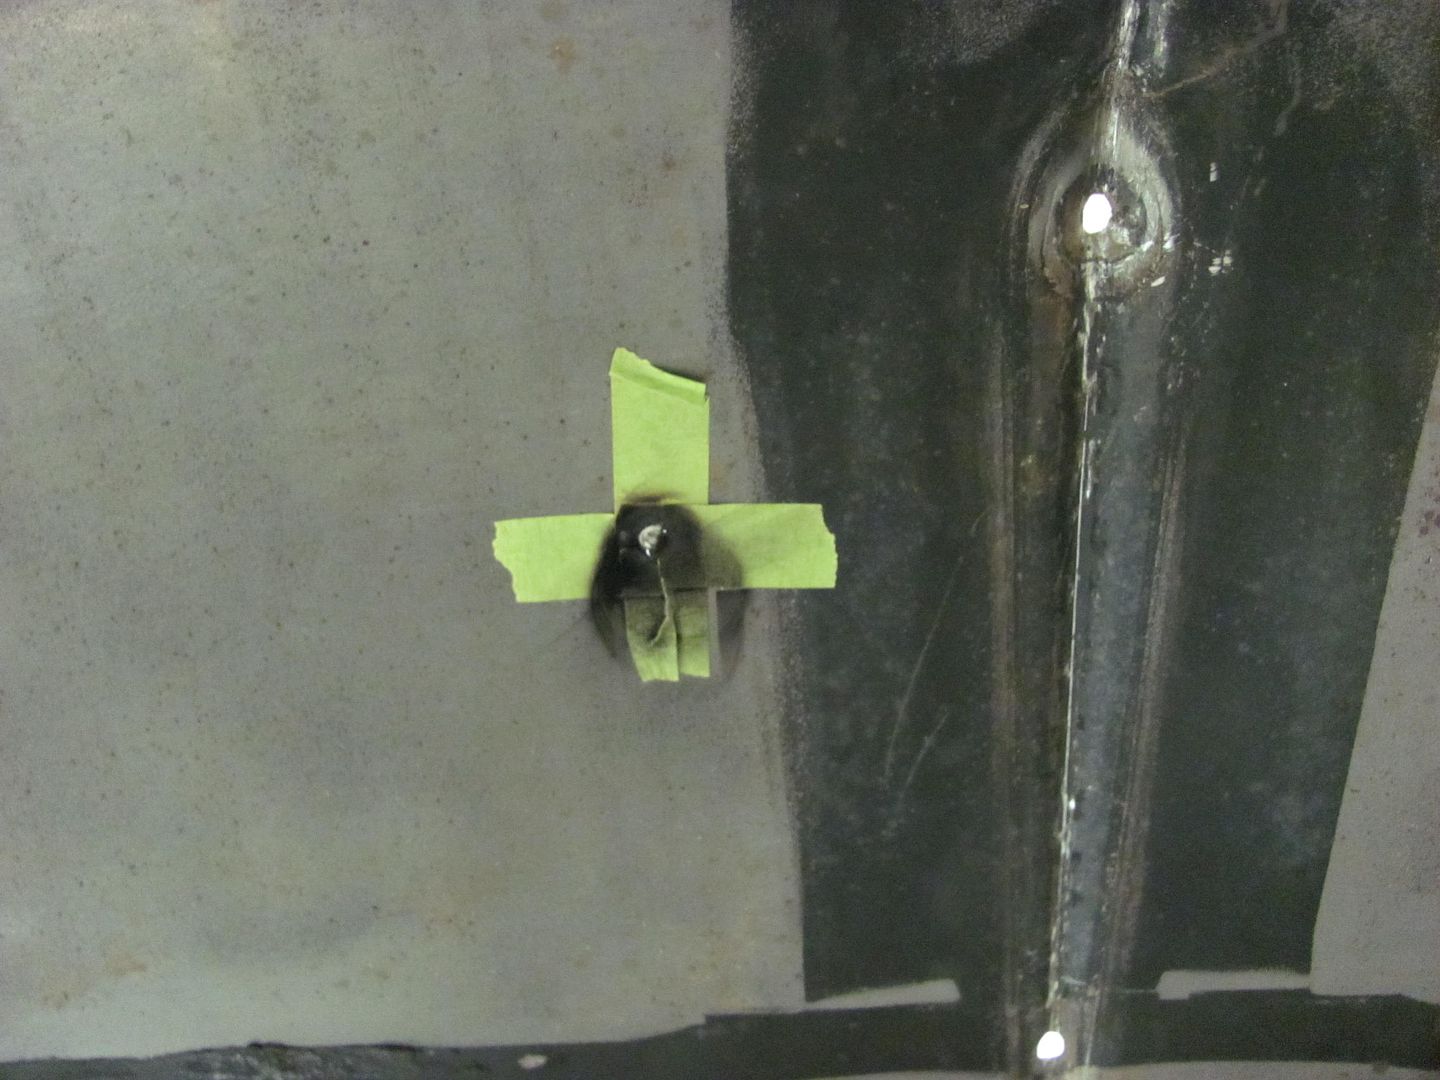
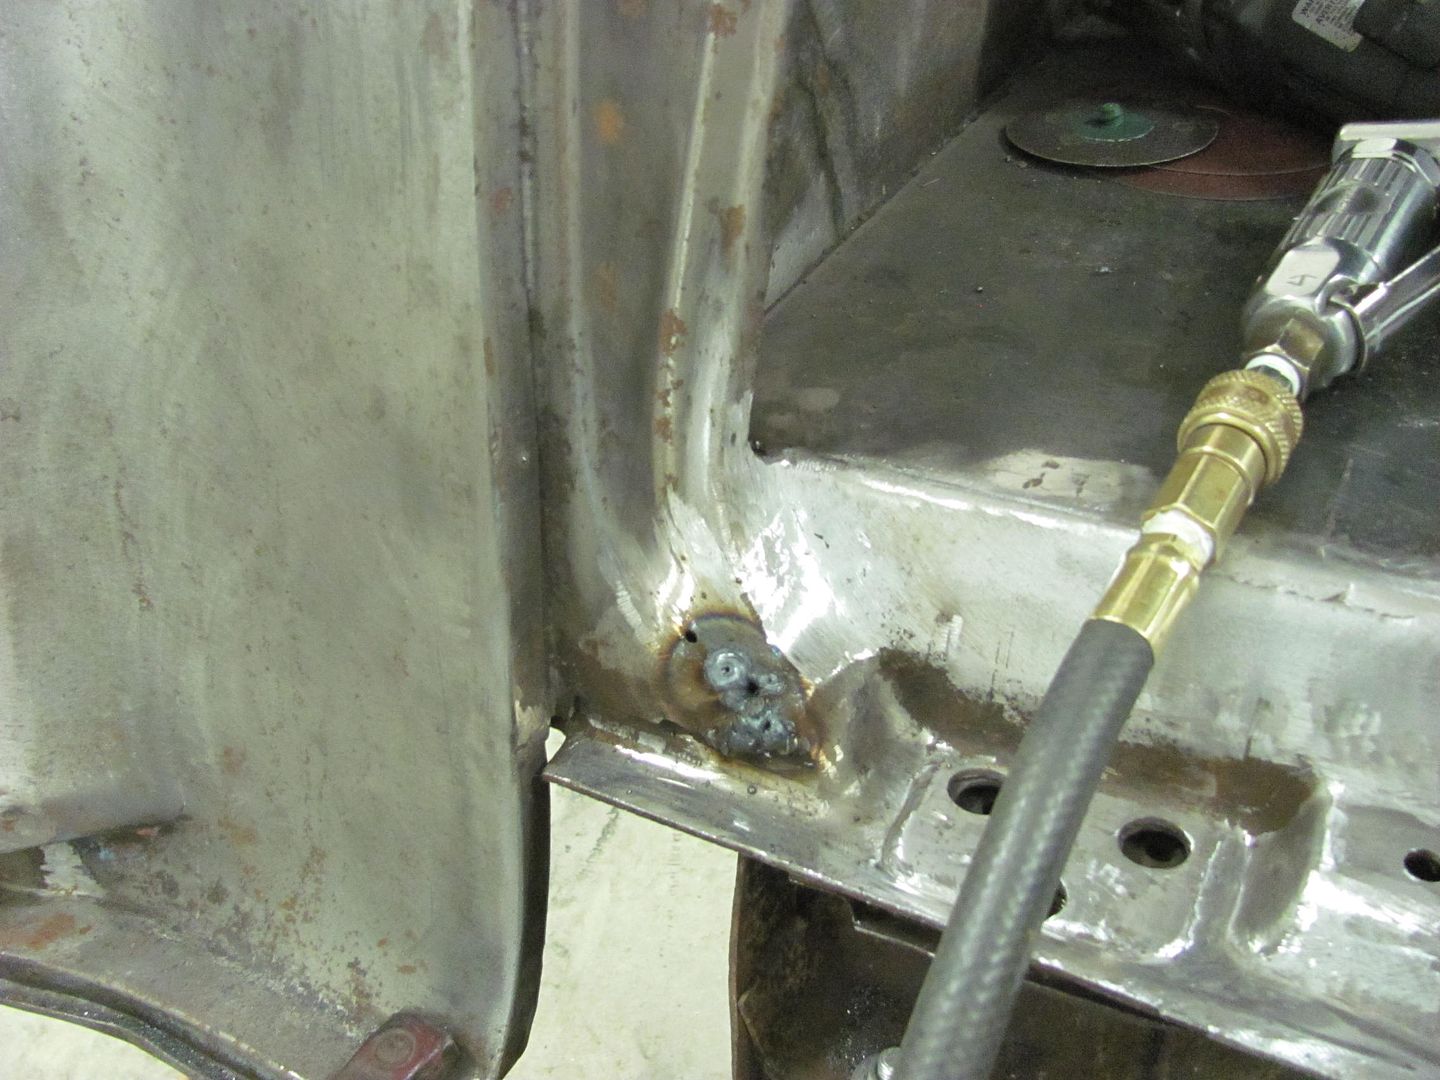
Plug held in place with a couple strips of tape on the bottom, long enough to tack in place....
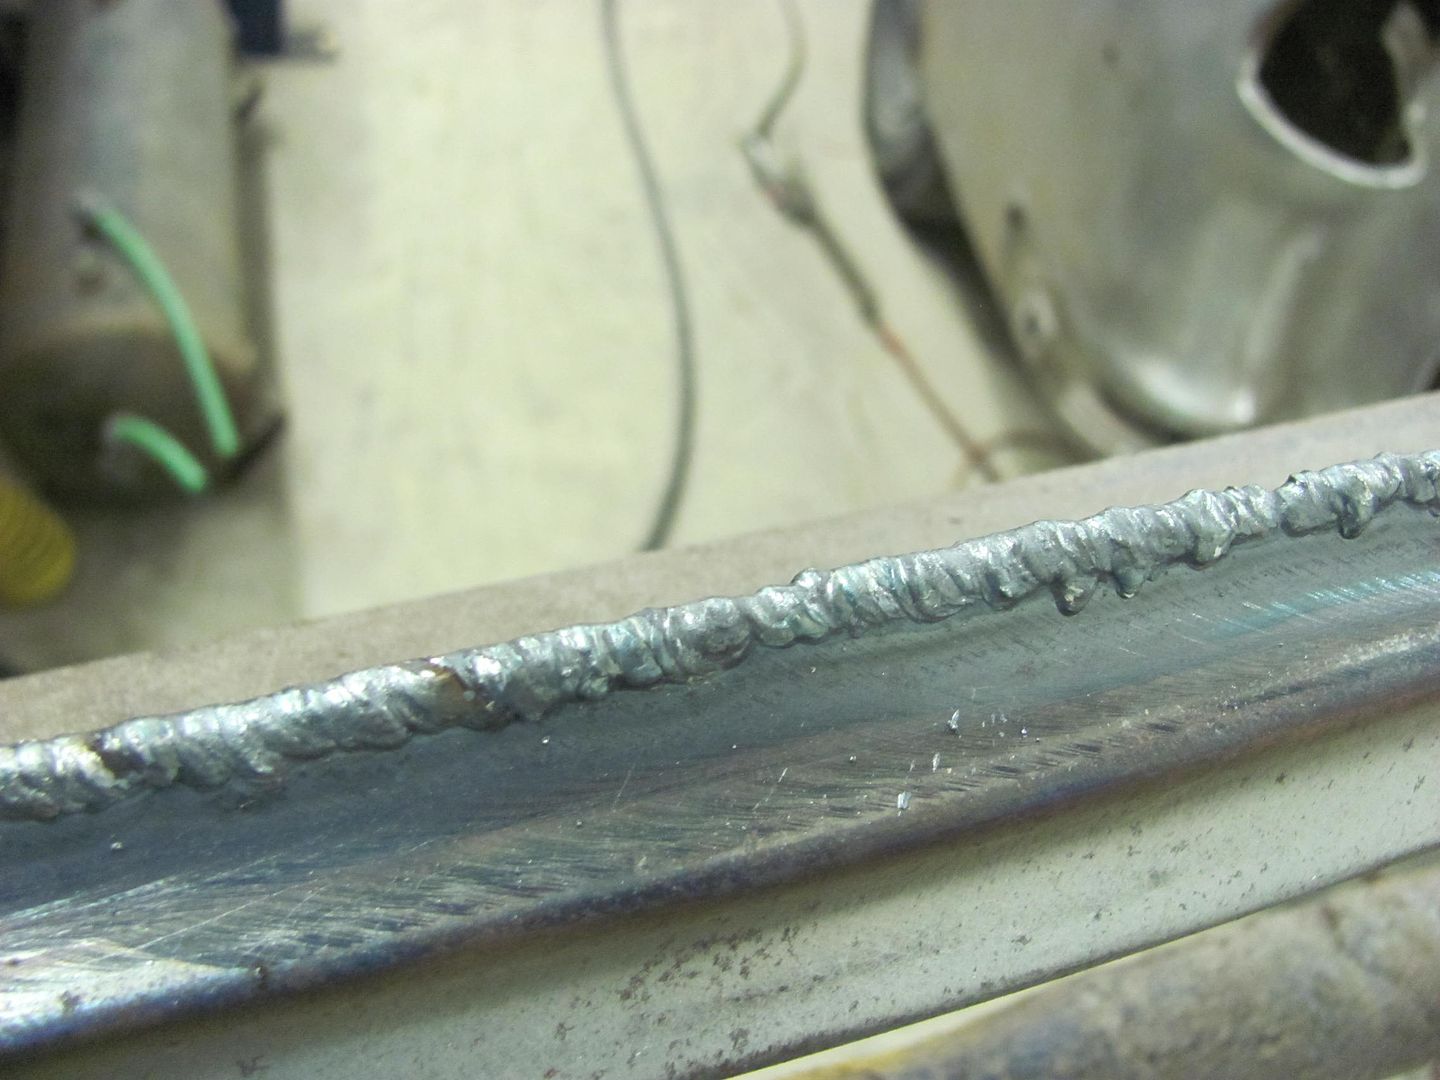
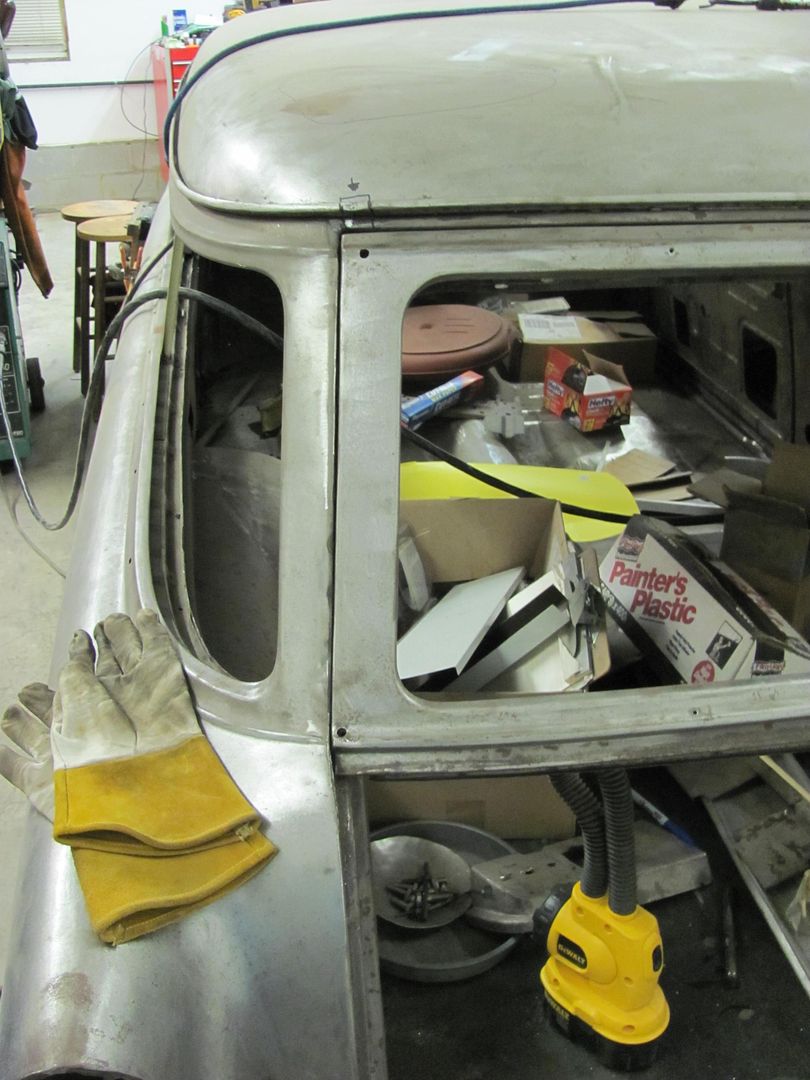
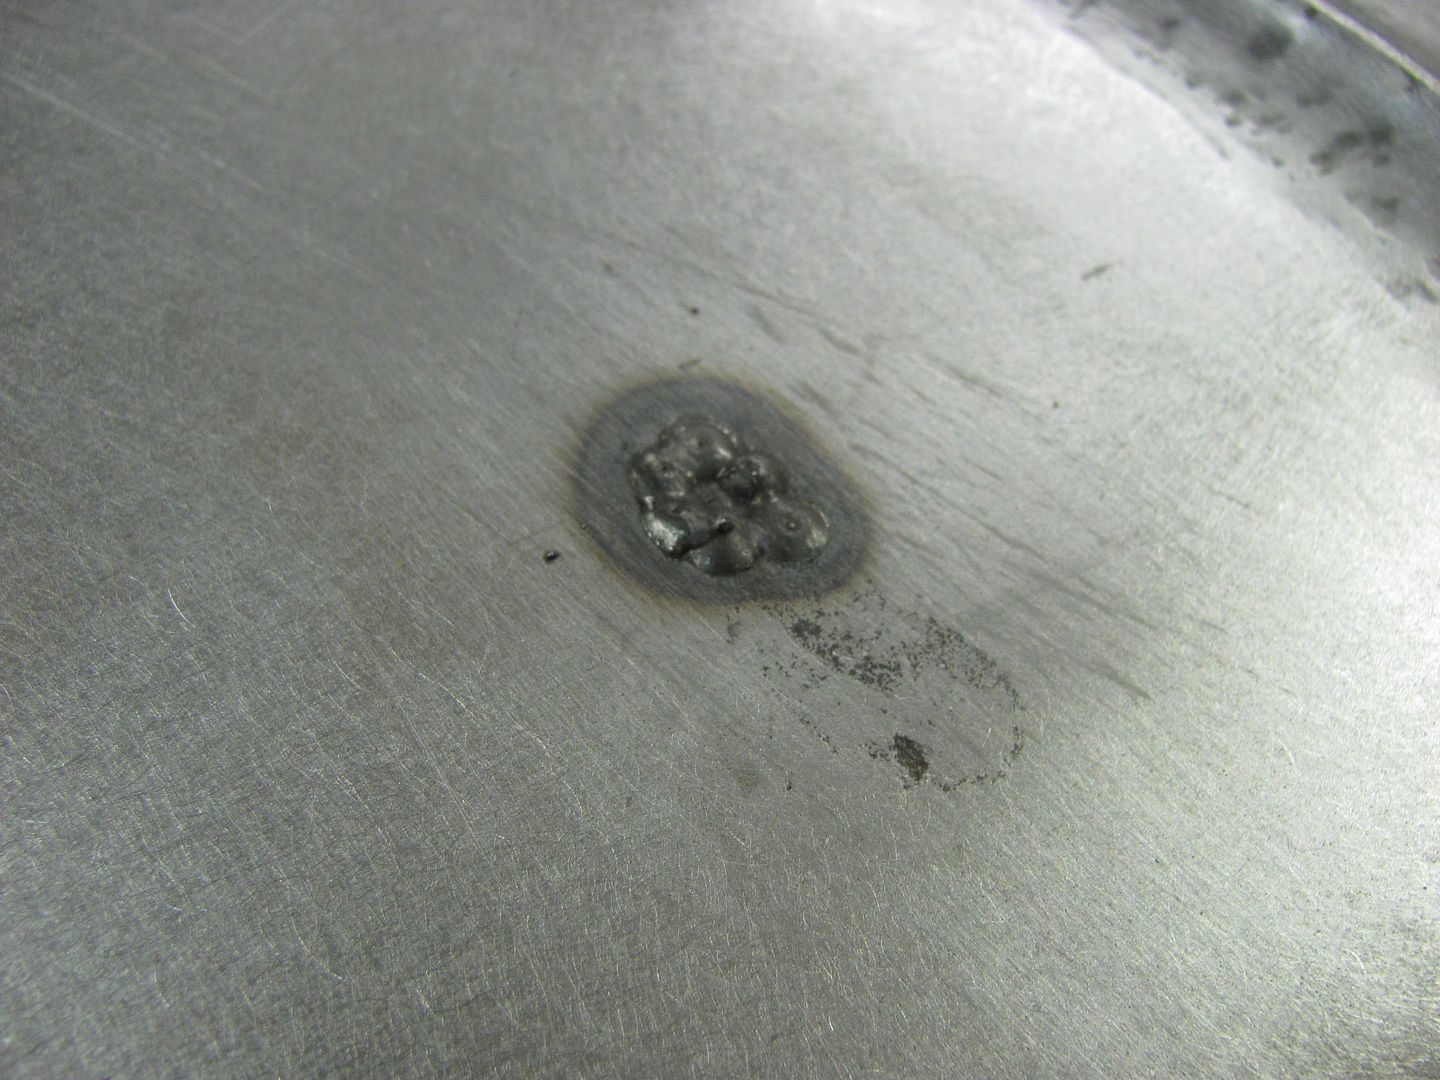
Welded in place and welds dressed....
X2I am learning a lot from your post and its motivating me to get some stuff done
 Wanting to do some work on my 71 GS hood
 Did you need to apply any heat to the area to make it easier to move? I was thinking you might have used heat to ease the ornament crown crease. What job did your nephew Chris do for this operation? Was he the Delrin-die-dead-weight-guy? lol
Another question - working on the underside, was the punch and dead-blow hammer the only tools you used, or was there also some body hammer work used there too?


 Your work is amazing, I learn something everytime I read your posts. Thanks for sharing!