To avoid these ads, REGISTER NOW!

MP&C Shop Projects

shocwav3

Well-known member
Joined
Dec 17, 2012
Messages
112
Location
Clifton NJ
You have the gift my friend. Reading through your posts are like online lessons, not just the eye candy. Thanks for sharing.
 
To avoid these ads, REGISTER NOW!
OP
M

MP&C

Well-known member
Joined
Oct 21, 2009
Messages
4,396
Location
Leonardtown, MD
Thanks!


A bit more progress last night on the front end fitment. We've taken the hood off and reinstalled so much that one of the captive nuts came out. Once we fished it out of the hole, it still looked intact, so it will get reinstalled. It was proving difficult to pull back up into the hole, so a bolt was threaded into the nut and the fancy dent puller clamped onto the bolt head. One pull and it was back in place..

Picture1371.jpg


Picture1372.jpg


It was tacked in place, and to prevent a reoccurrence with the other three, they received tack welds also.

Picture1373.jpg


Next, we were working on the hood to cowl gap. We noticed towards the ends of this gap it tended to tighten up. The highly calibrated gap feeler gauge was used...

Picture1375.jpg


Here the gap tool had no chance, we need to reform the rear fold on the ends...

Picture1376.jpg


Picture1377.jpg


Picture1378.jpg


The wedge anvil was used, along with a x-large cold chisel that had a radiused edge formed for the more curvaceous profiles, to reform the rear fold inward for this tight area..

Picture1356.jpg


Picture1380.jpg


Picture1383.jpg


Gap looks much more consistent there, a quick look at the passenger side shows it needs reforming as well, but not nearly as much. Getting late, so we'll finish this up next time...

Picture1384.jpg


Picture1385.jpg


Picture1386.jpg
 
Last edited:

PeteMoore

Well-known member
Joined
Jan 25, 2011
Messages
453
Location
N.Ireland
I wish I had your patience for taking photos as you go.

Always seem to be under too much pressure to finish something and its only when its covered in paint do i remember to take pics :(

Still awesome watching you work dude
 
OP
M

MP&C

Well-known member
Joined
Oct 21, 2009
Messages
4,396
Location
Leonardtown, MD
Pete, it also serves as a progress report to the owner. I've had projects for people as far as two hours away, so it helps for them to see where we are or if any issues have arisen.. without having to drive that distance.. Thanks!
 

PeteMoore

Well-known member
Joined
Jan 25, 2011
Messages
453
Location
N.Ireland
I fully understand that, it is fantastic, not just for your customer, but for the rest of us too.

Due to the nature of our cars (being fairly cheap to begin with) some customer struggle to see the time and detail that goes into them to make them complete. We really do need to start documenting it like you do.

Please don't ever stop doing what you are doing and sorry for not posting too often.
 
OP
M

MP&C

Well-known member
Joined
Oct 21, 2009
Messages
4,396
Location
Leonardtown, MD
Pete, good to hear from you again. It would be good to see some of the work out of your shop!


More progress today, part of our hood fitment has been hindered by the hinges. When closing the hood they didn't want to close properly and the back corners of the hood had to be pushed down by hand. Don (acardon) on Trifive website suggested replacing the original shouldered rivets with some bolts and sleeves. We hadn't heard anything promising with the reproduction hinges, so what did we have to lose.

First to come up with a hinge spring removal tool...


Picture1397.jpg


Picture1398.jpg


Picture1399.jpg


Picture1400.jpg


Picture1401.jpg


Now to disassemble the hinge and remove the rivets..


Picture1387.jpg


Picture1388.jpg


Picture1404.jpg


Some 3/8-16 rivnuts were used to make some spacers, and used the lathe to trim them to size, allowing a few thousandths clearance. All of the rivet holes were drilled out for the spacers..


Picture1402.jpg


Here are the results, click on the pic for video


Thanks much to Don for the suggestion!
 
Last edited:

PeteMoore

Well-known member
Joined
Jan 25, 2011
Messages
453
Location
N.Ireland
I unfortunately lost my shop dude, but between small projects in the garage and working at a friends garage, we are producing some very competitive machinery atm.

The 200hp K-Series Midget:


And attached is the latest weapon:

More info can be found on the facebook page:
https://www.facebook.com/CorryMotorsport
 

Attachments

  • 10735480_559868587493082_1012371056_n.jpg
    10735480_559868587493082_1012371056_n.jpg
    136.8 KB · Views: 97

36racin

Active member
Joined
Jul 23, 2013
Messages
32
Location
Gonzales, La
I've had projects for people as far as two hours away, so it helps for them to see where we are or if any issues have

Robert,
I'm way about 15-18 hours away from you but the more I watch your handy work the more I wish my car was in your shop. Any chance you would take in a long distance client? Or do you know someone with your skills further down south somewhere? Can't wait to see this car finished.

Todd
 

Kevin54

MEMBER EMERITUS
Joined
Jan 12, 2005
Messages
29,341
Location
Urbana, Ohio
Robert,
I'm way about 15-18 hours away from you but the more I watch your handy work the more I wish my car was in your shop. Any chance you would take in a long distance client? Or do you know someone with your skills further down south somewhere? Can't wait to see this car finished.

Todd

I can't speak for Robert, but people have their cars done all of the time that live states away from where the car is being worked on.
 
OP
M

MP&C

Well-known member
Joined
Oct 21, 2009
Messages
4,396
Location
Leonardtown, MD
I unfortunately lost my shop dude, but between small projects in the garage and working at a friends garage, we are producing some very competitive machinery atm.

The 200hp K-Series Midget:


And attached is the latest weapon:

More info can be found on the facebook page:
https://www.facebook.com/CorryMotorsport


Pete, sorry to hear about losing the shop, but sounds like you are still staying busy! Hopefully with less business headaches to deal with..


Robert,
I'm way about 15-18 hours away from you but the more I watch your handy work the more I wish my car was in your shop. Any chance you would take in a long distance client? Or do you know someone with your skills further down south somewhere? Can't wait to see this car finished.

Todd


Todd, I would suggest trying to find someone local to you. Visit a couple local car shows and ask around for suggestions. Or visit Metalmeet or Allmetalshaping type websites to find someone in your area. I can't think of anyone in La area, but that doesn't mean they don't exist. You'd quickly eat up about 2K just in shipping charges, that would go far in getting your quarter squared away by someone local.
 
OP
M

MP&C

Well-known member
Joined
Oct 21, 2009
Messages
4,396
Location
Leonardtown, MD
It took care of both sides wanting to stay up at the back corners:


Still not sure of the hardware we'll end up with. May check the chrome plated selection at the local hardware store.
 
Last edited:
OP
M

MP&C

Well-known member
Joined
Oct 21, 2009
Messages
4,396
Location
Leonardtown, MD
Tonight we worked on some more front end pieces. The drivers side inner fender extension had been slightly mangled, looks like perhaps a tire ran over road kill or something and threw it up, breaking some spot welds.


Picture1412.jpg


Picture1413.jpg


Picture1414.jpg


Kyle had already worked on straightening the lower bracket, and after I re-welded the broken spot welds, he got into some metal bumping to repair the rest of the mangle in the sheet metal.


Meanwhile, with the hood fitment about done it was time to weld up the rear corners after the rear flanges in the corners had been persuaded forward to provide consistent gap across the back edge of the hood. The Crud Thug was used to clean out the inside corners for welding..


Picture1417.jpg


Picture1422.jpg


A copper flat bar was trimmed to fit the inside corner snugly to help manage weld penetration where inside cleanup wouldn't be needed.


Picture1423.jpg


Welded and dressed....


Picture1424.jpg


Then the peak on the hood was addressed, after peaking the front of the hood awhile back I had yet to fix the low areas. A consistent crown would be essential on provide good support for the hood, and there were a few low spots along the peak. To be able to match up the low areas, a magnetic rule was placed on the underside and top. After sighting the peak and finding the lows, they were marked and the measurement notated.


Picture1426.jpg


Picture1427.jpg


Picture1429.jpg


Flipping the hood over, the same dimensioned areas were persuaded downward. A screen door tool was used, but proved to be rather ineffective.


Picture1430.jpg


Time to break out the heavy duty implements, a rounded/radiused cold chisel and a dead blow hammer, along with the small shot bag held against the opposite side....


Picture1431.jpg


Picture1432.jpg


That worked better, and showed dramatic improvement. Still a bit more to do, but we're running out of time this evening, so we'll finish this up on Saturday..
 
Last edited:
OP
M

MP&C

Well-known member
Joined
Oct 21, 2009
Messages
4,396
Location
Leonardtown, MD
More progress today, some of the factory hardware for the inner fender and inner fender extensions used sheet metal screws and clips that had been spot welded on. We plan on using machine screws, so the clips were drilled out for 1/4-20 rivet nuts.


Picture1435.jpg


Kyle used the BF Goodrich installing tool. First the rivet nut is threaded onto the tool for full thread engagement..


Picture1436.jpg


Next, the allen wrench is held stationary, and is also held to stabilize the tool perpendicular to the work piece. The ratchet wrench adds the rotational movement where the "jack screw" draws up the rivet nut, similar to installing a pop rivet..


Picture1437.jpg


While he was doing that, I used some transfer punches to add the holes to the recently repaired inner fenders for the grille hardware...


Picture1440.jpg


Picture1439.jpg


Picture1441.jpg


Picture1442.jpg


Then we knocked off early and made a speed run to Annapolis for Jalopyrama. Here are some of the sights:


Picture1454.jpg


Picture1456.jpg


Picture1457.jpg


Picture1459.jpg


Picture1460.jpg


Picture1461.jpg


Picture1462.jpg


Picture1467.jpg


Picture1470.jpg


Picture1472.jpg


Picture1474.jpg


Picture1475.jpg


Picture1477.jpg


Picture1479.jpg


Picture1482.jpg


Picture1483.jpg


Picture1484.jpg


Picture1486.jpg


Picture1487.jpg


Picture1491.jpg


Picture1494.jpg


Picture1497.jpg
 
OP
M

MP&C

Well-known member
Joined
Oct 21, 2009
Messages
4,396
Location
Leonardtown, MD
The Migmaster 250 has left the building.....


Picture179.jpg


Sold it this past weekend on CL, time now to consolidate, where the old machine was a two-story deal, the new one will be a three story. In order to take up less floor space, I need to incorporate the Miller 211, the Hypertherm Tig, and the Snap On dent puller, and two bottles:


Picture1499.jpg


Picture1500.jpg


Picture1501.jpg


Starting with the base, some 1-1/2 square tubing makes up the frame. This stuff was free, and as with most free stuff, it isn't. Kyle spent most of the time in the shop this evening media blasting rusty square tubing that has been sitting outdoors for a number of years. He also learned a bit more of mig welding..


Picture1502.jpg


The Tig will go on the bottom, and it has some mounting holes on the bottom side...


Picture1503.jpg


So some 3/4 square stock was used to make some rails for the Tig, along with some holes to tie in the front end..


Picture1504.jpg


To be continued.... :willy_nil
 
Last edited:

yaidunno

Well-known member
Joined
Feb 10, 2011
Messages
1,336
Location
WI
Great updates Robert! The detail work on the wagon you're doing is fantastic. As others have said, it is great that you take the time to photo document your efforts and share them. It certainly is appreciated. I must admit, I am a bit jealous of your apprentice. What an excellent opportunity he has working with, and learning from you.
 

AnthonyN

Member
Joined
Mar 12, 2014
Messages
5
Hi, I've learned a lot from your posts on this board. I have a question on Roloc sanding discs. I want to order some for working on my charger and am not sure which to get for General stripping and weld smoothing etc. all of the work you have done here. I am assuming 3" is a good general size. Can you tell me what type and grits that you use?
 
OP
M

MP&C

Well-known member
Joined
Oct 21, 2009
Messages
4,396
Location
Leonardtown, MD
Anthony, welcome to the site!

As a refresher, here is a grinding video I did for plug welds. Grinding the welds on a weld seam will be similar, but I wait to do any final sanding until the end, to do it all at once. On a weld seam with planishing individual weld dots, the primary objective in grinding is to get the weld proud (on BOTH sides of the panel) out of the way for planishing the next set to be welded in place. Plus, weld on top of weld tends to make the welds harder, for more work in planishing or grinding. So working as you go will be beneficial...


https://www.youtube.com/watch?v=V2WHT_zMOE8


For grinding any welds I like to start with cut off wheels for grinding purposes as they will last a bit longer than sanding discs. Once the weld is dressed down to just above panel height, then switch to a sanding disc. This will give a bit more life to your sanding discs. As to why the cut off wheels and not another option, they give you a minimal contact patch, for less heat buildup. A flap wheel or 4-1/2 sanding disc may work great on thicker steel, but IMO they have no business on sheet metal as you risk overheating the metal, causing more panel distortion. Next, they give the best un-obstructed view of what you are doing to help prevent any errant grinding of the parent metal to the sides of the weld. A flap wheel or 4-1/2 sanding disc hides more of what you are grinding, so more of a **** shoot as to whether or not you are thinning the panel thickness excessively.


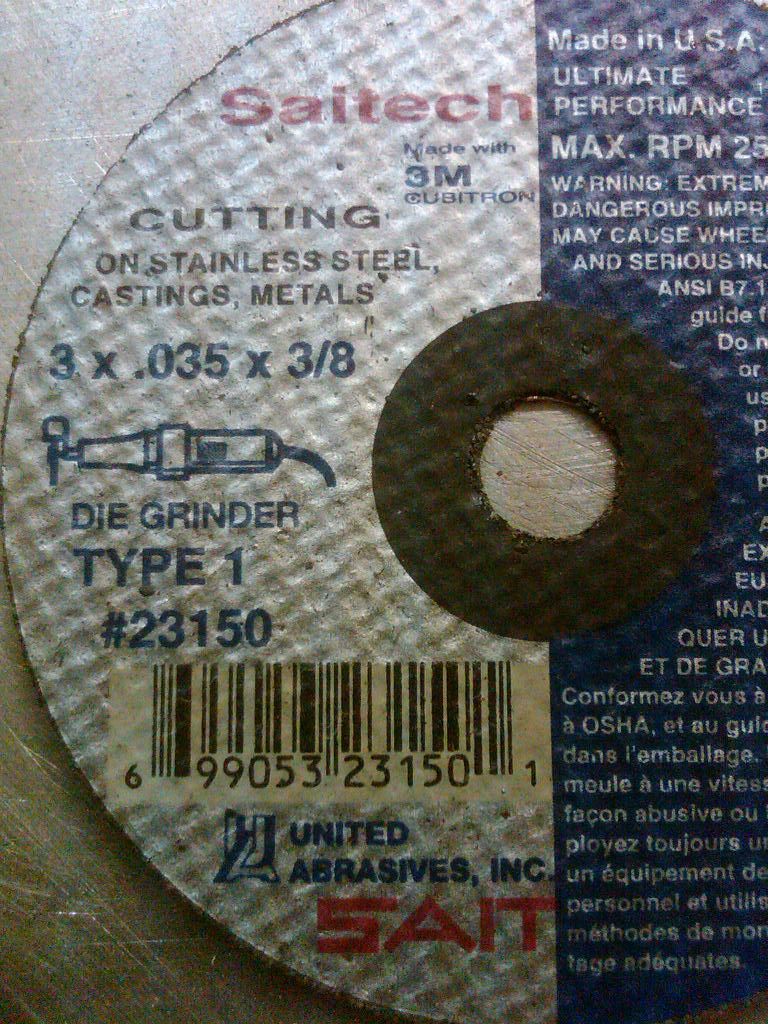
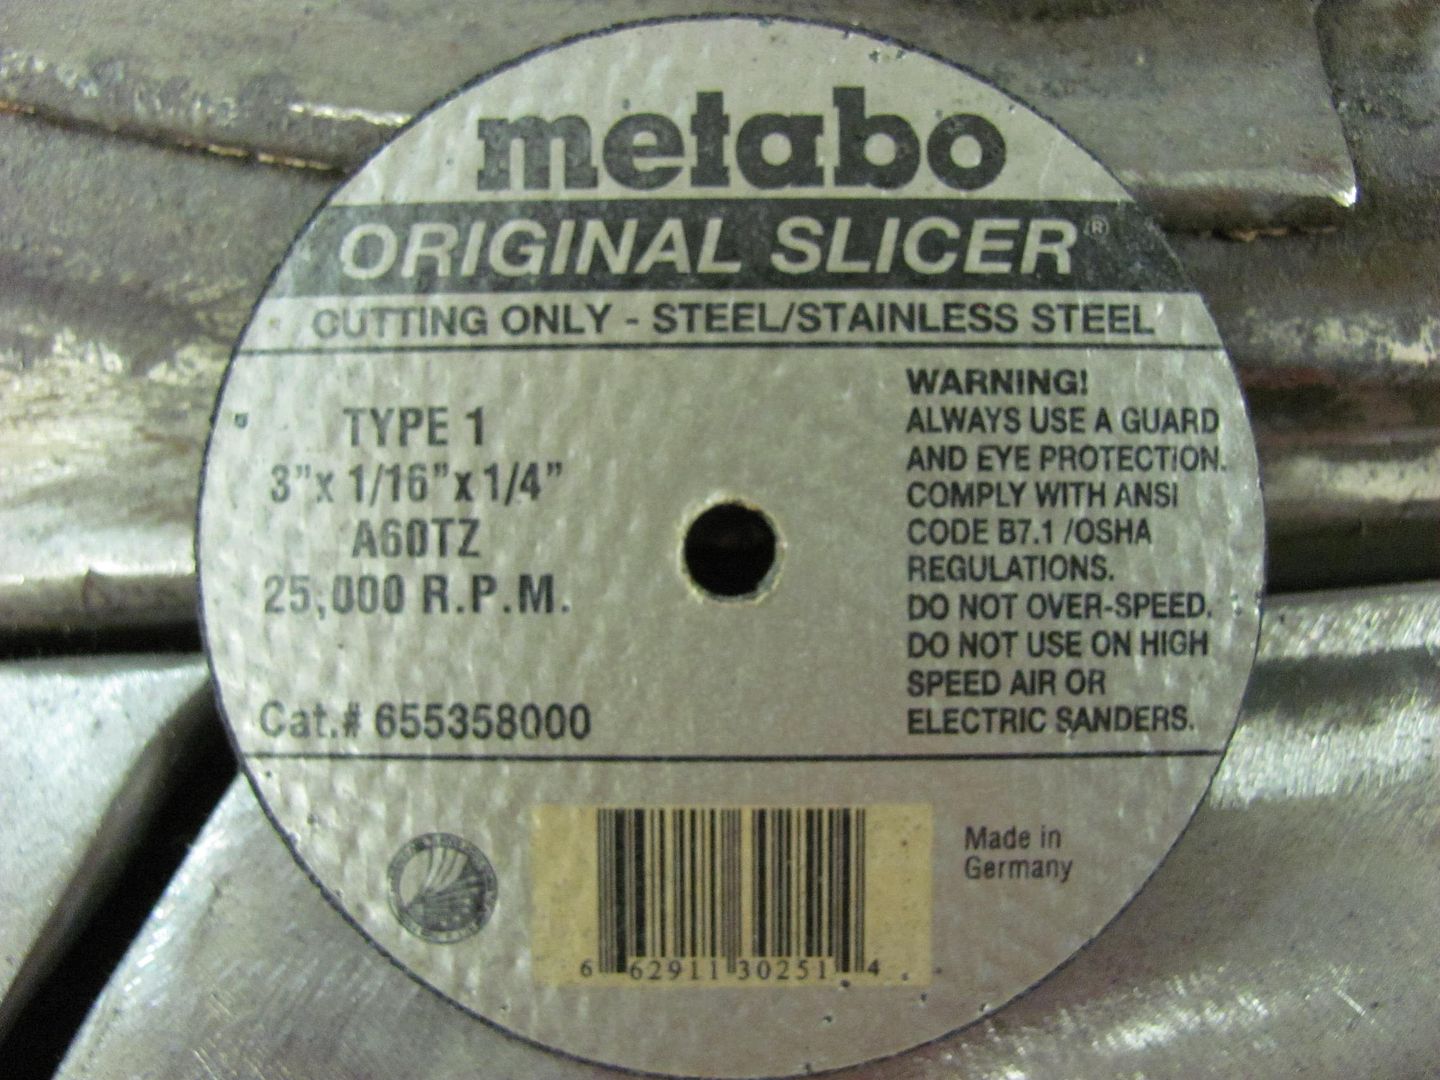
For the cutoff wheels, I recommend getting some that are rated for stainless steel. You can buy the cheap HF or swap meet cut off discs, but after using them you will have a brown haze from all the resin floating in the air. They just do not last and disintegrate much too quickly. I don't have time to change out discs all day long, so spending the extra money for stainless rated discs has shown to last much longer, much less change-out time wasted, much less (if any) brown cloud haze, and in the end, less money spent.


Examples of cutoff wheels that I use, note stainless rating...


IMG00062-20120501-2018.jpg


Picture944.jpg


For the sanding discs, I believe 3M, Norton, Sait and others also make the abrasive discs for the roloc style arbor. Again, the quality brands I've found will tend to last longer. Personal preference, but I think 36 is too coarse as any straying off the weld and it is going to be that much more damaging to the parent metal.. 60 is about as coarse as I'd go on automotive sheet metal. I typically use a 60 or 80 grit in finishing the welds.

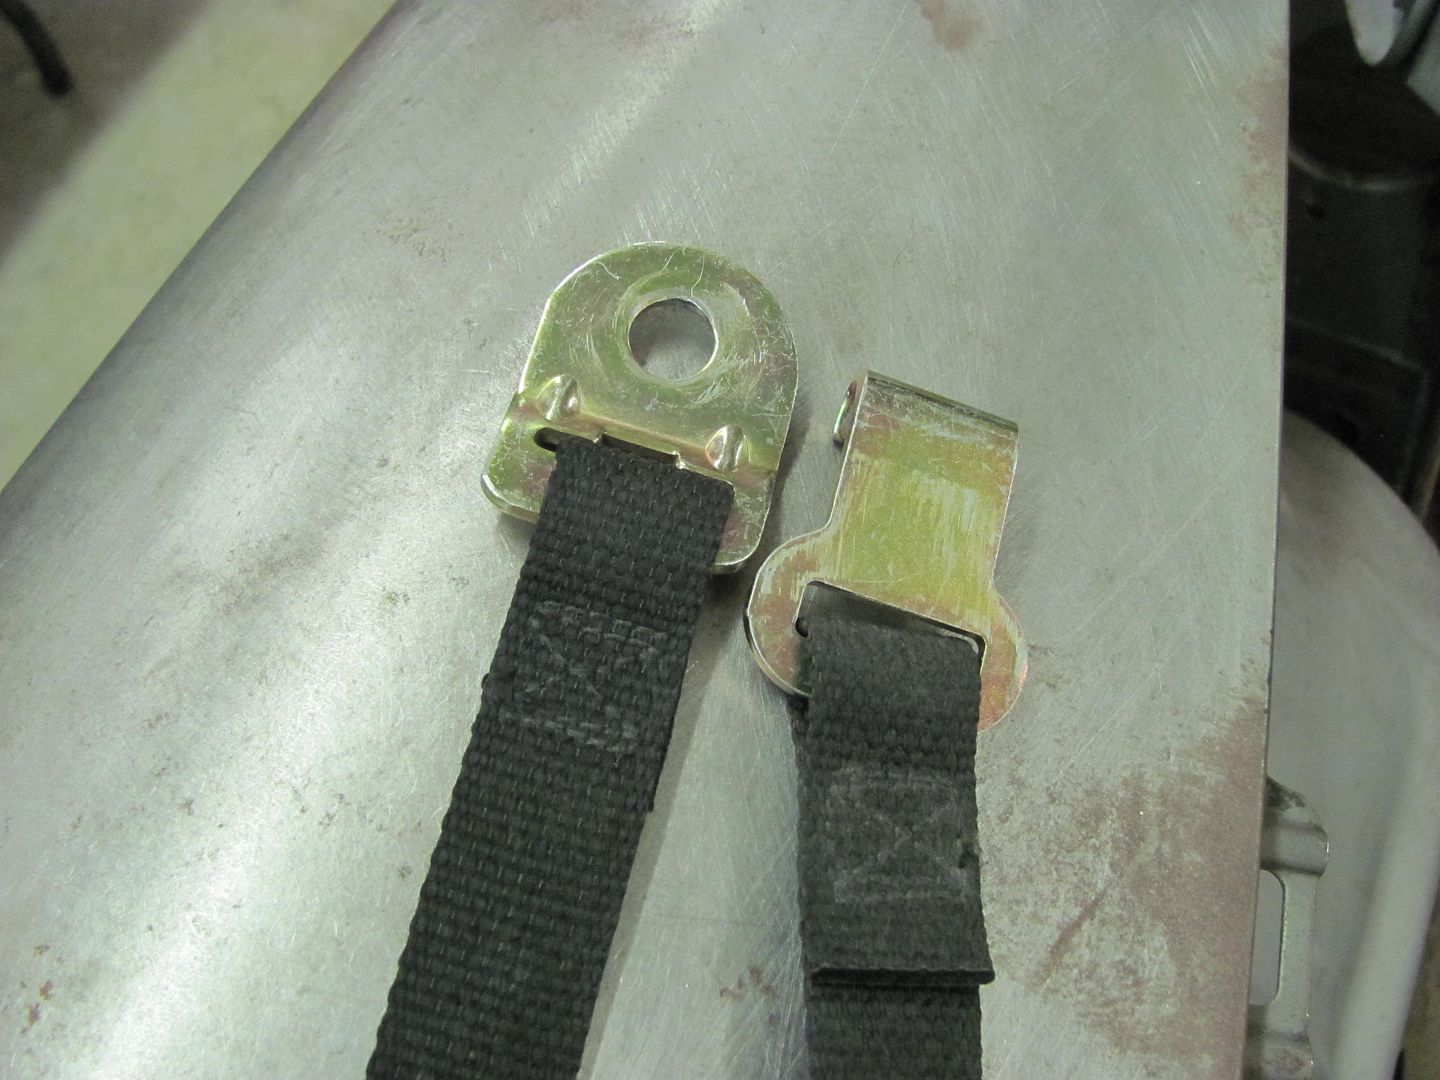
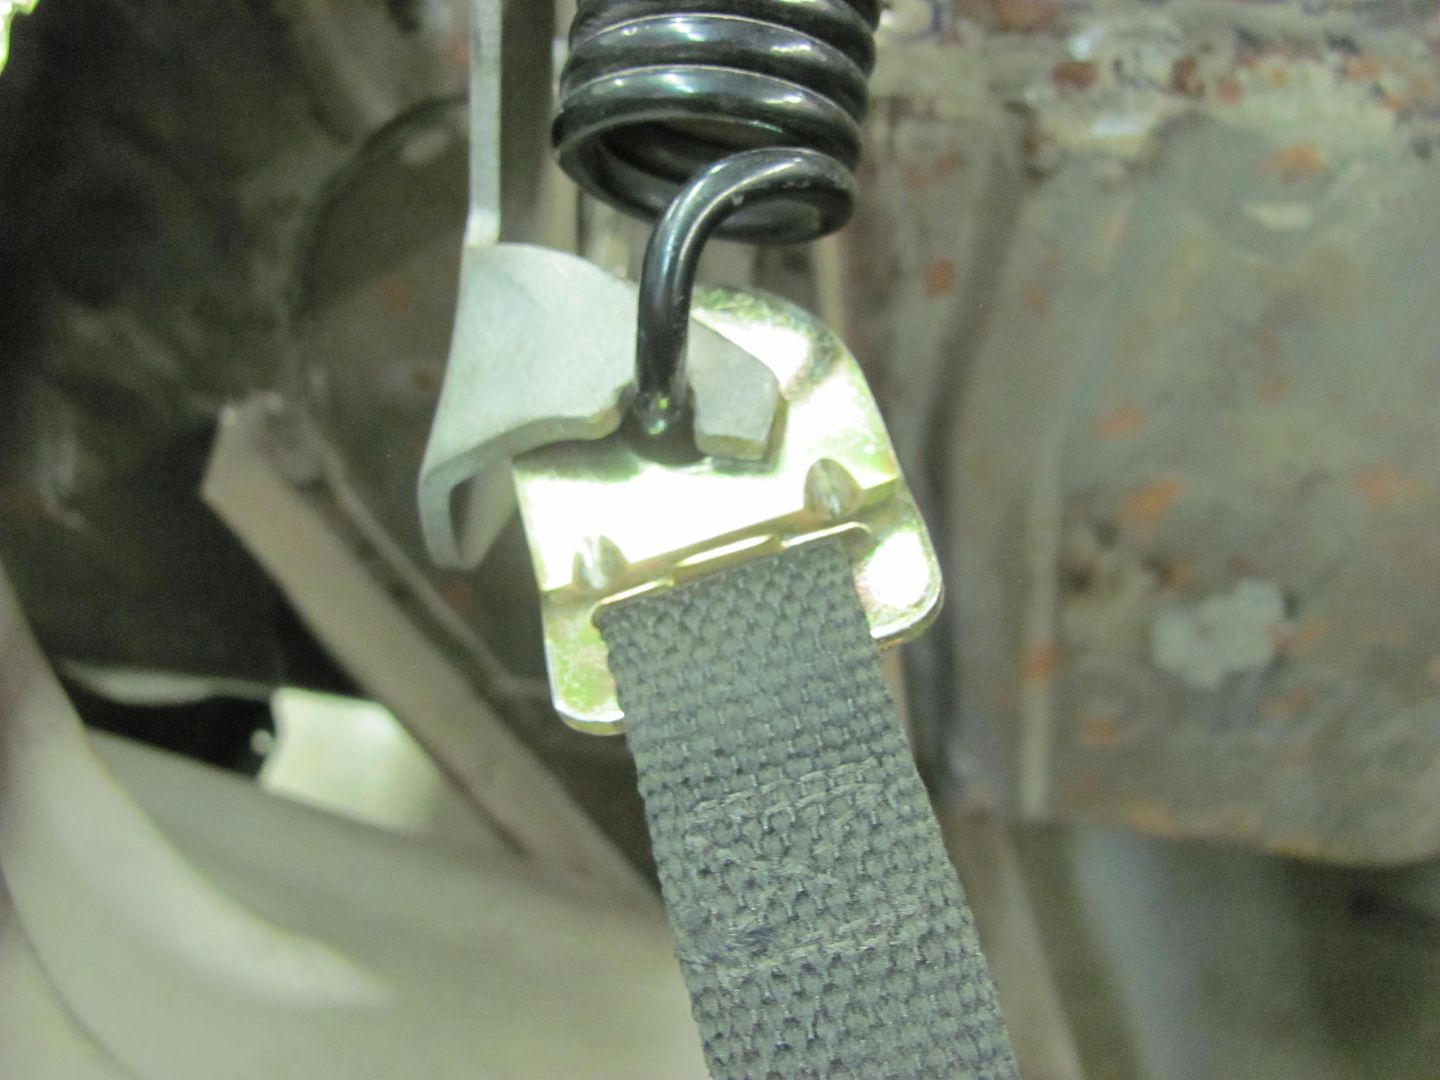
On the attachment style, I have used this version before, but have experienced far too much of sanding discs flying across the room:

4701a43p3-a05dl.png


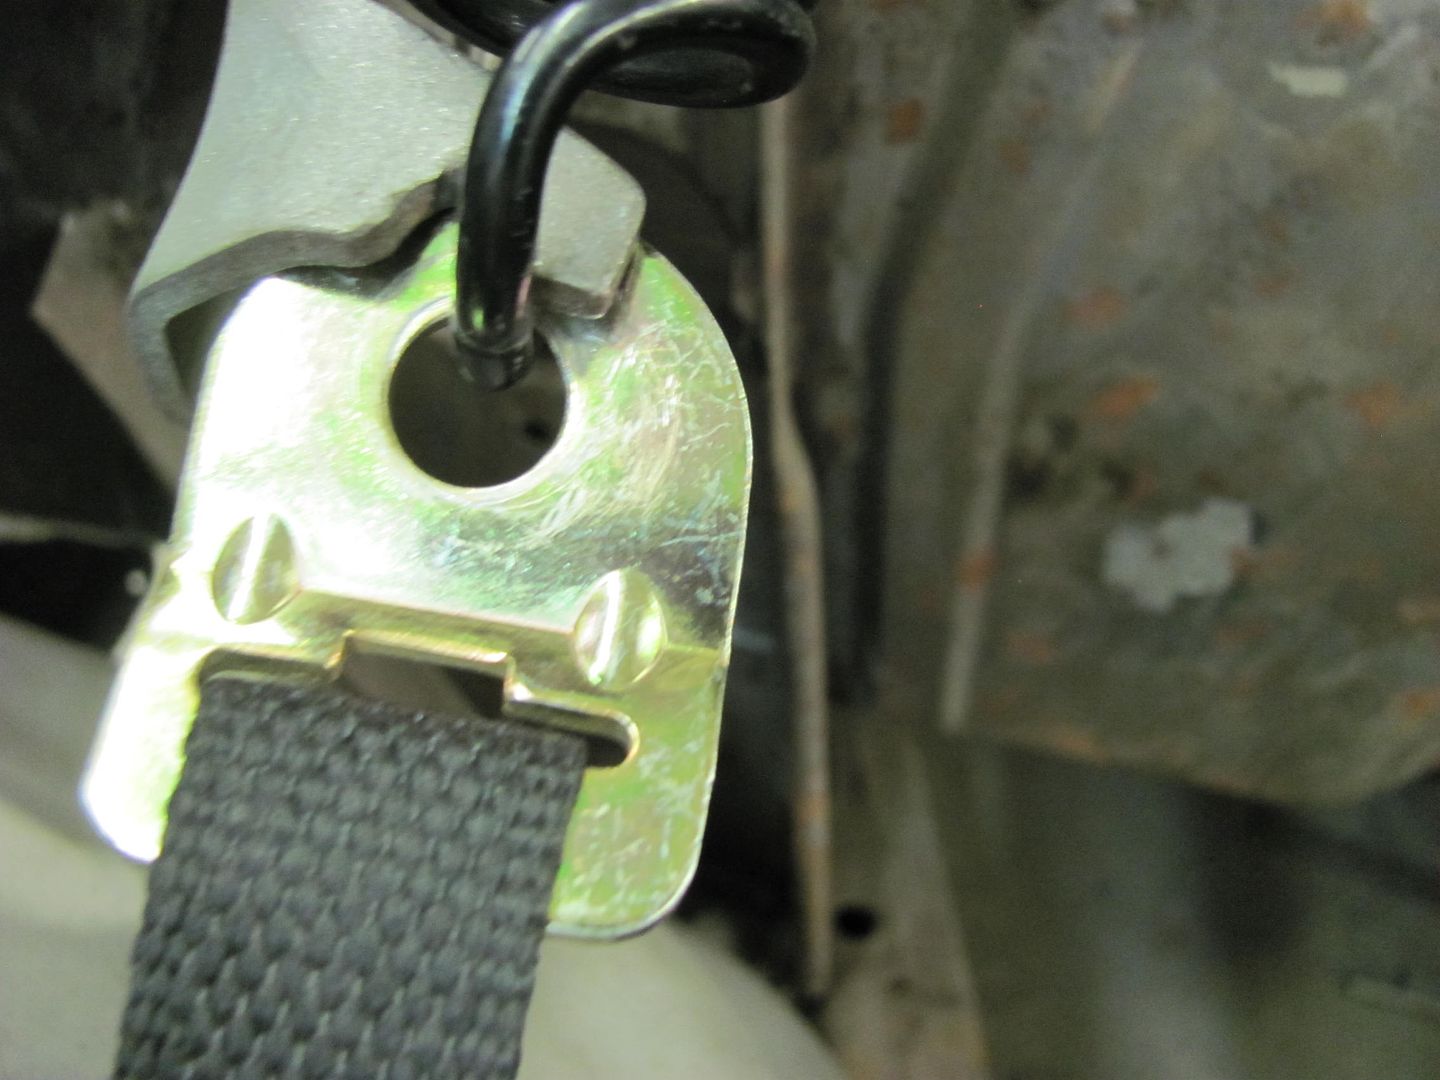
These seem to not have that issue....so this roloc "style" is what I would recommend:

43835a71p1-a05dl.png


As you can imagine, anything you can do to improve your methods to limit the amount of grinding you do will only help. That's why I constantly mention welding wire types, and stress consistency in all the processes. By getting to a point of almost Sheldon OCD, you can attain good penetrating welds but limit the excessive weld size by maintaining consistency in weld processes (heat, length of time, etc.) The -7 wire I mentioned (as well as the EZ Grind), while a bit more expensive, planishes and grinds easier. More importantly, it lays flatter, so once your methods start to become more consistent you will have less "waste" in a weld proud that gets ground off, less consumable used in grinding and sanding, and less time that it takes to do it in. So in most of these up front expenses, there is normally a tradeoff that makes any additional expense more beneficial if not cheaper in the long run.. I'm not saying to rush out and buy the most expensive, but buying the cheapest rarely is..... :lol:


For paint or other coating removal, there is also an open mesh style disc that works well, but most of what I'm doing is with bare steel, so I have only used them sporadically. But they are a good option if one doesn't want to use media blasting. As with any disc in the sheet metal environment, watch your pressure and speed to prevent excessive heat buildup.
 
Last edited:
To avoid these ads, REGISTER NOW!

E12-535iTurbo

Well-known member
Joined
Feb 27, 2014
Messages
492
Location
The Netherlands
As you can imagine, anything you can do to improve your methods to limit the amount of grinding you do will only help.

What is your oppinion on using TIG for working on sheet metal opposed to MIG? You would have (more/)easier control over the amount of filler you add. Perhaps better limiting the amount of grinding etc you need to do.
 
OP
M

MP&C

Well-known member
Joined
Oct 21, 2009
Messages
4,396
Location
Leonardtown, MD
Tig or O/A are a better option in giving you a softer weld, especially if using a no-fill fusion weld process discussed earlier in this thread. They are a bit challenging when you have impurities on the panel surface or wide gaps, as they tend to burn the gaps wider if your feed doesn't keep up. But as far as eliminating the grinding altogether, if you can master the perfect fitup and trim with no gaps at all, then the fusion weld is the way to go. Practice and consistency will get you there. One day I hope to use it more extensively as well..
 
OP
M

MP&C

Well-known member
Joined
Oct 21, 2009
Messages
4,396
Location
Leonardtown, MD
Picked up a new shop clock at the auction today.. This is a vintage neon Ford clock, looks to be a dealer only item as near as I can tell..


Picture1506.jpg


Picture1507.jpg
 
OP
M

MP&C

Well-known member
Joined
Oct 21, 2009
Messages
4,396
Location
Leonardtown, MD
Worked some more on the welder cart tonight. Started by adding the front casters.....


Picture1509.jpg


A cross brace was added under the center line of the 2 bottles...


Picture1512.jpg


12 gauge will be used to form a tray under the bottles...


Picture1513.jpg


Support bracket added for Mig welder:


Picture1510.jpg


Next time we'll add the bracket for the dent puller...


Picture1511.jpg
 

nine4gmc

Well-known member
Joined
Mar 24, 2012
Messages
14,357
Location
Dallas
Looking good Robert, I'm jelly of that Miller autoset and killer clock you just scored!
 
OP
M

MP&C

Well-known member
Joined
Oct 21, 2009
Messages
4,396
Location
Leonardtown, MD
Thanks guys.


Another item I picked up at the auction yesterday, this is a crescent wrench rebuild kit that came out of a now closed hardware store. New jaws, thumbwheel/gears, and even vise grip springs (which I actually need a couple). Not items you're likely to see at a big box store..


Picture1514.jpg


Picture1515.jpg


Picture1516.jpg
 

Strouty

Well-known member
Joined
Mar 21, 2010
Messages
38,206
Location
Southern Maine
I like the cart, I am going to be making one myself. So I will watch the master and see if I can learn a thing or two.
 
OP
M

MP&C

Well-known member
Joined
Oct 21, 2009
Messages
4,396
Location
Leonardtown, MD
More progress on the welding cart tonight, the rear axle was made from a piece of angle and two 3/4-10 bolts..


Picture1521.jpg


Picture1523.jpg


Rear bottle tray made from some 12 gauge, and welded on using about 3/8 diameter plug welds..


Picture1528.jpg


Picture1530.jpg


Top shelf added along with some gussets made of 12 gauge..


Picture1533.jpg


Bottle relief and pull handle added....


Picture1532.jpg


Picture1534.jpg


Picture1536.jpg
 
OP
M

MP&C

Well-known member
Joined
Oct 21, 2009
Messages
4,396
Location
Leonardtown, MD
Thermal Arc 185 TIG goes on the bottom, 211 in the middle, Snap on dent puller up top..


Picture1499.jpg


Picture1500.jpg
 
Last edited:

Strouty

Well-known member
Joined
Mar 21, 2010
Messages
38,206
Location
Southern Maine
I like it, I have been thinking about using one for my 211 and the plasma cutter, but I am not sure yet. The 211 is pretty heavy with a full spool in it. If you were to make a cart that was to go outside (level gravel) would you use pneumatic wheels or just big solid wheels. I think I know the answer based on the fact that we are melting metal together, but I am curious anyways.
 
OP
M

MP&C

Well-known member
Joined
Oct 21, 2009
Messages
4,396
Location
Leonardtown, MD
Yeah, given the likely presence of hot molten steel and the top heavy conglomeration I'm putting together, pneumatic tires would be my last choice.. ;)
 
OP
M

MP&C

Well-known member
Joined
Oct 21, 2009
Messages
4,396
Location
Leonardtown, MD
I've never tried one of the hand held types to be able to give you a comparison. This one uses the "throwing star" consumables instead of welded studs. So you can pull a dent, twist, weld/reattach elsewhere, and pull again. I do like the heating tip attachment, it gets used quite a bit..
 
Last edited:
OP
M

MP&C

Well-known member
Joined
Oct 21, 2009
Messages
4,396
Location
Leonardtown, MD
More progress this evening on the welder cart, these studs are added to make use of the bottle bracket that came off the old welder. My brother in law had borrowed it at one time, and it came back with the fancy bracket. He retired the ratchet strap I had around the two bottles. This worked pretty well, so rather than reinvent the wheel.... Reminds me, I have some other things needing finishing I should lend him...

Picture1537.jpg


Picture1539.jpg


Picture1540.jpg


Then a bracket for the clip is added to hold the Mig torch..

Picture1542.jpg


Picture1543.jpg


Picture1544.jpg


Holders for the various cables....

Picture1548.jpg


Picture1549.jpg


Picture1545.jpg


Picture1546.jpg


Picture1551.jpg


.....and a test fit before we throw some paint on it...

Picture1554.jpg


Picture1552.jpg


Looks like I have some room left, may have to add one more....
 
To avoid these ads, REGISTER NOW!
Top Bottom