Had a busy weekend but didn't get anything done. 
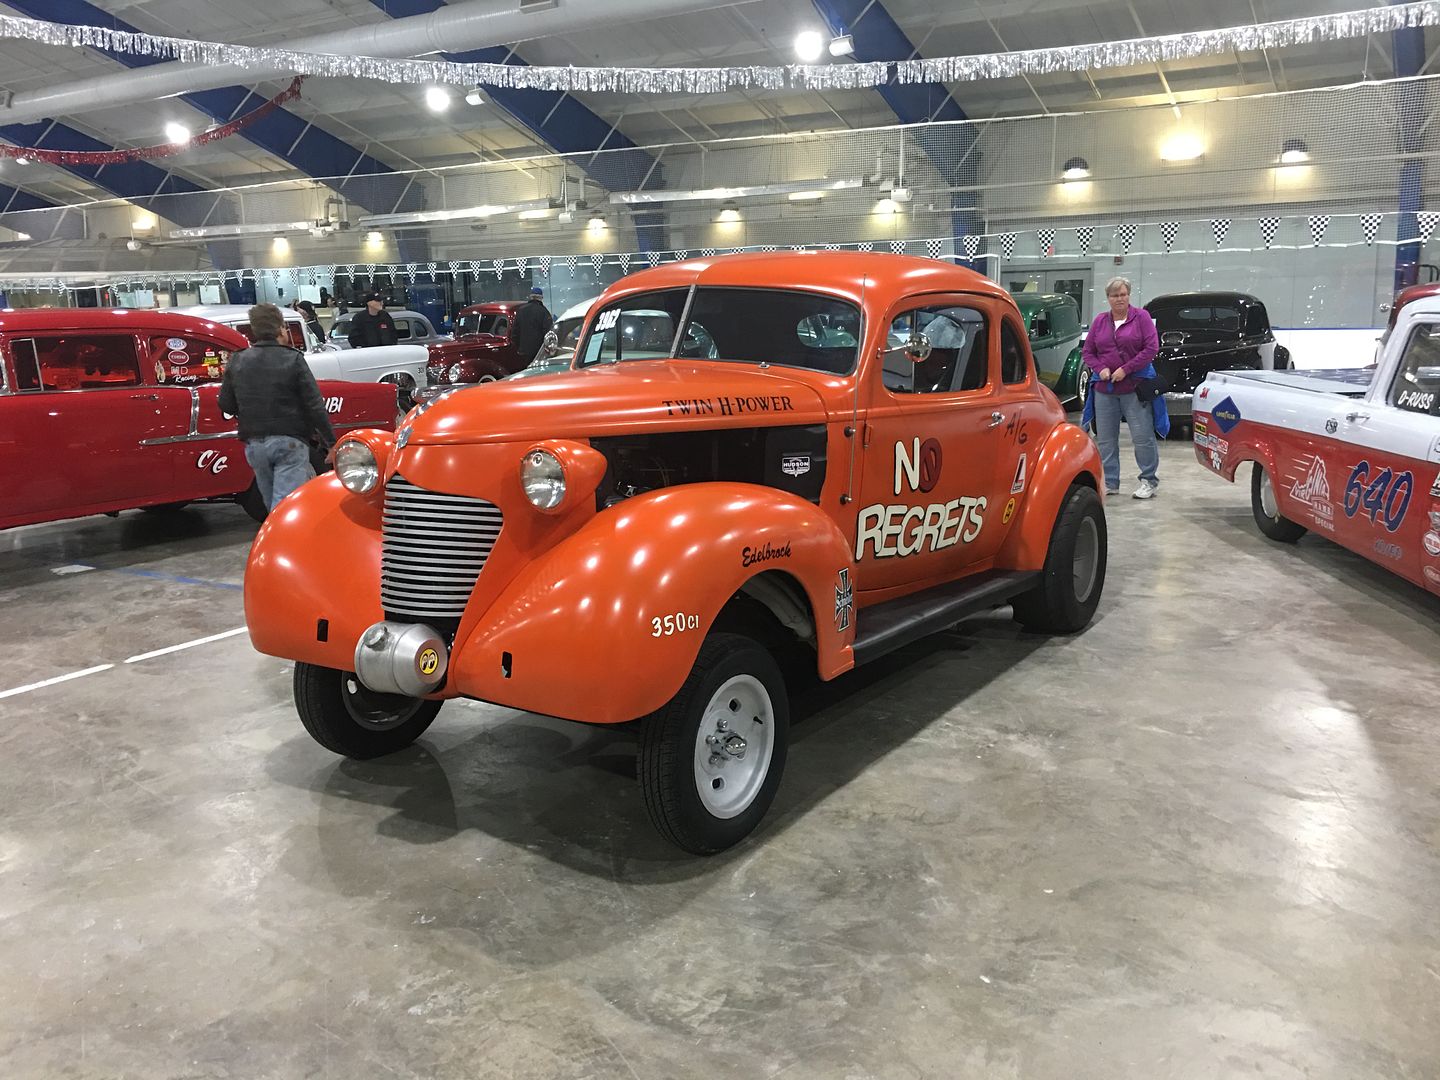
Saturday I went to the 15th annual Jalopyrama, this year it was held at the Talbot County Community Center in Easton, MD. I didn't get many pictures this year as there are far too many people taking pictures with much better cameras than I had (iPhone). This year's theme was a focus on vintage race cars, and the indoor arena was filled with dragsters, gassers, etc, as well as some of the nicest hot rods to be found on the East Coast. I did get a shot of my buddy Dirty Dave's gasser, which is basically his daily driver. Odd to see it indoors as much as he drives the wheels off it! haha..
Next to it was the "Hamb Special", a vintage pickup classed race truck built for Bonneville, making it's debut on the salt last year. Owned by John Mullen of Lanexa VA, built by John and many of the members of the VA Hamb. My buddy Dave Russell gets the piloting duties on the salt, and we caught up at the show and talked shop.
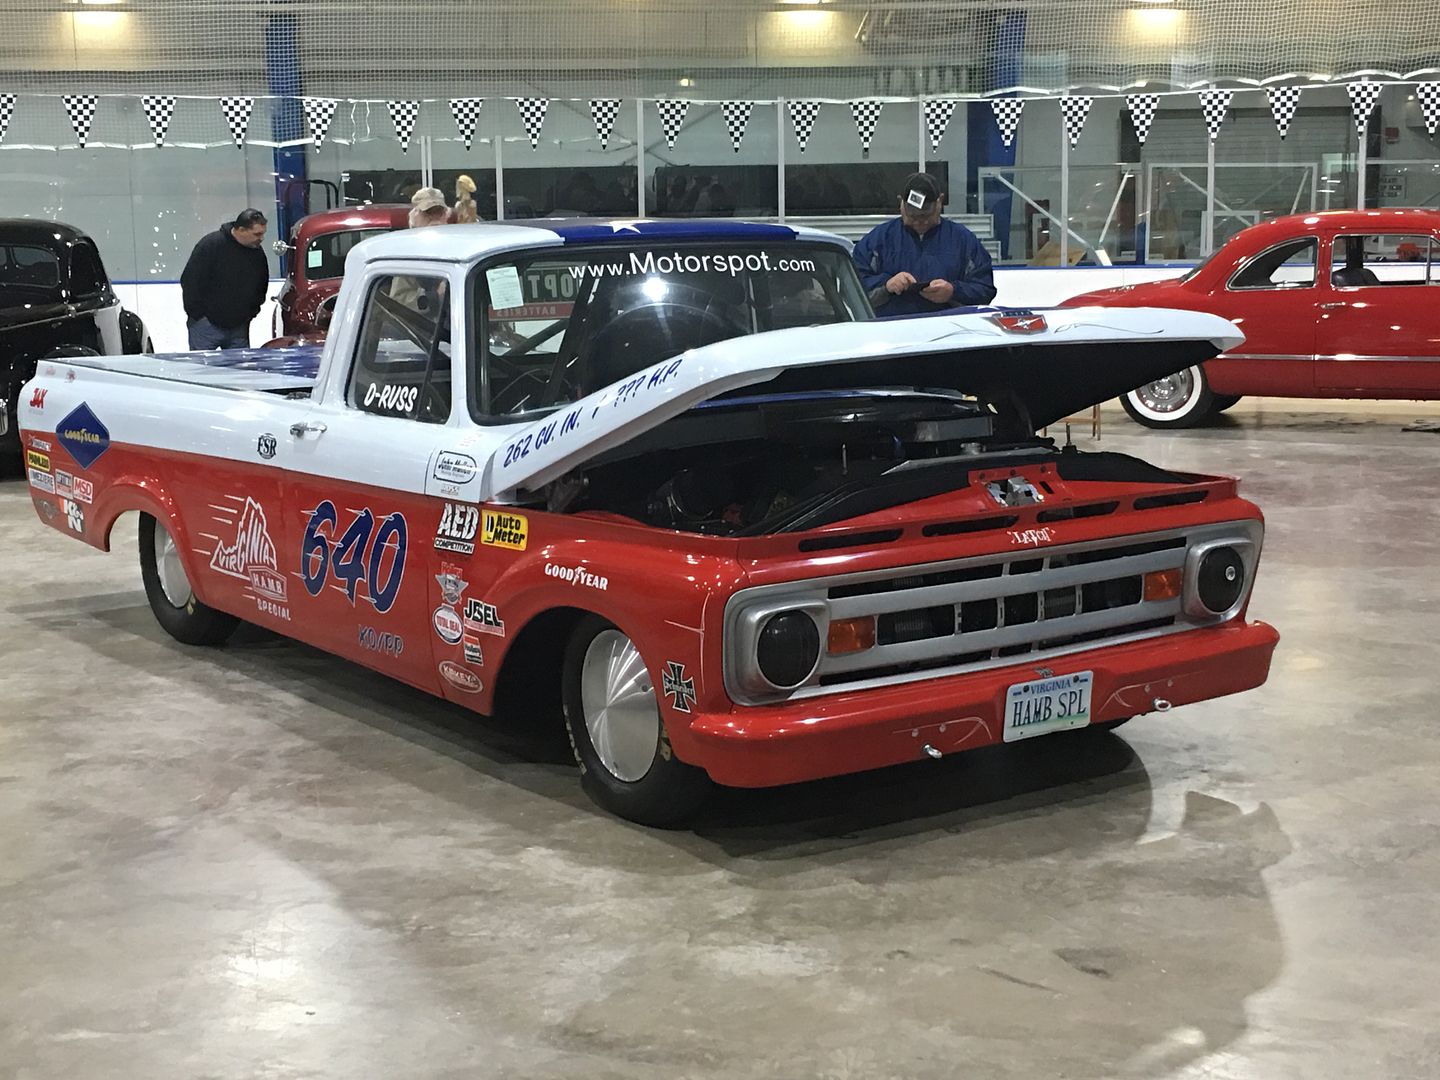
It has a 262 Ford 6 cylinder, but caught the attention of many of the racer's inside the building when it was being brought in. That idle didn't sound much like any 6 cylinder I've heard:
….and I did get a picture for Joe Unger. This truck would look awesome in front of his Sinclair station in Perry..

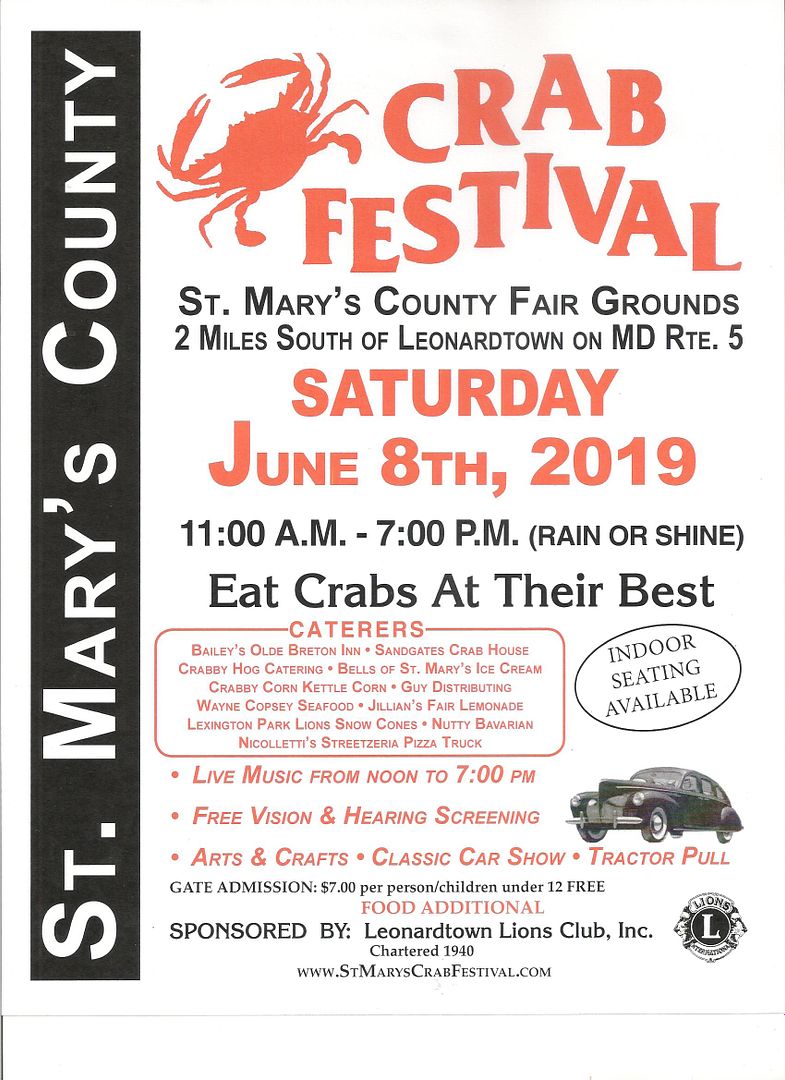
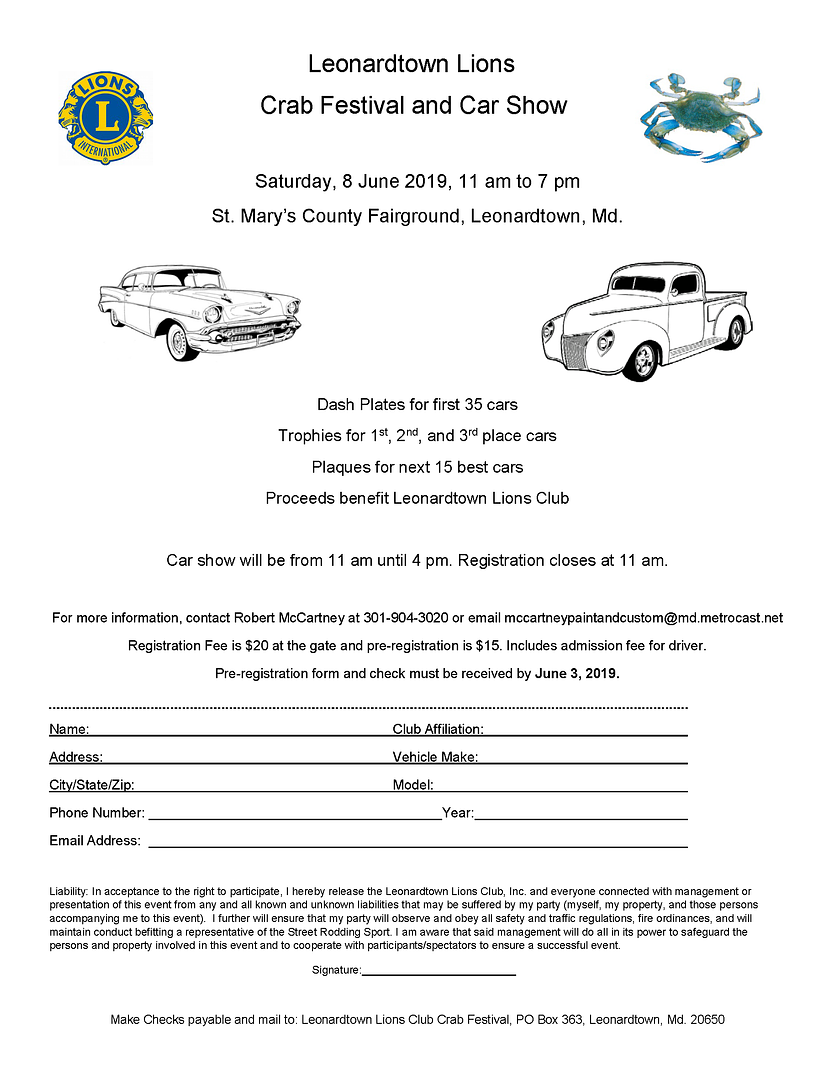
Sunday was another car show, this one a bit more local for me, put on in downtown Leonardtown by the St. Mary's Rod and Classic Car Club to benefit Hospice and many other charitable organizations.
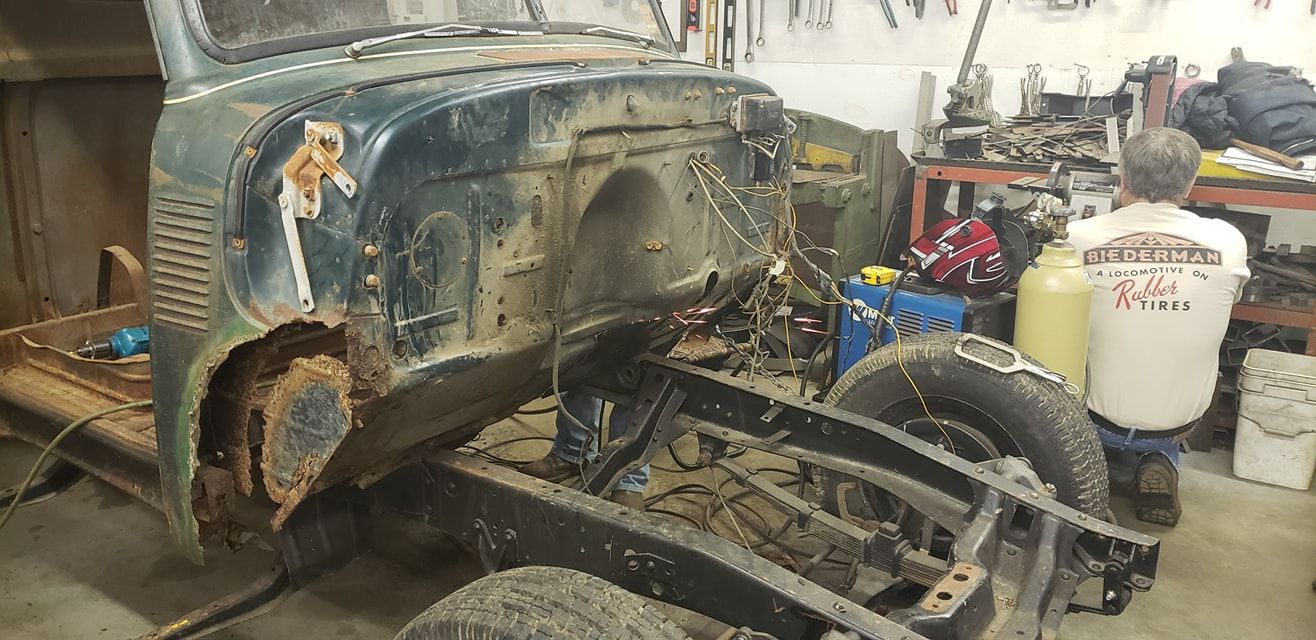
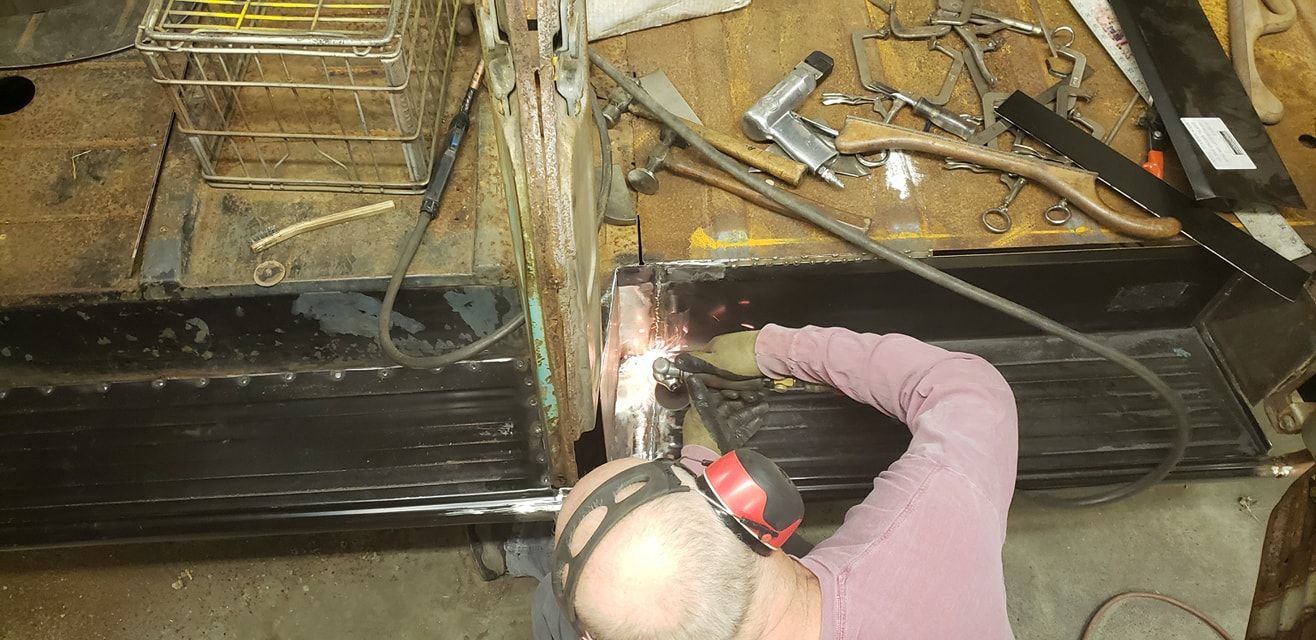
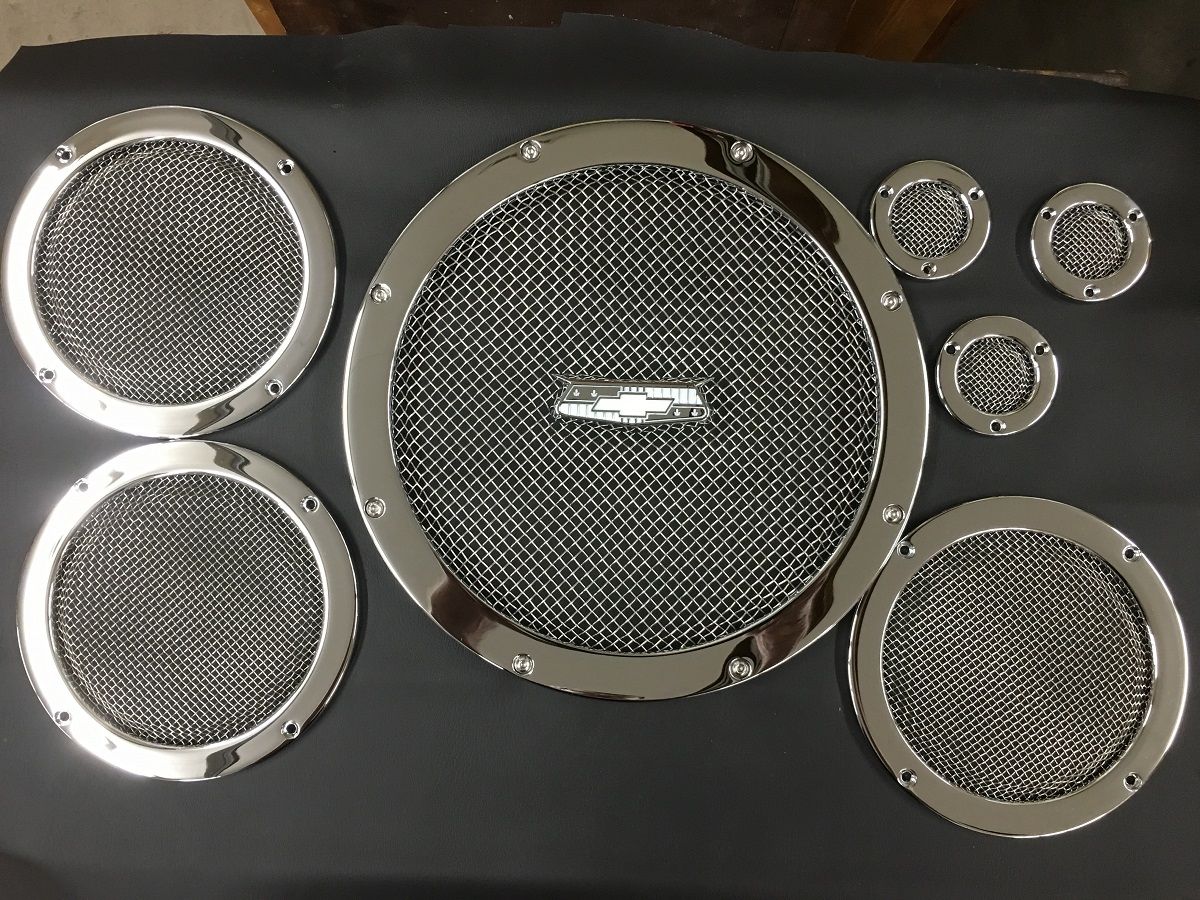
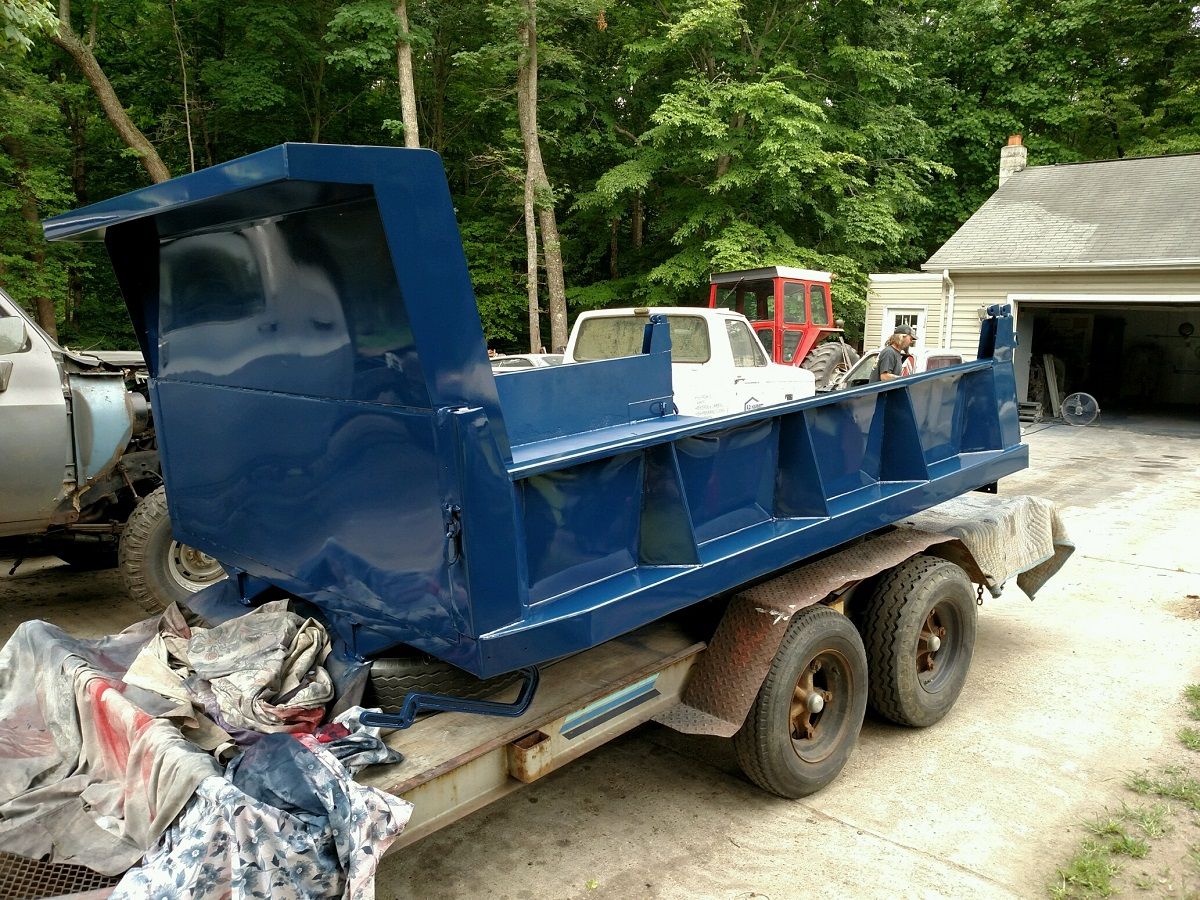
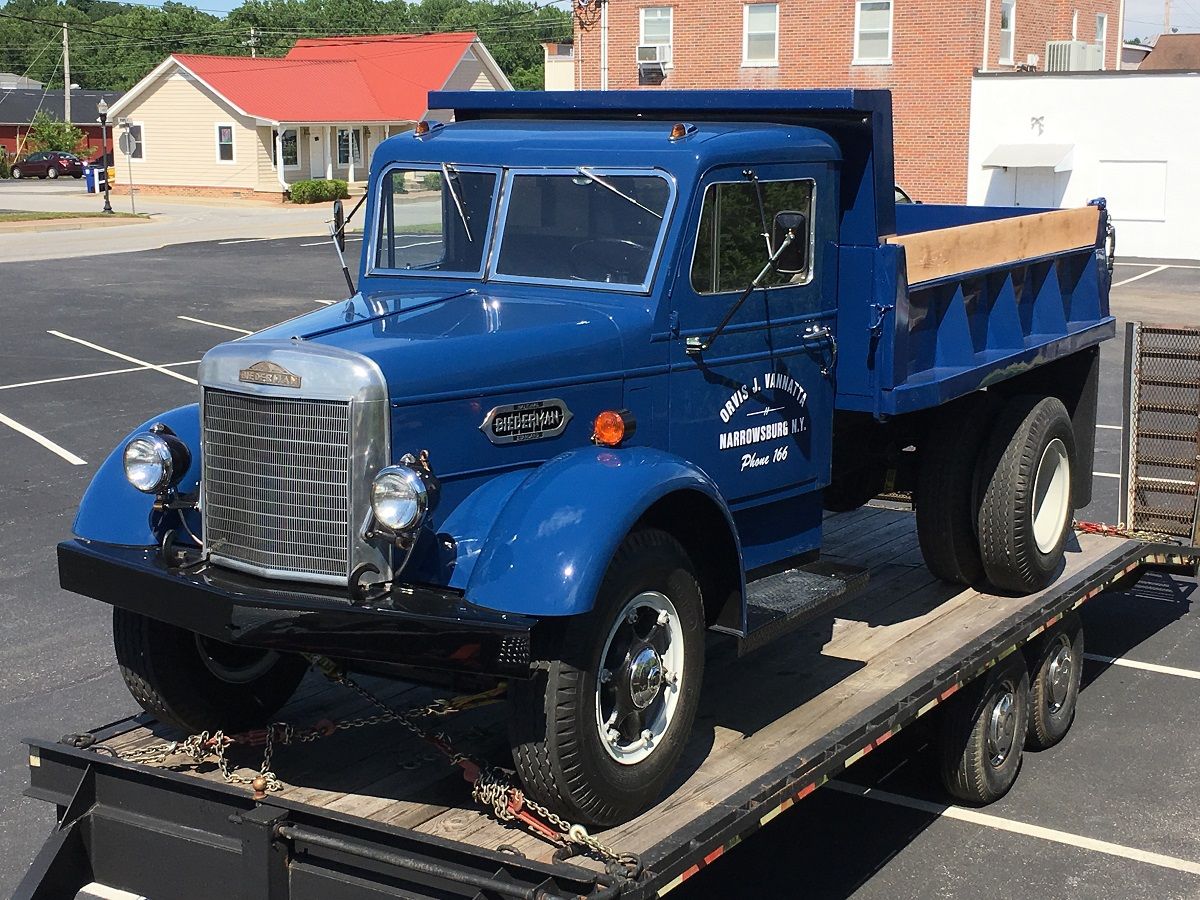
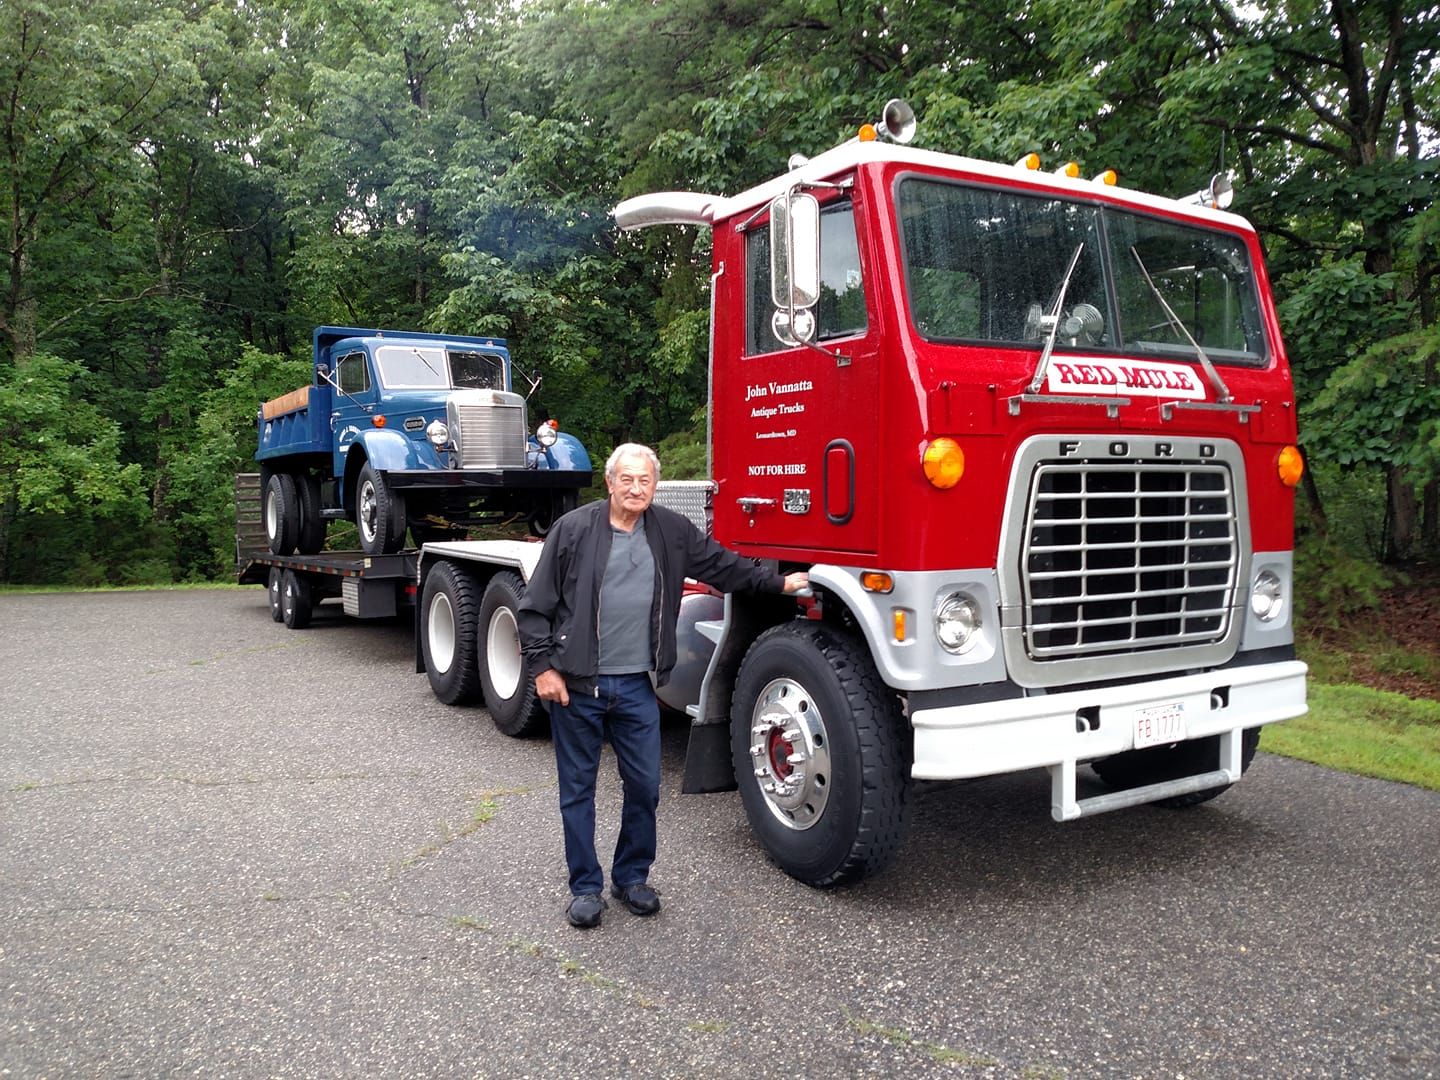
We set up in front of John's shop, along with his Biederman truck, and a couple tables of our fabrications. Got a bit too much Sun, but really enjoyed getting out and talking to everyone about their projects.
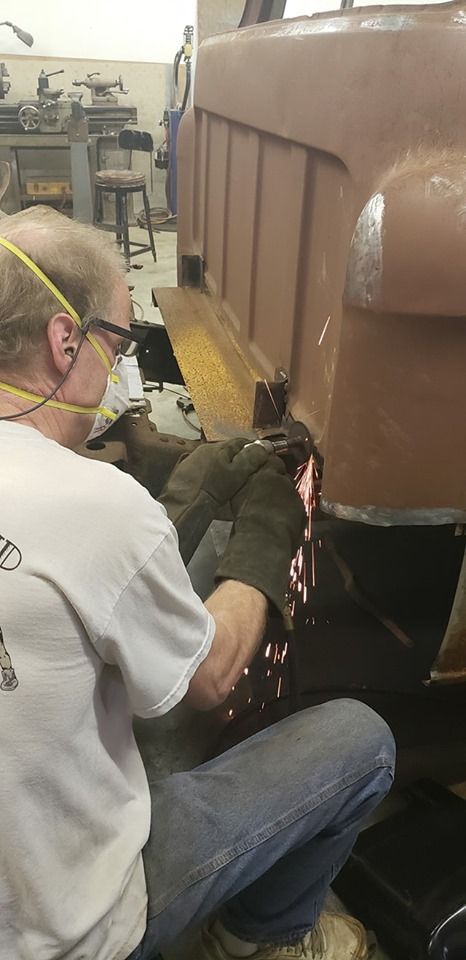
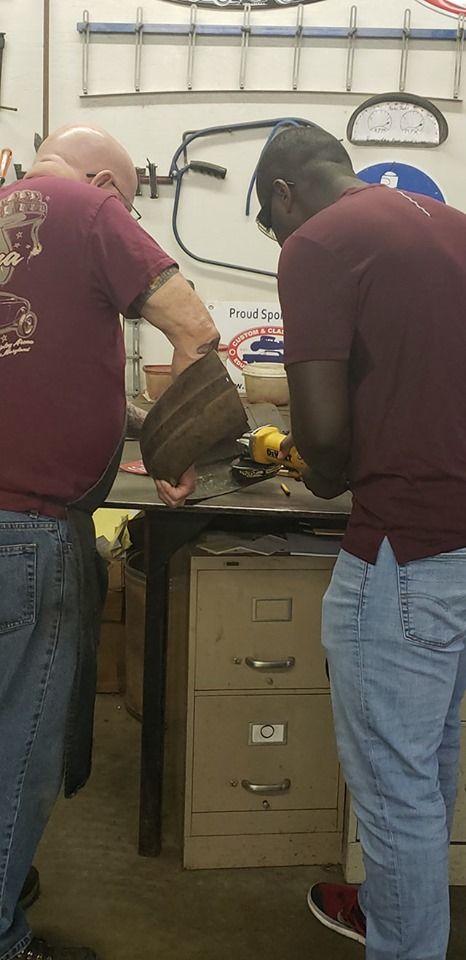
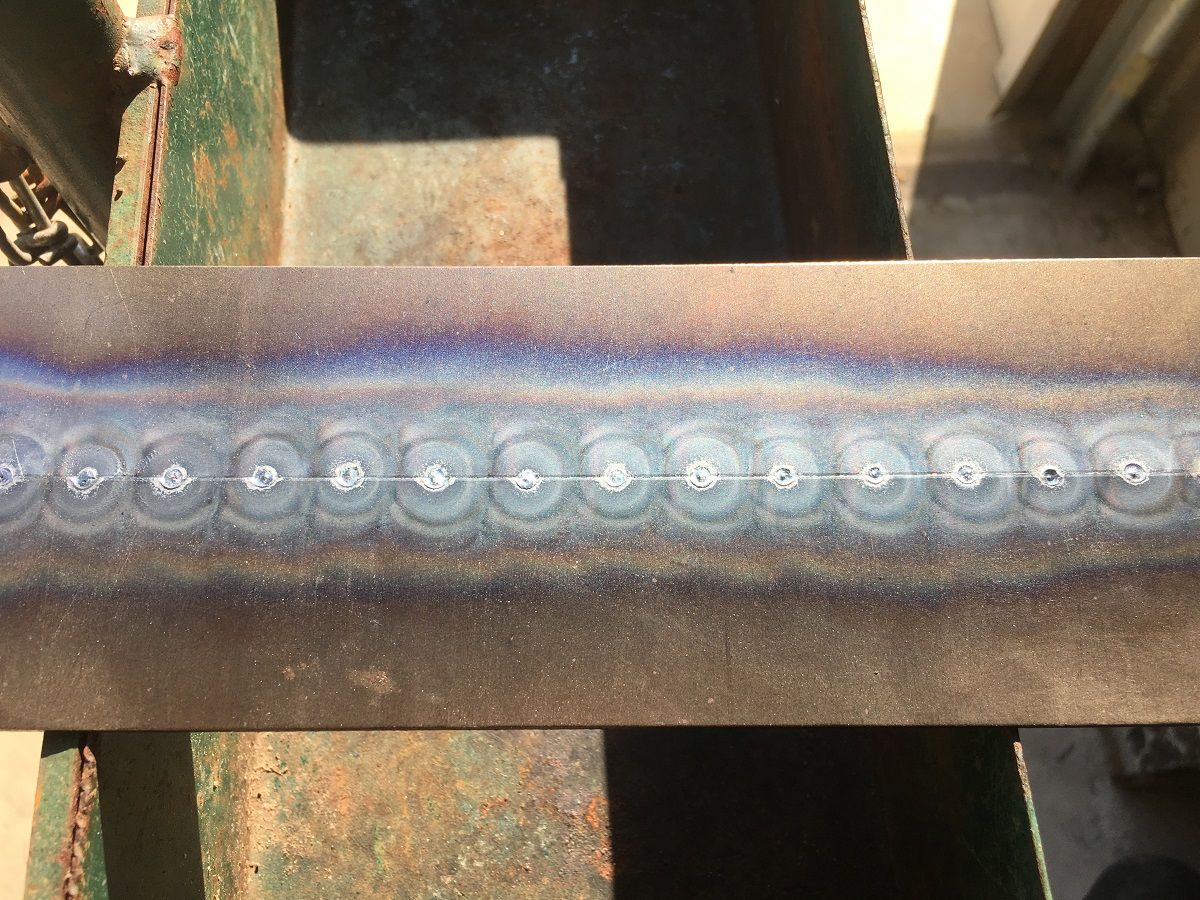
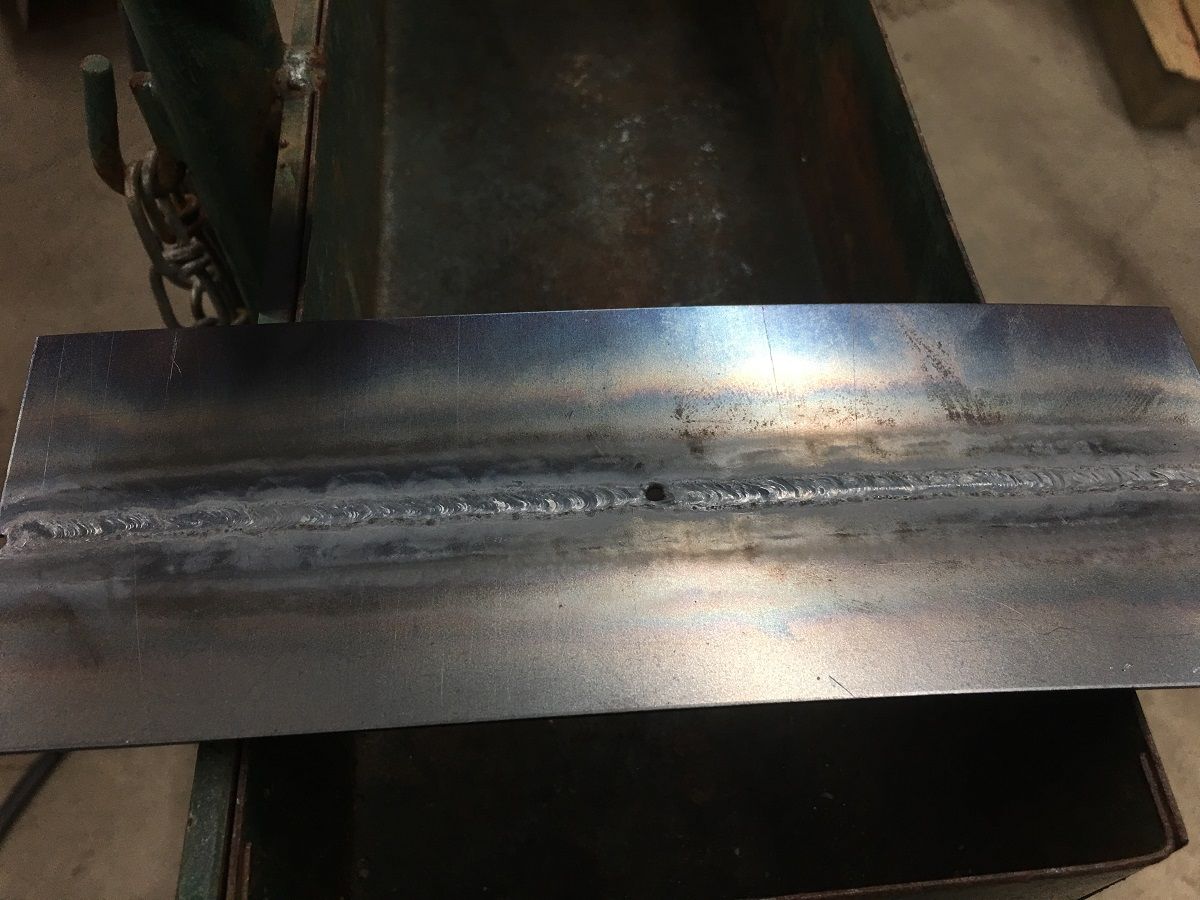
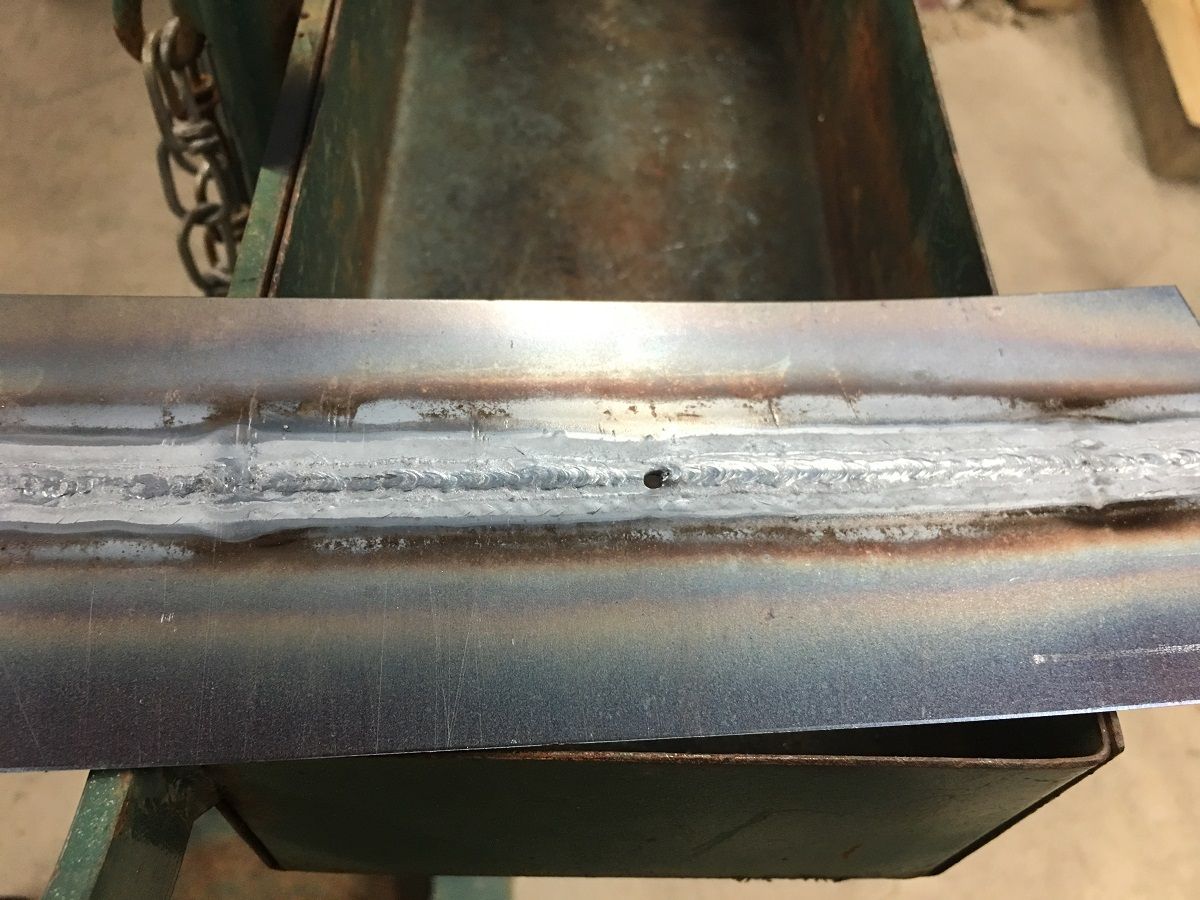
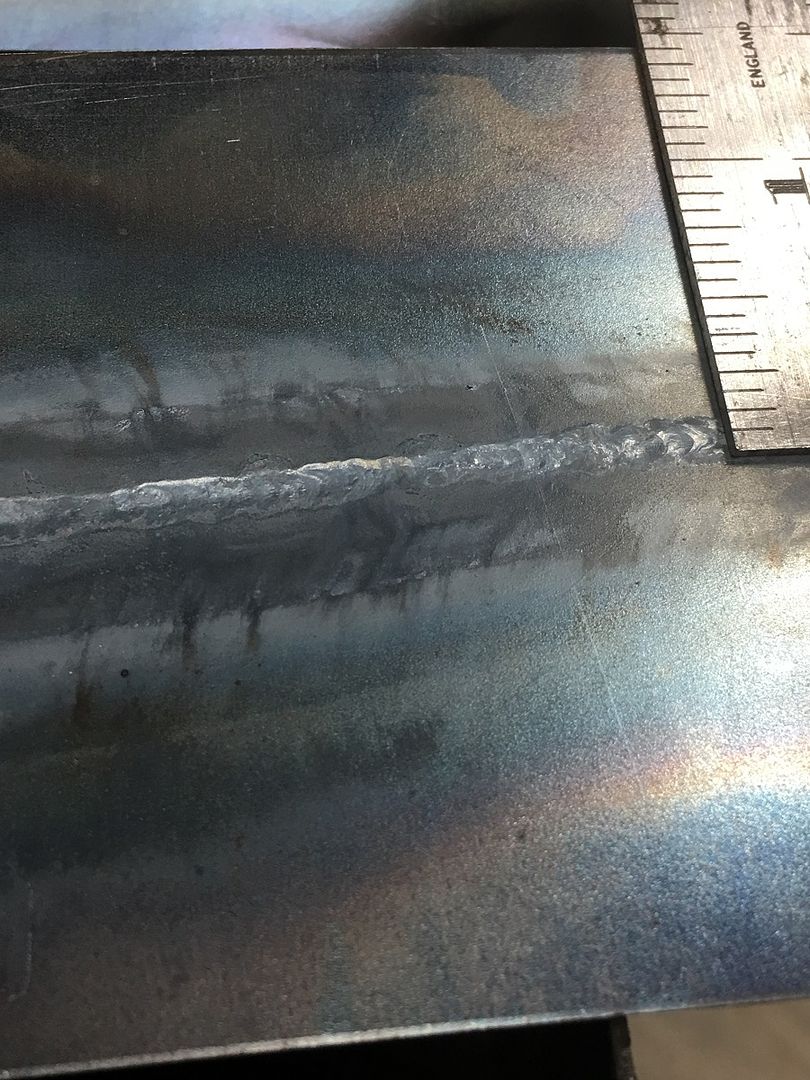
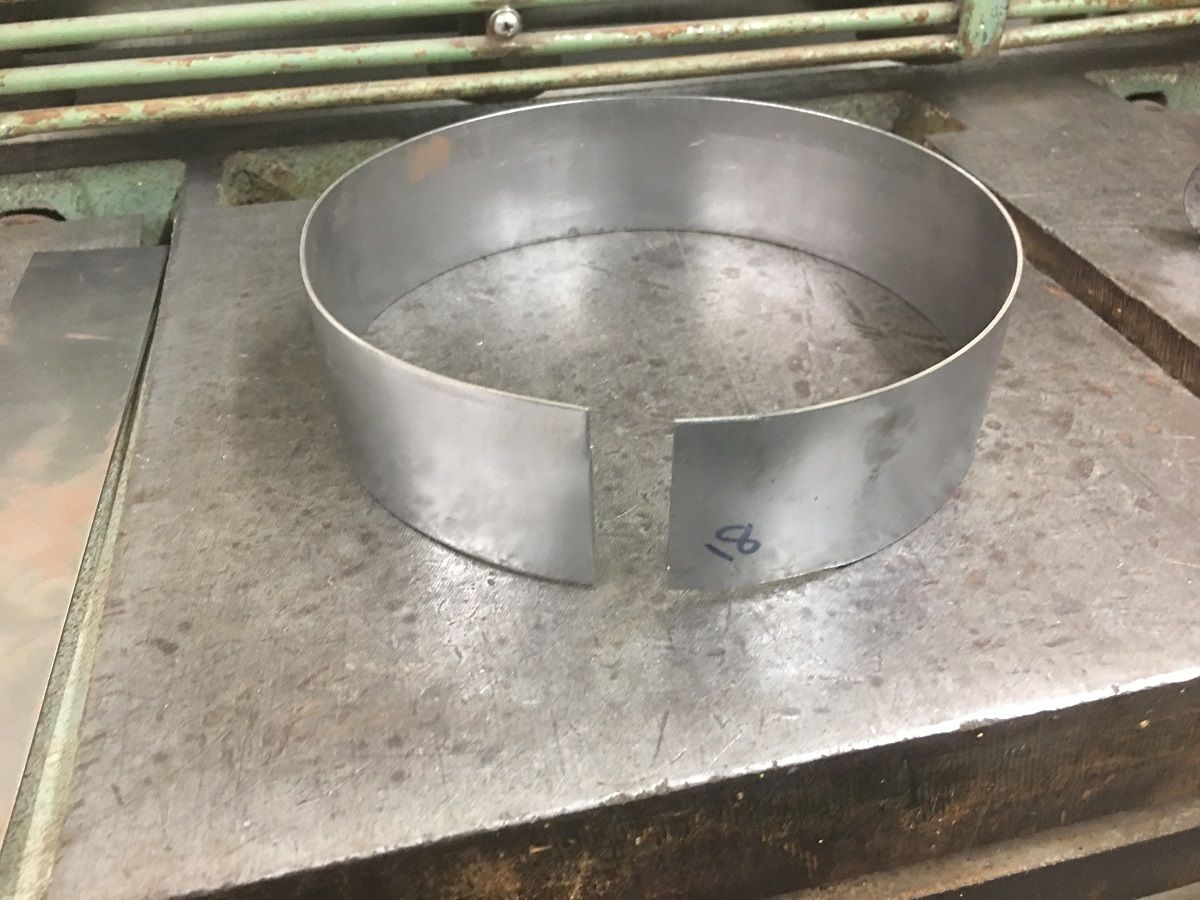
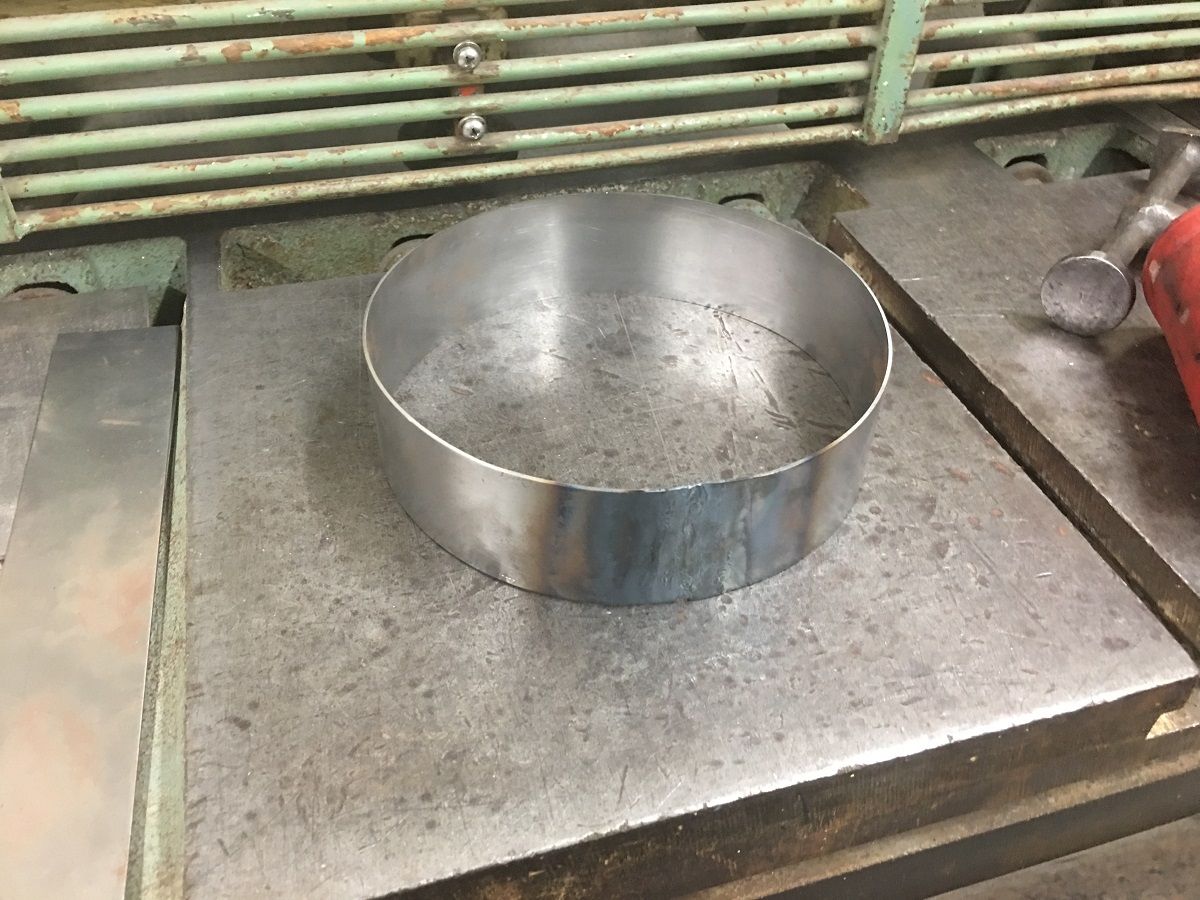
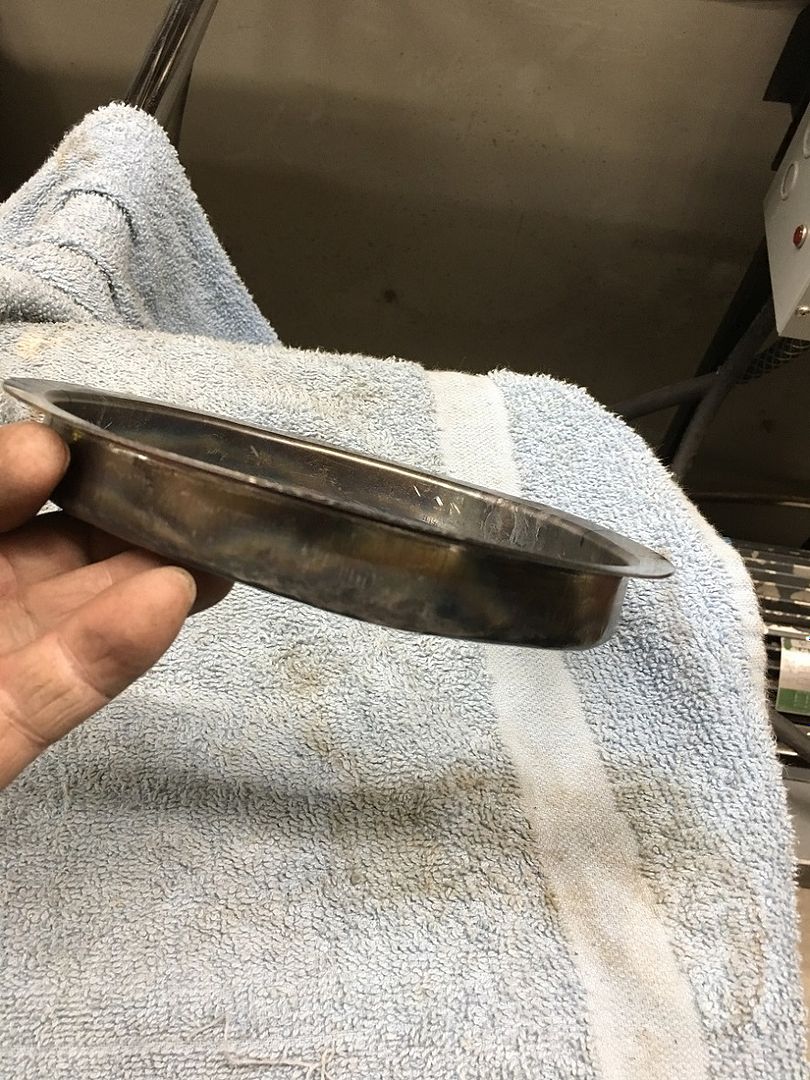
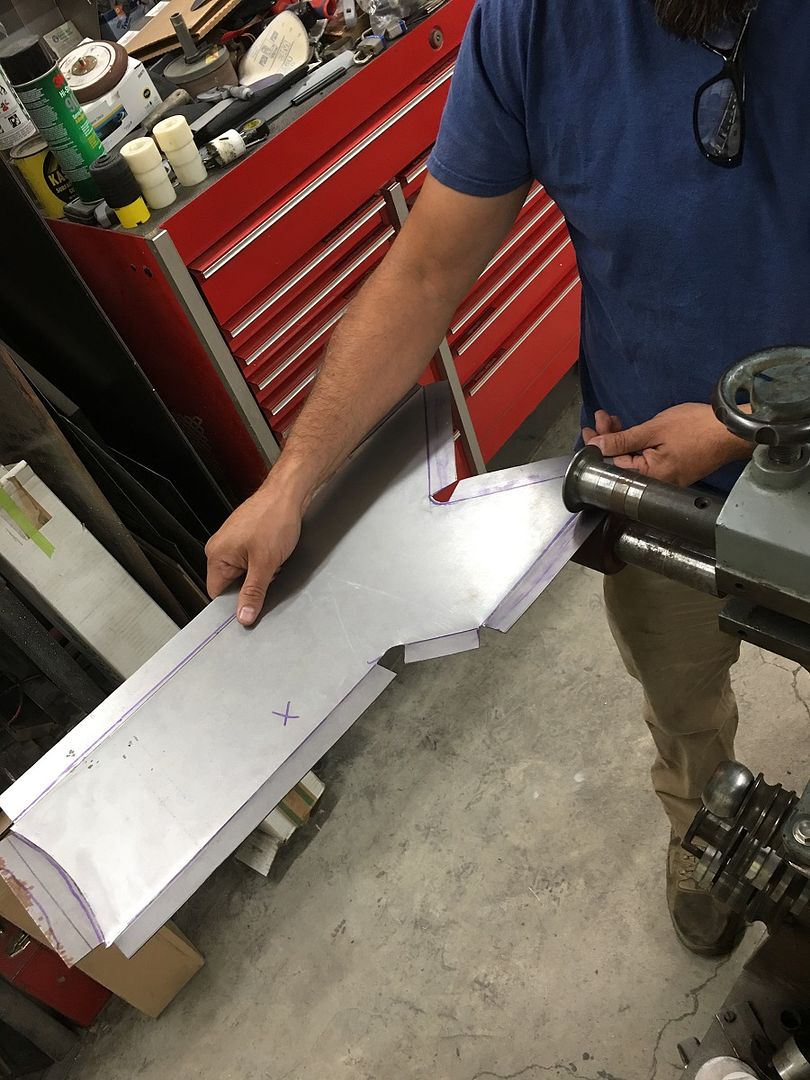
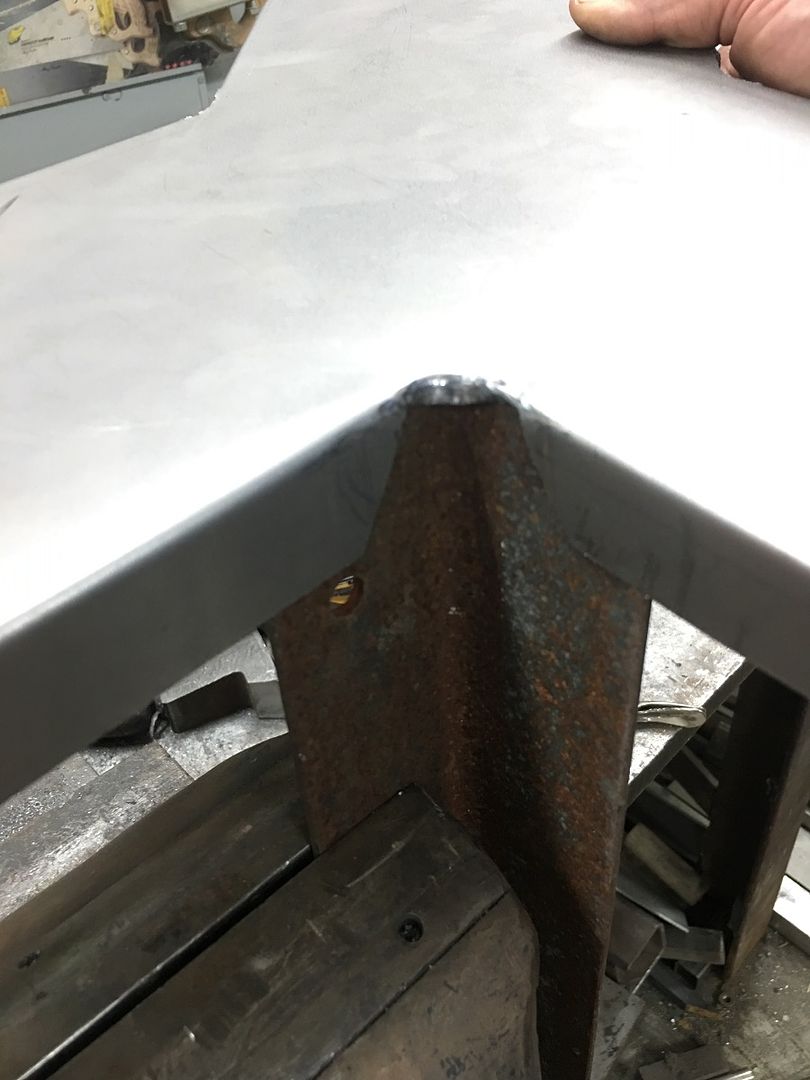
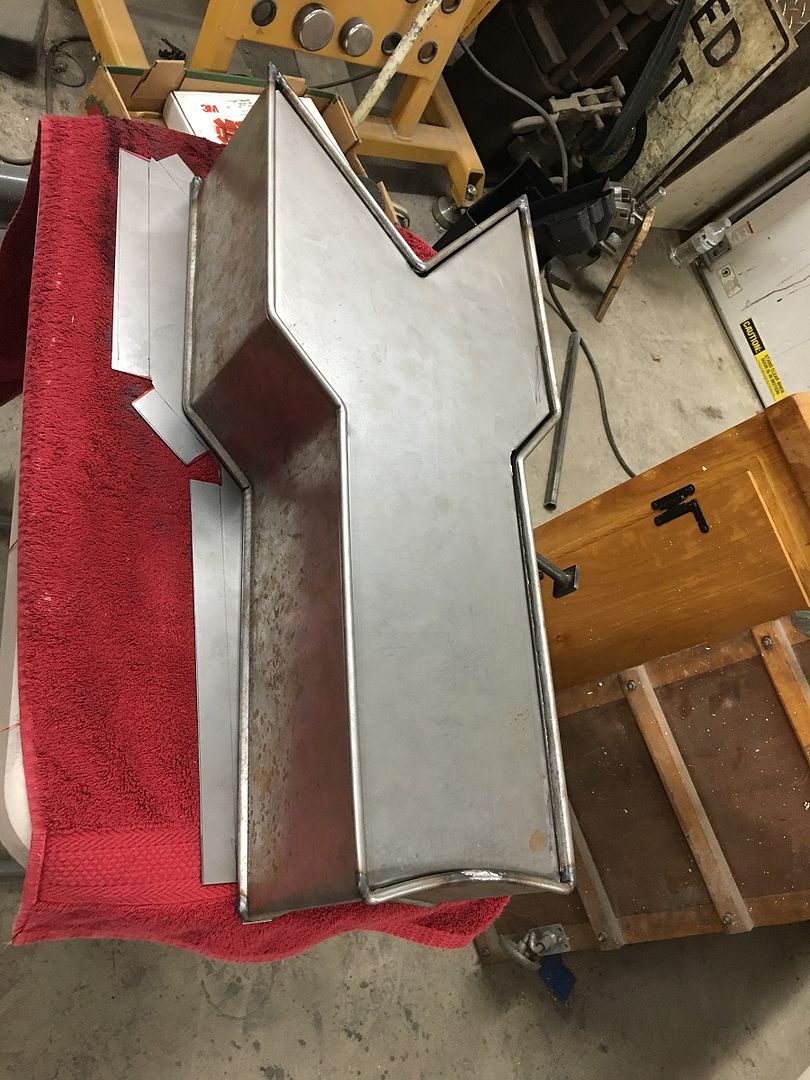
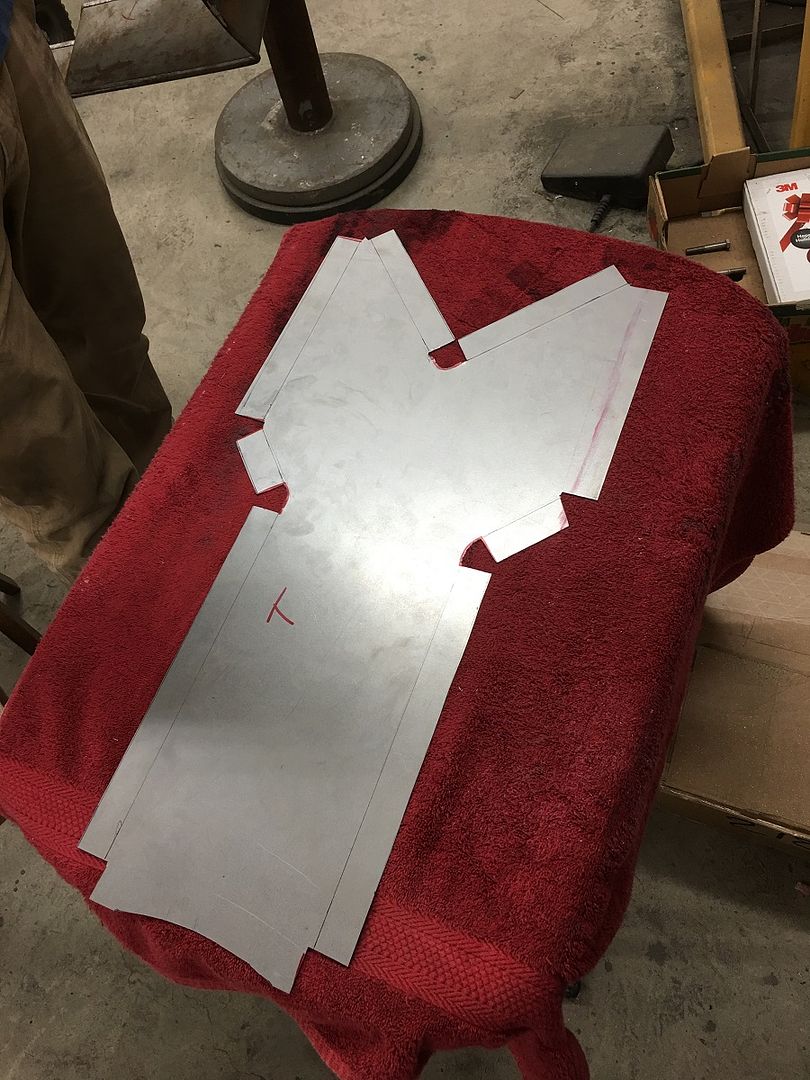
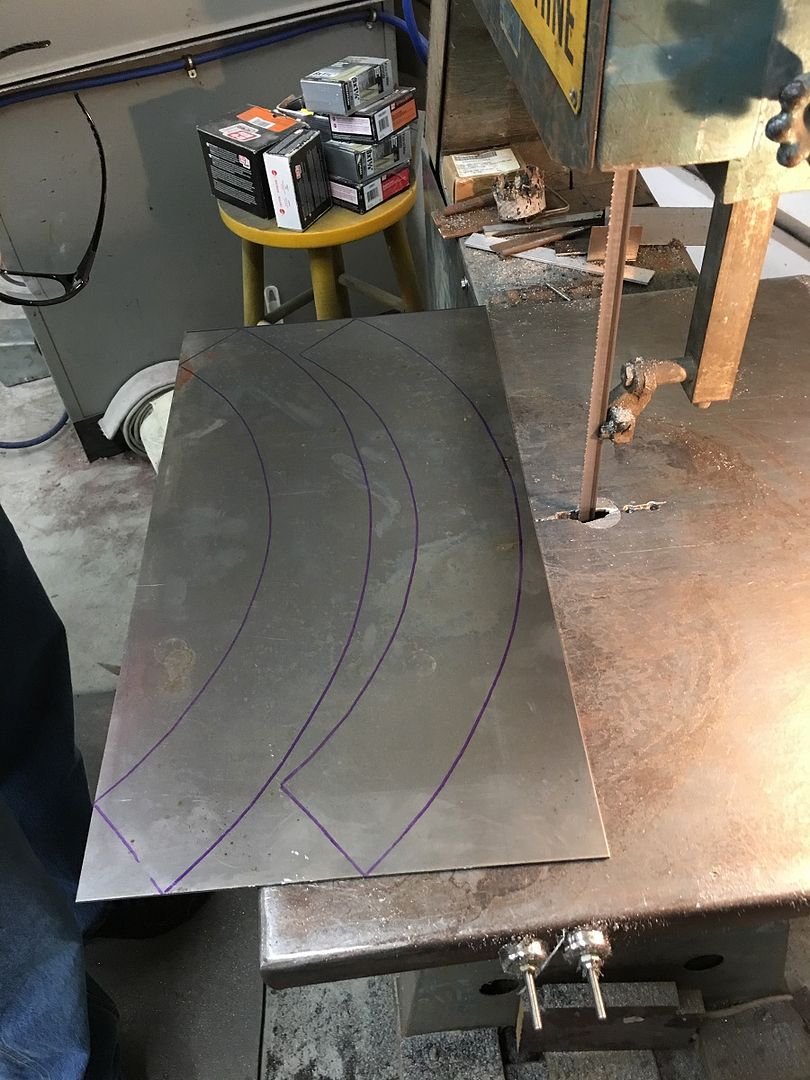
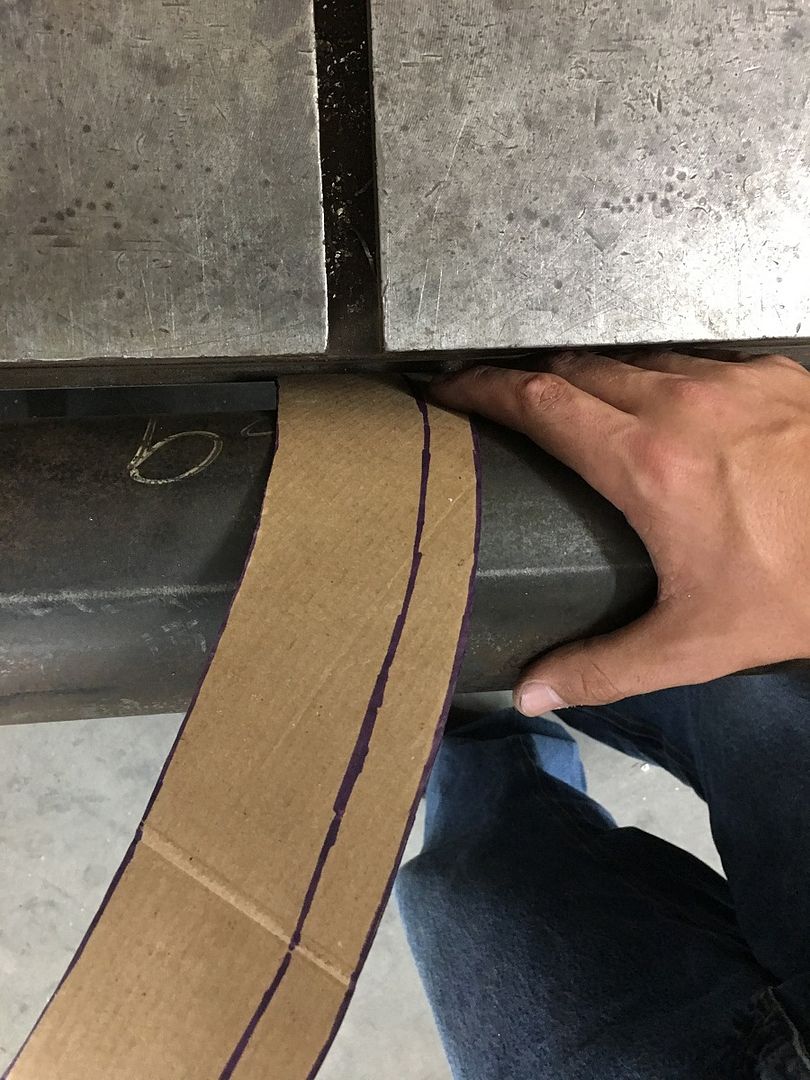
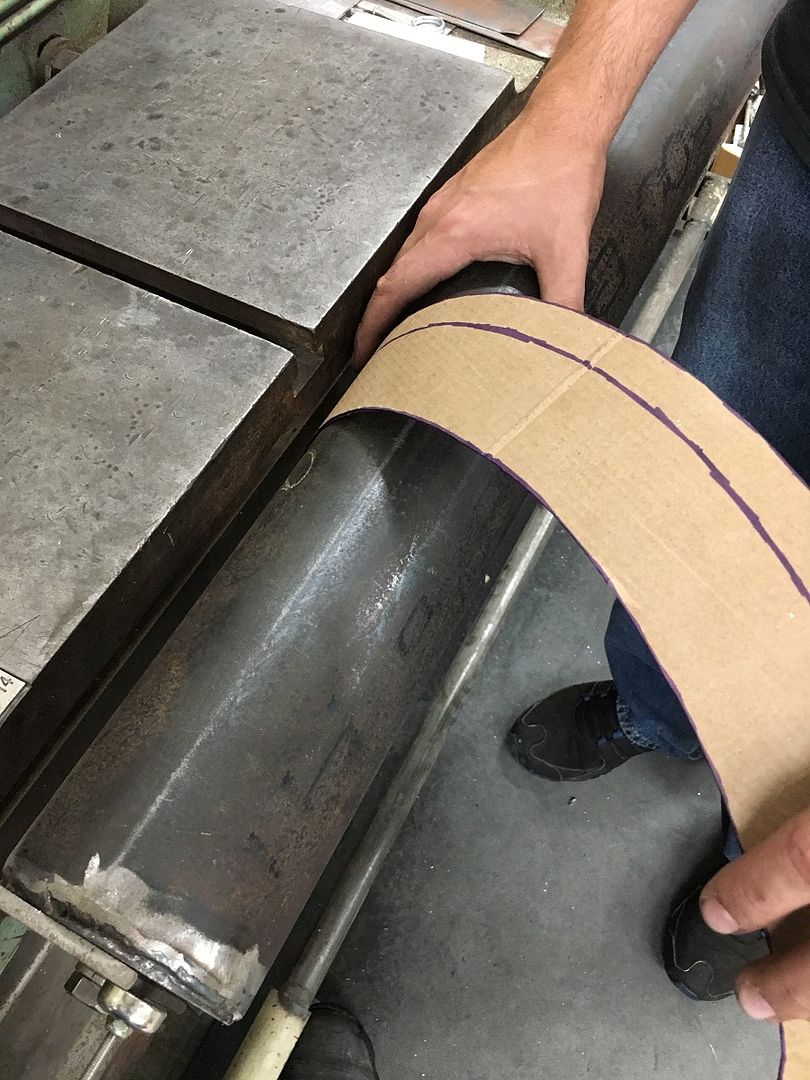
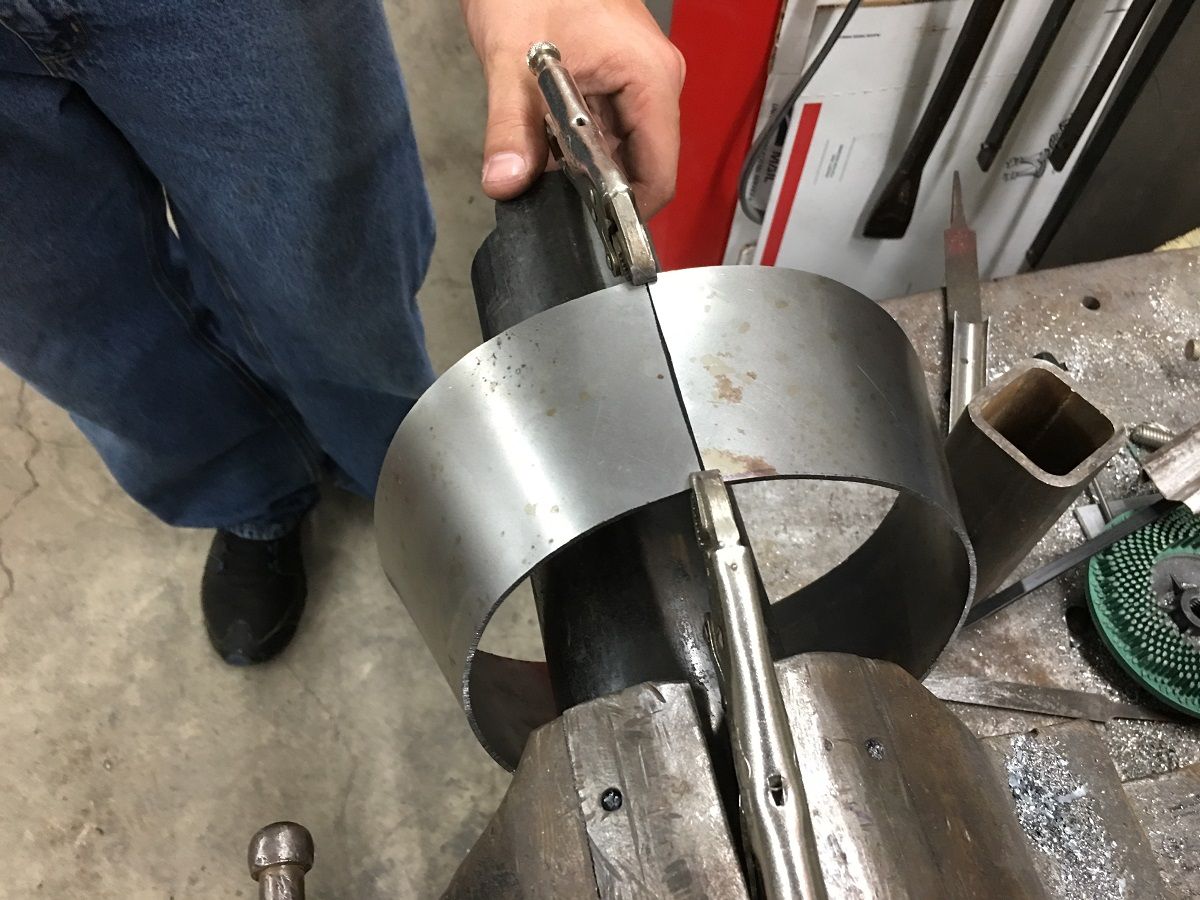
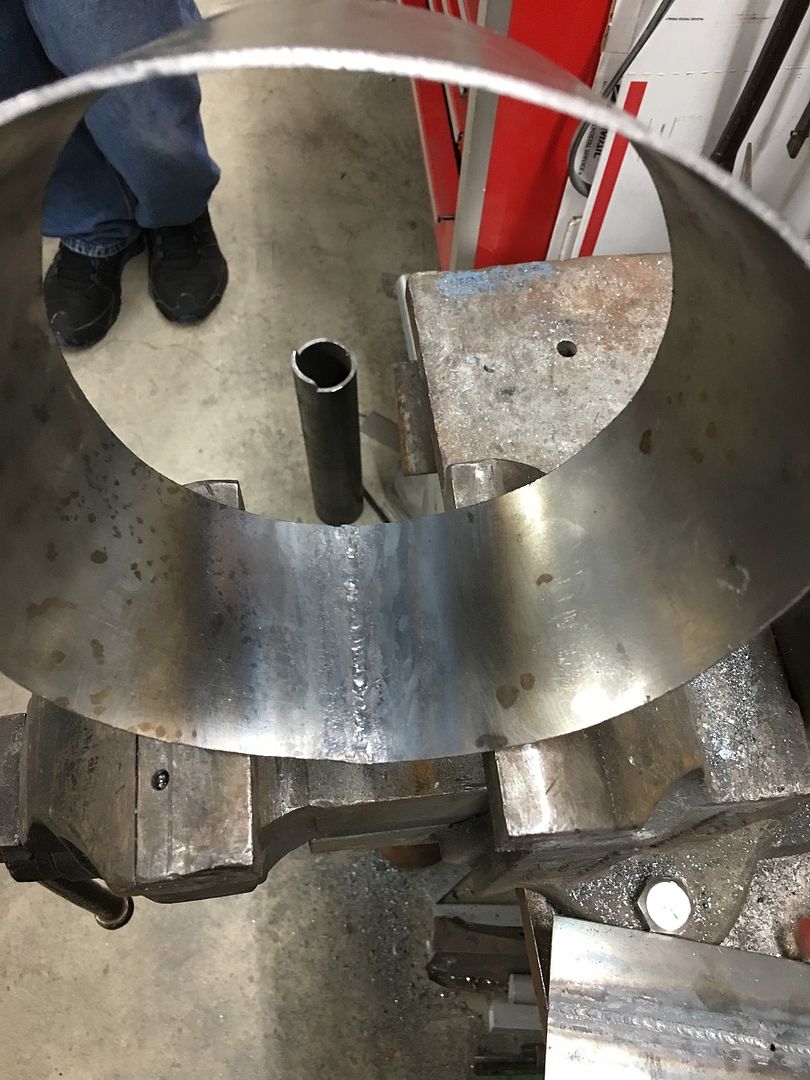
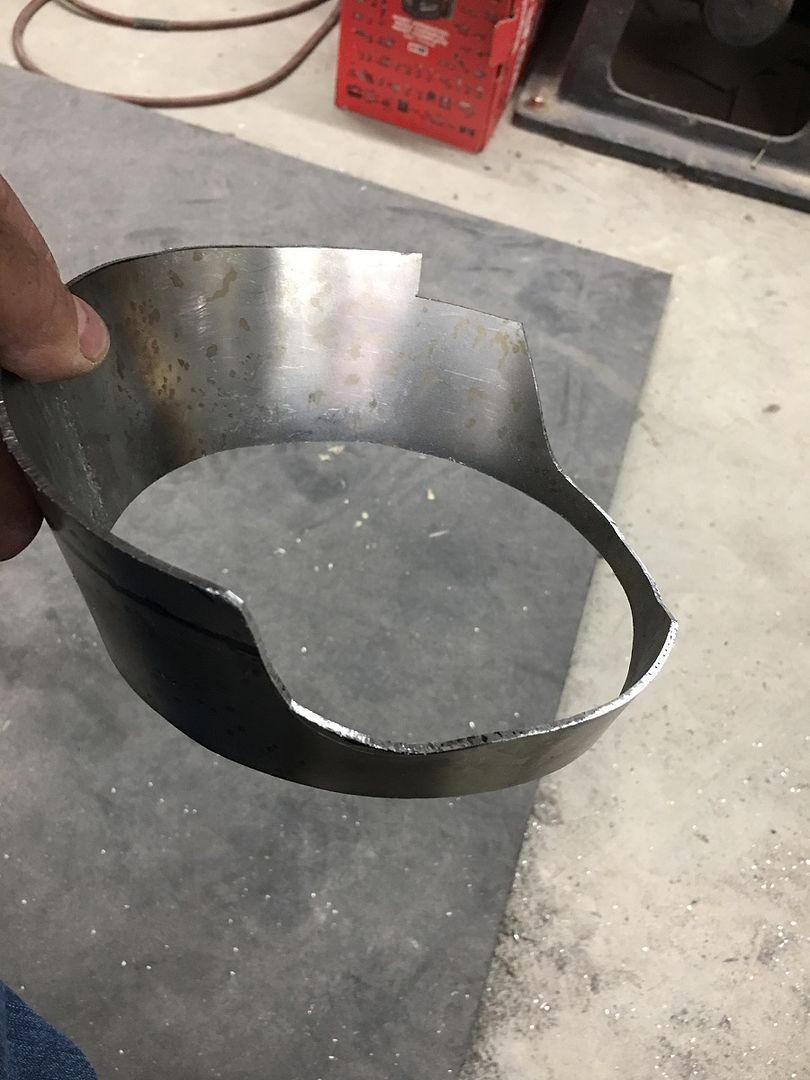
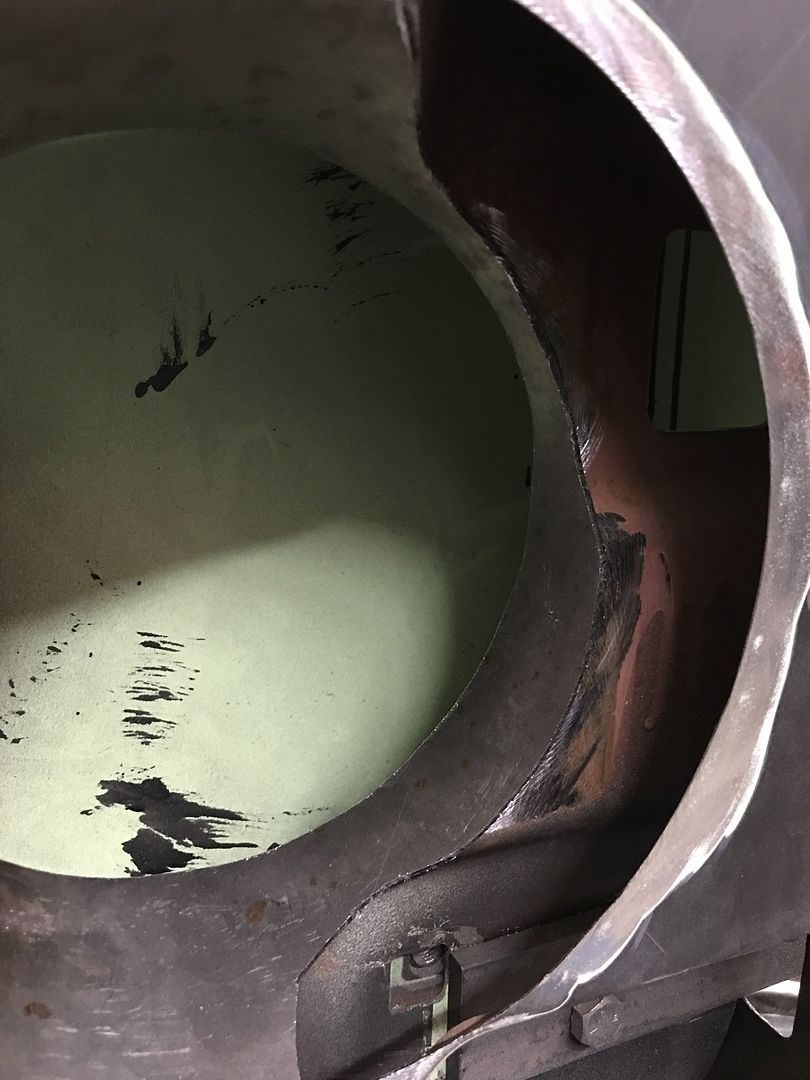
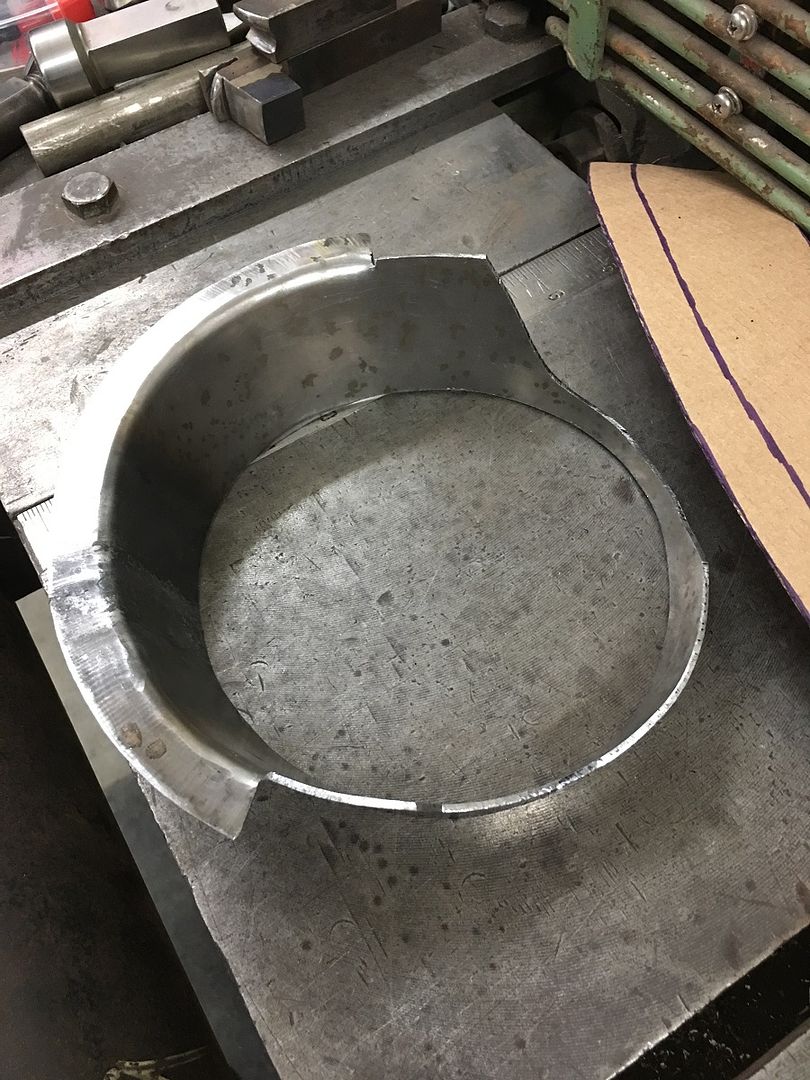
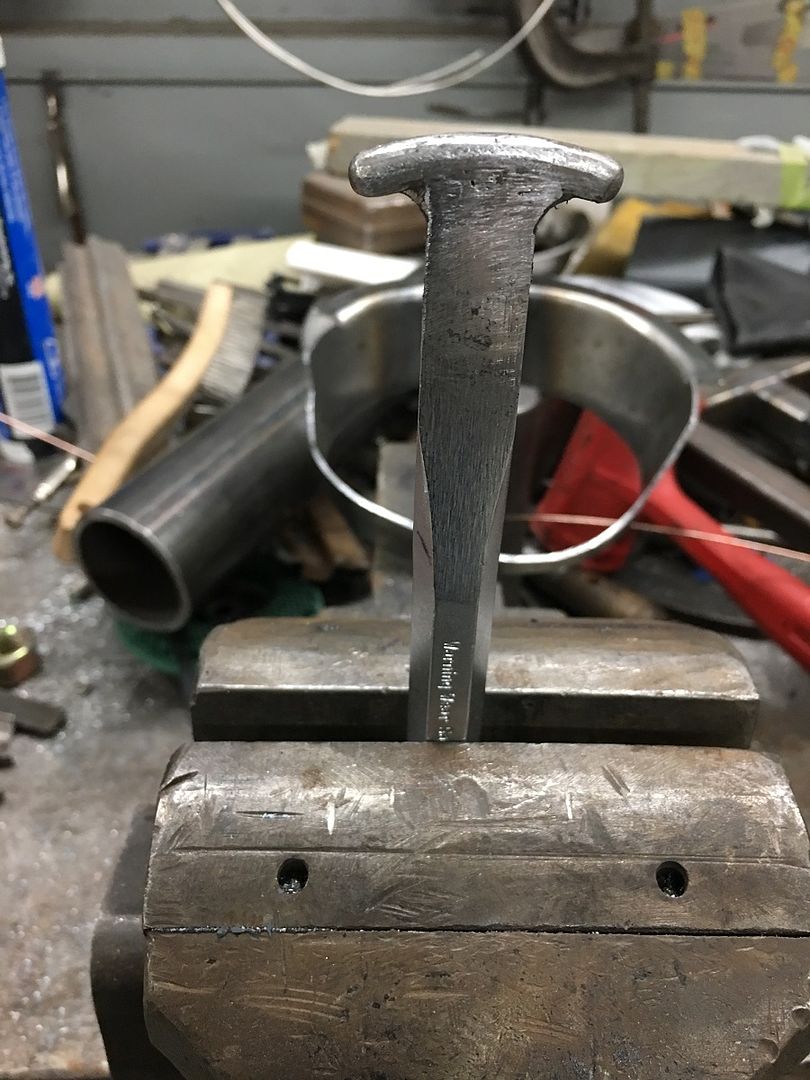
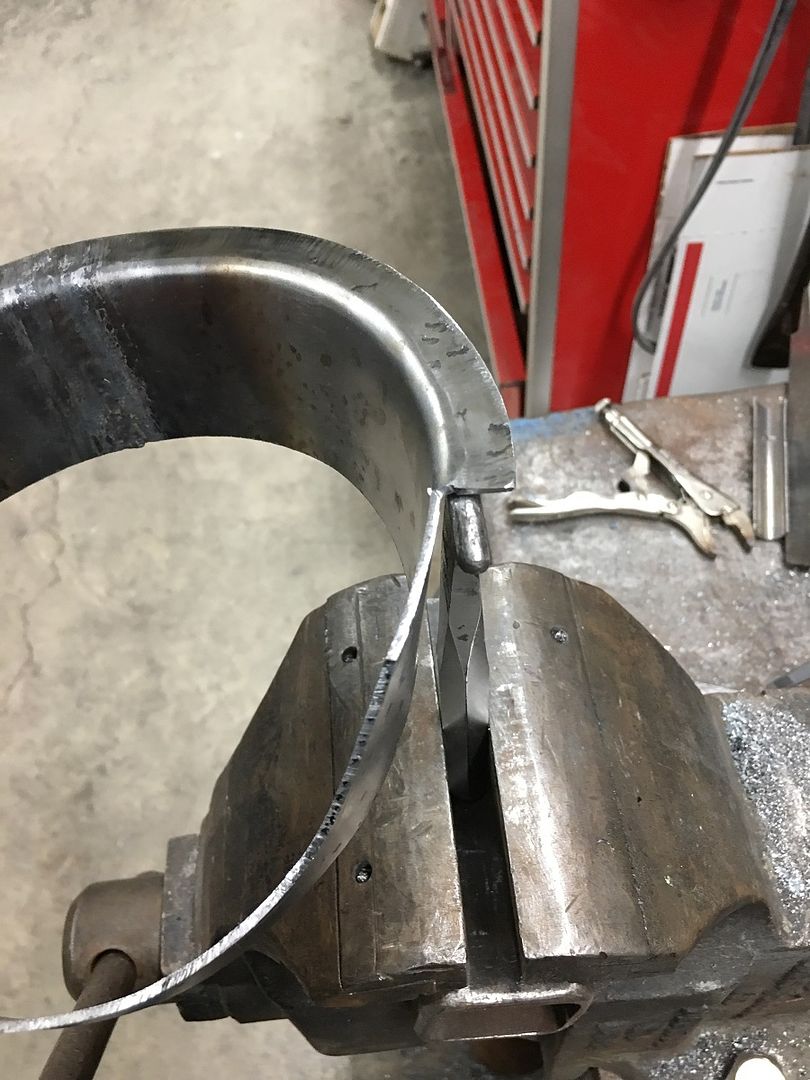
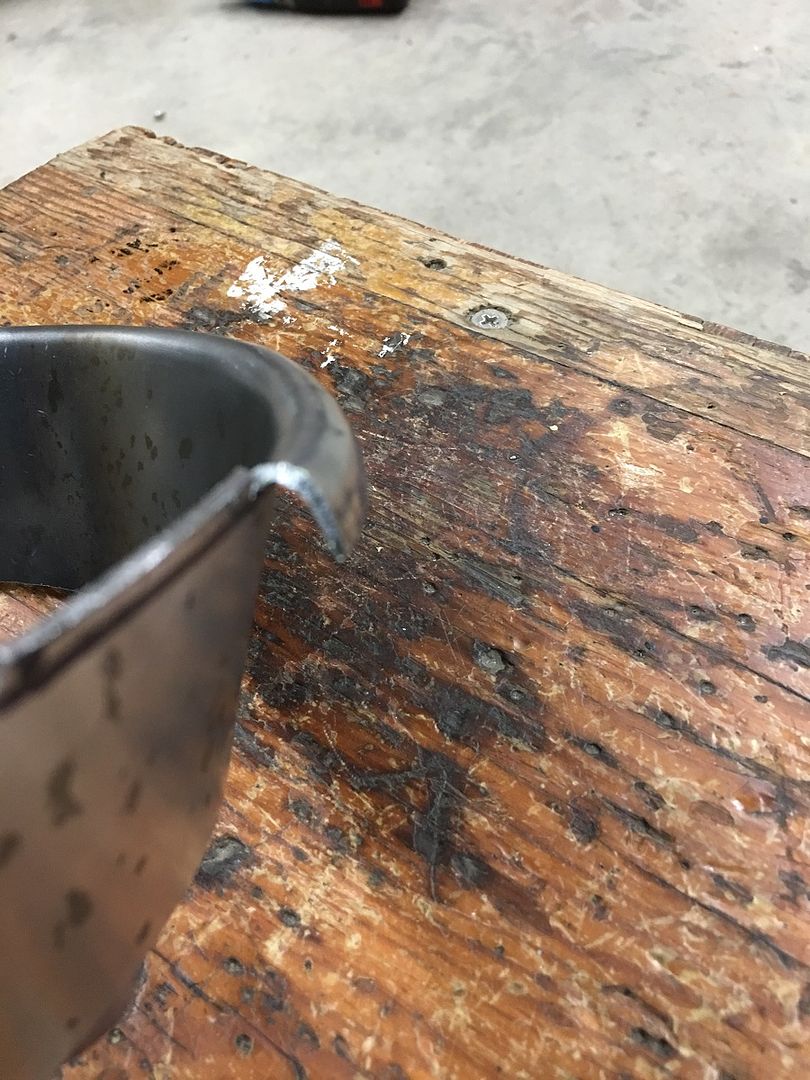
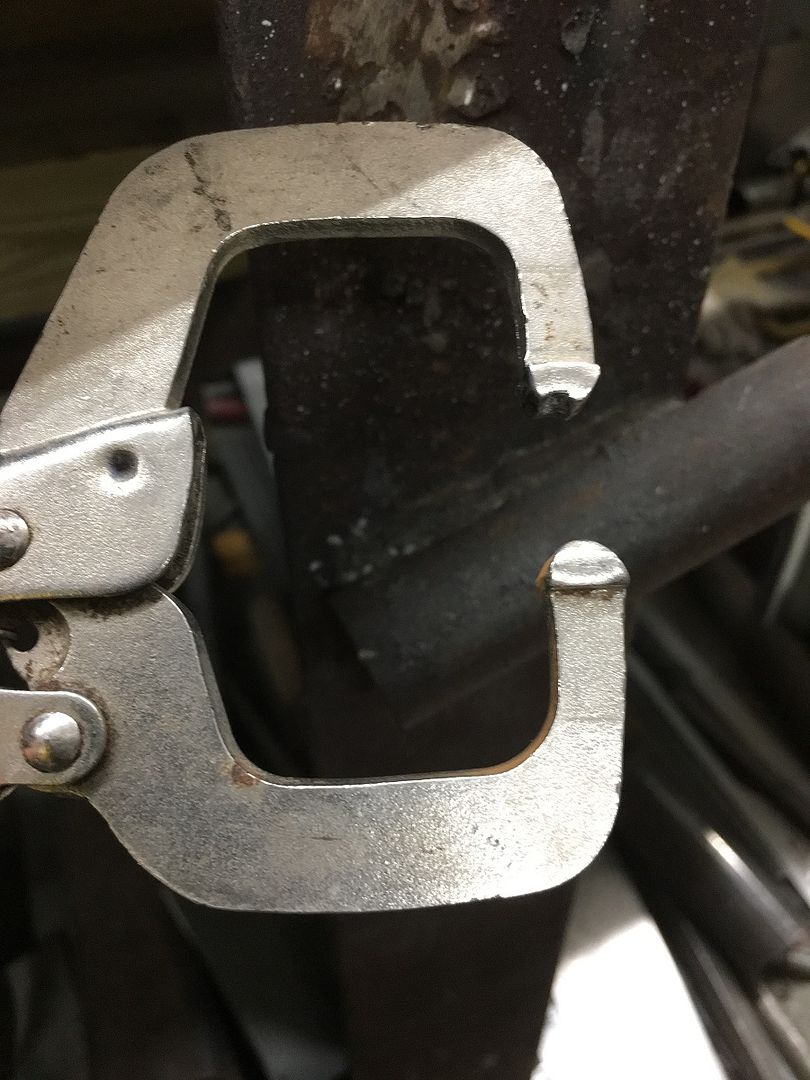
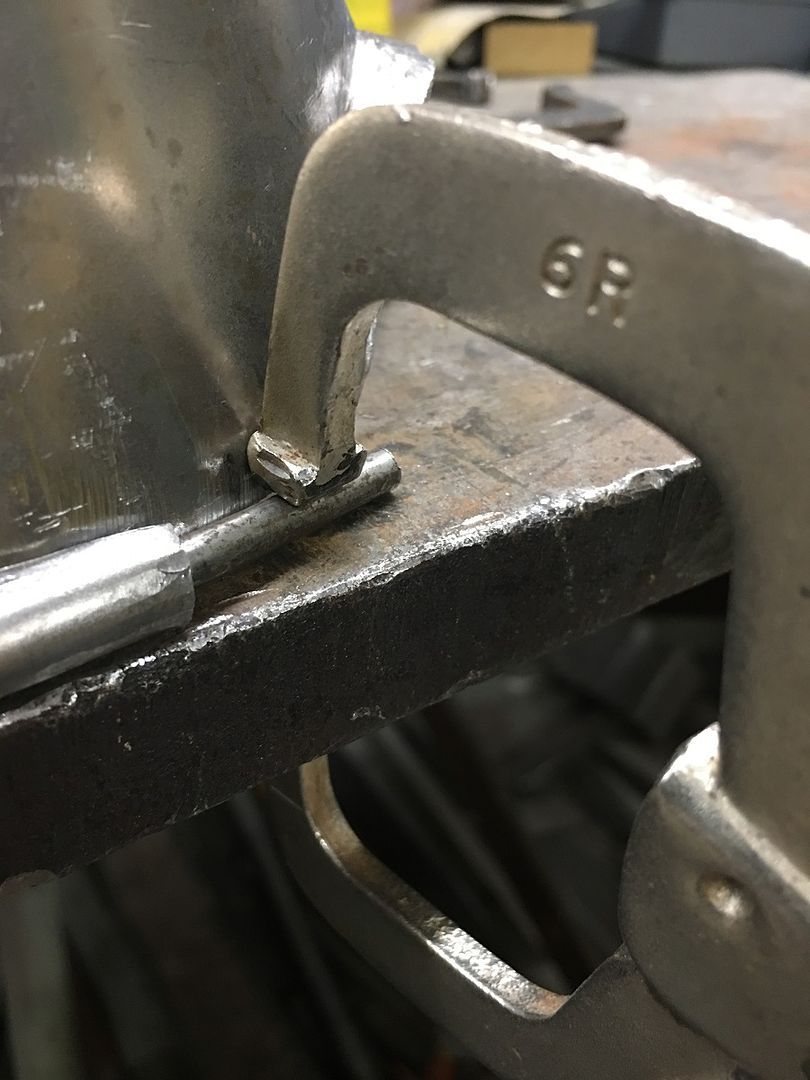
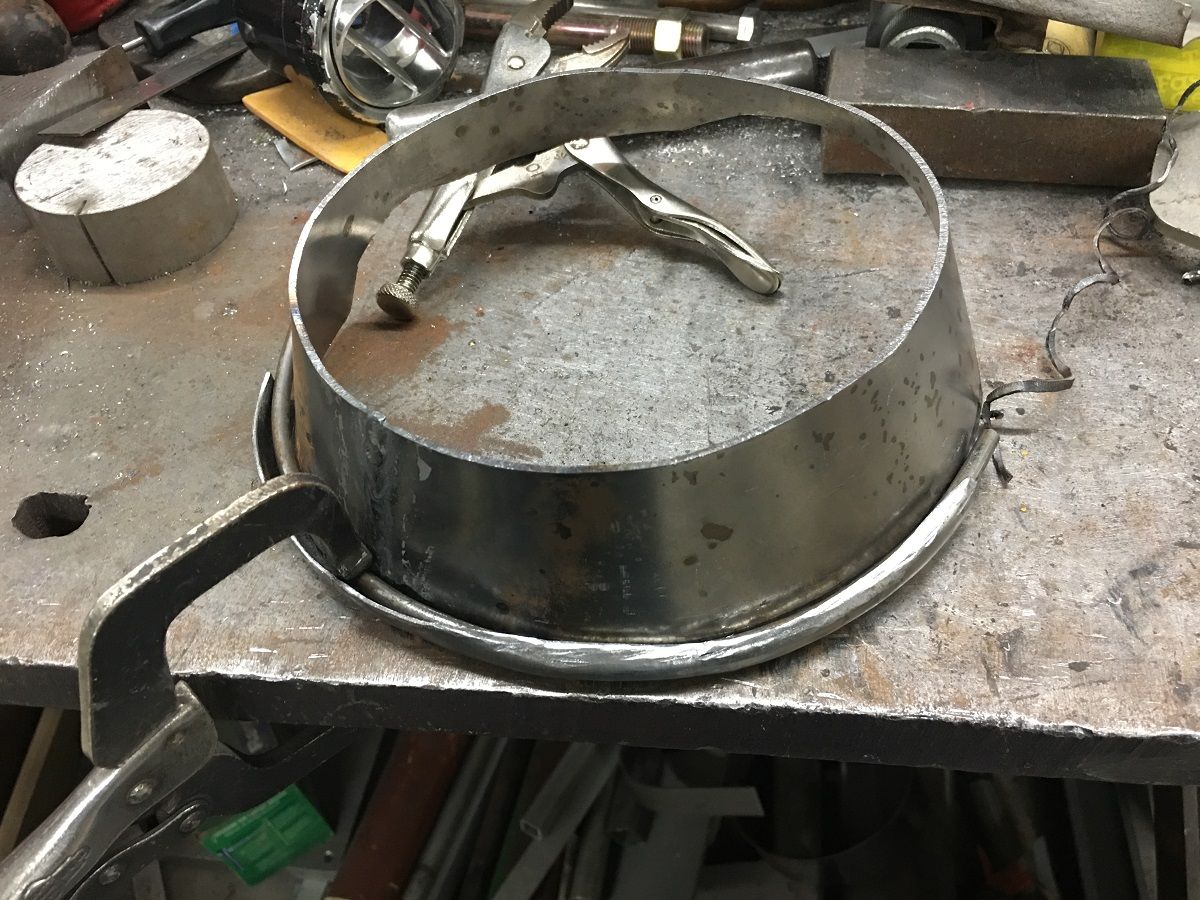
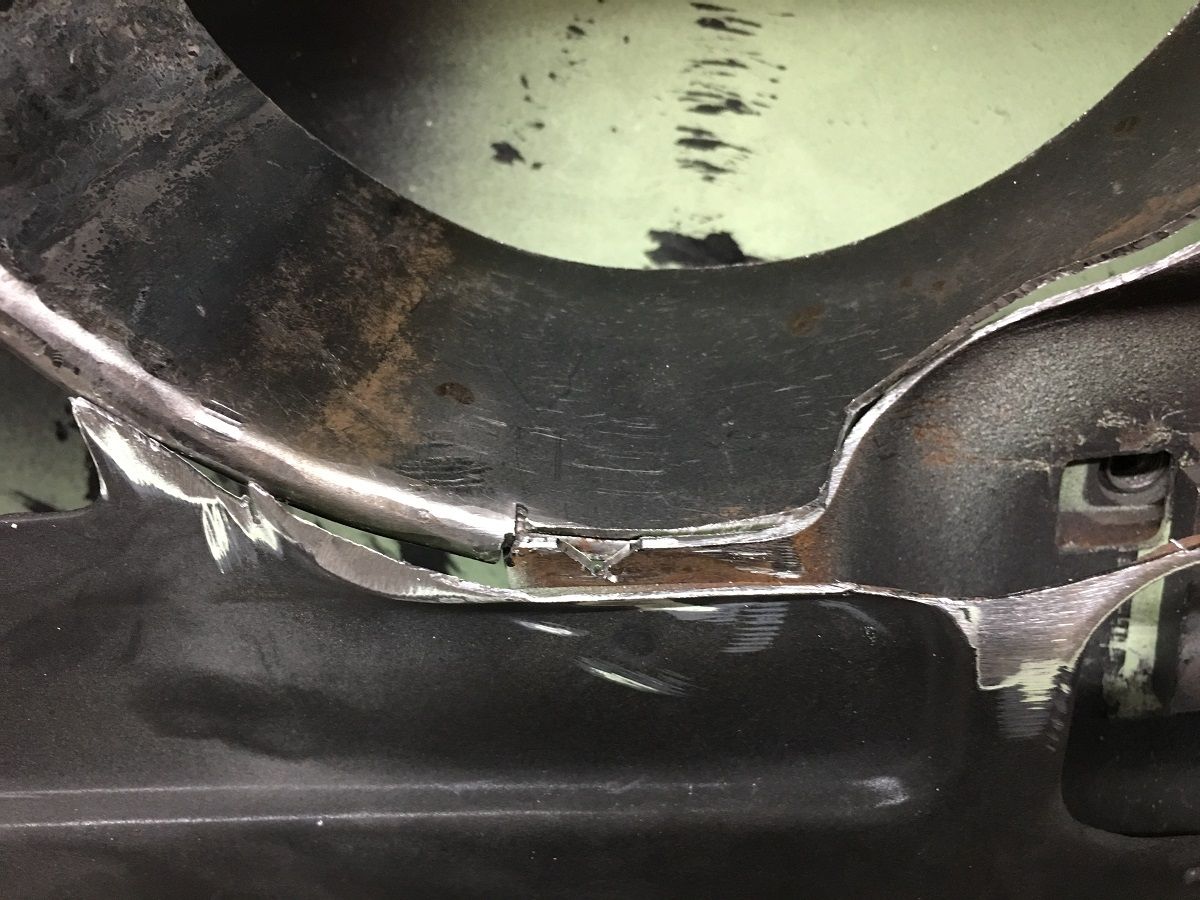
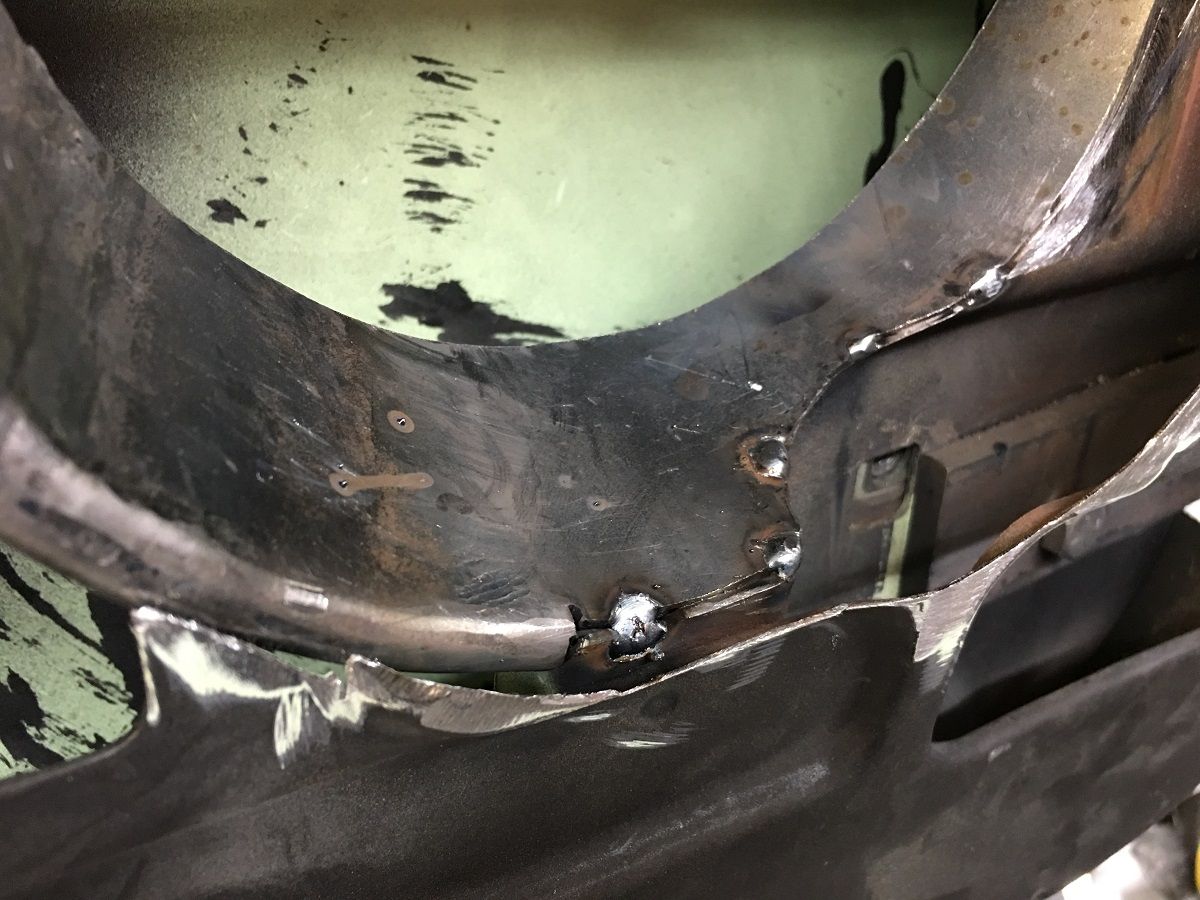
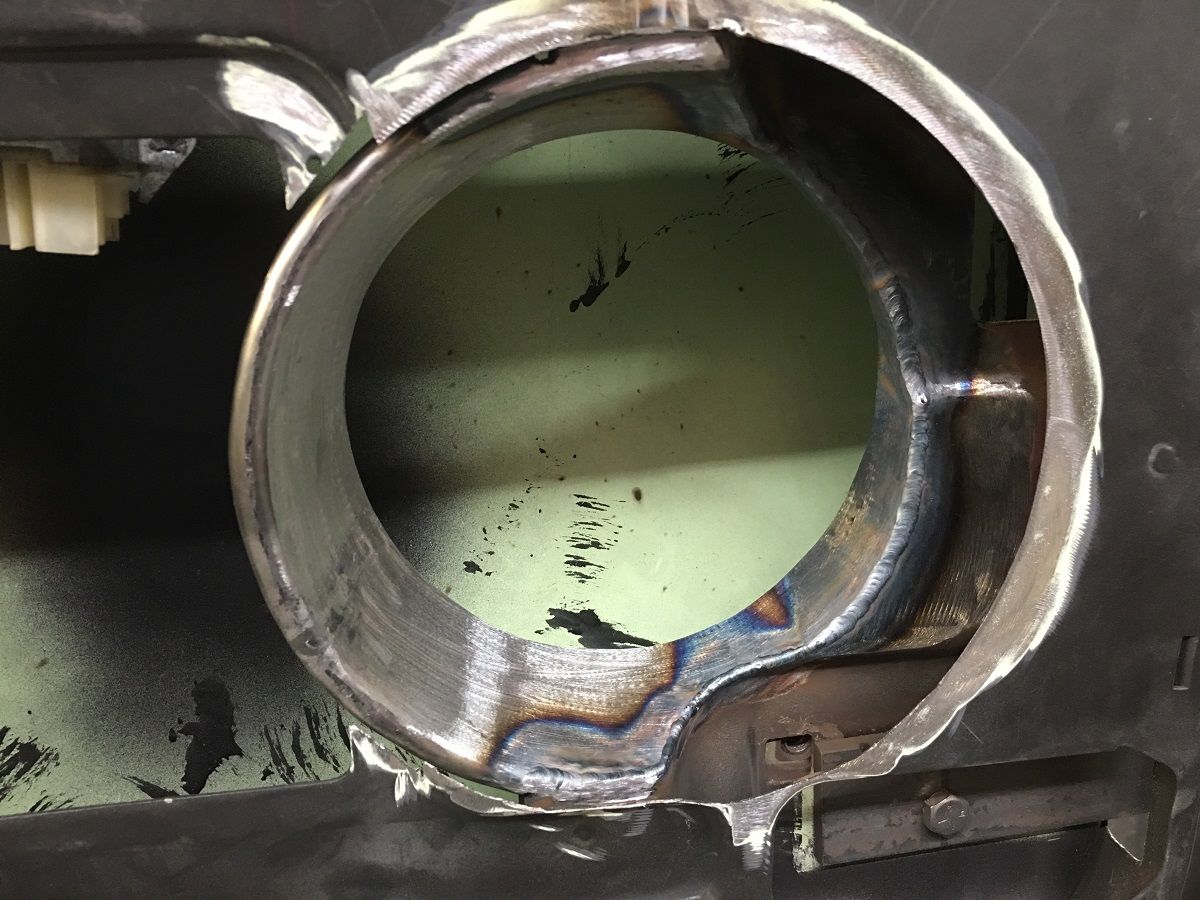
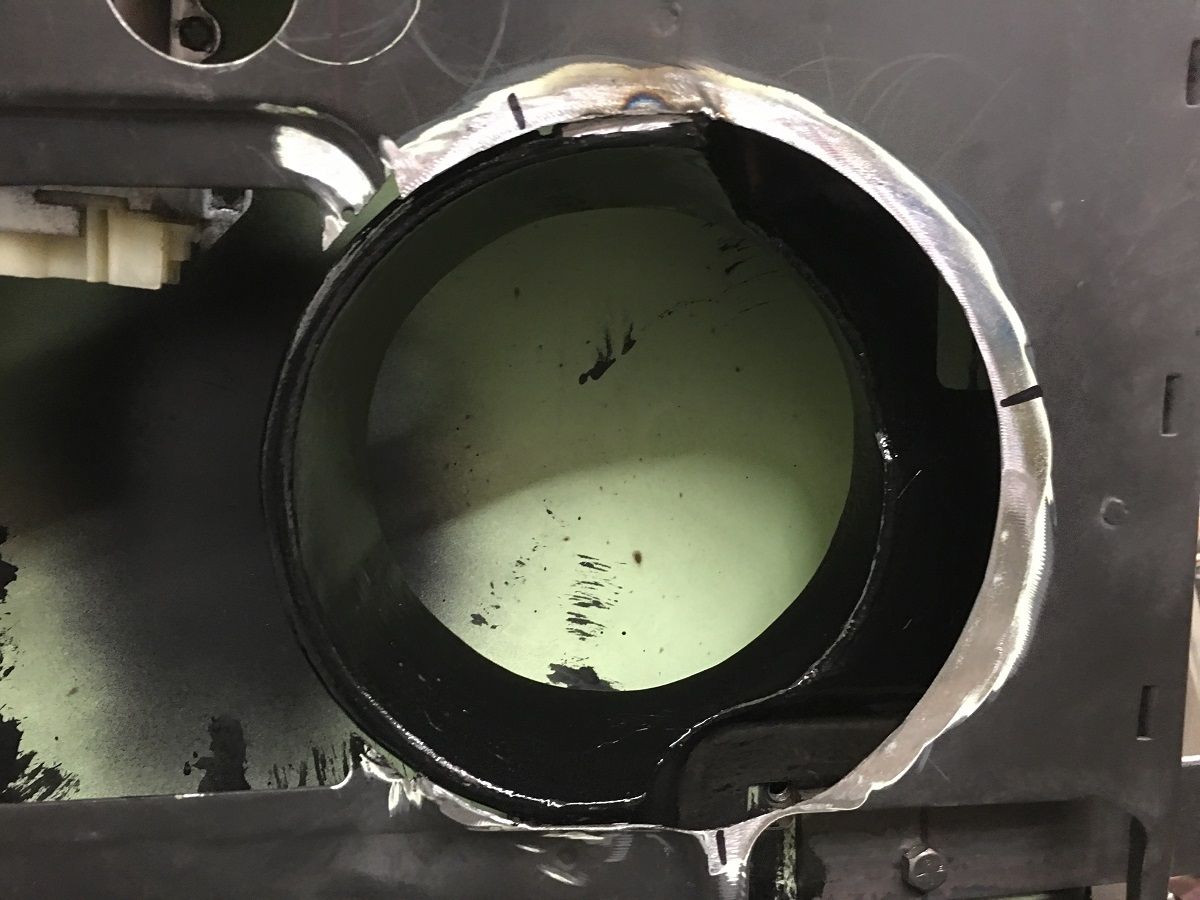
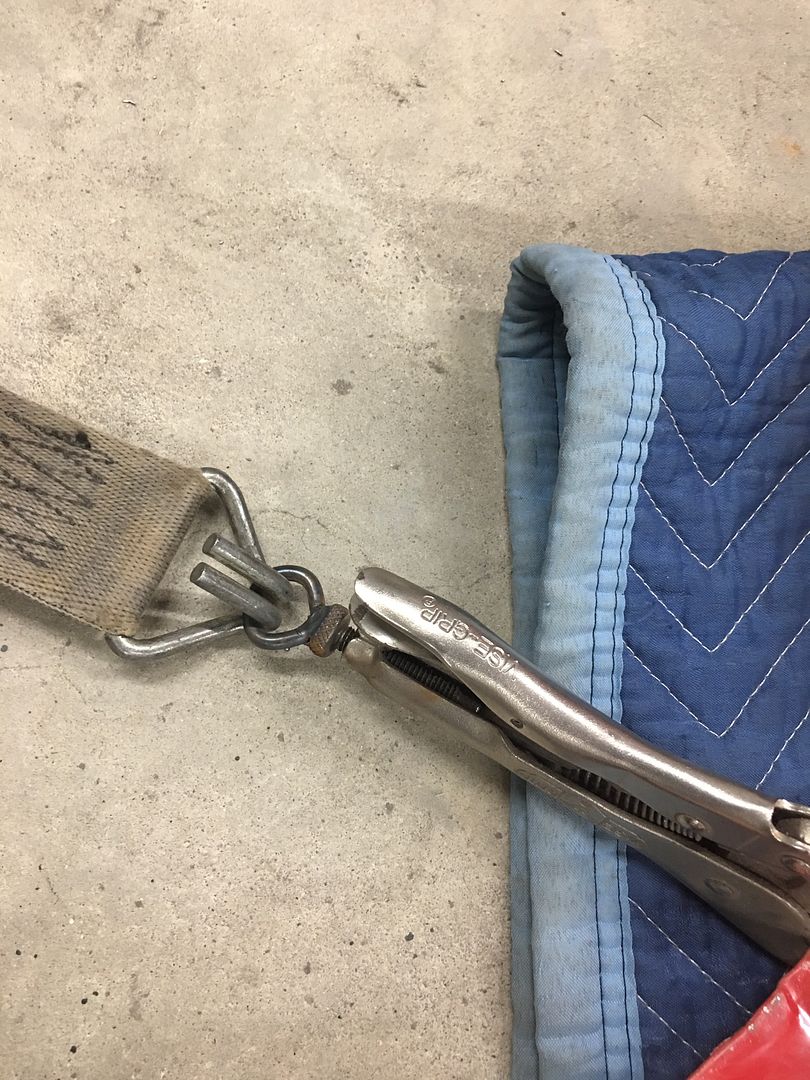
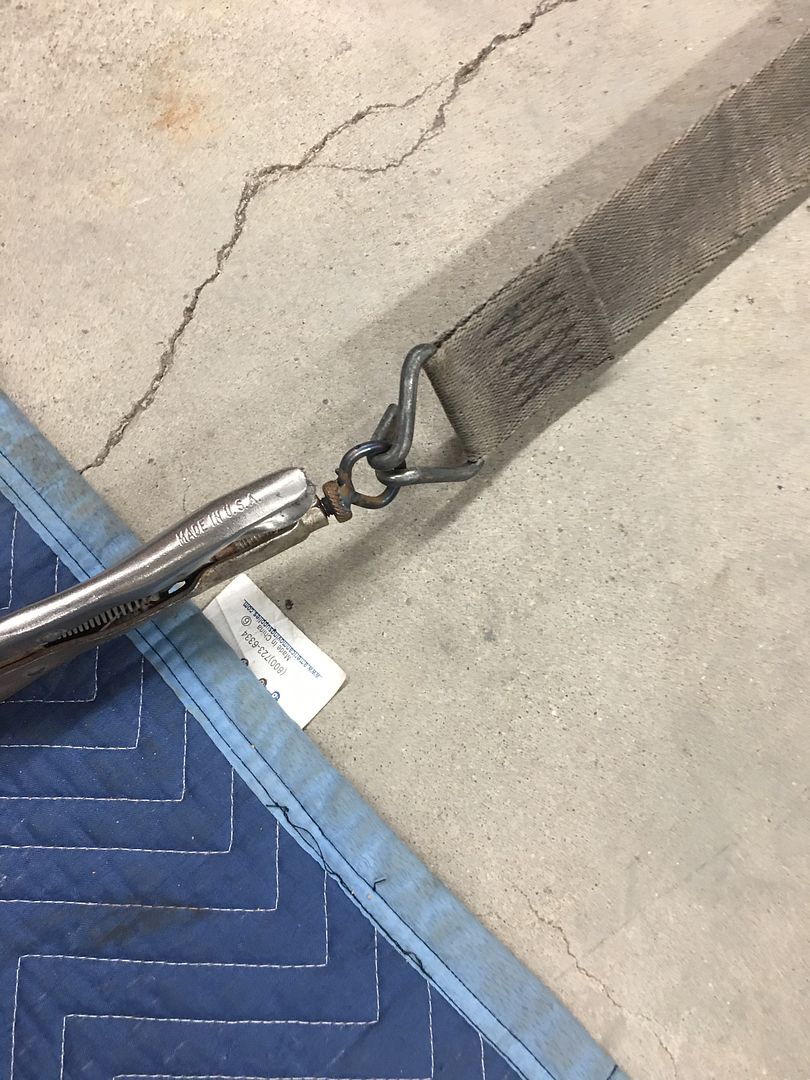
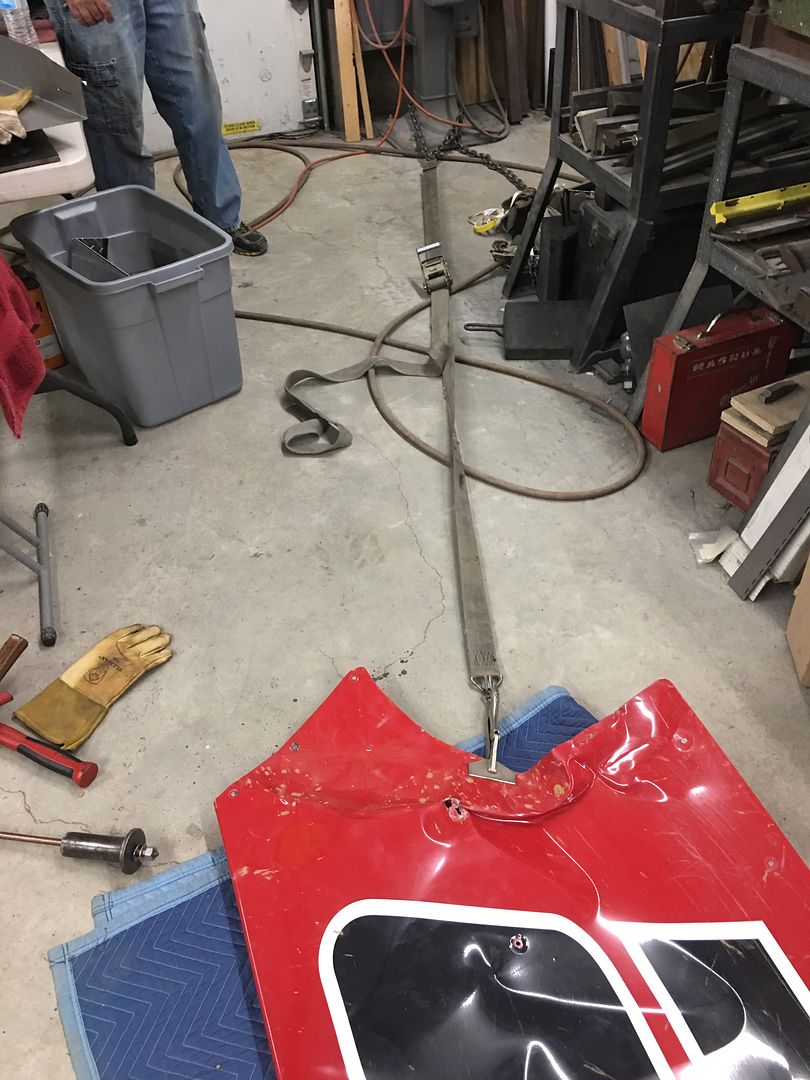
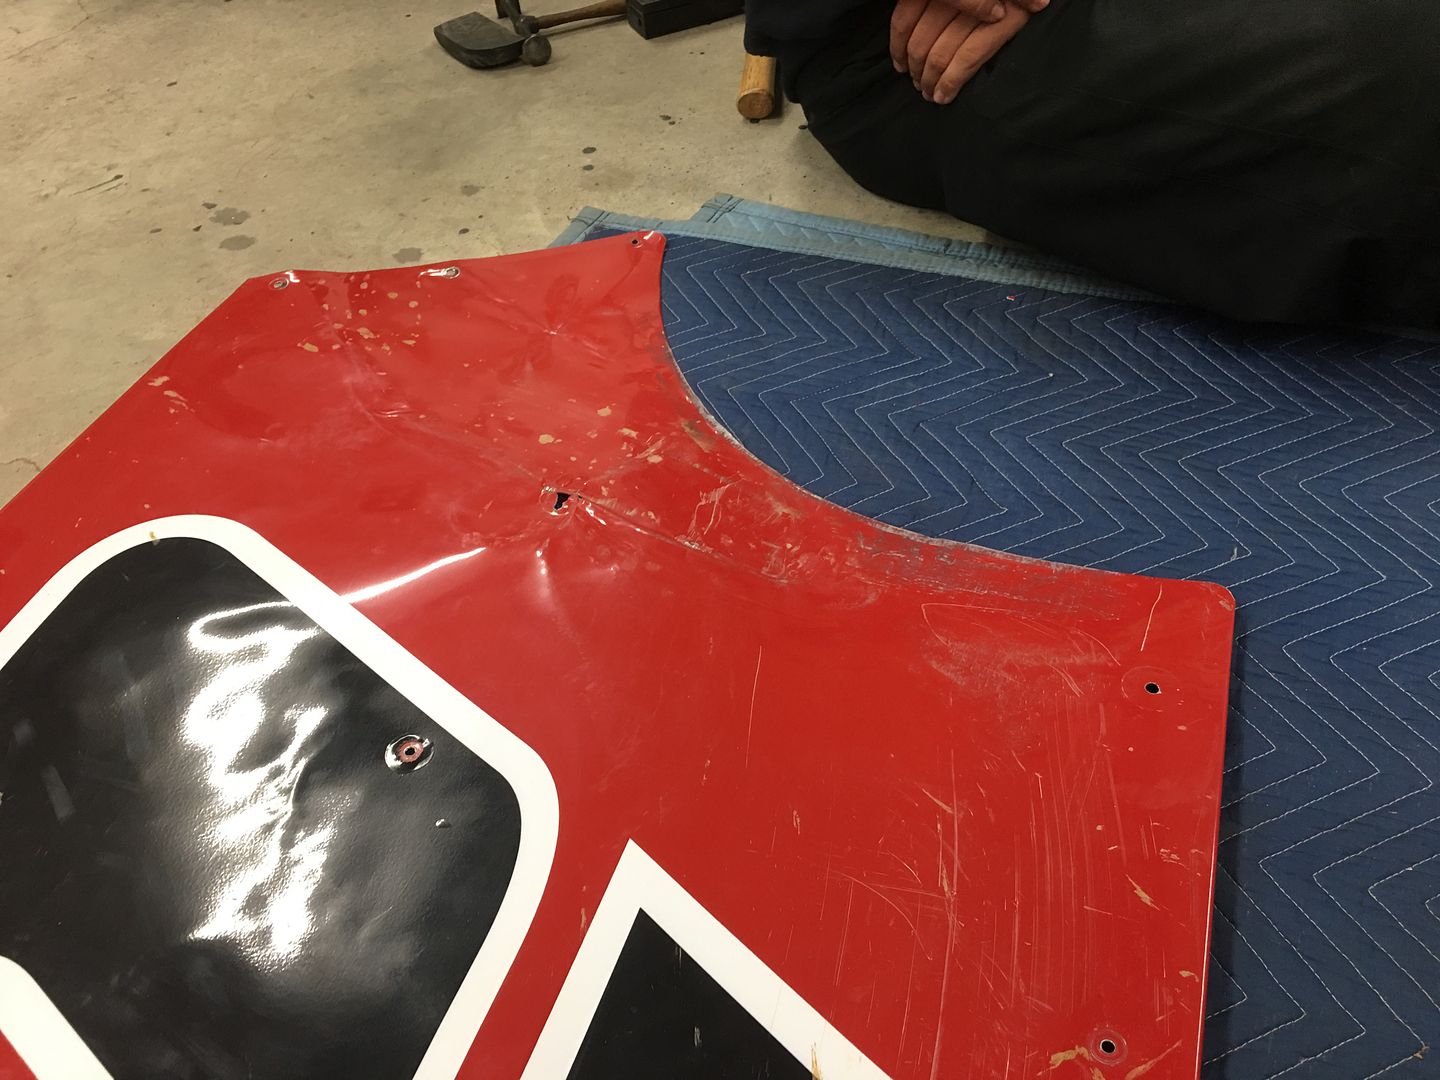
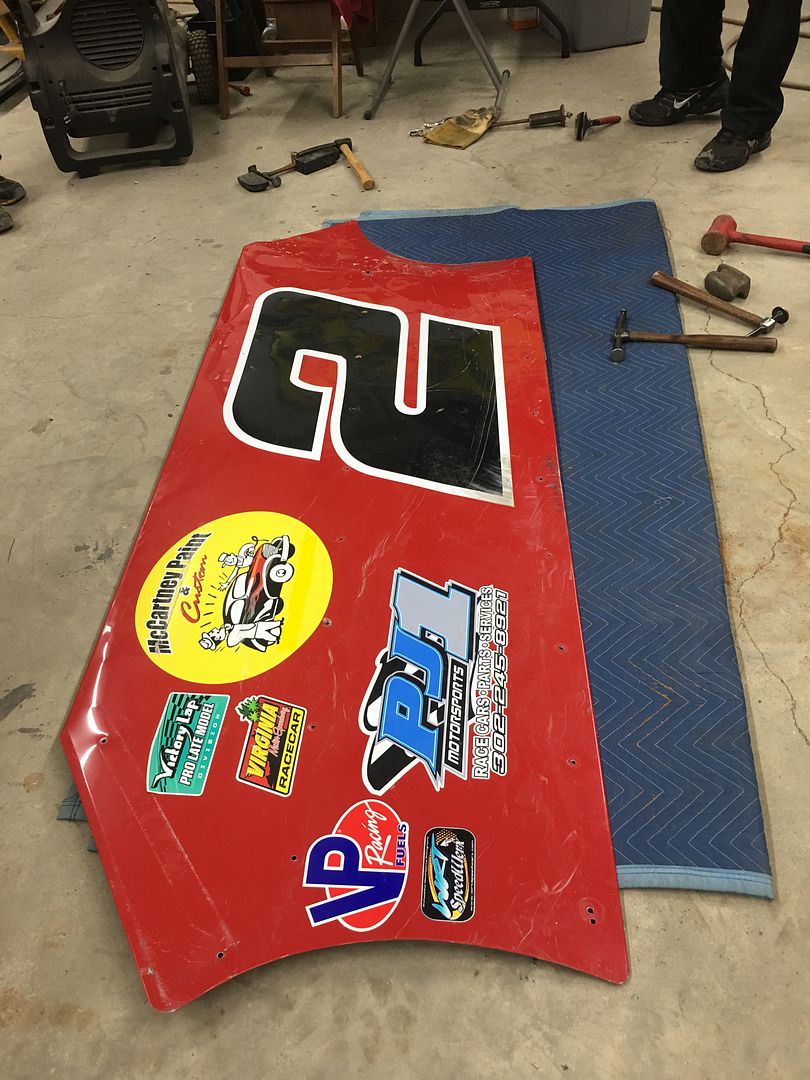
Last night was repair time for a dirt car. We had a severe fold/wrinkle to remove to get ready for next weekend, and with little in the means to "pull", we resorted to some MacGyver action on some Vise Grips...

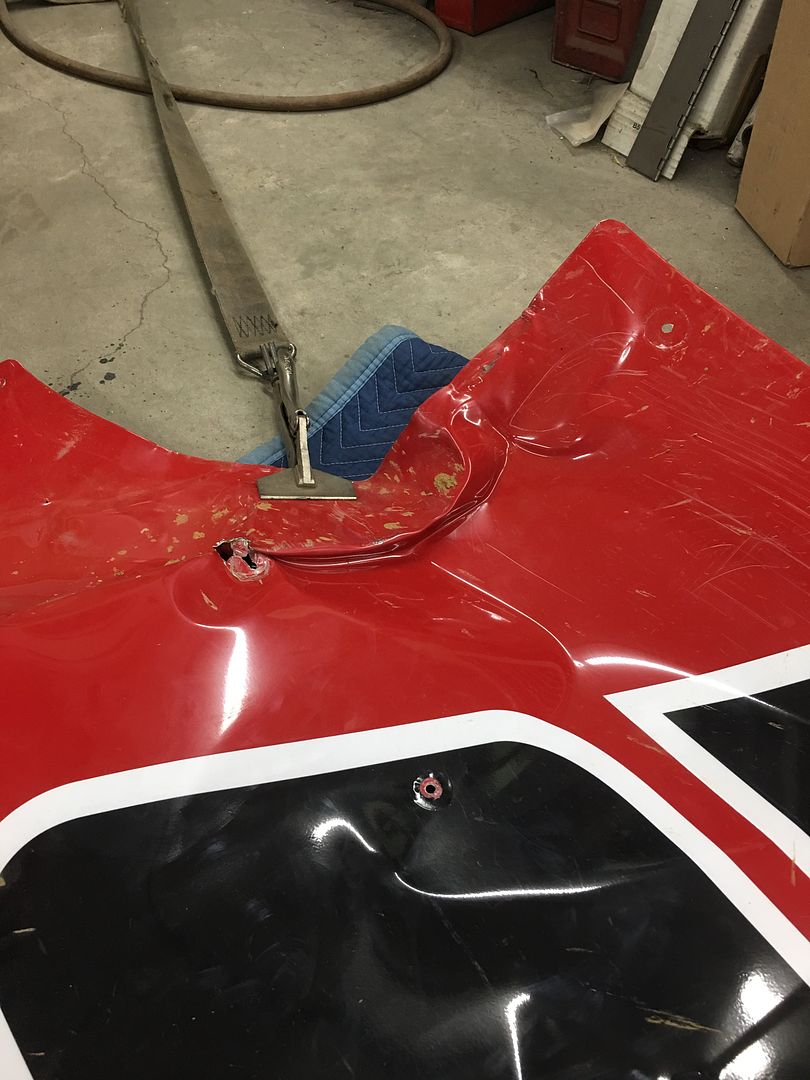
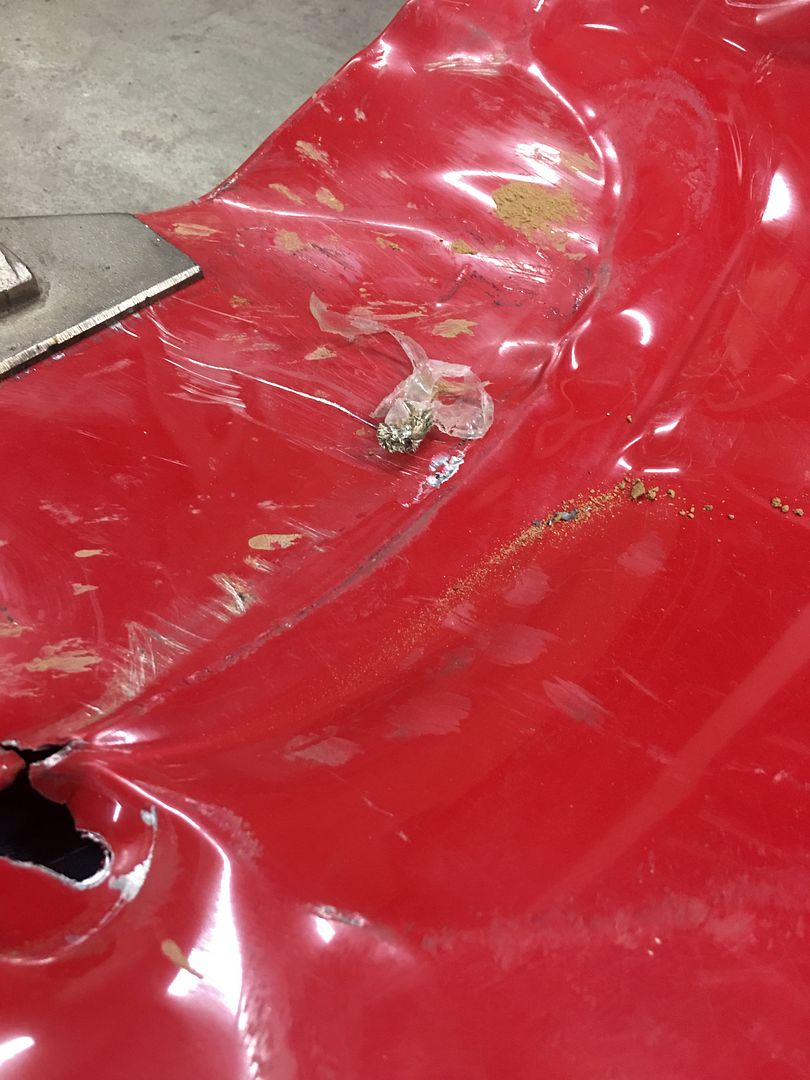
That should hold it for this weekend.
Saturday I went to the 15th annual Jalopyrama, this year it was held at the Talbot County Community Center in Easton, MD. I didn't get many pictures this year as there are far too many people taking pictures with much better cameras than I had (iPhone). This year's theme was a focus on vintage race cars, and the indoor arena was filled with dragsters, gassers, etc, as well as some of the nicest hot rods to be found on the East Coast. I did get a shot of my buddy Dirty Dave's gasser, which is basically his daily driver. Odd to see it indoors as much as he drives the wheels off it! haha..
Next to it was the "Hamb Special", a vintage pickup classed race truck built for Bonneville, making it's debut on the salt last year. Owned by John Mullen of Lanexa VA, built by John and many of the members of the VA Hamb. My buddy Dave Russell gets the piloting duties on the salt, and we caught up at the show and talked shop.
It has a 262 Ford 6 cylinder, but caught the attention of many of the racer's inside the building when it was being brought in. That idle didn't sound much like any 6 cylinder I've heard:
….and I did get a picture for Joe Unger. This truck would look awesome in front of his Sinclair station in Perry..
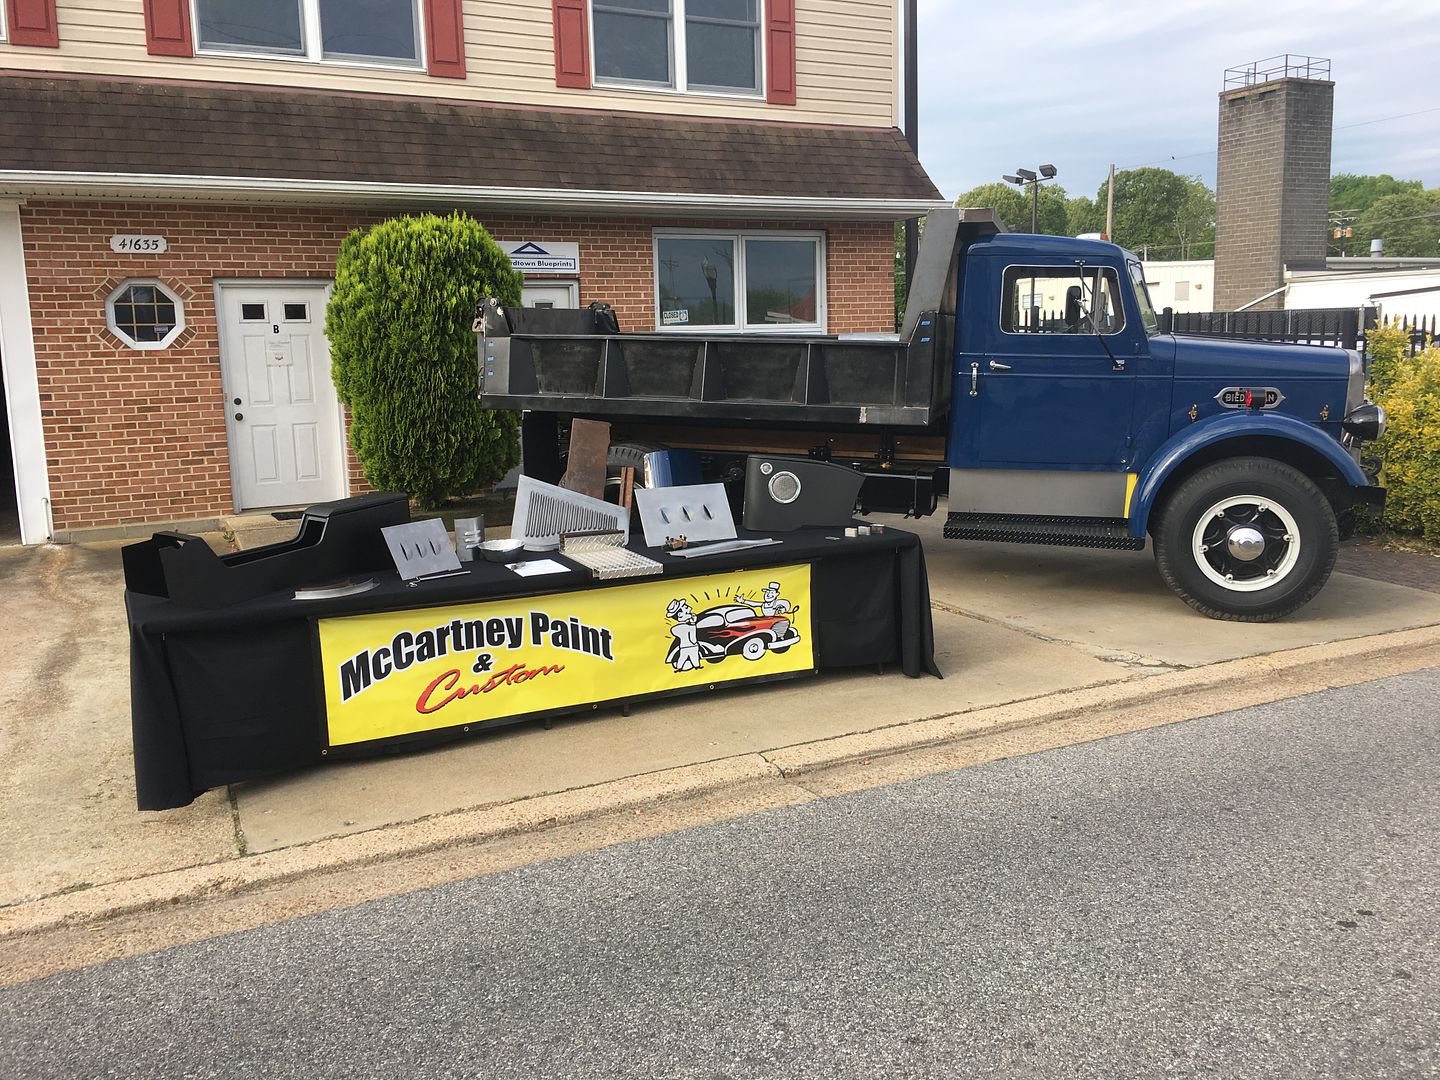
Sunday was another car show, this one a bit more local for me, put on in downtown Leonardtown by the St. Mary's Rod and Classic Car Club to benefit Hospice and many other charitable organizations.
We set up in front of John's shop, along with his Biederman truck, and a couple tables of our fabrications. Got a bit too much Sun, but really enjoyed getting out and talking to everyone about their projects.
Last night was repair time for a dirt car. We had a severe fold/wrinkle to remove to get ready for next weekend, and with little in the means to "pull", we resorted to some MacGyver action on some Vise Grips...
That should hold it for this weekend.
Last edited: