
You are using an out of date browser. It may not display this or other websites correctly.
You should upgrade or use an alternative browser.
You should upgrade or use an alternative browser.
MP&C Shop Projects
- Thread starter MP&C
- Start date
shortykorte
Well-known member
I’m no painter, but because of info here, I brought some SPI epoxy primer for the SL. It was great to work with and I was able to lay down two really nice coats. The new owner had the car painted and asked what primer I used.
Sent from my iPhone using Garage Journal
Sent from my iPhone using Garage Journal

drfang
New member

I just love this stuff Thank You indeed!
I just love this stuff Thank You indeed!
Thanks for checking out our shop projects!
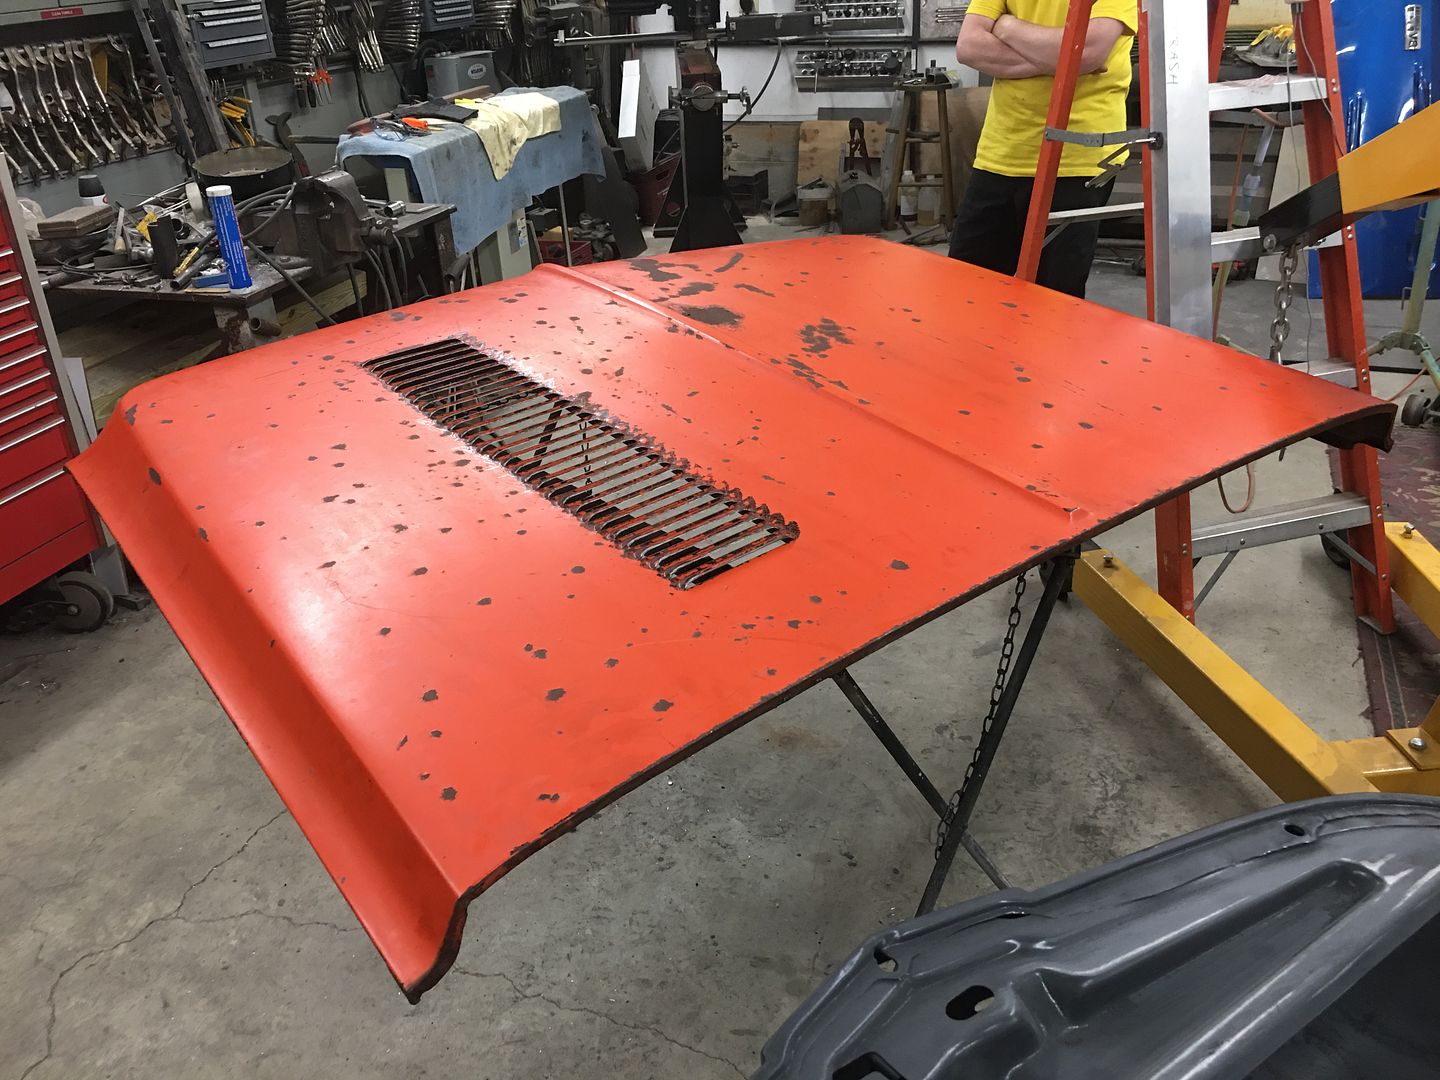
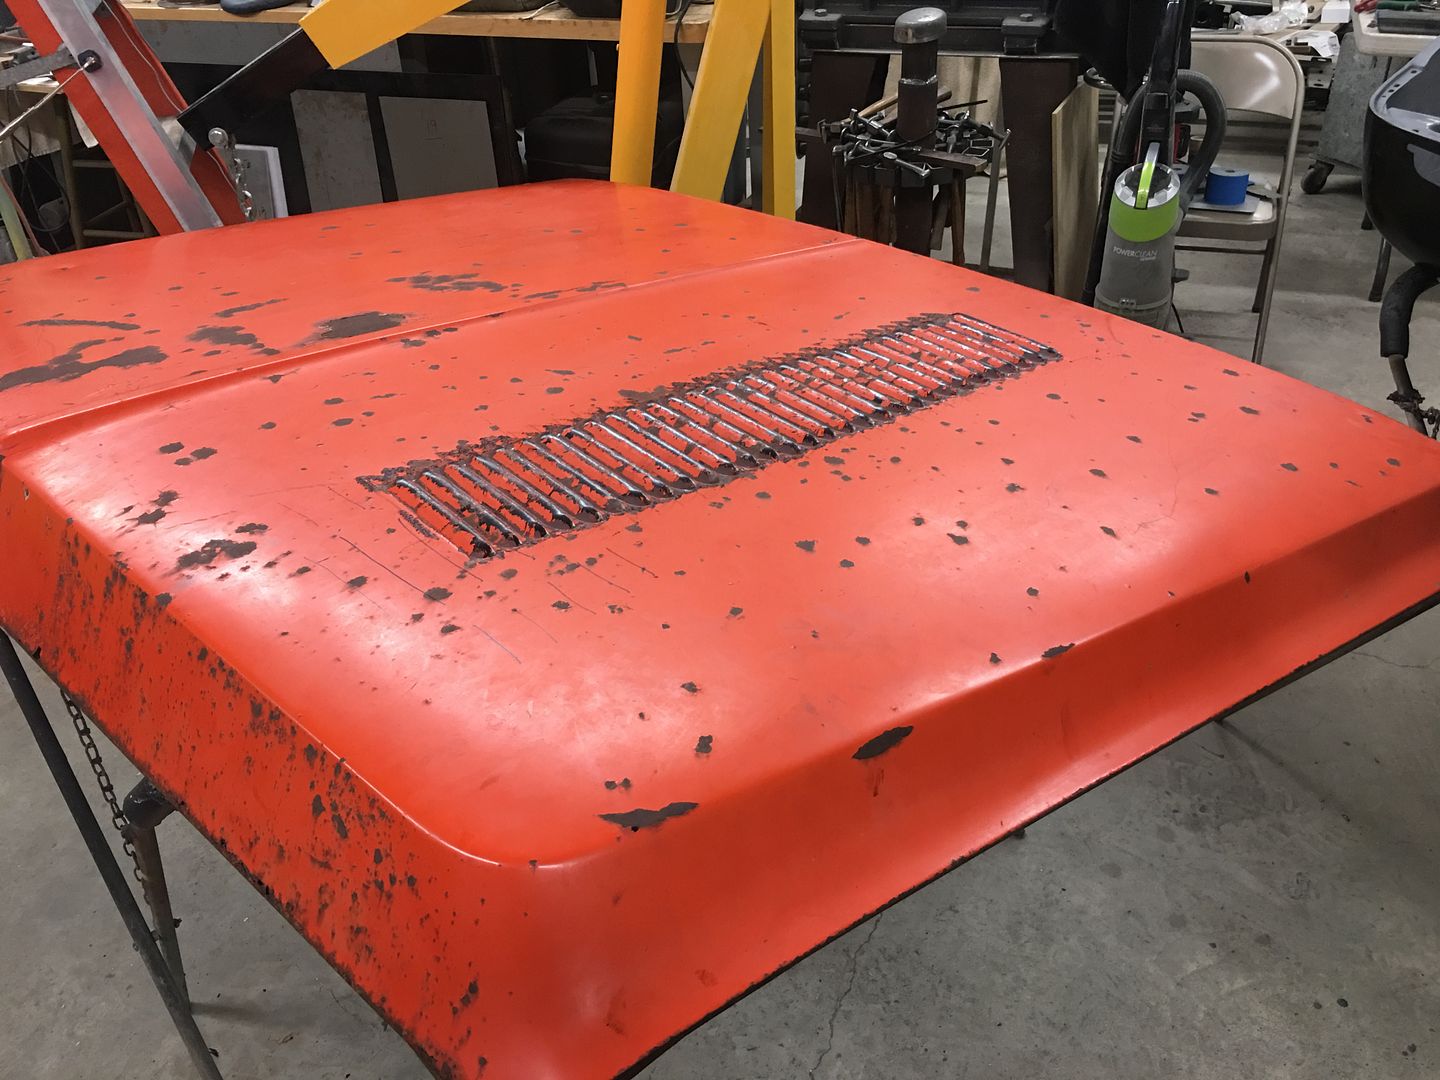
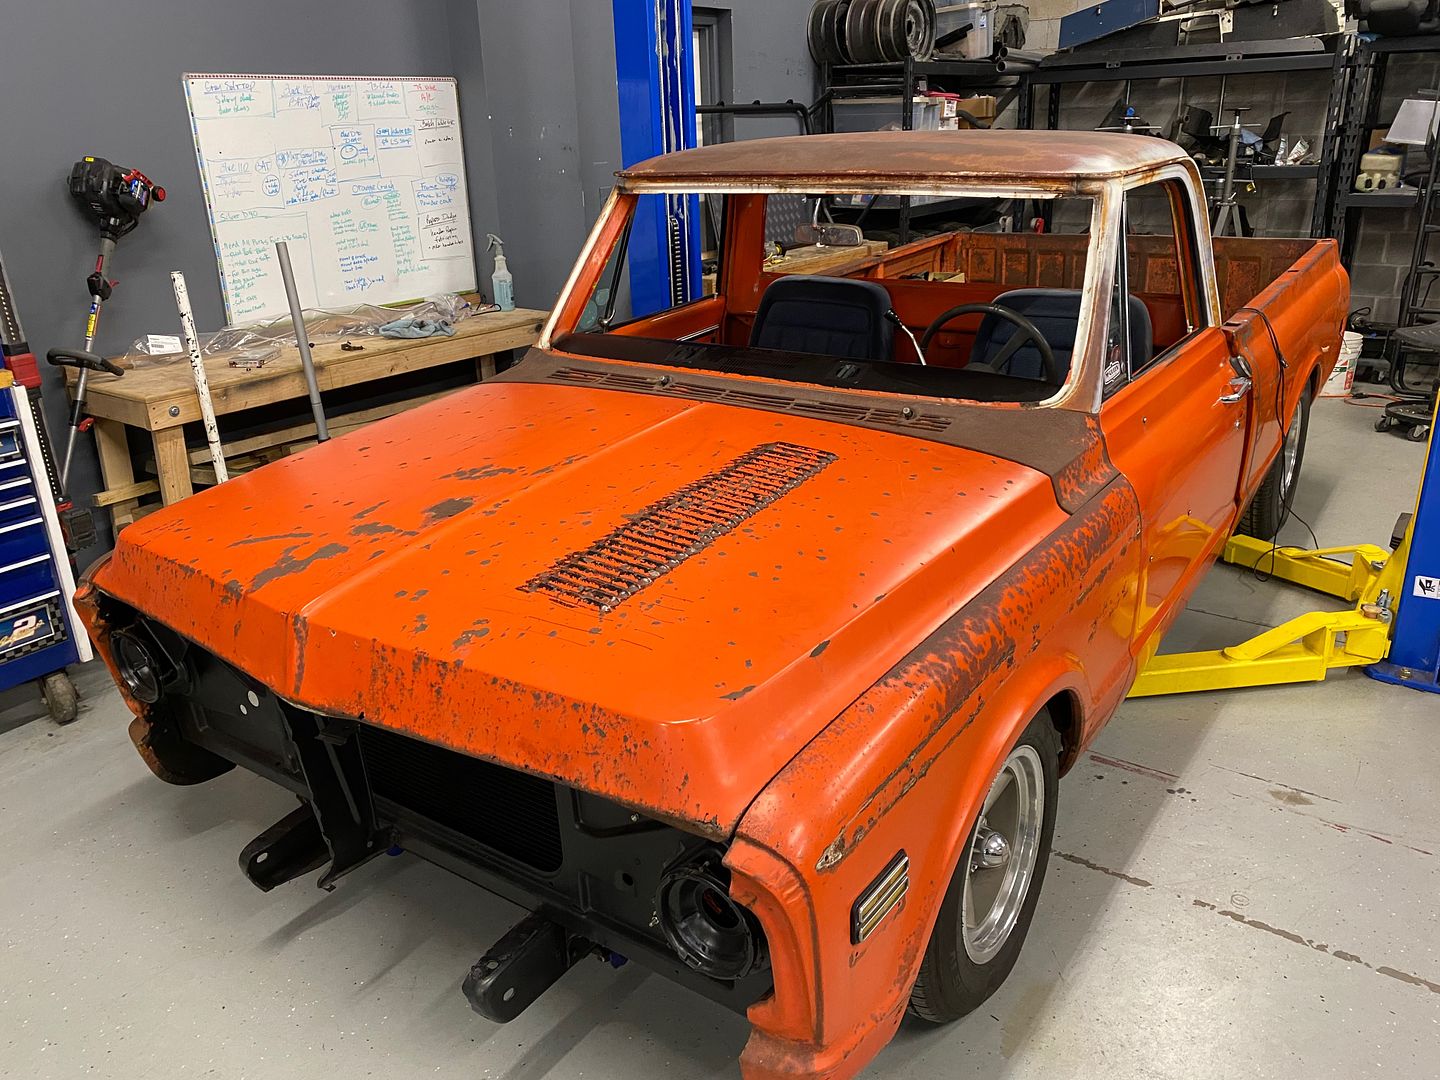
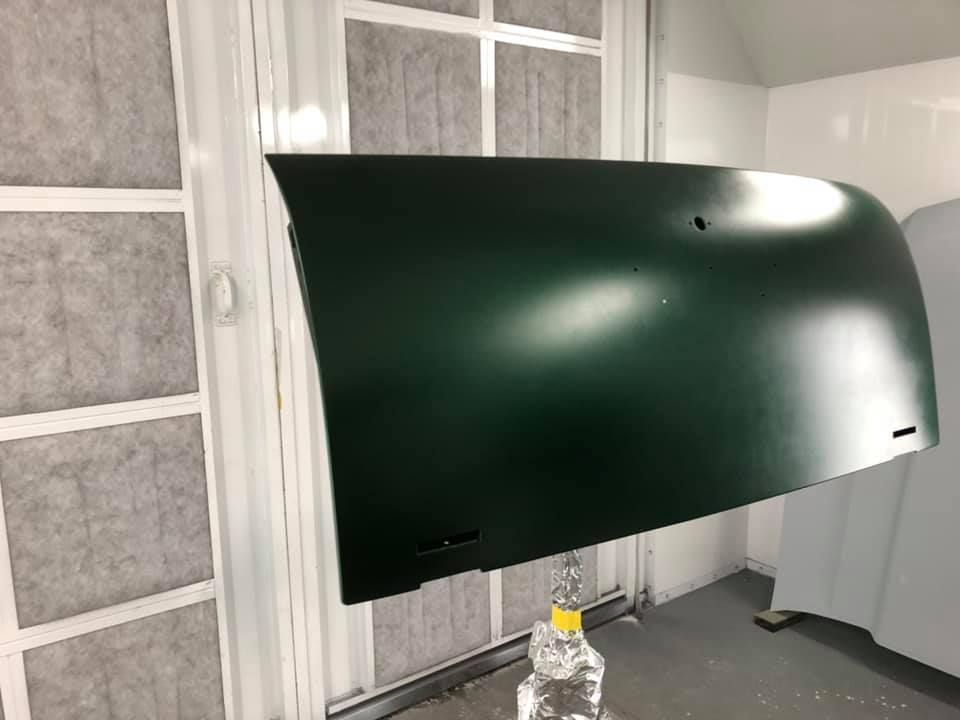
We recently collaborated with Cody on another louver job, this time on a C10 Chevy hood. With the Lennox sitting in the corner like this...
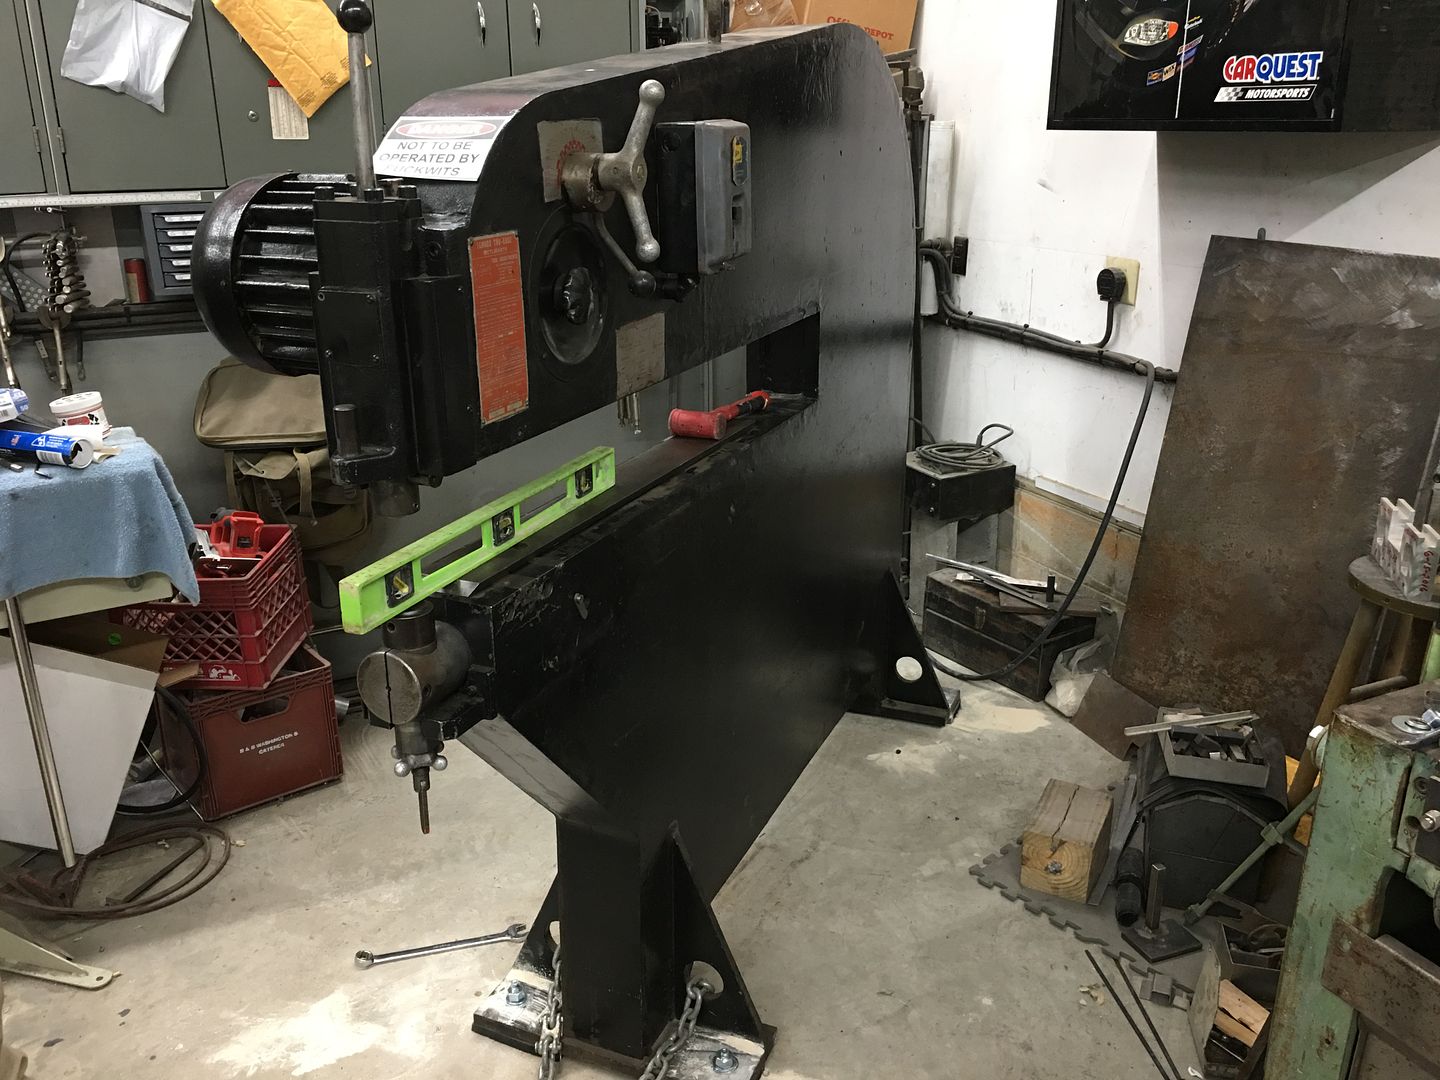
….. there has been a couple of occasions that large panels would run into interference with the shear. This would be no exception. We had to cut the anchors with a Sawzall and slide the Lennox toward the paint booth to make room for the hood...
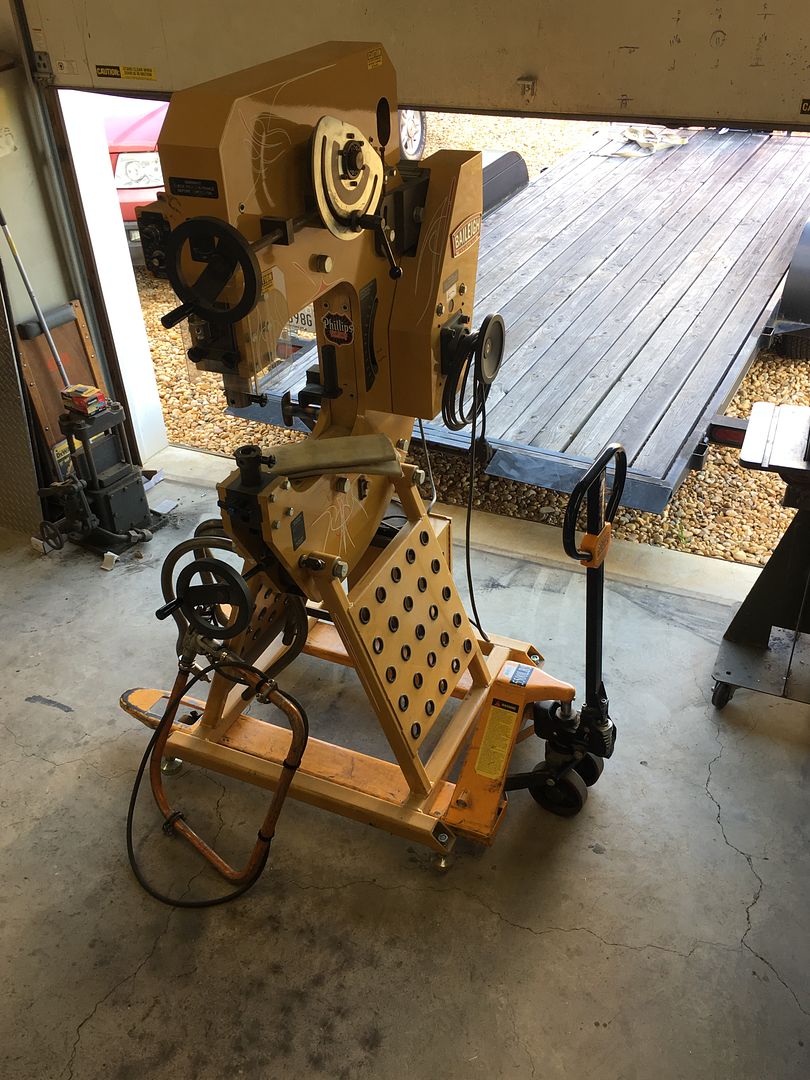
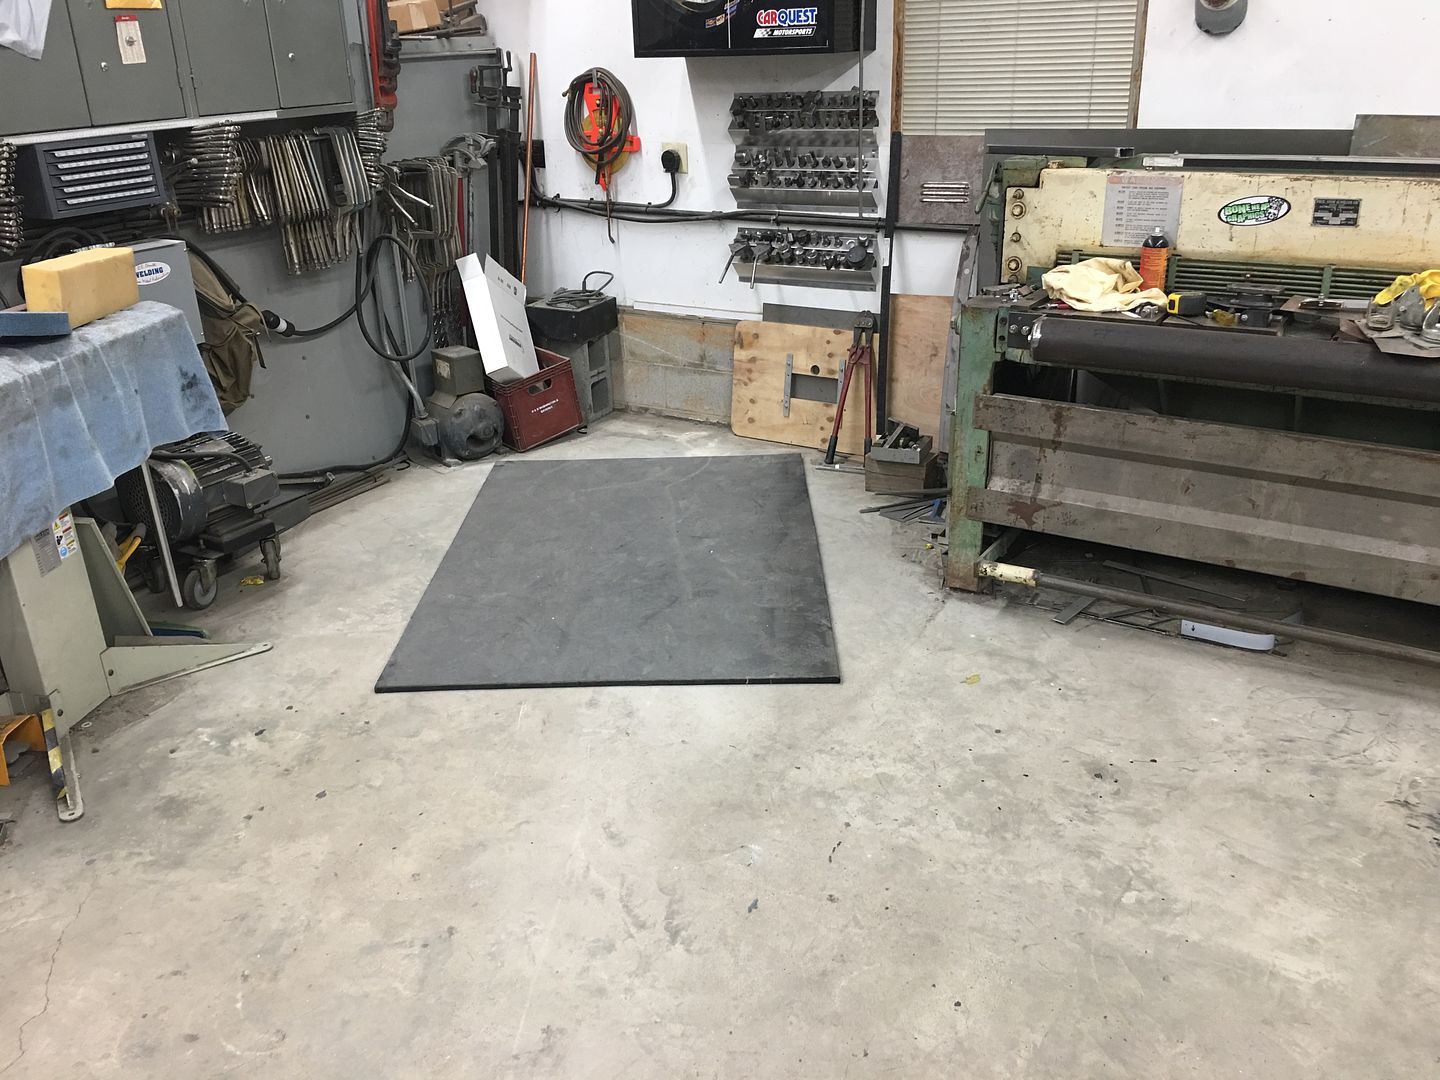
Since the Baileigh was picked up early that morning, the spot it was in seemed a better location for the Lennox to eliminate future issues with obstructions to the side.. So we used the 6000 lb capacity engine hoist to move the approx. 4000 lbs of Lennox..
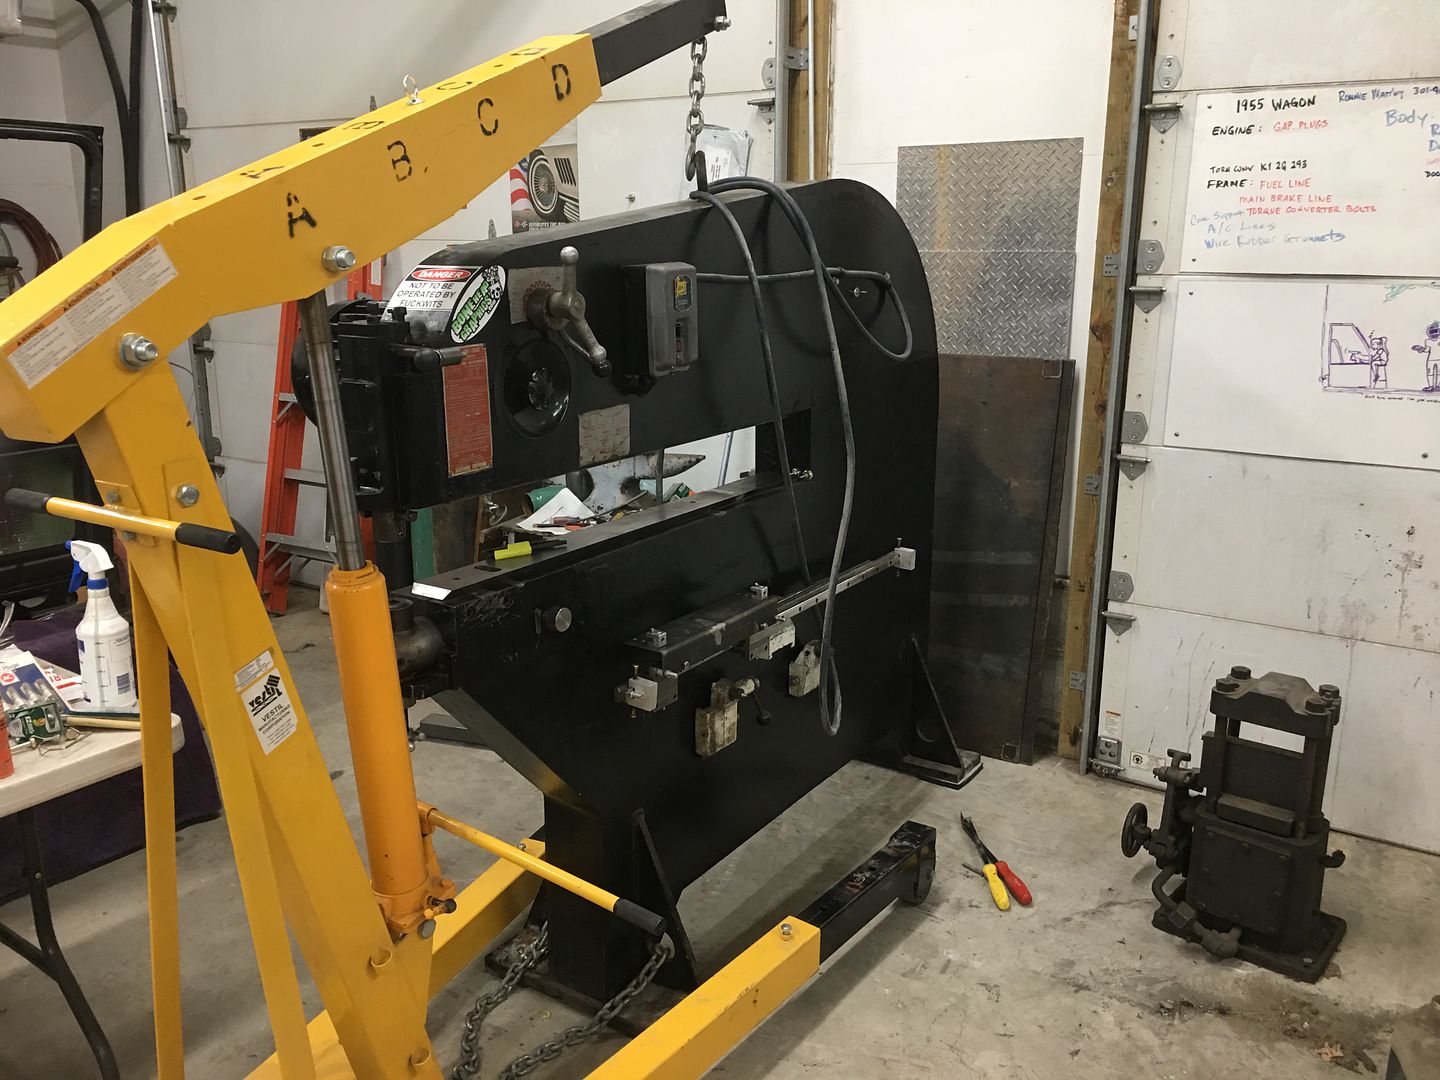
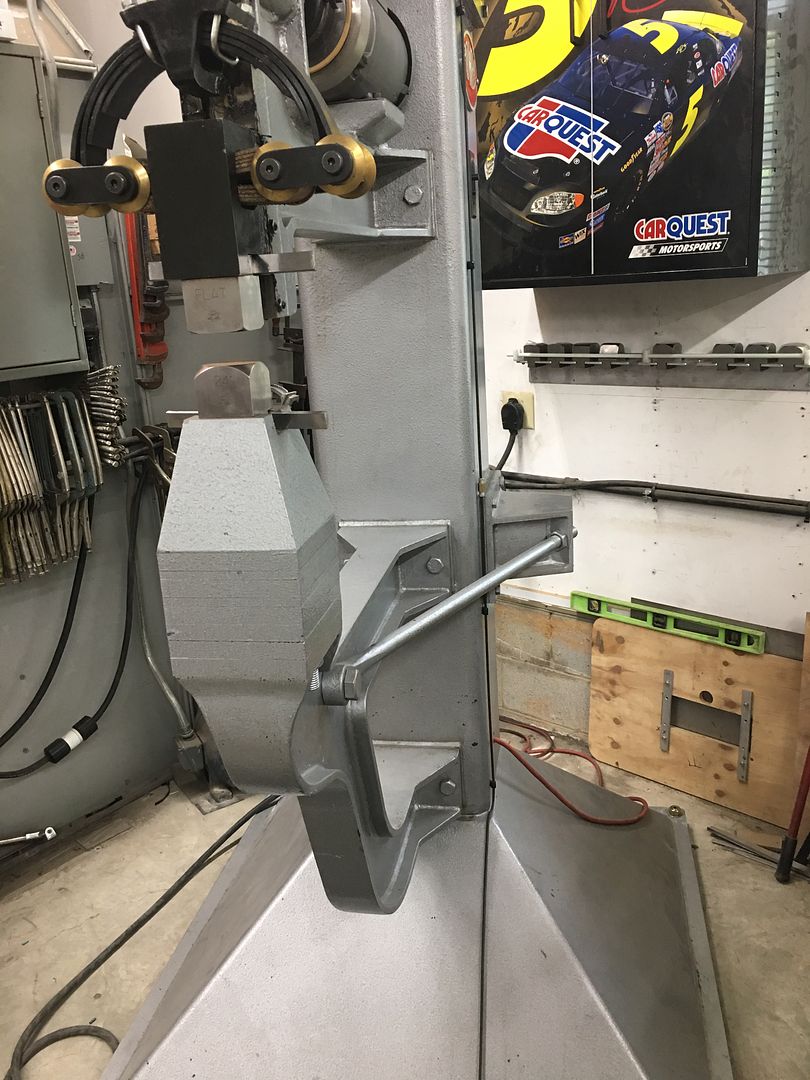
Which left this spot open for the new Powell Hammer. The dies are located higher on this machine, so any larger panels should clear over top of the shear and mag brake...
The Monday following was moving day for the Powell hammer, Mario helped with the loading, unloading, and positioning exactly where it was supposed to go...
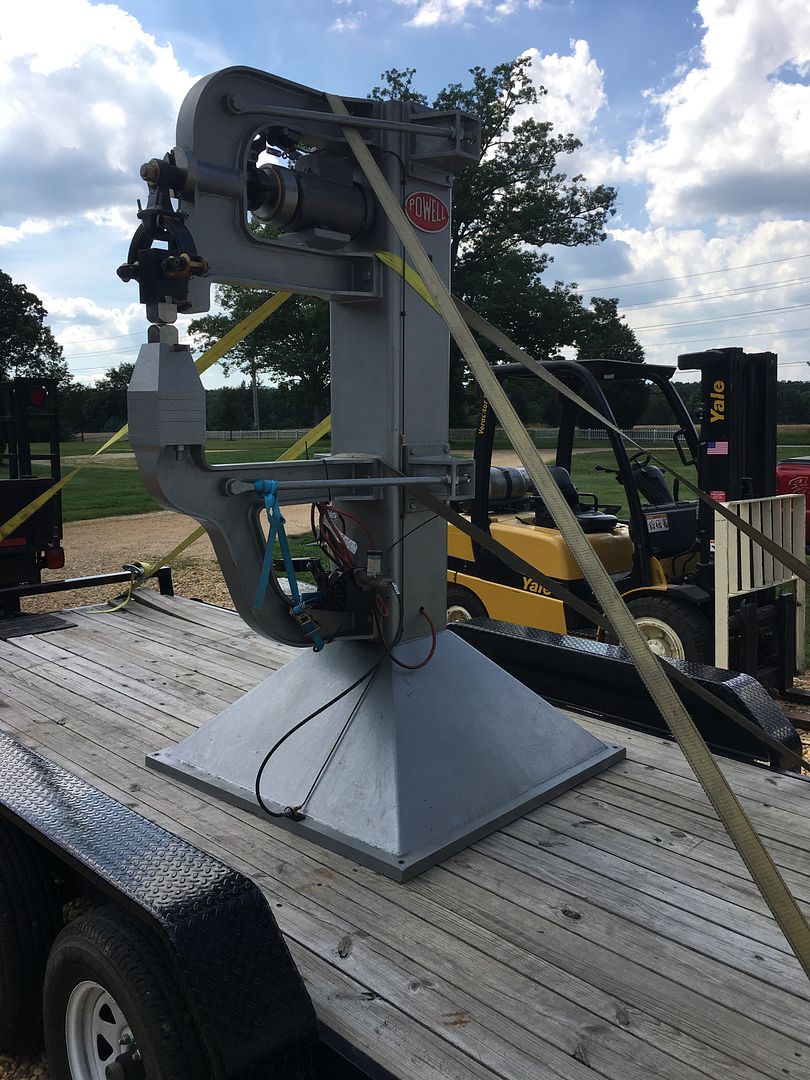
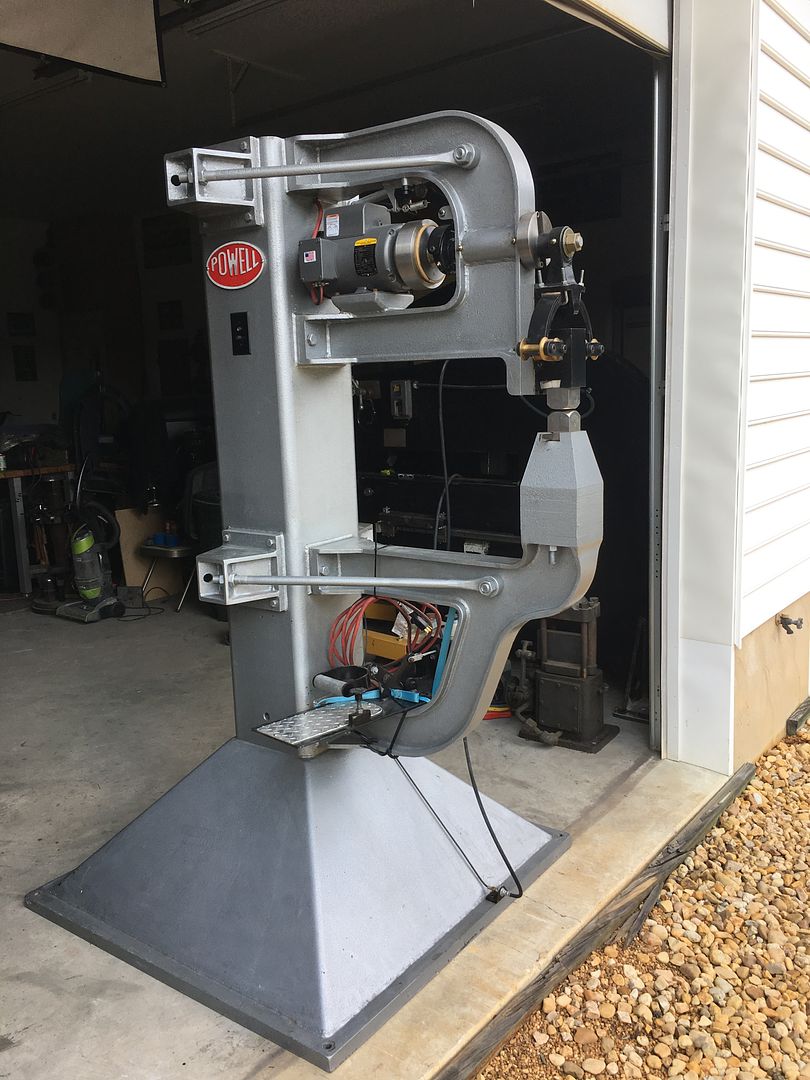
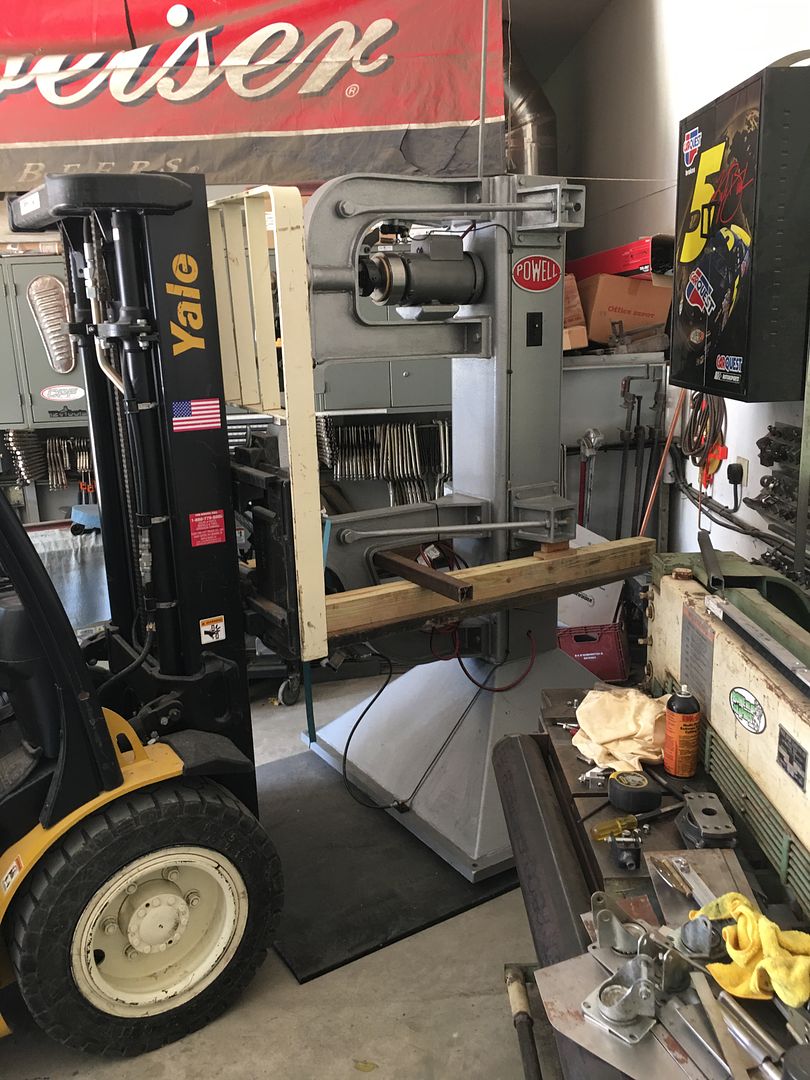
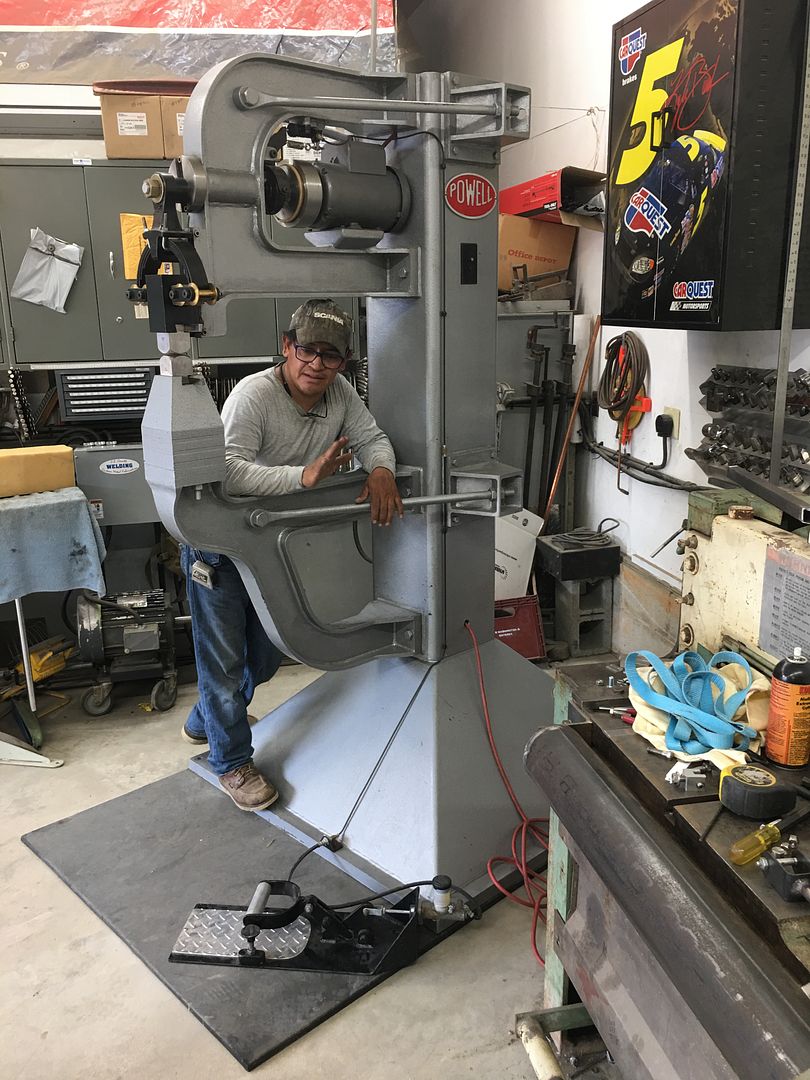
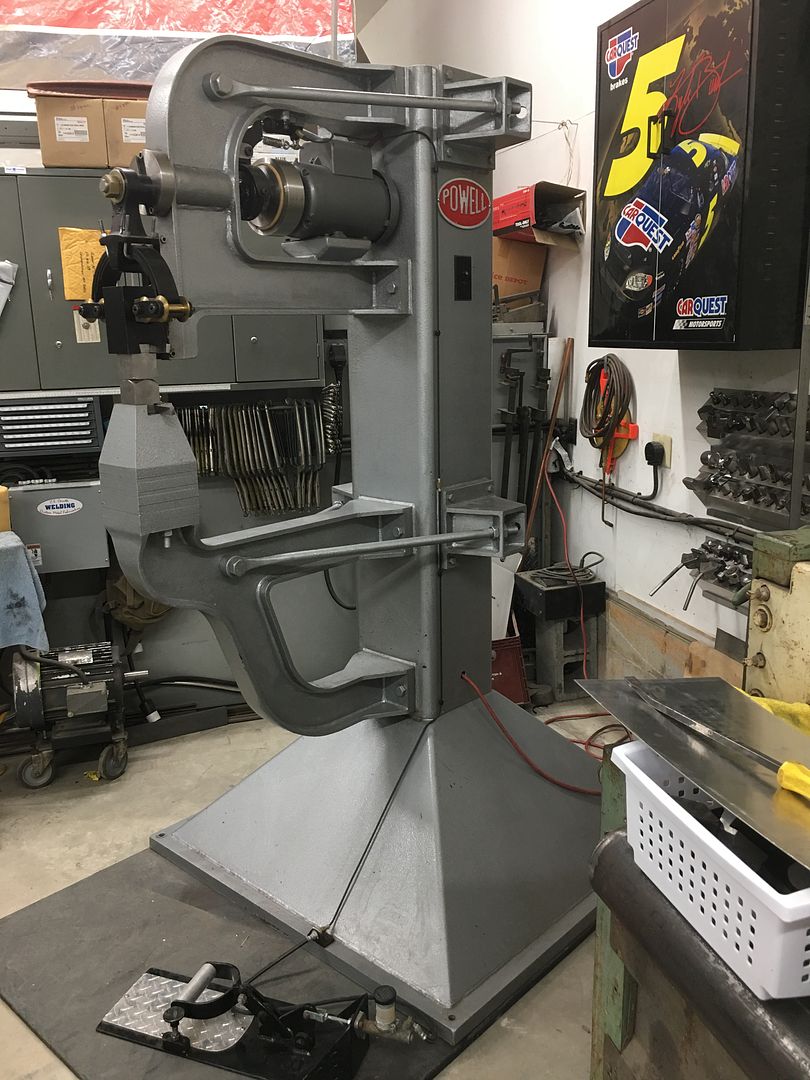
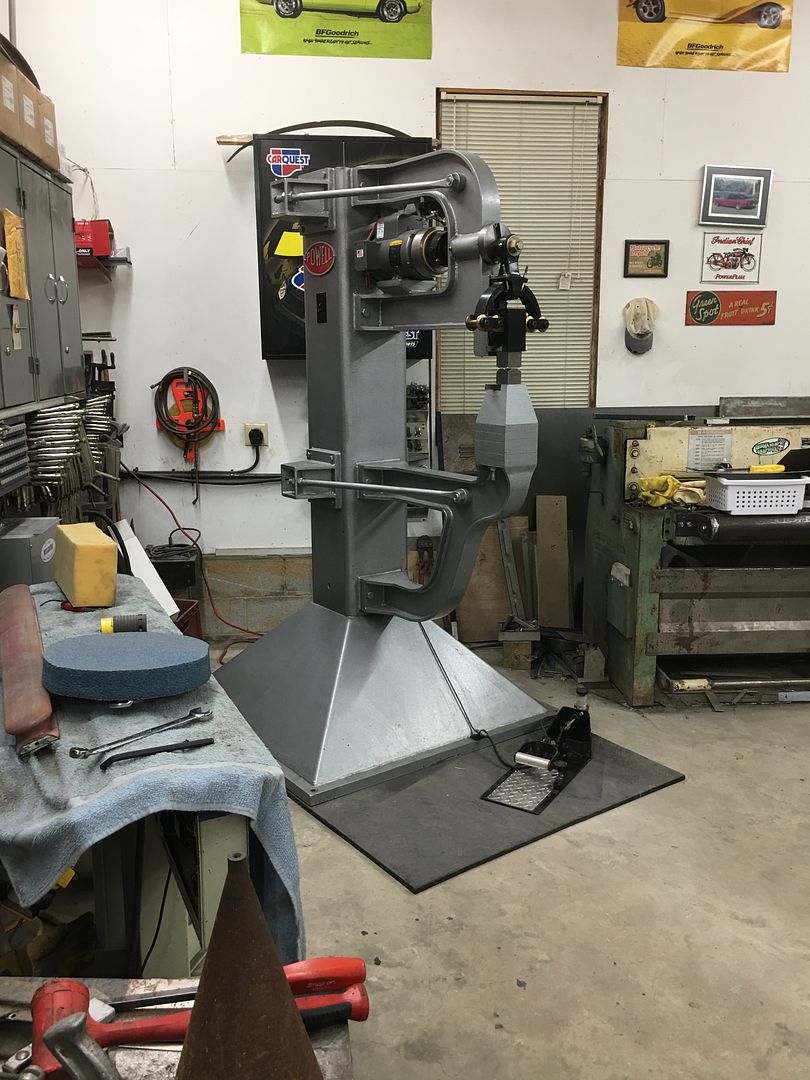
All that's left to do is drill some holes into the concrete and add some "peg" bolts to keep things from moving around.
Last edited:
jbmatth
Well-known member
Some beautiful machines, looks tough to move them around but with some heavy machinery and hydraulics things get much easier.
JB
JB
Bowtie4life
Well-known member
Yeah that new addition looks the business for sure!!!
Ohmthis
Well-known member
Wow Robert! That Powell Hammer is a beast!
Pressingonward
Well-known member
Eager to see what you do with the Divco - that thing has a lot of style ")
xtremek
Well-known member
Speaking of Divco's, when do you think you'll get started on it? How much more do you have to do on the Chevy?
stinkity stoink
Well-known member
Great video, thanks for doing it !!
BORING HOP YARD
Well-known member
Great video Robert, I have been following the path that you have laid down for the last 5 or so years. Most of it was a rehash but I still learned some things that I will incorporate.
The one I have a hard time with is how hard to hit the weld with the hammer backed up by the dolly when I'm planishing. I know your using a different type of than me as well.
The thicker areas from the weld creating a heatsink area was a new one for me.
Any how, thank you for sharing.
The one I have a hard time with is how hard to hit the weld with the hammer backed up by the dolly when I'm planishing. I know your using a different type of than me as well.
The thicker areas from the weld creating a heatsink area was a new one for me.
Any how, thank you for sharing.
If you look at the strips used in the video, they were just over 1" wide and about 10" long. the narrow width was used purposely as it reacts quickly to the shrinking effects, where they will cross over each other at the end. The amount of planishing needed would be approximately that amount required to undo that crossing at the end and return the parts parallel as they were. Then use this same amount for all the welds.
Kirkski
Well-known member
Robert that was an awesome video, thanks for doing that and all the teaching you do here as well!!
Kirk
Kirk
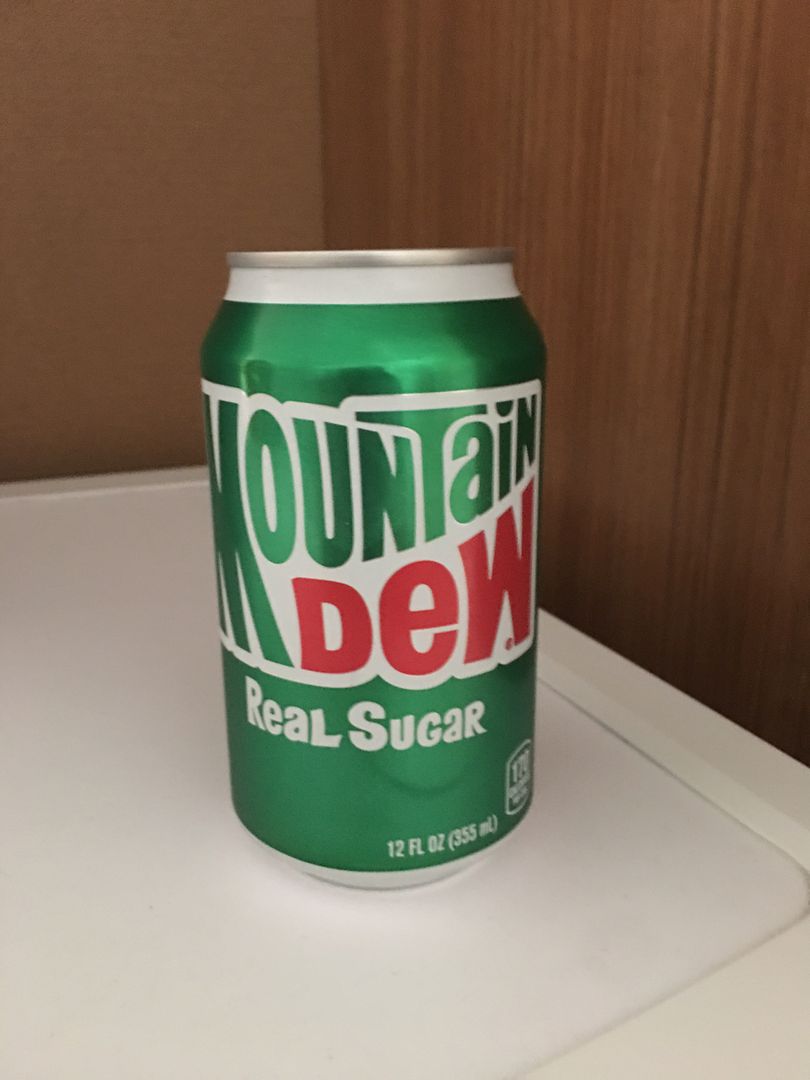
Been on hiatus in SC for the day job so I did need to catch up here.. I did need to pick up the normal shop supplies, but it appears PepsiCo is skeered that some Hillbillies will be offended by the caricature on the side of the can.. So the new can that rolled out is sans any hill folk figures, now replaced with the "Real Sugar" moniker..
I did check one of the stores and noticed they were obviously prepared for my arrival...
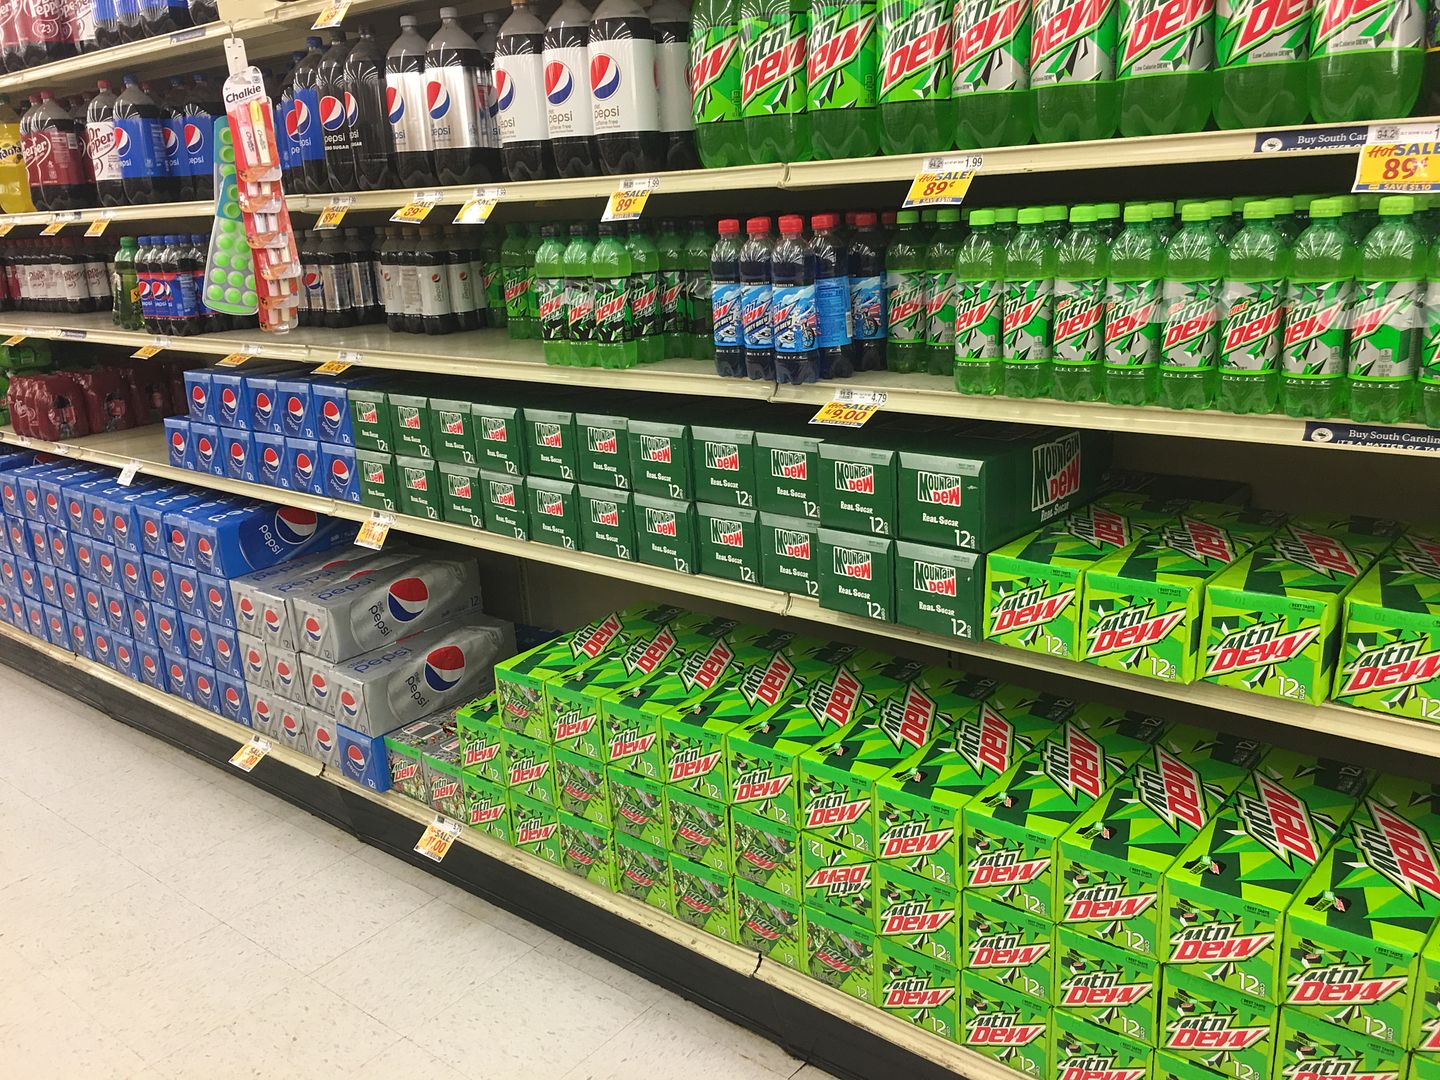
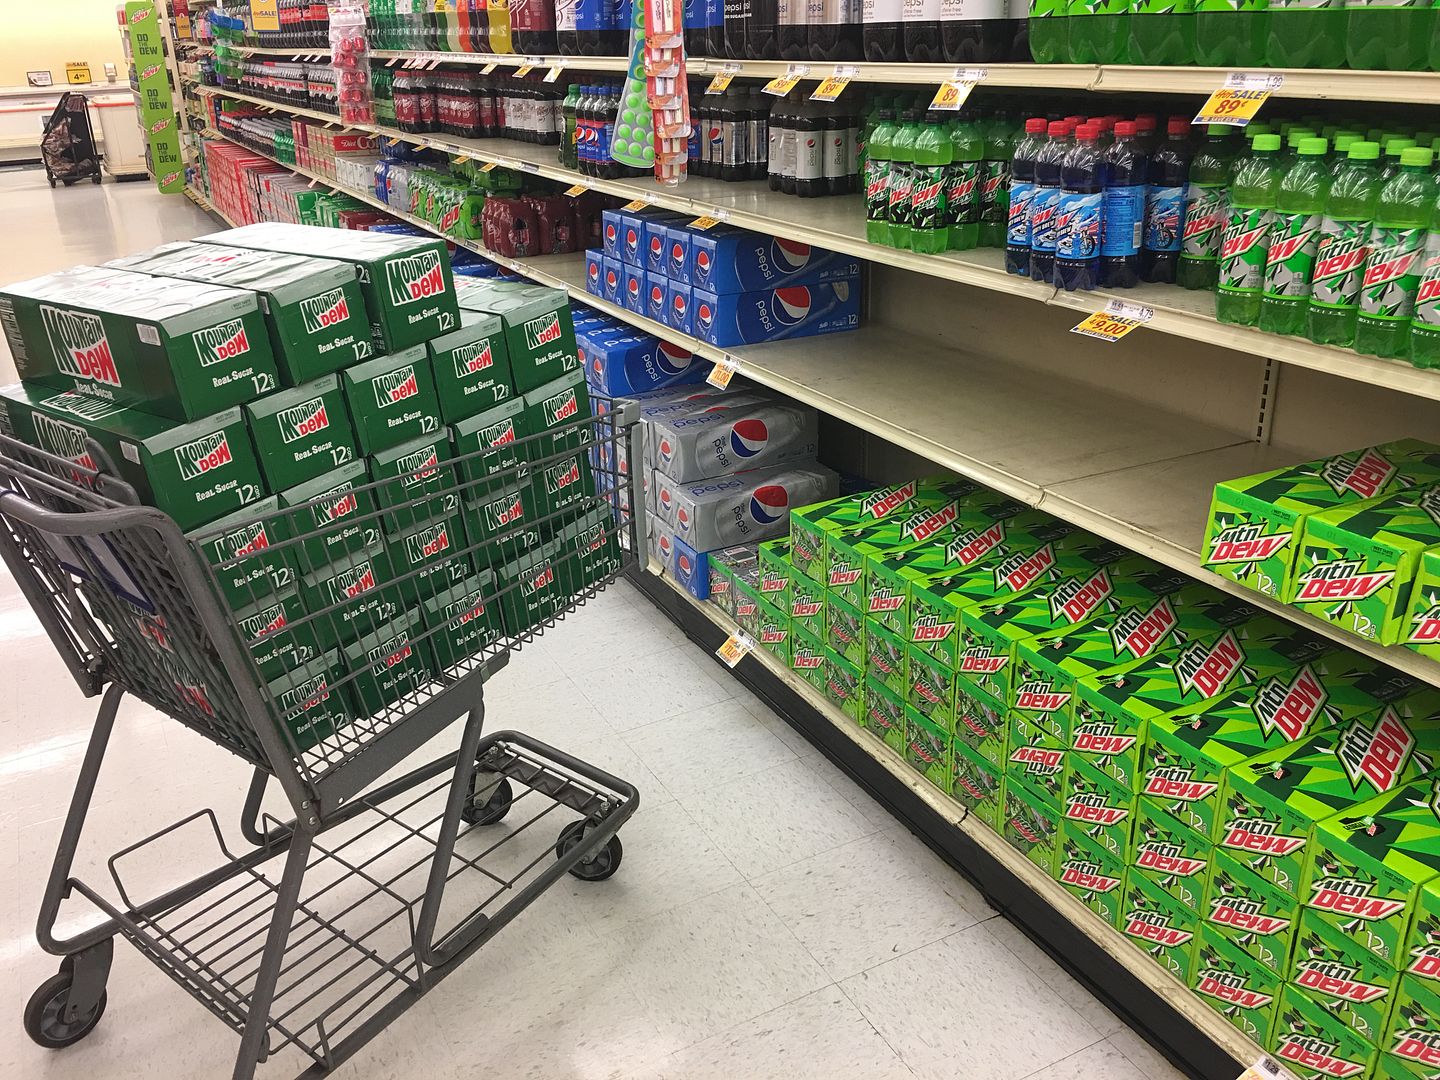
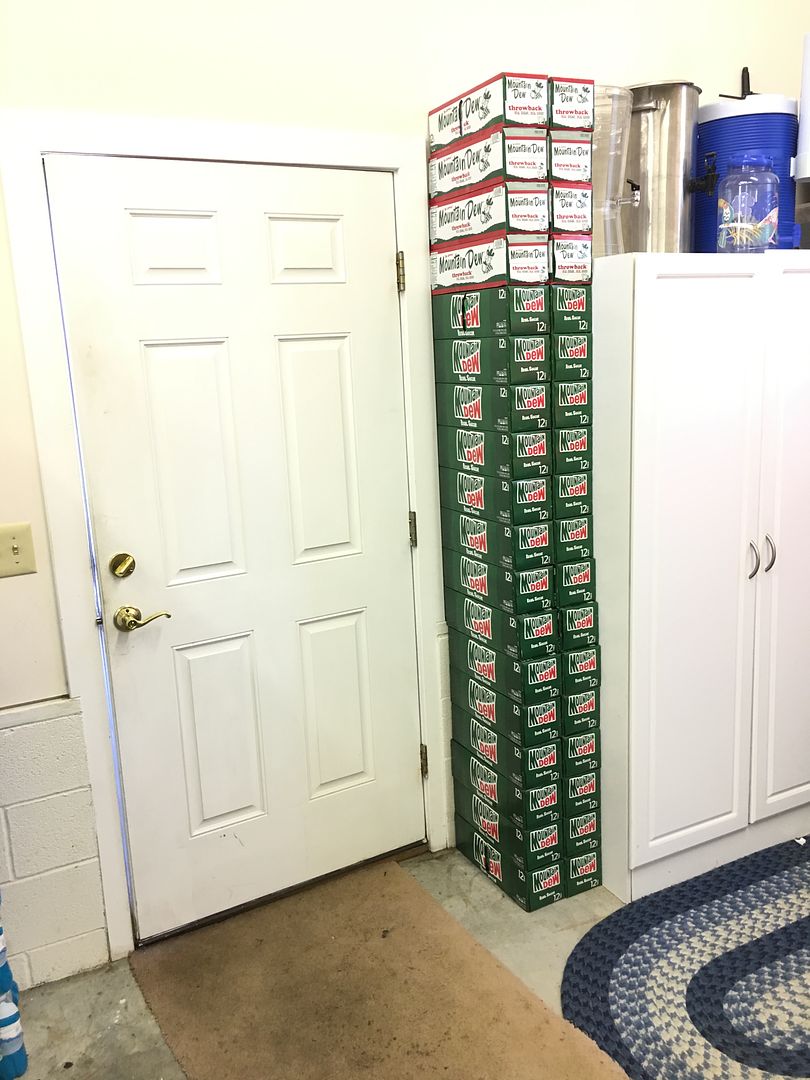
So we're good for a few weeks now. I must apologize to the good folks in SC that have the same need for sugar, I have heard there is no Throwback/"Real Sugar" Mountain Dew left in the entire state.
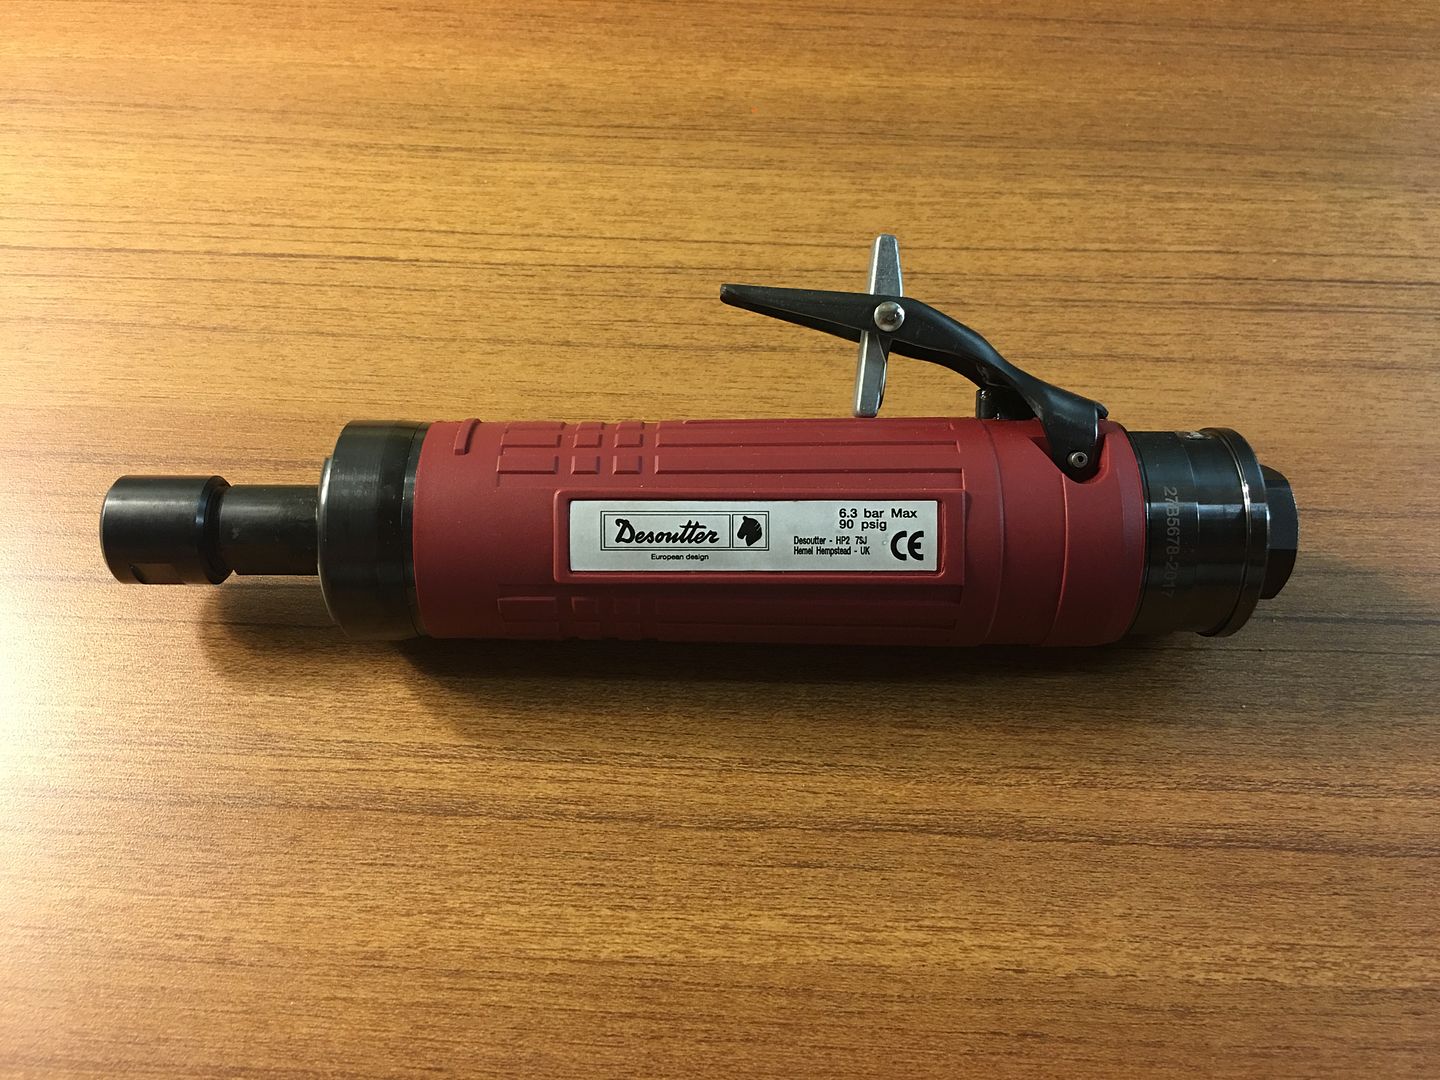
Some of the other "goodies" brought back from SC, this is a brand new in the box Desoutter die grinder that I picked up from a pawn shop. Sales must be slow, as I stood firm on my low ball offer and they accepted. Paid less than 1/3 of retail..
Also brought back another wagon to work on..
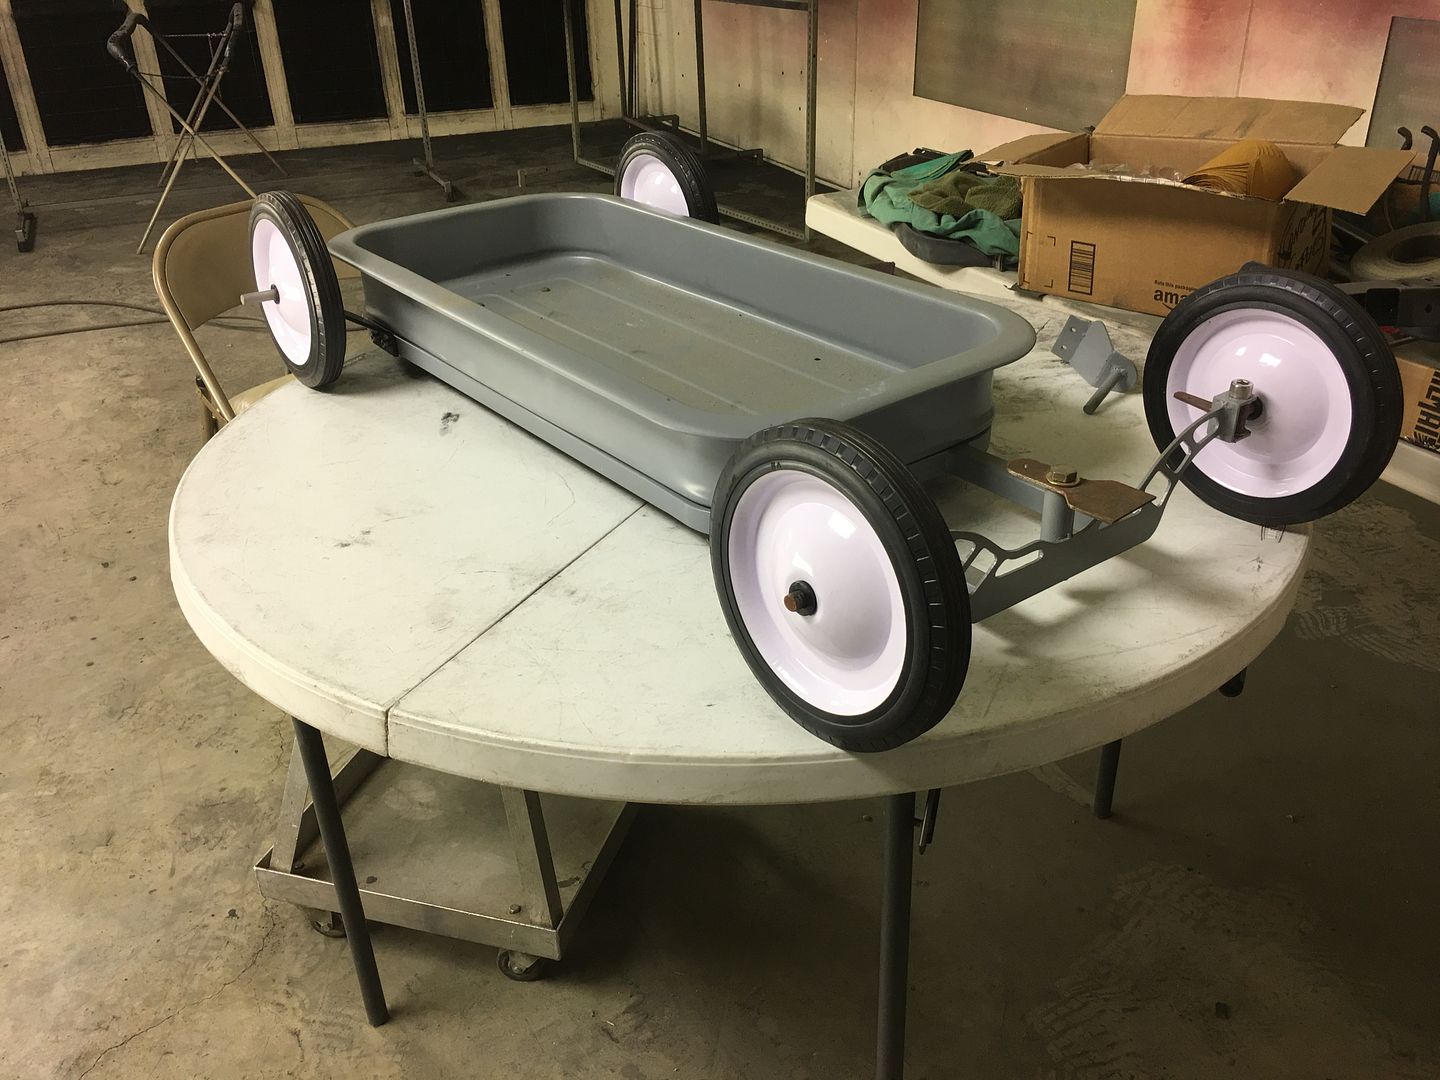
Cousin JB is building this for his nephew, and I'll be spraying it with a Kandy finish using some of the leftover paint in the paint locker..
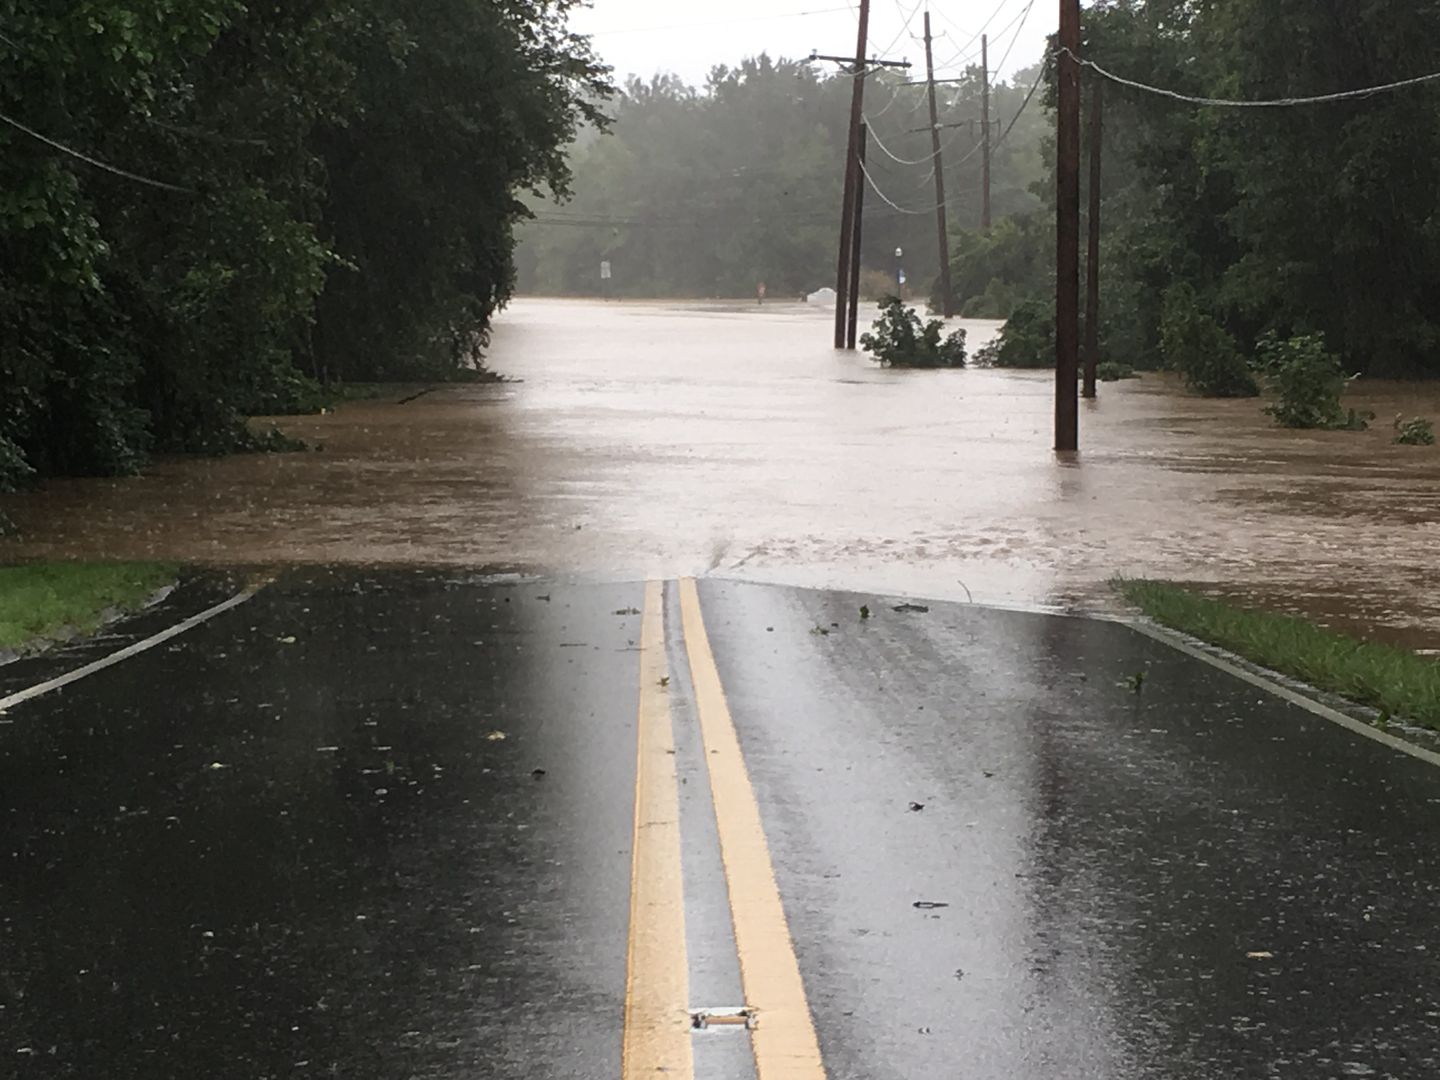
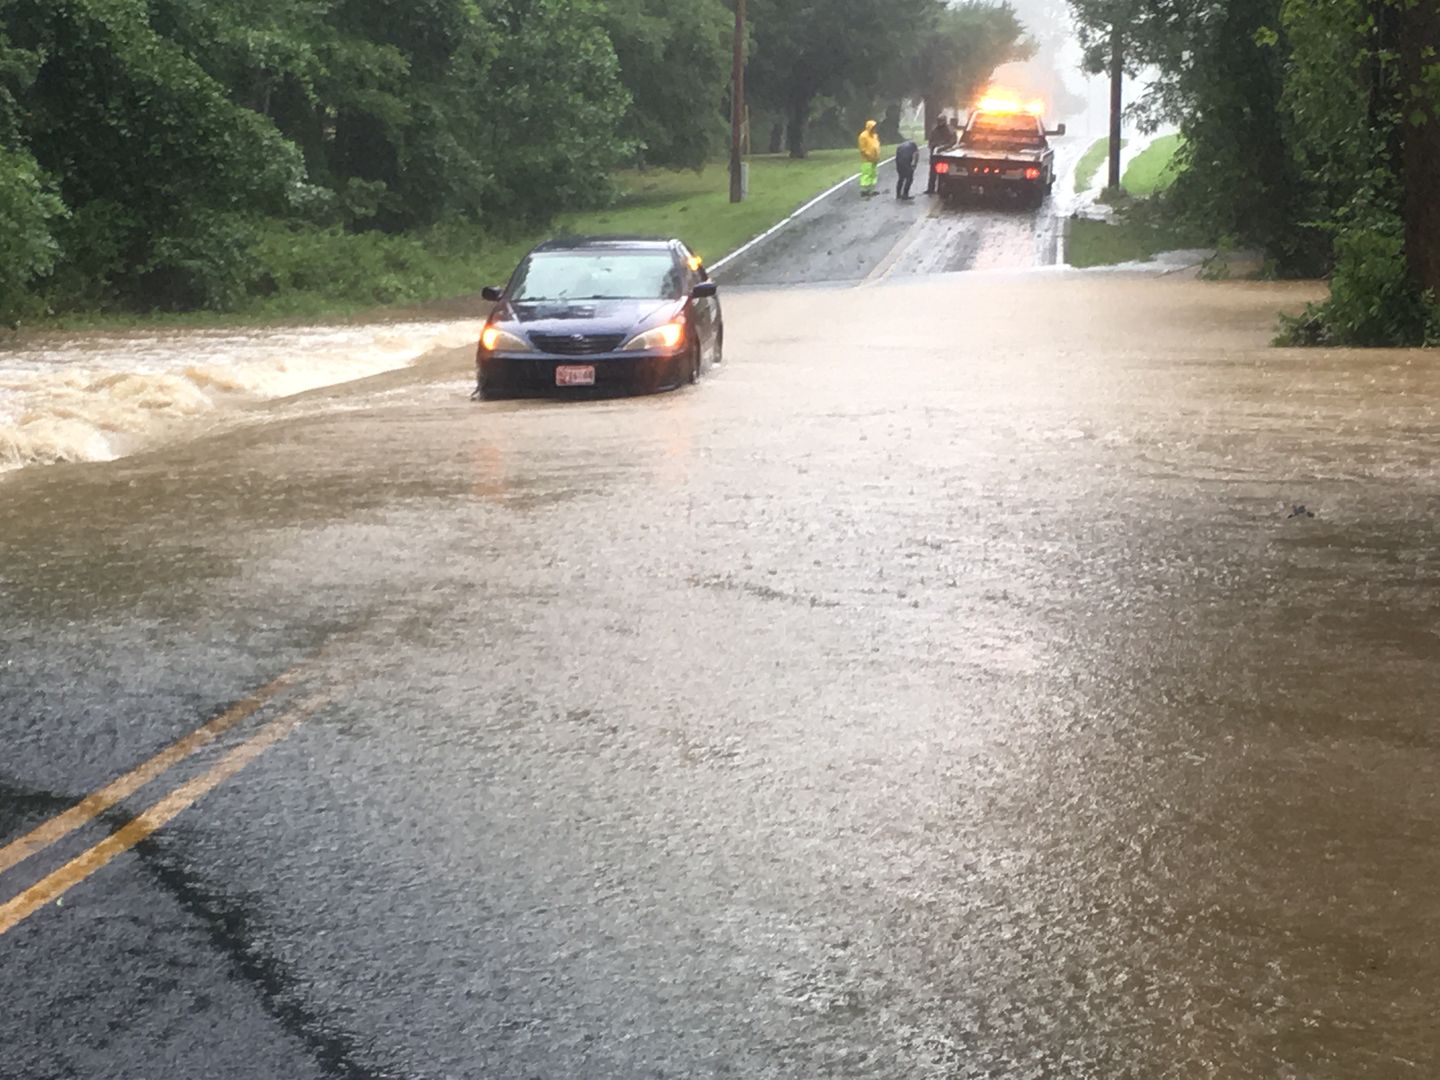
We had the storm blow through recently, luckily we did not have the damaging winds that was seen in Delaware and Eastern Shore.. We did get plenty of rain though. My precision rain gauge indicated we had 6-1/4" of rain in less than 24 hours time. Here's the end of our road at 9:30 the morning of the storm. The stop sign in the distance is about 5' off the ground.
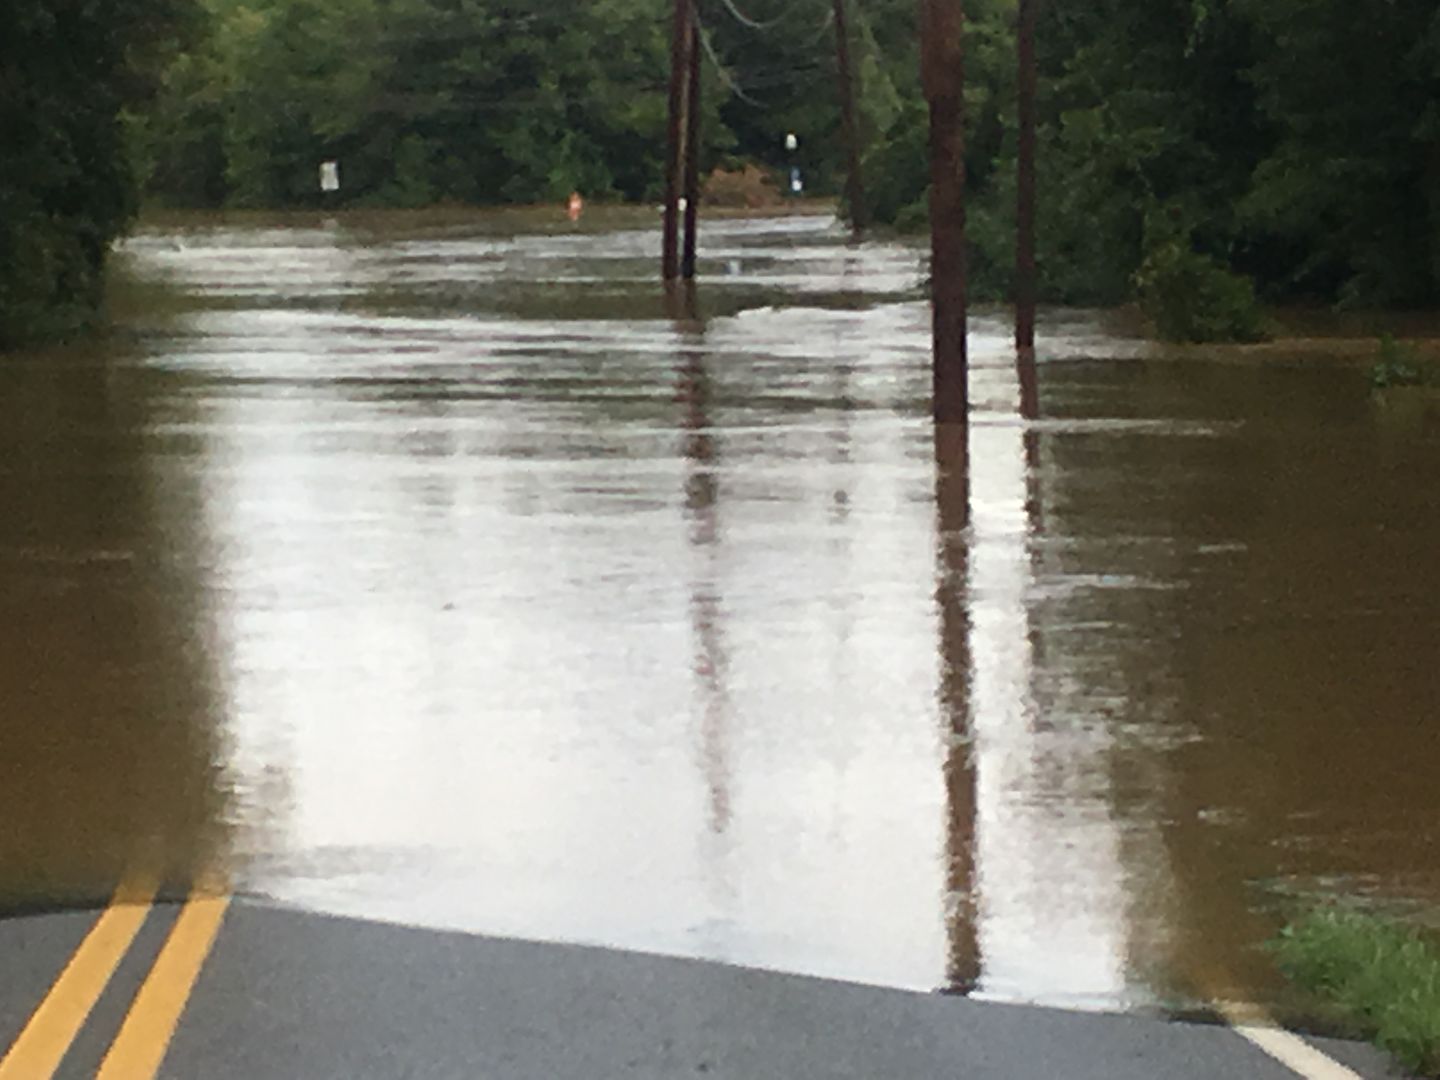
My daughter was due to work that day, and her manager did not understand the concept of flooding. She suggested E wait until the rain stopped and the water would quickly subside. This was later at 11:30, when she normally would have left for work. Note the level has risen to now touch the stop sign. E did send pictures along with "see you in a couple days"
Other than a few limbs to pick up, we didn't really have any damage. Blessed to live at the top of the hill... The road was closed for about 2-1/2 days, and we had a few bridges a bit farther north in the county that washed out, so we have a few detour signs scattered about.
Neighbors garage near the end of the road..

Cody sent a picture of the truck we had louvered the hood for, fits the motif pretty well..
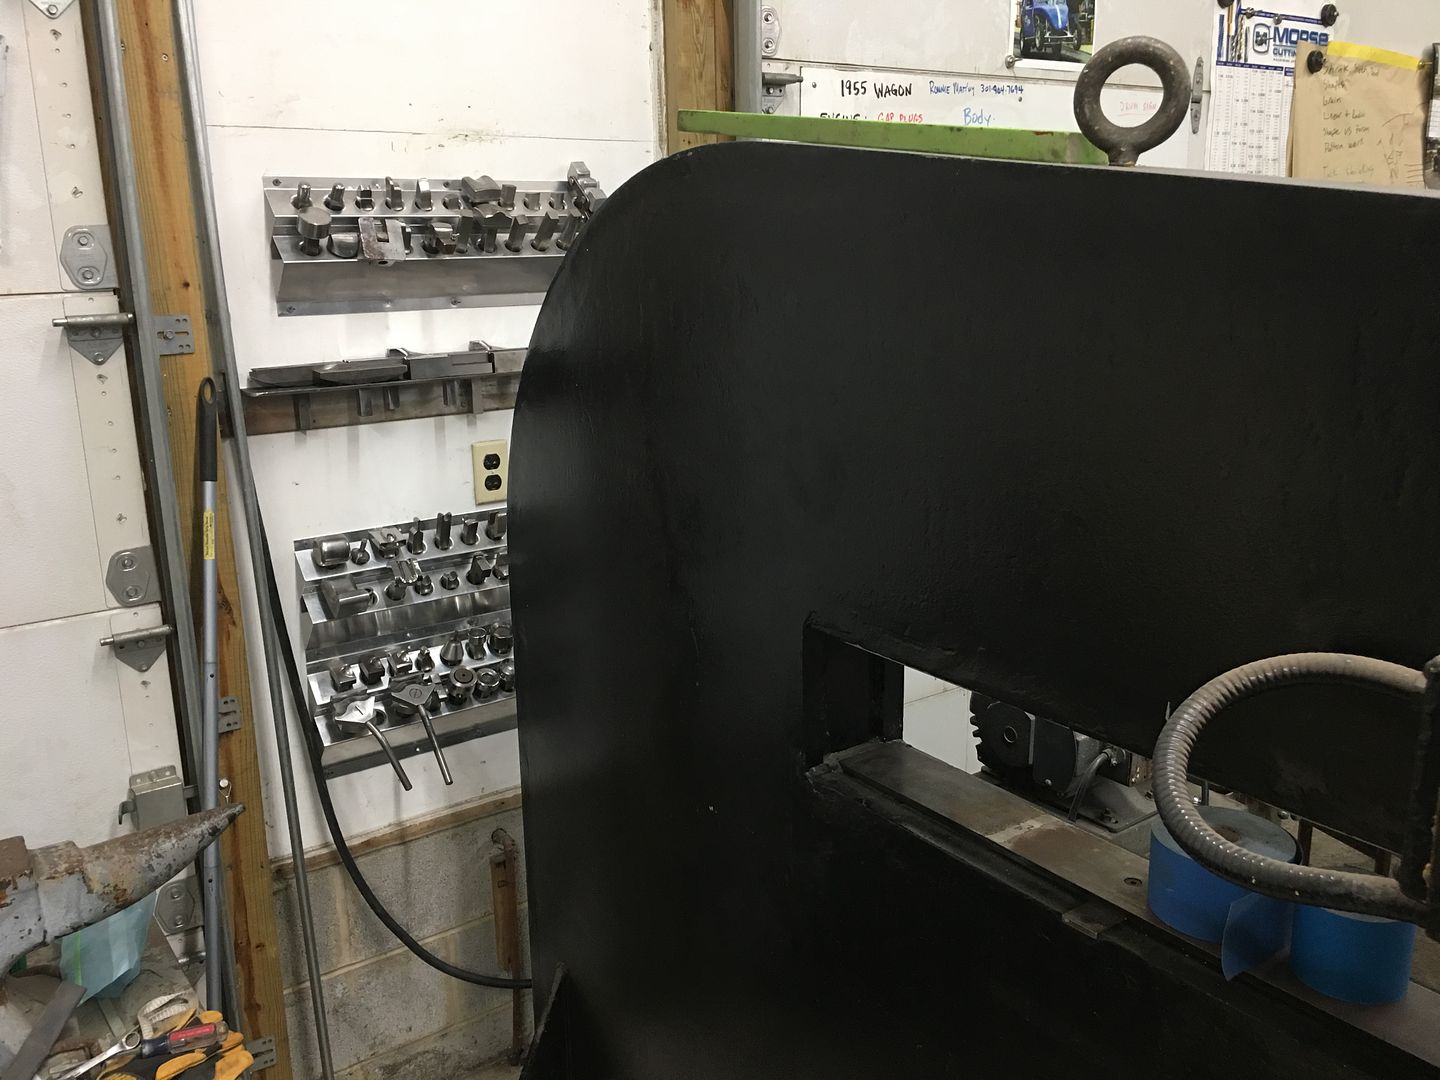
We've been doing some spring cleaning in the shop to get ready for the wagon's return from the paint shop, and some reorganizing which includes storage ideas..
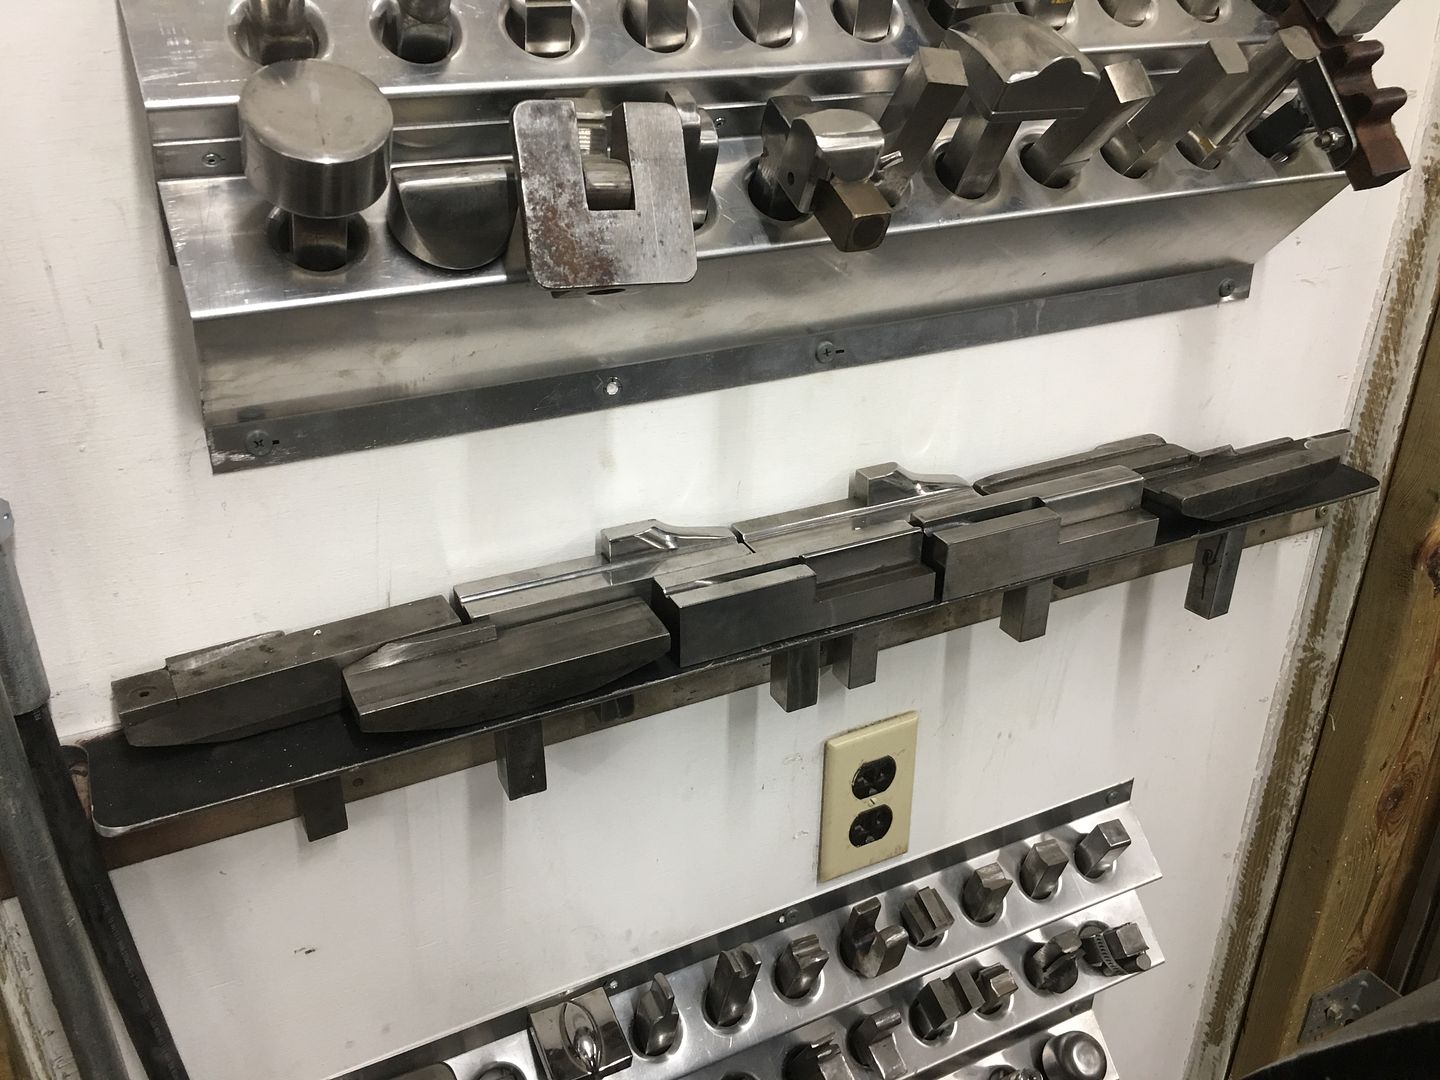
Moved the tooling racks for the Lennox to the new position, and the false wire edge dies had a new rack made of 3x3 angle to clear off the spot they were taking up on the workbench.
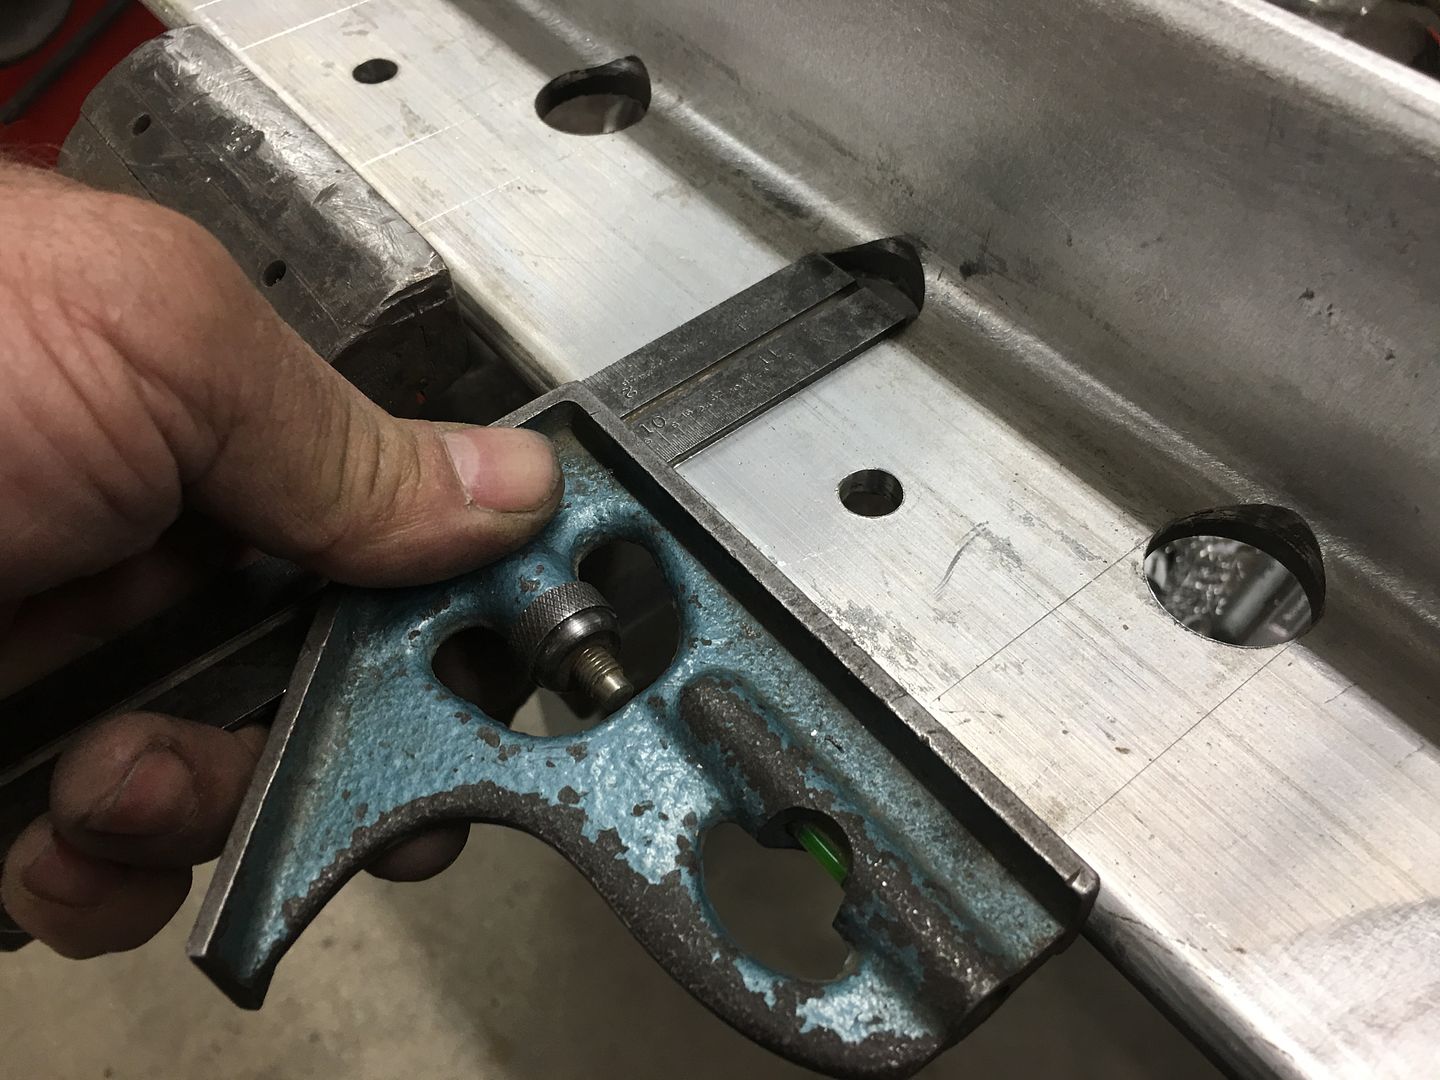
The new Powell power hammer came with a grunch of anvils in a basket and needed a rack built for this as well. Another 3x3 angle is drilled with 1" rotary cutter, then the worn out blade on the band saw did a good job of making slots..

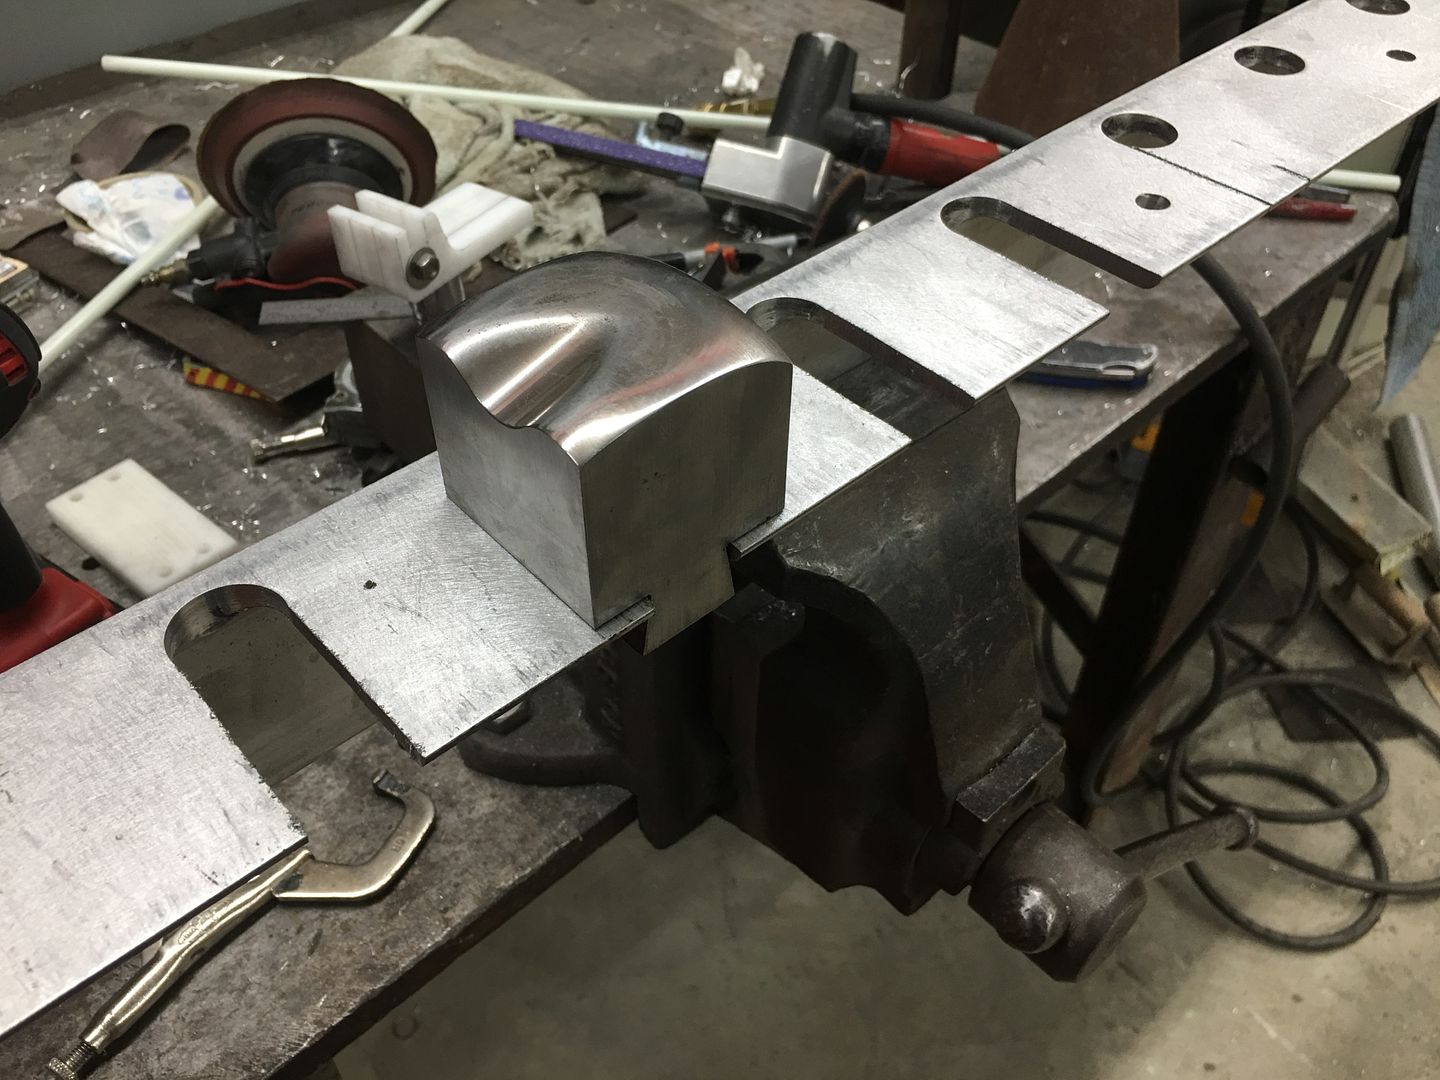
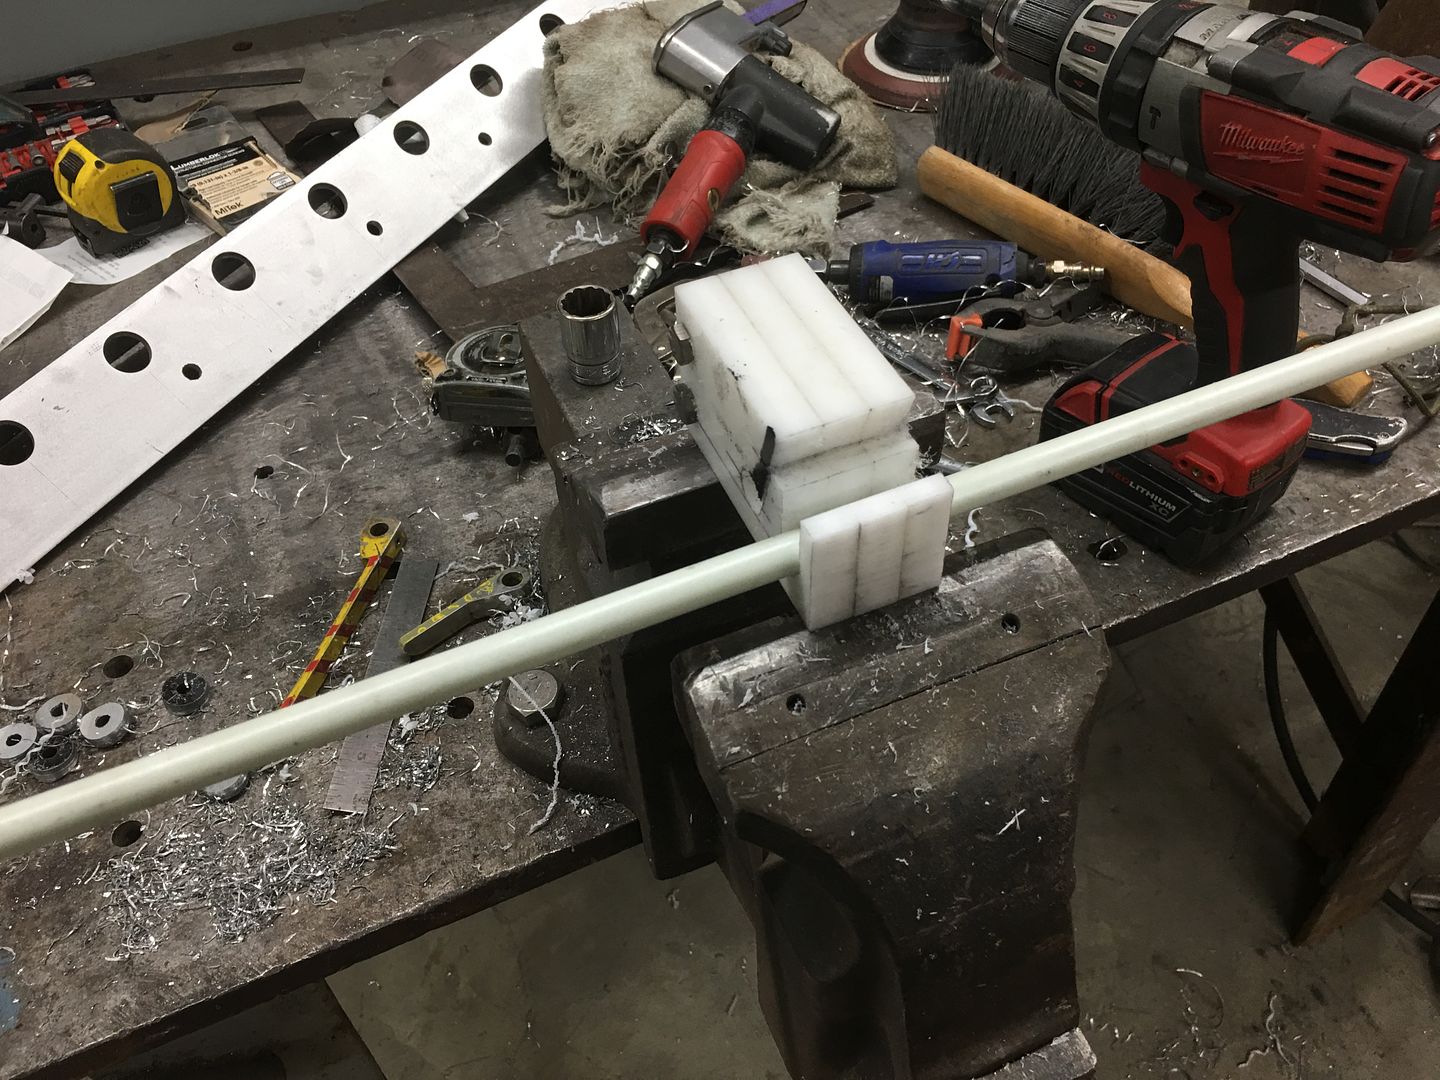
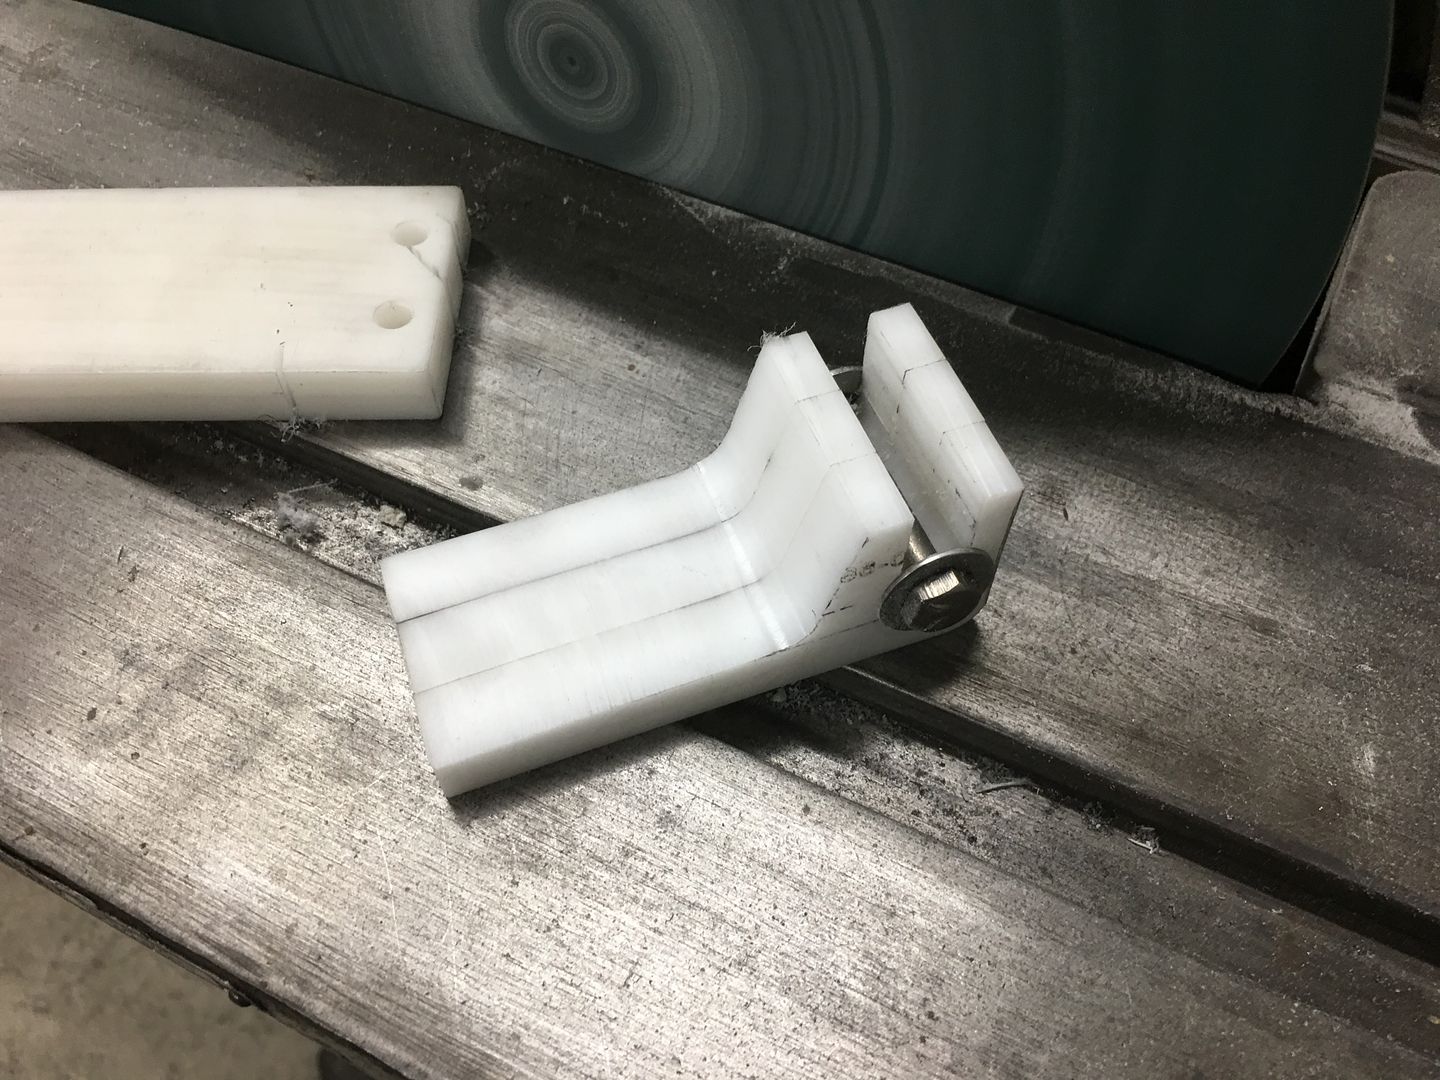
In order to keep these pricey chunks of S7 from bouncing across the concrete, a restraint system is in order. Delrin "hooks" were made for a fiberglass "crossbar"
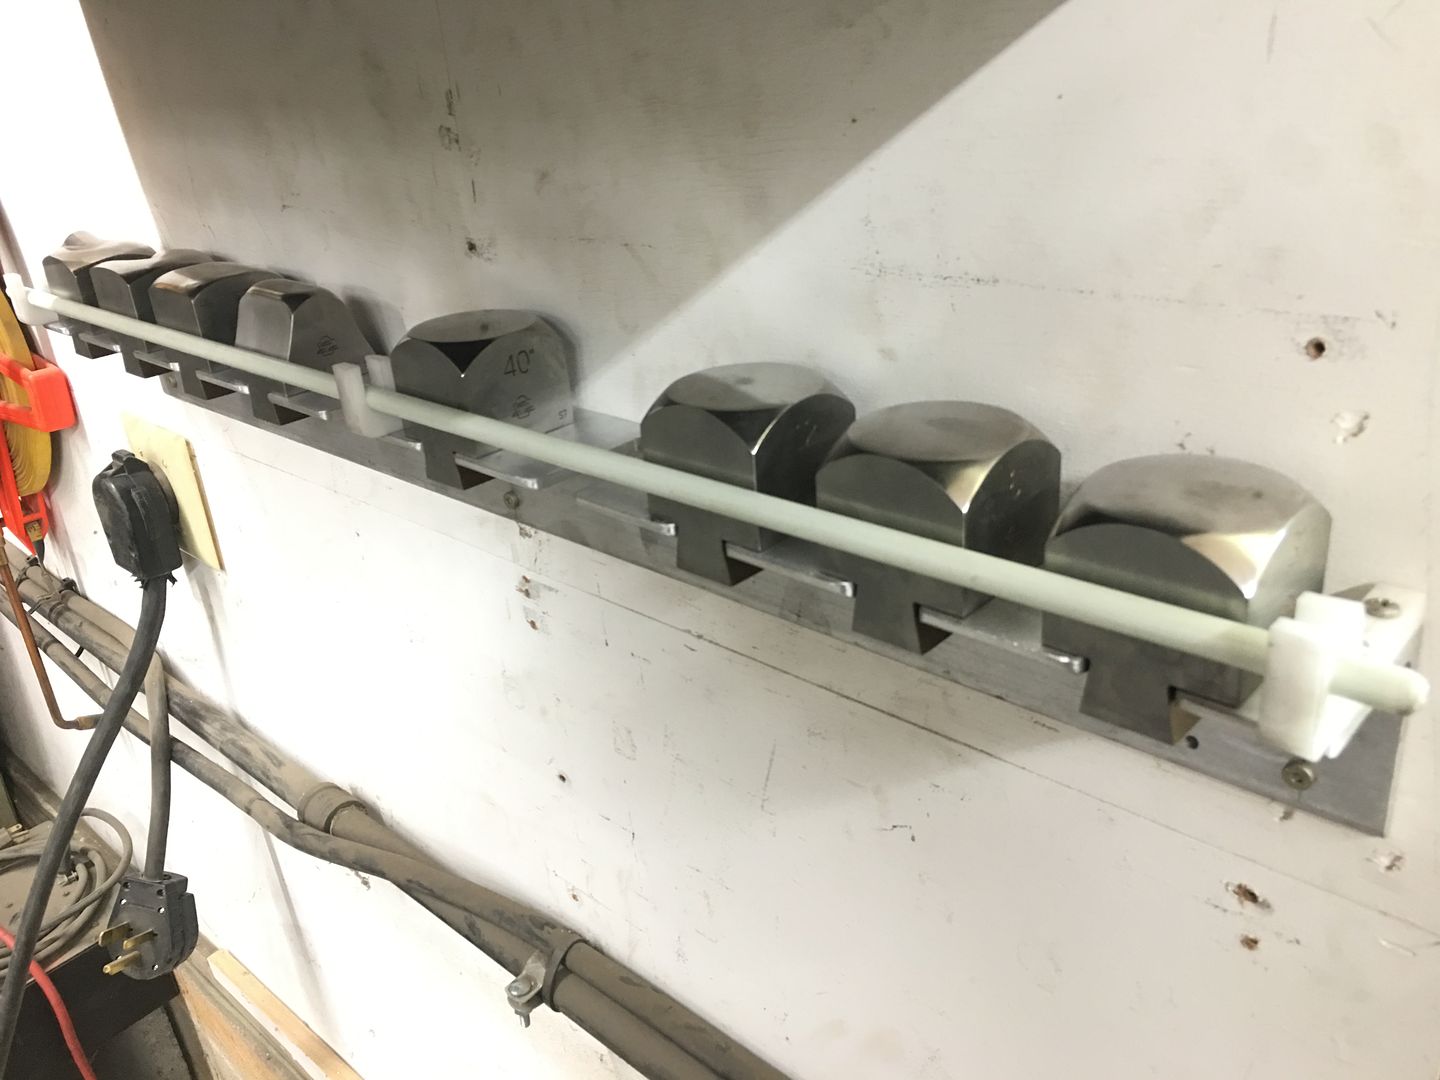
All these parts other than hardware used was 100% recycled from the scrap pile.. More cleanup, woohoo!
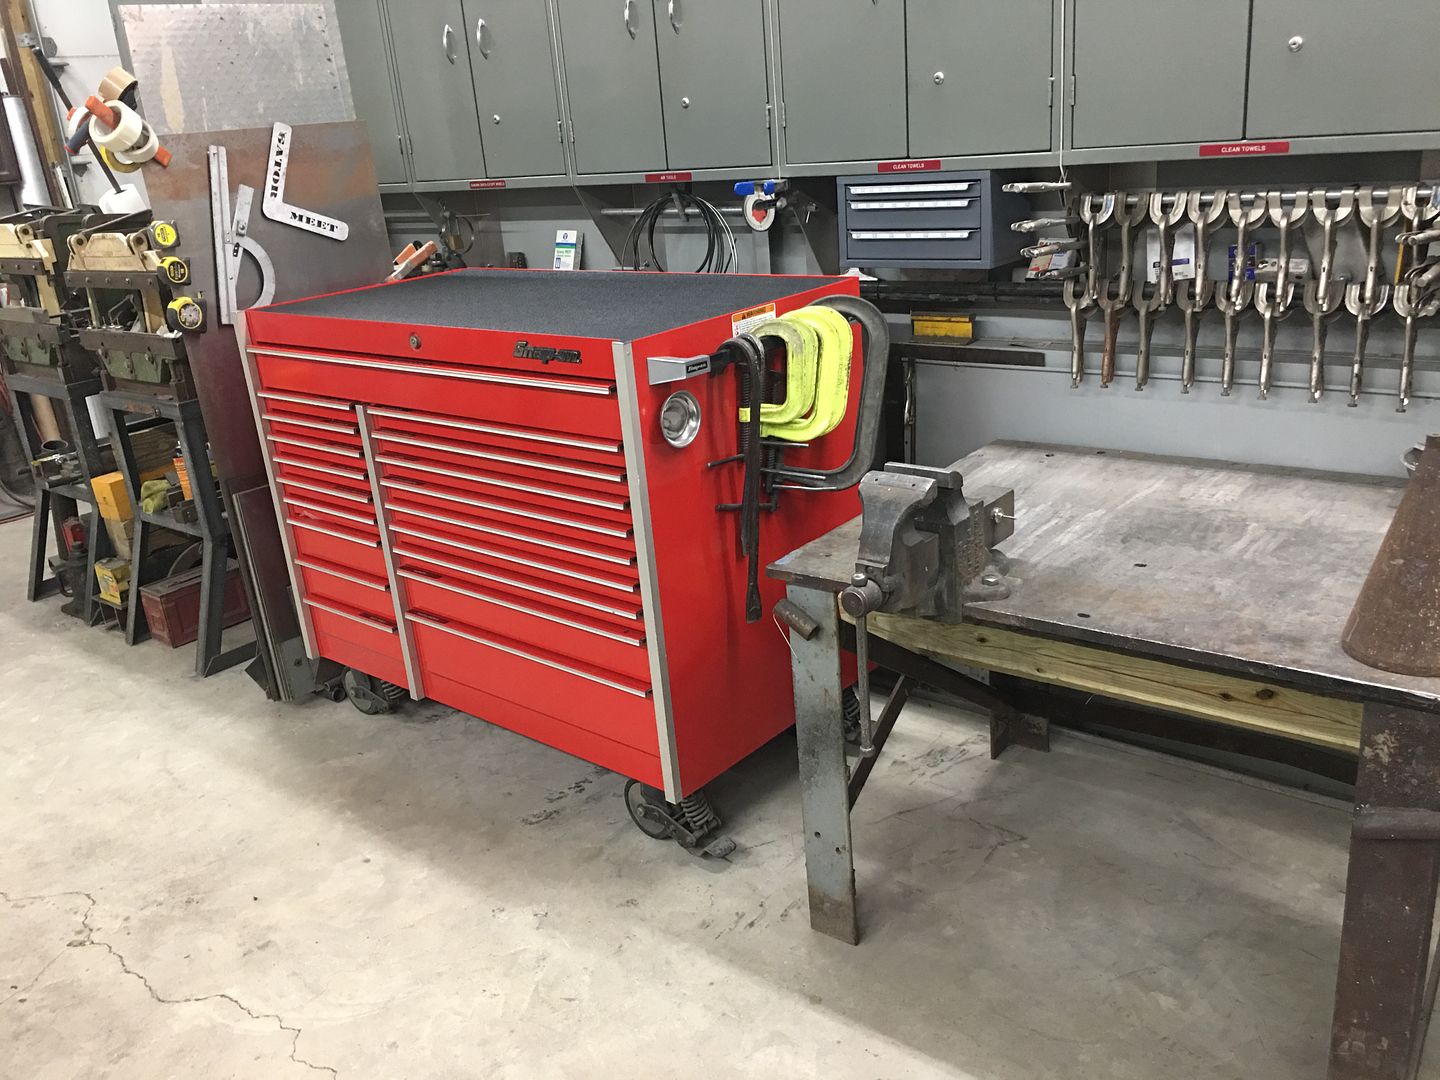
Spring cleaning extended to the top of the tool box and welding table...
Oh yeah, wagon got some paint today! Richard and Brandon Glymph of Absolute Rod and Custom Paint in Annapolis got some of the Organic green Kandy basecoat and clear sprayed.
sealer:
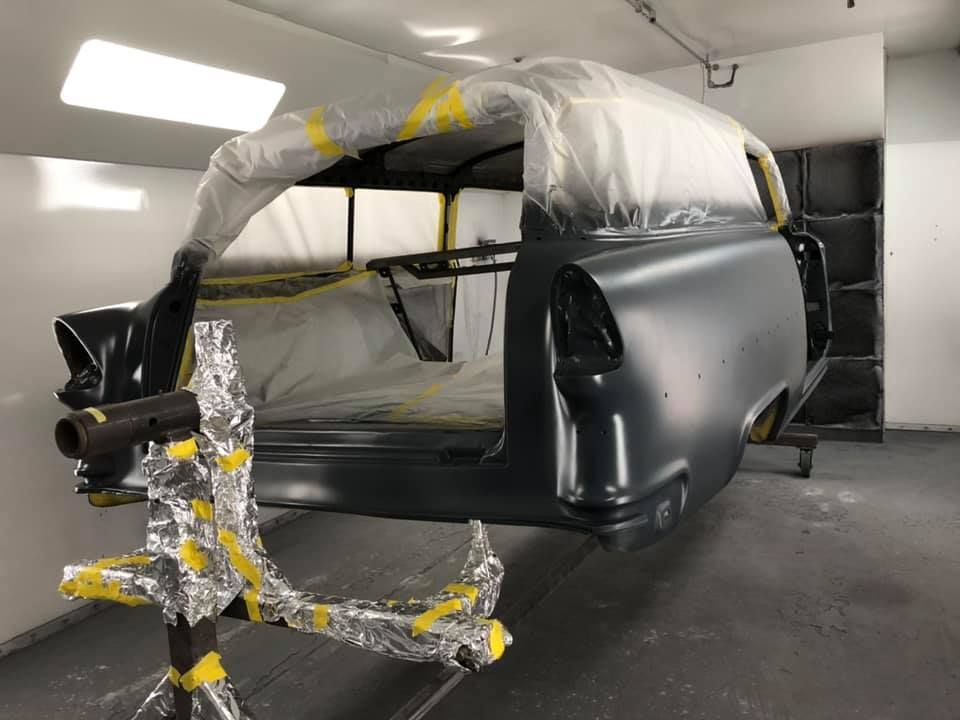
Green:
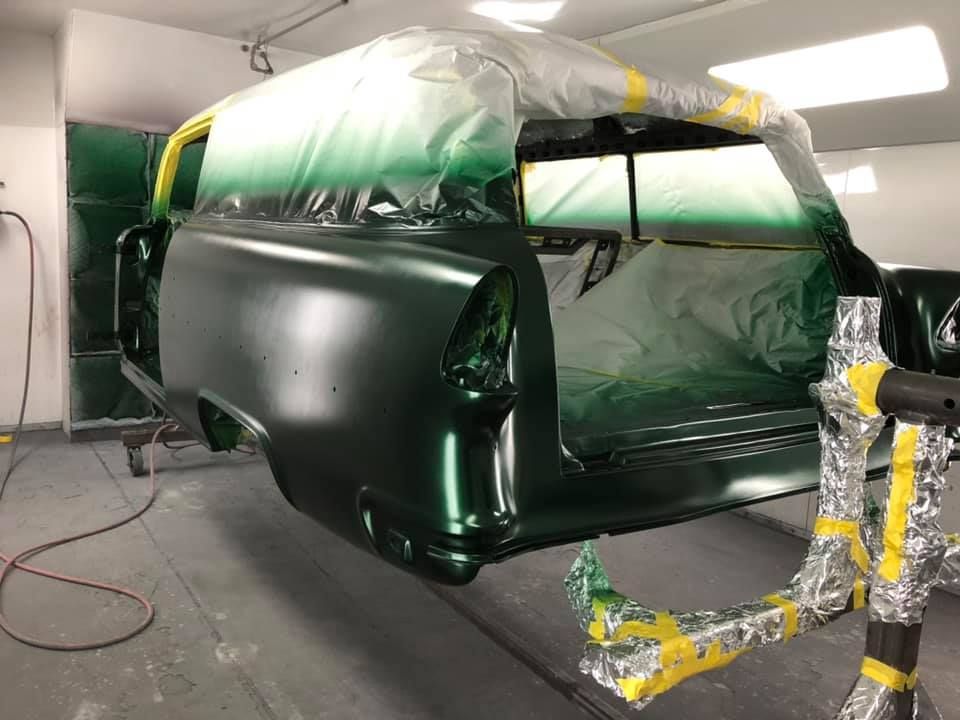
SPI Universal Clear:
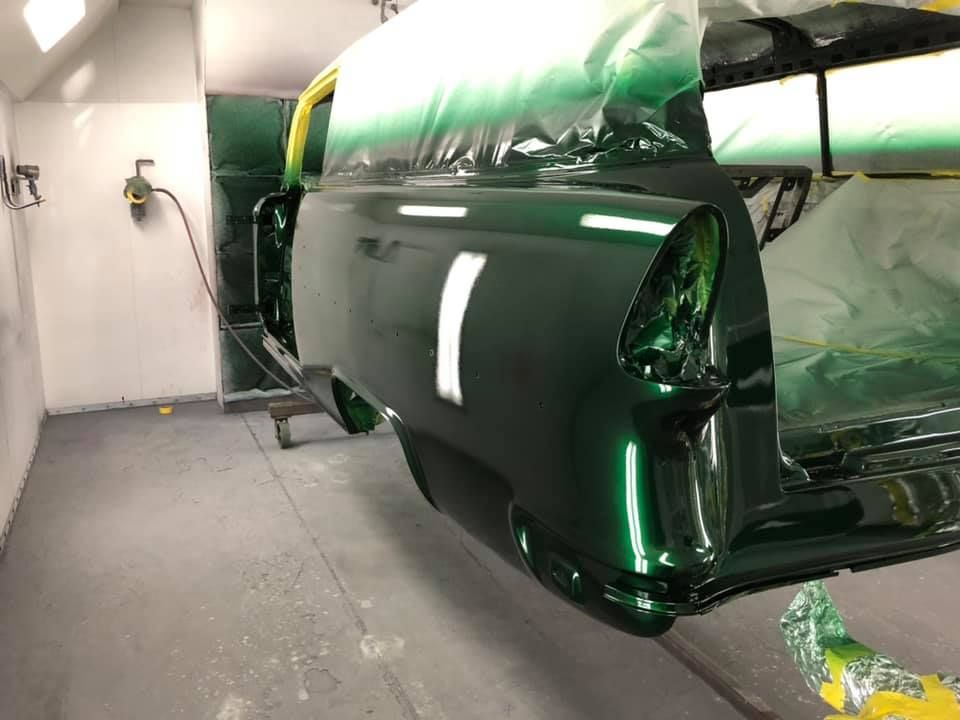
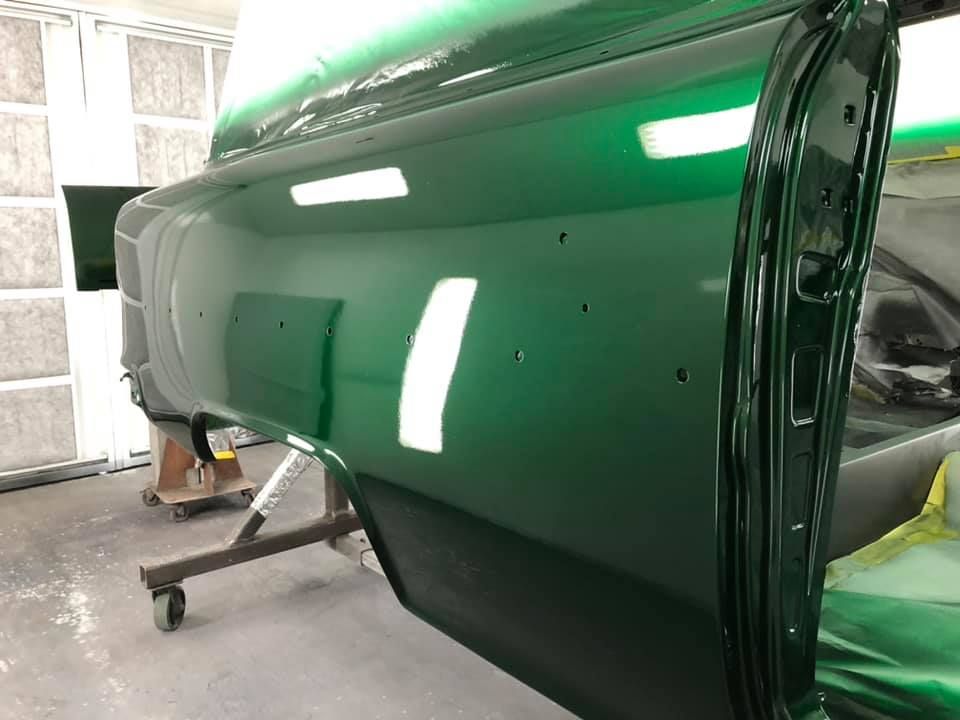
Video shows some of the pop you'll see in the sunlight..
.
I did check one of the stores and noticed they were obviously prepared for my arrival...
So we're good for a few weeks now. I must apologize to the good folks in SC that have the same need for sugar, I have heard there is no Throwback/"Real Sugar" Mountain Dew left in the entire state.
Some of the other "goodies" brought back from SC, this is a brand new in the box Desoutter die grinder that I picked up from a pawn shop. Sales must be slow, as I stood firm on my low ball offer and they accepted. Paid less than 1/3 of retail..
Also brought back another wagon to work on..
Cousin JB is building this for his nephew, and I'll be spraying it with a Kandy finish using some of the leftover paint in the paint locker..
We had the storm blow through recently, luckily we did not have the damaging winds that was seen in Delaware and Eastern Shore.. We did get plenty of rain though. My precision rain gauge indicated we had 6-1/4" of rain in less than 24 hours time. Here's the end of our road at 9:30 the morning of the storm. The stop sign in the distance is about 5' off the ground.
My daughter was due to work that day, and her manager did not understand the concept of flooding. She suggested E wait until the rain stopped and the water would quickly subside. This was later at 11:30, when she normally would have left for work. Note the level has risen to now touch the stop sign. E did send pictures along with "see you in a couple days"
Other than a few limbs to pick up, we didn't really have any damage. Blessed to live at the top of the hill... The road was closed for about 2-1/2 days, and we had a few bridges a bit farther north in the county that washed out, so we have a few detour signs scattered about.
Neighbors garage near the end of the road..
Cody sent a picture of the truck we had louvered the hood for, fits the motif pretty well..
We've been doing some spring cleaning in the shop to get ready for the wagon's return from the paint shop, and some reorganizing which includes storage ideas..
Moved the tooling racks for the Lennox to the new position, and the false wire edge dies had a new rack made of 3x3 angle to clear off the spot they were taking up on the workbench.
The new Powell power hammer came with a grunch of anvils in a basket and needed a rack built for this as well. Another 3x3 angle is drilled with 1" rotary cutter, then the worn out blade on the band saw did a good job of making slots..
In order to keep these pricey chunks of S7 from bouncing across the concrete, a restraint system is in order. Delrin "hooks" were made for a fiberglass "crossbar"
All these parts other than hardware used was 100% recycled from the scrap pile.. More cleanup, woohoo!
Spring cleaning extended to the top of the tool box and welding table...
Oh yeah, wagon got some paint today! Richard and Brandon Glymph of Absolute Rod and Custom Paint in Annapolis got some of the Organic green Kandy basecoat and clear sprayed.
sealer:
Green:
SPI Universal Clear:
Video shows some of the pop you'll see in the sunlight..
.
Last edited:
larry4406
Well-known member
Clean shop is a dream!
Nice to finally see the green on the wagon.
Nice to finally see the green on the wagon.
BORING HOP YARD
Well-known member
Nice milestone with the wagon Robert.
I'm looking forward to seeing it go back together using all the cool parts that have been fabricated by your team.
As always, thank you for sharing.
I'm looking forward to seeing it go back together using all the cool parts that have been fabricated by your team.
As always, thank you for sharing.
xtremek
Well-known member
How long do you think it'll take to assemble the Chevy wagon?

jimkinney
Well-known member
Robert,
You're lucky to have found that much Real Sugar Dew, and stocked up on it. Daughter's boyfriend works for Pepsi told me that they have a can shortage and are cutting back production of their lesser product lines to keep up with the main ones.
Here in central FL, I haven't seen any real sugar Dew in months, and am having trouble finding my real sugar Pepsi. Maybe I need to visit my brother in Charlotte, and see if SC has any.
Good job on cleaning the shop, it always makes you feel better.
zmotorsports
ALLIANCE MEMBER
Shop cleanup looks great Robert as does the wagon. I'll bet it feels great to see color on the wagon.
Did they use SPI Universal Clear or something different on the wagon?
Did they use SPI Universal Clear or something different on the wagon?
zmotorsports
ALLIANCE MEMBER
Thanks Mike! Yes, that is SPI universal clear.
Awesome. Looks great.
Thank you.
txvwnut
Well-known member
Seeing your cart full of Dew reminds of the time a couple friends came down from South Dakota. One loved Lone Star beer(native Texan) the other fell in love with Big Red(not a native Texan). They came down in a short bed Chevy Silverado and two Harley’s in the back. When the trip was over and they left the Silverado was full of Lone Star, Big Red and one Harley. The other bike had to be ridden back to SD.
shortykorte
Well-known member
Car looks great.
Glad someone likes their Dew more than I like my Dr. P.
Sent from my iPhone using Garage Journal
Glad someone likes their Dew more than I like my Dr. P.
Sent from my iPhone using Garage Journal
txvwnut
Well-known member
I'll admit it , I'm that way with Yuengling. I've got a friend who travels a lot for his job and every time he goes to where they sell it I have him pick me a case or two.
Bowtie4life
Well-known member
Thought about you guys down there Mike when I saw that big sink hole and was wondering how close that was to you. I see your road is okay now.
stinkity stoink
Well-known member
That wagon looks super straight.
TigerFan
Member
Like a bunch of other people, I’ve been reading your thread for a long time, and I just need to stop and thank you for taking the time to share so much. It can’t be easy, but so many of us benefit from your knowledge.
Sent from my iPhone using Tapatalk
Sent from my iPhone using Tapatalk
Boosted1
Well-known member
Paint looks really good.
Looking forward to your Assembly posts.
Looking forward to your Assembly posts.
Thanks for the comments guys!!
More shop cleanup/organizing this weekend. The welding table has always been a catch-all, from something setting on top to the drop cuts of metal underneath. Here's a sample...
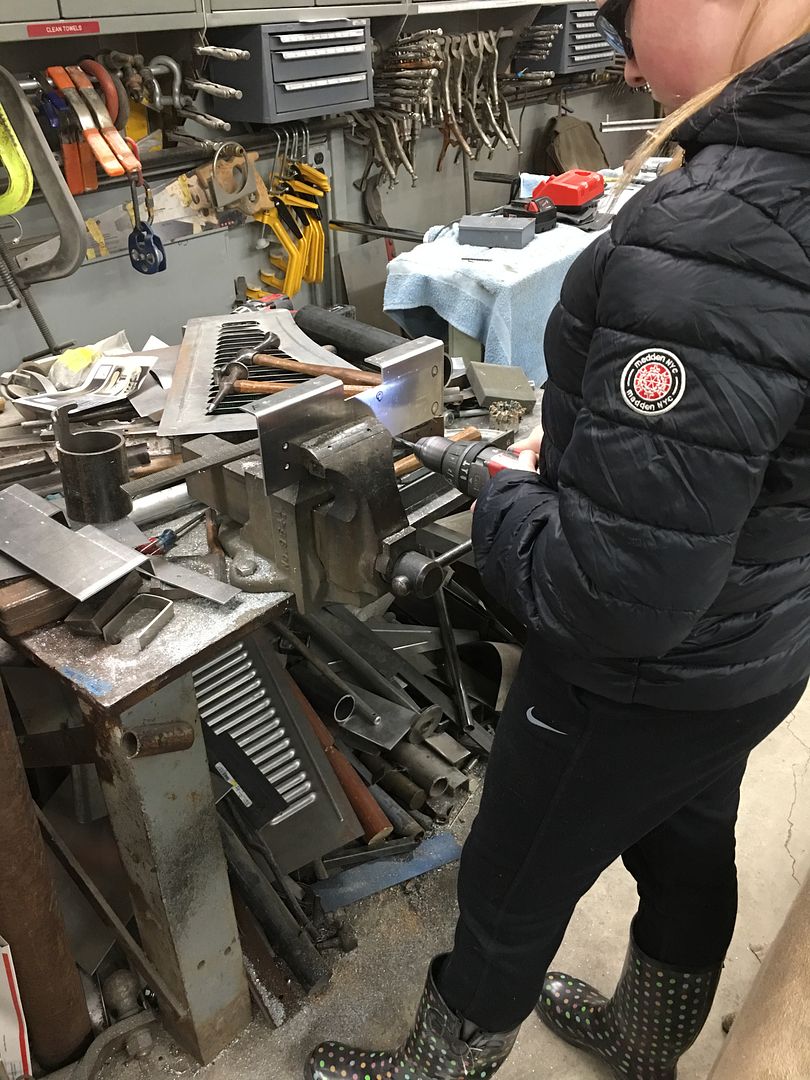
So when we got it to this stage, I really didn't want to put the metal storage back underneath on the floor. It prevents a good sweep down and goes downhill quickly.
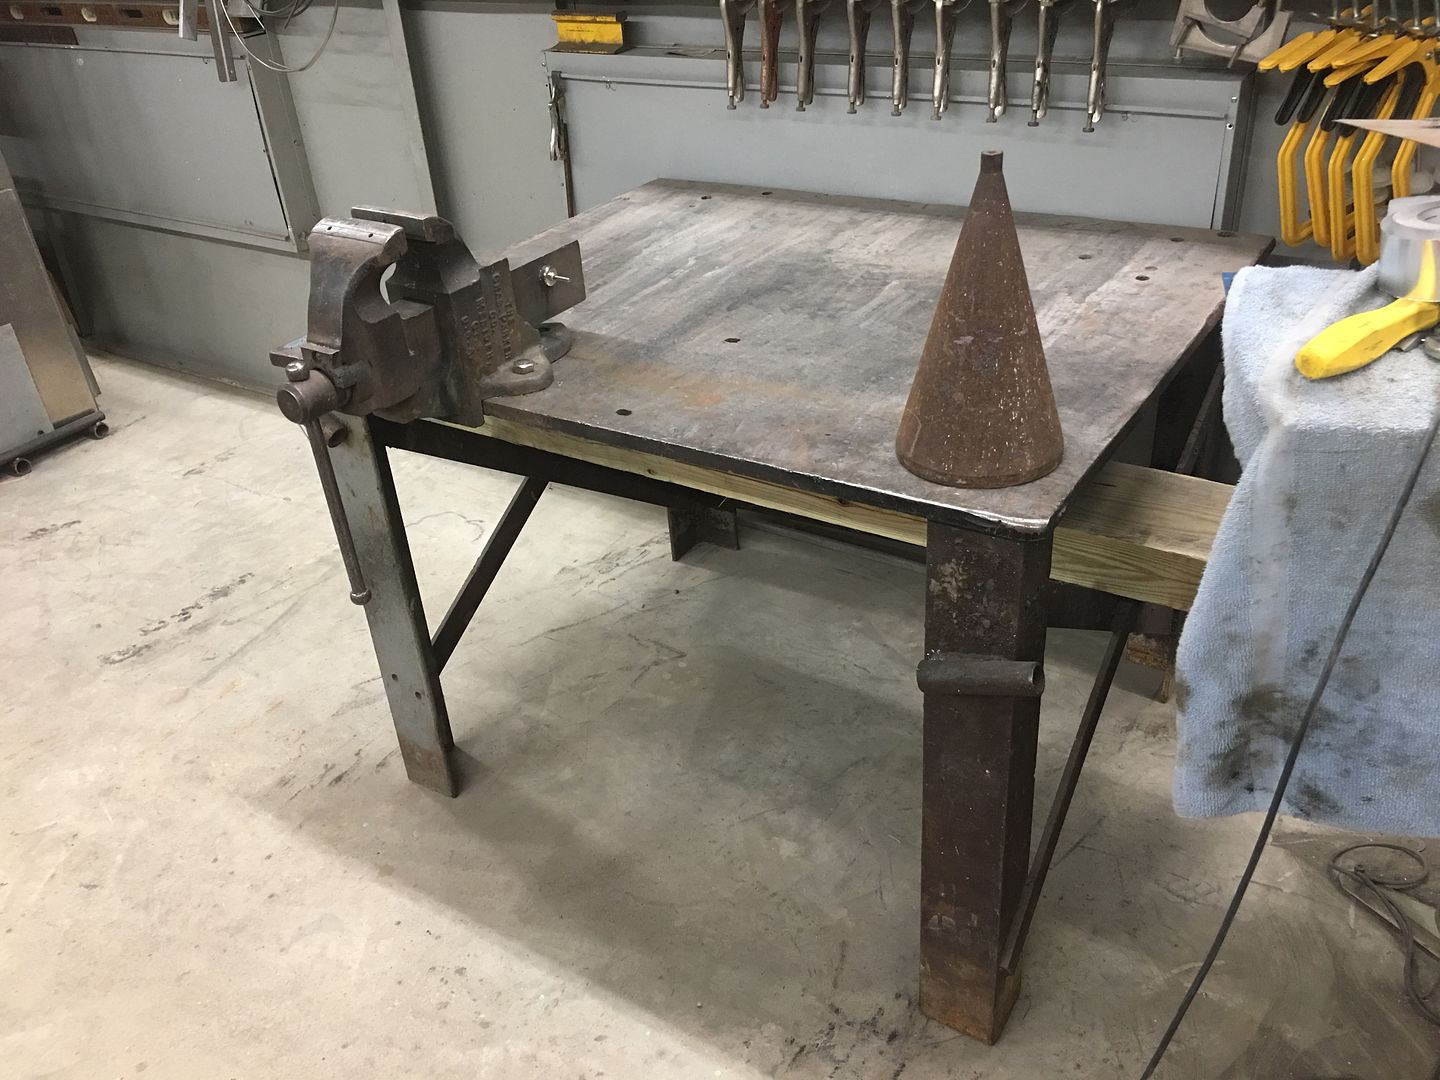
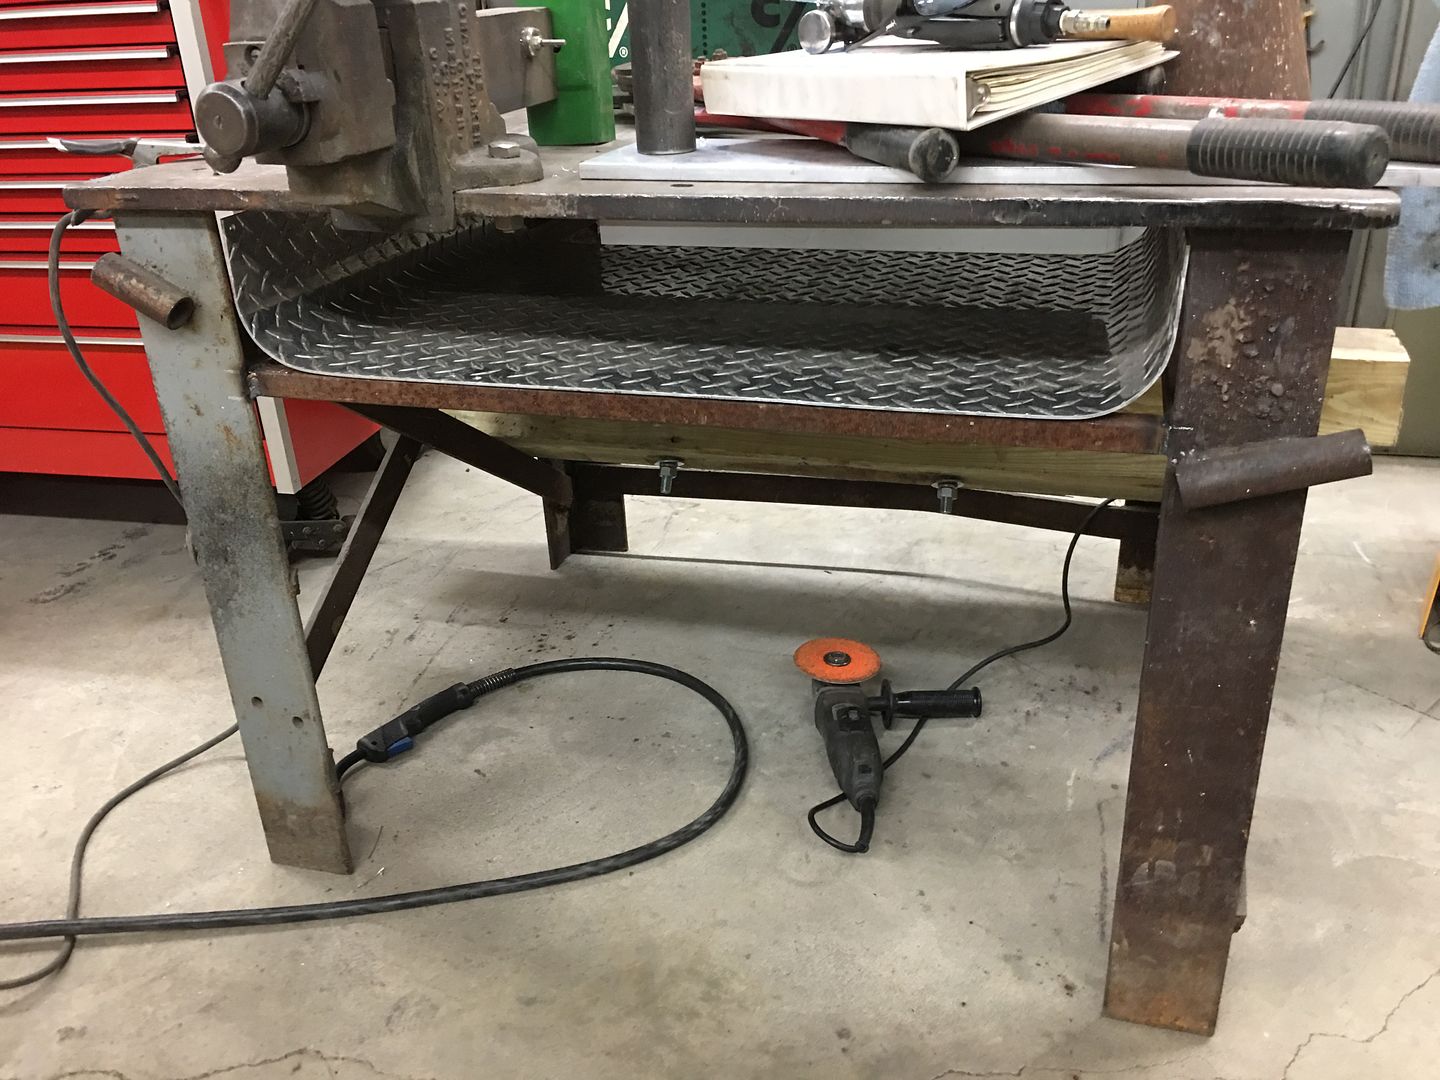
So Mike and I talked about making a shelf under the table and we put some more leftover scraps to good use. 1" square tubing was used to make a support framework and welded to the existing legs.
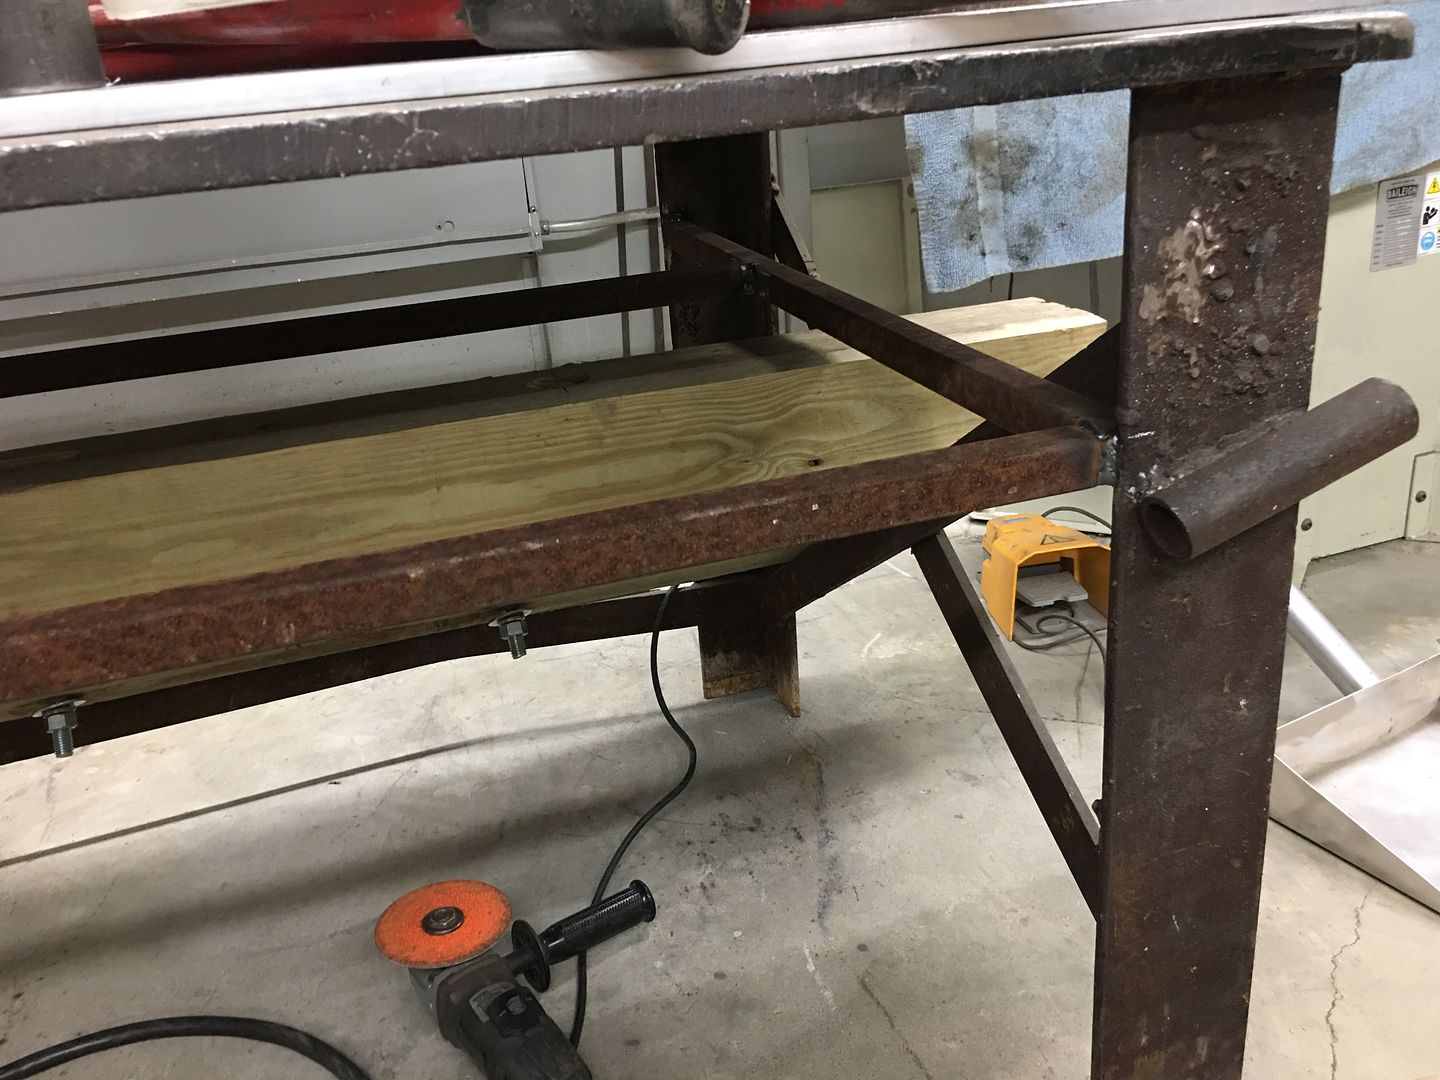
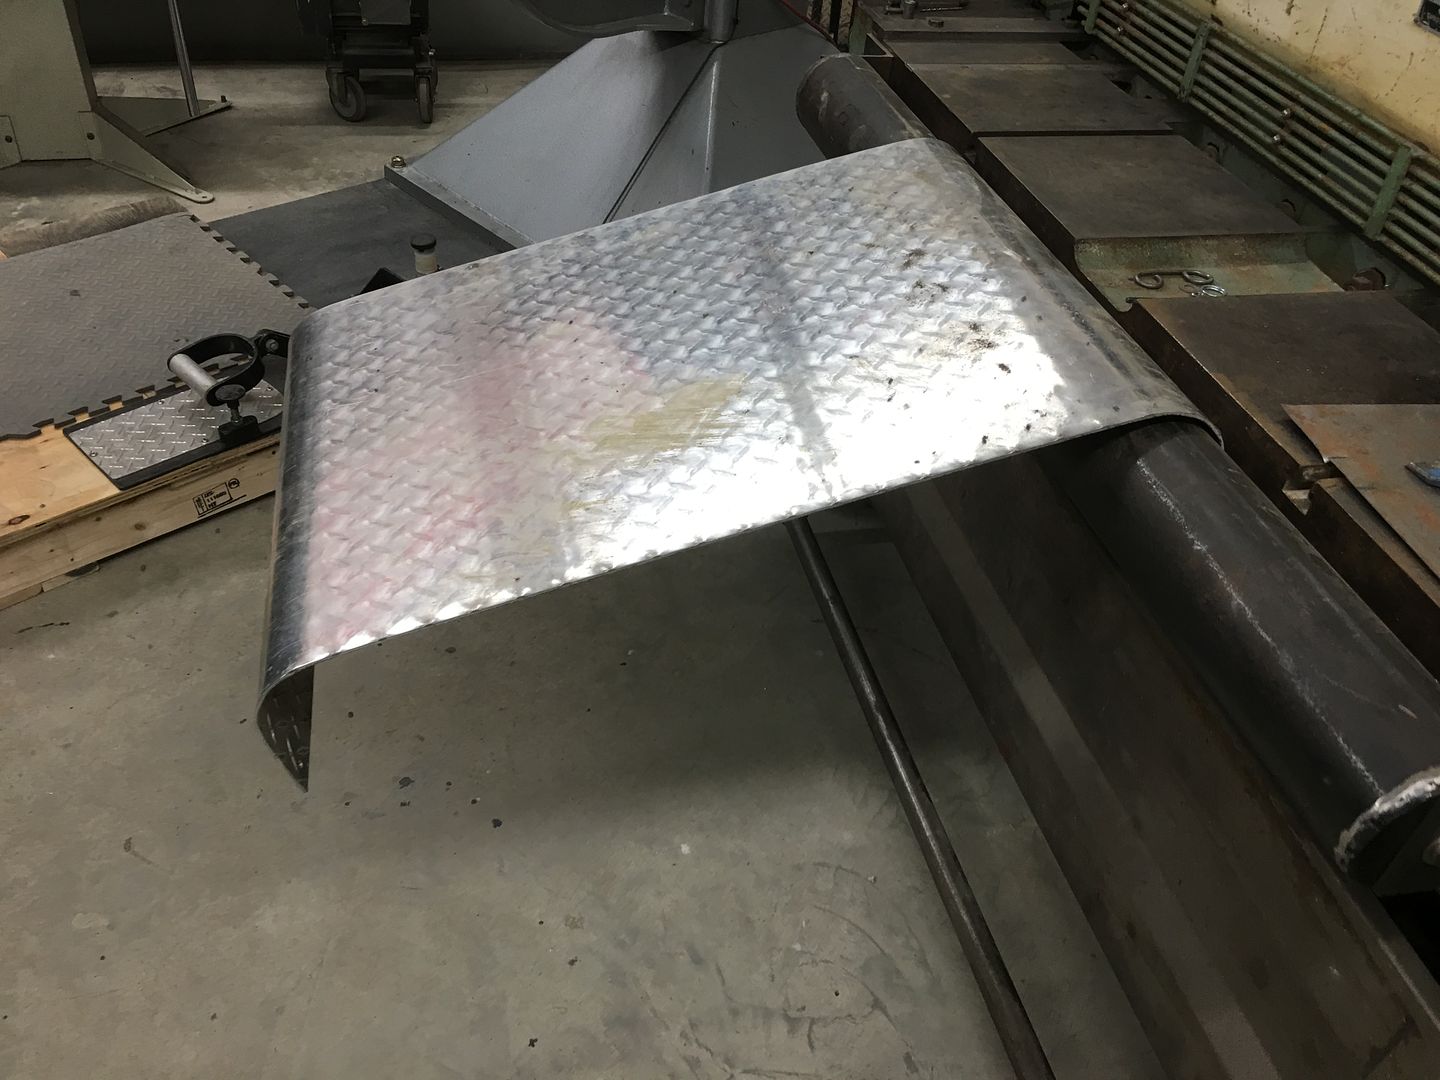
Then a scrap piece of diamond plate is used for the shelf. As we didn't want things falling off the side of the shelf, ends were formed in our radius brake..
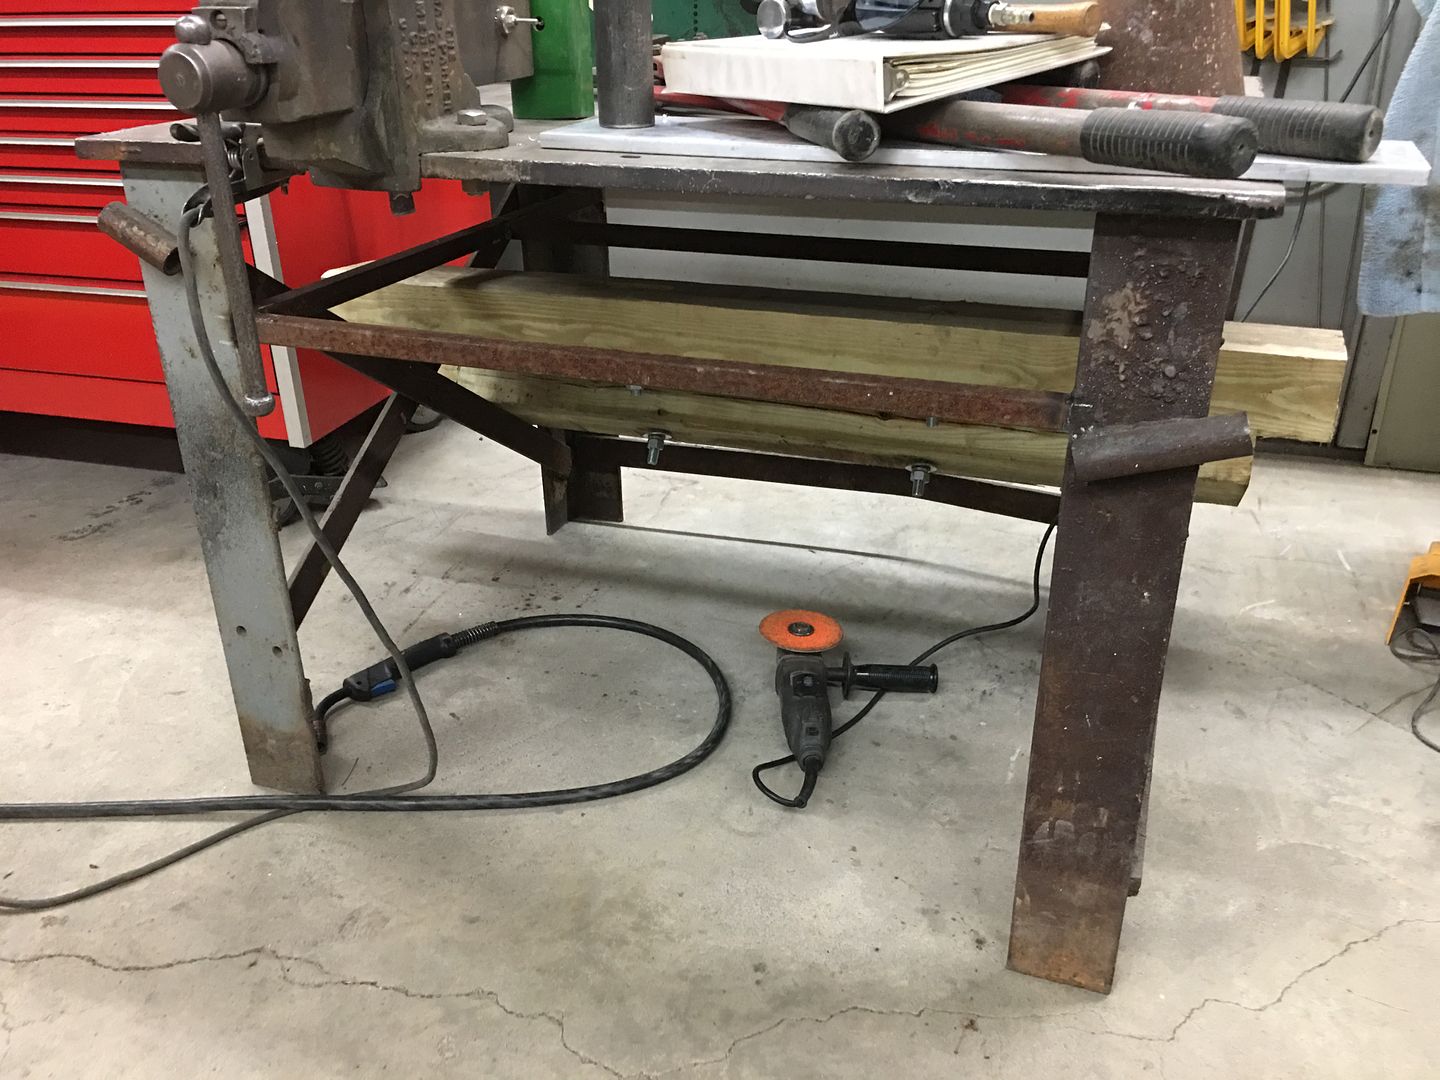
A couple of 1/8 pop rivets into the front crossbar keep the shelf from moving...
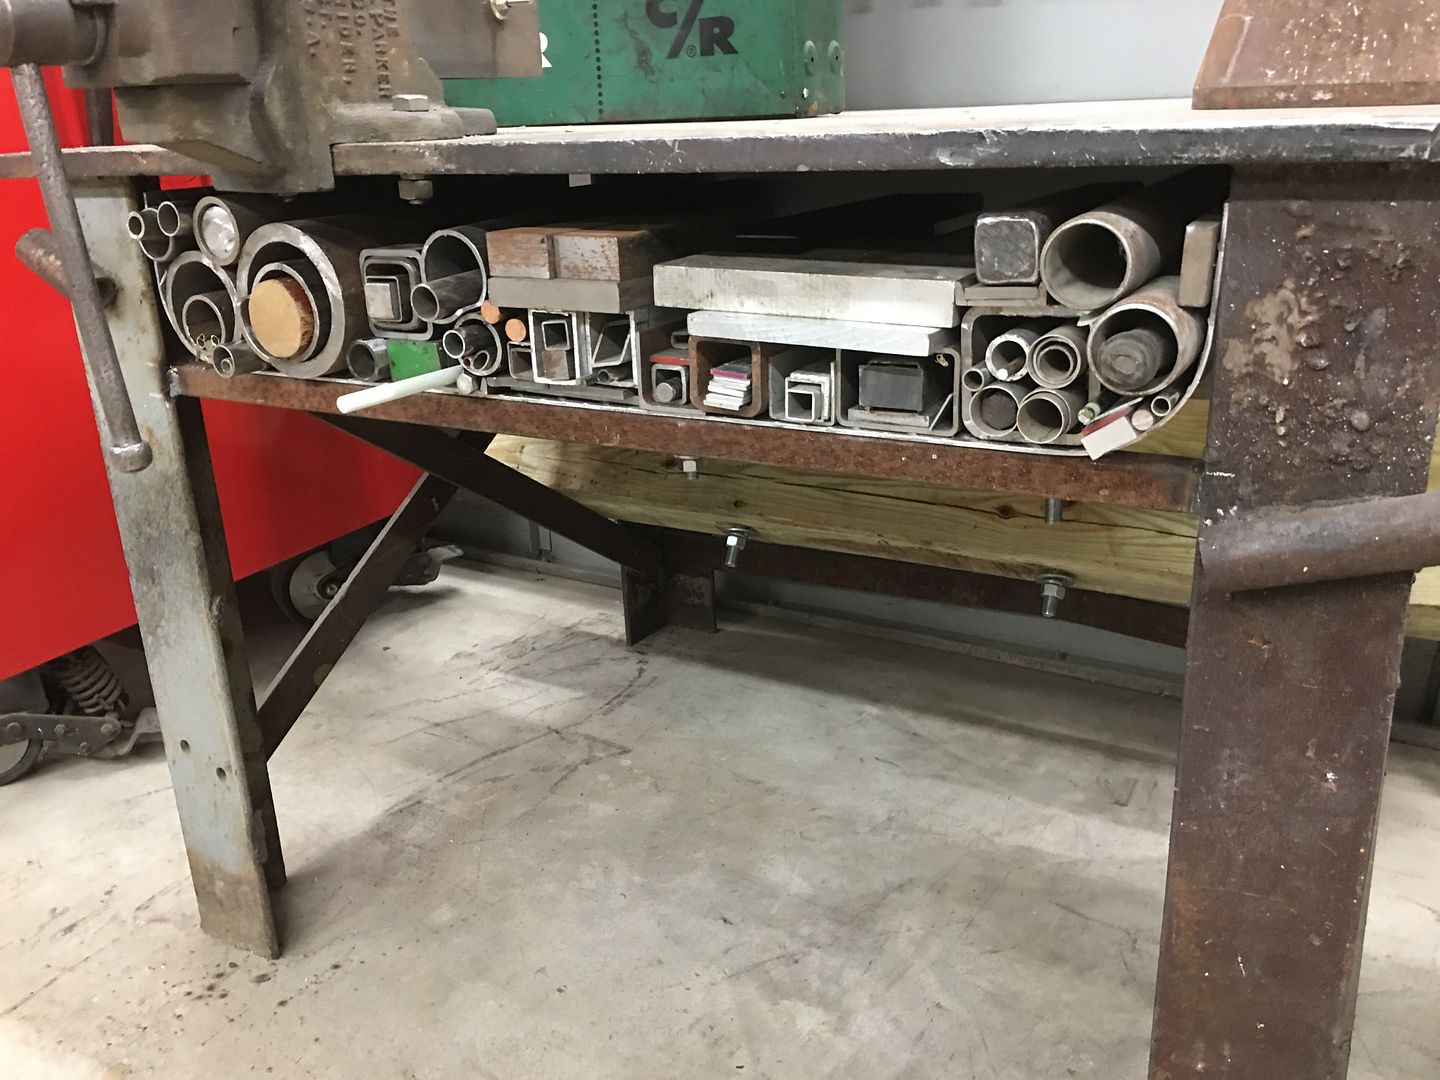
All loaded up, and still good access below for the vacuum cleaner/sweeper.
More shop cleanup/organizing this weekend. The welding table has always been a catch-all, from something setting on top to the drop cuts of metal underneath. Here's a sample...
So when we got it to this stage, I really didn't want to put the metal storage back underneath on the floor. It prevents a good sweep down and goes downhill quickly.
So Mike and I talked about making a shelf under the table and we put some more leftover scraps to good use. 1" square tubing was used to make a support framework and welded to the existing legs.
Then a scrap piece of diamond plate is used for the shelf. As we didn't want things falling off the side of the shelf, ends were formed in our radius brake..
A couple of 1/8 pop rivets into the front crossbar keep the shelf from moving...
All loaded up, and still good access below for the vacuum cleaner/sweeper.