xtremek
Well-known member
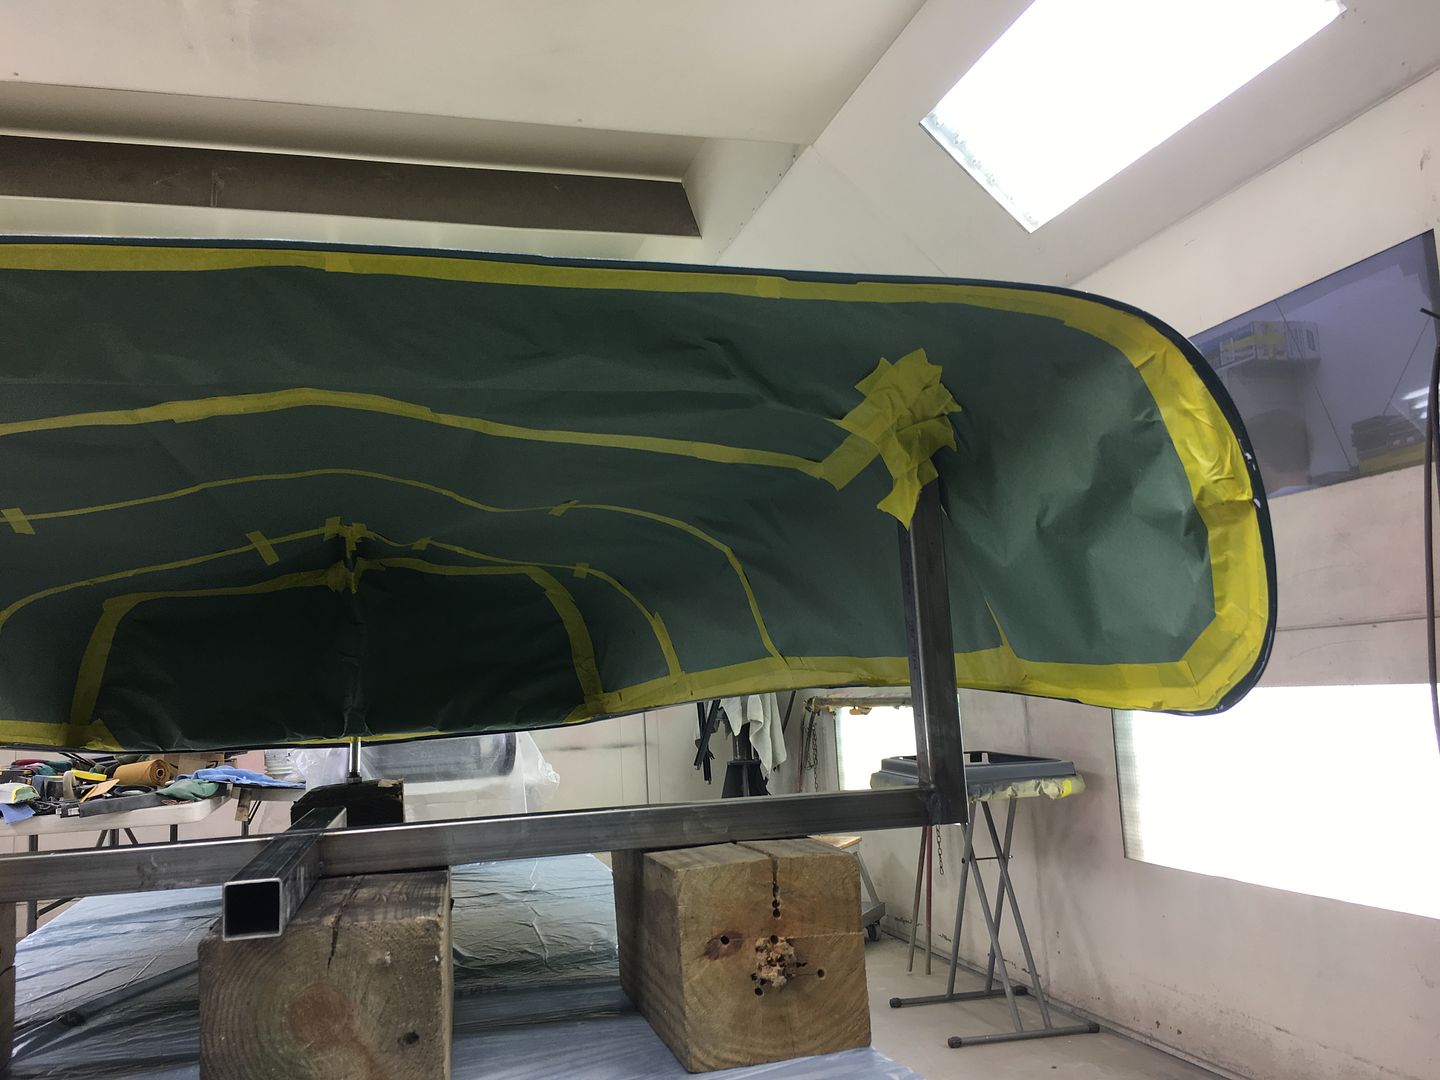
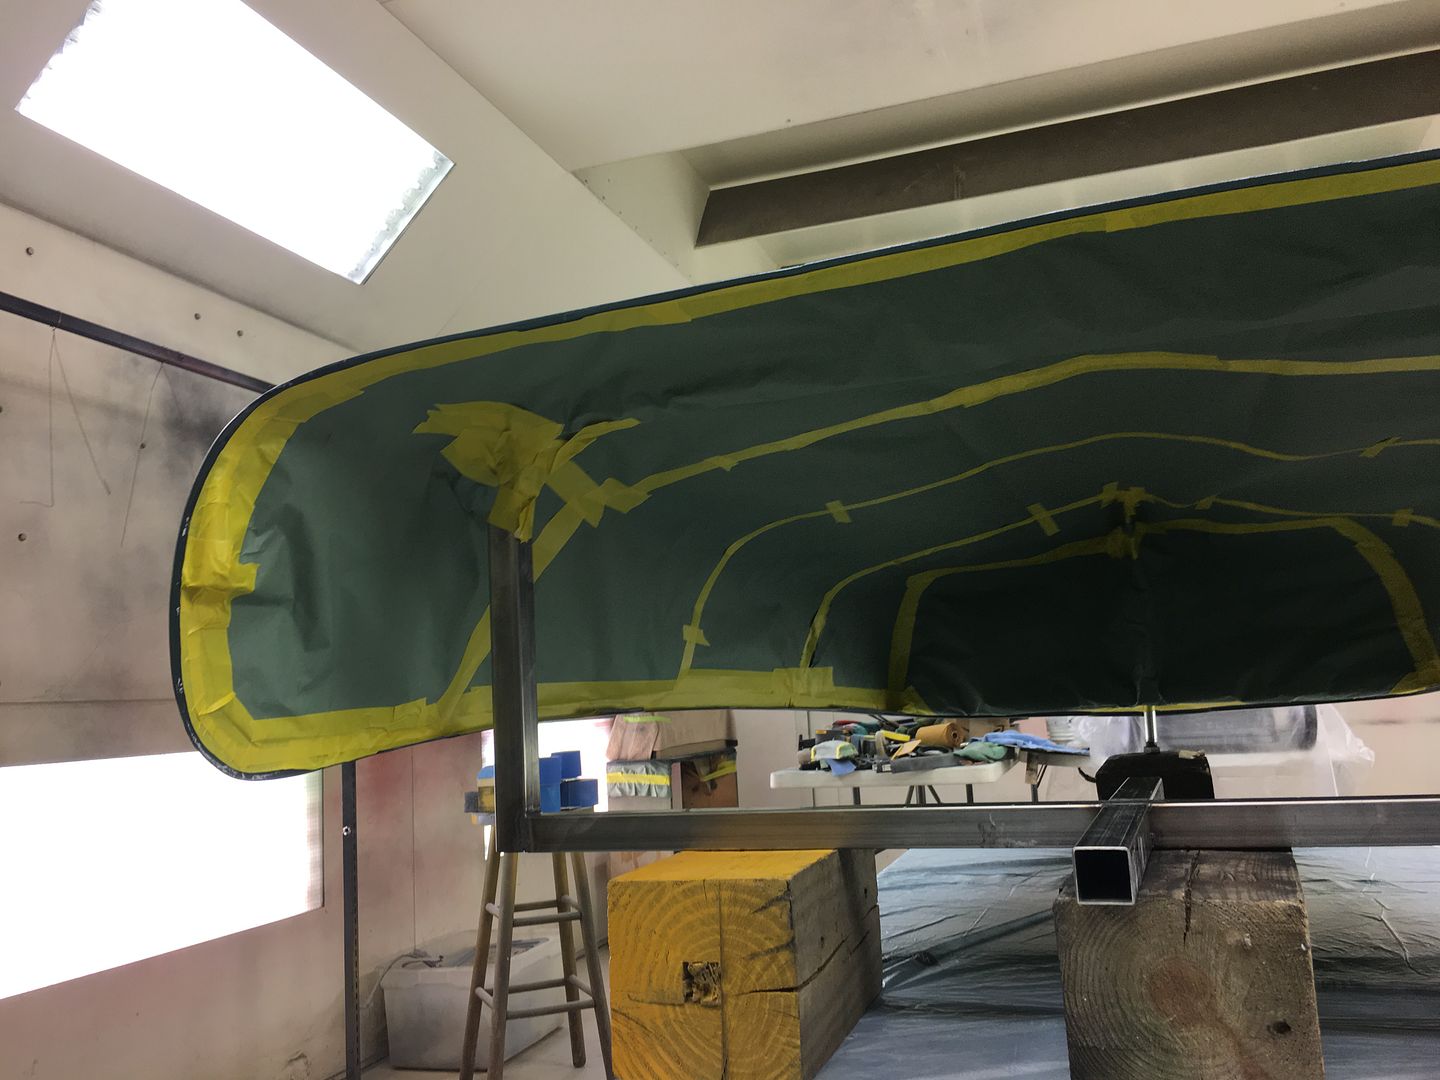
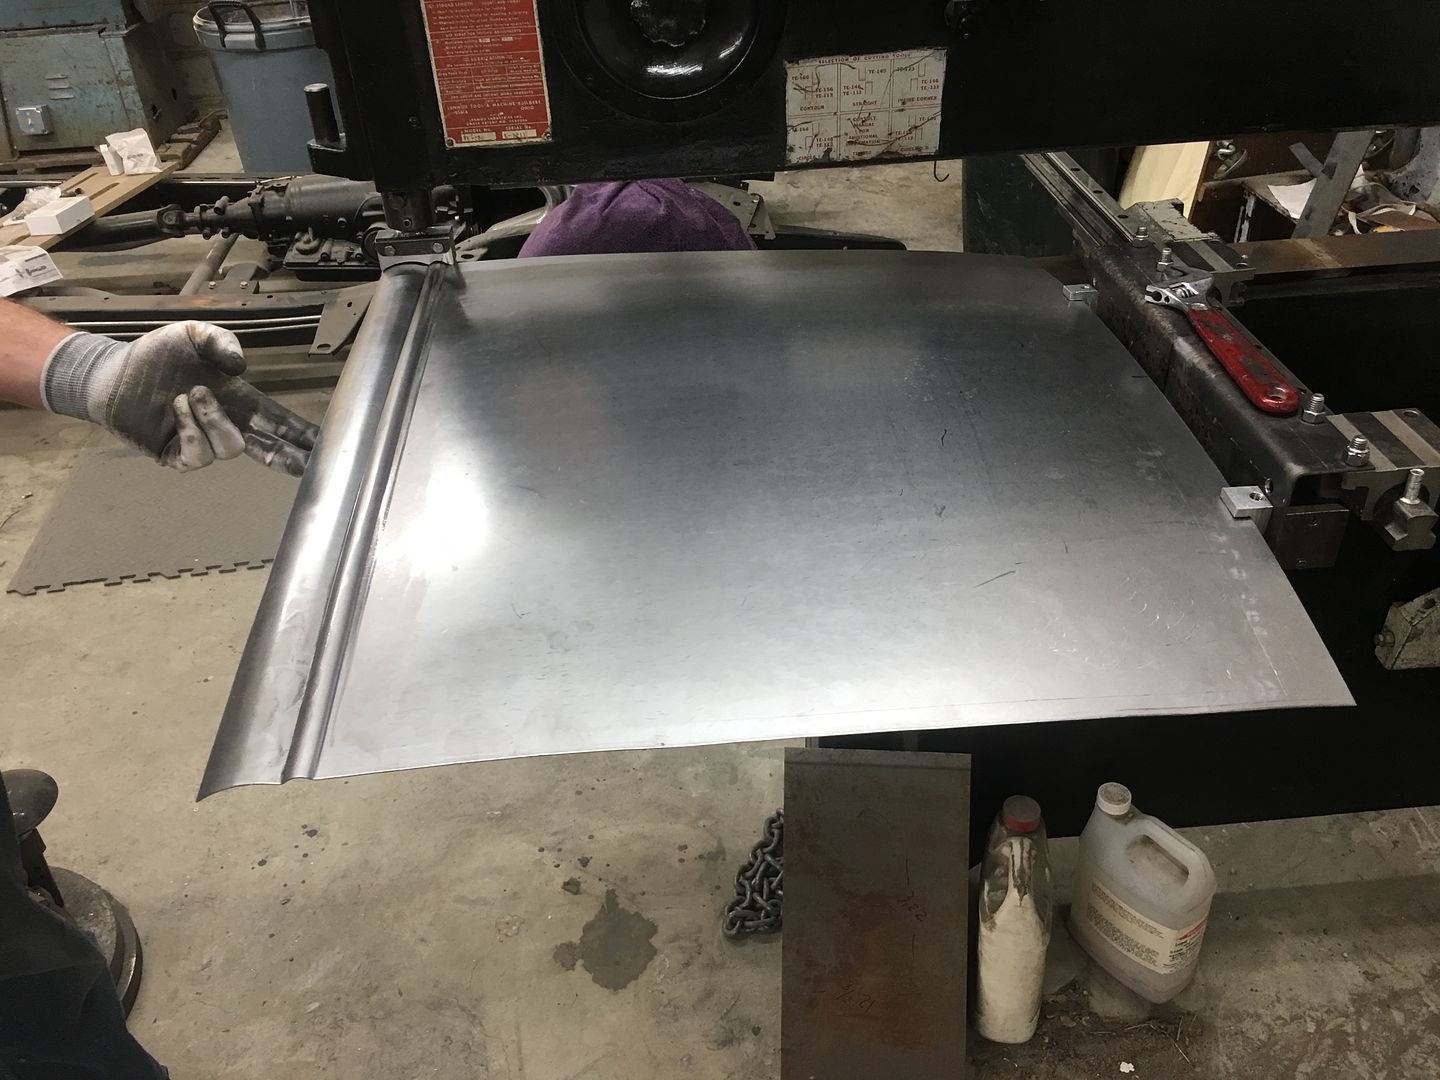
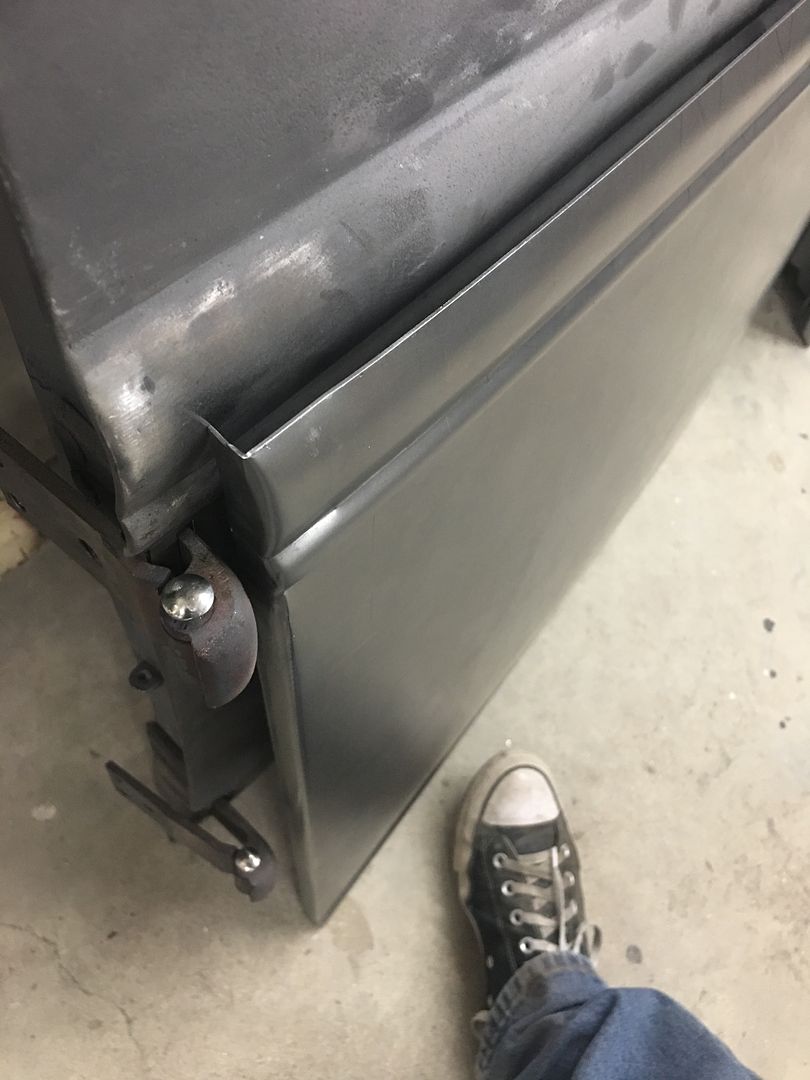
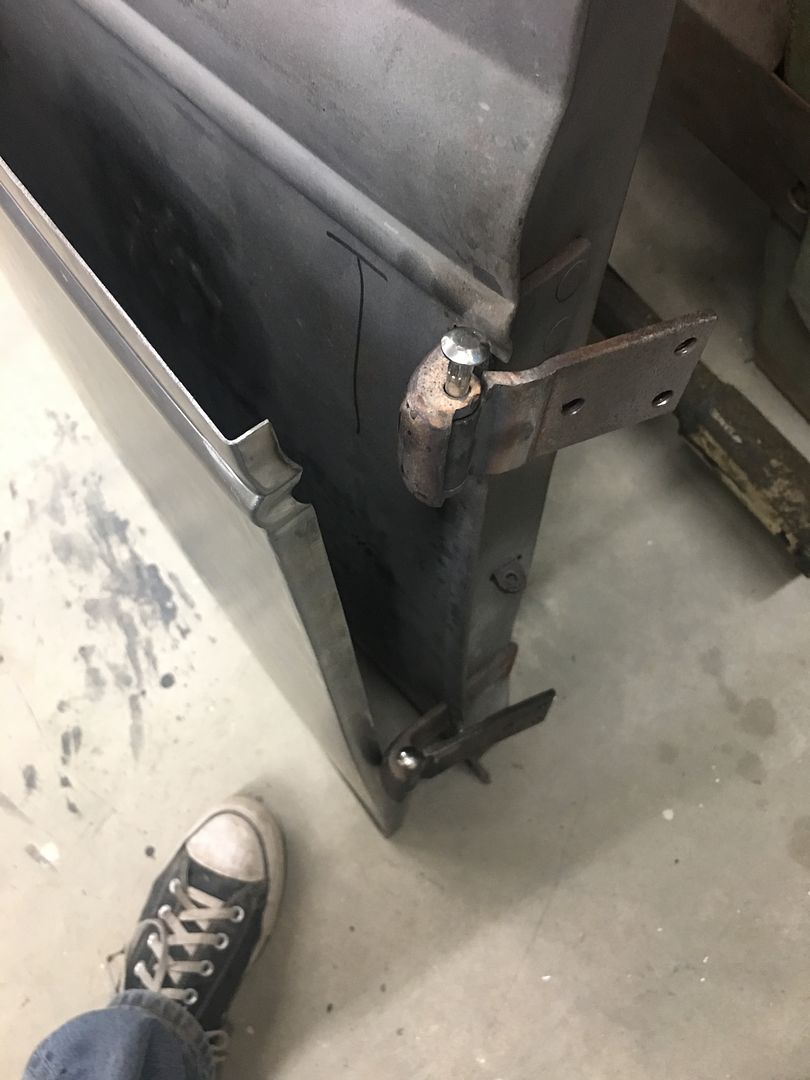
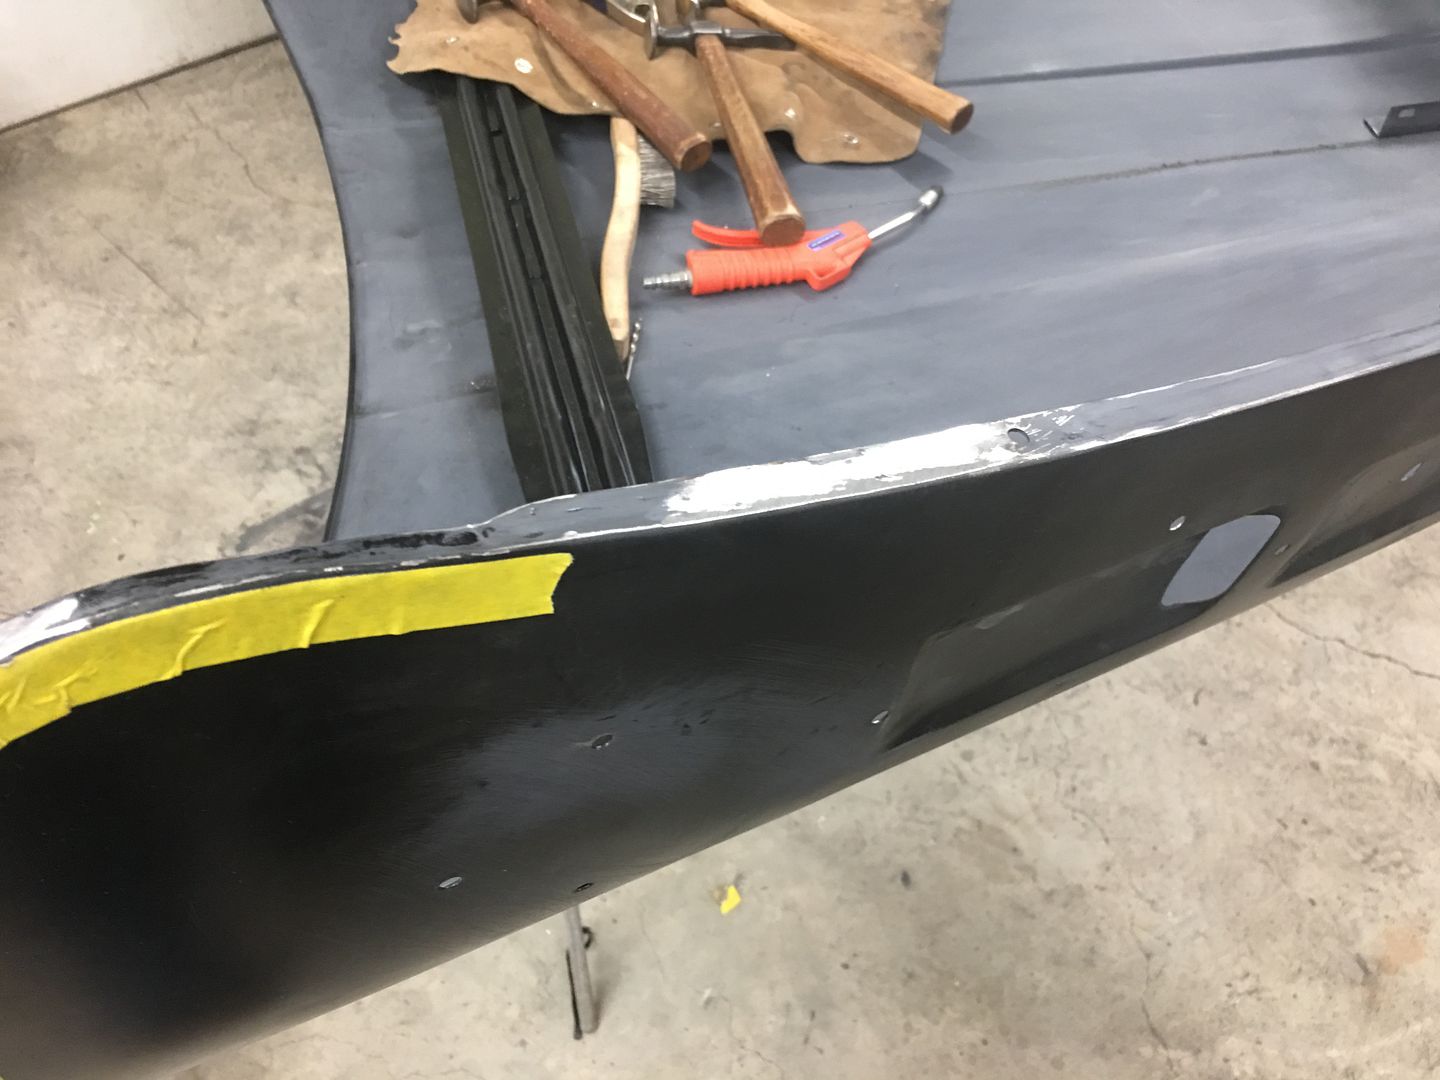
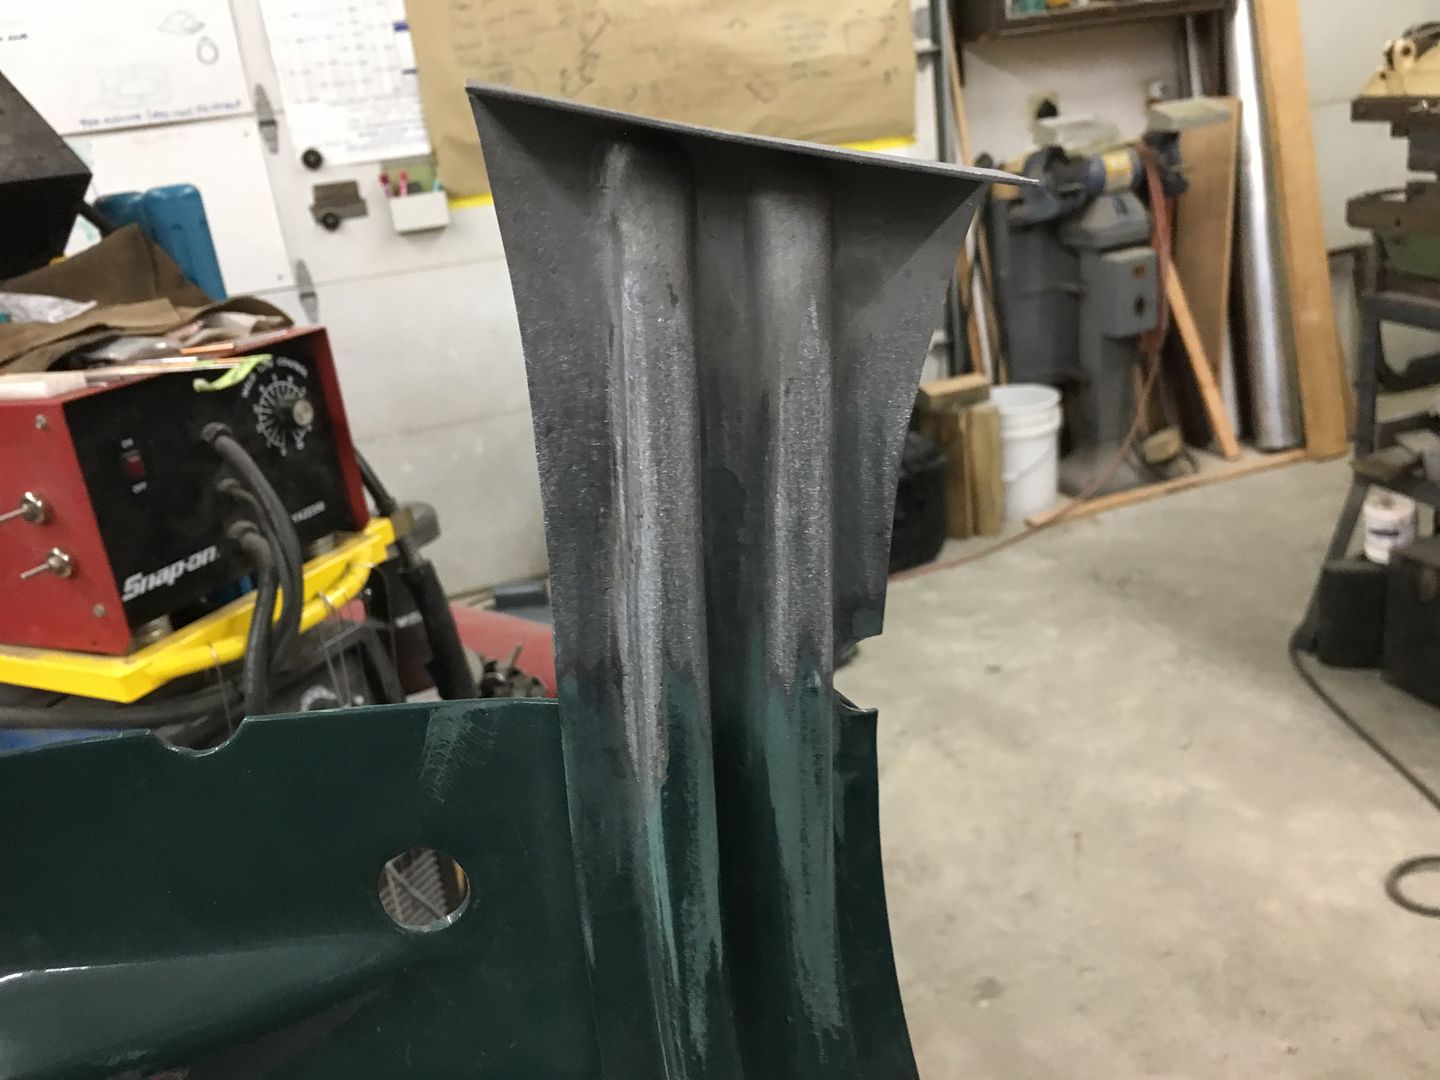
Why did you roll the ends?


.JPG)
.JPG)
.JPG)
.JPG)
.JPG)
.JPG)
.JPG)
.JPG)
.JPG)
.JPG)
Robert, the best shops make the stuff everyone sees look perfect. You take it the next Ridler step and make the stuff no one sees look perfect. I'm going to start wearing a chin strap before I open your thread to see the latest post. I've swallowed way too many bugs when my jaw drops open.
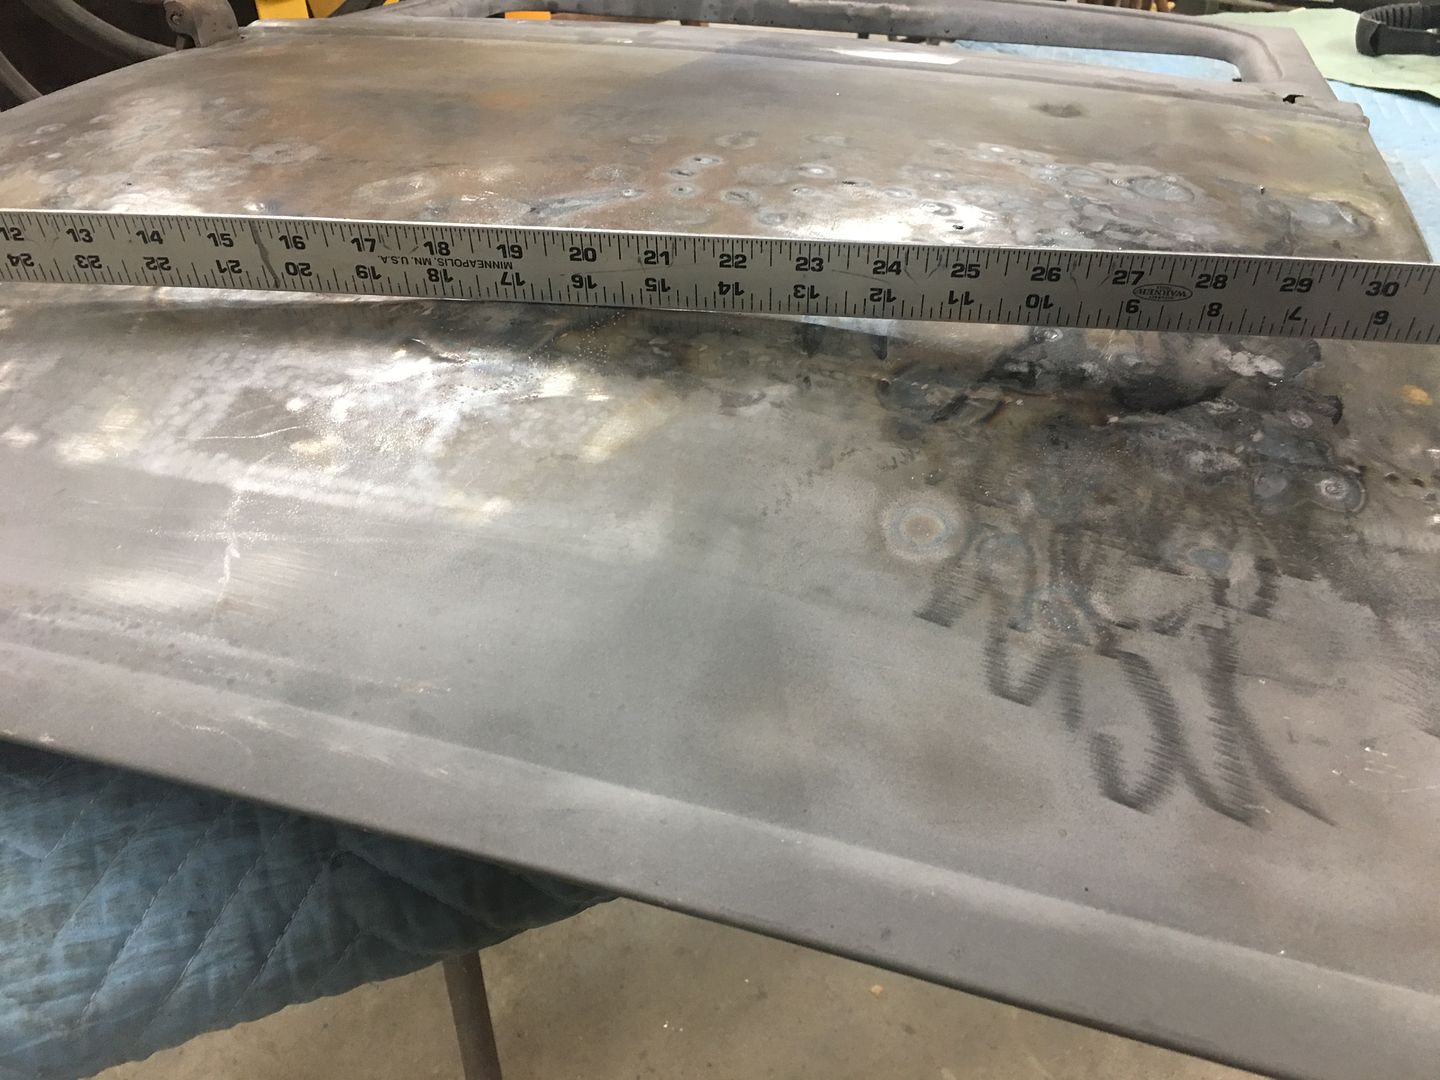
EDIT: As a child in the '50s I remember a 1950 Ford Coupe that was sectioned and channeled and the car looked perfect. I didn't appreciate it at the time but the article focused on the fact there was no lead anywhere on the car. The craftsman hammer welded everything to perfection and gently removed every blemish in the body with hammers and dollies. You continue the tradition.
")