Wanna Ride
Well-known member
- Joined
- Jul 28, 2010
- Messages
- 2,790
Cant wait to see more progress on this one. Going to be sweet!

Looking god, I would probably try to move that crossmember forward and inch, I think it would not only save some firewall work but look more centered in the well.


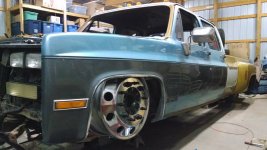
Just found this, its looking good. The duallys on alcoas just look like it was made that way. I wish I seen this earlier do I could tell you NOT to use anything from airbaggit or any of his other companies.
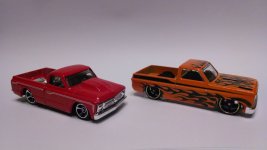
My daily, just to hijack a little
And a friends dually
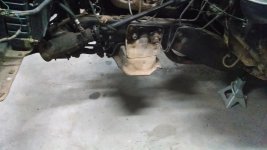
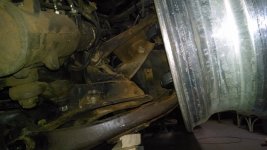
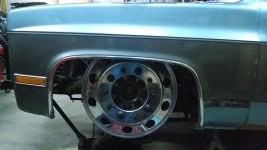
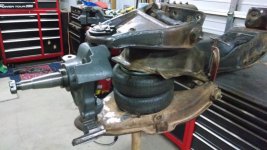
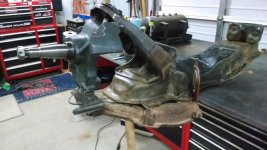
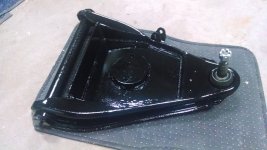
The cross member is out! What a cruddy job! Still it has to be done... I am going to put it on my welding table and work on the spring pockets and make new mounts for the upper airbags. That is the stuff that I enjoy, fabrication.
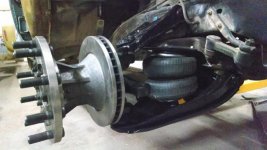
Next on the list is to drill and plasma all the new holes 1" forward. Still have to move the steering box and the other steering components 1" forward as well. Once all that is done I can reinstall all the front suspension and move on to the air ride portion of the build.
 about the situation here.
There's no way you could have sectioned the frame holding all the steering and just moved the entire section forward? It would save a **** ton of time and effort. I saw it done on a Ford Ranger one time,
There's no way you could have sectioned the frame holding all the steering and just moved the entire section forward? It would save a **** ton of time and effort. I saw it done on a Ford Ranger one time,
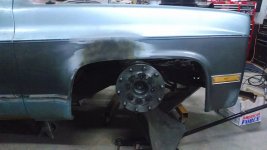
Well I am not sure what you are talking about above, but all I am doing on my build is moving the cross member forward 1" and doing the same to the steering components. A lot of work, but my wheels will be centered and I should not have to mess with the firewall much at all. Hope that clears that up.
i think he is talking about z'ing the front of the frame. alot of people who z their trucks, cut the frame points nearest the cab at a forward facing angle to allow them to move the crossmember forward a bit to center the wheels in the fenders. plus it will get you lower unless you are pancaking the crossmember so it doesnt hit first when aired out, although you then have to re-do the steering column linkage and raise up the front of the frame that holds your core support/ radiator.
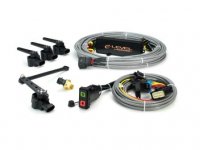
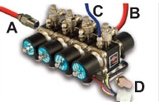
take alot of time with the arms people get impatient and break them. how will it hook up the the valve?
Looking good. As long as it's straight when laid out you're good. Most don't seem to realize a double bellow bags work great on a lever, or at an angle when moving and holding load. Are you running shocks up front?
Cant wait to progress. I need to start the rebuild of my ****
Ditto. It won't hurt the bags not to be always vertical.
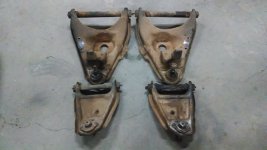
I just found my front shock brackets do I need to install them. Don't, not, install shocks. I regret not doing it alllll the time. Or at least do the brackets while it's all part and in grit of you. So if you want to run with out them, it won't be. A pain of you wanted them later.
Yes I will have shocks. Super dangerous not to have them.