Where do you run those cars?
The 944 runs in NASA's German Touring series and PCA's SP2 class. The GT3 Cup car runs in the International GT series.
I race up and down the East coast, as far north as Watkins Glen and as far south as VIR.

Where do you run those cars?
How do you like the Eastwood QST compressor?
I also race with NASA (Mid-ATL) in HC. Hope to see ya one day back out there.

Awesome. I'm SP1 racer, recently switched from my '72 911 and it's a much different animal.

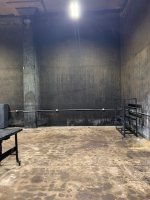
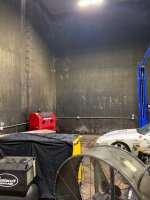
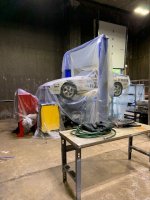
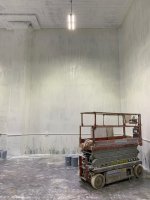
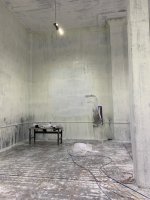
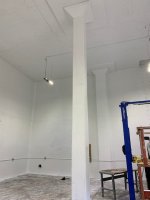
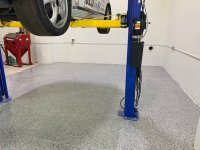
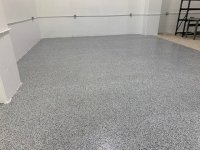
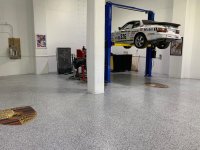
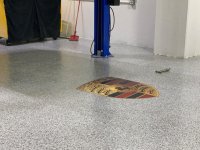
 The new reigning concrete champion.
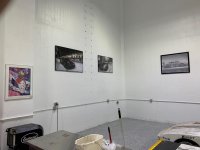
Those posters look tiny with 25' ceilings.
That's a problem I would love to have in my garage.
Amazing work.

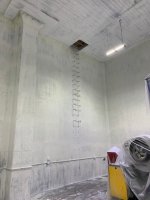
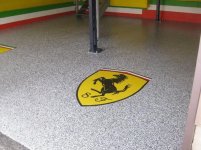
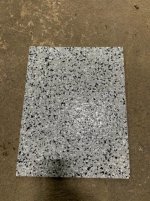
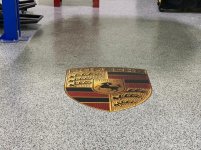
Floor crests to be applied under the clear coat: