y'sguy
Well-known member
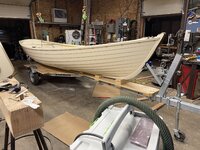
That's turning out beautiful and I am not surprised. you do stellar work. I did not it expect it to be painted though. Still, looks fantastic.

You’ve got a good eye for color matching too!Hey Riv,
I made sure to color coordinate the boat with the pup!
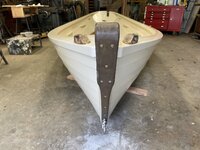
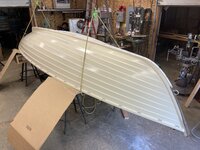
Last coat of paint on the interior and not a moment too soon.
Royce
")
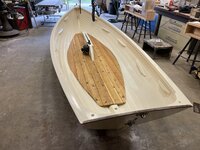
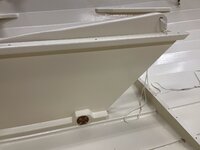
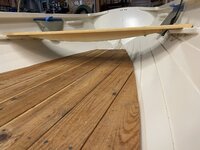
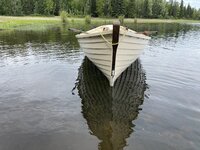
You too excited to sleep?Thwarts and floorboards in, oarlock sockets glued in, centerboard and hinge pin in.
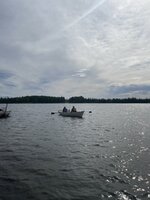
I think she's ready to row, maybe tomorrow.
Royce
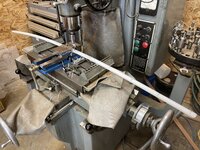
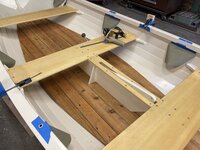
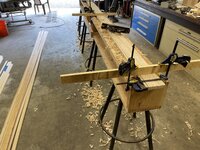
I'm interested to see how these are built.Got started on the spars
Royce

He’s building it now, you will see it Monday!I was looking for Royce's build page for the lathe he was going to chuck this up in to spin it round and smooth.
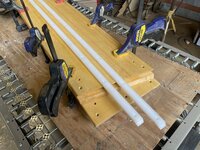
Thanks Firstram,This is one of my favorite methods of joining beveled parts, it's the only way to go. Self aligning, extra glue surface, super easy to hit your dimensions, only one angle to deal with and it makes tapered columns a breeze! Curious about the overhang, I have always run the dado deep enough for the parts to corner up. I guess if you're rounding it over this method would leave a full width glue joint and allow you to plane only one board (competing grain directions).
Beautiful work, as always!
Thanks Firstram,
I opted to cut both sides of the birdsmouths at 45 degrees for simplicity of saw set up.
To get the corners to align, I would have had to have two different miter angles, depth and fence settings to make the joint.
Like you wrote, the corners will be gone when shaped round.
A lifetime of experience always comes into play, steel and wood aren't that different. My dad always told me, a carpenter makes a better welder than a welder makes a carpenter because glue wont fill a gap. I disagree, either you get it or you don't.This is a first for me, building hollow spars, so I don't know much about it.
Royce
Re-reading this, I guess you cut that birds mouth with a saw blade. Next time consider using a 3/4" dado blade stack set to your angle. With a sacrificial fence exposing just the right amount of blade it's a 1 pass deal. Beautiful work no matter how you got there!Thanks Firstram,
I opted to cut both sides of the birdsmouths at 45 degrees for simplicity of saw set up.
To get the corners to align, I would have had to have two different miter angles, depth and fence settings to make the joint.
Like you wrote, the corners will be gone when shaped round.
This is a first for me, building hollow spars, so I don't know much about it.
Royce
I have 5 more spars to make for this boat and really like the idea of a dado stack and one pass.Re-reading this, I guess you cut that birds mouth with a saw blade. Next time consider using a 3/4" dado blade stack set to your angle. With a sacrificial fence exposing just the right amount of blade it's a 1 pass deal. Beautiful work no matter how you got there!