CX-5 Front Brakes
Spoiler alert, everything went smoothly on this. I watched about 5 YouTube videos and read countless mazda247.org forum posts ahead of time. I am going to present it in detail anyways, because there were a few moments I wasn't sure if I was doing the "right" thing. Please feel free to chime in with any suggestions or comments.
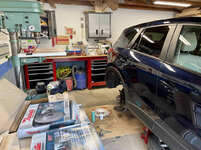
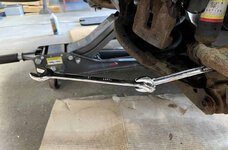
Lifting the car was easier than mine, because I could get a jack under the front crossmember / subframe and place two stands at once.

Also, unlike my car, I've never taken the wheels off the Mazda. I've done 80% of the oil changes, but tire rotations etc have been at a shop. Definitely some corrosion and grime.

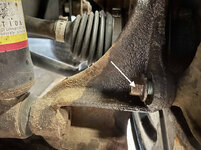
Some of the caliper / caliper bracket bolts needed a little penetrating oil, but then all came off easily.

The rotors on the other hand, needed a lot of penetrating oil and a good pounding. I feel like there's a Michael Scott GIF that could be inserted here.


I guess I have no way to measure flatness, but I thought the part of the rotor that the pads contact actually looked in pretty decent shape.
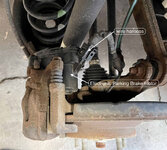
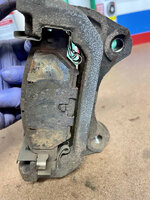
I took some pictures of the crusty caliper bracket for reference later.

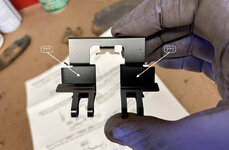
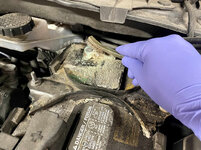
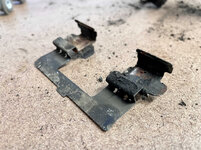
The hardware was pretty crusty.
Slide pins and dust boots in good shape, although not much lubricant left.

The caliper bracket itself had rust and grime, and no matter how much Brakleen and wire brushing I did, it didn't improve the appearance much.
And now for the embarrassing part. And I'm not exactly surprised. But there was zero friction material left on the old pads. Guess they had a good run!

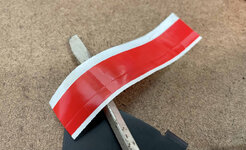
The old pads (and the new) came with a bunch of shims. I was kind of confused by this, as most aftermarket kits I've seen in videos don't seem to use them. But these had two shims per pad, that go on top of each other, and one is slotted and one is solid. They came with some very poor paper instructions and some little baggies of some sort of paste (anti-seize perhaps?), but I couldn't work out what to do from the diagrams so I just put them on the same way the old ones were, and applied some of my own Permatex copper anti-seize in between the "layers".
I'm not sure if the anti-seize was a good idea, bad idea, doesn't matter?? Chime in!
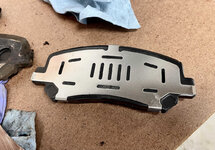

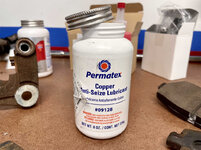
Something I saw in a video was to put CRC "Disc Brake Quiet" on the outside of the pads, and on the back of the hardware (where it contacts the caliper bracket). And in some videos they didn't do this. I figured it couldn't hurt.


Btw, did I mention it was like 100° F in my garage while doing this? Drenched in sweat.
I got the slide pins and dust boots cleaned up, and put a
liberal amount of Permatix ceramic extreme silicone brake parts lubricant.


Too much? I didn't want to skimp but was kind of guessing here.
And some on the hardware and pad ears.


And holy cow that Permatex stuff is slippery. All assembled.

Looks like a 2 yr old's finger painting.

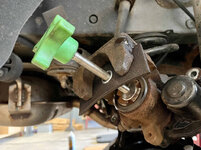
To push back the caliper, I cracked the reservoir cap. I know this was against the wise
@Bob Heine 's advice, but I didn't gather the appropriate equipment to crack the bleeder screw. Nothing spilled over the top and I didn't even turkey baster any out. I think the bigger risk is pushing the old fluid back through the ABS system, but in every video and post I watched, everyone just cracked the reservoir cap, so hopefully no damage done. Getting the fluid flush done is on my shortlist, for both cars.
To compress the piston, I used the old pad as a "block" to apply even pressure and not go too far, although I think somehow I did because the seal buckled a little. Hopefully fine.

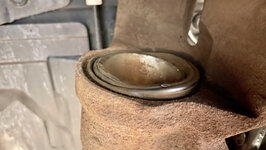
On the rotor side, I cleaned the new one with brake parts cleaner, and applied Permatex copper anti-seize to the inside where it contacts the hub. Again, looking for a yes or no on this. I've always put anti-seize on my wheel spacers on the GTI so they don't weld to the wheel / hub and it's worked for me. I thought if I ever have to do rotors again on this vehicle *maybe* it will make them easier to get off.

Old vs. new fully-coated Raybestos Element3:

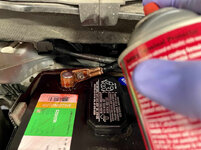
I noticed there was rust on the control arms and suspension bits, so while I had it apart I sprayed it down with FluidFilm. I know it's not
@Denwood favorite Noxudol product but it's all I had on hand.

To hold the rotor in place while I reattached the caliper, I used some cherry and maple offcuts. I knew I was saving these for a reason!

My trusty Tekton torque wrench in action. I was able to find torque specs for all the bolts.

And what do you know, 3 hours later, I'm done!
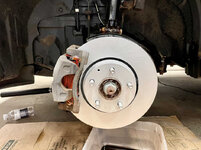

... with one side!! Arrrrgh it's 9:30 pm already!
Fortunately, I felt like I knew what I was doing at this point, and it only took about another hour to bang out the other side (most parts already removed), and get the wheels back on.
I did a quick drive around the block around 11 pm. No shaking, no squeaks, no noises whatsoever. Pedal felt really good.
I was wiped out and wanted to crash into bed, but unfortunately I was very dirty and had to take a night shower. Ended up getting to bed around 1 am.
I didn't find this job hard by any means, but it still felt rewarding, and a change of pace for something that has mostly evolved into "woodworking garage".