
Hello all!
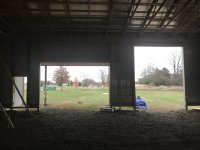
After many years of planning, researching, designing, estimating, then finally taking action, we're close to having function in the barn. For stealing so much useful information from the forum to help in the process I figured it's about time to start a thread to post some information back:
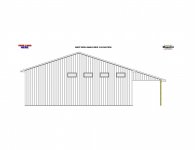
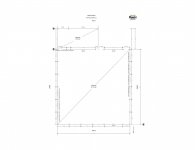
48'x48'x16' + Scissor Truss + Porch
Pre-Construction Schedule:
Early 2017 - Planning, survey, permitting, zoning.
Mid 2017 - Finalizing contracts and lead time.
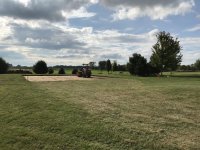
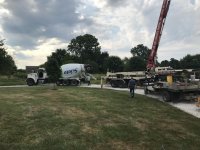
October 2017 - Groundbreaking.
More details and pictures to follow.
After many years of planning, researching, designing, estimating, then finally taking action, we're close to having function in the barn. For stealing so much useful information from the forum to help in the process I figured it's about time to start a thread to post some information back:
48'x48'x16' + Scissor Truss + Porch
Pre-Construction Schedule:
Early 2017 - Planning, survey, permitting, zoning.
Mid 2017 - Finalizing contracts and lead time.
October 2017 - Groundbreaking.
More details and pictures to follow.
Attachments
-
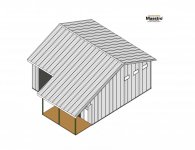 Elevations & Pole Layout (1)_Page_1.jpg147.3 KB · Views: 156
 -
 Elevations & Pole Layout (1)_Page_2.jpg147.8 KB · Views: 138
 -
 Elevations & Pole Layout (1)_Page_3.jpg88 KB · Views: 147
 -
 Elevations & Pole Layout (1)_Page_6.jpg73.6 KB · Views: 134
 -
 IMG_0607.jpg147.3 KB · Views: 305
 -
 IMG_0480.jpg150 KB · Views: 190
 -
 Elevations & Pole Layout (1)_Page_7.jpg46.2 KB · Views: 147
Last edited:


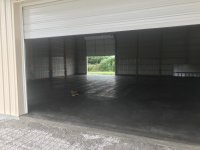

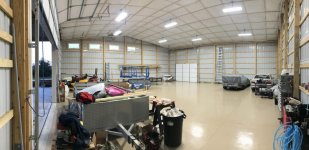
 . 2,400 SF done as 4 live 600 SF areas was a lot of work once the primer process was started. Overall though it looks great and I had some good help.


 . I am also in central Ohio area, just SE of Columbus. We are supposed to get 5" to 10" inches of snow this weekend


