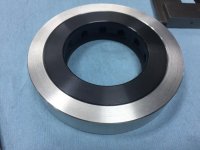
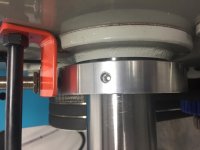
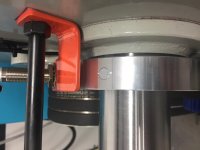
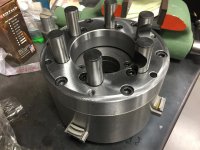
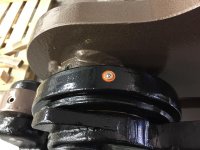
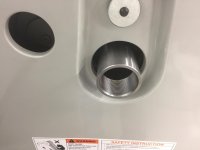
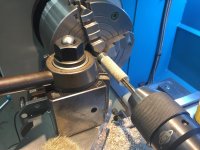
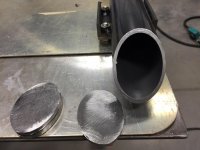
The Tachometer magnet was place on the balancing ring, although it seemed to work, I was getting inconsistent reading compared to the hand held tach. The balance ring has twelve threaded holes that accommodate setscrew to add weight. The ring only has two setscrews (next to each other). The believe the sensor was confused by all those holes so a new collar was turned. This was the first project turned on the machine and I must say it was fun.
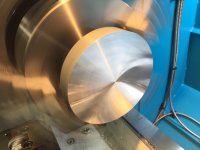
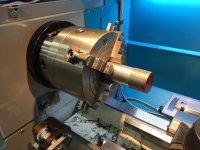
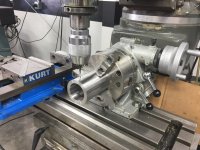
I started with a 5" x 1" aluminum disc. I chucked this from the OD to face the first side, then core, bore and chamfer. The tach was inoperative at this point as the balance collar was removed. I was turning close to 700 RPM based on past experience and I did set the VFD to 60 htz and the headstock gears accordingly.
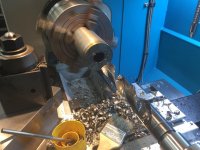
Used the largest Annular cutter I have to save time.
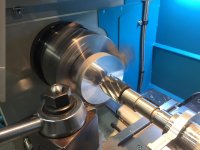
With a 1-13/16" hole, a boring bar was set up. close measurements taken and transferred to the DRO. Took .060" passes until the DRO indicated I was within .030", took that cut and reversed the carriage feed on the fly for a minute skim cut. DRO indicated a difference of .00004". I'm glad I went with a 1 micron scale on the X axis. The surface finish was impeccable considering I used old inserts.
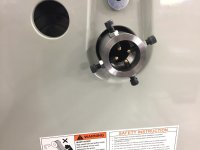
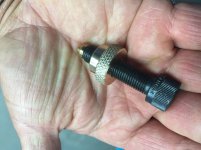
The fit was almost too tight.
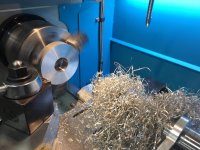
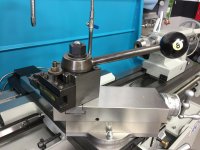
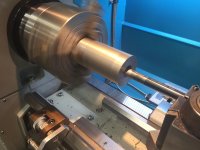
A chamfer was added to the ID. The piece was then flipped and chucked by the ID. Three 1" pieces of 1/8" aluminum TIG wire where used to stand off the ring from the chuck for the last operation of turning and chamfering. First the second side was faced to final dimension, again the DRO was used saving time measuring between passes. No more sneaking up on final cuts.
Second to last operation was to turn to final OD. Here is where the filler wire paid off. The final operation was to add a light chamfer.
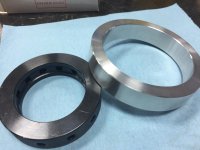
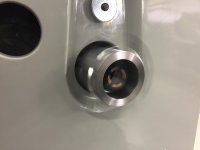
Almost done.
More to come.
Paco