Creative Fab
Well-known member
Love it!


 )
)


... Have you ever thought it may be a little overkill? Or would you do it again the same way?


 eyecrazy i was finally able to take off the roof
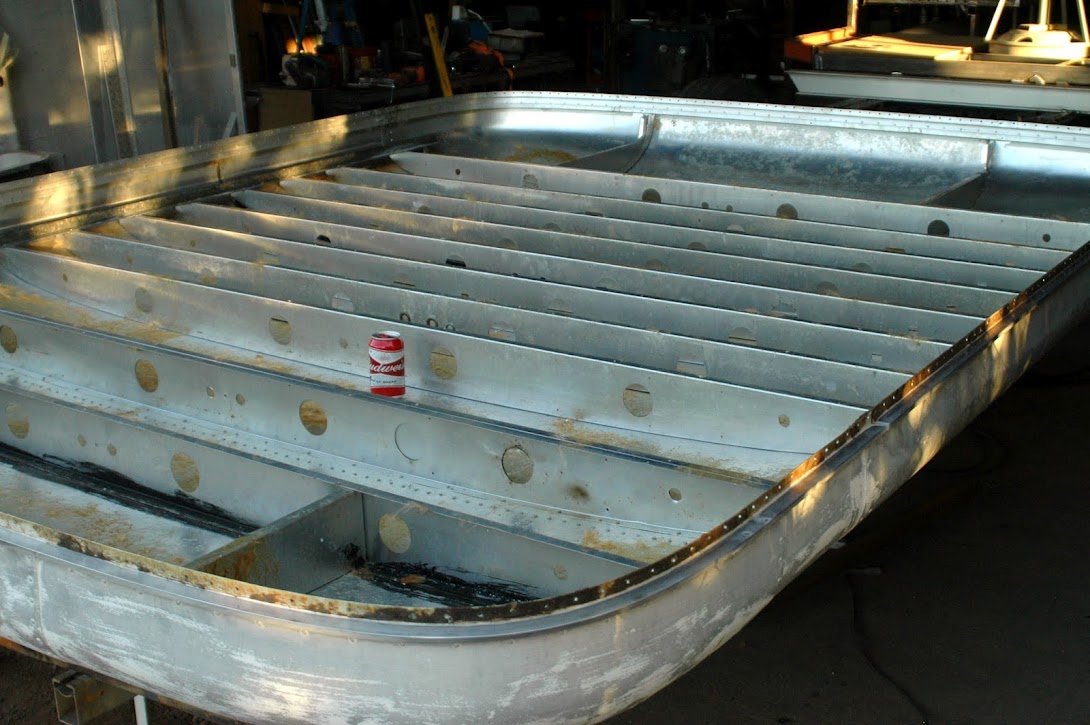


How are you joining the aluminum framing to the steel framing of the lower chassis ?


Eric
the framing is connected to the steel with aluminum L-brackets and rivets
to limit/avoid electrolysis of the dis-similar metals i painted the steel surfaces first
(the palette beams have been powdercoated, so i left that surface intact wherever i could)
additionally i used strips of ~.045" thick 3M UHMW tape (Ultra high molecular weight) under the L-brackets
i later used the same 3M tape wherever the skin was contacting & riveted to the steel
moisture that creeps in between the metals is also a factor in electrolysis,
so after finishing the rough construction i coated all the inside gaps with a heavy coat of elastomeric paint ("snow roof" coating)
....
Is it only you sleeping in there? Will you have a genset and a fridge and stove?

I think using the other trailer in the back, with the rounded ends would make it cut thru the wind better. But it looks very nice, and a lot of work.
I don't know if I missed it somewhere or not, but curious as what your profession is? I'm sure it something mechanical?
 )
) )
)


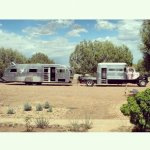
That's a lot of riveting, crikey! So you'll be pulling a travel trailer? I assumed you'd be pulling a toy or jeep since you had the pic of the old red International pulling one.
You said you have buckets full of clecos.
Where did you get them from
Thanks
(i wish i bought more  )
)
Does anything go between the panels where they overlap? Sealant? Or do you seal the inside with seam sealer.
BTW..looks horrible, It'll never work!
but i started it so i have to keep going  ... but absolutely water tight ... lots of cool trucks!
 Rooster,
This is absolutely awesome work my friend! I cannot wait for the next addition of progress!
Thanks!
Caddis295

 );
);


 ...
... 
the Spartanette is like a teardrop trailer on drugs
I love the vertical stabilizer on the Spartan!


 ), I've got a bunch of buddies that are really interested in this type of thing but not on GJ or PBB.
 ... Did you ever settle on whether you were going to keep the IDI?
 ...
...me tooAwesome! Cant wait to see this finished.
... i have almost 10000 miles on the clock now, but she is still not finished Rooster, I am a HUGE fan of this project. I first saw it over on the PBB. Anyhow, I stole a pic and posted it on IG. I was sure to mention the specifics and gave credit.
I hope you don't mind (I'm asking for forgiveness rather than permission
Keep up the good work.
... giving credit is even better );


 ...
...  )
)


 )
)IG= Instagram which is a social media application where people can share pics/video.
.... i guess i had a brain fart