Work has continued on this project, despite the lack of updates. Frankly, I'm **** at taking pictures regularly - so I'll have to miss out on making a living as a social media influencer.
Update on the floors.
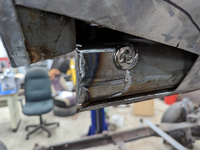
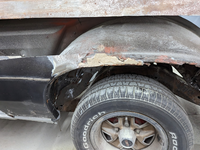
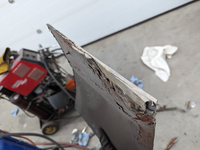
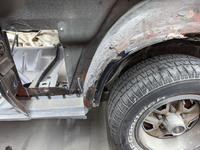
There was fair bit of rot on the lower firewall flange. When I had pulled the parts from the junkyard wagon, I had cut out that section of firewall as well. (Sorry for the poor focus)

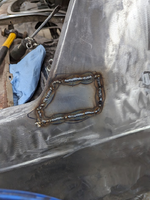
Replacement part welded in
For the door sill areas, the drivers side one from the junkyard wagon was pretty decent and only required a small patch. the passenger side, as previously stated was in quite a bit worse shape. I'm previously shown some of the work that went into repairing the forward body mount area and the sill itself. While I started on repair that sill, upon further inspection I decided that it wasn't worth trying to salvage. Too much of the sheet metal was rusted away. And I also noticed a design difference between the '79 wagon and what came out of my '87. The sheet metal skin on them is pretty much exactly the same. However, the bracing underneath on the 87 is quite a bit more substantial. While the 79 had a metal brace under the skin pretty much only where the body mount is and a separate on for the seat belt mount, the 87 is pretty much a nearly full length braces extending from the where it meets up with the forward body mount piece all the way back to past the seatbelt mount as a single unit.
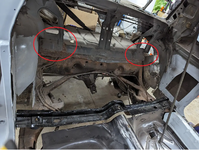
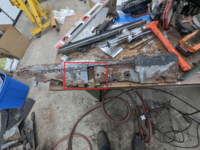
The below is the piece as pulled from my 87. The square in red is the only spot where the under brace is on the 79. That and the seatbelt mount. Whereas this entire section is basically made up of a 16 ga braced and then skinned with 22 ga.
I stripped the skin off the brace from my 87 cleaned it up and got it in primer. There was a couple parts where in folds down along the back where I did have to patch and replace with some 16 ga. For the skin, rather than trying to restore multiple different sections, which would have been a ton of cutting, welding and grinding. I decided to make the entire piece. I did a simple, straight fold along the back edge on the brake. For the other edge, I marked out the contour flat and then used the tipping die on the bead roller to start the bend along that contour. A bit of hammering to get the edge going and then using the brace that goes underneath it as a buck, I hammered most of the rest of the skin into shape. I did have to use the shrinker and stretcher in a few spots to tune the shape. In the end, it doesn't have quite the detail of the factory piece, but it should be fine for the floor. Skin was drilled in multiple spots and then spot welded to the brace.

While I don't have any pictures of it, These sill parts along with the forward body mount areas were welding into the main body. One of the things I had to make sure of was to get the position and alignment of the body mounts correct. So I lined up the body on the frame using what existing body mounts were left, and lined up these pieces appropriately so that once the body goes on the frame, all the bolts will still line up.
With all the forward supporting structure now back in place, the floor pieces were ready to go back in. The floor is something that is available new and I was able to find a local guy who sold them at a fairly reasonable price. Much cheaper in the end than ordering out of the US and having to pay for shipping. Floor panels were full length halves. I decided to go with that rather than the 1 piece just to make it more manageable to handle on my own.
I got the two halves in the passenger compartment and lined them up with each other along the transmission tunnel seam, clamped them together to get it as flat and flush as possible and then spot welded every few inches along that seam. Followed with locating the now one piece floor, along the front firewall, clamped the flanges together. After checking how it fits along both sill, the floor was welded into place at the firewall flange.

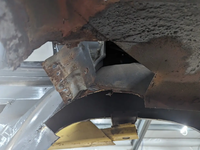
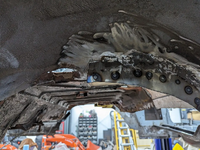
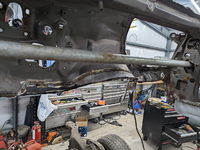
At this point, it's as far as I've got. but the floor, while not done, is permanently attached to the body. Still need to fully weld the center seam and spot weld both side along the sill pieces. Also going to have to do some cutting and shaping near the back of the floor to get it to match up properly. There's two things there. One is the typical inconsistency of aftermarket replacement panels. The second is that technically these floor sections are for an El Camino, not a Cutlass. Since the El Camino has no back seat, the section where it rises up at the back is a bit different. And of course, as obvious by the gaping hole, the back seat area needs to be addressed too. But there's along braces and seat mounts that need to go in as well as another brace that goes under the back seat.
Having a floor back in it feels like a major milestone, but there's still a ton of stuff left to do.