You can check out this link below:
http://wiki.vintagemachinery.org/DeltaSerialNumbers.ashx
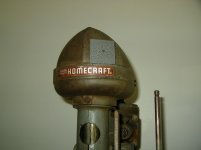
...and see that the serial number for your drill press falls in-between AJ and AX, which puts it at 1953. It was also made in Tupelo, Mississippi
")
A restoration would be great. The metal bits and column usually clean up real nice. Depending on the bearings and runout, you might be able to keep the same head bearings. I was able to in my Atlas press.
You could go all original and do it up in the original-style machinery gray, or go a little more wild and do a metallic color, or a green, blue, etc. The sky's the limit.
You should be forewarned though. You have bought a vintage tool. I don't know if it is your first, but you are standing on the edge of a slippery slope. Soon, you'll realize that the restorations aren't that hard, the tools are made right (in USA), replacement parts are easily found, the prices are great, the people that admire them are fun to hang out with and nothing will be stopping you from going all out and replacing all your tools with vintage counterparts. Heck, some people even buy all vintage, sell all their modern stuff and end up making money on the switch. Very attractive
If you have any questions about vintage power tools, let me know. If I don't know the answer, I'll direct you to someone that does.
Good luck resisting! It is futile


 (Rule #1 - there shall be no secrets on GJ


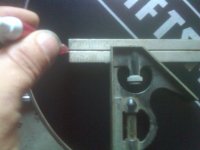
 I might need a picture.
 The little squares in there are 1/16" scraps stacked on each other as the "initial idea". The strap is important instead of those scraps because it won't tilt down off the edge of the slide and will have a consistent space.
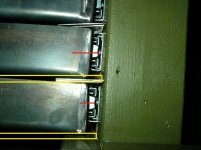
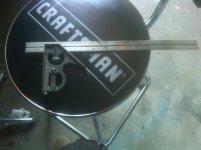


 I went CL shopping...$65 and it came home with me.

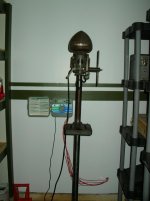
 That pretty much made the decision